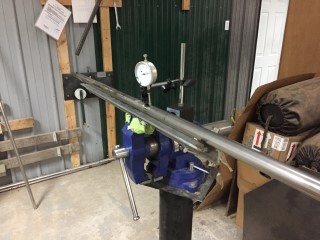
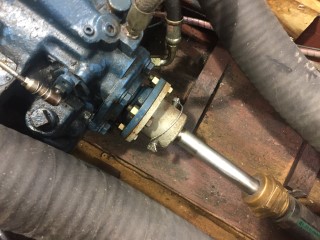
We pulled the shaft and checked to see if it were bent. Luckily the shaft is not damaged and will be fine to continue using.
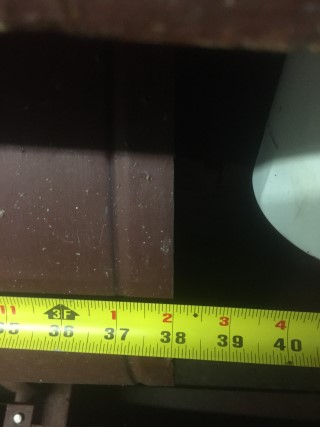
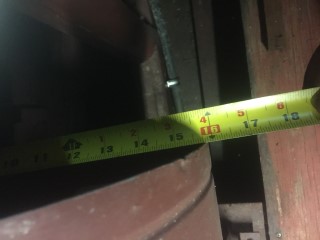
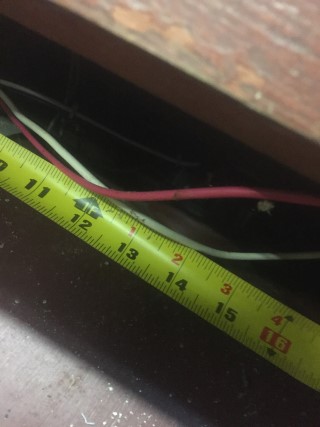
We have all of the measurements recorded and will start working on your fuel tank within the next week.
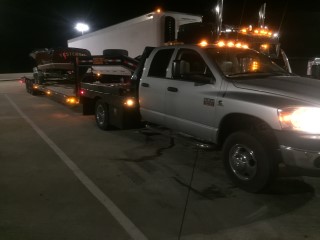
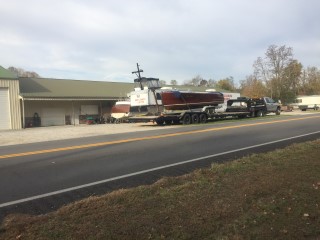
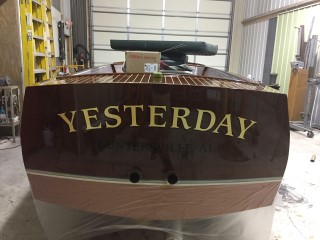
We made it home safely and the boat has now been winterized and tucked away in the storage facility.
Update 01/03/2017
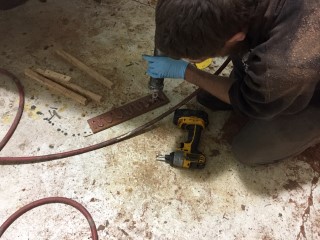
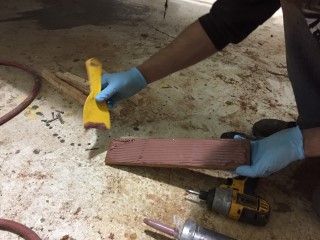
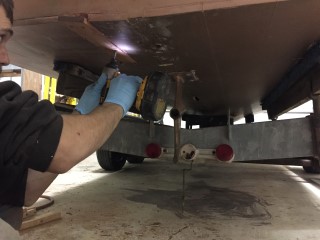
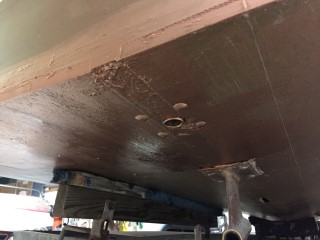
Here is the process of replacing the section that was damaged by the propeller blade. We first made a jig that we attached to the bottom of the boat around the damaged area. We then used a router to remove the damaged area. Once that was done we then cut a new piece of mahogany to fit in place of the section we removed. We then covered the piece with 5200 and fastened it to the boat. We use the spreader when applying 5200 to make sure we get even coverage.
Update 01/13/2017
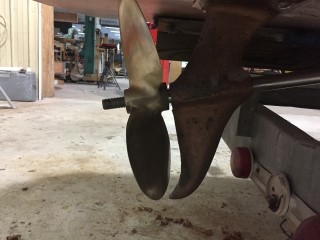
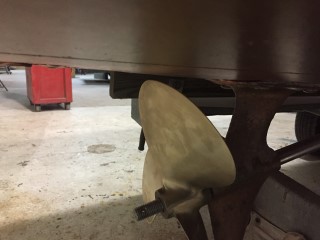
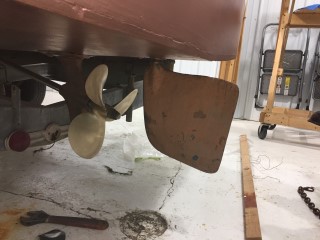
This was the position of the prop on the shaft when we first installed it. As you can see the clearance was an issue.
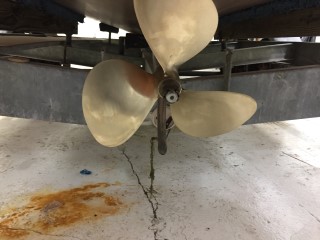
We had to adjust the shaft a little to get the clearance we needed. Now everything is secure with the proper clearance and look at that nice new propeller.
Update 01/18/2017
We now have the rudder installed back on the boat. We also put a new safety wire on the hub. This keeps the set screws in the hub from backing out which would allow your shaft to work its way out of the hub and to the bottom of the lake and we definitely don't want that.
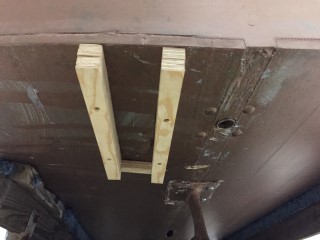
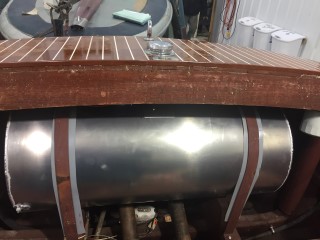
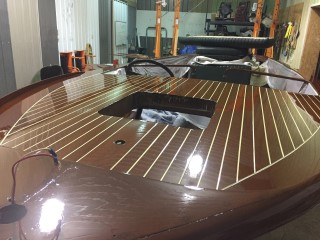
Your new Rayco fuel tank is installed and ready to go.
Update 02/01/2017
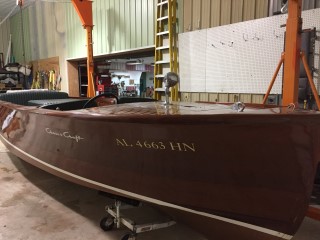
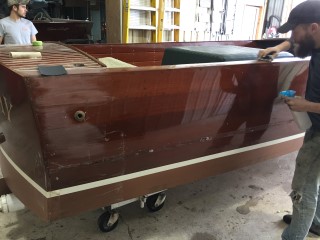
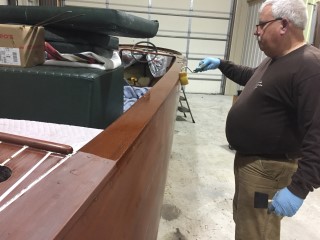
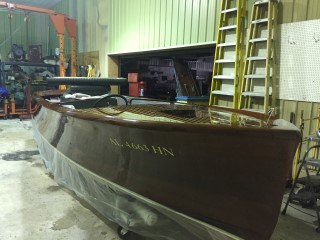
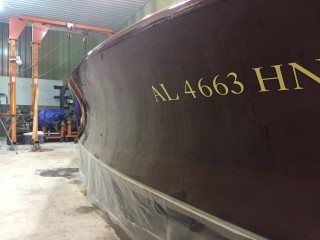
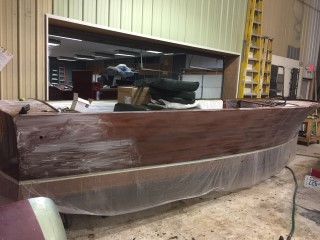
We now have your boat set off of the trailer onto dollies. The boat has been completely stripped of trim and is ready for varnish. The axle for the trailer has been ordered and is on its way to us now.
Update 02/21/2017
Fixing dock rash and getting ready for varnish.
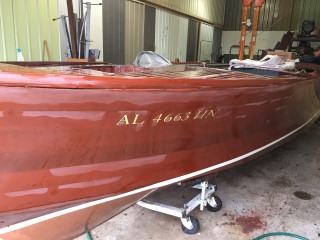
BEFORE
AFTER
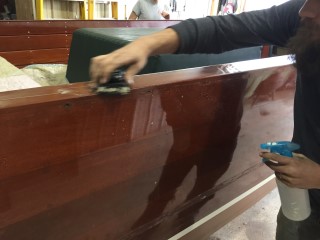
Wet sanding before varnish to remove any imperfections and create a stronger bond when varnish is applied.
The boat has been completely sanded and now a quick wash before varnish. Washing before varnish will remove any sanding dust that may get trapped in seams and corners.
Update 02/23/2017
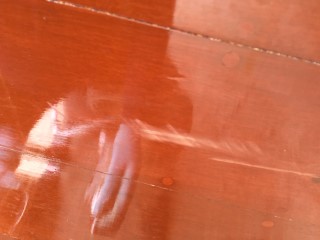
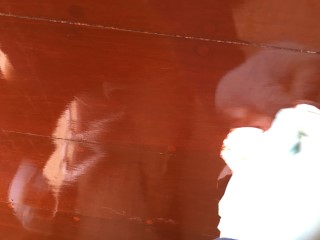
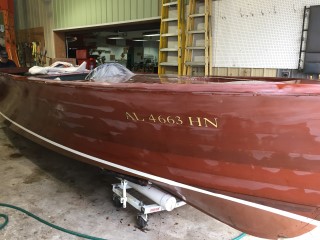
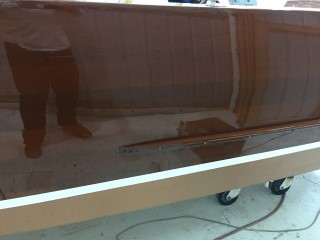
The first coat of varnish is going on!!
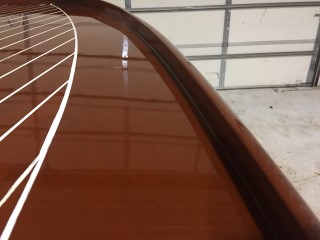
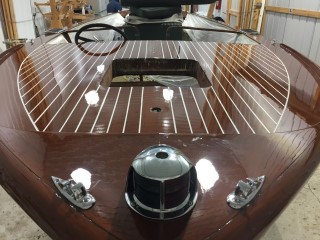
Look at that mirror reflection! That's how you know your varnish is laying down great and going to turn out perfect.
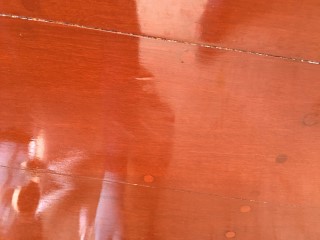
First coat of varnish has been applied. Look at that shine!
Update 03/02/2017
Update 03/10/2017
We now have the boat wet sanded and are ready to apply the final coat of varnish.
Update 03/17/2017
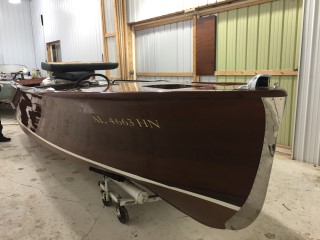
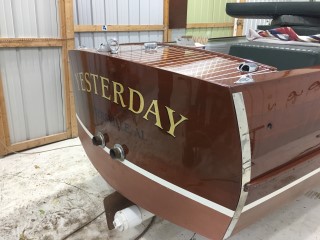
The final coat of varnish is done and the boat looks great. There are a few more pieces of trim left to install then back on the trailer she goes.