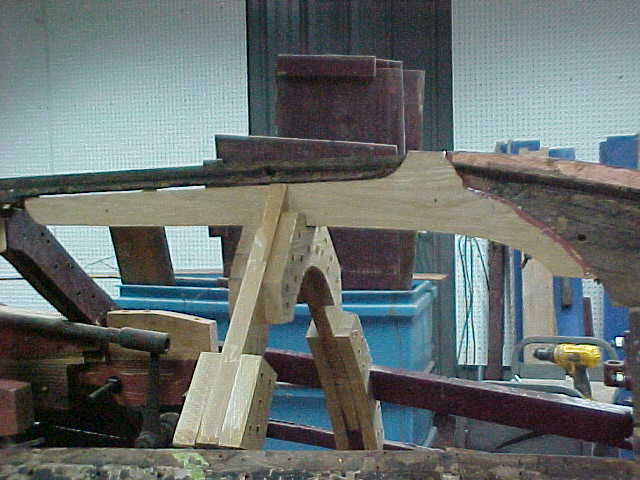
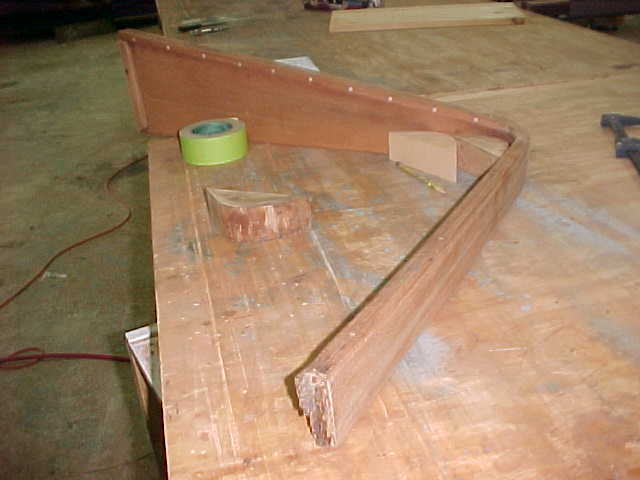
port new chine temporarily pulled in place to conform to shape
pic of new stbd chine view from fwd to aft
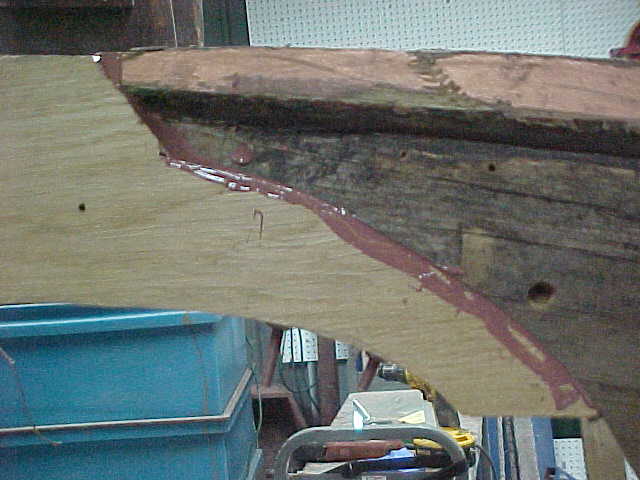
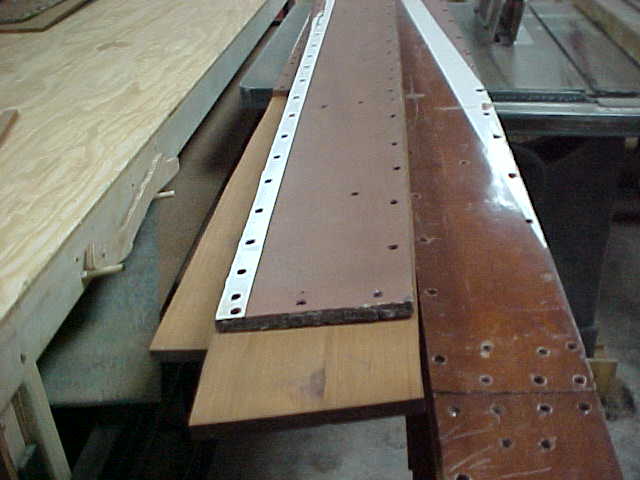
view of stbd new chine scarf joint being set in with 5200
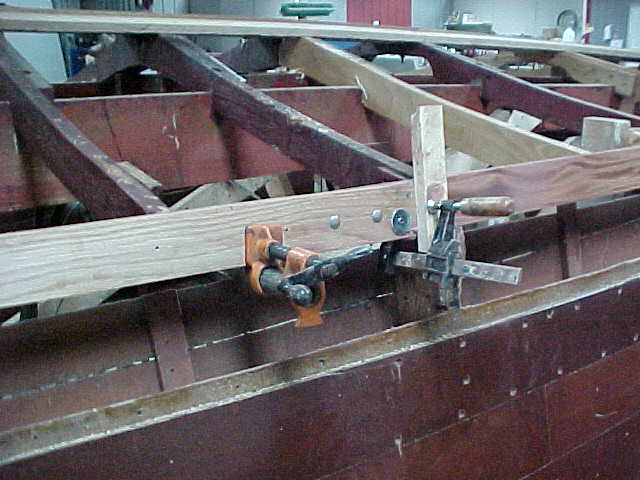
view of stbd new chine being held with clamps to conform to boat curve
view of stbd newchine being conformed to curve of boat
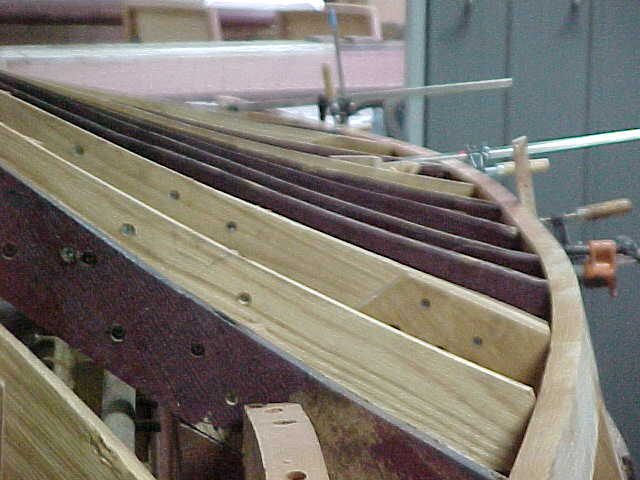
view of stbd chine temp in place from aft to fwd showing curve
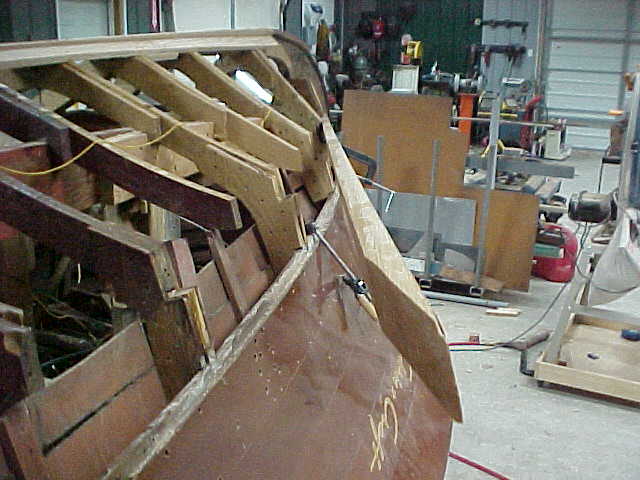
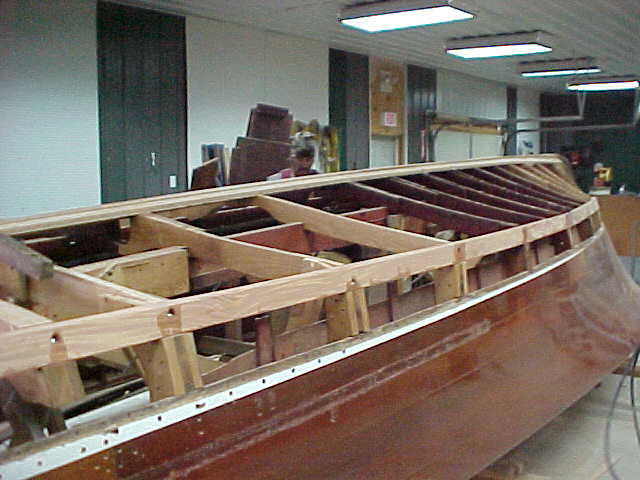
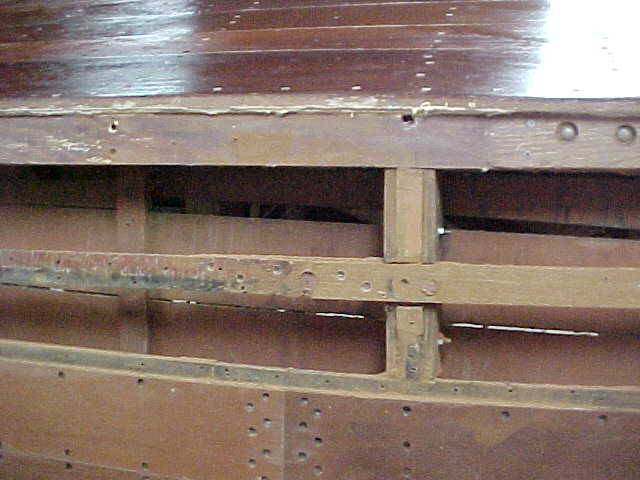
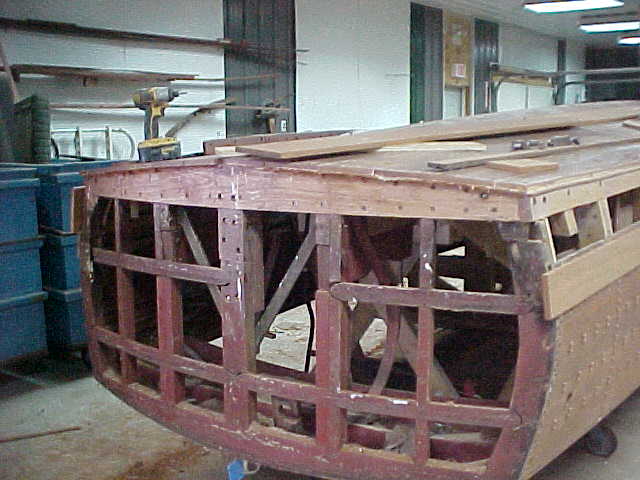
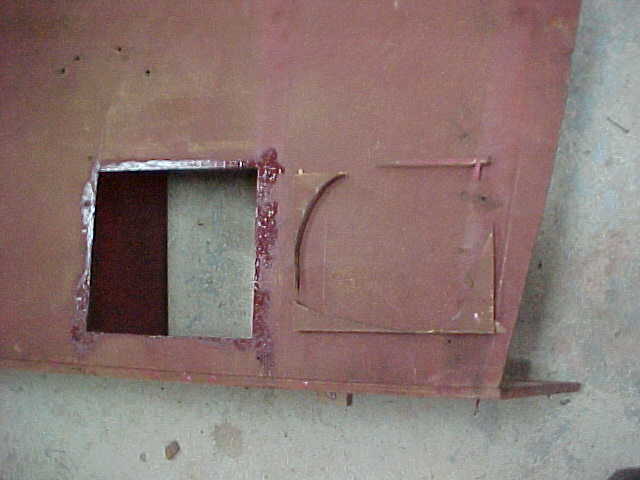
aft view showing transom bow removed
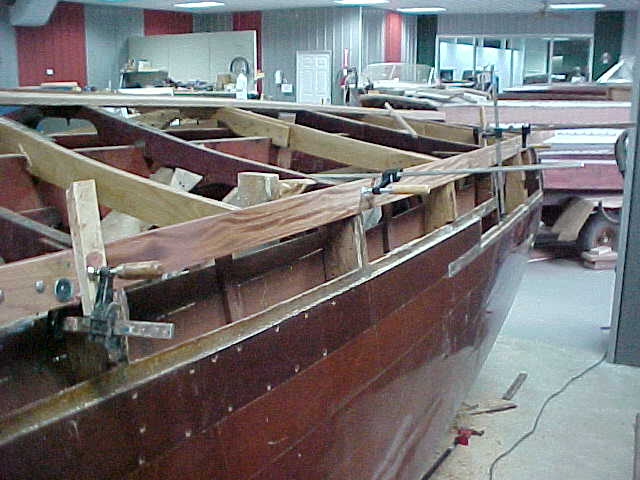
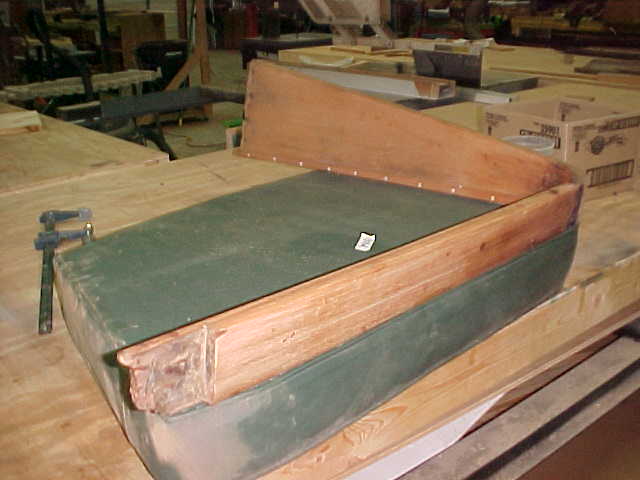
view of port chine installed
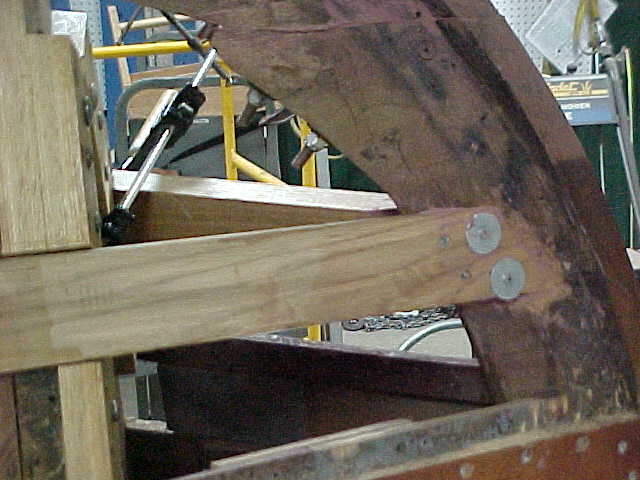
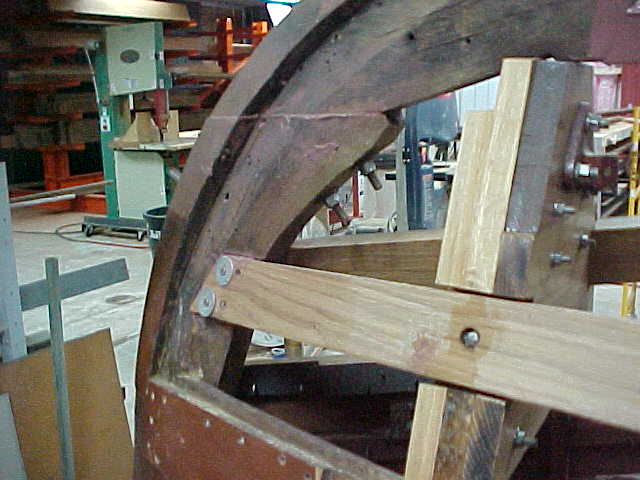
stbd bow chine connection and fr 1a
port bow chine connection and fr 1a
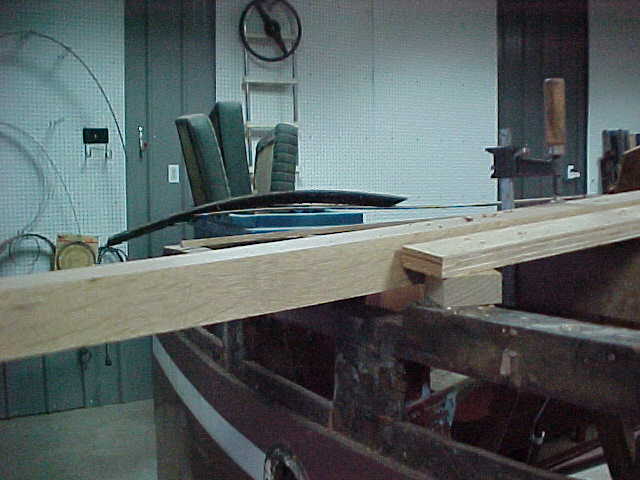
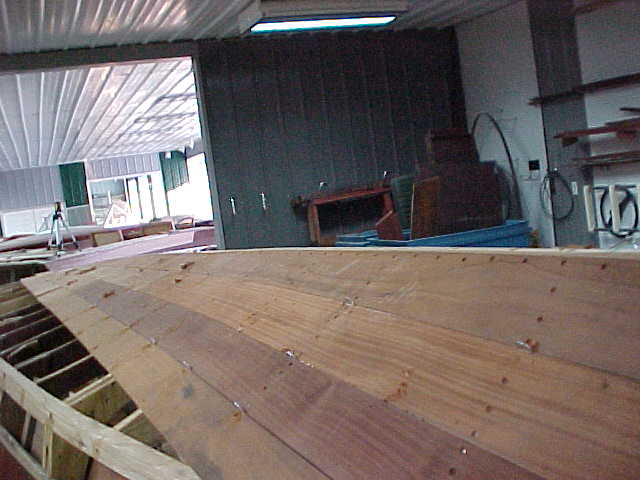
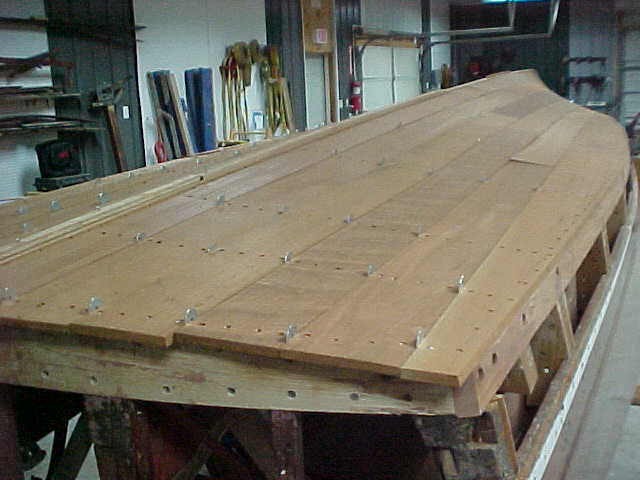
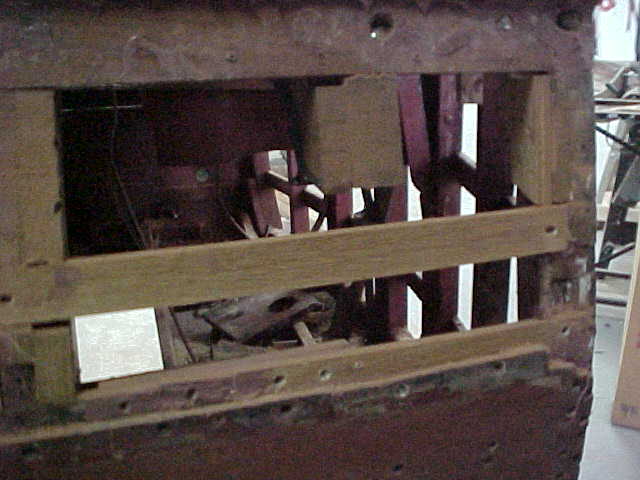
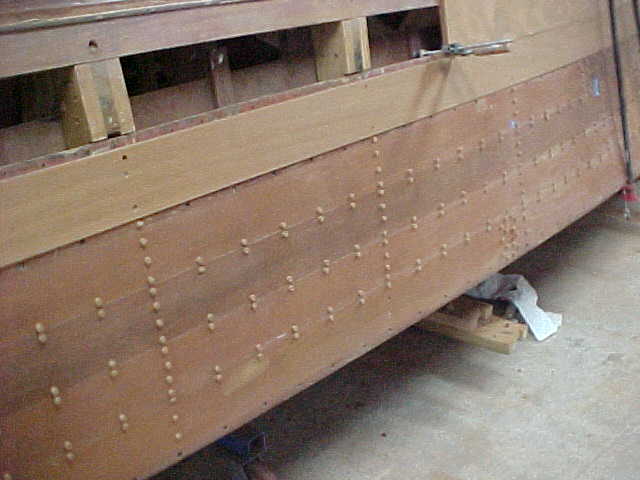
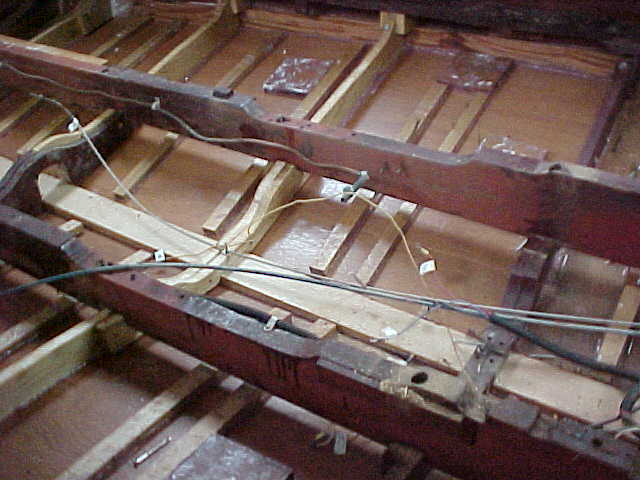
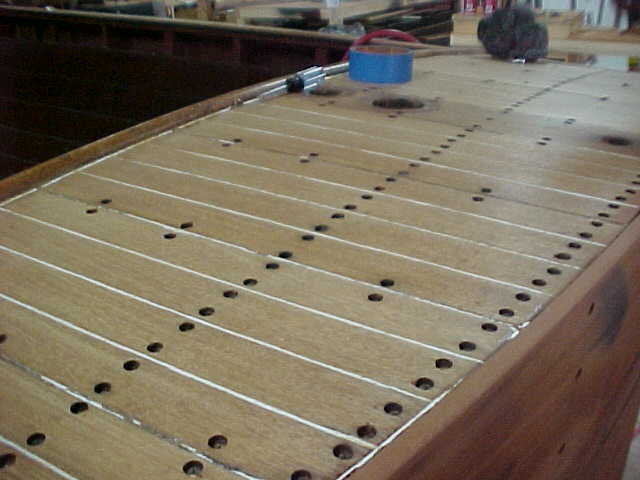
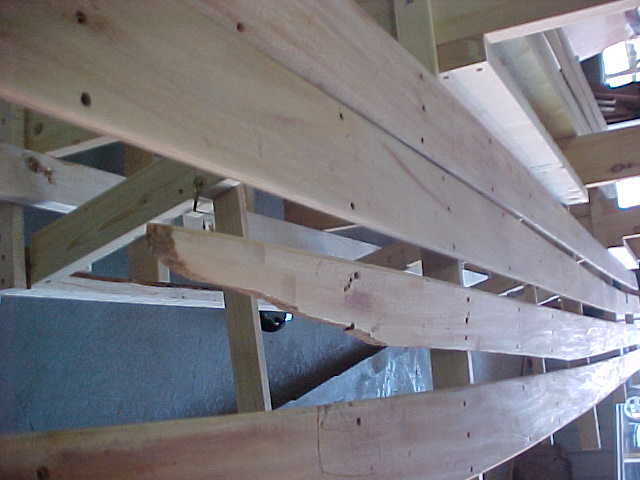
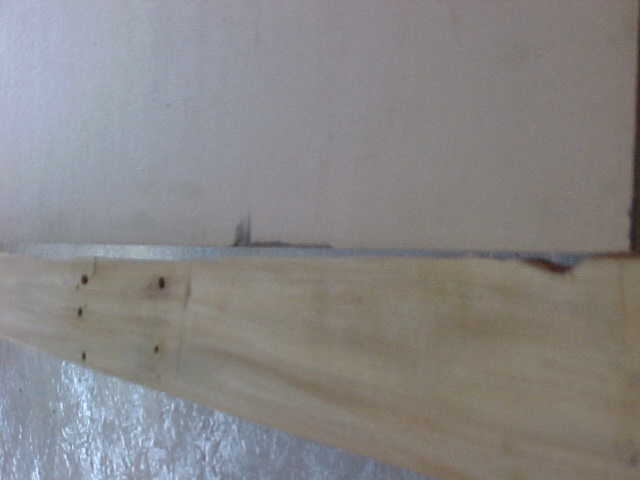
view from aft of bottom planks being fitted
another view from aft of new planks and keel
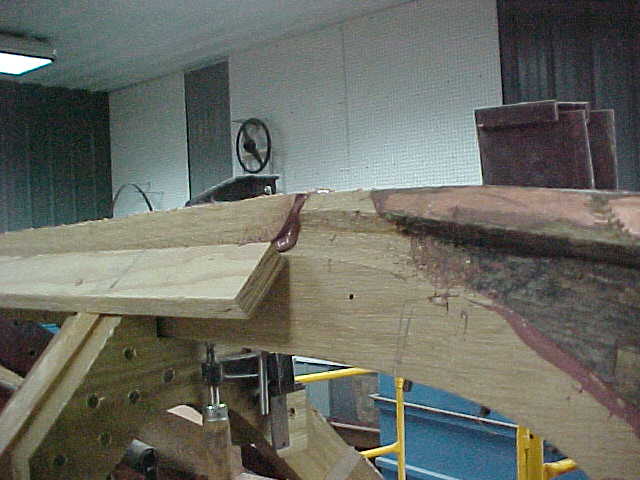
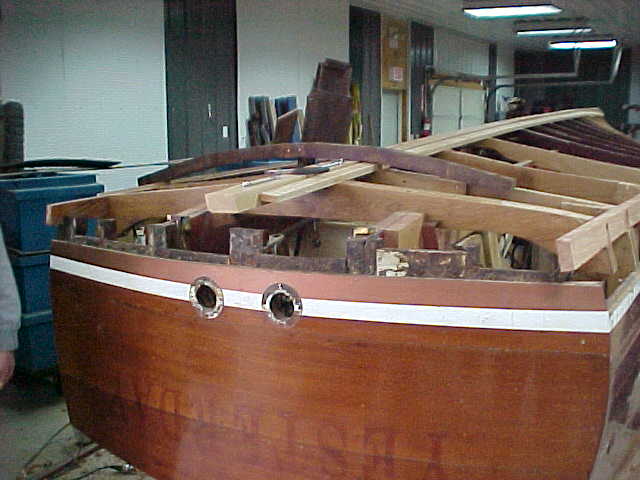
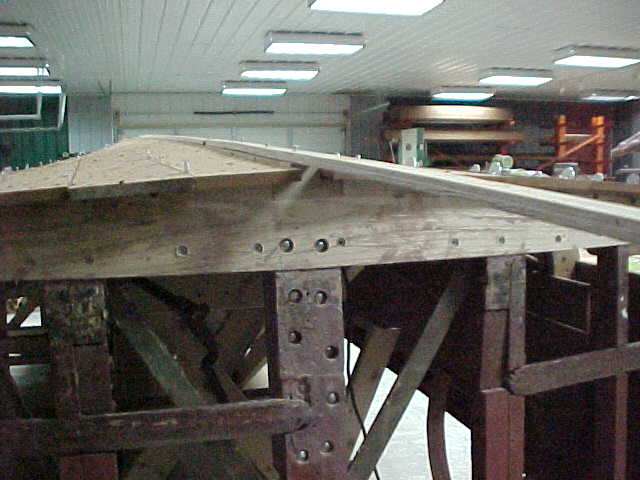
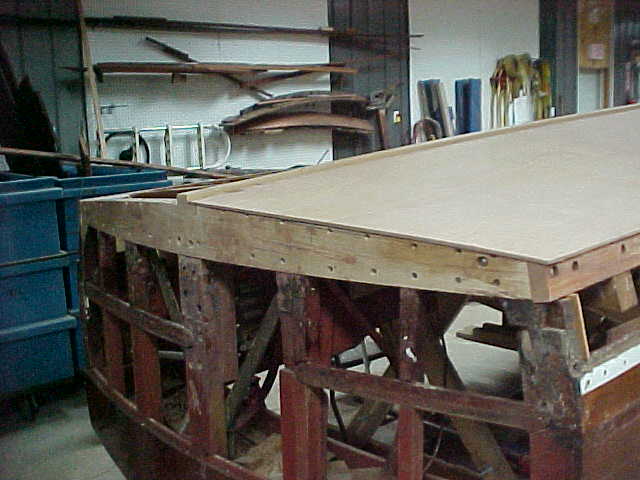
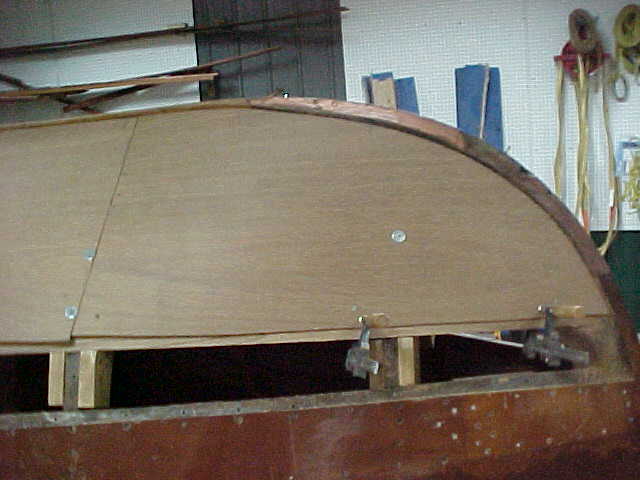
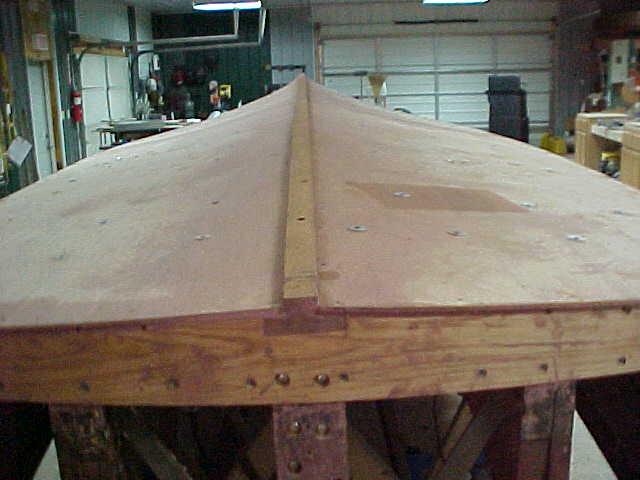
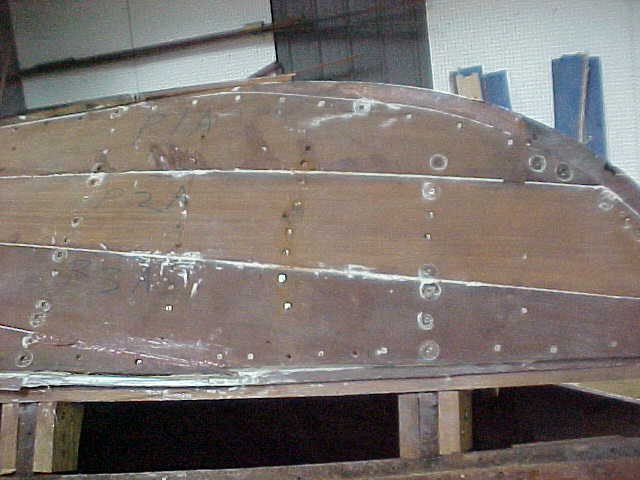
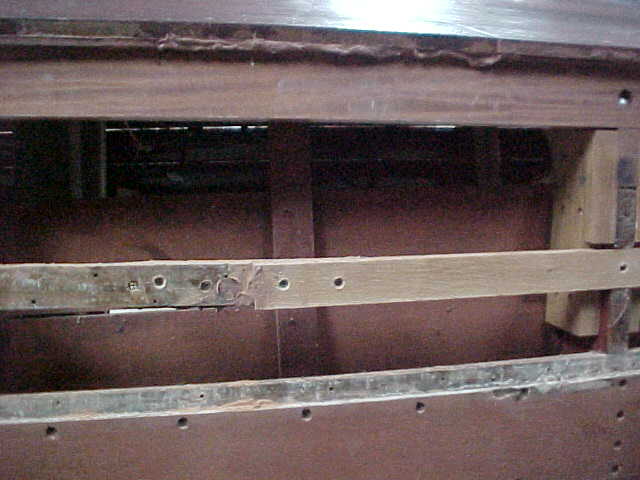
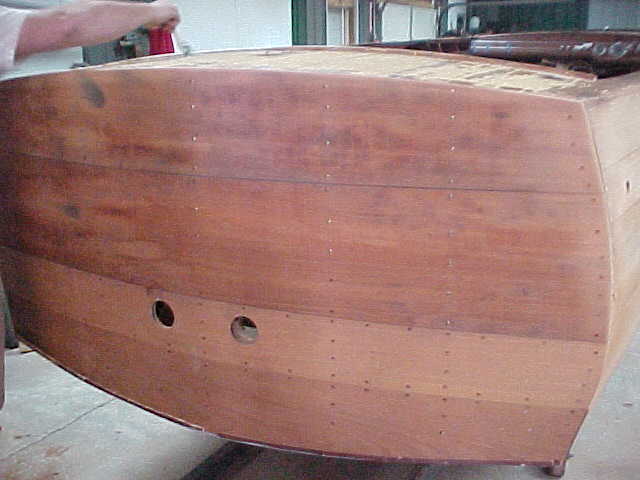
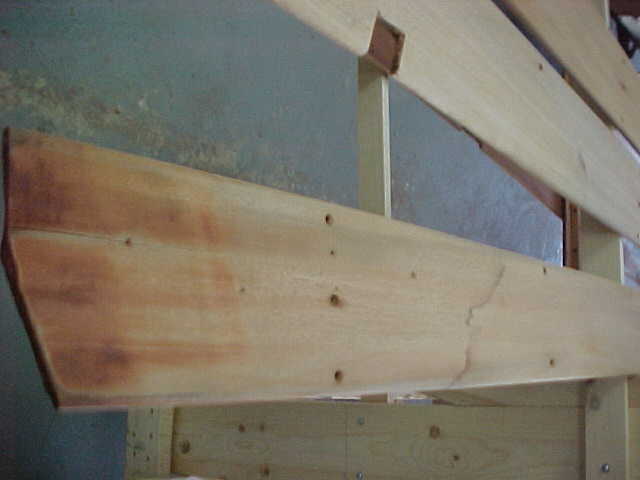
view of transom bow newly installed and thickness of bottom planks shown
Pic of bow port side with new planks fitting
view of bow with new planks fitting frm stbd
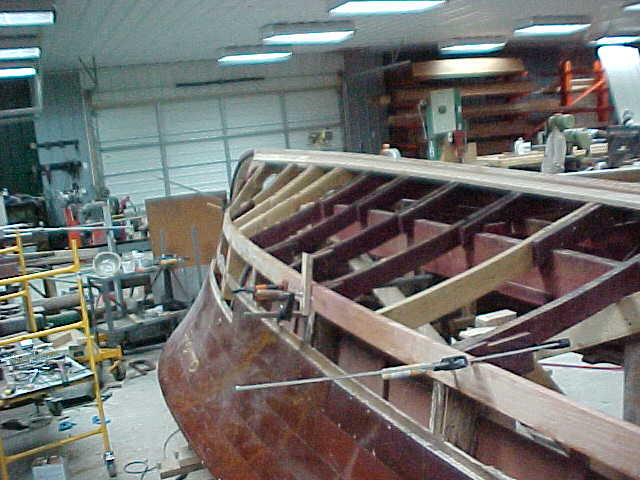
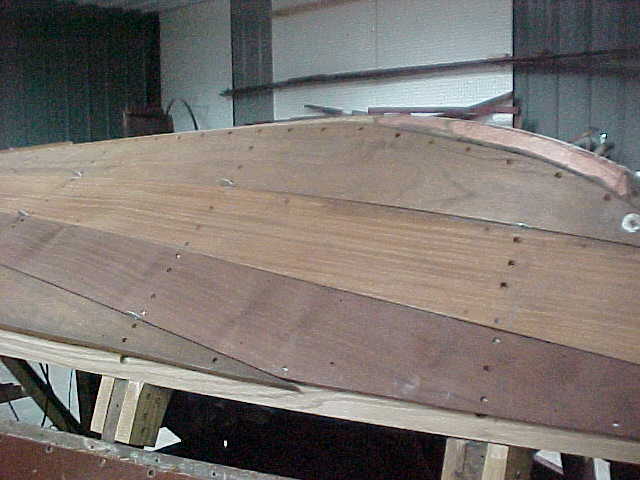
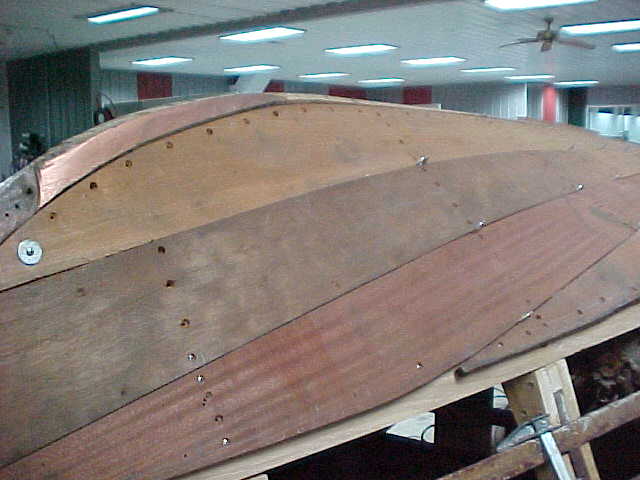
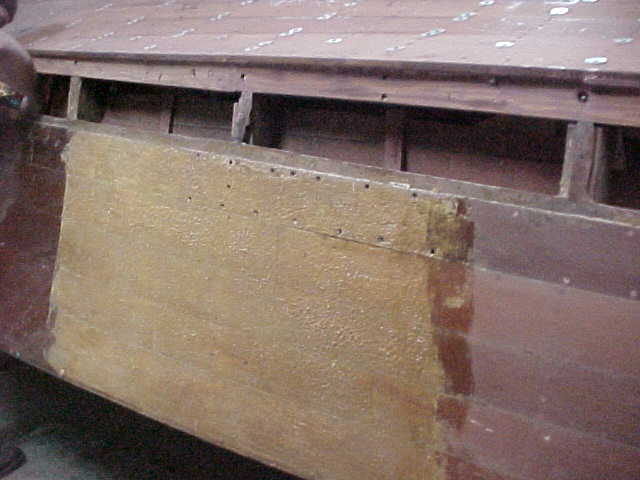
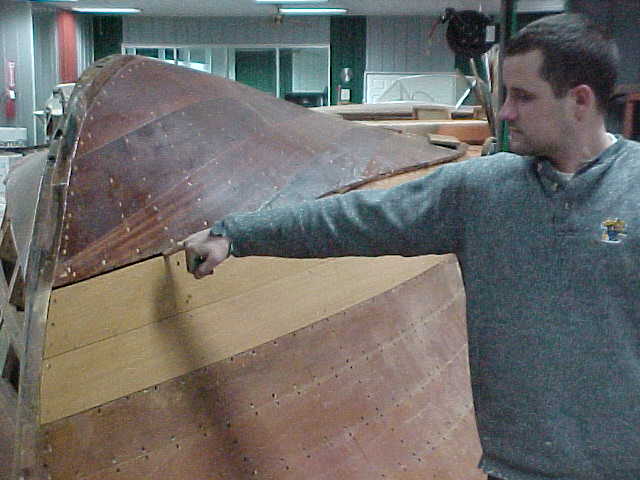
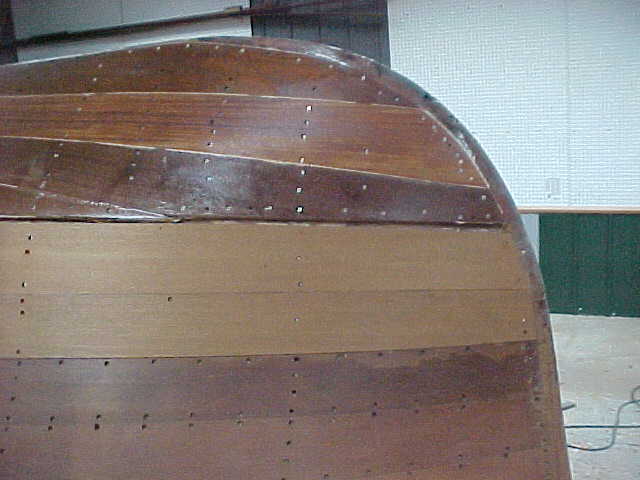
view of port side from bow showing new chine in place and new planks for bottom being faired in
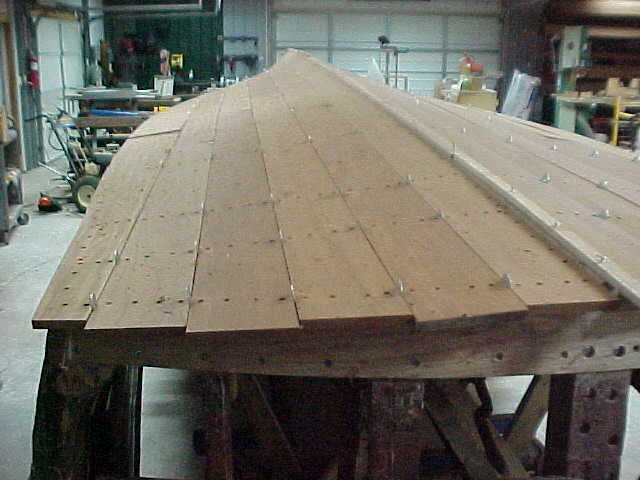
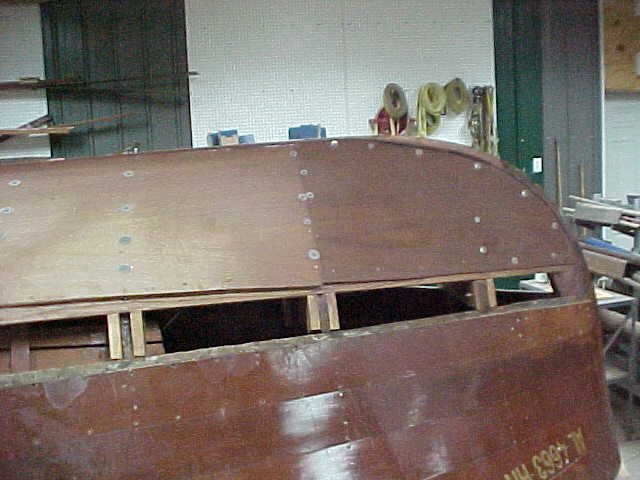
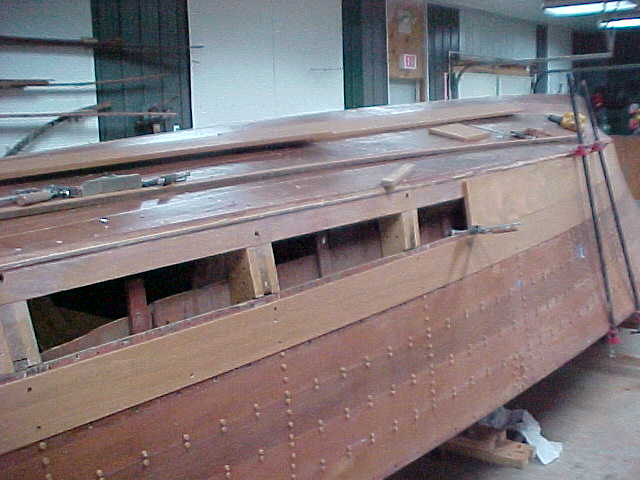
Shown here is the aft view of the starboard side bottom planks being fitted.
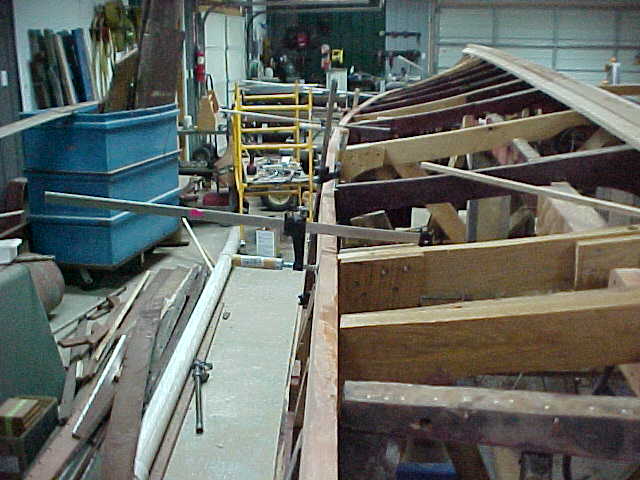
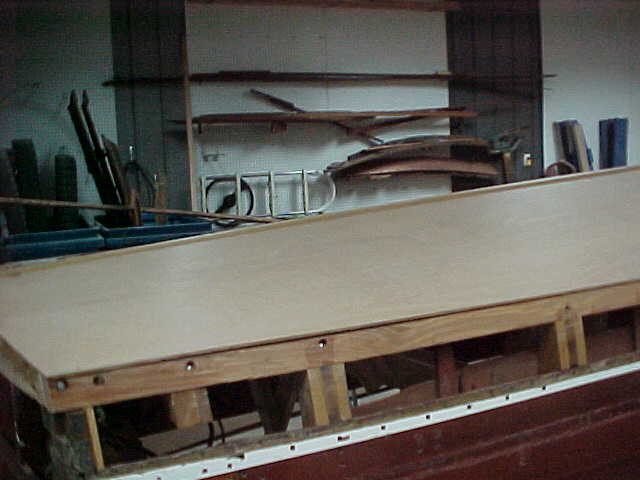
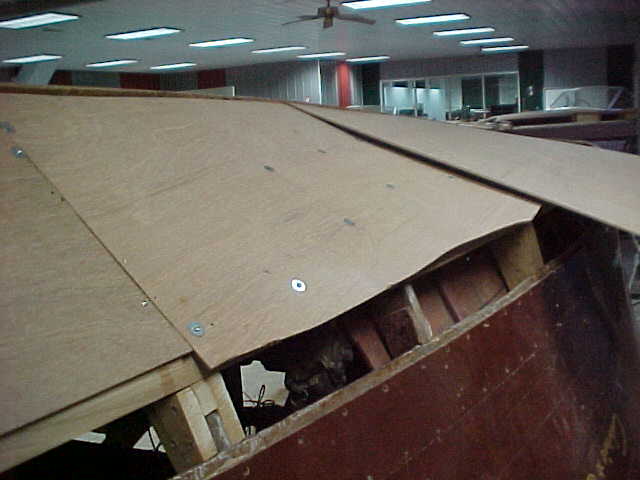
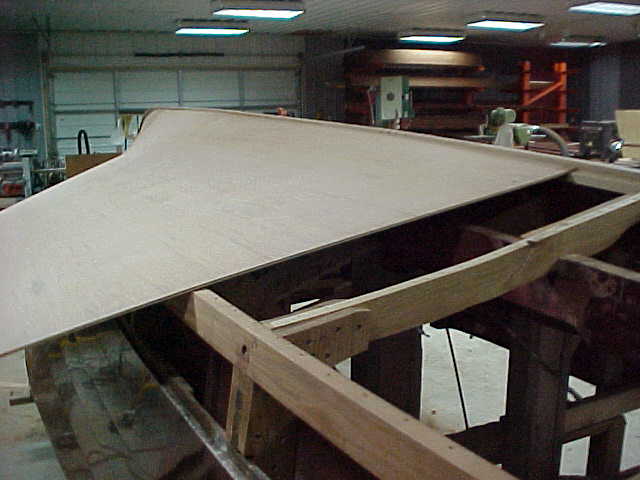
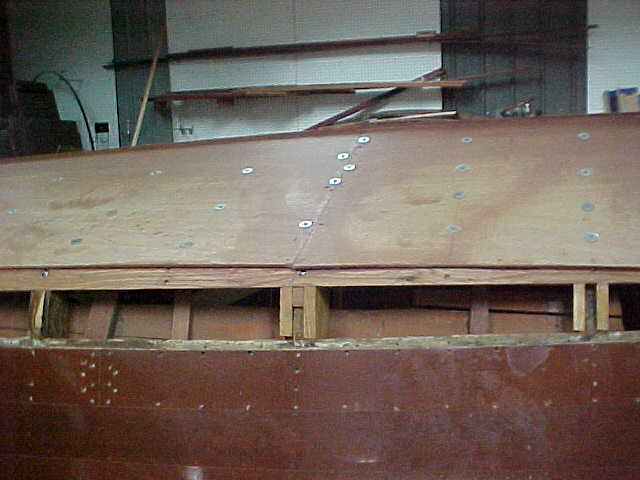
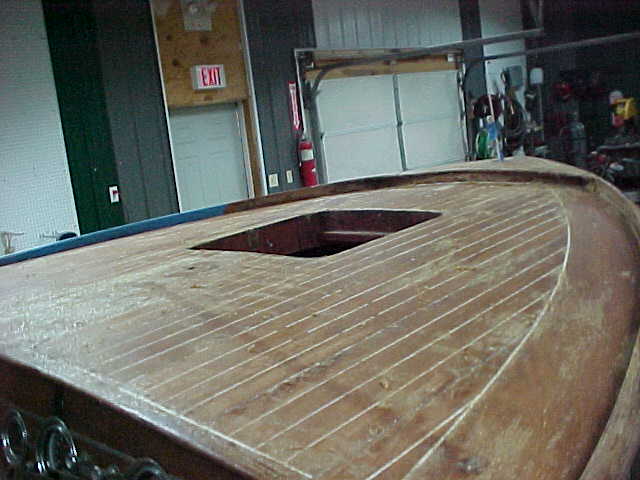
below ply underlay being fitted for final install later
port aft bottom ply underlay temporarily fitting before install
port bow ply underlay temp fit prior to install
stbd ply underlay being worked in to fit prior to install
view of stbd ply underlay from aft being temp fit prior to install
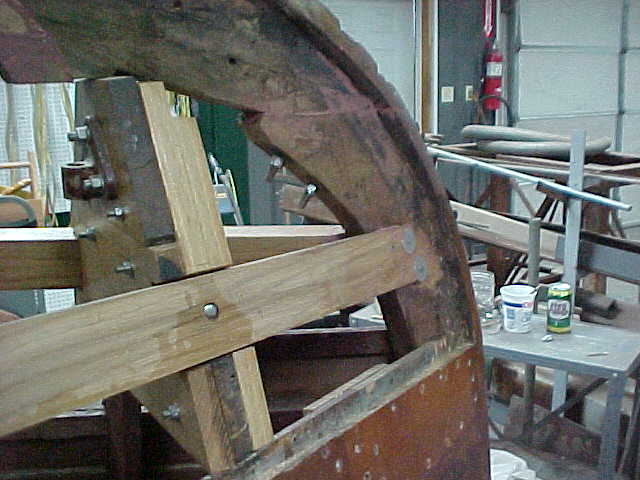
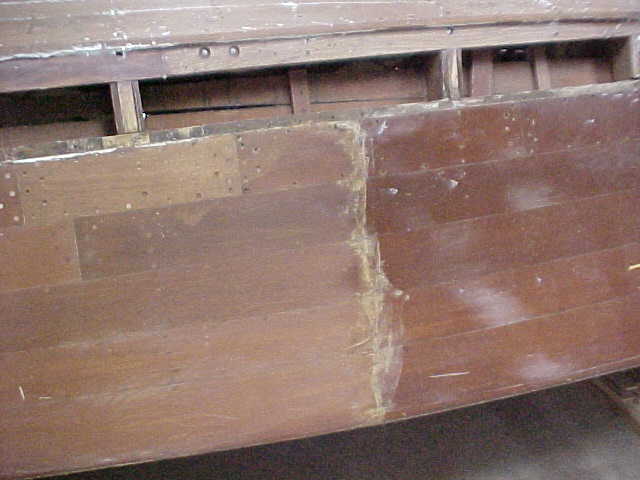
view of transom bow showing keel fit and ply underlay being worked
aft view of keel fitting and transom bow along with ply underlay being worked
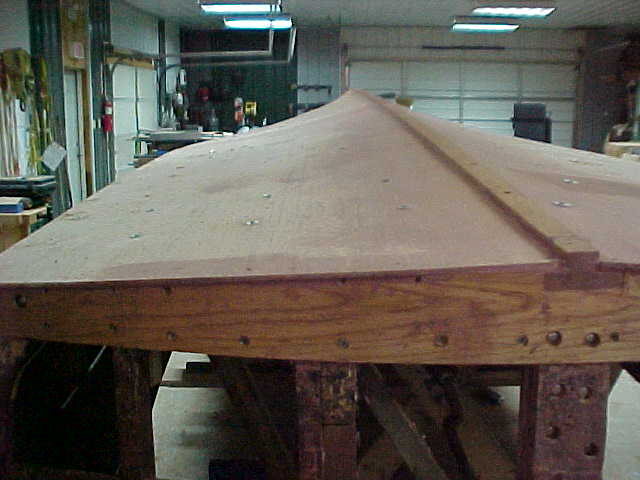
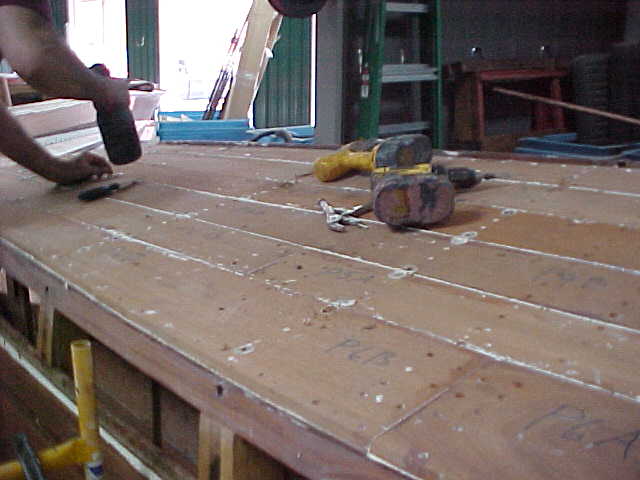
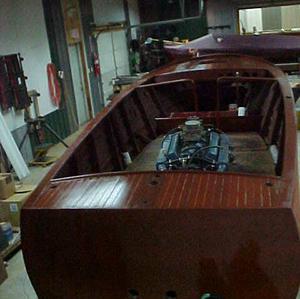
Bottom going back together
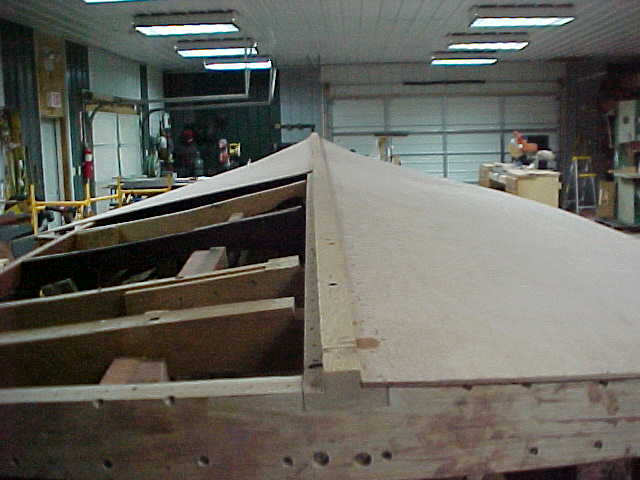
stbd side aft ply underlay permanently installed
new ply underlay installed and 5200 sealent applied
fwd port view of ply underlay installed and 5200'd
midships port view of ply underlay installed
view of port side from fwd of new ply underlay
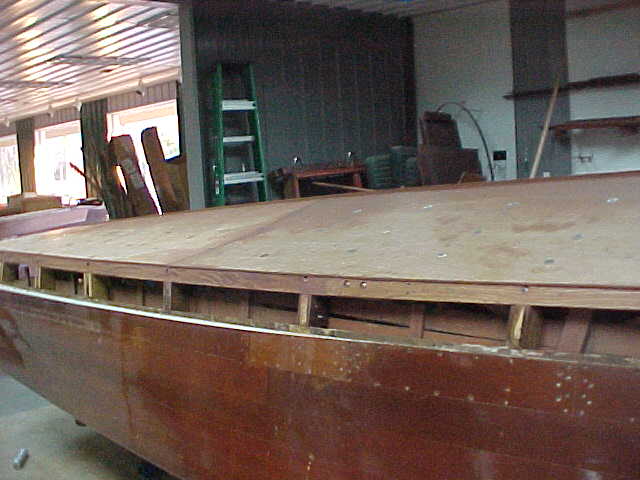
stbd side looking aft of new ply underlay installed
185
180
185
180.
198
180
175
185
fwd
aft
port
stbd
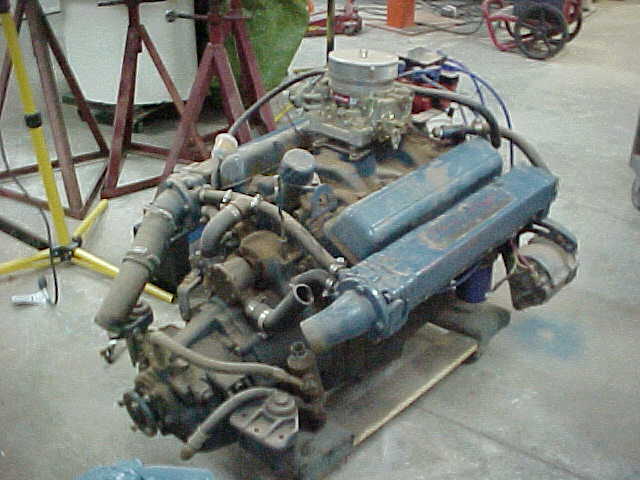
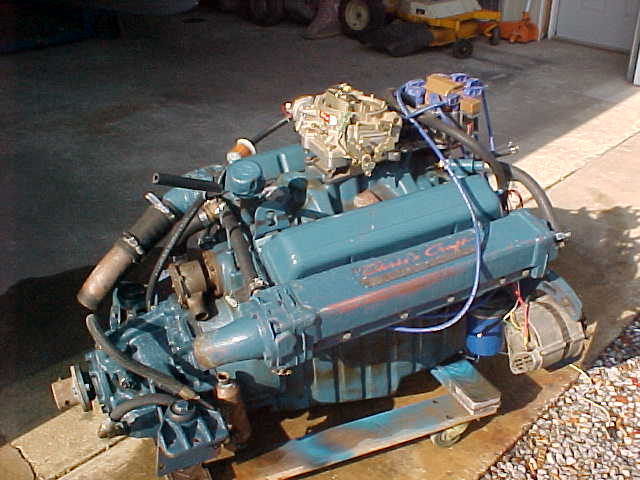
Above are compression test results on 2/8/10. Test shows all cylinders are excellent
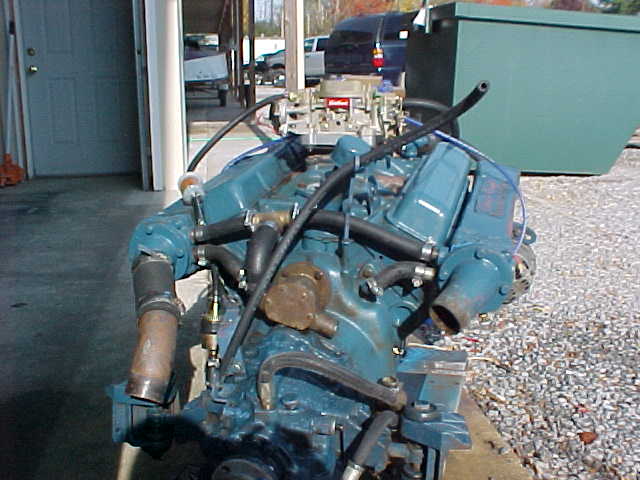
Your engine on stand day of compression test
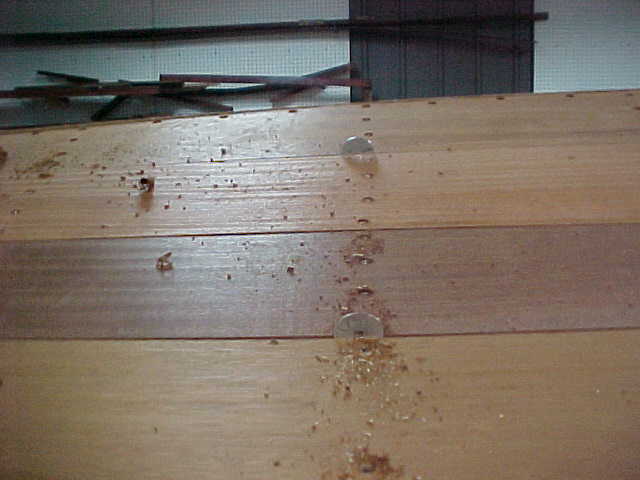
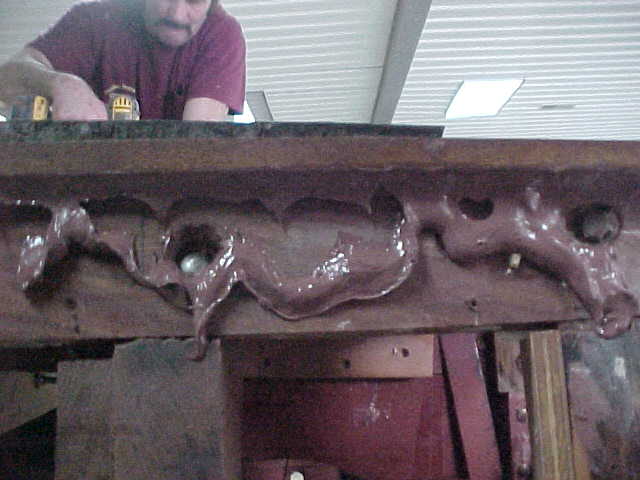
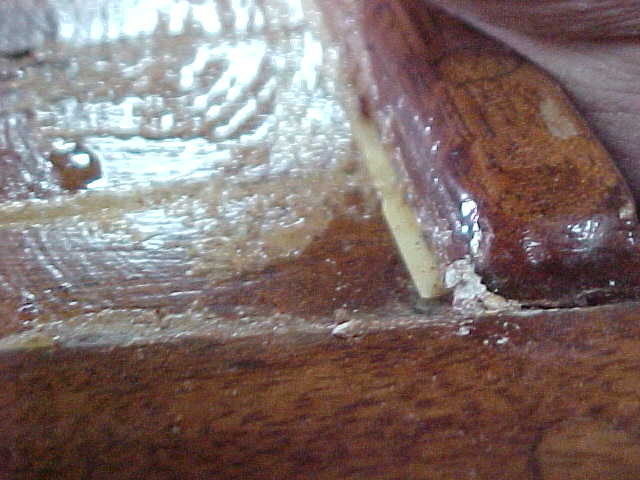
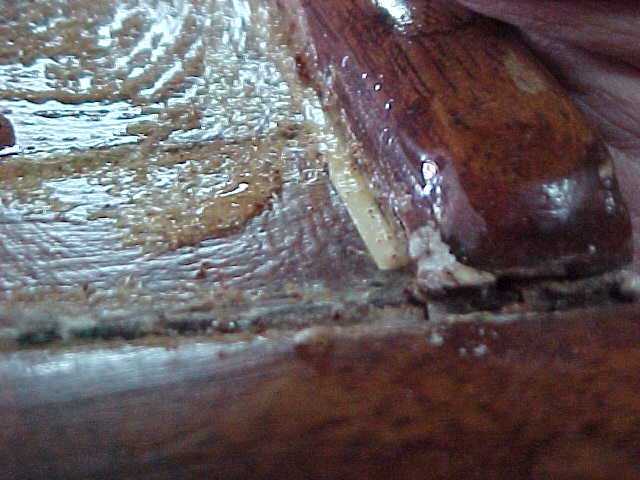
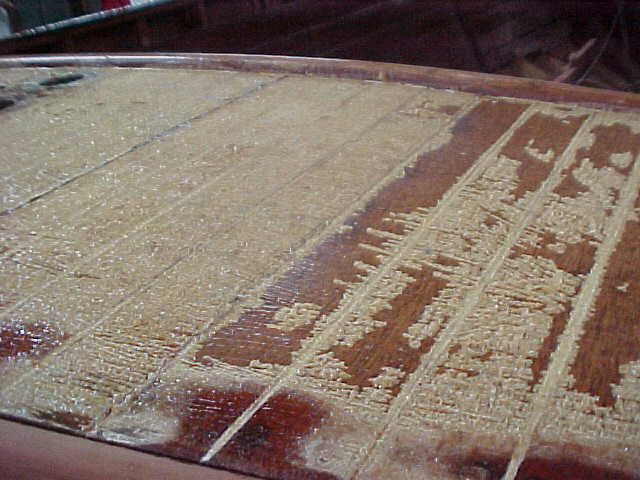
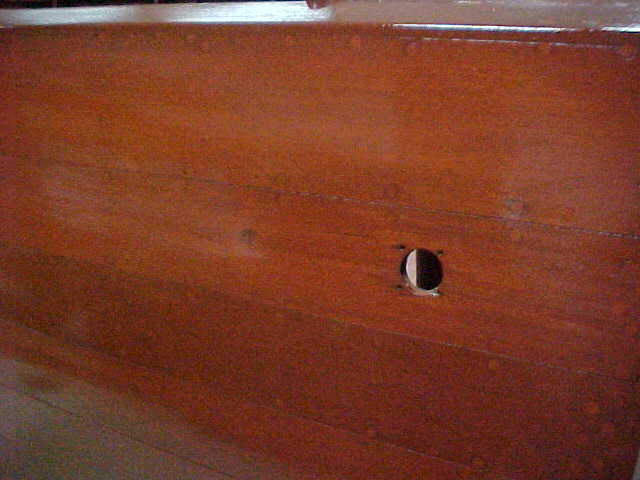
As we like to call it, Squoageze from between planks of the 5200
varnish being stripped on port side
varnish being stripped from stbd side
new bottom held with washers to ensure bond
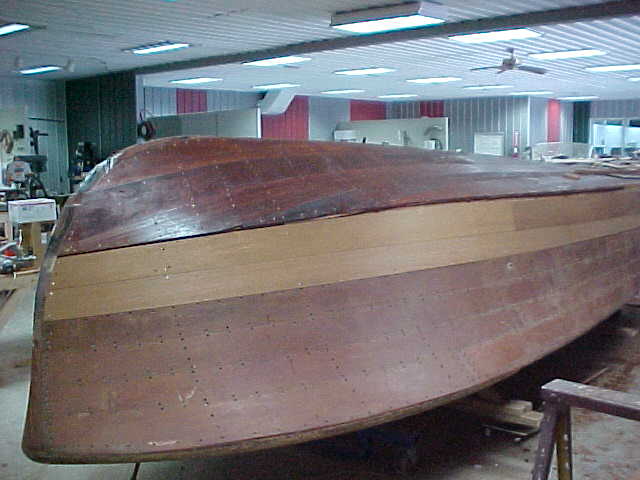
new bottom on stbd bow
New bottom being final fastening
new bottom treated with cepes
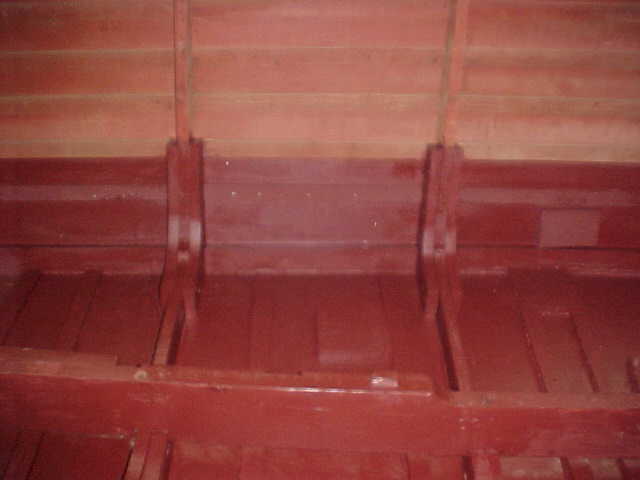
new battens port side midships
stbd rear new battens due to rot
new batten joint to old batten
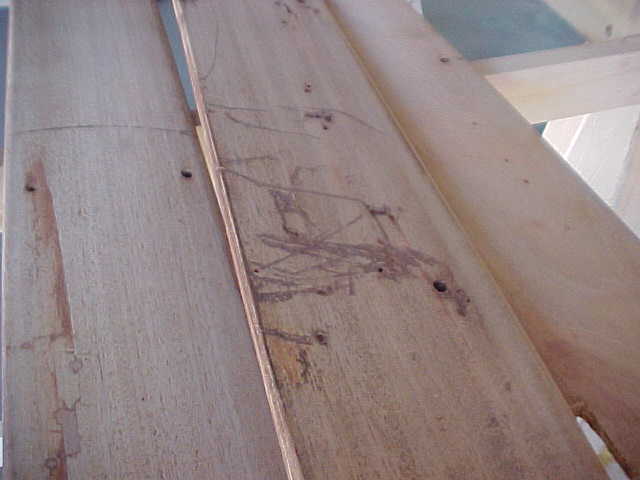
new bottom bow and strakes removed for replacement
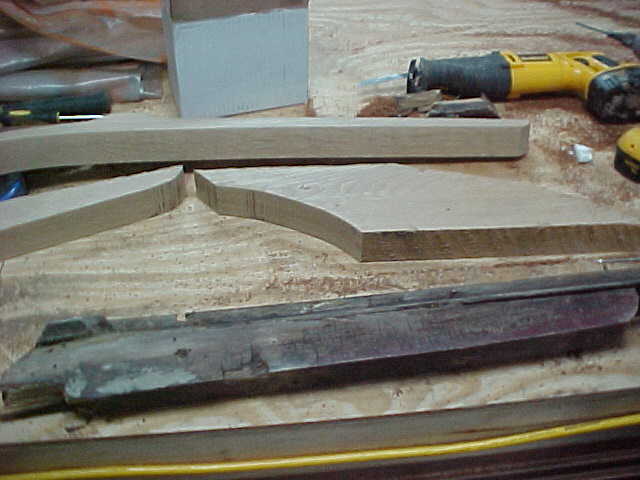
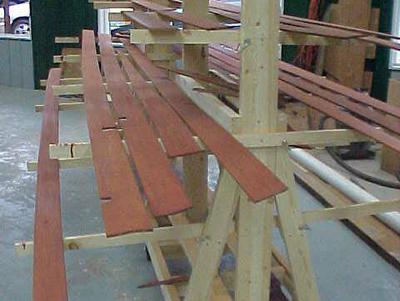
old planks used as templates to cut out new pieces
closeup of old and new strake ruff cut
old and new transom strakes being worked
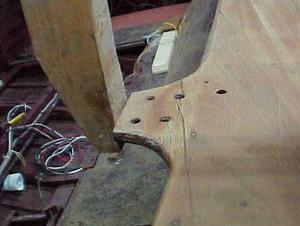
pointing to where new chine cap will lay
new strakes being fitted on port side
fwd port bow new strakes fitting
stbd new strakes fitted temporarily
stbd aft pic of new strakes
transom pic with old planks removed
bungs being installed on the port strakes, these plug holes over screws for final finish. Cleaner and better than filler.
below shows aft deck corner coming loose at frame edge
2nd pic showing proper fit of corner of decking
another view of loose corner.
same corner different angle shows drop in edge
another pic showing proper fit, missing filler
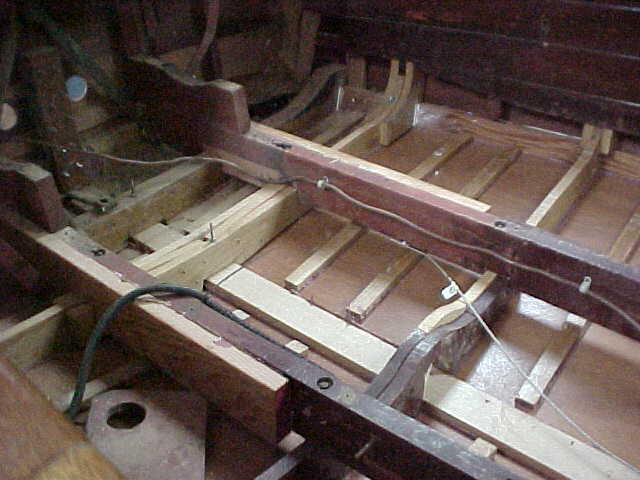
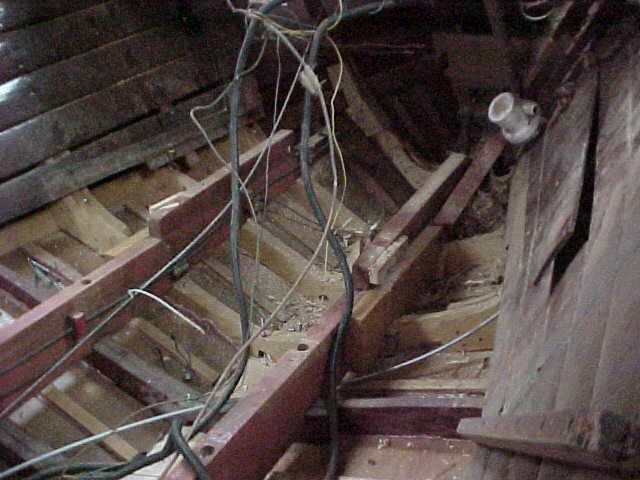
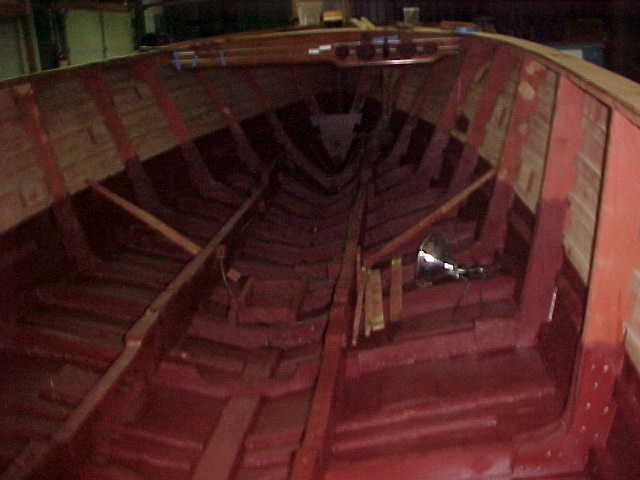
inside aft showing new framing
inside bow showing new frame work
inside midships showing new frame work
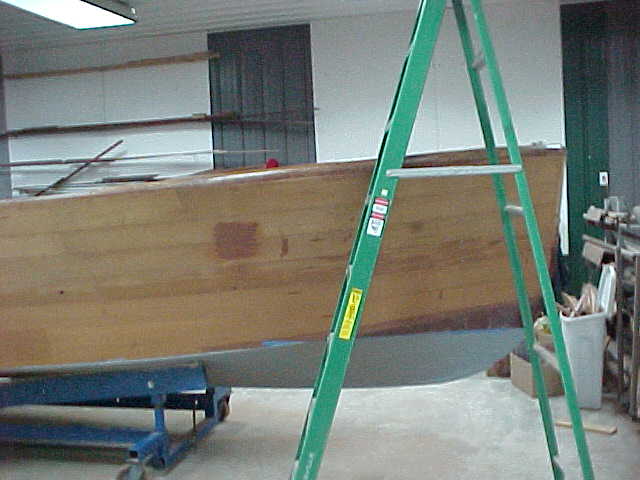
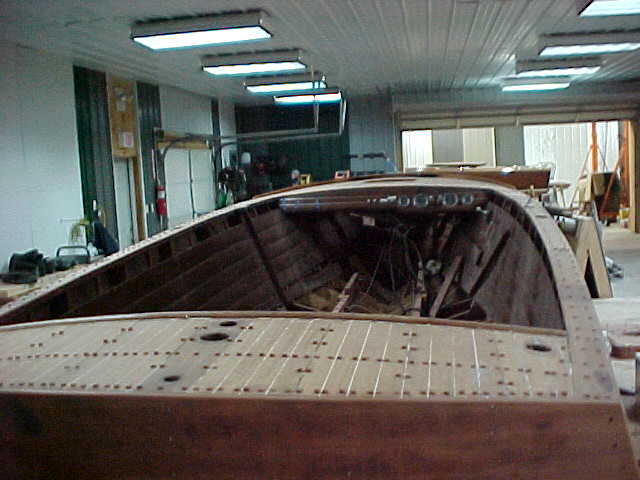
view from stbd of side after righting the boat
another view of stbd side after flipping boat over and setting on frame
aft deck with stripper applied to varnish so we can clean and refinish this
pic of transom planks being worked
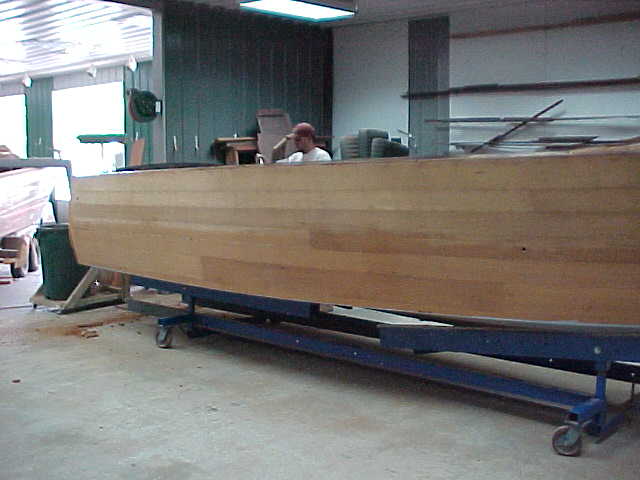
This mornig, 4/28/2010, we flipped your boat over to the upright position. After we set it onto the rolling carry stand and moved it into the work shop to finish working the sides and decking. Things have turned around now and we are on the downhill slide and looing at the finish line. We found the aft deck has 2 loose corners and will retighten these as needed to secure them. It's a good day!!!
bow being stripped readying for varnish
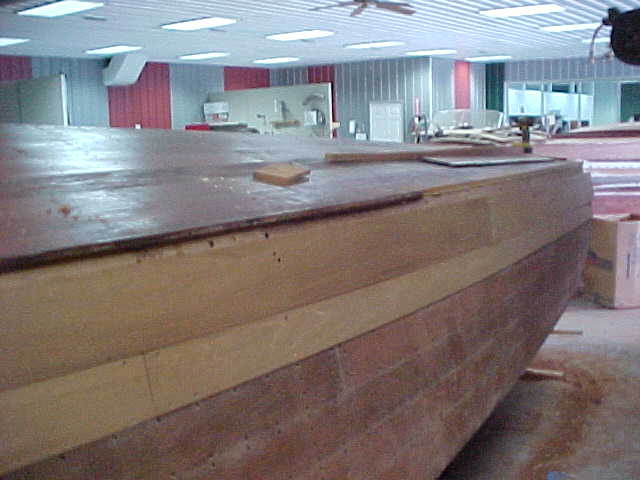
new port side caprail installed
port side caprail view from side
port side bow caprail view of the end from side
aft deck being stripped to ready for varnish, also being retightened
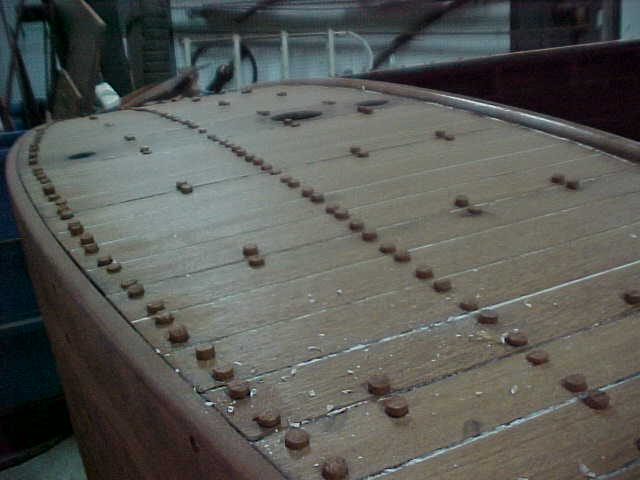
bungs installed aft deck screw holes
overall view of bungs installed aft deck and cap rails
10/1/10
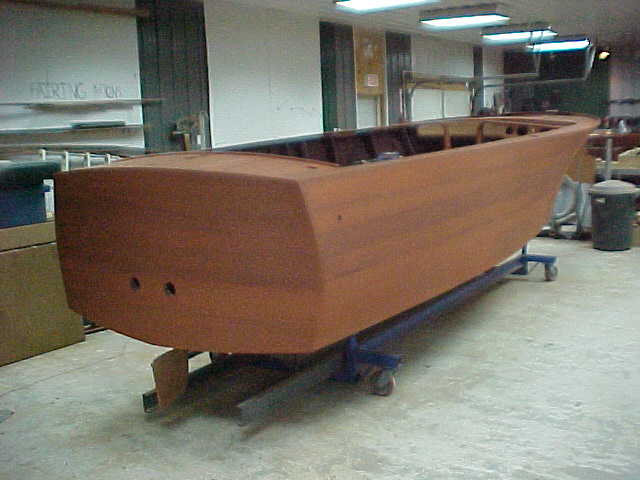
The trial fit planks have been removed, the planks under the water line (and one plank above) have been bedded in 3M 5200 and the others have been set in the traditional mahogany bedding compound. Bungs have been produced from scraps left over from the production of these planks and glued in place. Remaining is fairing the planks, bleaching, staining etc.
When we pulled the seat frames out of the boxes they have been stored in for some time we found a few more issues....A damaged end on the frame that attaches below the decks / covering boards on the deck and a corner block that is of the wrong species of wood (right picture). The corner block may have been a replacement OR a modification that didn't belong there! Roman Coppola is going to his 22 footer in Belize this week and we will ask him to check / photgraph this joint behind his seat.
The end that fastenes below the decks is completely missing from the port, or passenger seat frame. We are having to re-make the joints on both seat frames with new dowells. We dry fit this corner using the seat back as the pattern to get the anges in the joint right. We will have to make a positive and negative form to place the seat frame in to glue it up properly. We may do away with the corner blocks depending on whether or not they were original. OR we may have to include them to prevent having to just buile entirely new seat frames.
Pieces of the sealing board were broken off and found behind the sealing boards installed inside the boat where they had fallen. (left photo) We also have sealing boards that the mating peice was not found. (right photo ) We are going to temporarily install with a few screws and make a determination on repair or replacement of a few of these.
Left photo, sealing board for which the piece broken off the end was not found. We also have sealing boards that have some very deep scratches in them. As you can see the old stain still remains in the gouges. We will also have to make a determiniation on these. Currently I reccomned that we sand to minimize the appearance of these but retain these as part of the character of a 64 year old boat.
Sealing board that has had the broken off portion repaired. The line will still be visible when the sealing board is stained, however it the stain and varnish will make it almost unnoticeable. (left picture) The right photo shows how the bottom sealing board that will be against the floor does not have a fair edge but rather a ragged edge. We will temporarily install the flooring and these bottom ceiling boards and see if we can fair these or if we need to replace them. (2)
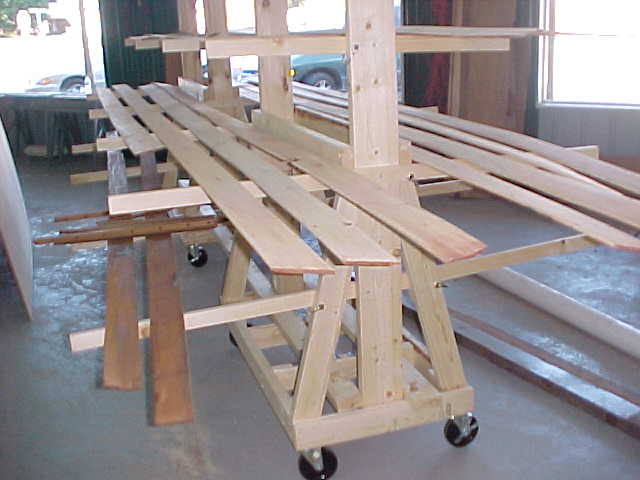
Ceiling boards on the racks almost ready for staining, sealing and varnsihing. We have only to resolve the issue of whether or not some of these get replaced before we proceed with staining.
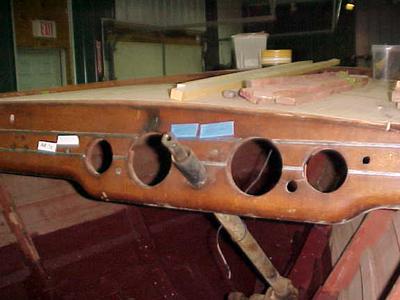
Gauges removed and at the rebuilder. Your gauges had been cut open and aftermarket (from the autoparts ) store gauges had been installed in the original gauge casings. So your gauges will be brand new in every respect. We are modifying your gagues so that the instrument lights will be installed right in the gauge and not in the original brass "L" shaped brackets that are missing from behind your dash.
All new wood (and some old ) in the areas we worked for the bottom and plank replacement on the sides have been painted with a specifically formulated bilge paint. Please let us know if you wish to have the area already painted (in 1946) repainted also. These areas will not be seen and are protected. In the right photo there are two gussets that have been replaced.
10/8/10
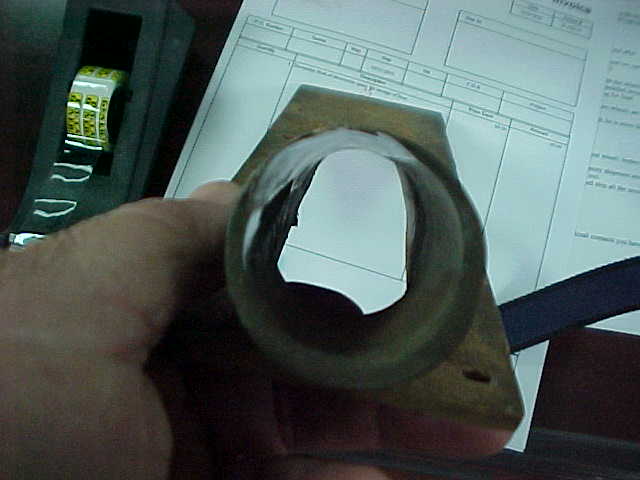
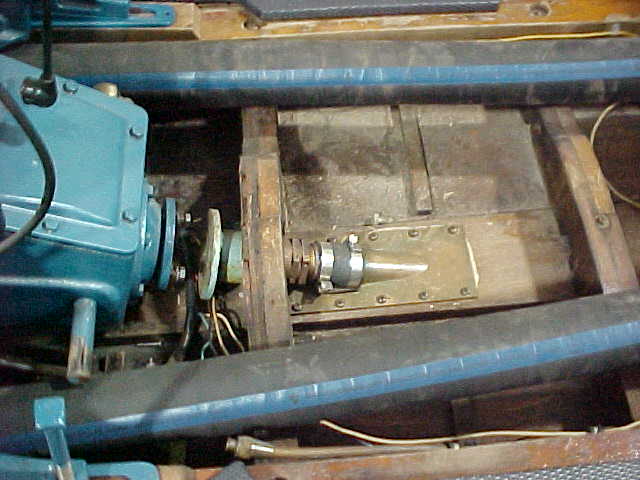
The rudder shaft has been modified over the years.. perhaps when the transom bow was modified. We can modify it again (with the help of our machine shop) and not have to purcha$e a new one.
The rubber and bronze strut bearing is worn out also. These take a couple of hours to remove and press in new. The bearing costs approximately $50 depending on the size. This bearing is located in the strut pictured above and placed right in front of the propeller to suport it. Running a worn out bearing will just result in vibration. After the rubber wears completely out the shaft will wear against the bronze in the bearing and then the bronze of the strut itself!
10/21/10
The picture on the left shows where wood was missing and replaced carefully matching the grain structure and color. The picture at the right shows the template that was produced from the other side of the boat that was not missing, then inverted and used to cut out a blank that was glued in place right above the red triangle and extending to the red dot above it in the photo. We are not done fairing it in to place and rounding the corners and so forth, but it shows the quality of the repair! This is on the starboard side. The port side, pictured below was used to produce the template shown in the top right picture. The whole process took about an hour.
Surprise/ Extra list
Paint old work inside hull to match new work $50 paint + 300 for labor
Rudder Machine work / install modification $ 70 for machine work
Switch Identifiers $150
Clean and paint fuel tank $150
Proper sized Transmission oil cooler $100 + 112.50 install time
Bung and re-locate switch holes in dash $75
Strut Bearing $50+ $225 for install time
Ventilator pipes $ 50 + $300 fab and install time
bilge blower $30+ $75 install time
Bilge pumps (2) $80 + $125 install time
Repair seat frames - one and 1/2 day labor $900
Repair front seat bottom - banana shape $40 + $300 to install
Dutchman on covering board $200
Make original floorboards usable $300
Flooring Owner to supply
Paint Fuel Tank $75
Courtesy Lights $100+ install time
Replace shaft log $150 + 0 install time.. as we would have to install one anyway.
Drill and dowell engine mounting bolts / spacer blocks $25 + $300 fabricate and install time
Exhaust pipes or exhaust hose? hose $300 + 150 to install
Remove flooring adhesive from floor panels? $300
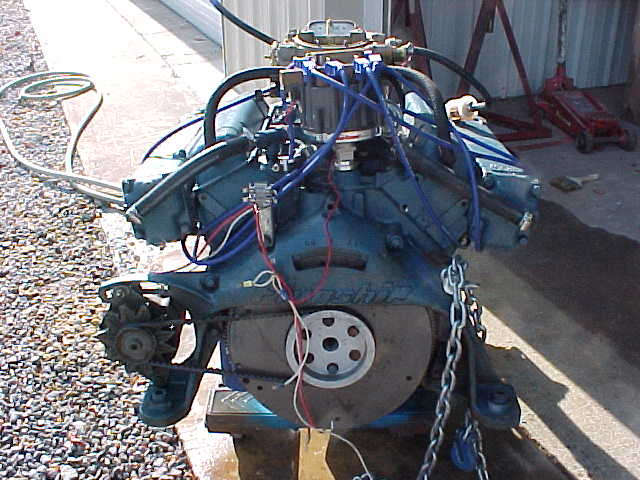
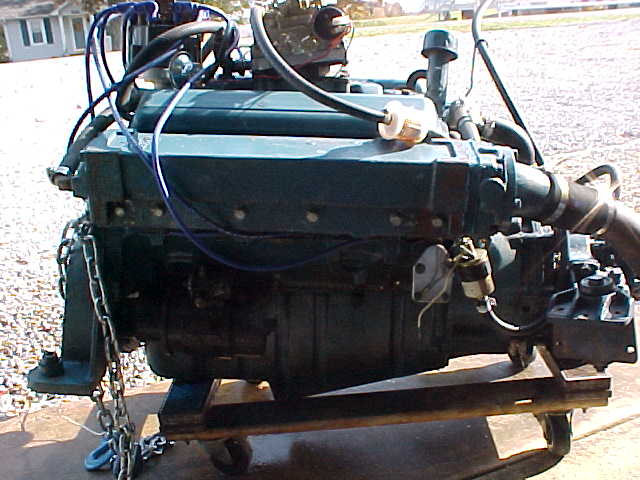
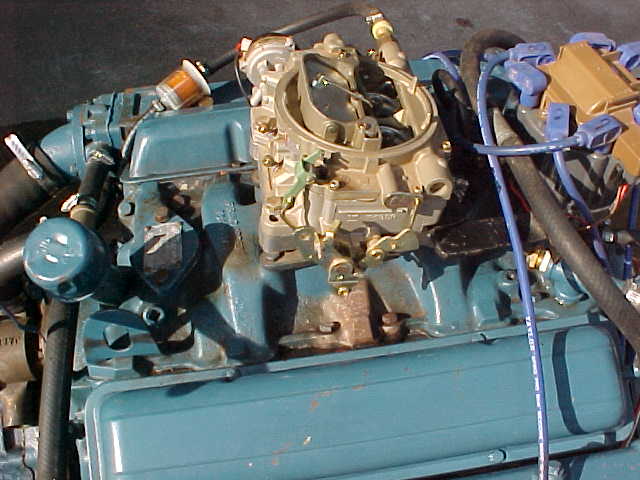
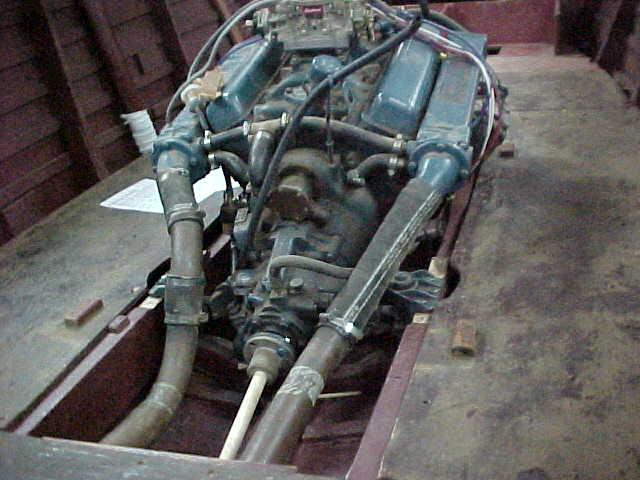
The below pics are of the engine right after cleaning. As you see it is a lot better than the pic of the engine on the day of the compression test.
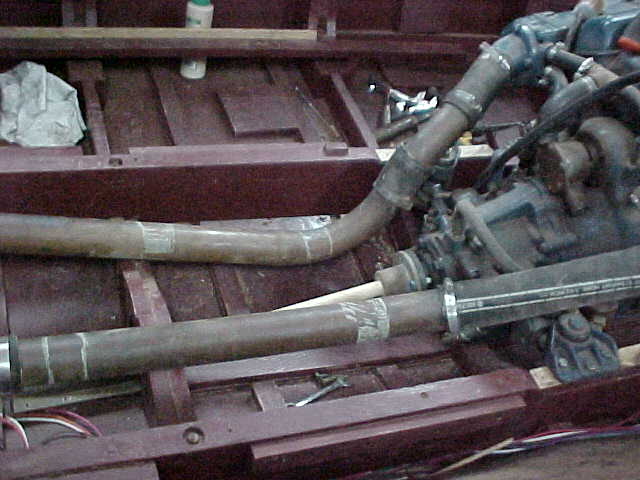
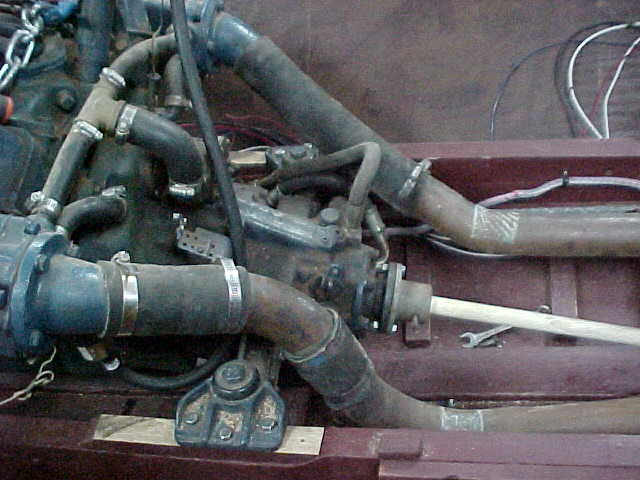
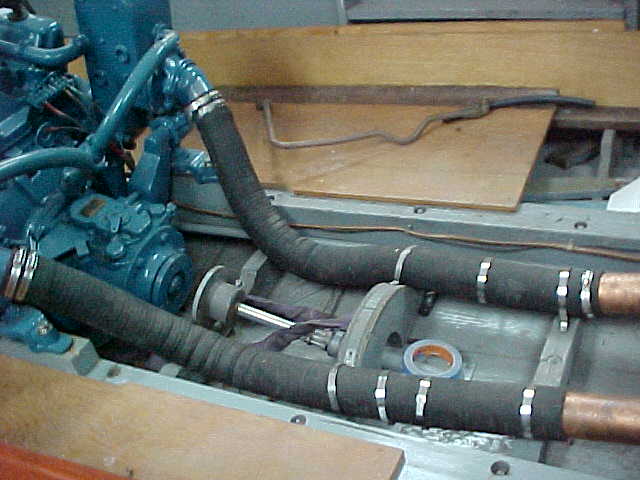
In the top two and bottom left pics the exhaust are really not the same. These will be seen with the engine cover removed. There is several ways to correct this, one is to modify the existing pipes to look similar and clean and buff, or remove these two ugly pieces and replace them with rubber exhaust hose. We have several other boats with hose on them and they look good. It makes a neat appearance and a uniform look. Also it allows flexibility to conform them to the shape you need in these areas. The cost of cleaning and modifying the pipes and getting only approximate on the look of the two without new pipes would be far greater than the cost of the hose and its installation. I personally would go with the hose but it is your call and we shall do as you wish!!
This shows the exhaust pipes that will be under the back seat and the gas tank. We normally do not clean and buff these but if you want we will, but the expense for the time spent on something that will not be seen would not be something I would recommend. We will clean and buff the pipes that are sticking out of the transom.
Above is a pic of another boat with hose for exhaust running from the engine manifolds back to under the rear seat and flooring.. You would need approximately 8 ft of hose with about 8 stainless steel clamps. Hose costs $250 and clamps $3.50 each. This would make only 2 connection points where now there are 5 to 6 on the existing pipes. Let us know which way you want to go and we will move forward with it.
12/14/10
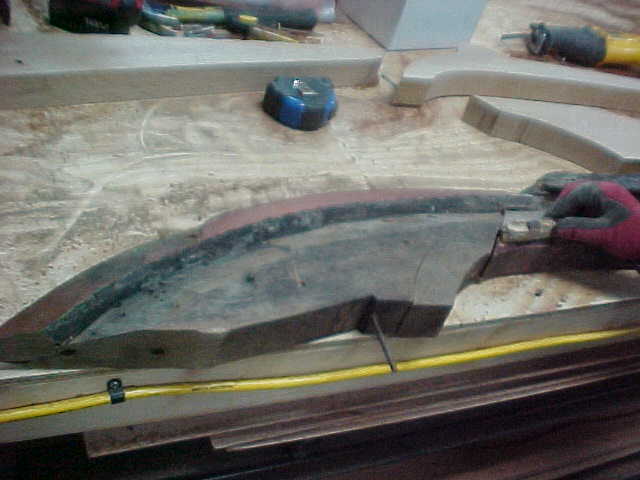
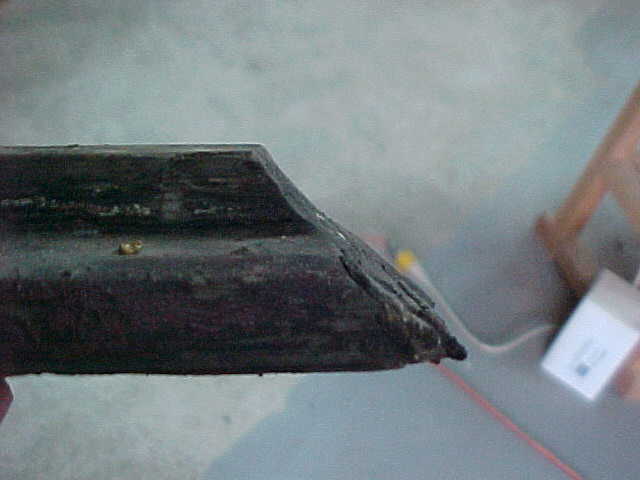
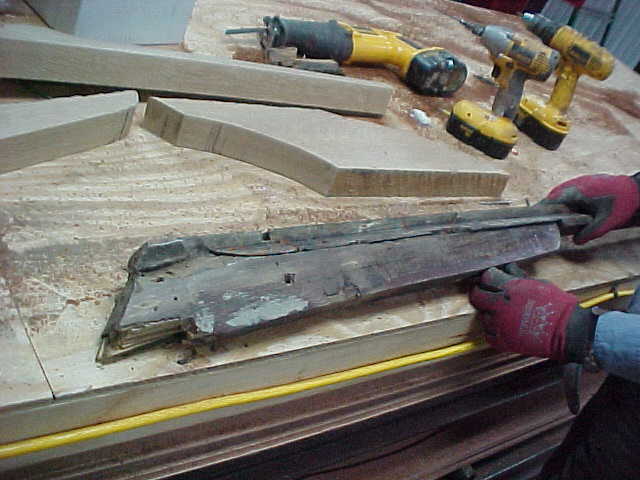
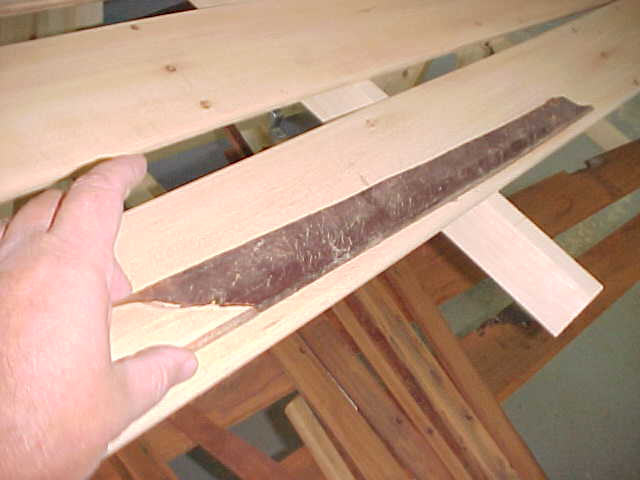
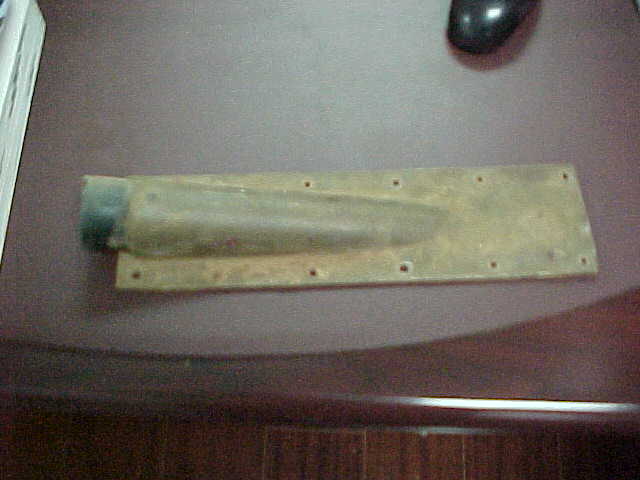
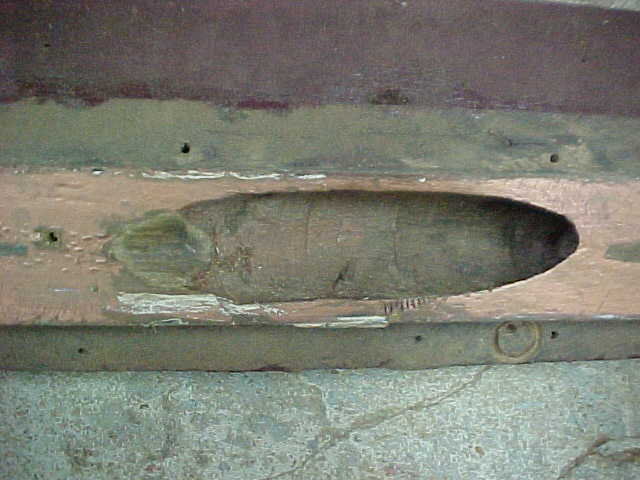
Shown here is an old piece of keel with a new joint carved, then just aft of the bow and a splice of two pieces.
2010 UPDATE
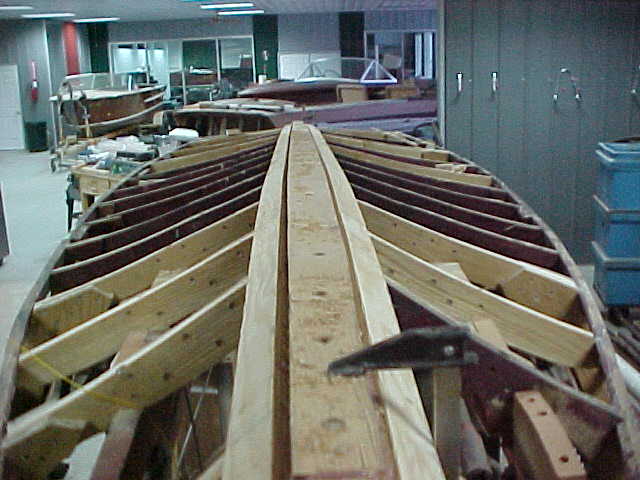
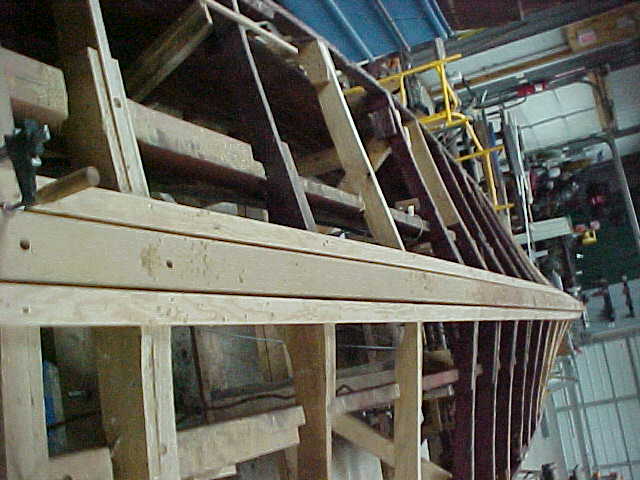
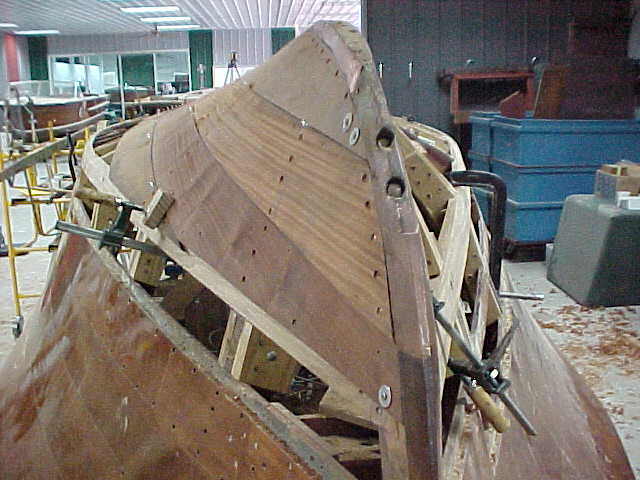
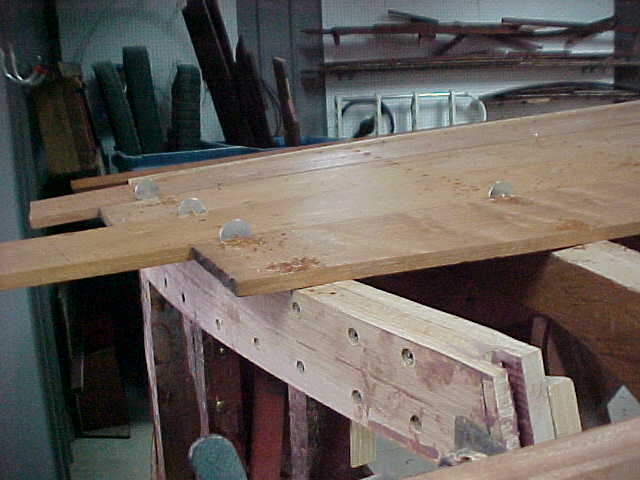
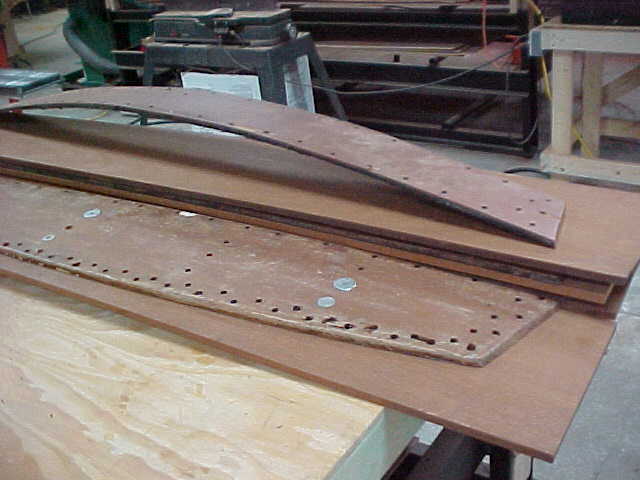
Shown is a view from the bow of the port bottom planks being fitted, washers being used for proper spacing and a view from above the bottom aft with new keel and planks.
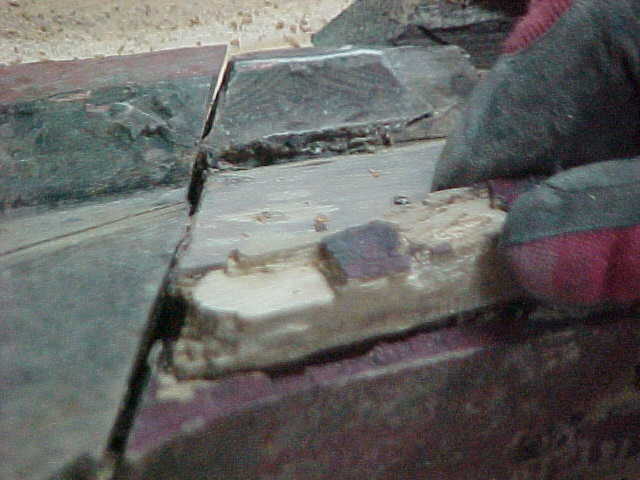
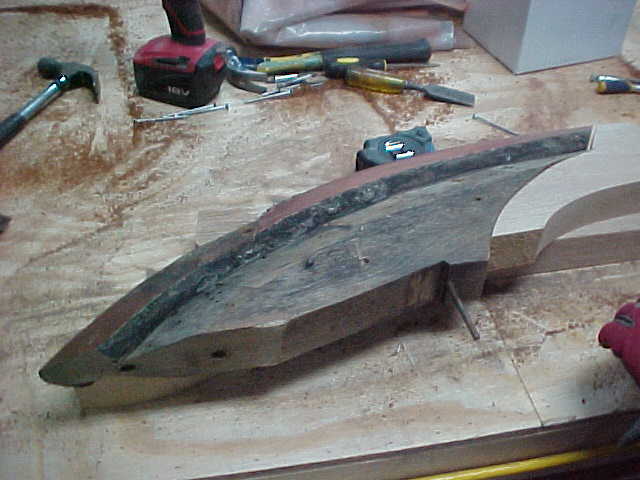
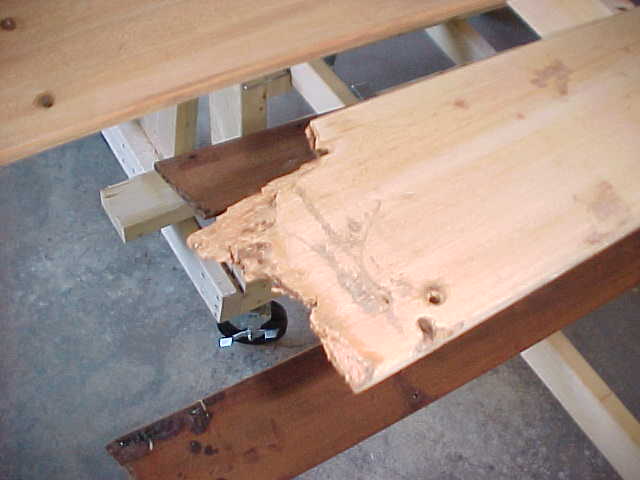
Shown here is an old piece of bow knee joinery, a close up of an old bow piece showing decay and an old keel with it's replacement matching the existing curve.
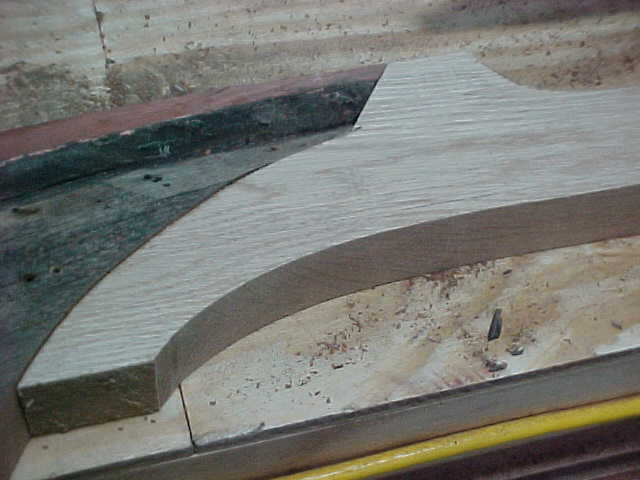
Shown here are close ups of the bow knee, keel, the keel from the aft and the forward bow knee being replaced.