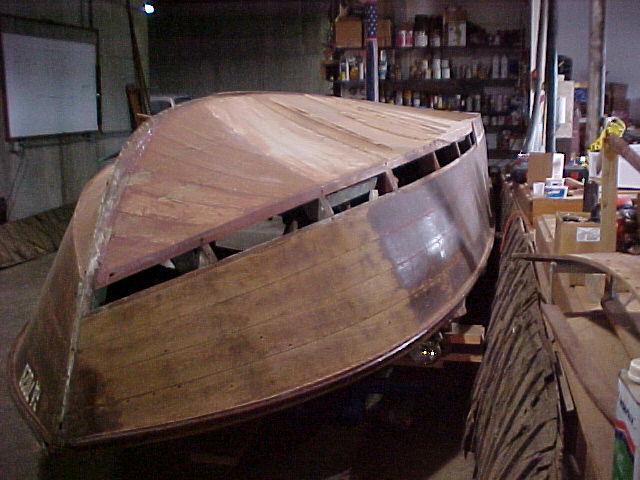
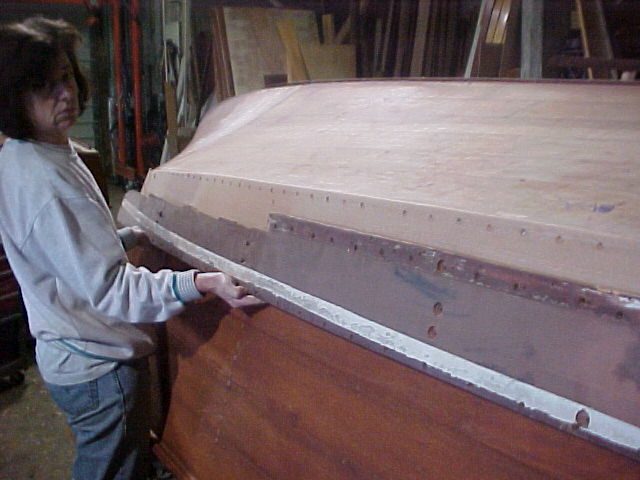
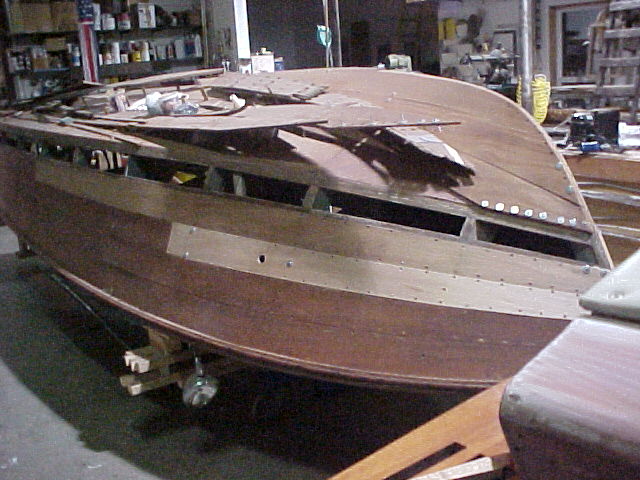
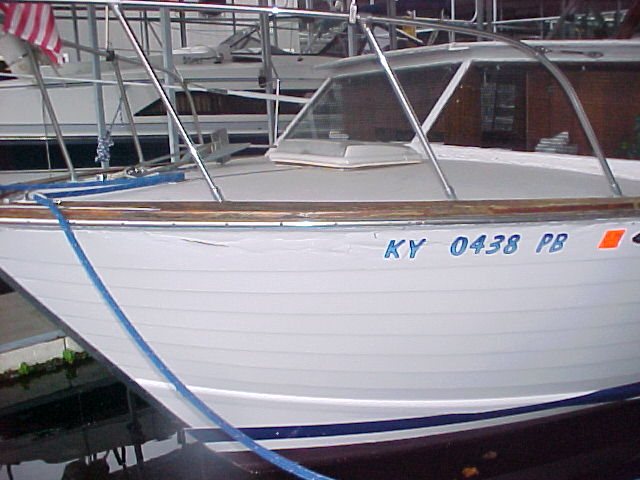
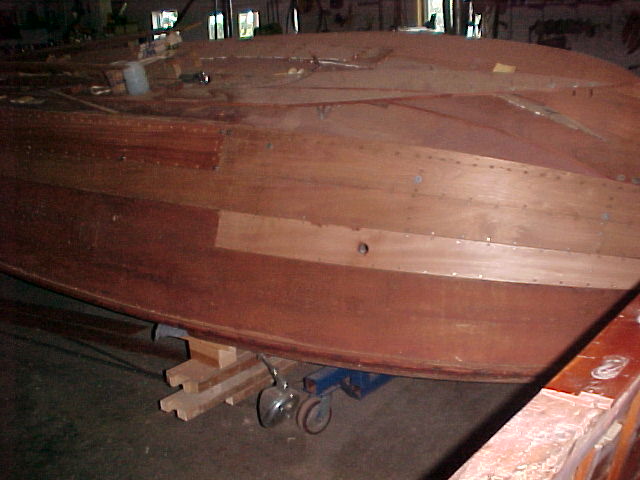
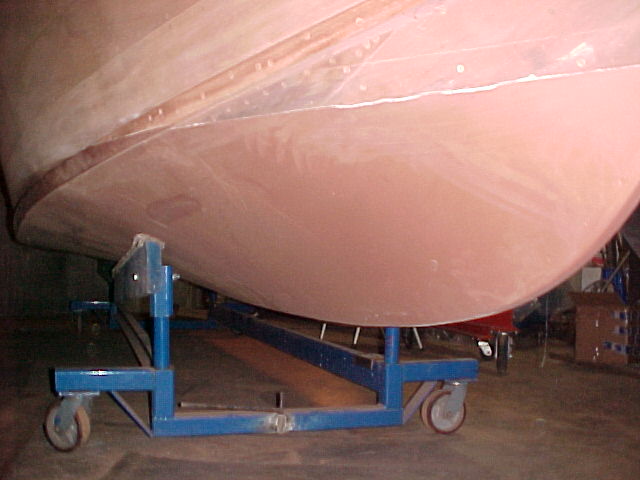
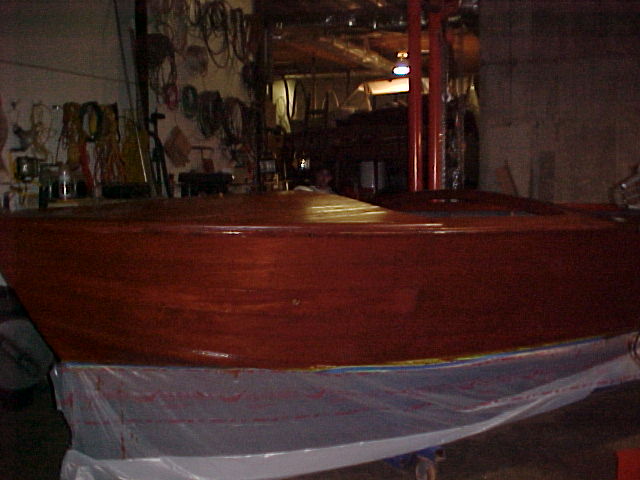
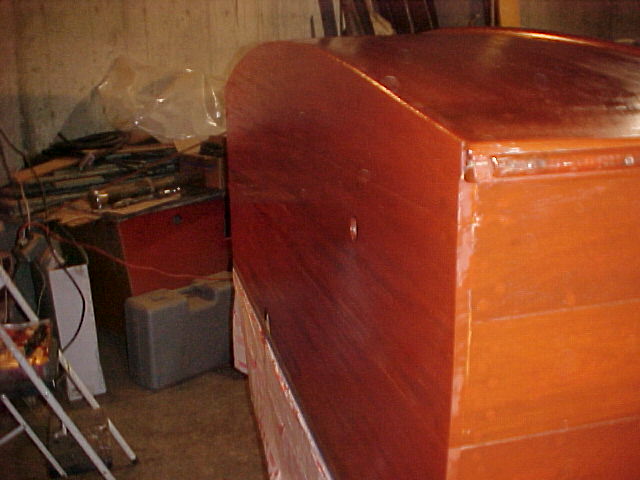
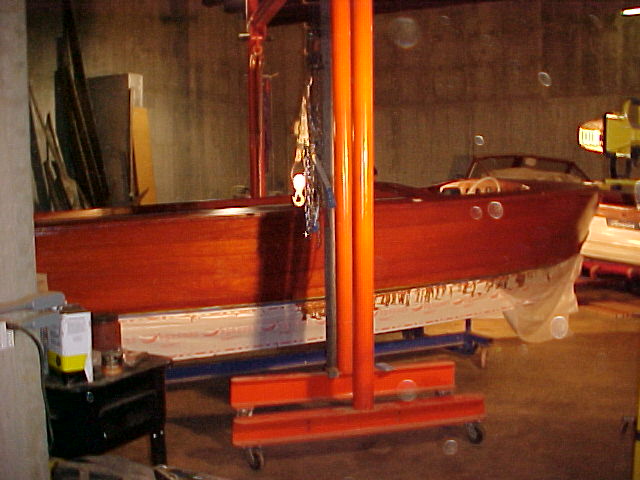
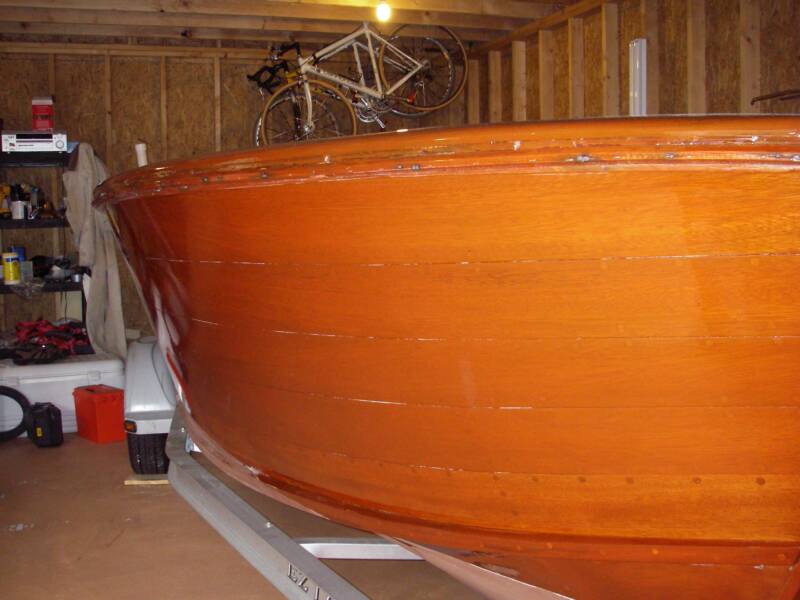
When the bottom replacement is done the next step is to prepare the boat for refinishing. There are many other repairs which could be done at this juncture and we should spend some time prioritizing them. If any of these photos are inadequate, please refer to the initial evaluation page for additional images.
Necessary Repair #1
Repair of cockpit divider. To accomplish this we can simply glue the crack and fit a reinforcing piece of mahogany in the underside of the divider to hold its shape.
Necessary Repair #2
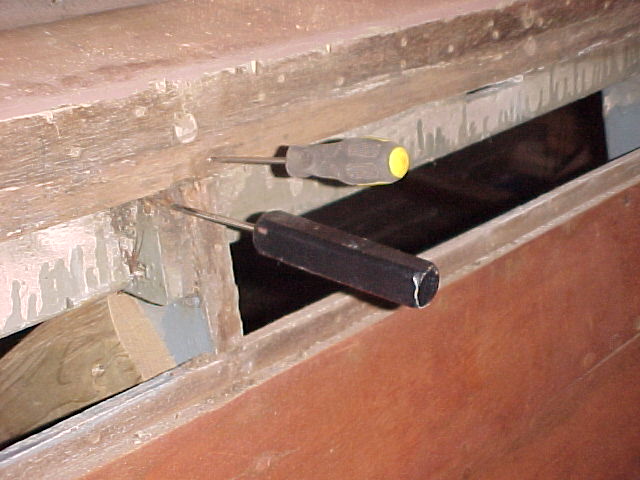
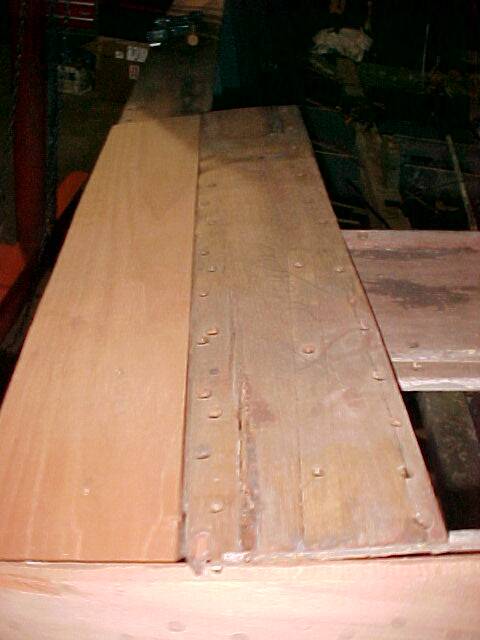
Two planks on the starboard side of the boat are extensively rotted (below right). The plank in the lower portion of the photo was removed from the forward end of the strake at the stem, and the other was just behind it. If you picture them in place you will note the rotted sections sat on top of the old rotted chine (previous repair). This indicates that rot migrated from the inferior wood which was used to repair the chine into the mahogany planks.
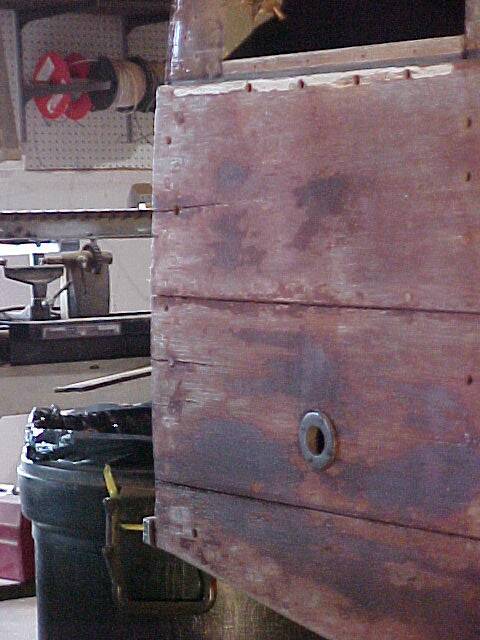
Necessary Repair #4
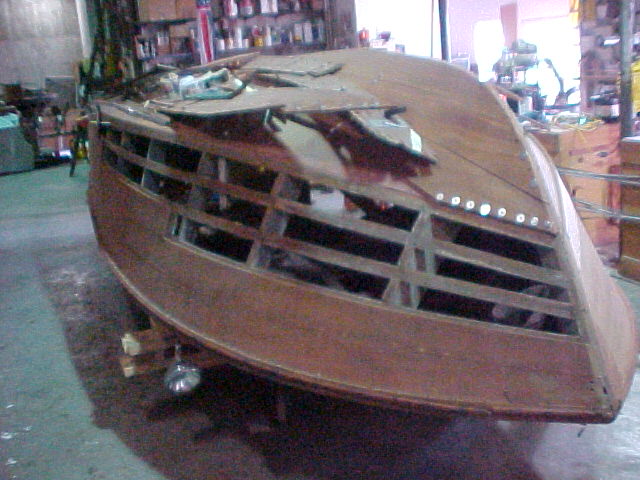
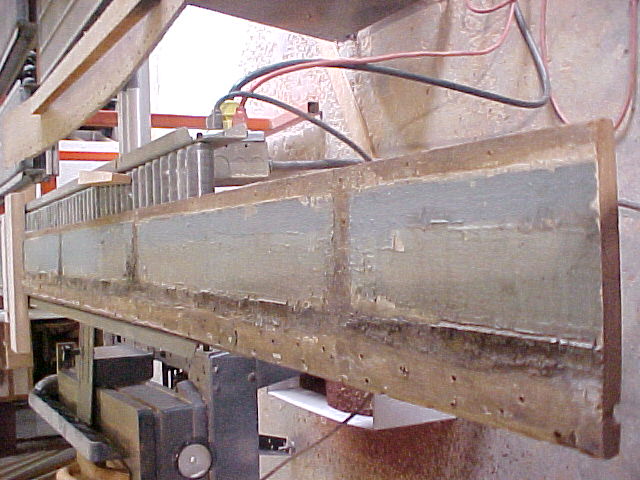
The lowest plank of the transom is pictured below. It has not aged gracefully as you can see. The extensive cracking and checking throughout this plank warrant a plank replacement. This plank and most of its cracks are below the waterline
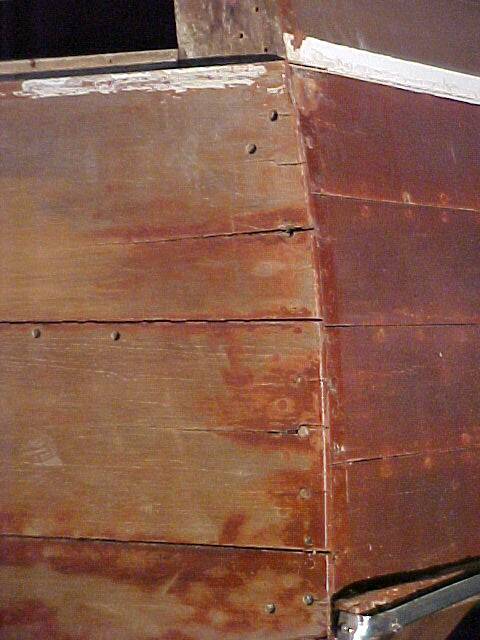
Discretionary Repair #1
Most planks on the transom have similar cracking and checking issues to the one above, though not as widespread. It is possible these planks might be usable for a while longer. However, replanking the transom in the near future, if not now, is worth consideration. The transom can be replanked without disturbing the varnish on the rest of the boat at any time.
Discretionary Repair #1
Sometime in the history of the Chubby-D a sloppy Dutchman repair as been done in two planks near the bow of the boat. Compare this to the proper Dutchman at right and note how discreet the proper Dutchman is in comparison.
/\
/\
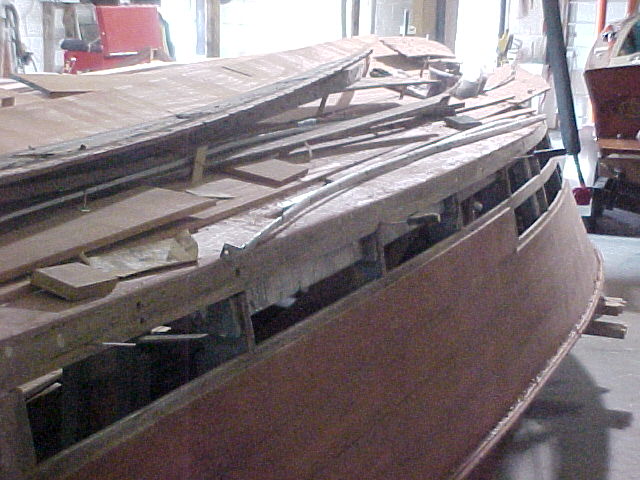
Necessary Repair #3
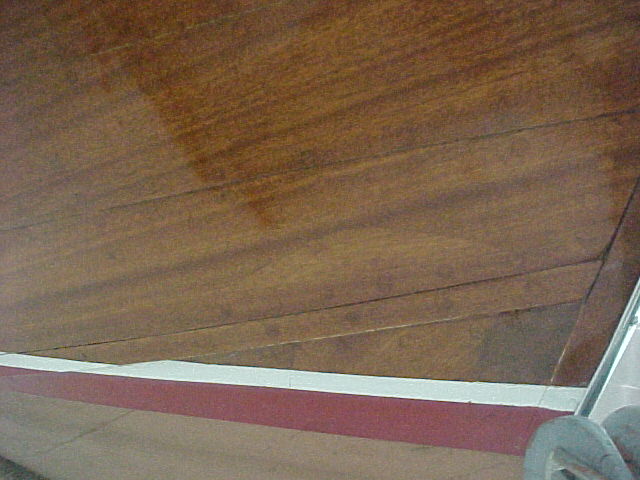
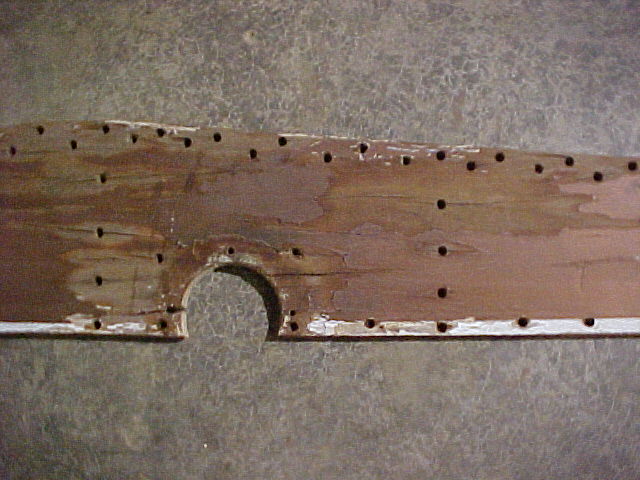
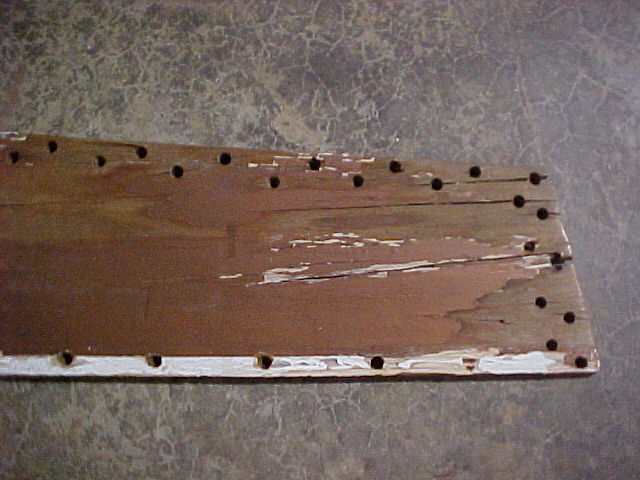
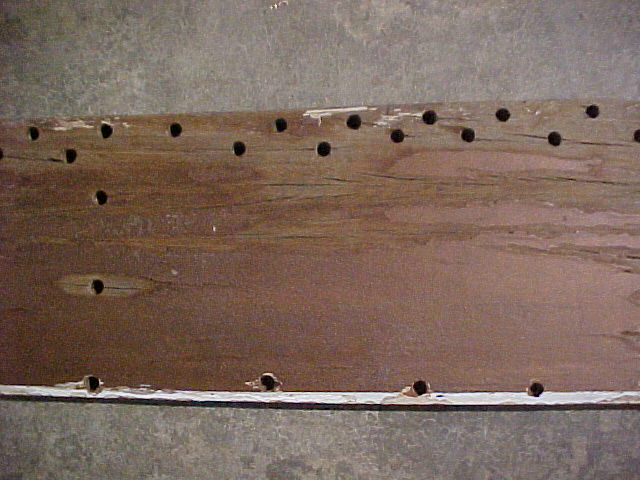
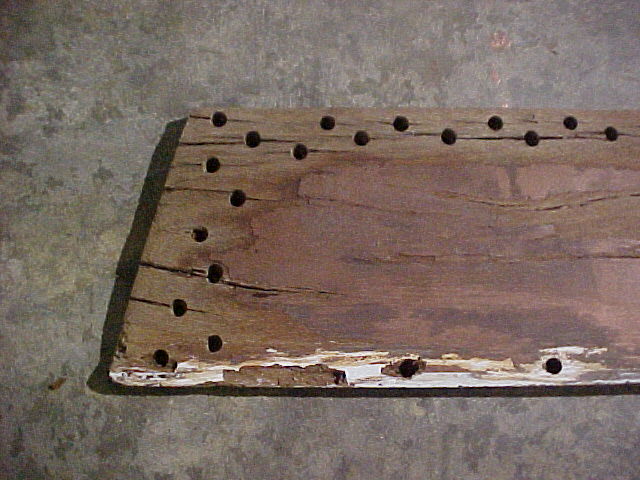
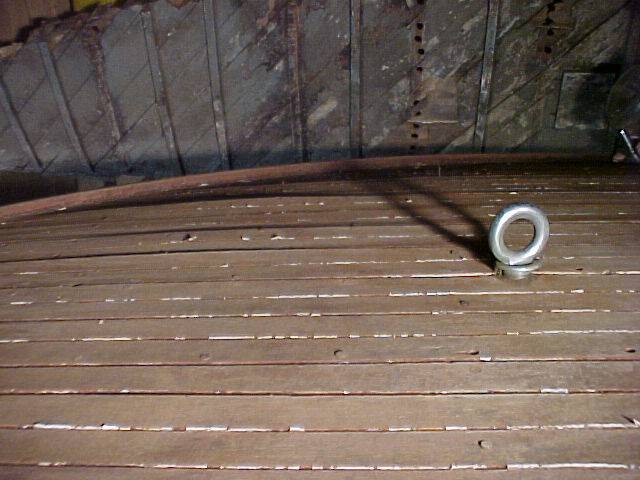
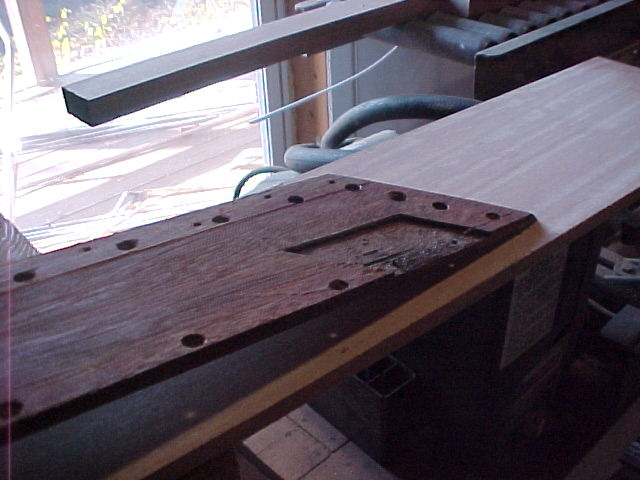
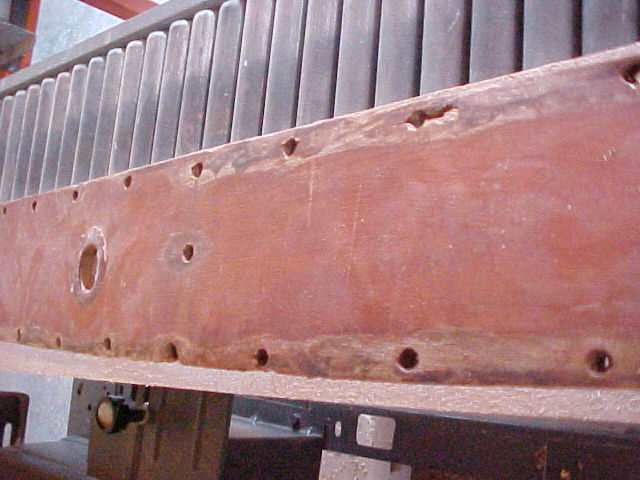
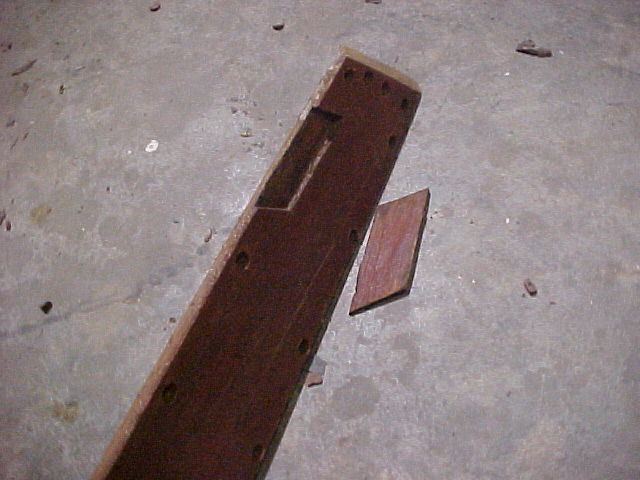
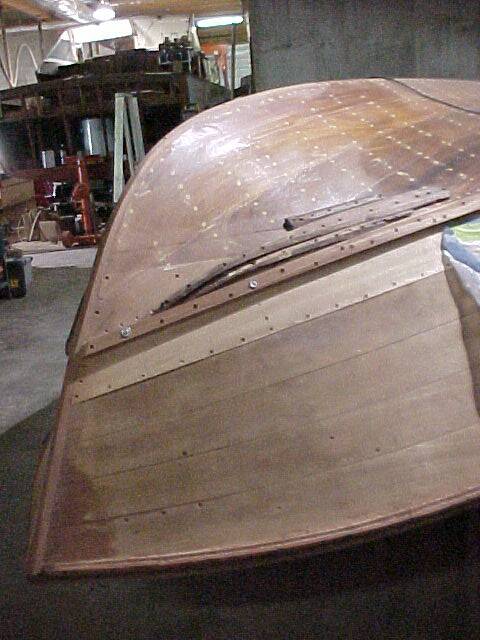
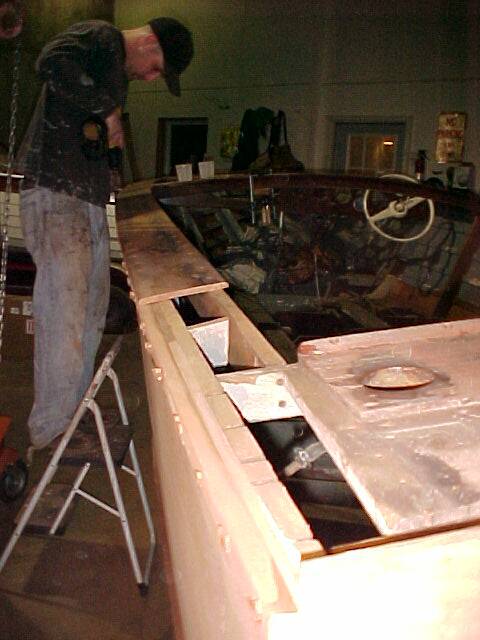
The Forward decks have cracked and spread apart in many places. On a finished boat the decks are meant to appear as if they are made of many individual narrow planks. The deck is actually made up of wide planks which each have several slots cut in them. Once each slot is filled with caulk, the actual joints between planks and the false ones are indistinguishable. The foredeck of the Chubby-D has been allowed to dry and crack in much the same way as the transom. Each of the slots which were cut as false joints is a weak spot in the plank and some major cracking has happened in those slots. Just above the yellow arrow you can see where one of the planks has lifted away from its joint with the adjacent plank. The cracks will have to be either closed or filled and the troublesome joints will have to be drawn back together.
Necessary Repair #5
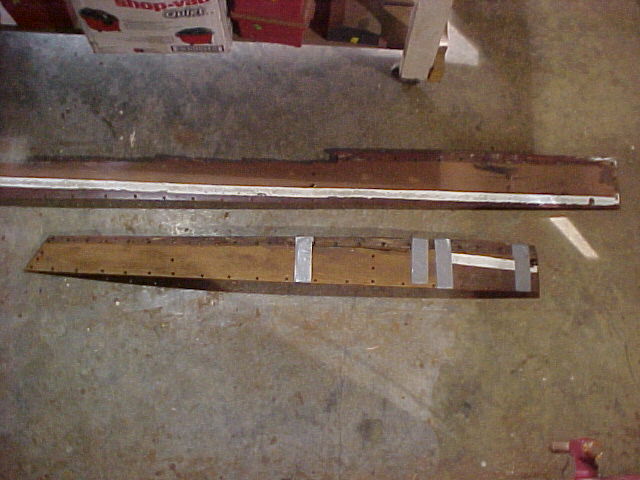
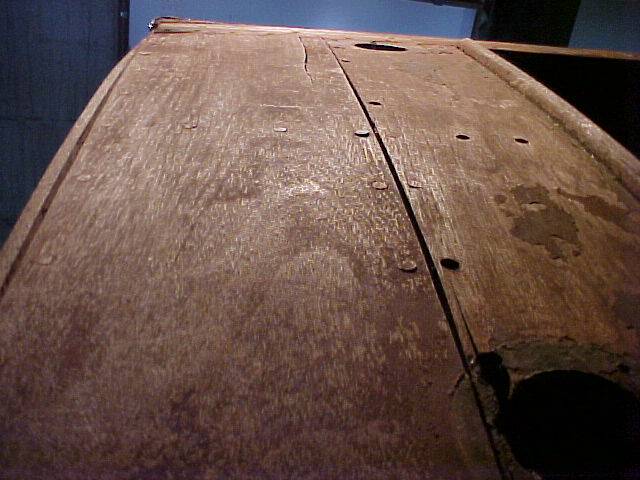
Pictured below is the aftermost plank on the aft deck. This plank has been replaced at some point in the past. Notice the u-shaped grain of the plank; this indicates the wood was flat-sawn. All Chris Craft boats were originally made with quarter-sawn lumber, which is a more attractive but less efficient way of milling lumber. Quarter sawn planks have a ribbon-like grain as opposed to the concentric sweeping curves of flat-sawn lumber.
/\
Necessary Repair #6
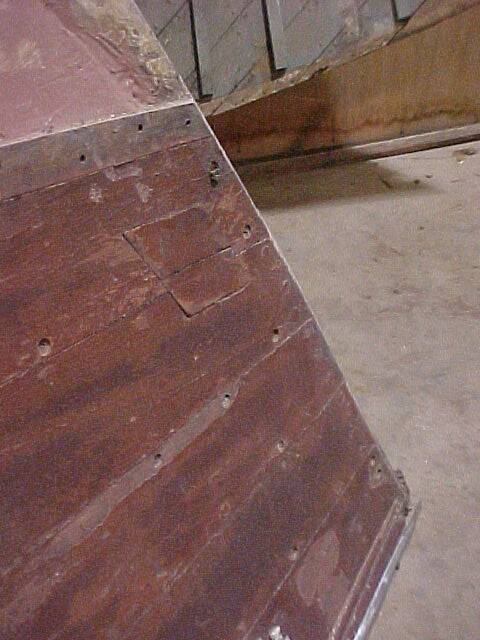
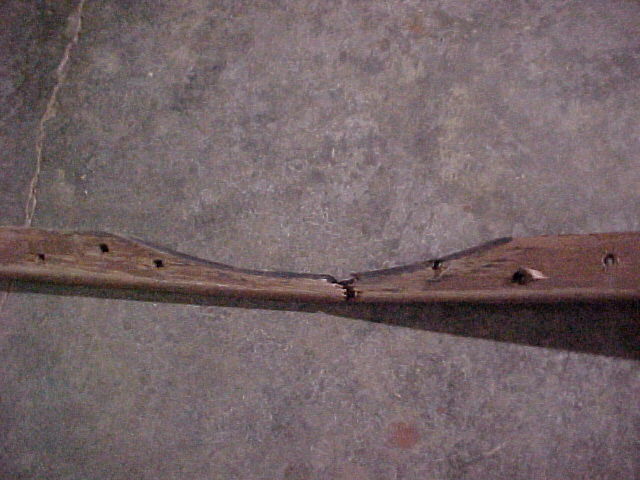
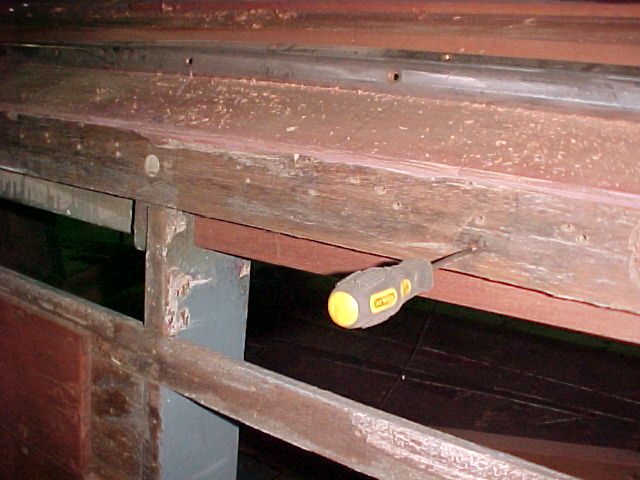
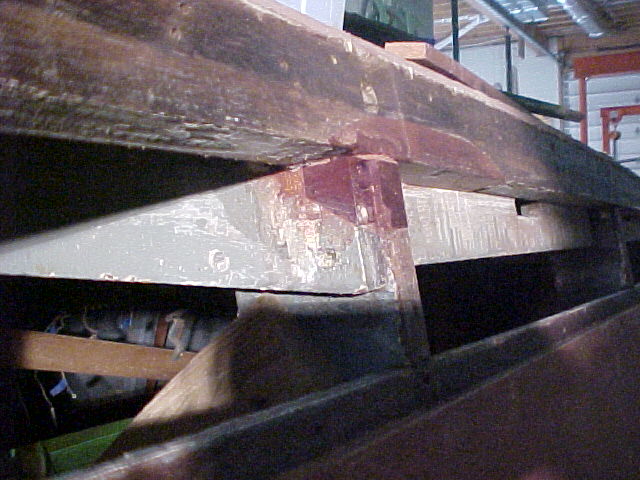
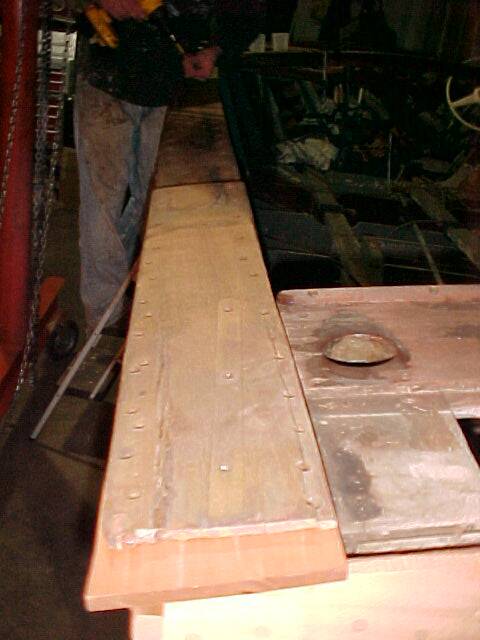
The damage to the port side spray rail will need to be repaired . This is where the trailer tire was allowed to rub into the wood. A new piece of wood can be scarf jointed in to replace the damaged section or a new spray rail could be made. We would recommend repair rather than replacement.
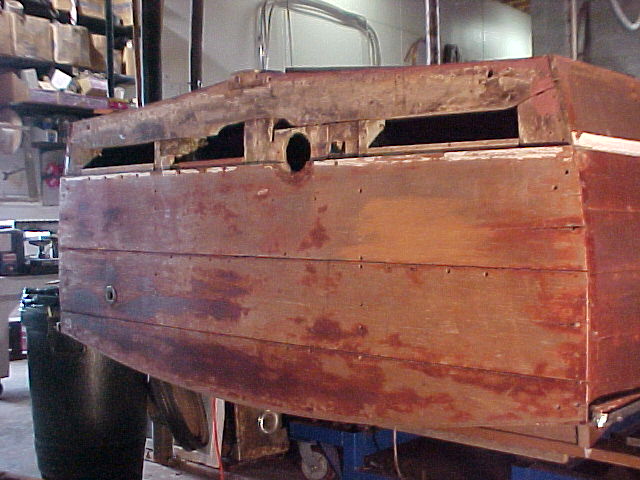
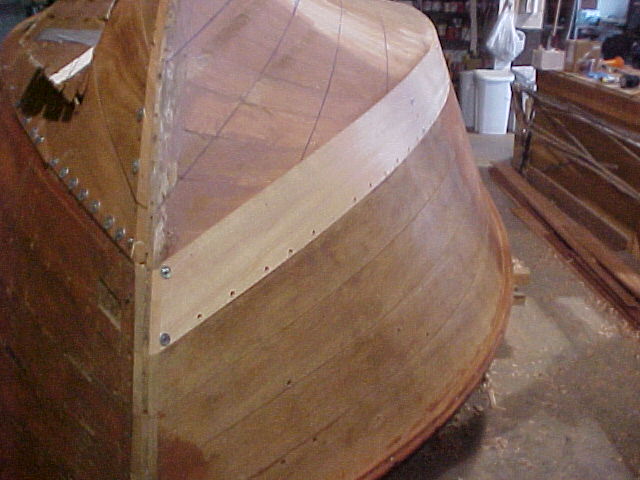
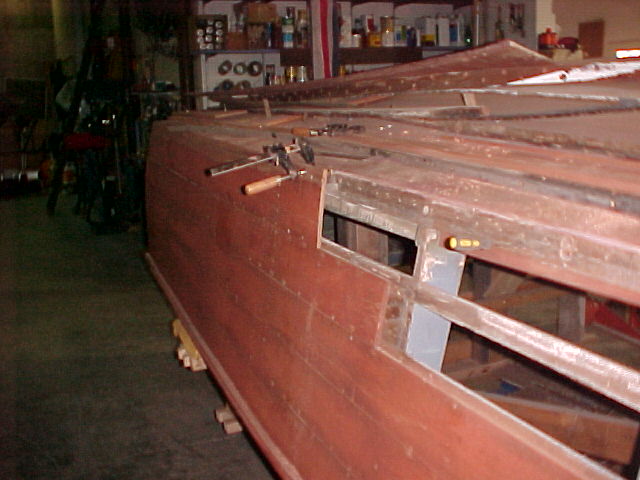
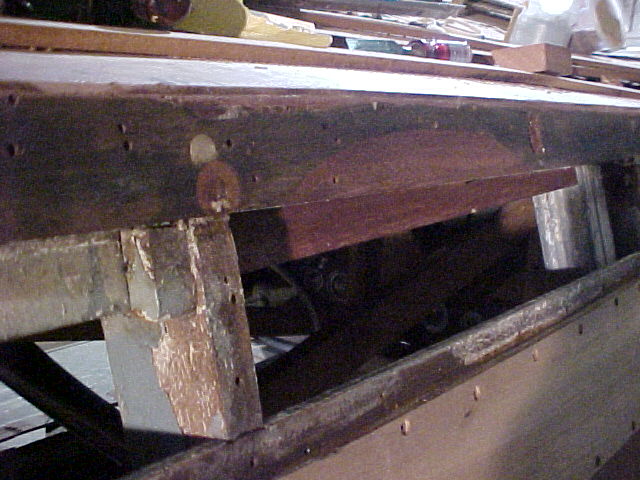
The bottom strake of planks were replaced. These are actually just ABOVE the chine when the boat is right side up. Note how the old planks were rotted away. These could not be used as a pattern due to their poor condition. Also note the lines on the bottom where the bottom planks will be replaced once these planks and the bottom transom plank are set.
November 9th 2007 Update!!
The picture on the left shows how a new African Mahogany plank has been laminated to the back of the original damaged plank of the "Chubby D".
The picture to the right is after the new assembly has been thickness planed to remove the damaged area of the plank. After the damaged area of the original plank was planed off, material was removed from the new wood side of the assembly to bring the assembly to the thickness of the planks on the boat - 7/16".
This process ensures an ideal / original grain match of the wood on the boat. There is an adjacent plank that is also undergoing this process. This process takes about the same amount of time as replacing the plank, but is superior in terms of appearance due to the original grain and color match - as it is the original wood that shows! It also Preserves as much of the original boat as practical during the restoration process.
Alas, there will be two planks on this side of the boat that were too badly damaged to use this process on and will be replaced matching the grain and color of the original wood just as closely as practical. One of the duplicated planks is pictured in the workbench vises below.
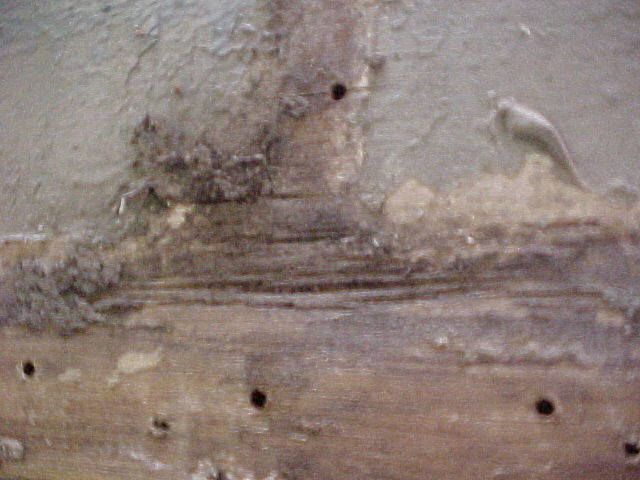
The picture on the left shows 3 small localized areas of rot were found when the bottom strake (row of planks) on the port side was removed. These areas are about 1/4" deep and will be routed out the area treated with Smiths clear penetrating epoxy sealer (CPES) and new wood inlaid and faired out. Part of this strake gets the original planks replaced and part of it will have a new plank.
The picture to the right is a close up view of the rot at the center arrow in the picture to the left. There is just a little rot in the ends of the frames as well that will also be removed.
If these were not removed I suspect rot repair would be required in another 10 years to this chine area. It would be MUCH more difficult 10 years from now!
The transom planks have been removed and will get new wood after the side planks are completed. The Bottom plank (top in the picture) will be replaced before the bottom planks are installed to $ave time.
October 26th 2007 Update!!
Planks removed from 3 strakes (row) The upper 2 photos show where a patch had been made to repair damage done when the boat was loaded off center and hit the bow stop on the trailer.
Our repair will be to laminate a plank to the back of each of the originals, then run the assembly through the planer to remove the surface of the original plank down to just below the damage. Then the new material will be planed off the back to get us to the original thickness and the plank will be reinstalled with the original grain showing. This way a perfect match of grain and color will result when the boat is refinished! - because the original wood will be the surface showing!
The plank in the picture to the right just plain has too much rot on the edges to use - so it will be replaced.
Where the plank was removed from the chine due to rot in the plank - there was a very small amount of rot found in the chine. This will be treated by drilling out the rot - which is just on the surface, treating with Smiths CPES and then filling with a new mahogany disk, and surfacing it fair. This Chine is going on 44 years old and is in great condition!
Curiously, one would have expected to find this rot adjacent to where the plank had exhibited rot, but not so....
As a result we will be removing the rest of the strake to ensure there is no rot in the portion of the chine not yet uncovered.
This will add about 2 hours of labor that "hopefully" is a waste of time - that is 'hopefully" we will not find any rot what so ever in the area not yet uncovered... but since we found a little shown where the ice pick is we need to check the rest of the chine.
NOTE: added 11/8 - this was not a waste of time... two more small areas were found on the chine that can be removed, plugged and will extend the life of the chine - probably beyond our lifetimes! This was a good move! Maybe added a three hours labor is all!
This is a prime example of how even after a meticulous cleaning and inspection of the chine / frames from the inside of the boat, some issues just might remain hidden.
December 30th 2007 Update!!
Happy New Year!
One plank duplicated and in place. This plank was too far rotted on the edges to veneer. The plank above the lighter plank was veneered as described to the left. The final shaping and trial fitting is complete - these still have to be removed, bedded in bedding compound and ALL fasteners placed.
One plank laminated with new material behind the original. Grain and color will be matched by virtue of the fact that original wood was used as veneer.
January 7th 2008 Update!
1
2
3
1
2
3
The small spots of rot found in the chine are shown to the left and the treatment they received is shown below. The rot at points 1 and 3 turned out to be superficial Yeee Haaaaw! We merely routed out the rot - about 3/16" deep and glued in new Mahogany. At point #3 where you see the disk, there was a small amount of rot there as well. A 1" forstner bit removed the rot - this time only about 1/8" deep. A 1" plug was manufactured and glued into place. When the screw was removed a dowel was glued into the screw hole to leave no place for water to pocket and accelerate rot.
The rot at point 2 was a bit more trouble. At point 2 the rot was in the end of the rib, as well as in the chine and plank. It was COMPLETELY hidden until the plank was removed. The pictures below show how the rotted portion of the chine was removed, then the rotted portion of the rib assembly was removed and new mahogany glued back in its place.
Initially I had planned to re-use this plank after the chine repairs were made. HOWEVER when I laid it out to sand and Smith CPES the plank I found rot where it had contacted the rotted end of the rib and chine. A duplicate plank will be produced - hopefully this week.
These repairs are made by first cutting out a new piece of mahogany in the curved shape you see inserted into the chine. The work piece the special shape comes from ends up being the guide for the router to follow to remove the rotted material from the chine. This way the void in the chine and the replacement for the void are and EXACT match!!
June 7th 2008 Update!
The original Transom was filled with cracks. These planks are being saved until the end of the project for the owner to see, touch and feel when he arrives for pick up of the boat.
The plank with the most cracks is the one under the waterline - pictured at the top so that the picture matches that of the inverted boat.
In addition the plank seams were very wide and would have constantly been pushing out beads of varnish when the boat expanded due to being in the water and then cracked the varnish when the boat contracted again in during winter dry storage.
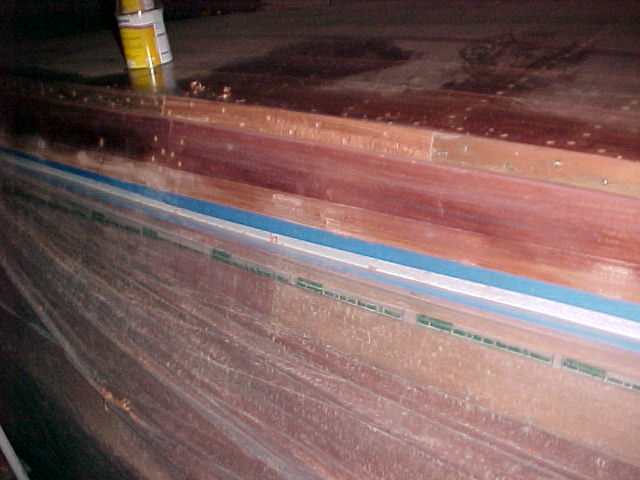
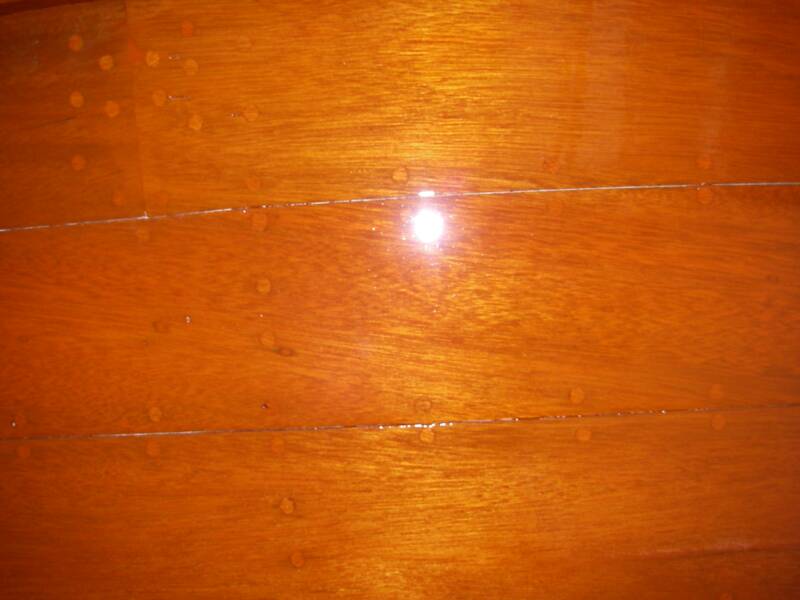
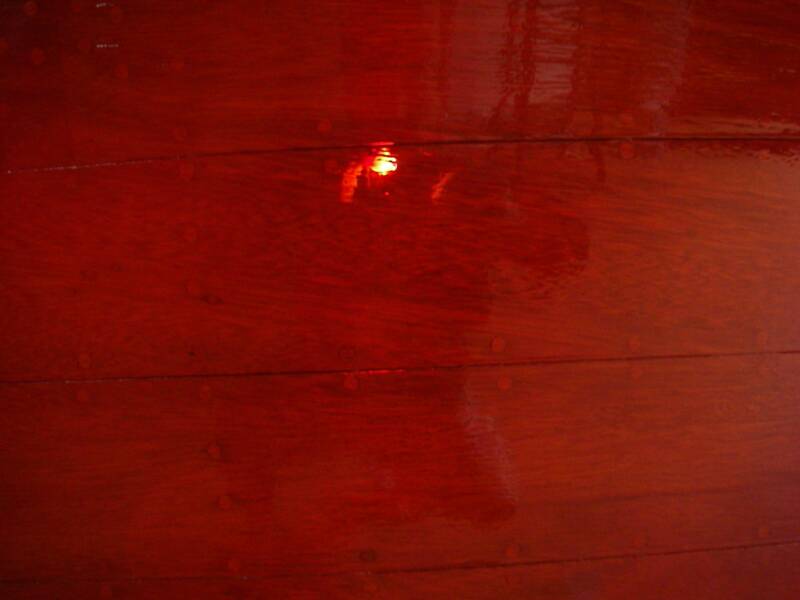
This photo illustrates the tightness of the plank seams in the new installation. Can you find the seams?.
You will notice the darker plank at the bottom of the boat (top of the photo. There is wide variation in the color, density, grain patterns of all mahoganies, African, Honduran, and Philippine. This a darker, denser, African Mahogany was used for this to be painted plank to achieve maximum rot resistance and life! The use of this darker denser wood for the entire transom would not have been good match for the rest of the boat since it was so extremely dark.
The other planks - all resawn from one 2-1/2" thick rough sawn plank to achieve an exact match on all planks will not only match each other but will very closely the density and color of the original planking. The grain structure is more highly figured than the original, as it is a much higher quality than as used originally. Unfortunately, or fortunately depending on how well the ribbon stripe is liked, the stain will remove some of the variation and will make the transom "pop" with its ribbon stripe. The transom is the most viewed part of the boat and usually the first part viewed - therefore making the "first impression" of the boat. This transom will provide the best first impression possible.
1
2
3
Also since the last update 3 additional planks have been installed. Plank #1 is a repair of an original plank . This plank had a new plank laminated to the back of it and was planed down to remove the damage caused by dock or trailer like was done to the plank below it. Plank #2 and #3 are new planks that were produced by re-sawing, planing to thickness and duplicating the original planks that were too rot damaged to re-use. Planks # 1,2, and 3 are what we call trial fit after the final shaping was done with a minimum number of screws in place. These will be removed and 3M 5200 applied to the chines and battens and the planks will be installed permanently. The same will occur with the bottom 2 planks of the transom. The other transom planks will be bedded in bedding compound.
August 8th 2008 Update!
Since the last update, the 6 side planks, that attach to the chine, and 4 transom planks have been removed after fitting to the boat. A generous layer of 3M 5200 was applied to bed / seal these planks. With the 5200 seal and all screws driven in the planks are permanently attached.
So, if we had taken new pictures they would look pretty much the same as last time! We added one picture that illustrates the process of filling the below water line holes (that will be covered with bottom paint) and bunging the holes in the wood that will be stained and varnished. The bungs are made from the same wood as the planks were sawn from thereby achieving an exact match in grain and color from bungs to planks.
Notice the red line? This line is a laser line that we are using to mark the water line. Fist we set the laser up to so the lines exactly match where they were on the original plank(s) then cut a line with a very sharp veneer cutter, then scribe the line deeper and wider with a chisel. The result is a line scribed in the hull - just like it was when it came from the factory. This scribed line will help the owner get the boot stripe in the proper location when he ( or his son ) eventually strips and refinishes it. With proper care that will be 10 - 15 years in the future!
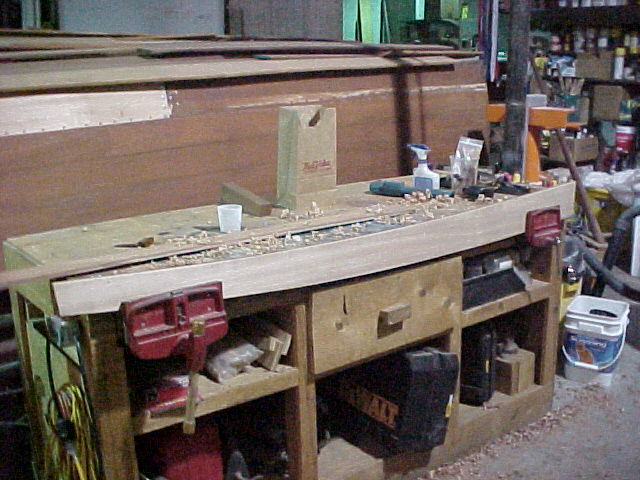
Once the bungs have been cut off as close to the surface as possible, they will be sanded down to the surface with a flat sanding block and the sanding / fairing of the hull begins.
October 31st 2008 Update!
Since the last update
The deteriorated stem cover - in 3 pieces shown above pointer #1 was replaced with a new steam bent 1/2" thick African Mahogany cover. The cover extends from pointer #2 to pointer #3. In photo to left
A new Starboard (remember the boat is upside down) spray rail has been fabricated and installed, bedded in 3M 5200. See pointer #4
The Port Spray Rail has been reinstalled bedded in 3m5200. Also a repair has been made to the Port Spray rail where a trailer tire had rubbed a portion of the spray rail away AND actually charred a portion of the hull (now replaced) The repair extends from pointer #5 to pointer #6
The boot stripe line was etched with a Fein Multimaster to duplicate how it was etched in the factory. Notice the red laser line to determine water level lines. Since all but two below water line planks were replaced new lines had to be etched in most of the sides of the boat. These etchings will ensure the water line is not lost during any future refinishing's that might come during the now extended life of this boat....said another way... during the NEXT 54 and beyond years of this boats life! Evidence of where the boot strip was etched was found on some of the original planks and that evidence was used to set the path of the laser.
2
1
3
4
5
6
December 5th 2008 Update!
Merry Christmas!
December 7th 2008 Update!
December 18th 2008 Update!
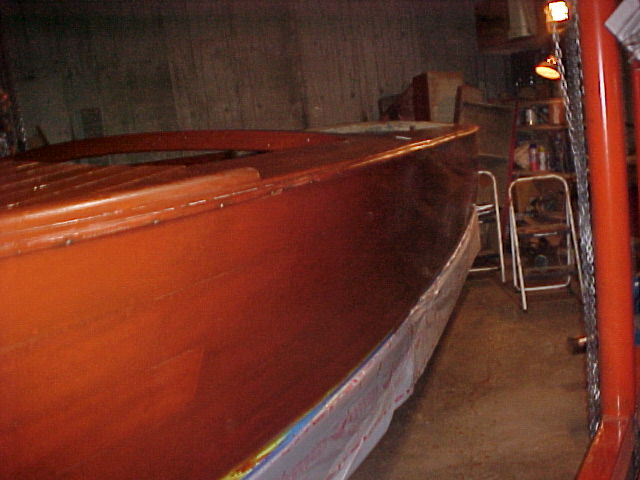
September 3rd 2009 Update!
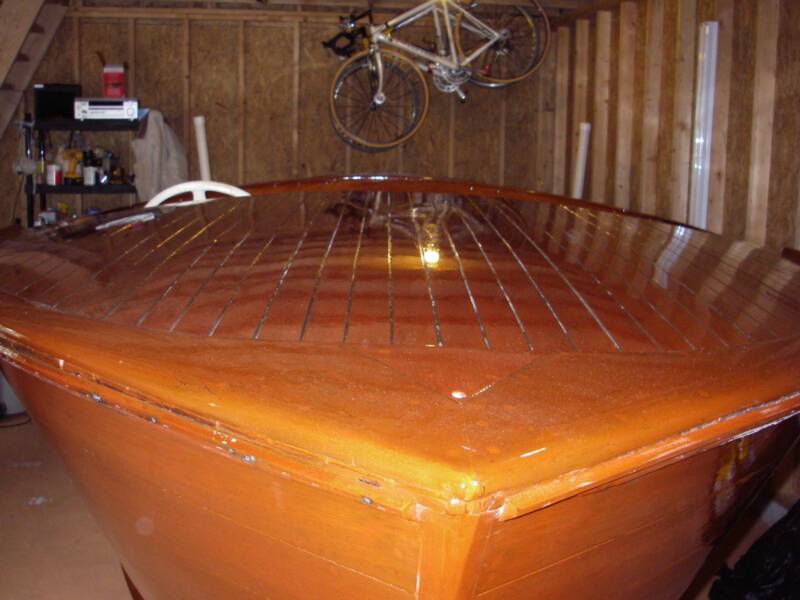
The owner has since swept the "Chubby D" off to Pensylvania and has put nine coats of varnish on the boat! Notice the fine finish he has applied! Our hat is off to this owner for the fine work he has done!