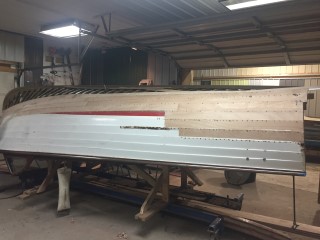
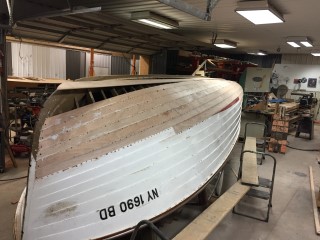
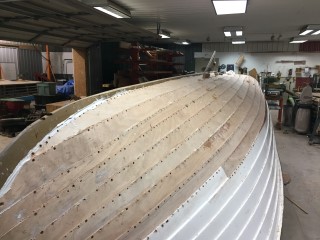
We are now back working on the bottom of your boat. You can see the progress that has been made, we only have five more planks to install on each side.
We are close to being completely sealed up on the bottom. We have one more plank on each side and we are finished.
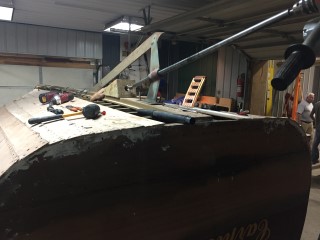
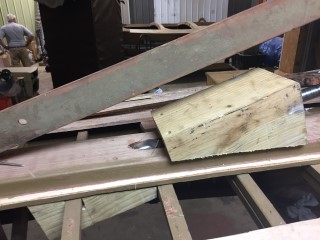
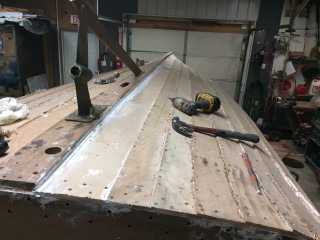
We have temporarily installed your strut so that we can accurately drill the the hole in the keel for the shaft to pass through. We use a special drill bit that is made specifically for this job. As you can see we attach a piece of white oak to either side of the keel where the shaft will pass through to create a sort of kreg jig which allows for an accurate cut as we drill through the keel. While we have your strut secured we also pressed out the old bearing, honed the surface to receive the new bearing and installed a new bearing.
Update 08/15/2017
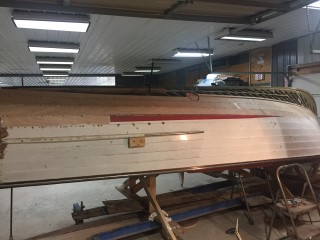
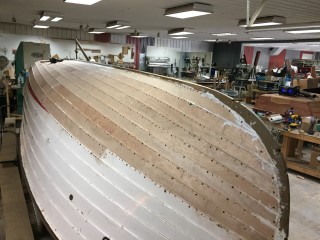
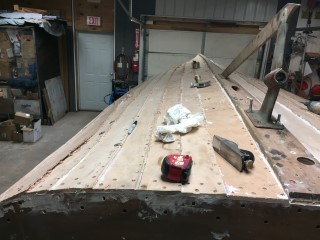
We now have the bottom completely sealed. All of the planks are on and secured to the boat. The next step is to install the rudder, shaft and permanently secure the strut. Once all of this is installed we will then turn the boat right side up and dip test the boat at the lake to see if there are any leaks around the rudder or shaft. Then we will finish the bottom by covering the screw heads with filler and paint the bottom, sides and boot stripe.
Update 08/17/2017
We've been working on filling the screw holes. Next we'll sand the filler smooth and then apply CPES. CPES is clear penetrating epoxy sealer, which will seal and protect the wood from moisture that would eventually lead to rot if it was not protected.
Update 08/22/2017
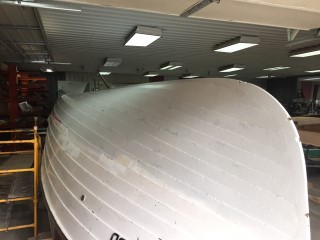
We now have the bottom sanded and coated with CPES.
Update 09/05/2017
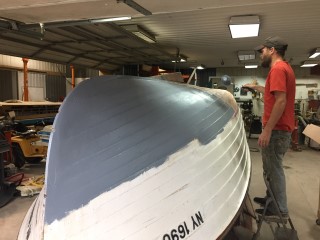
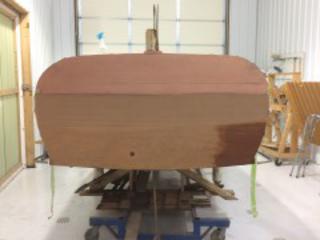
We have coated the bottom with two coats of barrier coat, which will help protect the wood from rot. It also will act as a primer. The reason for using the two different colors is to make it easier to ensure that we have complete coverage on each coat and then if there is any sanding once the paint cures we know when to stop sanding so that we don't sand down to bare wood.
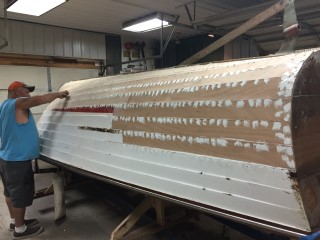
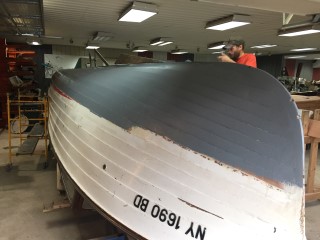
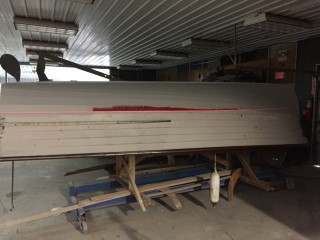
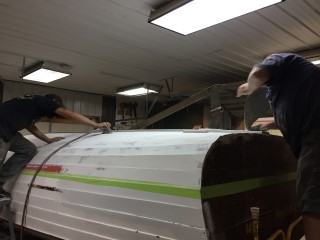
Here you can see how we lay out the boot stripe. We use what is left of the old stripe and a self leveling laser. Once we match the old stripe with the laser line we use tape to mark off the line across the side of the boat. In the pictures we are marking the top of the boot stripe once we have it marked with the tape line we will then move the laser to the bottom of the boot stripe and repeat the same process then paint.
Update 09/06/2017
Update 09/13/2017
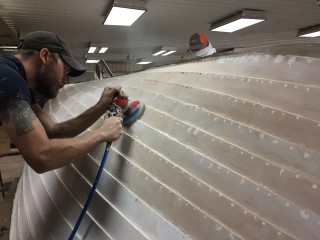
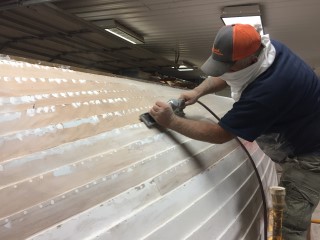
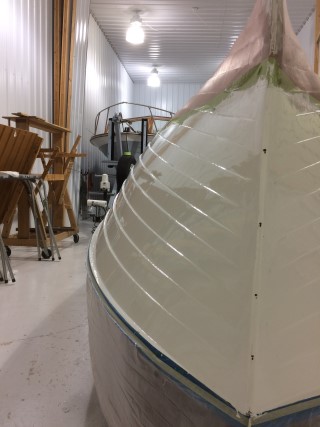
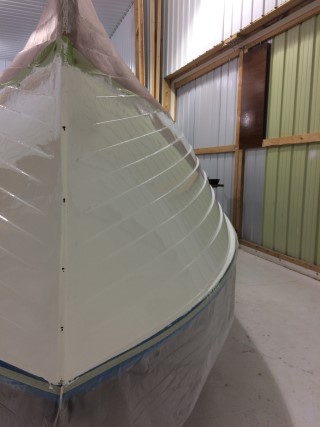
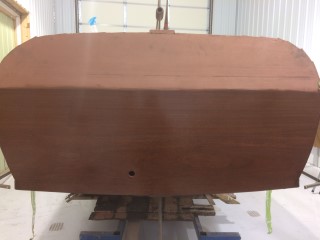
Now that the barrier coat has had plenty of time to cure we can sand the bottom smooth before we paint.
Update 09/14/2017
The bottom is now painted. We have one more coat of paint to go on this evening and we are finished with the bottom.
Update 09/28/2017
Today we are painting the sides of the boat. You can see in the picture to the left we have filled any imperfections and sanded the sides smooth. The picture to the right is after one coat of paint. We will apply a few more coats to each side and sand between the coats to ensure the final coat is completely smooth.
Update 10/04/2017
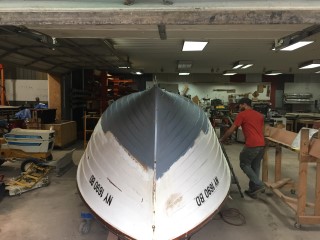
We have the sides sanded for a second time and we had to fill a few more blemishes that were showing through the first coat of paint. We also glued wooden bungs in place where we counter sank carriage bolts in the stem and knee, then filled them and sanded smooth. We also installed the skeg which is the triangle piece protruding from the keel.
Update 10/13/2017
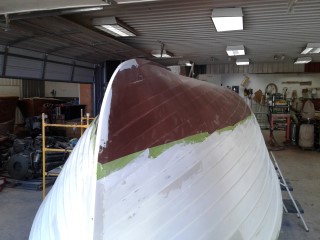
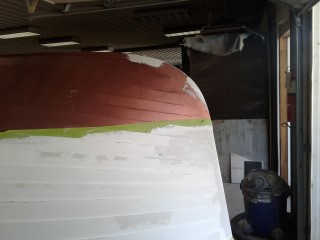
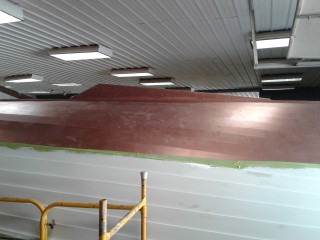
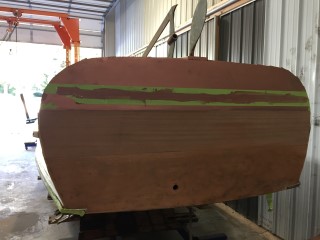
This week we have wet sanded and coated the sides with another coat of paint. We have also sanded the rest of the transom. Now we can bleach the transom then get ready for stain and varnish.
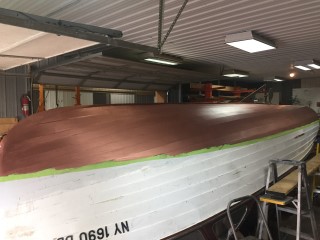
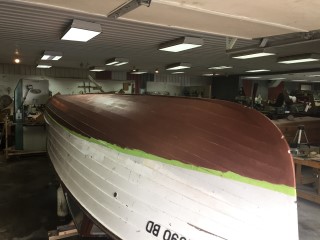
Update 10/20/2017
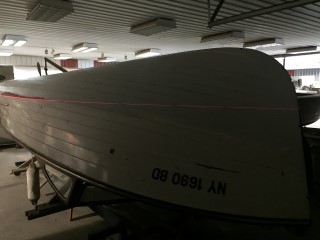
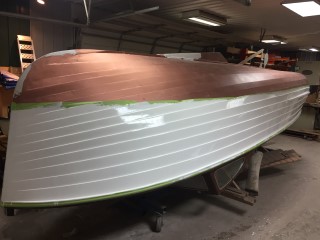
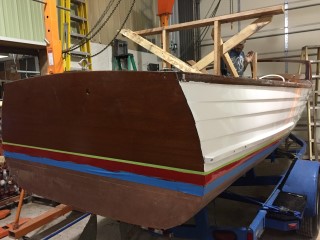
As you can see we have the final coat of paint on the sides and we have stained and applied two coats of sealer to the transom.
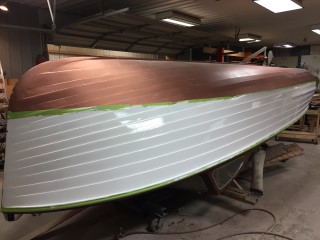
Update 10/23/2017
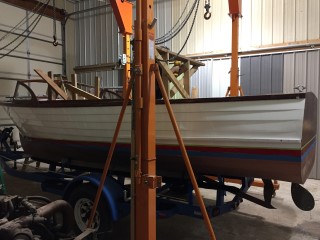
We now have the boat flipped right side up and setting back on its trailer. We also have started painting the red boot stripe.
Update 10/24/2017
As you can see in the video we took the boat to the lake to test the bottom. After being in the water for over ten minutes the hull was still completely dry.
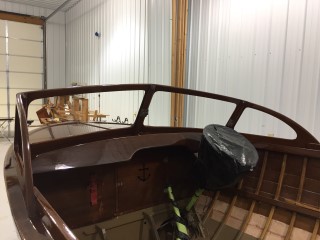
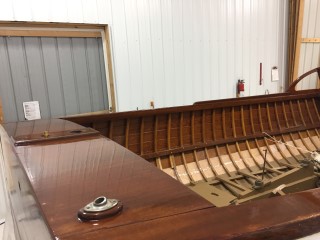
Update 11/17/2017
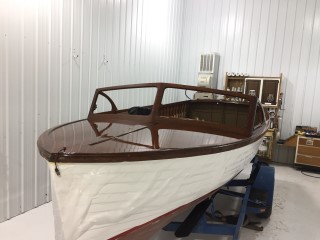
As you can see we have been hard at work varnishing the boat and and all of the interior panels as well.