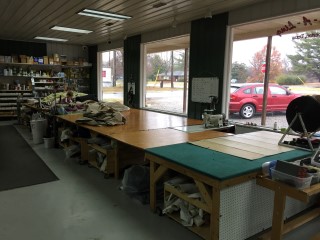
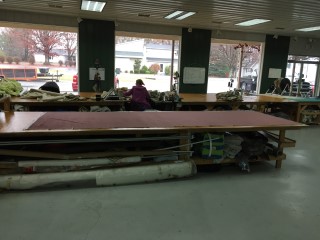
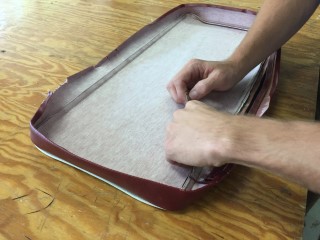
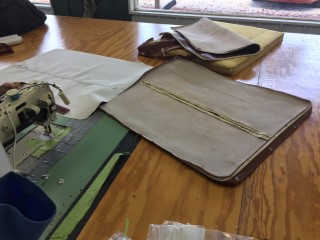
As said in the video the interior in your boat is becoming tired and worn. Here is a picture of our custom canvas and upholstery shop. Having your upholstery recovered may be something you would want to consider doing this winter. If you follow the link it will take you to the Custom Canvas and Vinyl web page so you can see all we have to offer.
Running the engine before tune up and trouble shooting the tachometer.
We have found the reason for the tachometer not working. The tach cable failed due to being bent in too tight of a radius at the engine end.
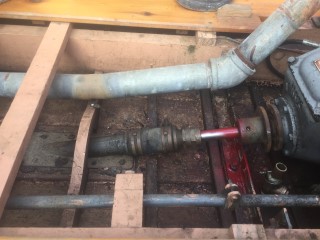
The prop shaft has possibly been replaced before based on the fact that it is 1 1/2" too long. New shaft is roughly $250 or roughly $100 for this one to be machined to correct length. Also the prop has been sent off to be reworked and the tune up parts are on the way.
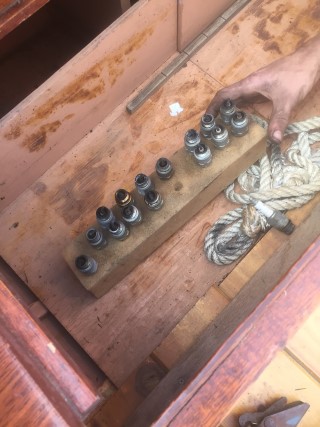
We found a stash of extra spark plugs which is a little strange. Just curious to know if maybe there is a problem with the plugs fouling. If so then we need to address this issue.
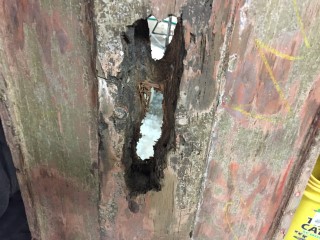
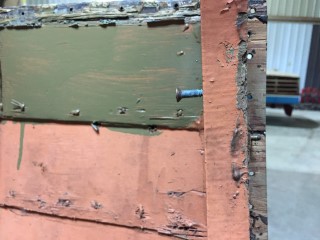
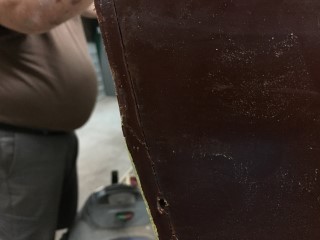
Here is a photo of the packing gland that was over tightened. As you can see in the photo to the right the hose has started to delaminate and will need to be replaced.
Update 12/14/16
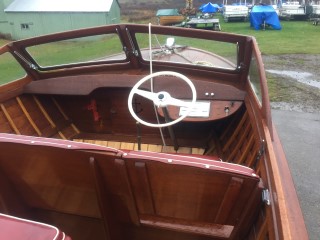
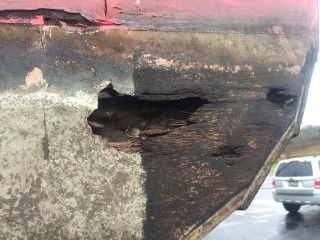
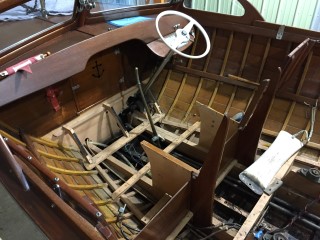
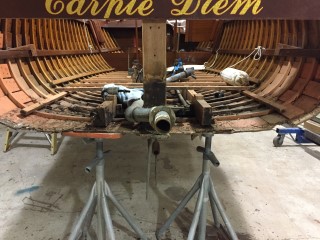
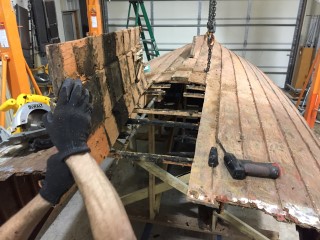
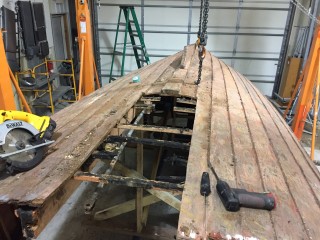
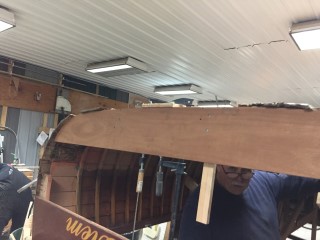
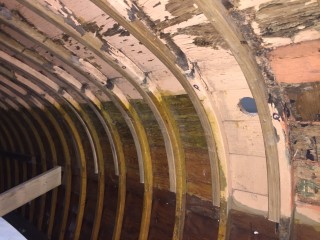
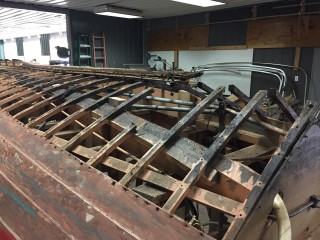
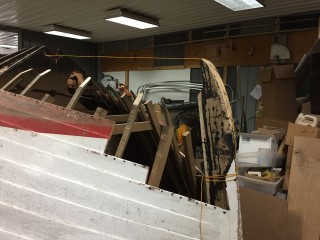
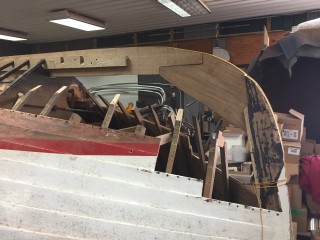
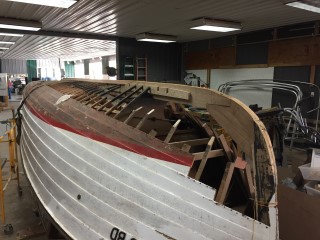
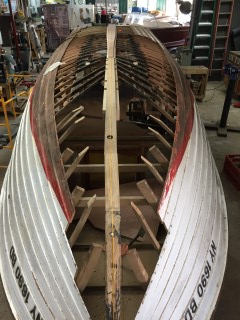
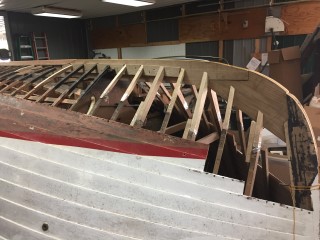
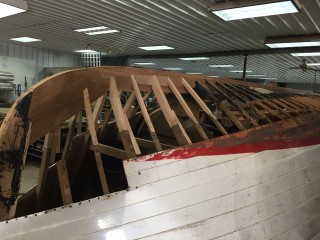
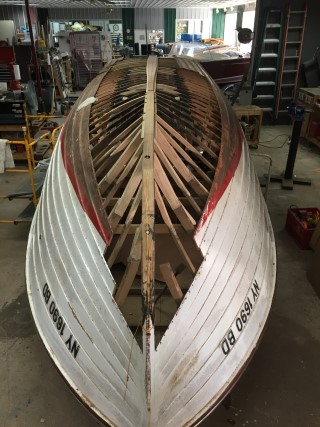
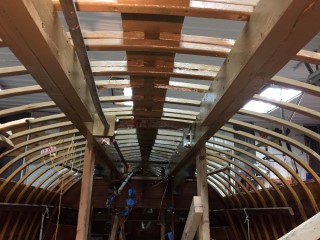
We removed the floor panels and all interior from your boat to check all of the frames for signs of rot. We removed the portion in front of the driver seat to also check the pivot point on the shifter which was reported as being loose. Luckily the rot was only in the back eight frames. The way it appears to me is that the planks in the rear of the boat were repaired at one time and at this time the rot issue was not addressed and basically spread like wildfire to the other frames. Our goal is to find all of the spots where rot is present and correct this issue.
Update 12/21/16
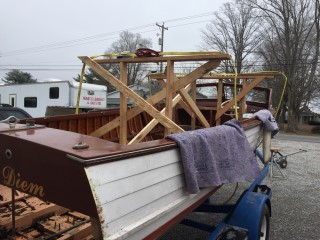
The frame that will support your boat when we flip it over is now complete and installed. We are now ready to roll it over bottom side up.
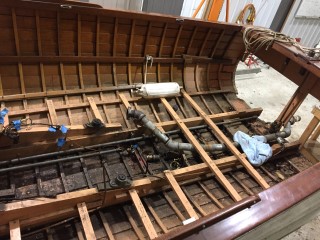
Before flipping your boat we also took the time to completely clean the bilge with a solvent that cuts and removes the grease and oil.
The process of turning your boat "bottom's up".
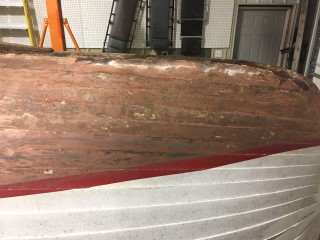
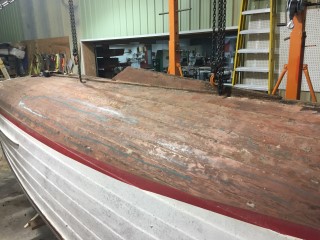
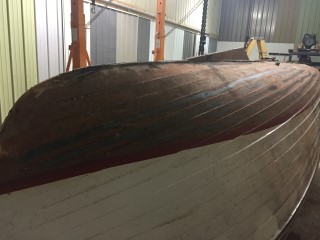
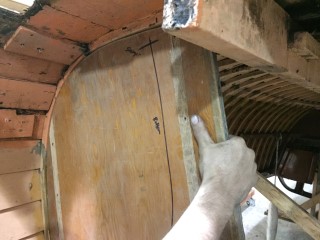
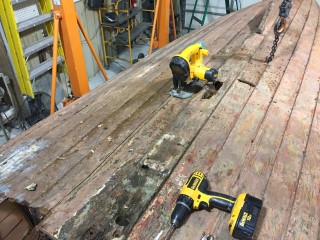
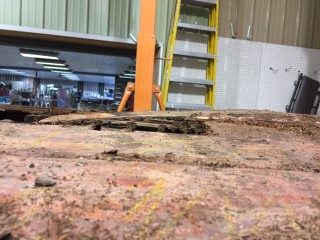
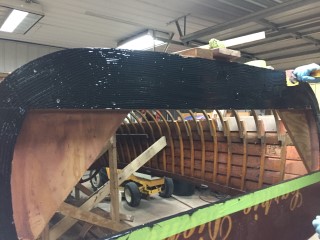
Here are a few pictures showing where we marked the bottom to distinguish which planks are good and which planks need to be replaced. The dark green lines show the good planks that will not need to be replaced and the yellow marks indicate where rot is present and will need to be repaired.
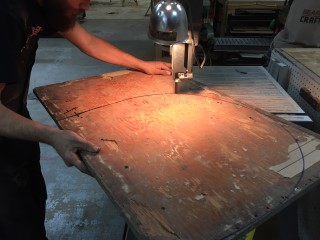
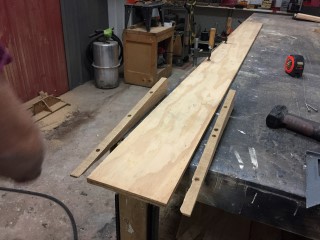
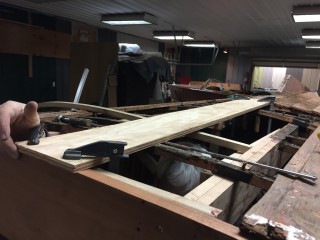
Here we are making a template we will use to bend the new frames for the bottom of the boat.
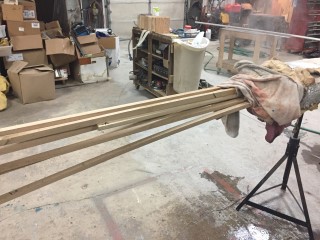
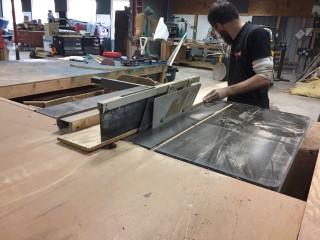
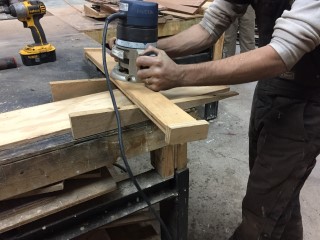
Next we cut the new frames out of white oak and route the edges to match the pre-existing ones.
Once the frames are cut to size they are placed in the steamer. This will allow the wood to soften so that it will bend and not break to create the curve needed for the new frames.
Now it's time to bend the new frames!
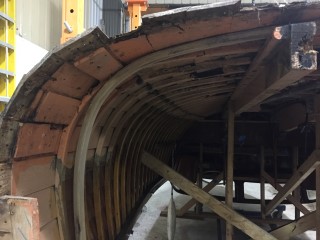
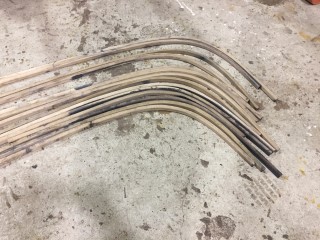
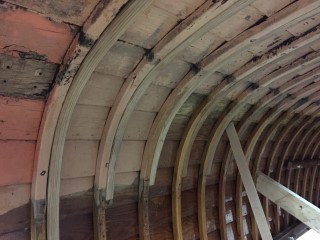
We now have all of the frames bent into shape.
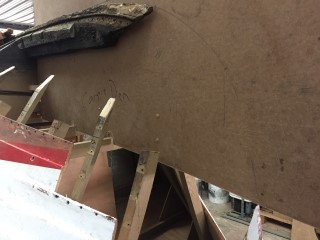
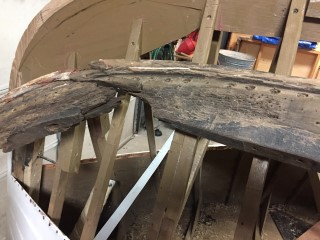
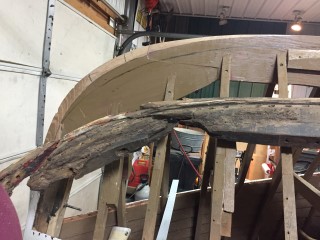
We had to remove a section of the keel also due to rot. We cut the keel at the half way point of where the shaft log attaches and will created a scarf joint at the seam so when we put the new section of the keel in place the shaft log will be attached to both pieces creating an even stronger joint.
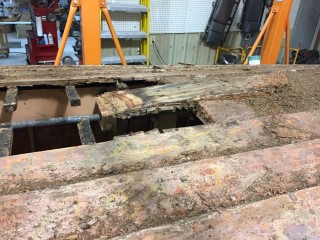
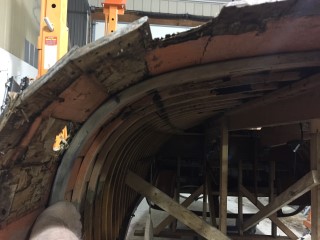
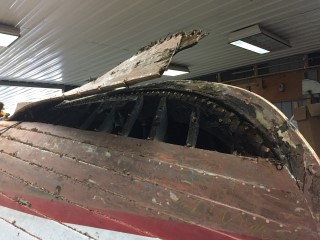
This where your shaft log was located. As you can see the wood was in very bad shape and close to disintegrating around your shaft. Once we have the bottom fixed we will have to re drill the hole for the shaft.
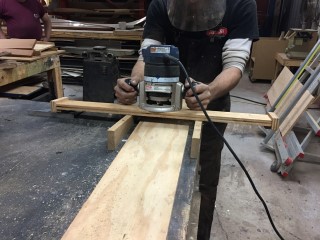
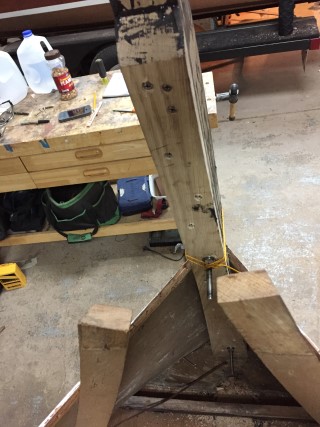
This is the process of creating a scarf joint. The reason for using a scarf joint is if we were to butt two one by six boards together than we only have six square inches to apply adhesive but if we use a scarf joint then it turns that same joint into a six by eight joint creating forty-eight square inches for adhesive and a stronger joint. We start the process by cutting and planing our board to the desired size. Then we use a jig and a router cut the scarf joint.
The first new rib is in place.
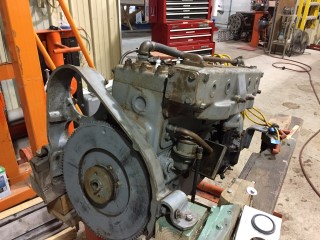
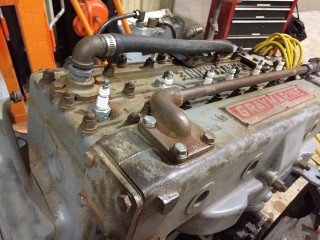
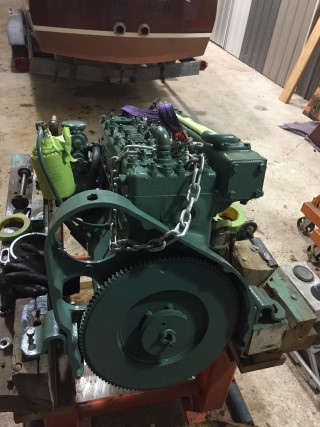
We have started the detailing process. We have cleaned the engine with a degreaser and started removing the surface rust. Once that is done we can then paint the engine the correct color.
Update 01/03/16
Here the engine is painted back to its original color. Once we have the generator converted from 6 volt to 12 volt and the starter rebuilt we can then put everything back together and have it ready to put back into the boat when ready.
Update 01/27/17
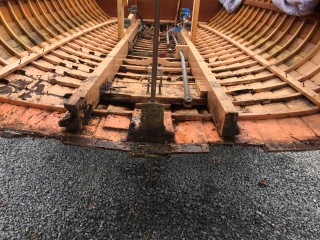
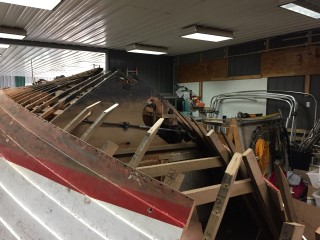
We had to temporarily install the new keel so that we know the ribs are being placed in the correct location. Once all of the ribs are put in place then we can start replacing the bottom planks.
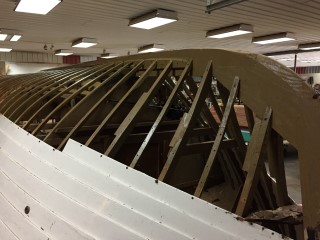
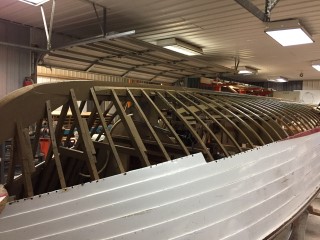
All of the new ribs have been installed.
Update 02/06/17
Update 03/02/17
Update 03/21/17
Update 04/05/17
We had originally planned to replace only the stem and a small portion of the keel. After further investigation we realized that the keel was in worse shape than we thought and it only made sense, while we have the bottom planks off, to replace the entire keel so that it will not cause any issues in the future.
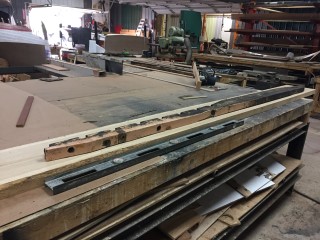
You can see here we have removed the majority of the keel and will soon have the new keel made and ready to install.
Above is the start to your new keel. The new keel will be made of white oak. We should have the keel made and ready to install by the end of the week or first of next week at the latest.
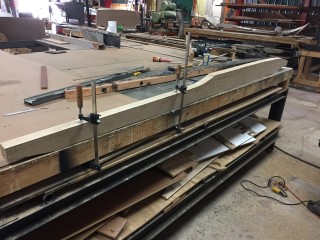
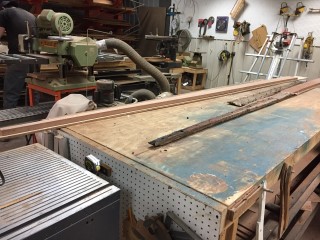
Here is part of the old keel and the new keel that we made.
Here are a few pictures of the new section of the stem we made. We are just waiting for the 5200 to cure to so we can trim it to the correct shape.
Update 04/12/17
The new keel, stem and knee have been made and dry fit. We should have the remaining ribs installed this week and may be able to start installing bottom planks by the end of the week.
Update 04/14/17
Almost all of the new frames and ribs have been replaced and have been dry fit to the boat. The plywood that will be used for the bottom unfortunately we can no longer purchase locally so we are going to have to order but should be here next week. Between now and the time the plywood gets here we will be permanently installing the new keel, knee and all of the new frames and ribs.
Update 05/26/17
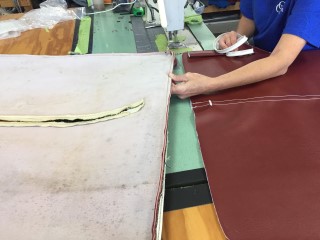
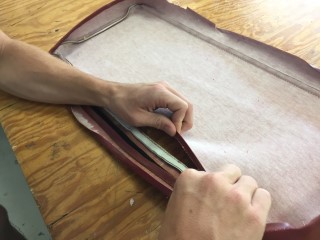
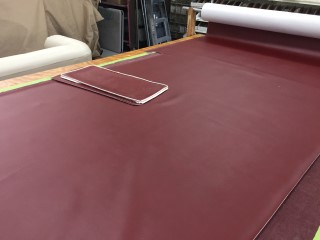
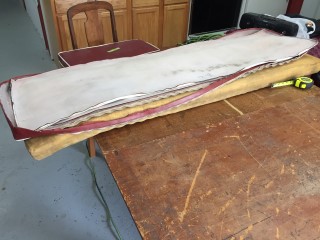
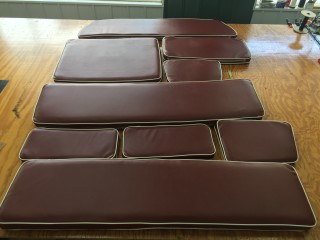
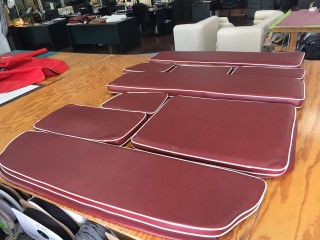
Our Custom Canvas & Vinyl division have been working hard recovering the upholstery for your boat. The rate they are working they should be done with the upholstery sometime late next week.
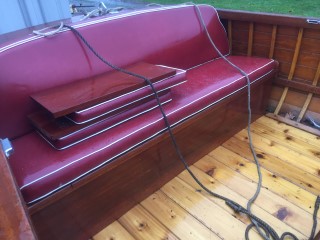
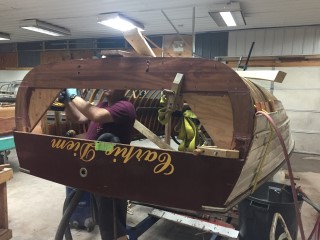
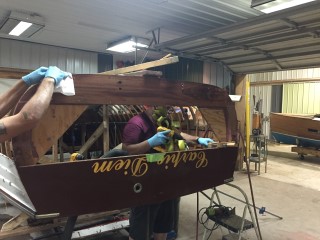
Seats are all done! Here is the final product they turned out great.
Update 05/26/17
Update 06/12/17
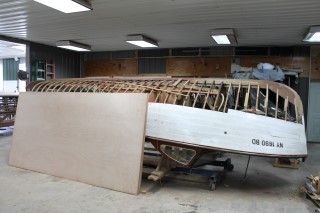
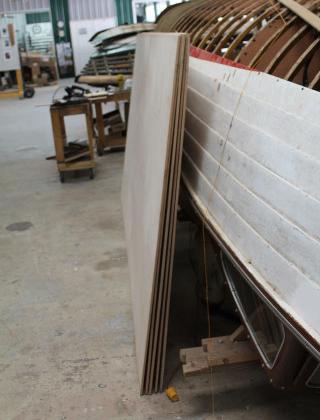
The wood for your bottom came in today. We special ordered the sheets to be 5 by 10 rather than 4 by 8. The reason for this is so we can replace the bottom and only have one seam between each plank rather than two.
Update 06/13/17
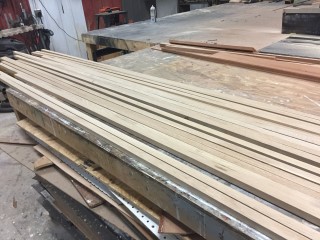
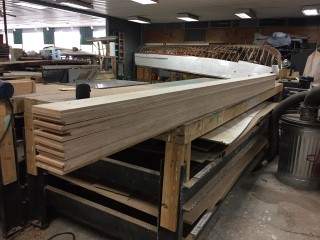
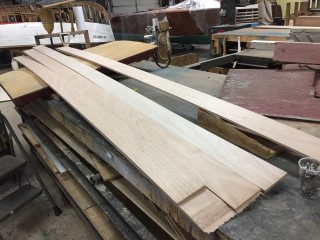
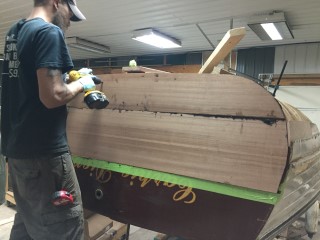
We have started cutting what will be the replacement planks for the bottom of your boat. Once we have all of the planks cut we will coat the boards with Clear Penetrating Epoxy Sealer which will protect the boards from water and rot.
Update 06/22/17
Before we start fastening the new bottom planks in place we first need to coat the new frames with the correct bilge paint to seal and protect the wood.
You can see here the old pink bilge paint and the new correct color bilge paint we have painted the new frames. This will also be the color we paint the bilge once the bottom planks are put on.
We have also rebuilt the transom frame and have it installed. We attached what we feel is a slightly larger gusset to brace the mahogany frame. We were unsure of the exact original size as it crumbled to pieces when we removed it. The next step will be adding the center frames for the transom and then new transom planks.
Update 06/23/17
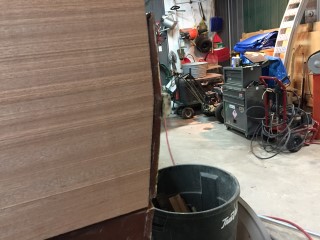
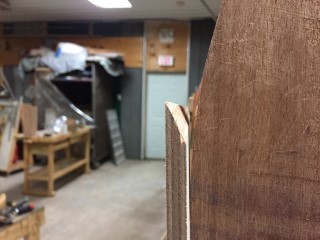
We have started cutting the planks for the transom as you can see we cut the first one to a perfect fit on both sides.
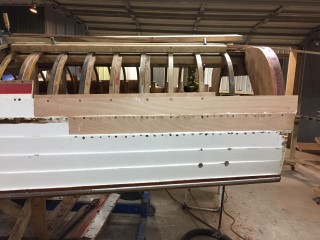
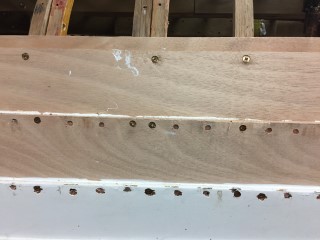
Here you can see we have started fastening the bottom planks. We are securing them with bronze fasteners at each rib and small copper nails between the ribs. This is the way the original side planks and bottom planks were assembled. The only thing we are doing different is we are applying 5200 marine adhesive to the over lapped joints. This will create a more secure water tight bond.
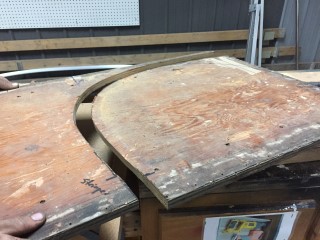
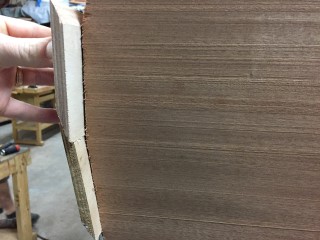
Here you can see the way the planks overlap with an angled cut along the edge of each plank. If you look at the last picture you can see this is the way the planks were cut and put together originally.
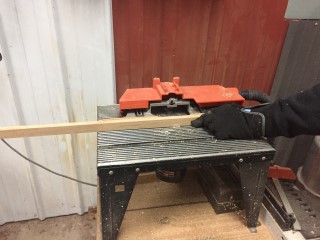
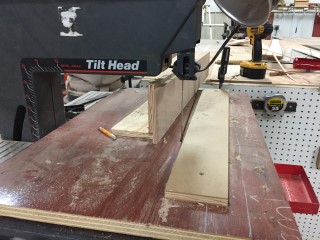
This is a picture of the jig we made to cut the angled edge along each of the planks.
Update 06/26/17
Update 06/30/17
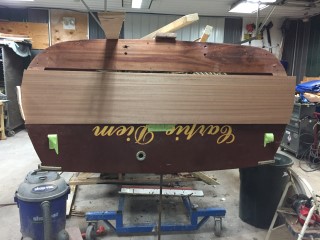
As you can see in the pictures we have installed the transom planks. We first coat the frames with 5200 marine adhesive. We then spread the 5200 with a notched spreader to create grooves in the 5200. This helps prevent voids in the 5200 and insures the 5200 bonds evenly to both surfaces. Next we secure the planks with bronze fasteners that are counter sank into the planks.
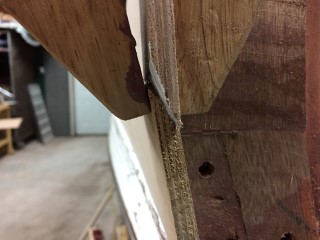
Here you can see your new knee and stem and what was left of the old one. What we are doing now is using the old knee and stem as a reference to cut the grooves in the new one where the bottom planks will lay. This is not going to be an easy task as you can see the piece we have to use for reference and the fact that the majority of the work will be done with a hand plane and chisel.