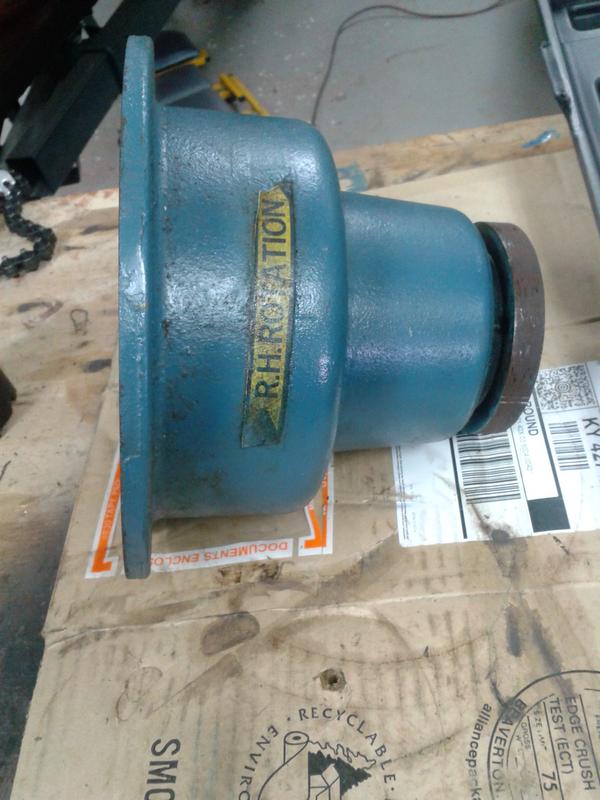
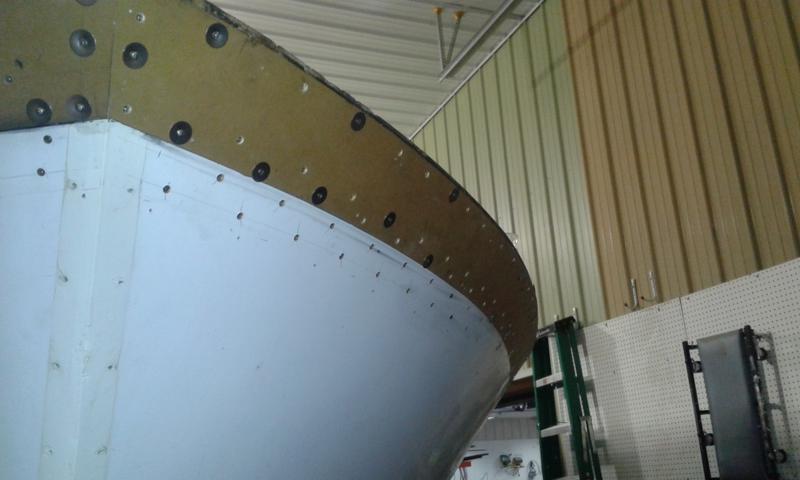
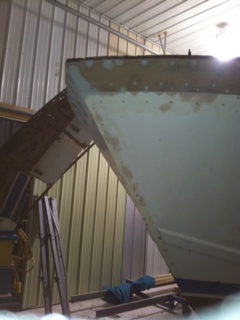
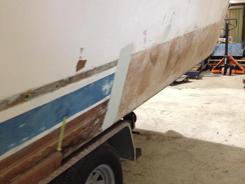
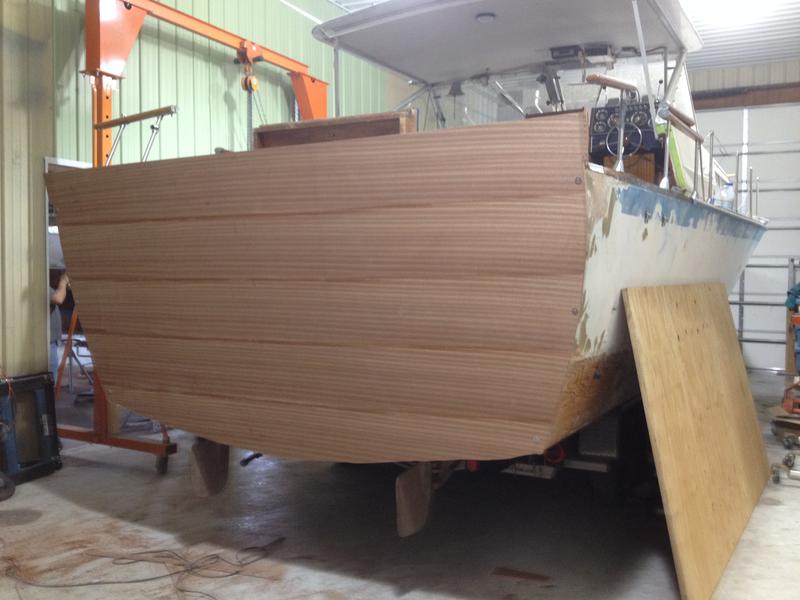
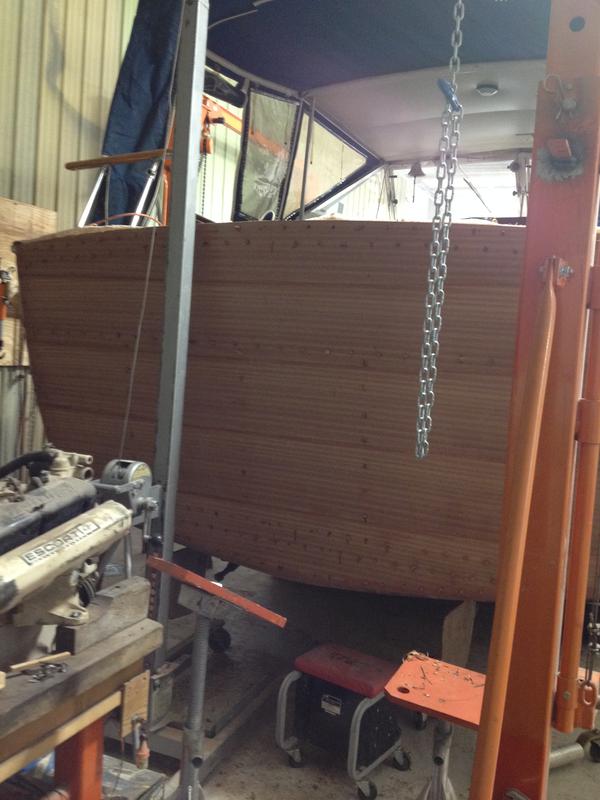
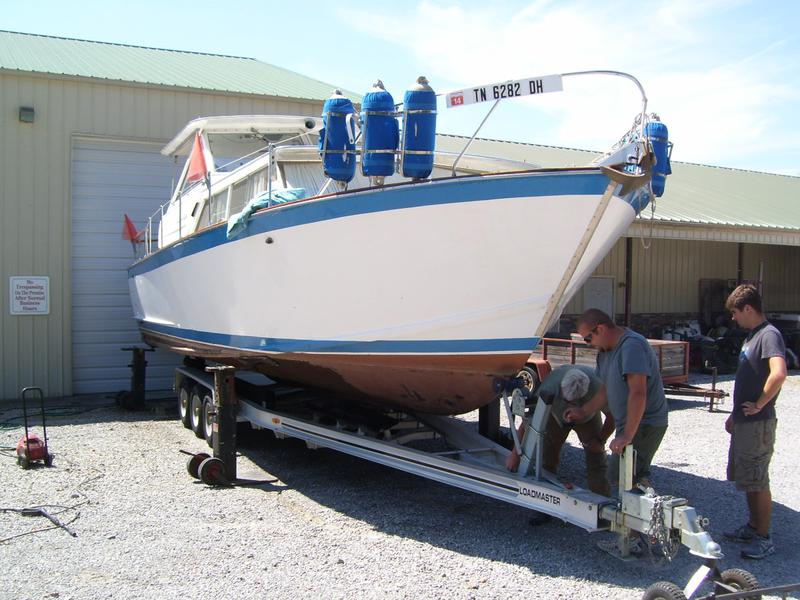
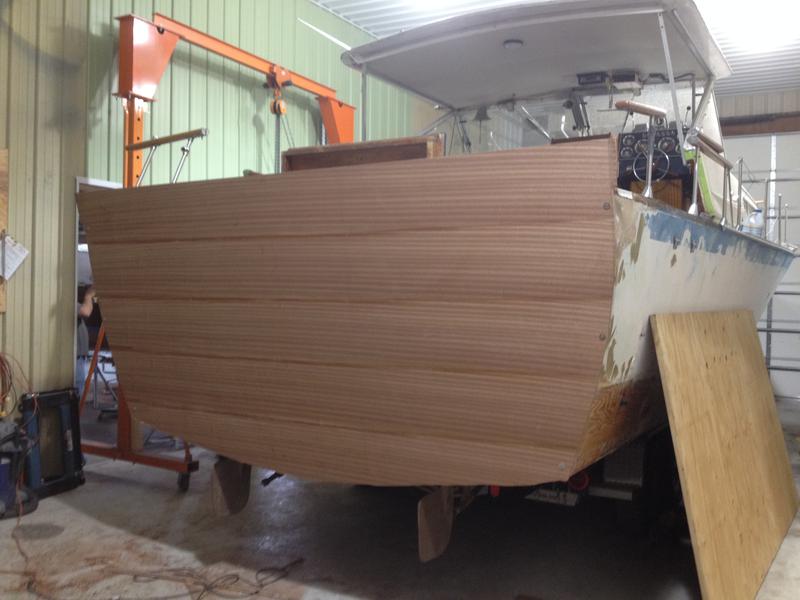
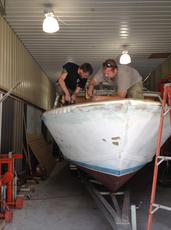
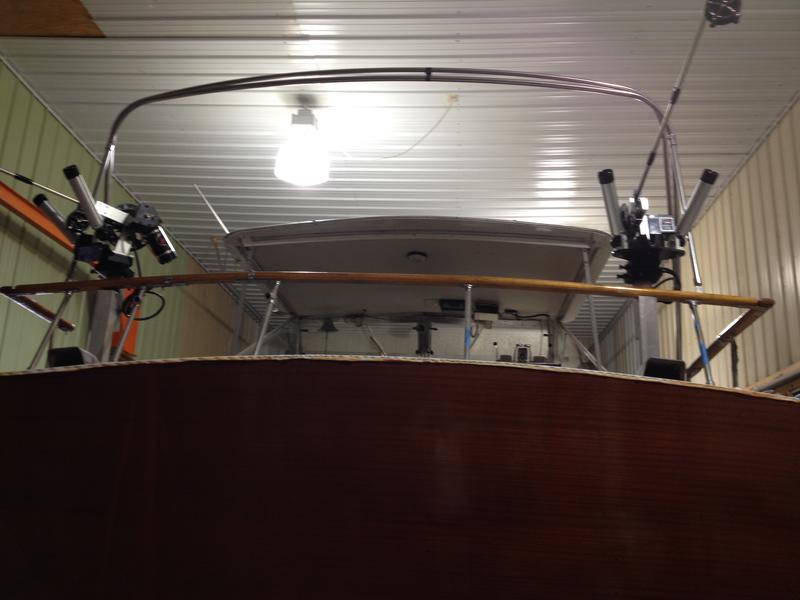
Preparing to transfer from road to yard trailer- Note one of the four yard arms used for lifting the boat in the lower left corner of the photo at left.
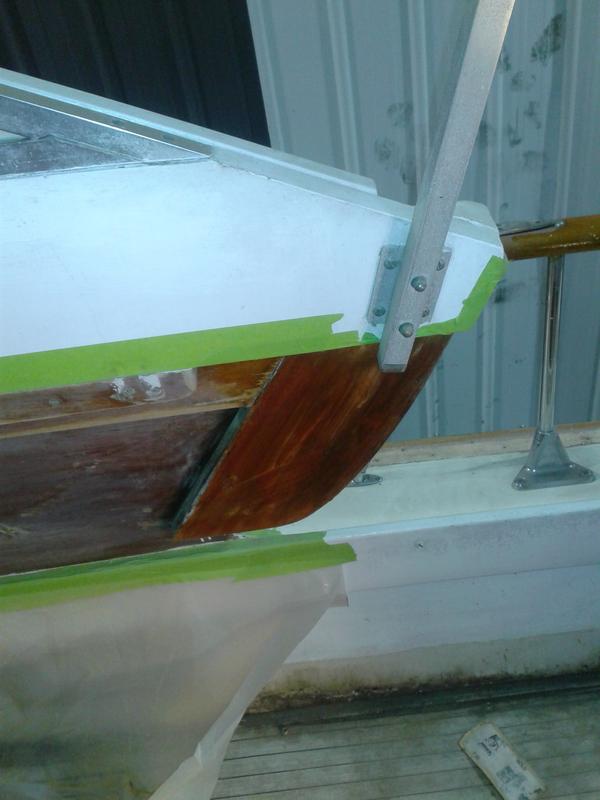
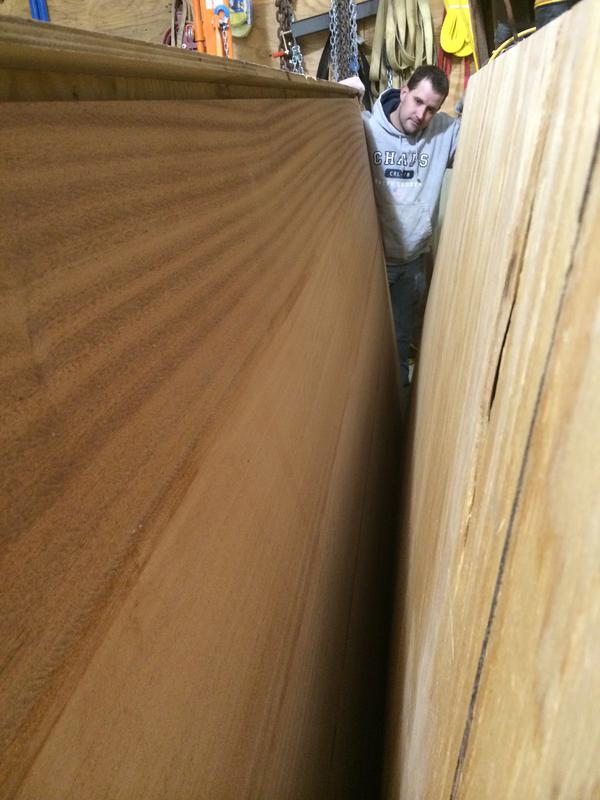
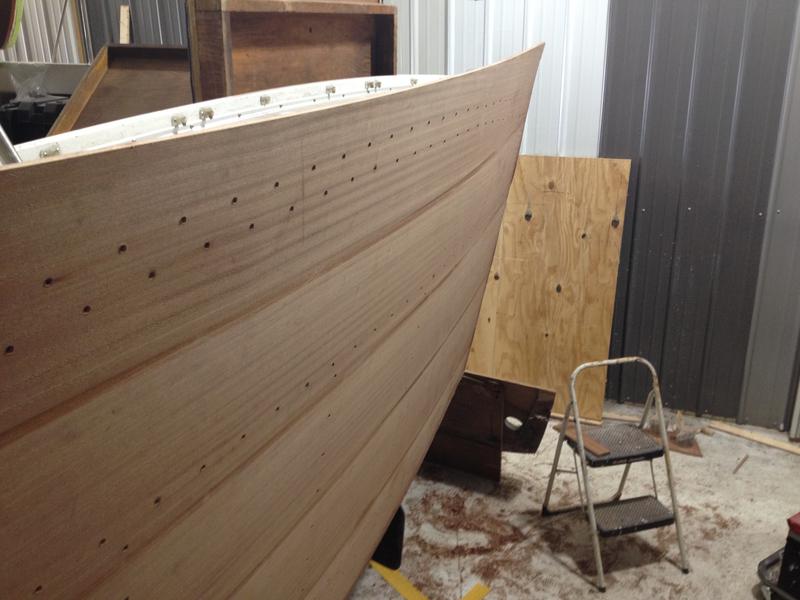
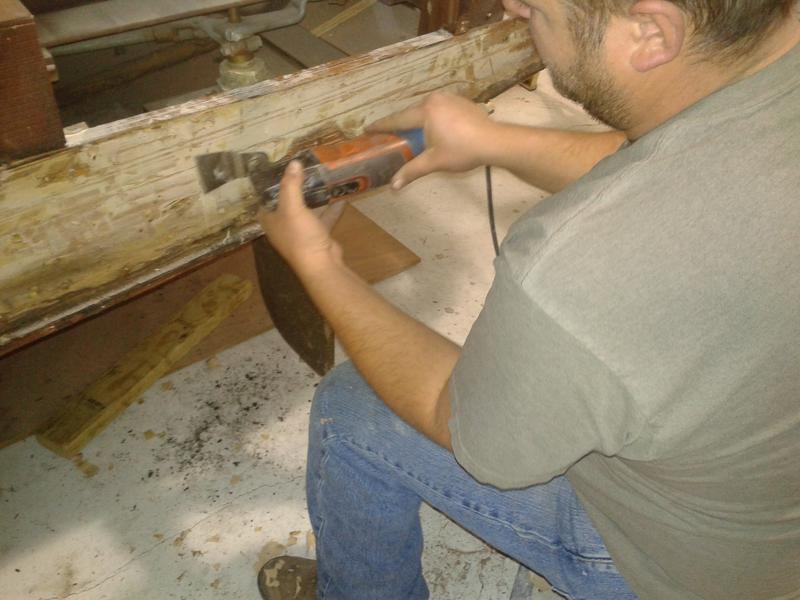
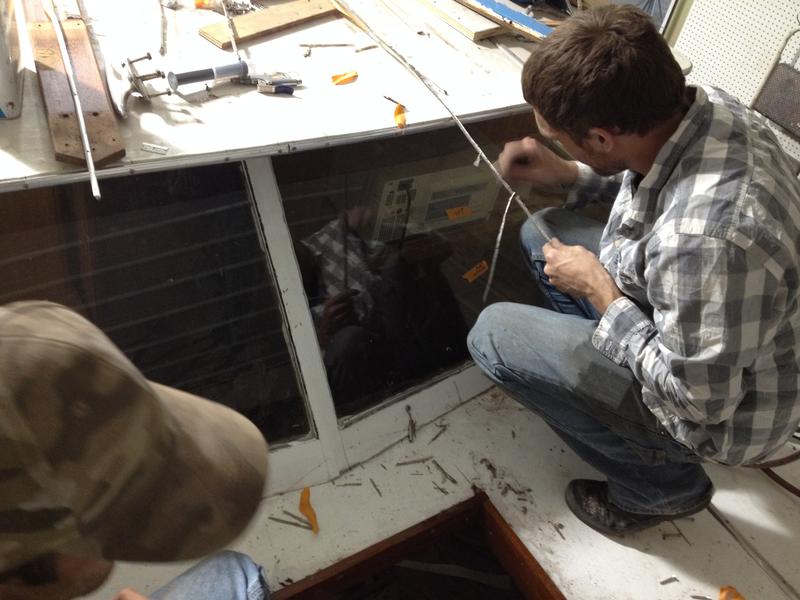
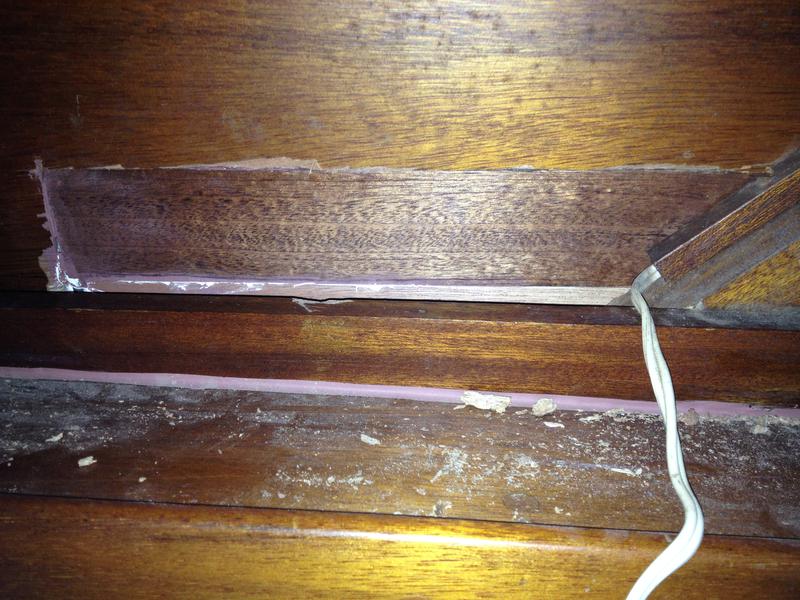
Here we have fabricated a new plank under the starboard deck at the corner of the windshield, removed the glass on the port forward, braced the window frame and cut away the bad wood as well as the bottom corner, then pre-selected the wood, planed it, cut it and routed out the track for the windshield.
1/6/2014
1/23/14
1/24/14
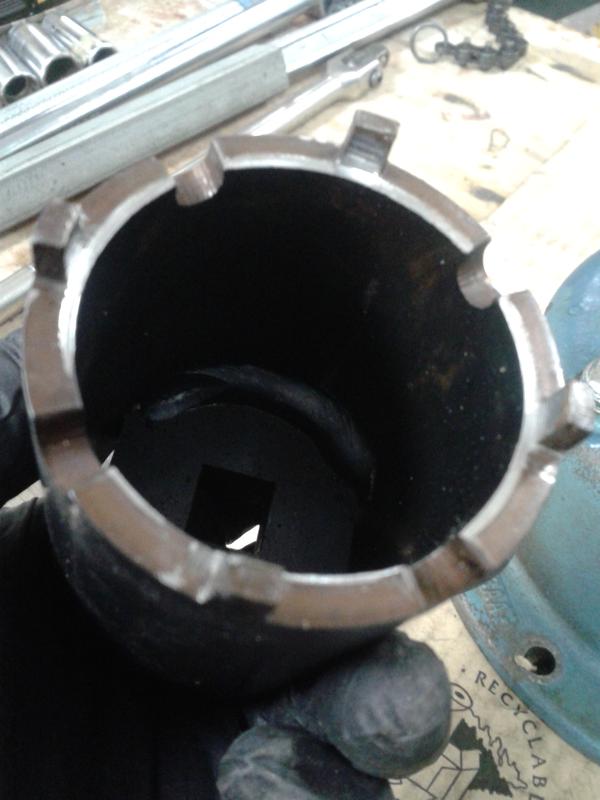
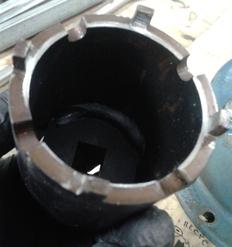
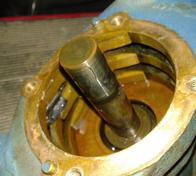
Below we have disassembled the engine and showing parts to be cleaned and or replaced.
1/28/14
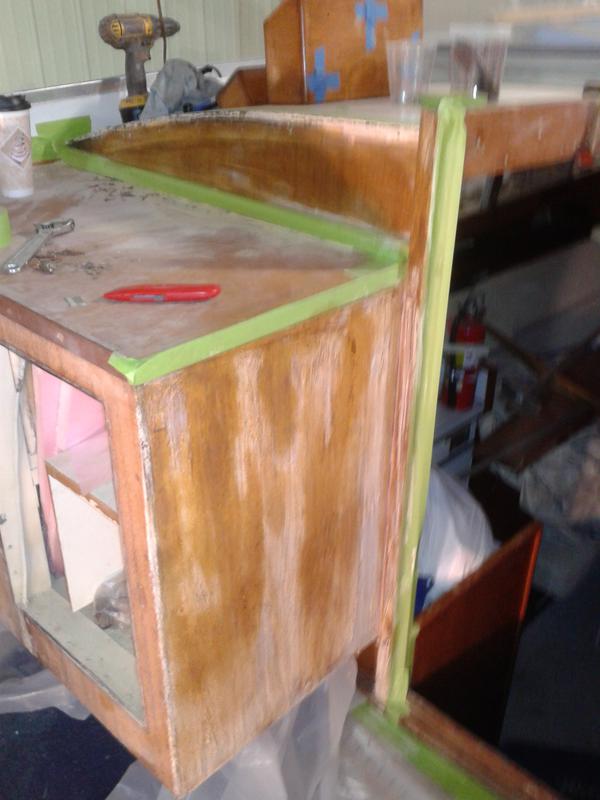
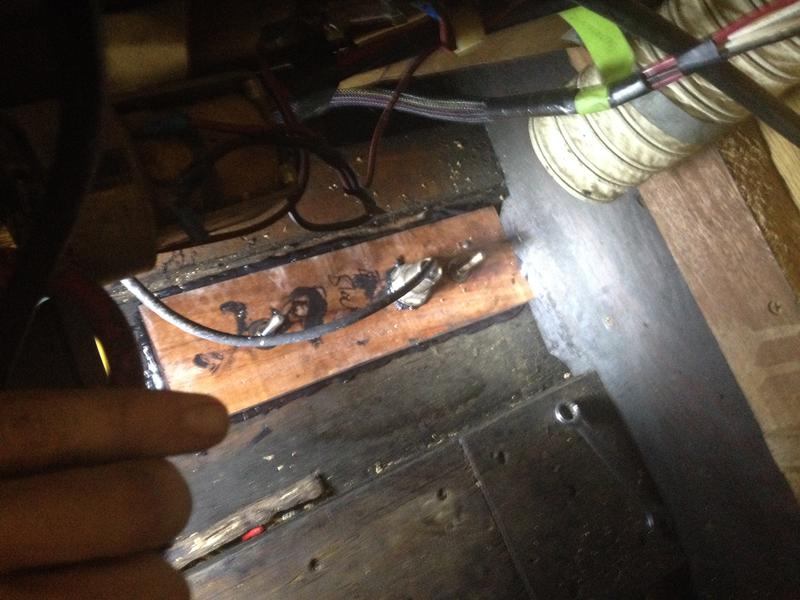
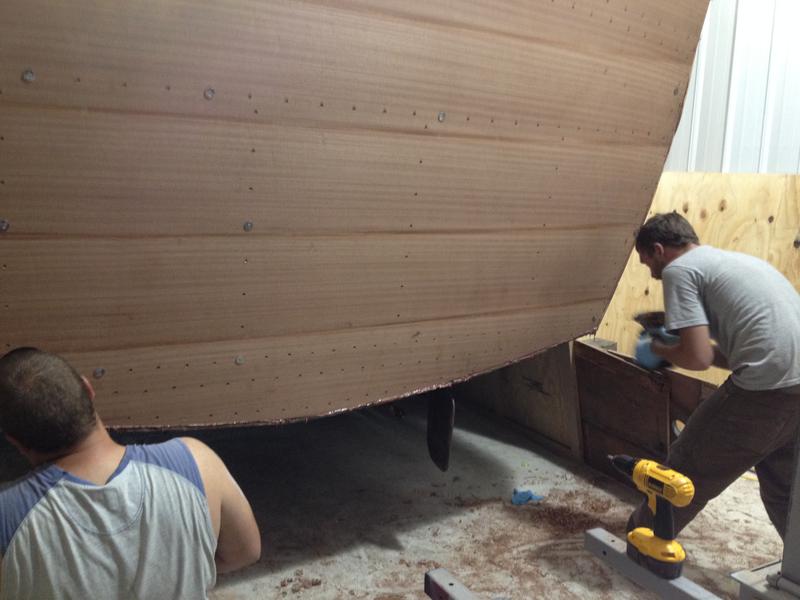
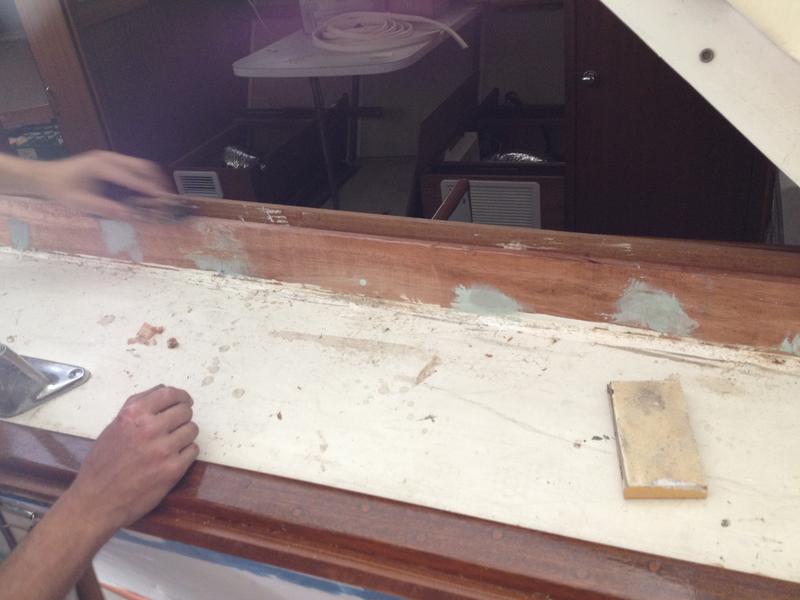
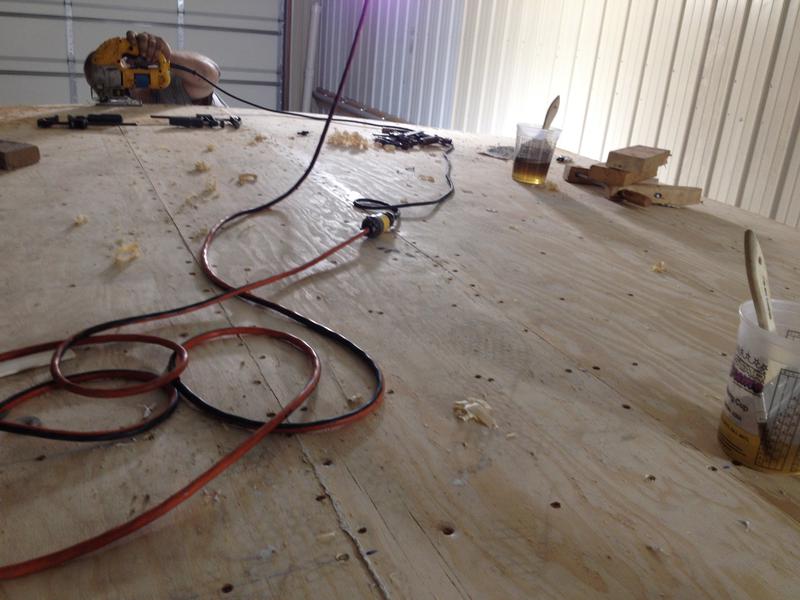
We applied CPES to the transom, bow and any other bare wood ,cut the angles on new wood for the baton and applied 4 to 5 coats of honey teak, we removed the hardware from the cockpit as well as the trim from the boat, screws and various parts, taped around the dash, began sanding, we tore down the cockpit and the decks, sanded as well as scuffed all the wood needing varnish work, scraped, peeled and wire brushed the inside of the hull for applications of CPES, removed hardware, knobs and hinges from the doors on the cockpit, removed the old glue from the window frames, removed the cockpit trim and helm chrome, removed and replaced the original screws as well as their washers with stainless to apply varnish then replaced them with the original screws and washers after varnishing as well as sanded down the areas to be varnished, stripped some areas and then we applied several coats of honey teak to areas that had been sanded and scuffed.
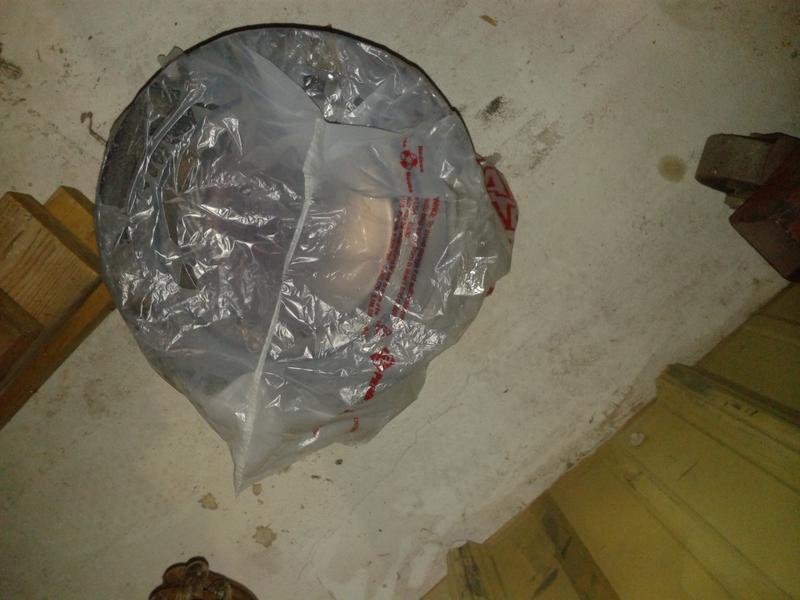
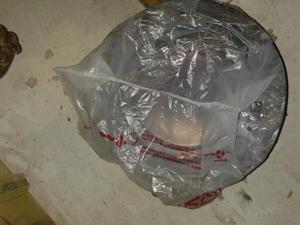
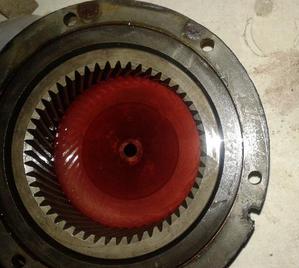
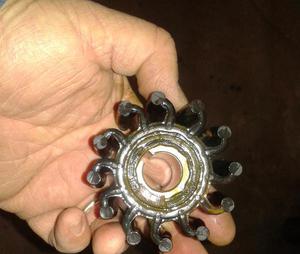
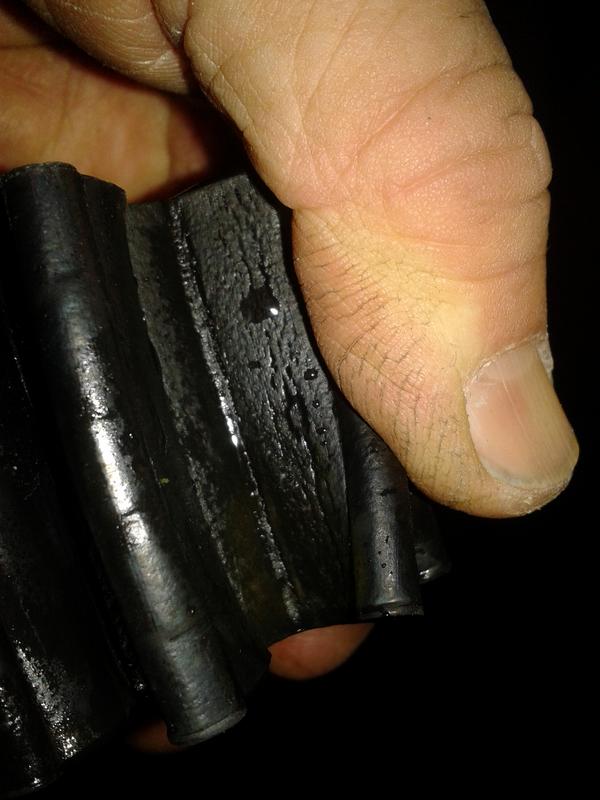
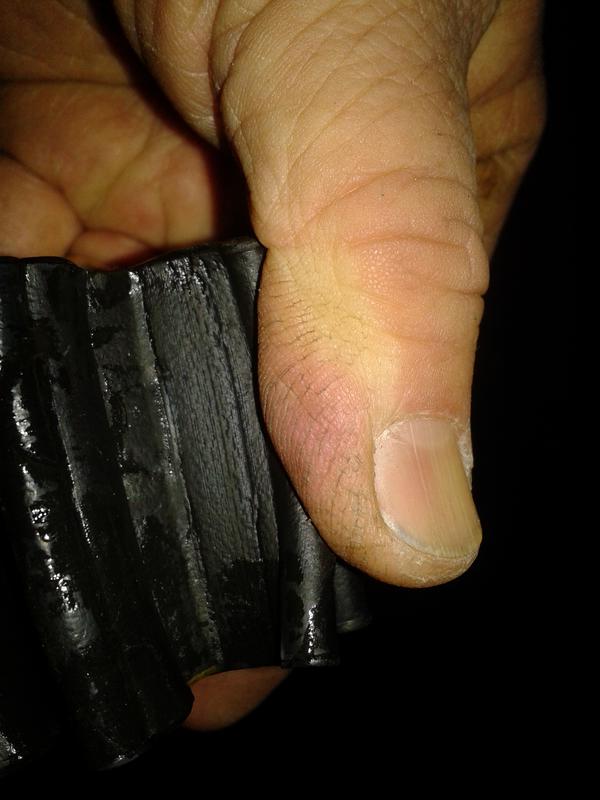
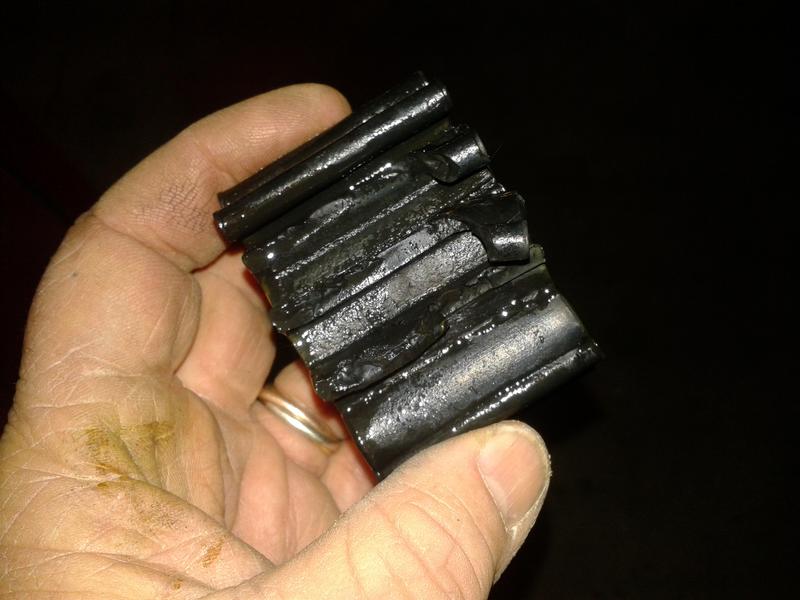
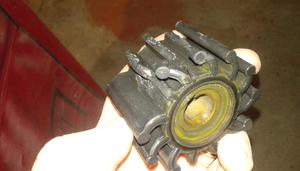
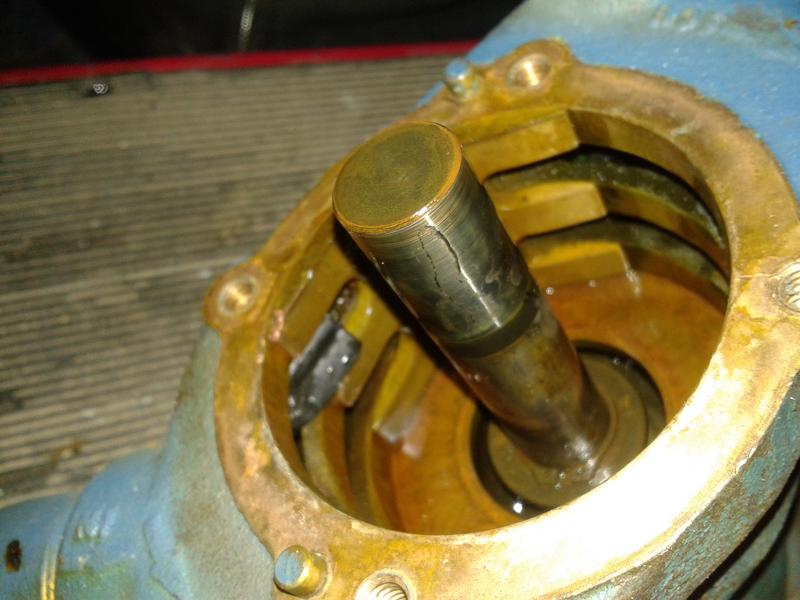
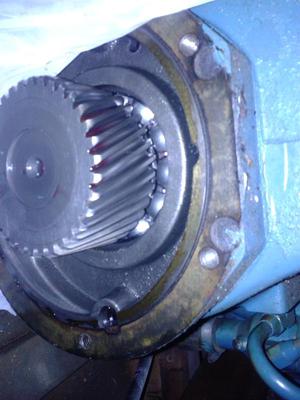
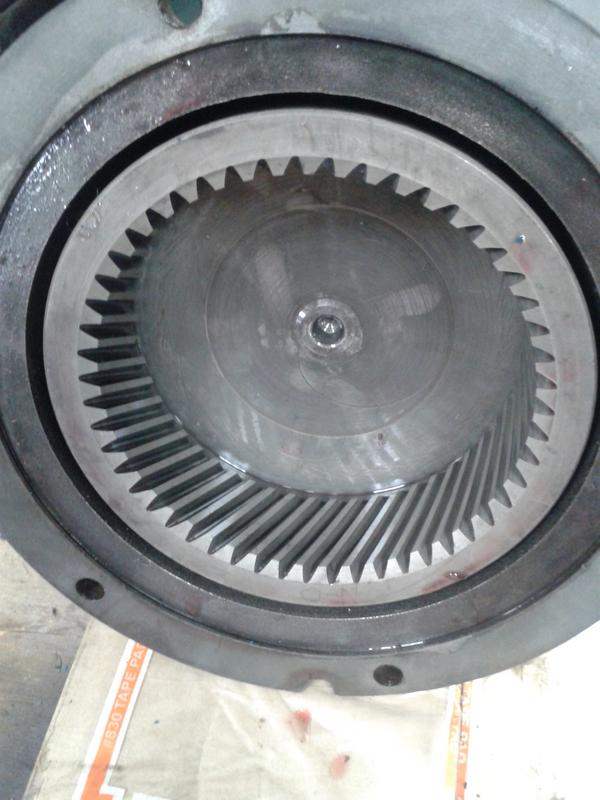
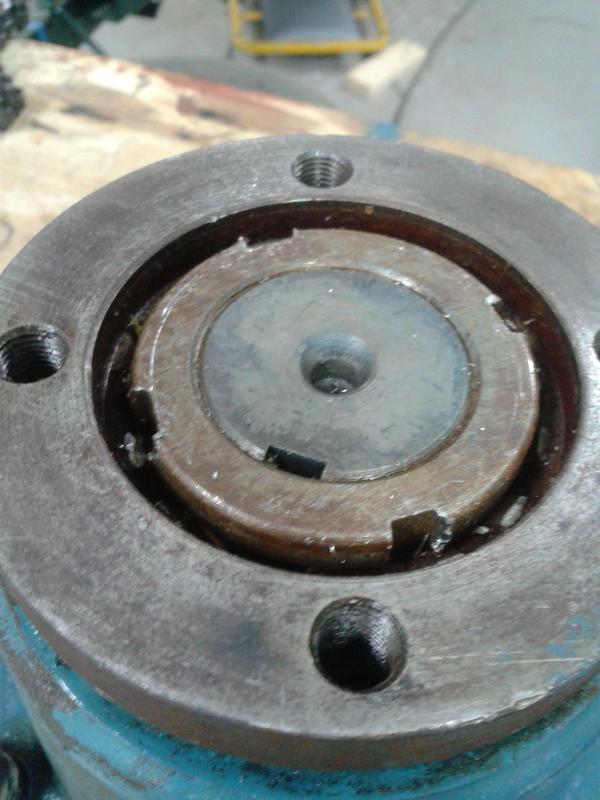
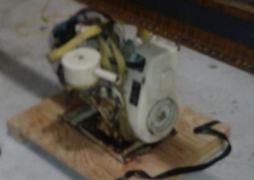
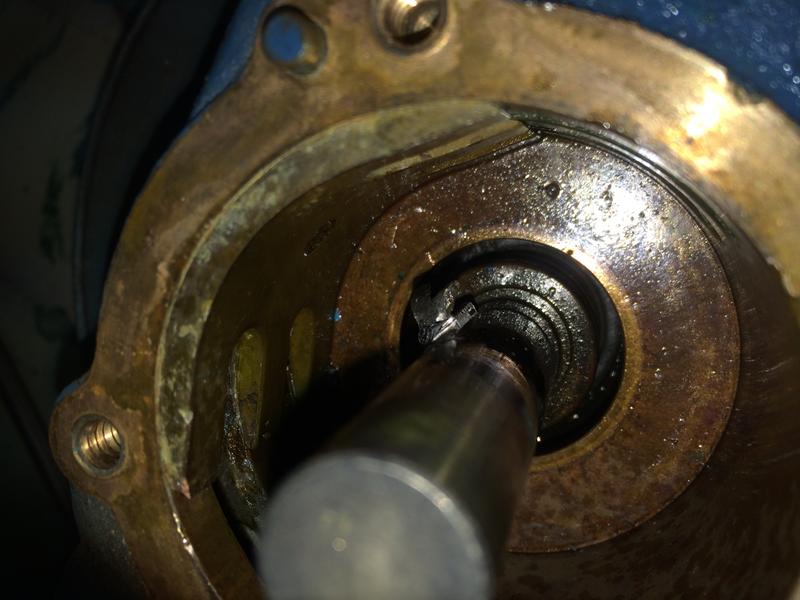
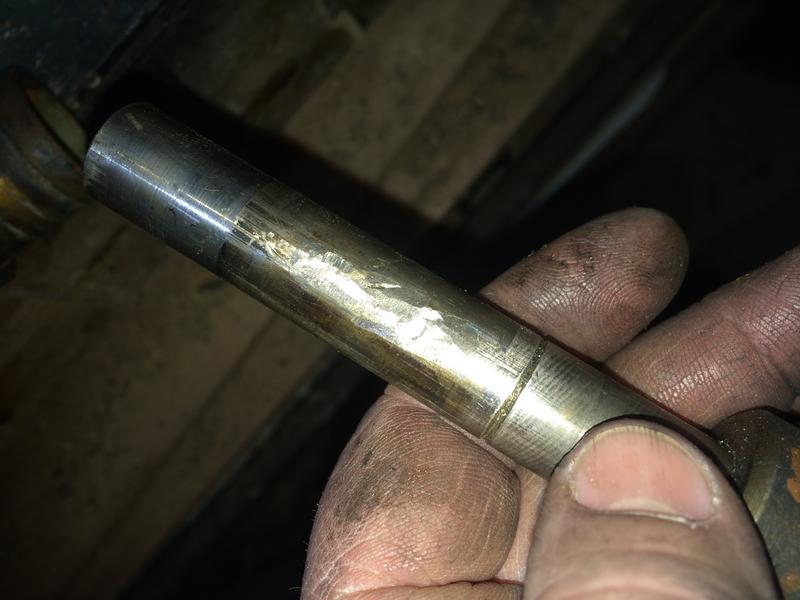
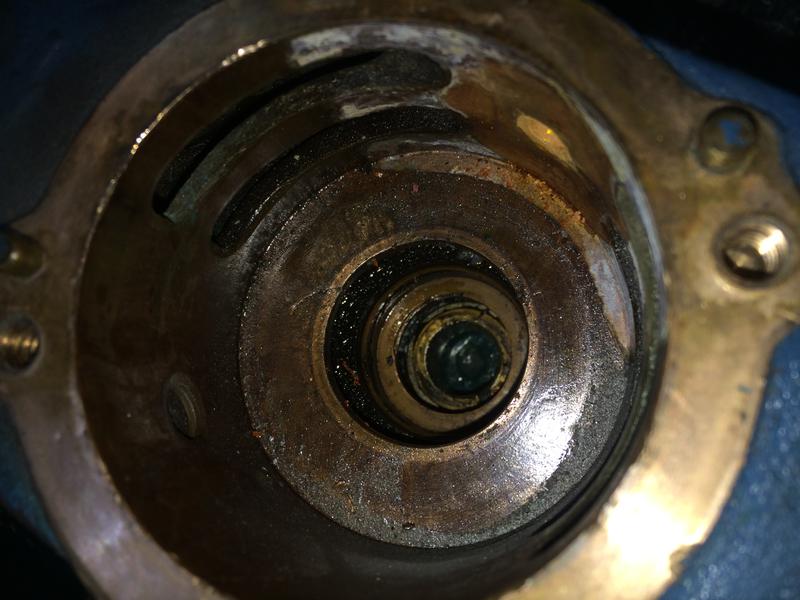
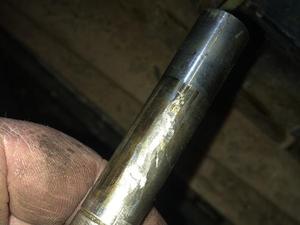
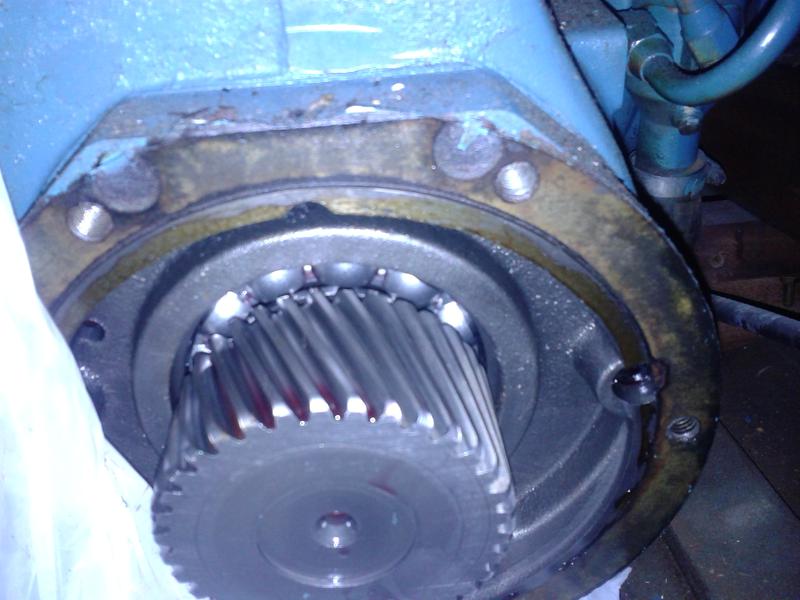
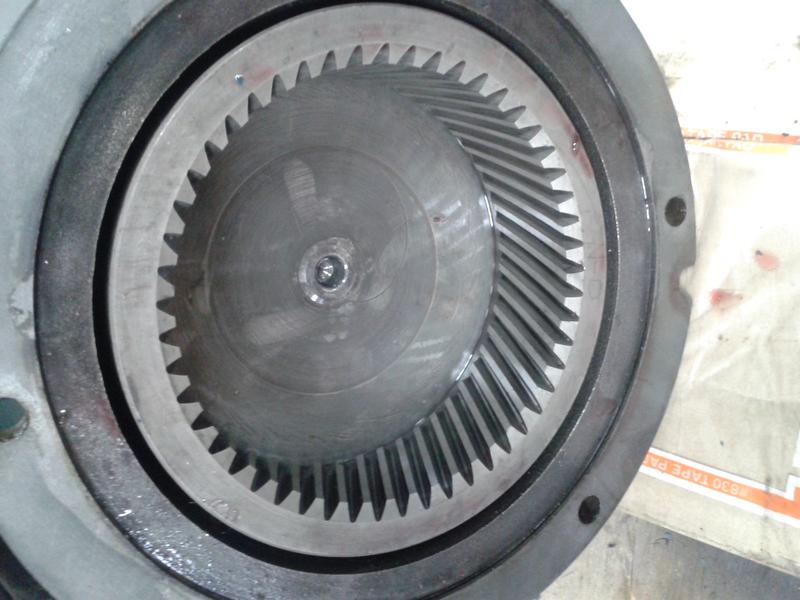
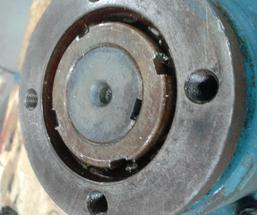
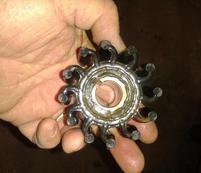
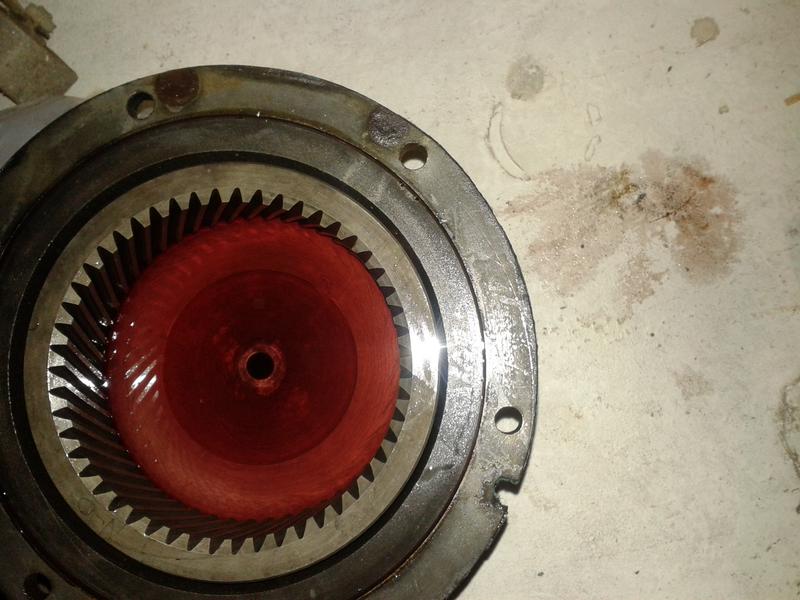
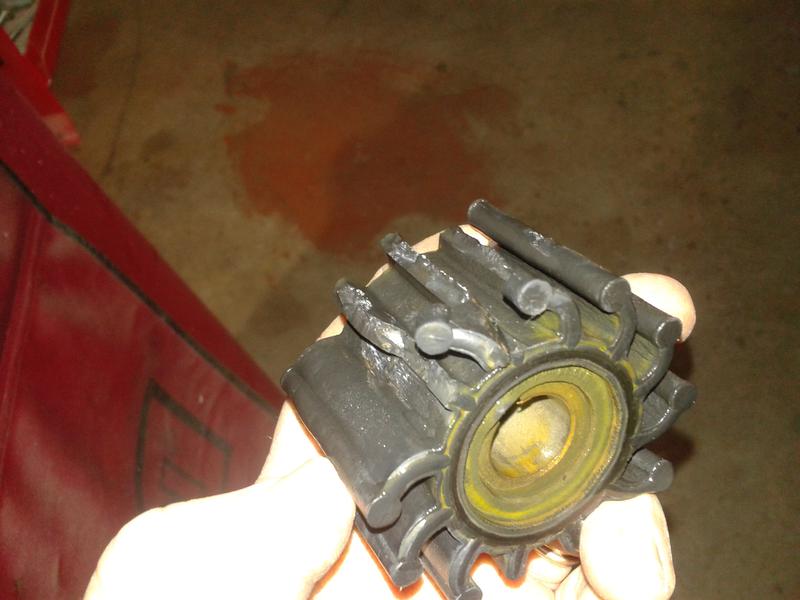
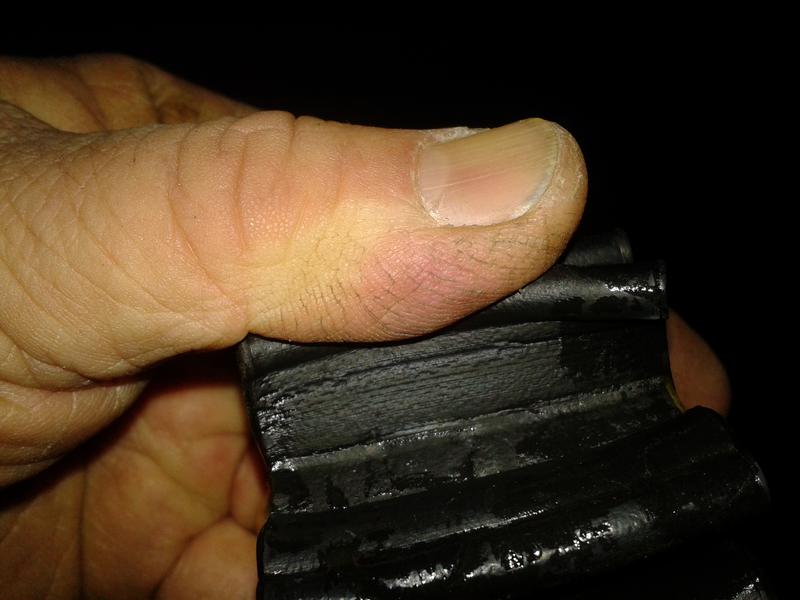
Here we took off the transmission reduction gear, drained the transmission, took the prop rotors off, drained the generator, removed the water pumps as well as the impellers out of the water pumps and tore down the reduction gear.
1/28/14
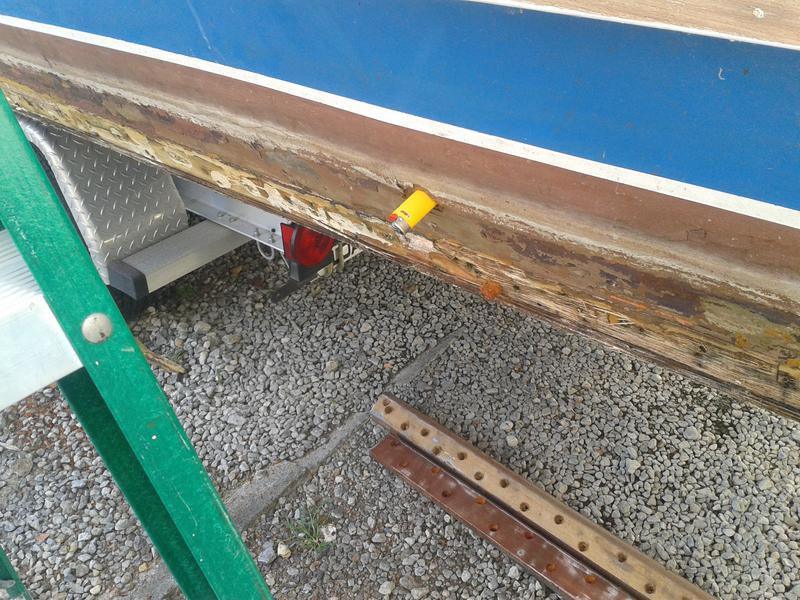
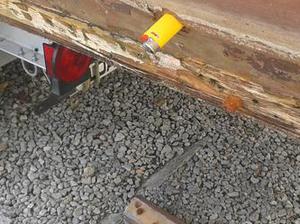
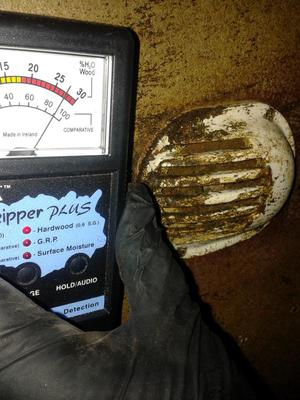
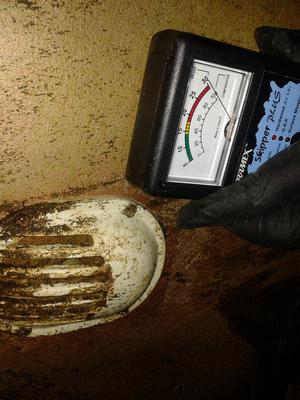
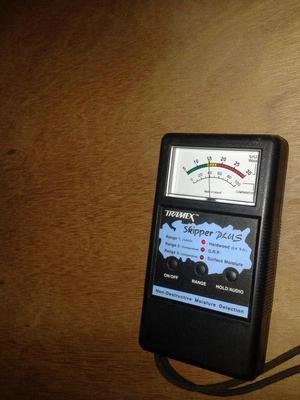
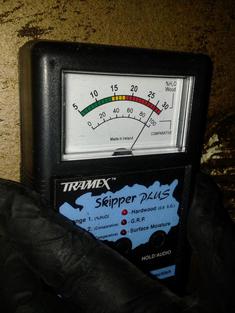
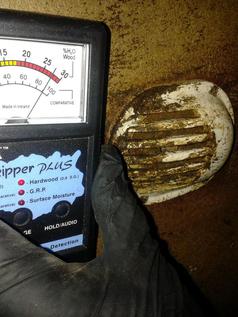
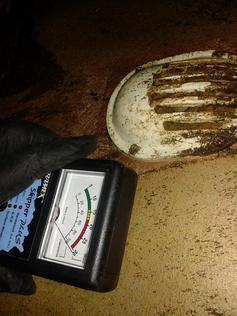
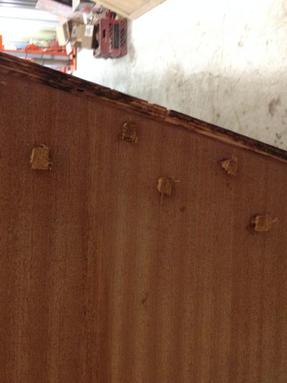
Below are pictures of the bottom assessment and moisture readings.
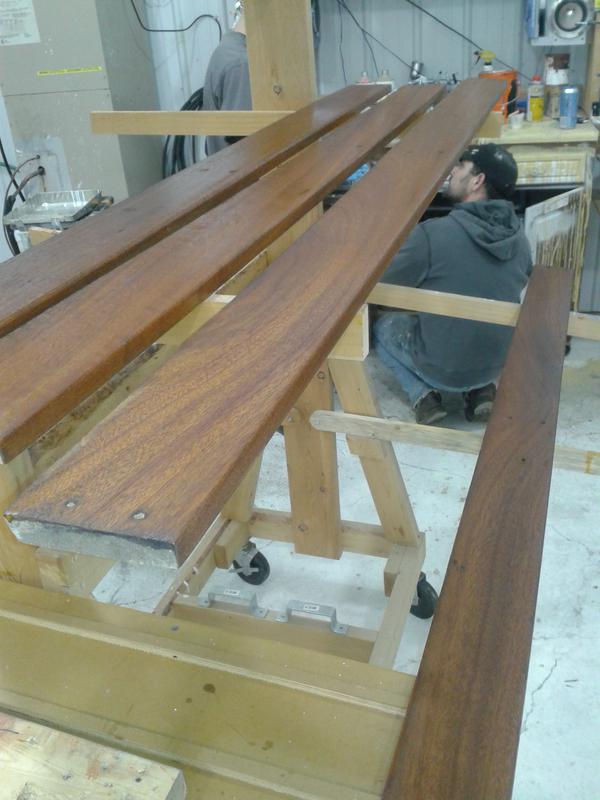
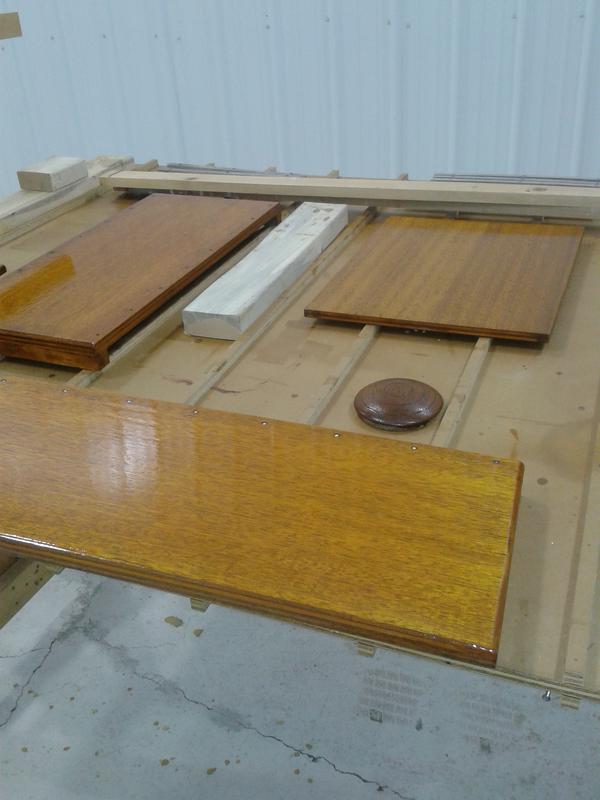
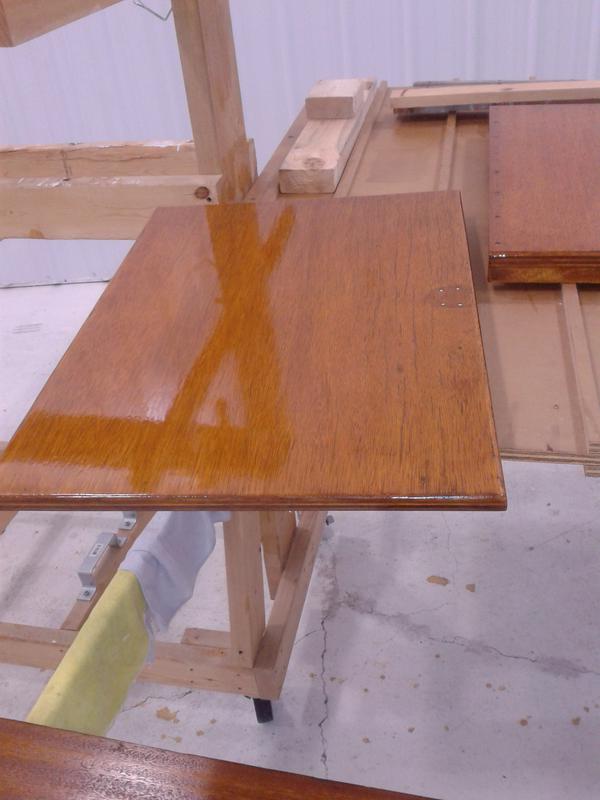
Varnish Work
1/30/14
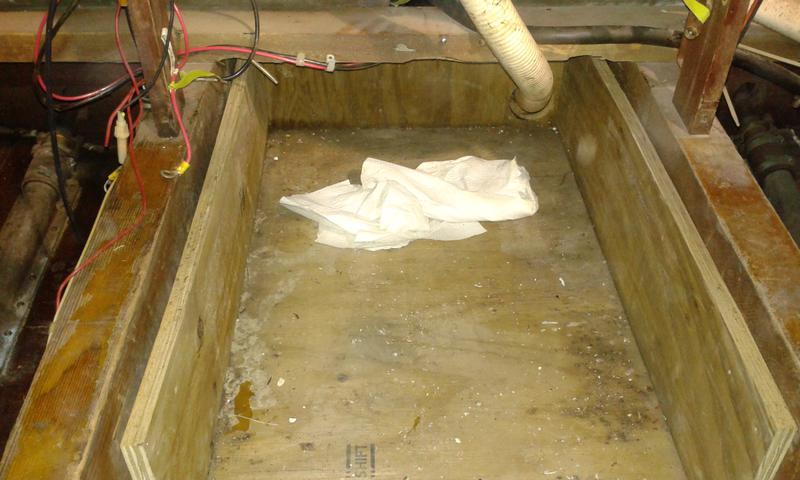
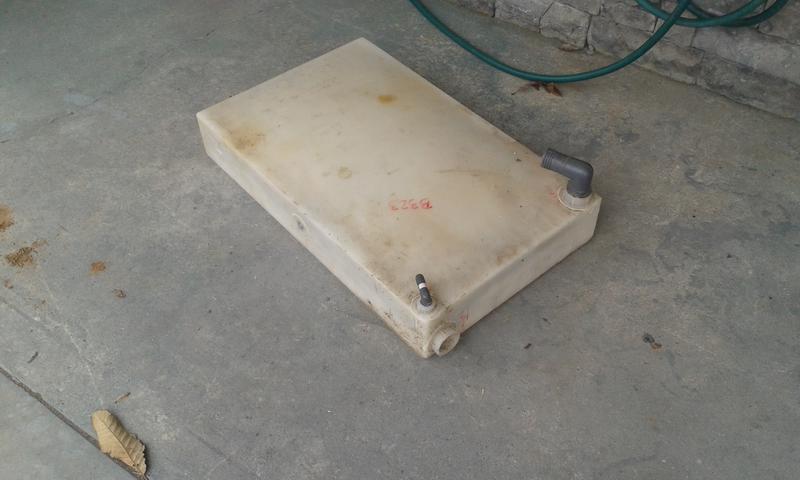
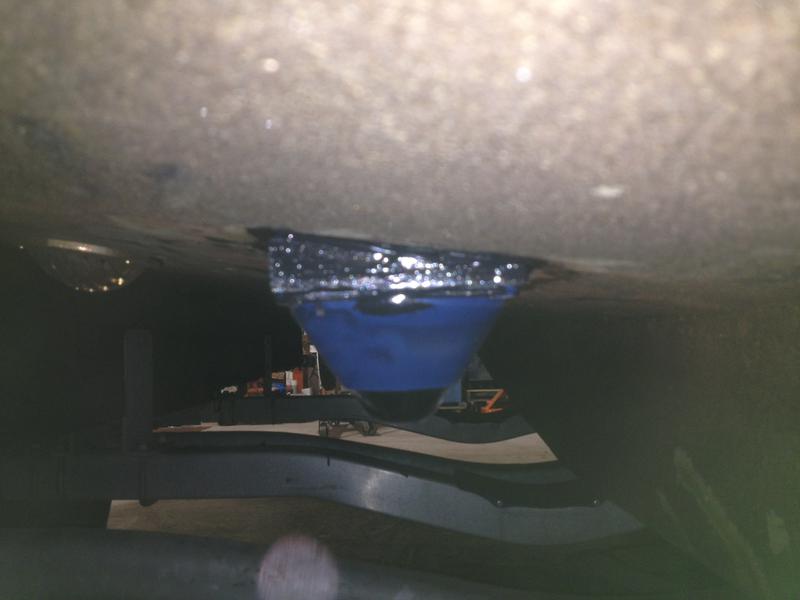
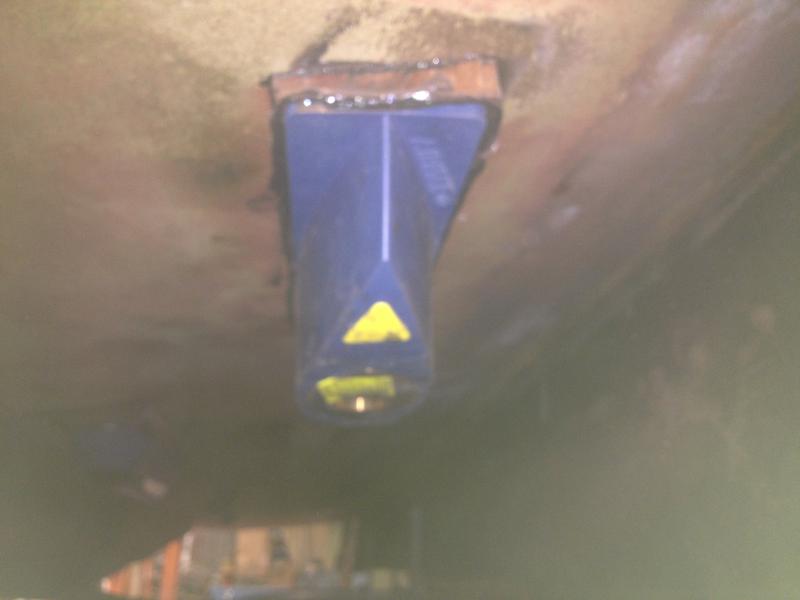
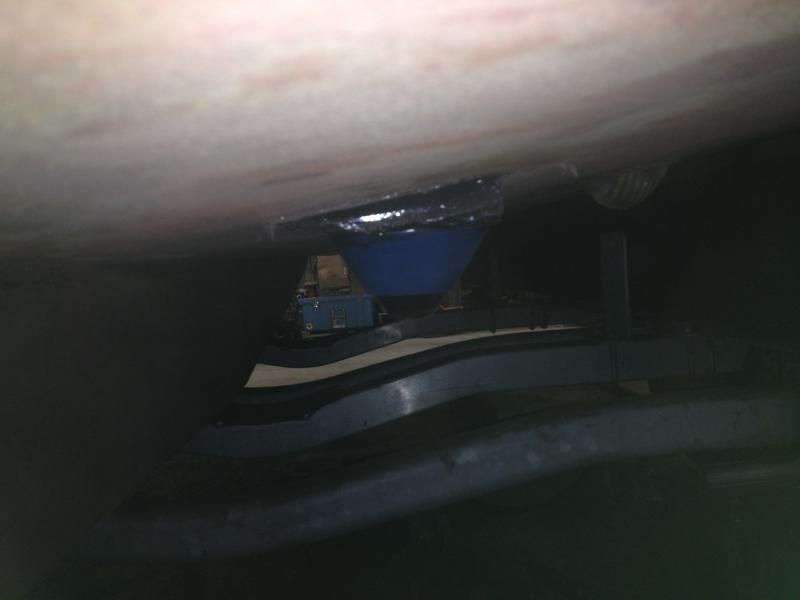
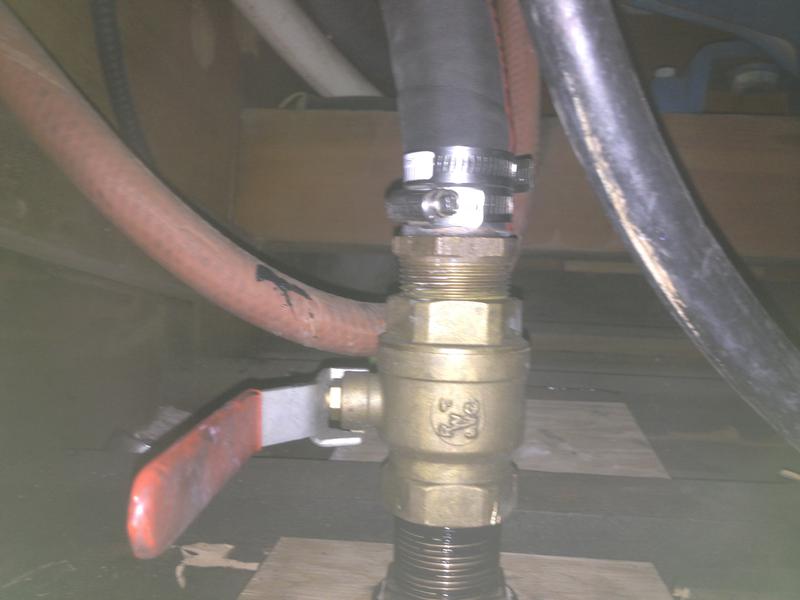
Pumped the waste tank and hooked up the new pump
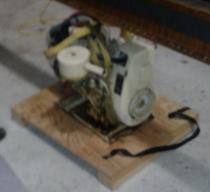
Disconnected and labeled the wires, hoses and belts and then removed the generator.
Removed the old generator from under the deck and prepared for the new one to be installed.
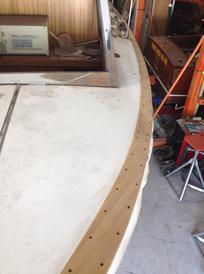
Fabricated the top port forward plank and fit it then installed it.
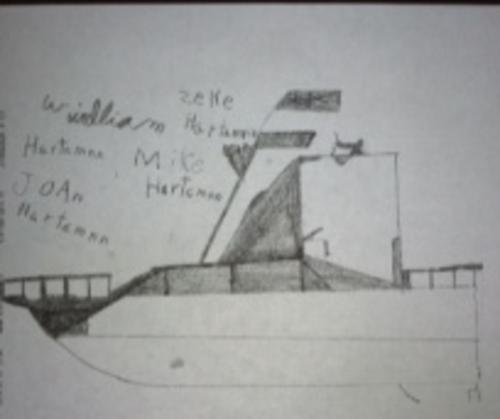
There's an artist in the Hartmann household!!!!
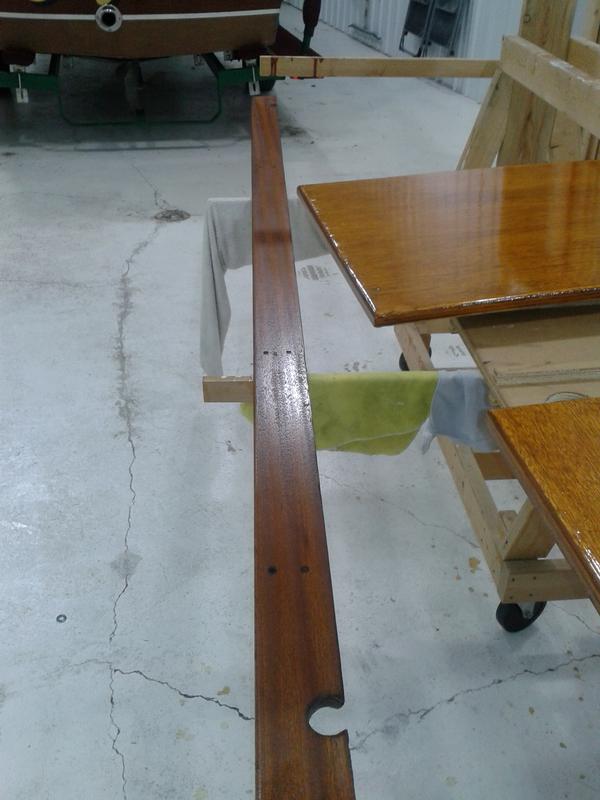
Here we marked and pre drilled the holes for the new plank on the port side top, removed the new plank on the top upper front, applied 5200 on the plank and re installed it, tightened up various screws coming up, filled various holes with wood filler and are sanding the filler smooth.
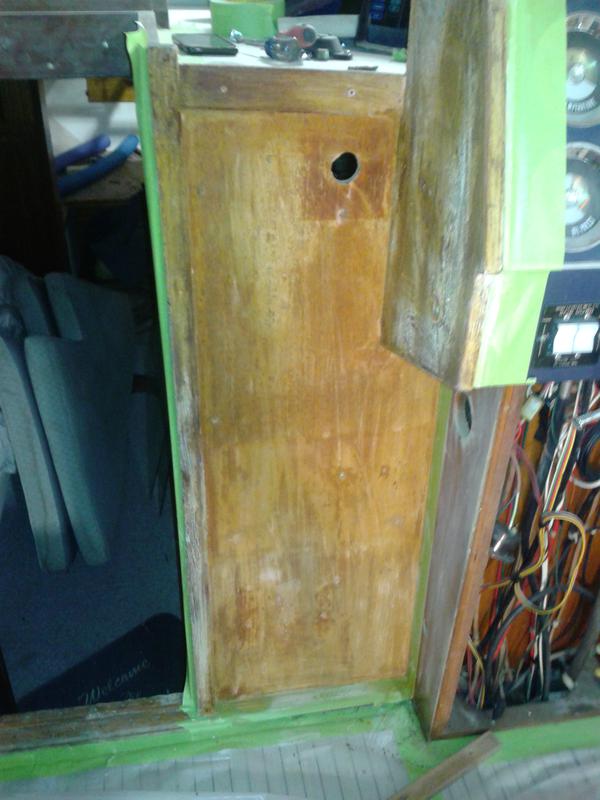
We have the new wood to replace and repair the transom.
We have stripped the cockpit and the rope locker of it's hardware and sanded, stained and applied several coats of honey teak then replaced the hardware after cleaning it up.
2/13/14
Update 2/18/14
Vibration isolator is broken, this keeps the generator from vibrating. A new one is on the way.
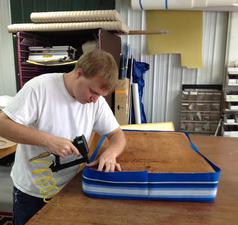
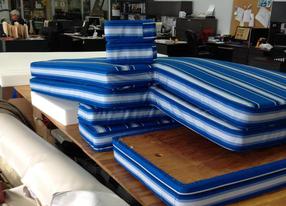
Work has began on the seats.
4/6/2014
4/15/14
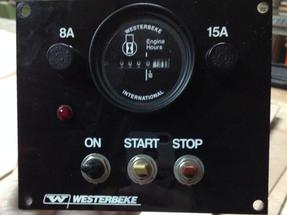
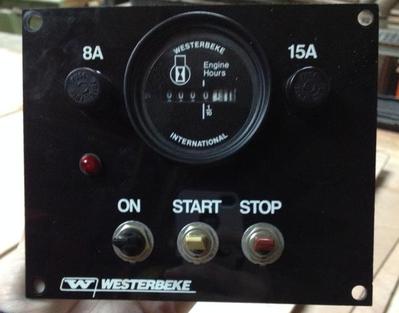
Remote control panel for the generator. Had to have the panel fabricated with a new meter reading zero hours.
4/18/14
The generator has been put in.
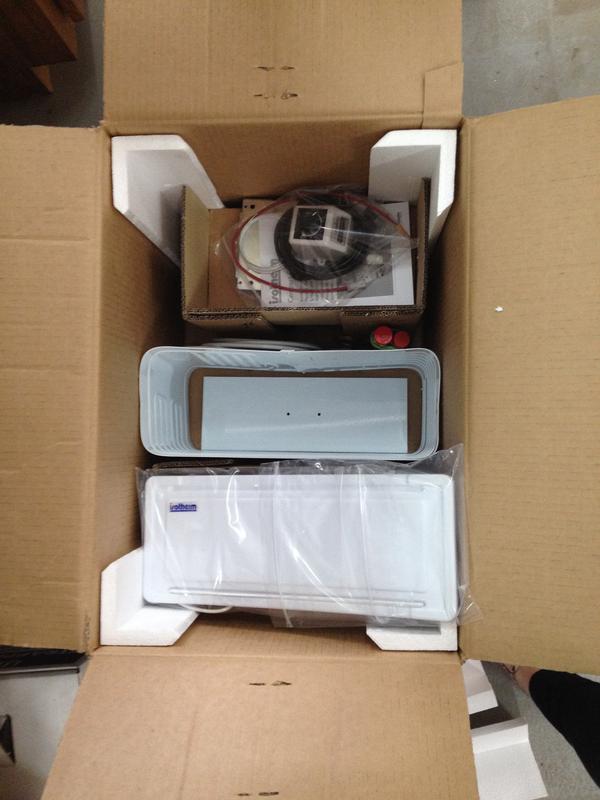
We received all the parts today. We would like to make sure that they are all here.
4/30/14
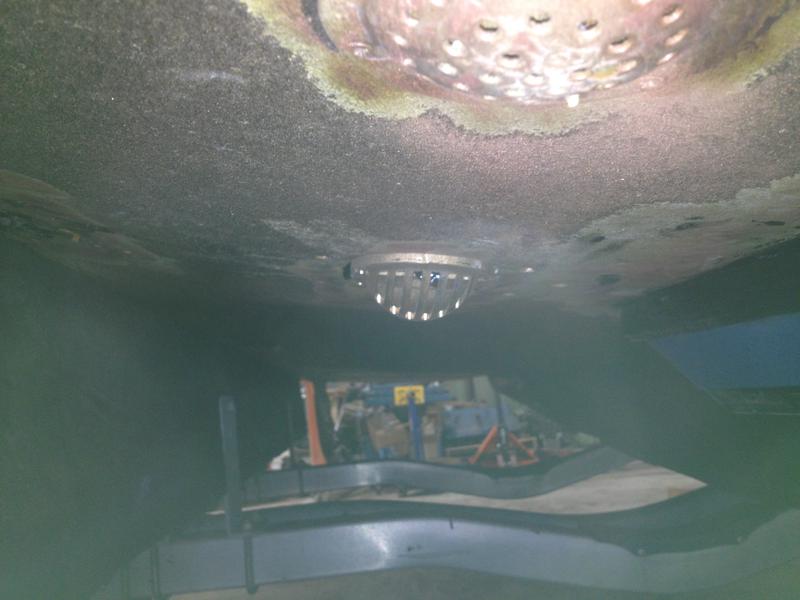
The transducers are in place on each side.
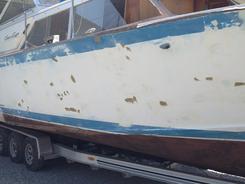
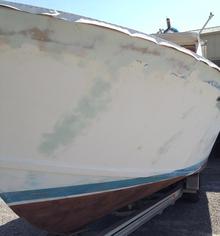
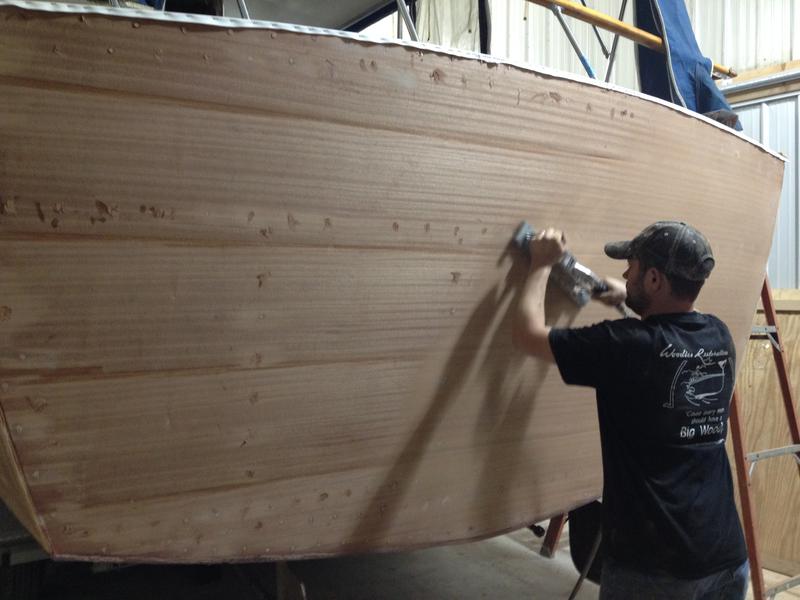
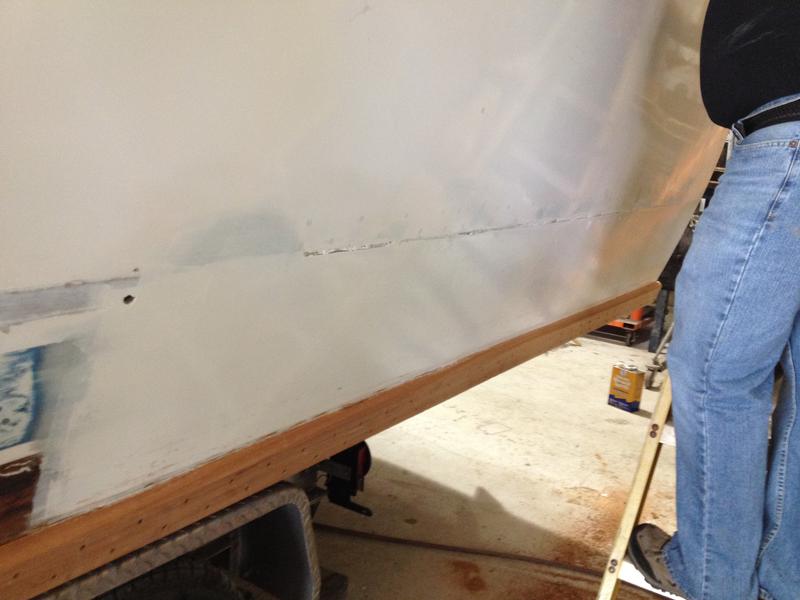
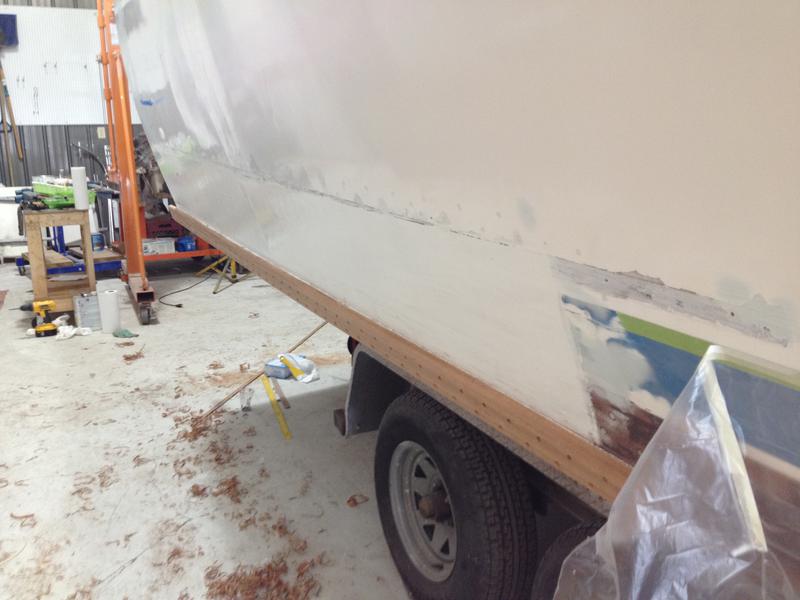
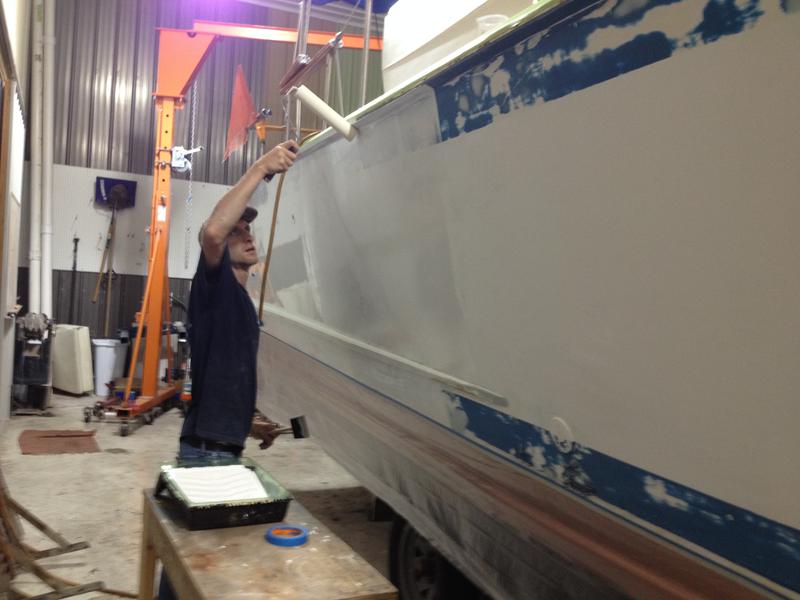
We have started to sand the sides.
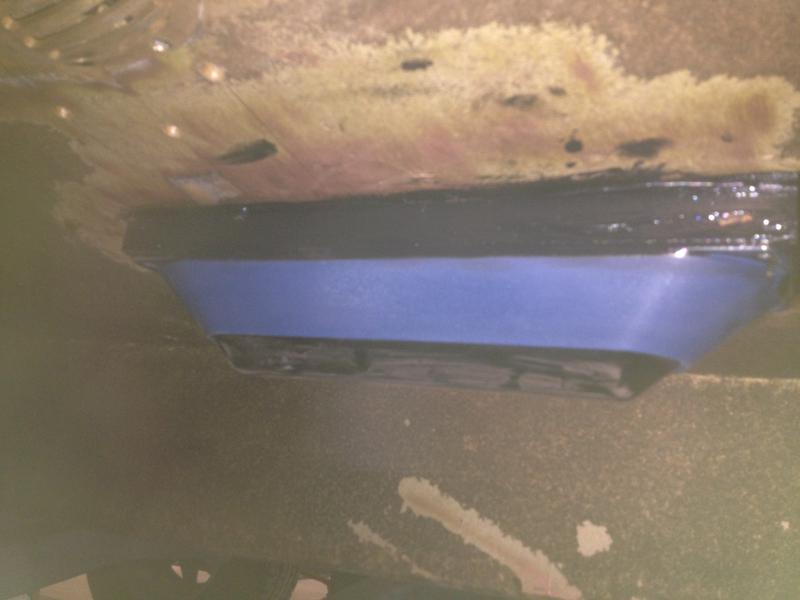
The new scupper has been installed.
5/6/14
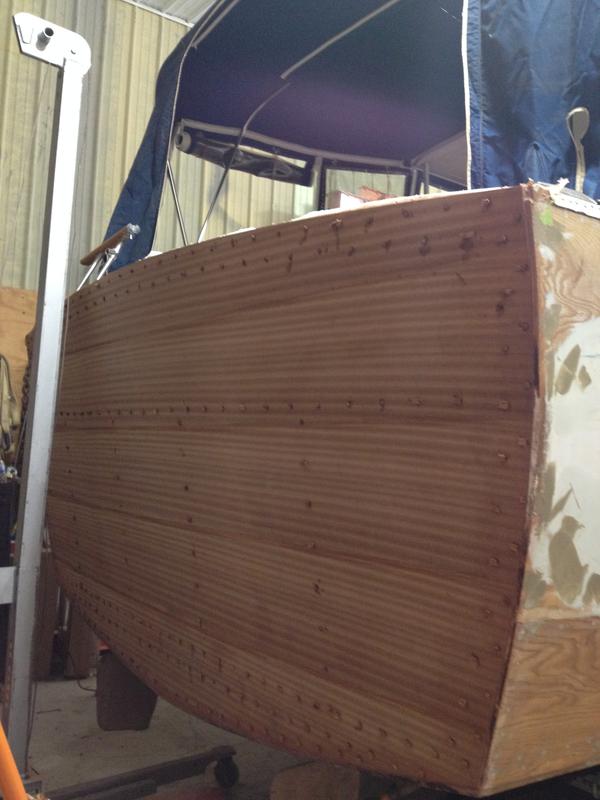
The transom has been put on.
5/9/14
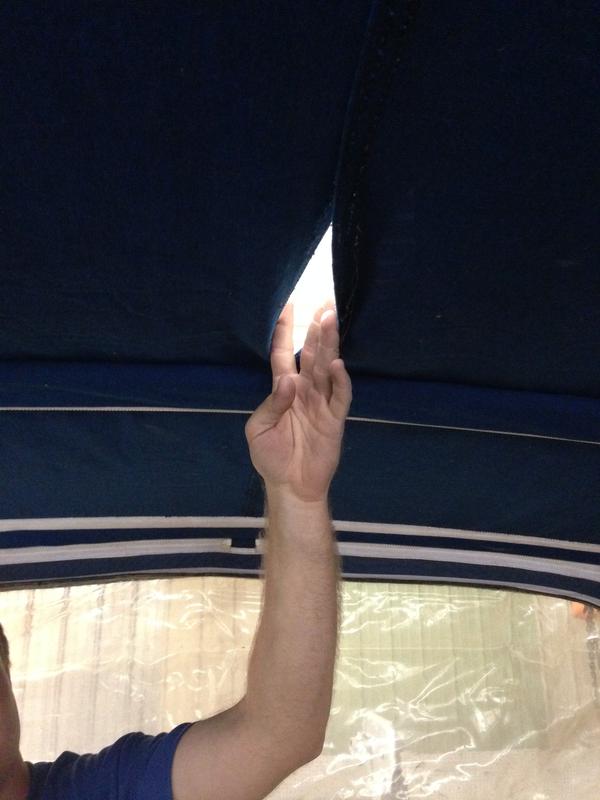
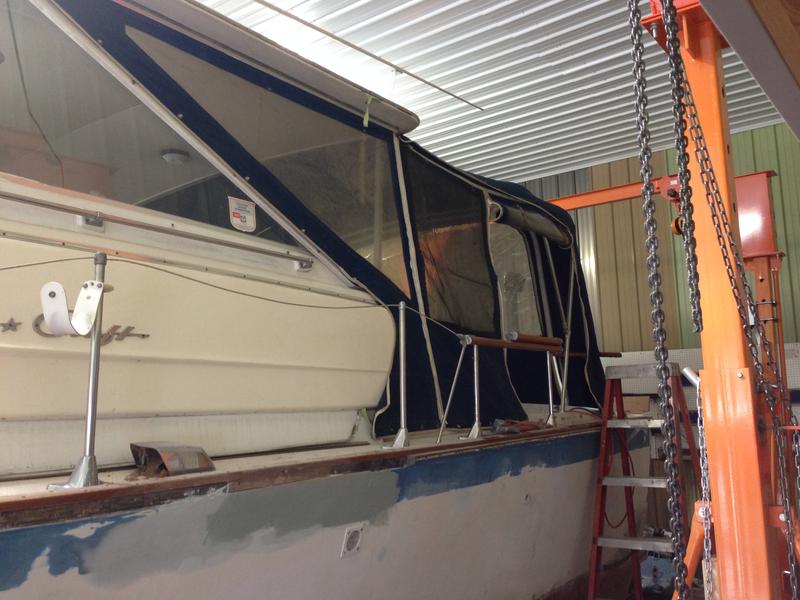
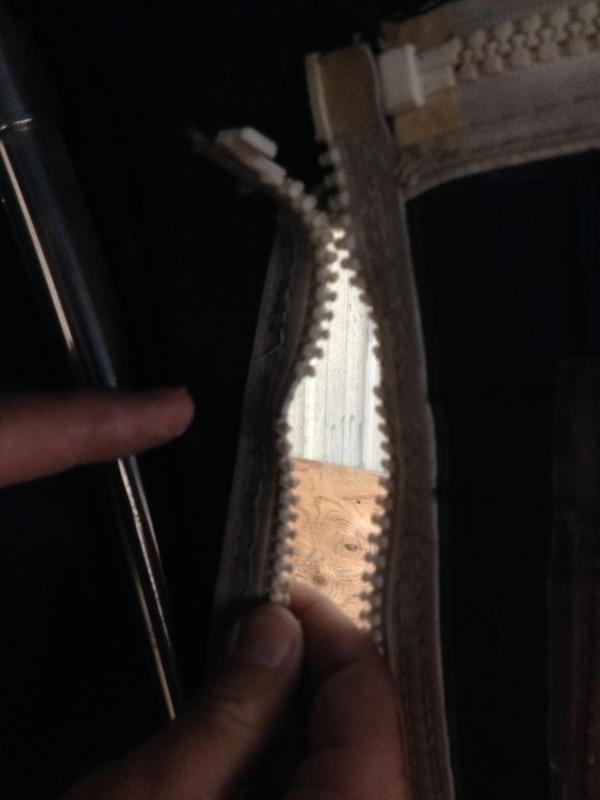
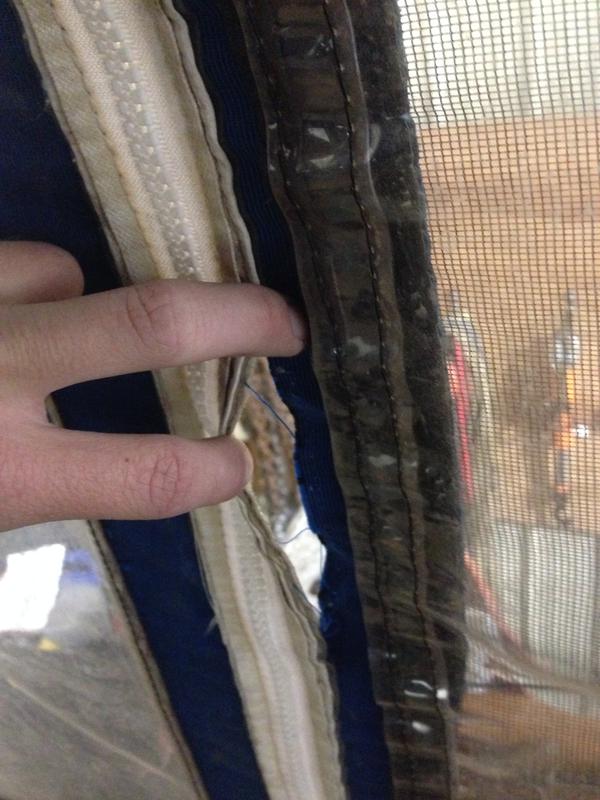
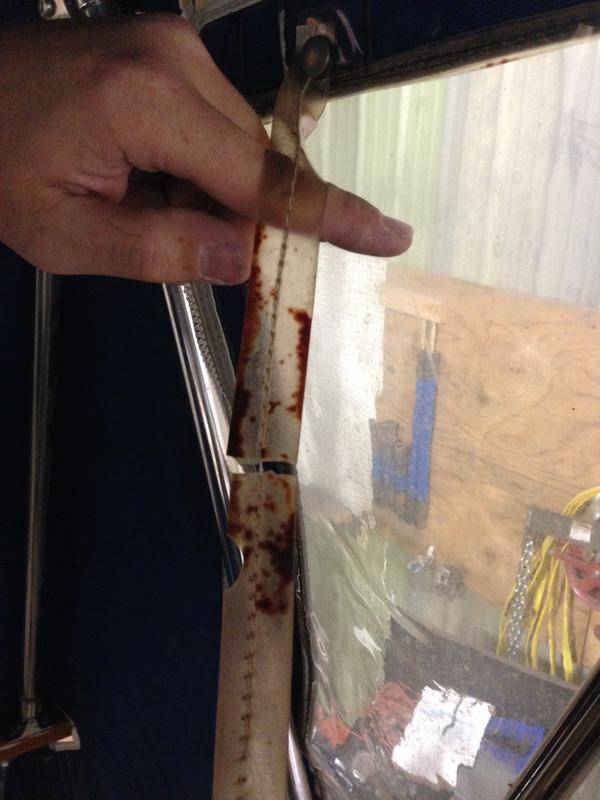
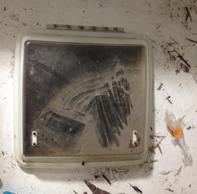
These pictures show the problem with the current boat cover.
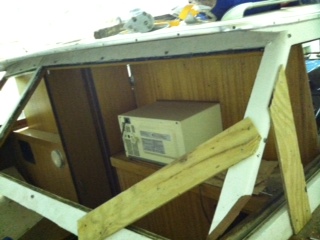
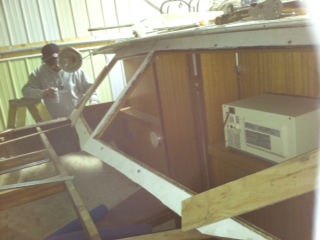
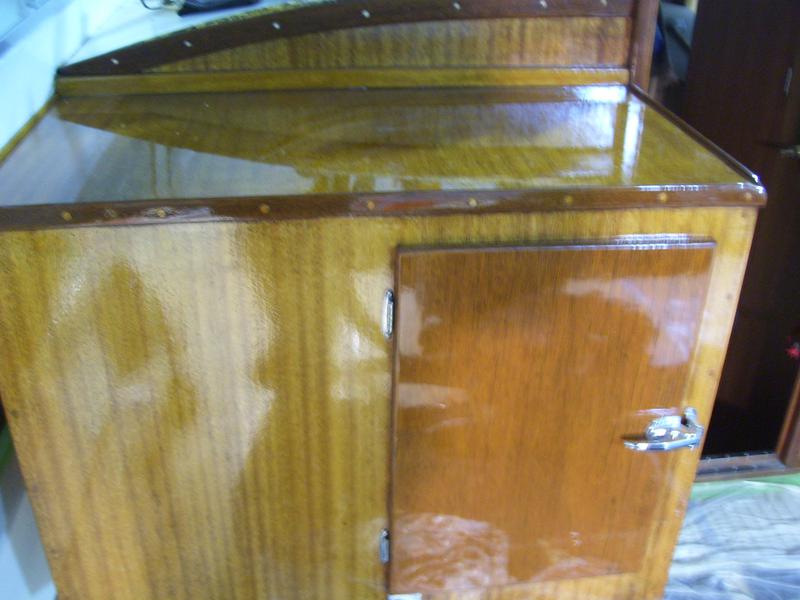
The refrigerator is in.
The cap rails are being put on.
5/12/14
5/14/14
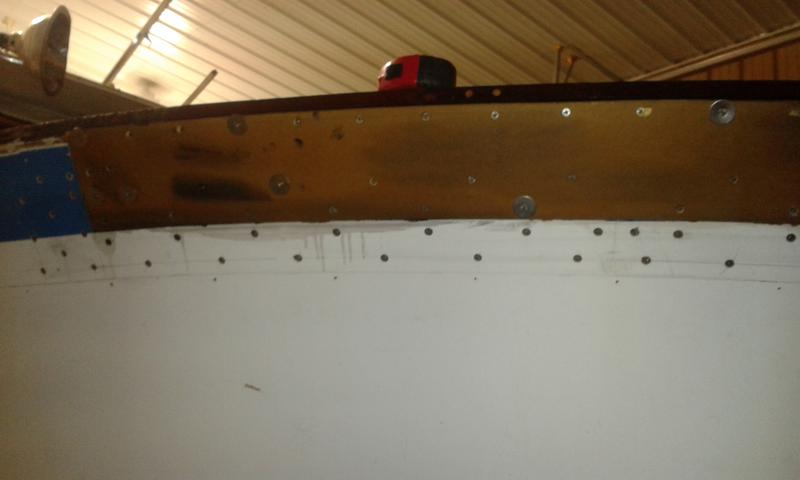
The bungs are being put on the transom. The transom has also been trimmed.
2/18/14
2/13/14
We have stripped the cockpit and the rope locker of it's hardware and sanded, stained and applied several coats of honey teak then replaced the hardware after cleaning it up.
1/30/14
We have the new wood to replace and repair the transom.
Here we marked and pre drilled the holes for the new plank on the port side top, removed the new plank on the top upper front, applied 5200 on the plank and reinstalled it, tightened up various holes with wood filler and are sanding the filler smooth.
Fabricated the top port forward plank and fit it then installed it.
Pumped the waste tank and hooked up the new pump.
Disconnected and labeled the wires, hoses and belts and then removed the generator.
Removed the old generator from under the deck and prepared for the new one to be installed.
1/28/14
Here we took off the transmission reduction gear, drained the transmission, took the prop rotors off, drained the generator, removed the water pumps as well as the impellers out of the water pumps and tore down the reduction gear.
1/28/14
We applied CPES to the transom, bow and any other bare wood ,cut the angles on new wood for the baton and applied 4 to 5 coats of honey teak, we removed the hardware from the cockpit as well as the trim from the boat, screws and various parts, taped around the dash, began sanding, we tore down the cockpit and the decks, sanded as well as scuffed all the wood needing varnish work, scraped, peeled and wire brushed the inside of the hull for applications of CPES, removed hardware, knobs and hinges from the doors on the cockpit, removed the old glue from the window frames, removed the cockpit trim and helm chrome, removed and replaced the original screws as well as their washers with stainless to apply varnish then replaced them with the original screws and washers after varnishing as well as sanded down the areas to be varnished, stripped some areas and then we applied several coats of honey teak to areas that had been sanded and scuffed.
Here we have fabricated a new plank under the starboard deck at the corner of the windshield, removed the glass on the port forward, braced the window frame and cut away the bad wood as well as the bottom corner, then preselected the wood, planed it, cut it and routed out the track for the windshield.
1/24/14
Below we have disassembled the engine and showing parts to be cleaned and/or replaced.
1/6/14
Below are pictures of the bottom assessment and moisture
4/6/14
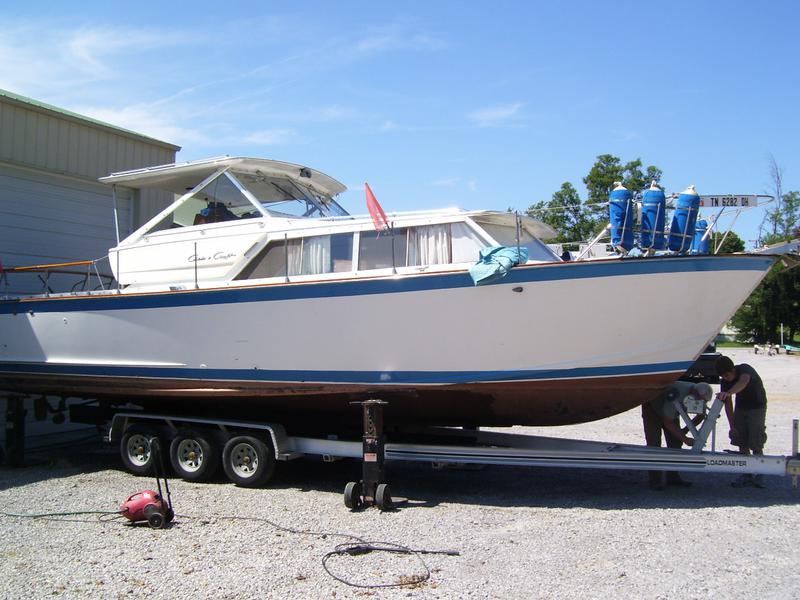
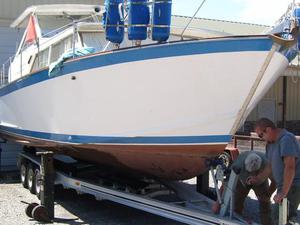
Preparing to transfer from road to yard trailer-Note one of the four yard arms used for lifting the boat in the lower left corner of the photo at left.
Vibration isolator is broken, this keeps the generator from vibrating. A new one is on the way.
Work has began on the seats.
4/15/14
Remote control panel for the generator. Had to have the panel fabricated with a new meter reading zero hours.
4/18/14
The generator has been put in.
We received all the parts today. We would like to make sure that they are all here.
4/30/14
We have started to sand the sides.
The transducers are in place on each side.
The new scupper has been installed.
5/6/14
The transom had been put on.
5/12/14
The refrigerator is in.
These pictures show the problems with the current boat cover.
The cap rails are being put on.
5/14/14
The bungs are being put on the transom. The transom has also been trimmed.
5/19/14
The transom has been sanded, along with putting on little things. The cap rails are also being stained.
5/20/14
The transom has had stain applied.
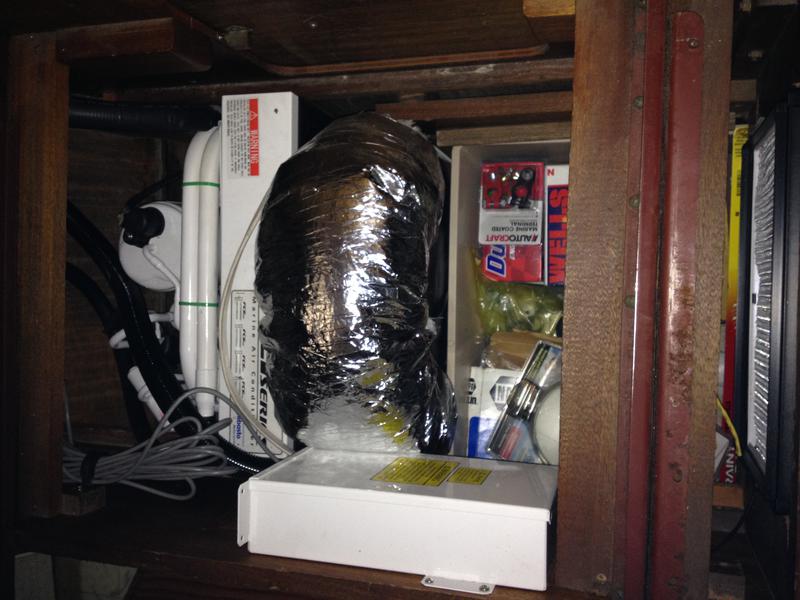
Four batteries will be placed in this battery box.
5/21/14
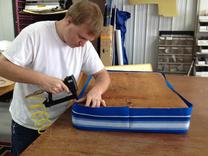
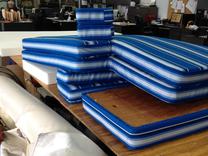
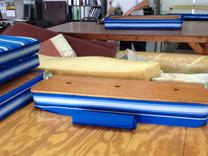
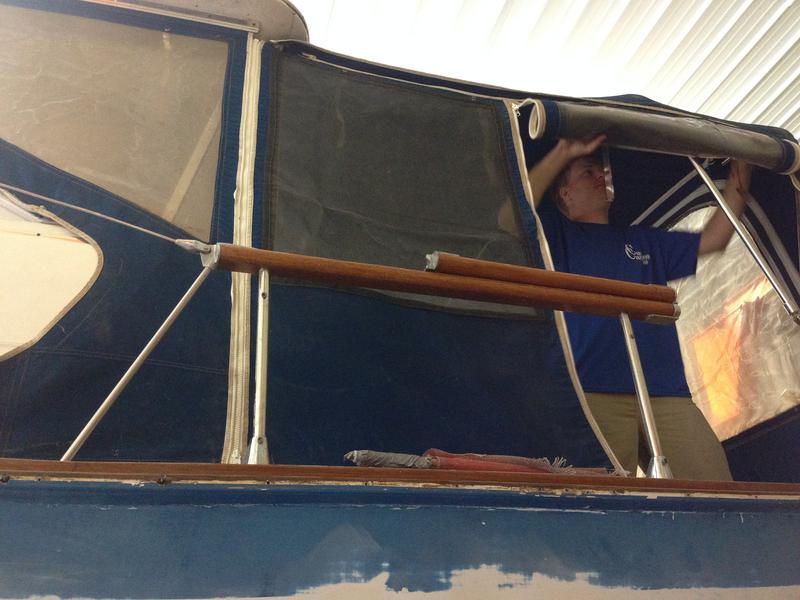
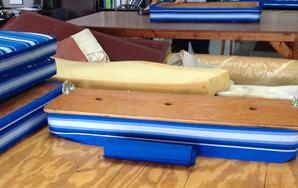
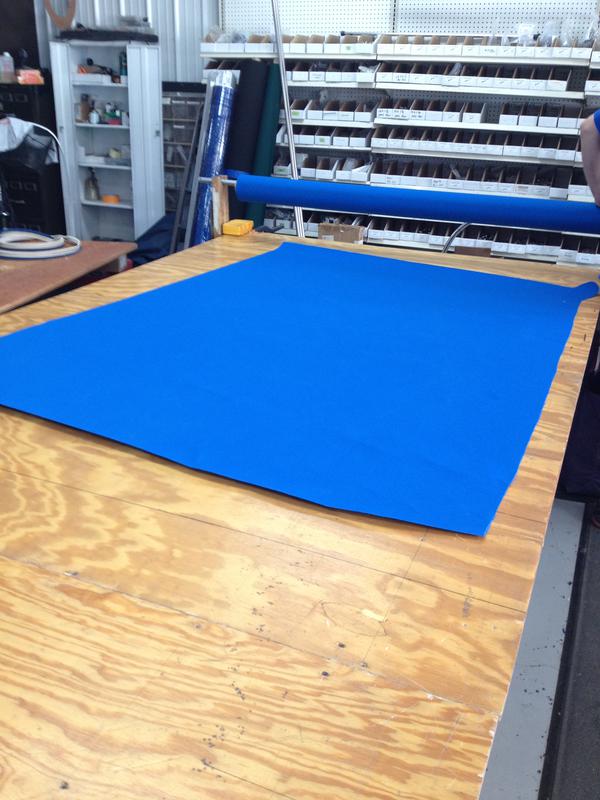
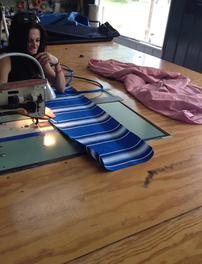
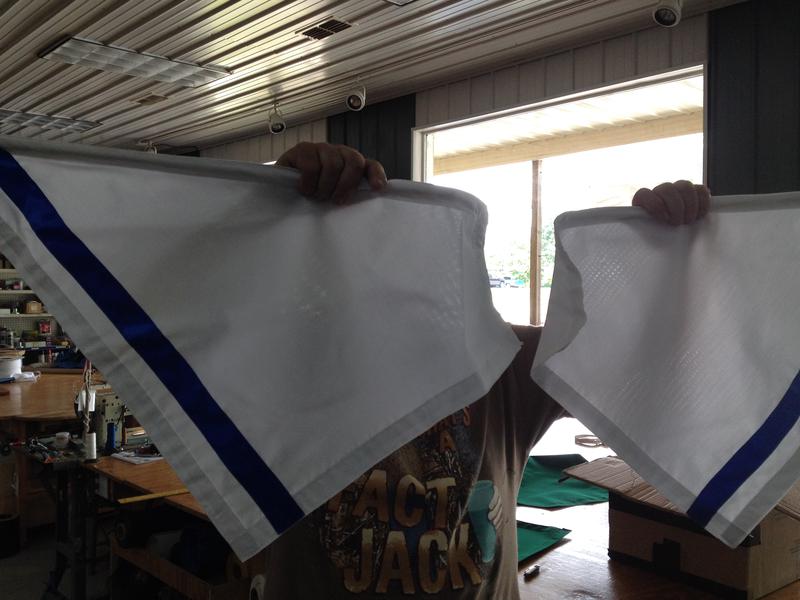
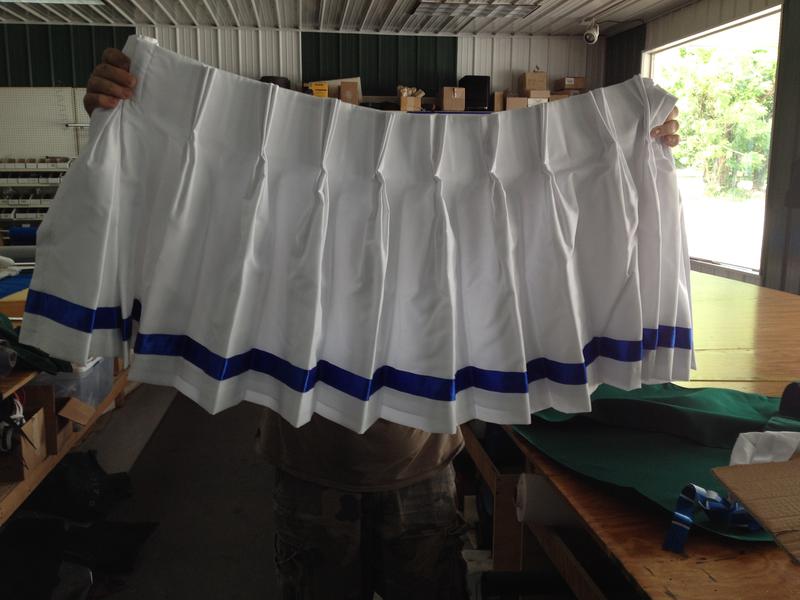
The pieces for the bimini top and interior seats have been cut out and are being sewn together.
The back of the boat with the fishing rods in place.
The chimes are on both sides of the boat.
5/22/14
The curtains are in.
5/29/14
The swimming platform attached to the transom.
The air conditioning unit is installed.
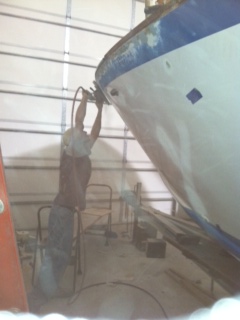
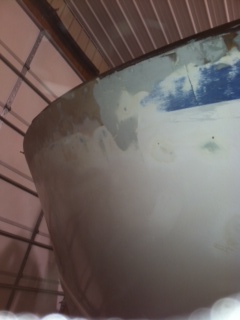
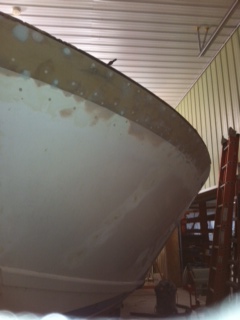
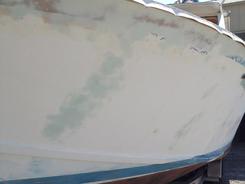
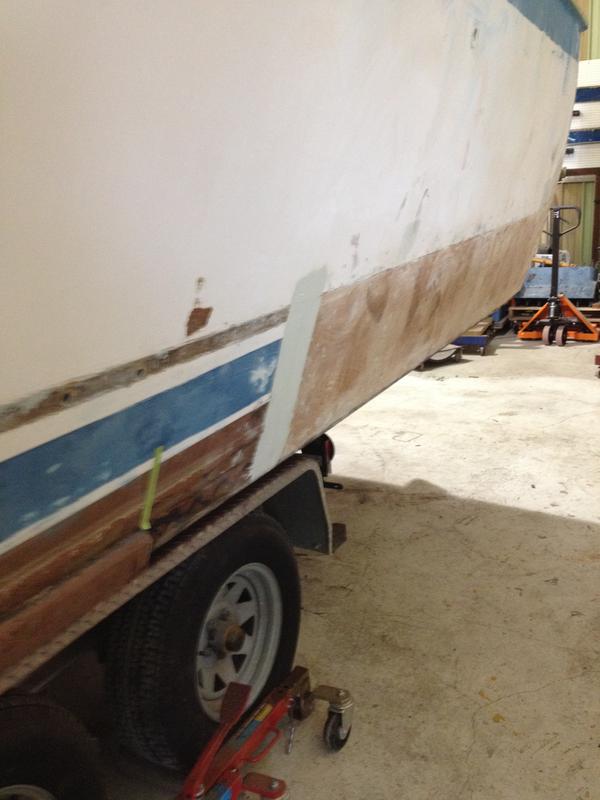
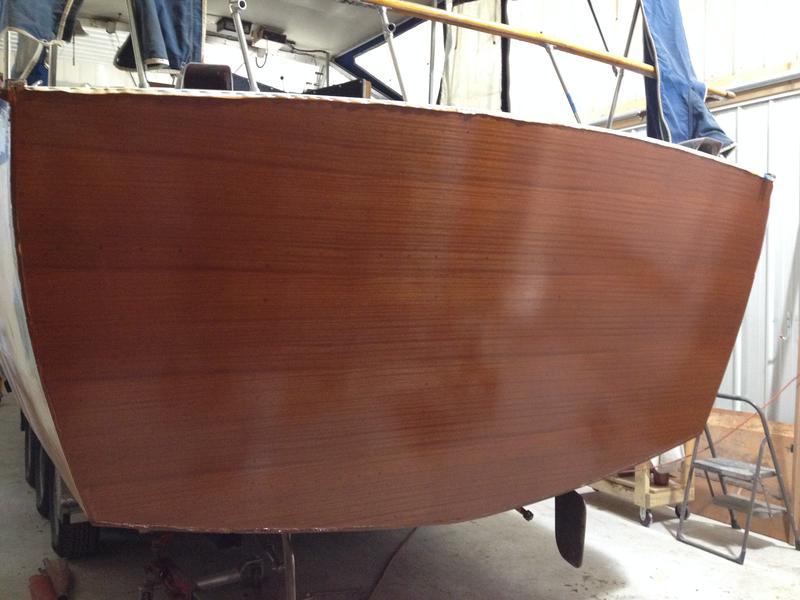
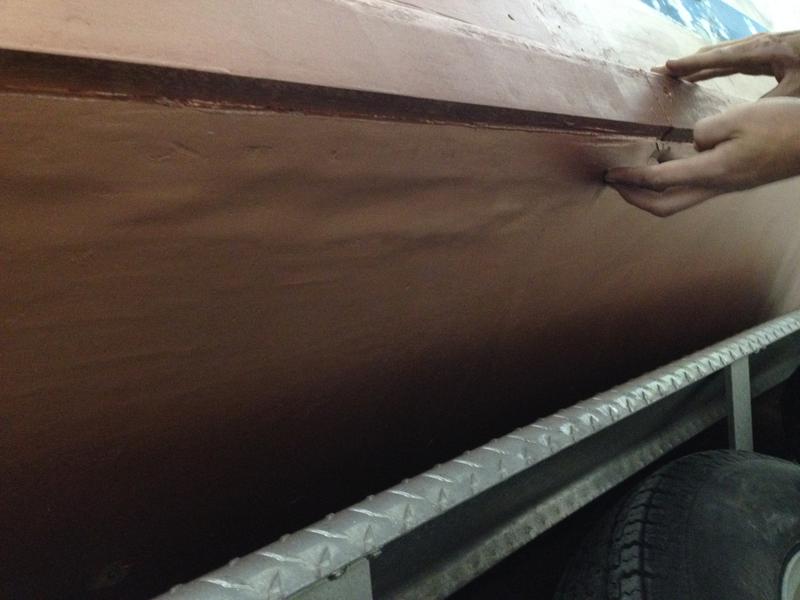
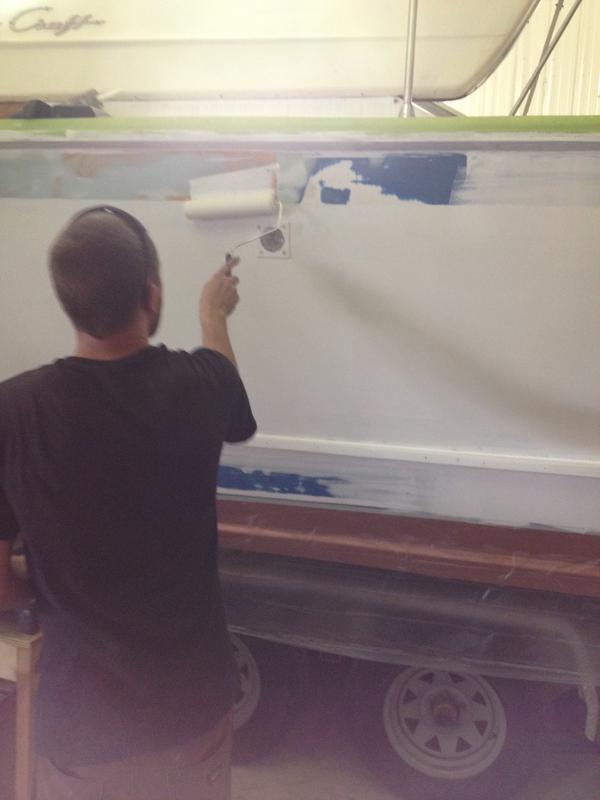
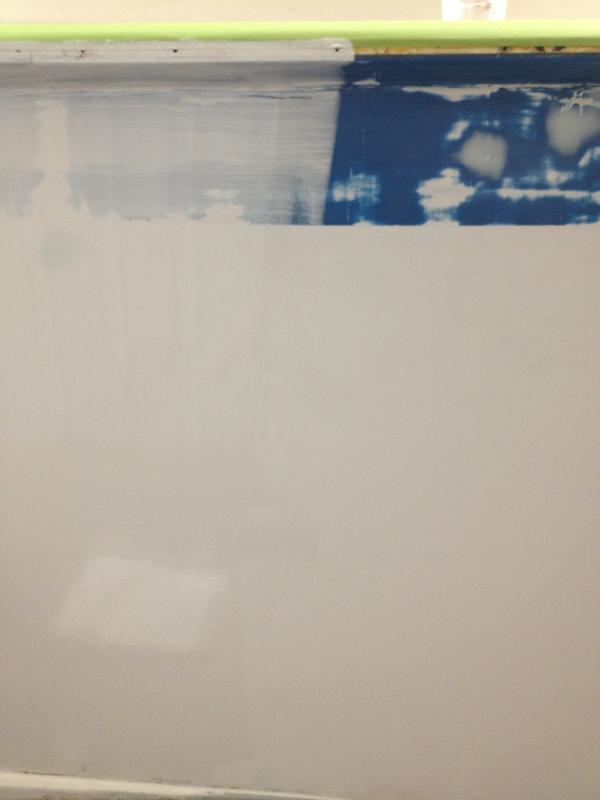
The sides are prepped for another coat of paint.
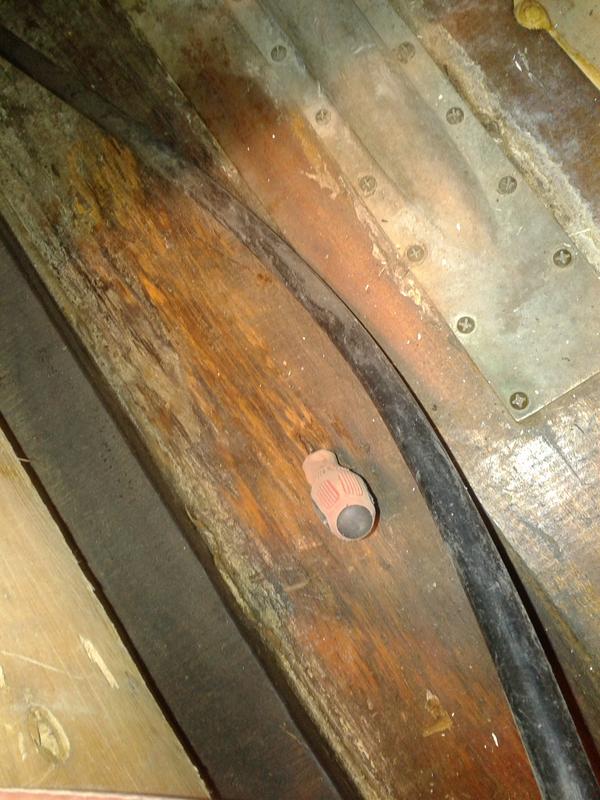
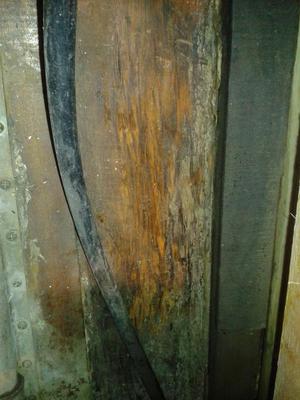
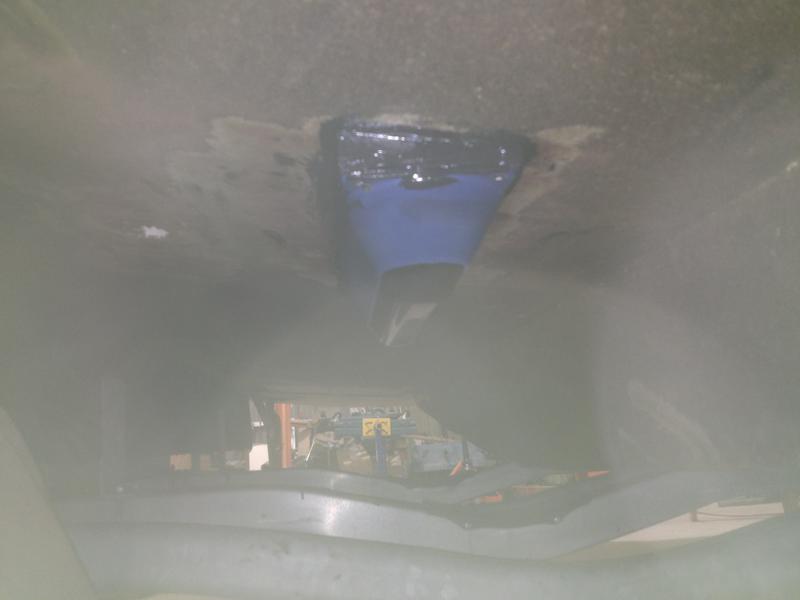
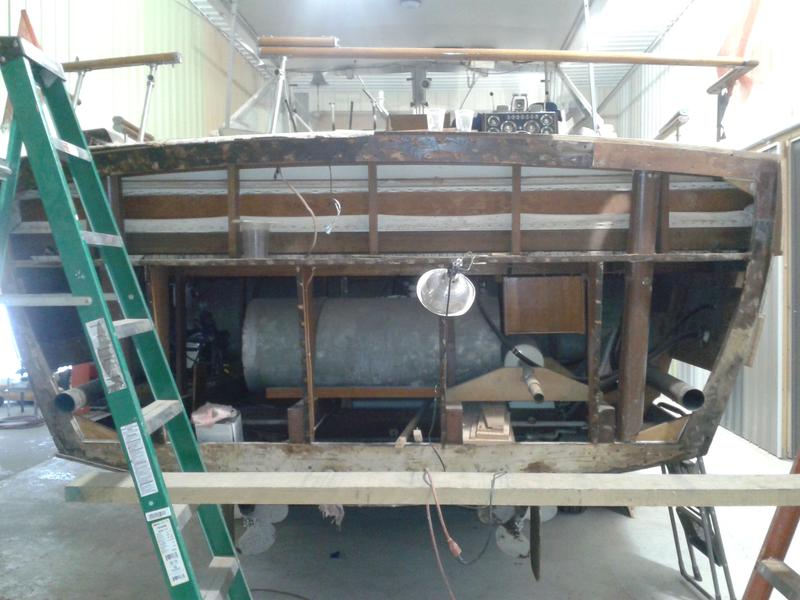
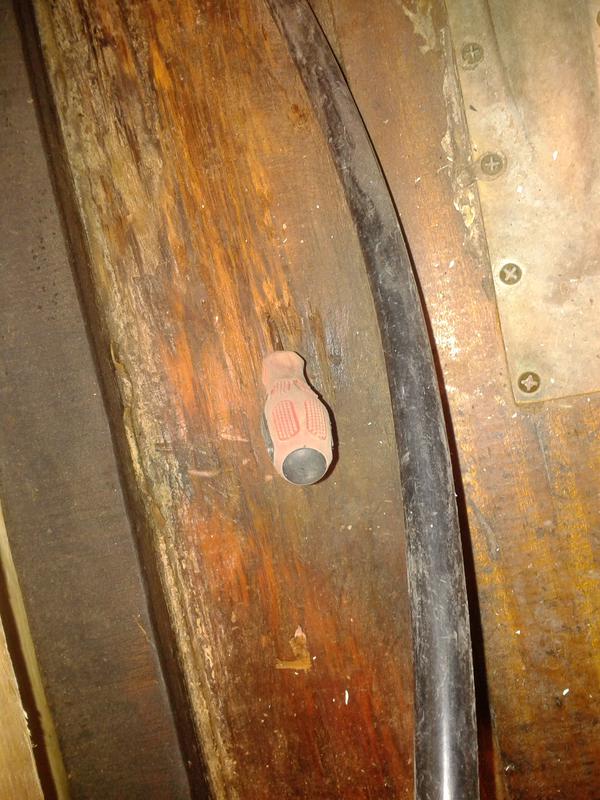
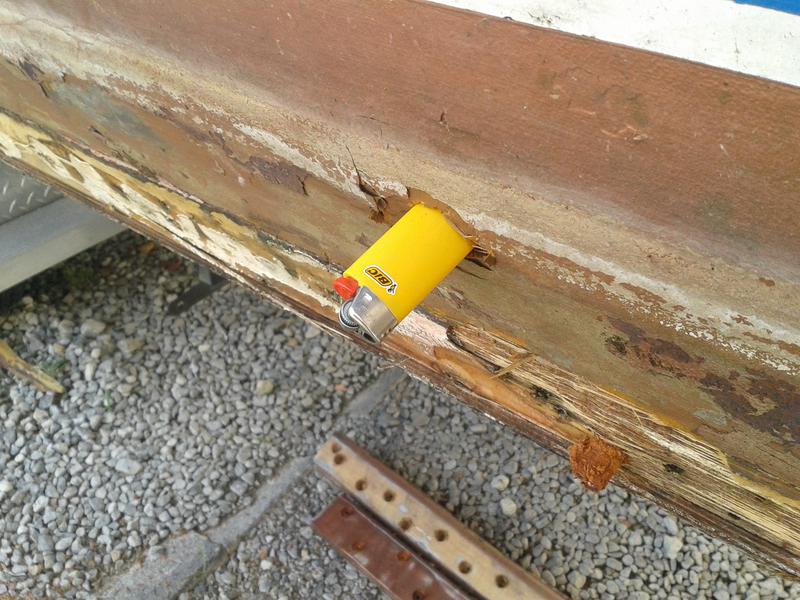
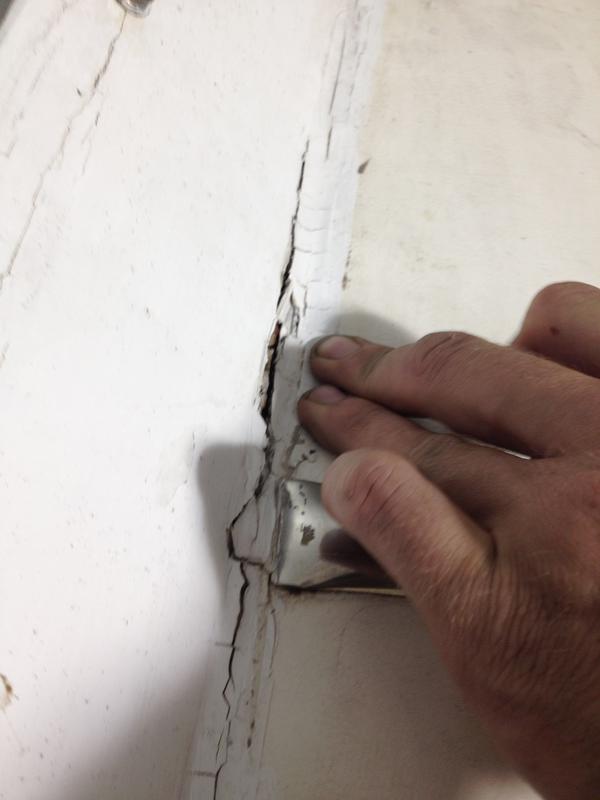
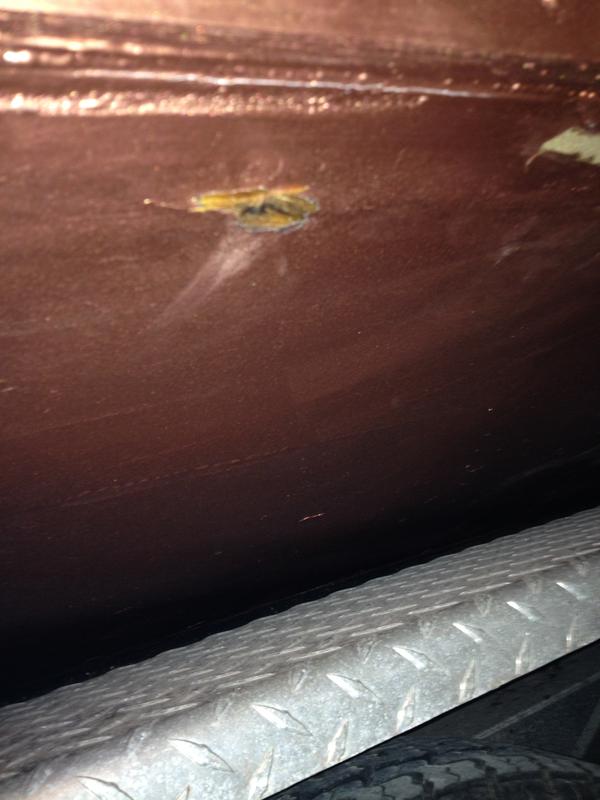
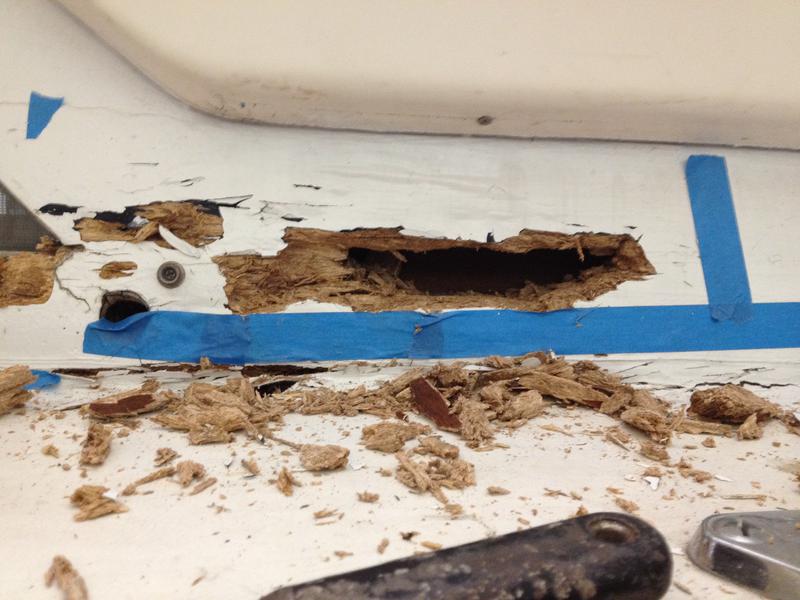
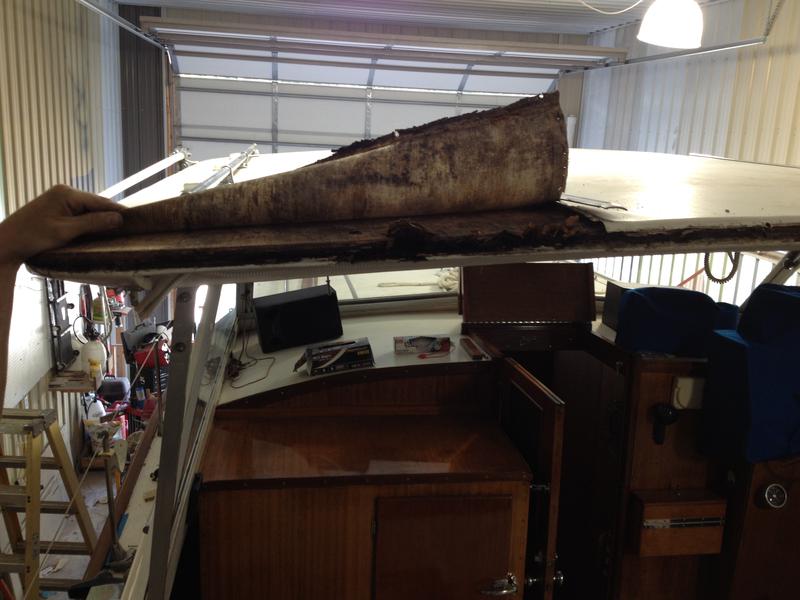
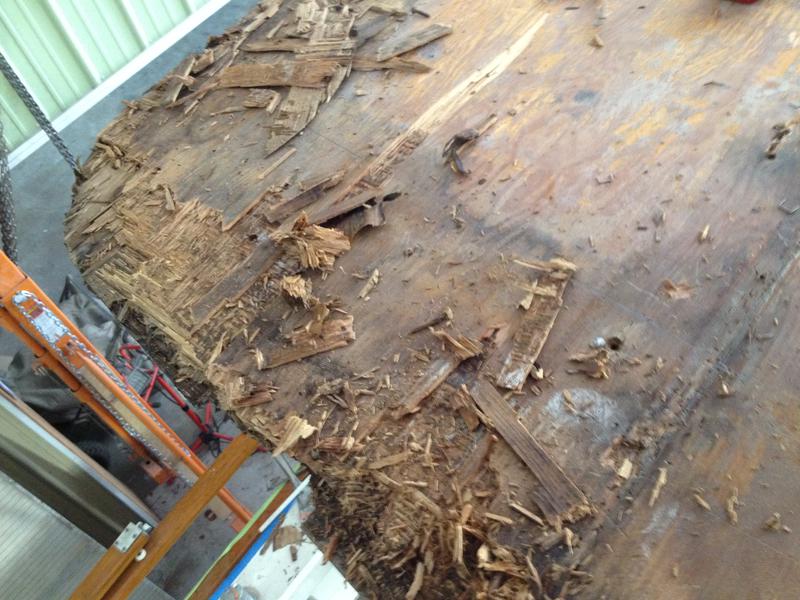
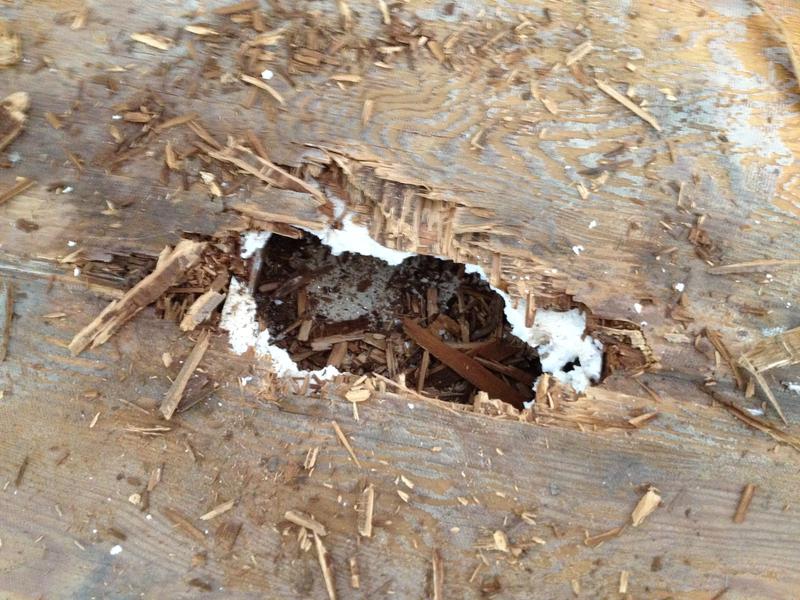
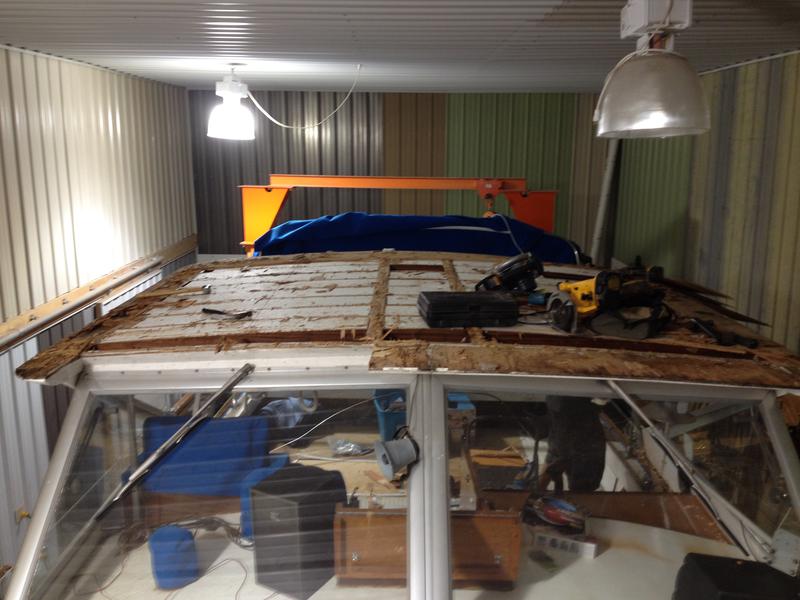
Rot has been found on the roof, near the window, and on the bottom.
5/30/14
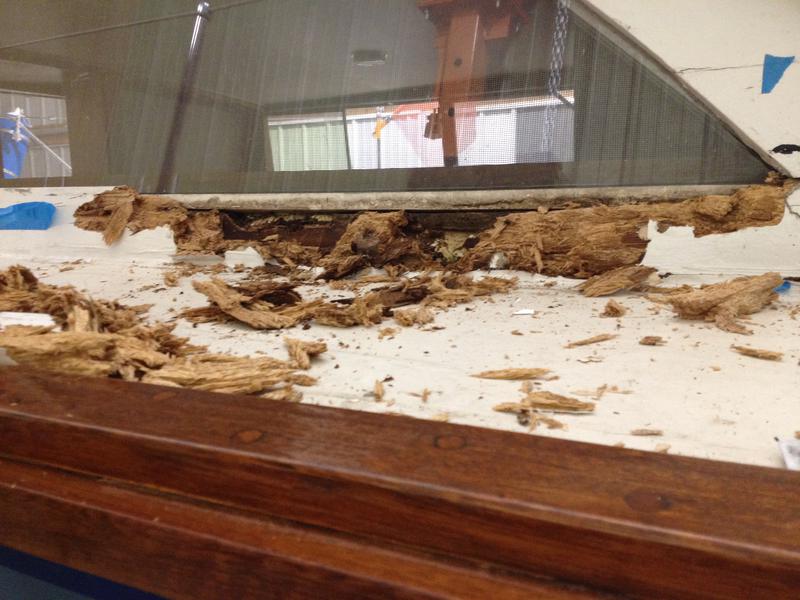
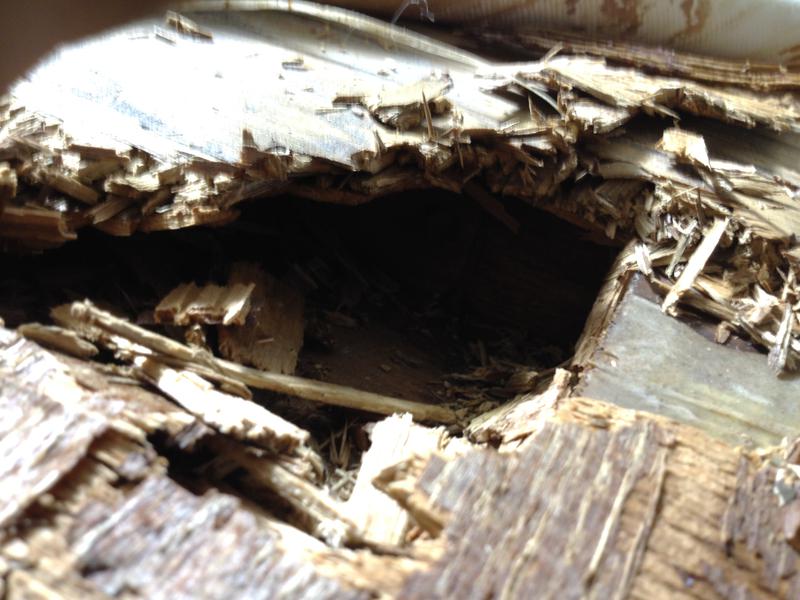
More rot on the port side cabin window frame.
6/3/14
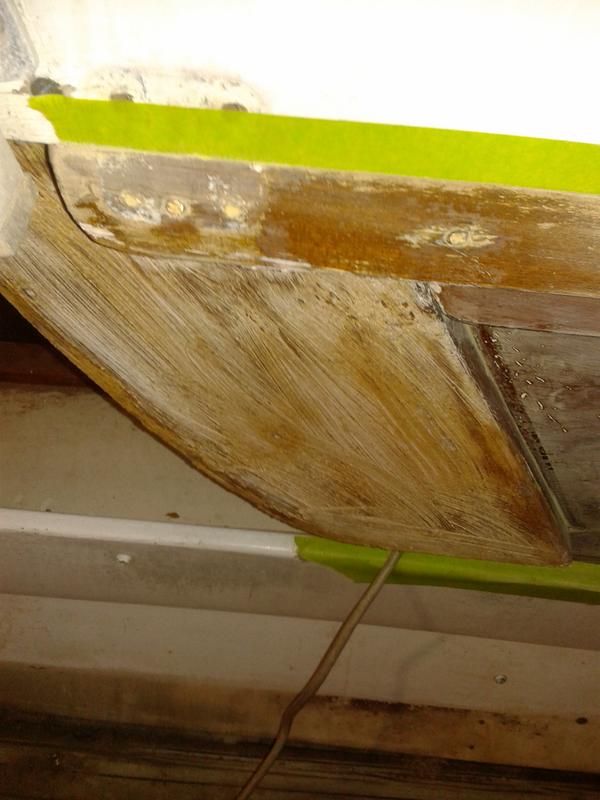
The port side cabin window frame has been fabricated.
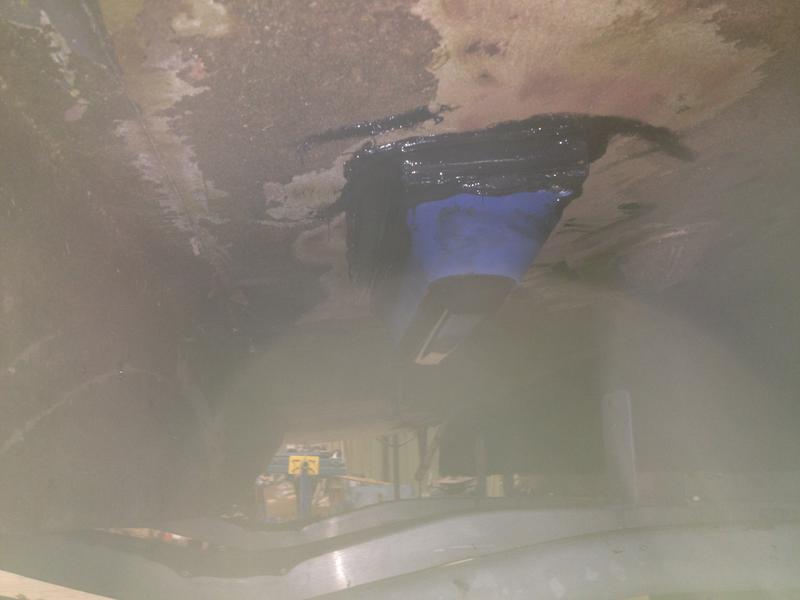
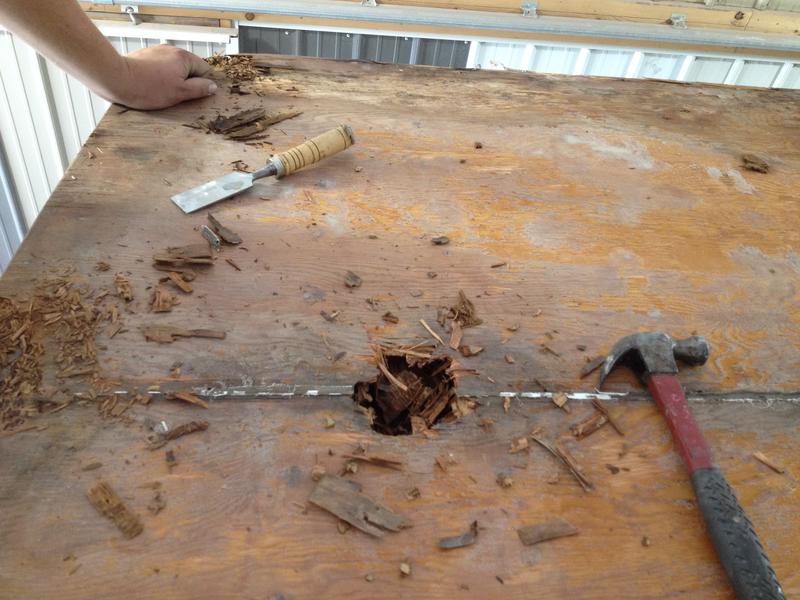
The hole in the wall has been patched.
More Rot has been found on the very top of the boat.
6/4/14
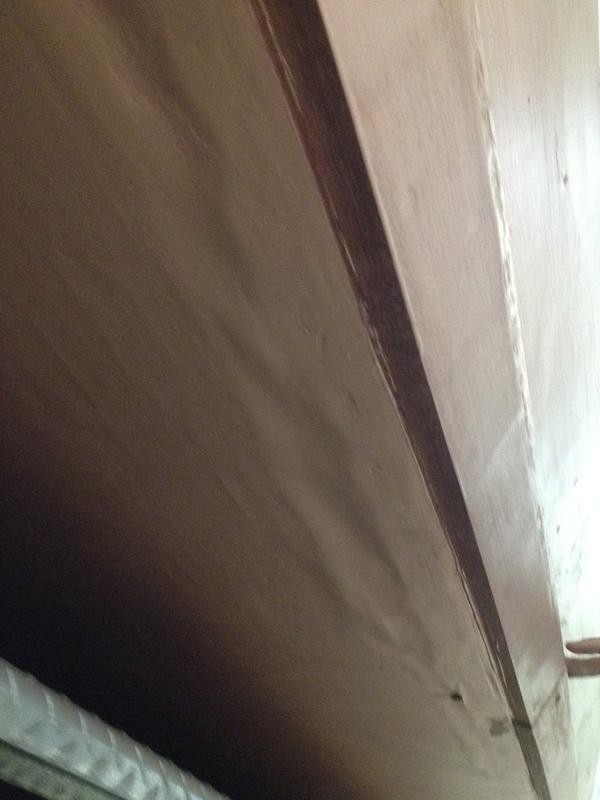
The sides are receiving the first coat of paint.
6/9/14
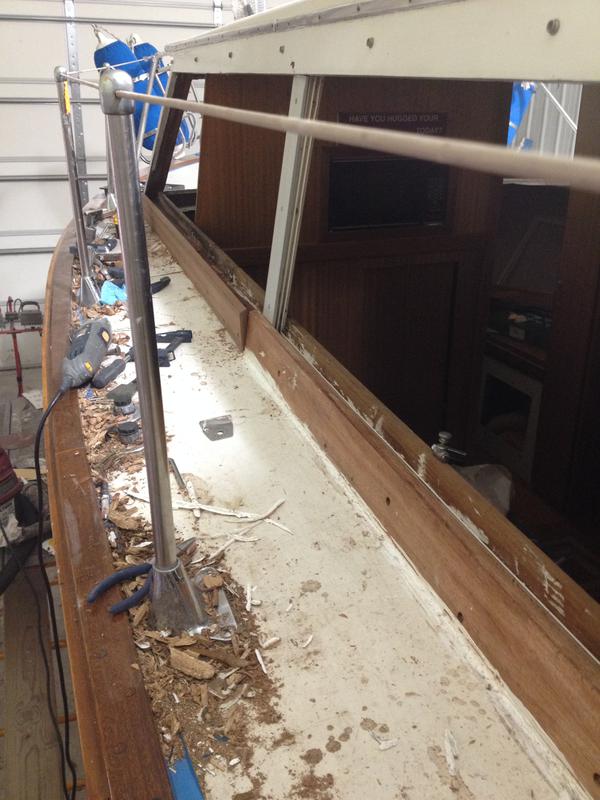
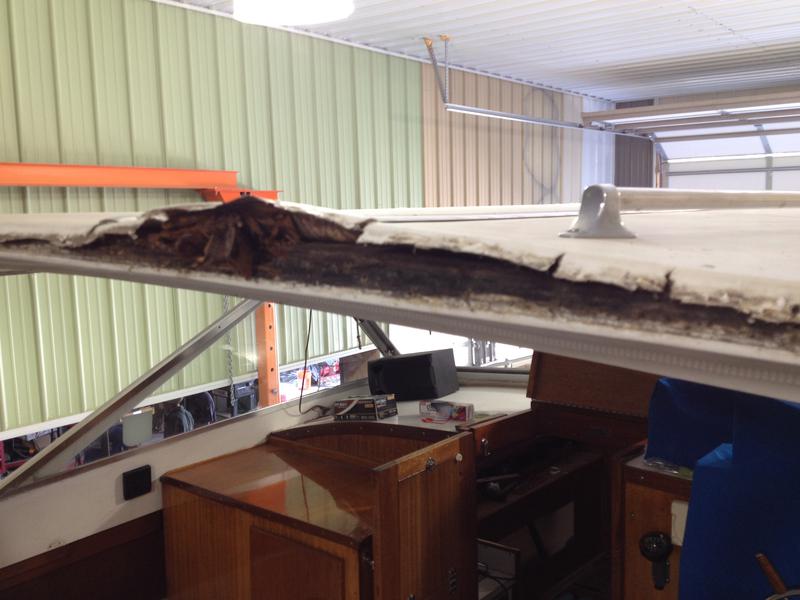
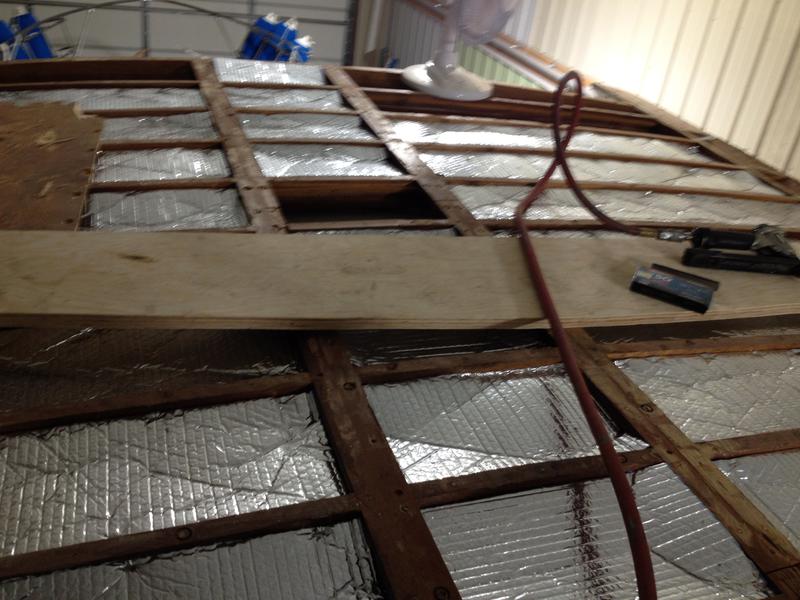
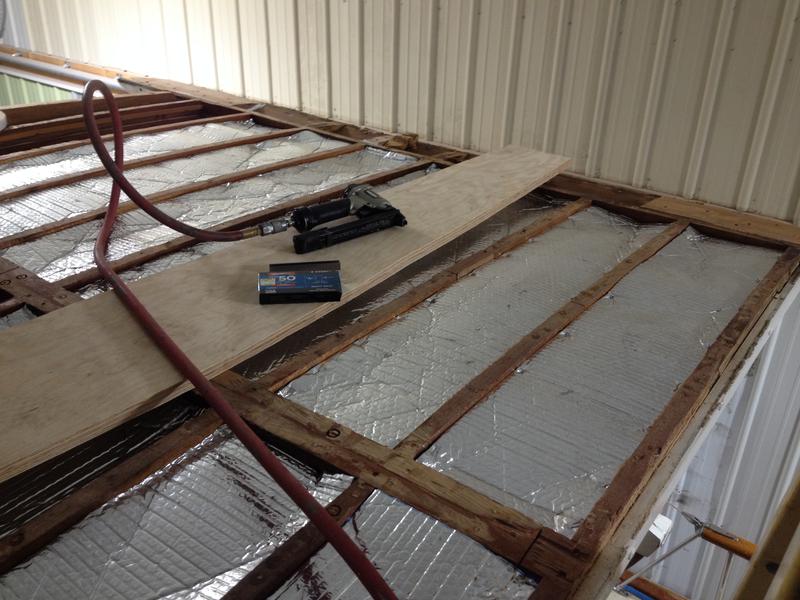
The rot on the cockpit roof.
6/12/14
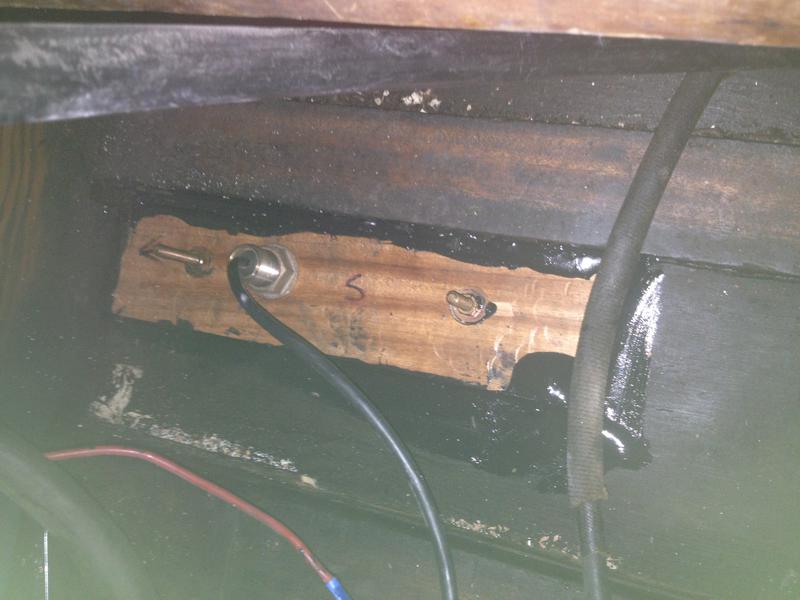
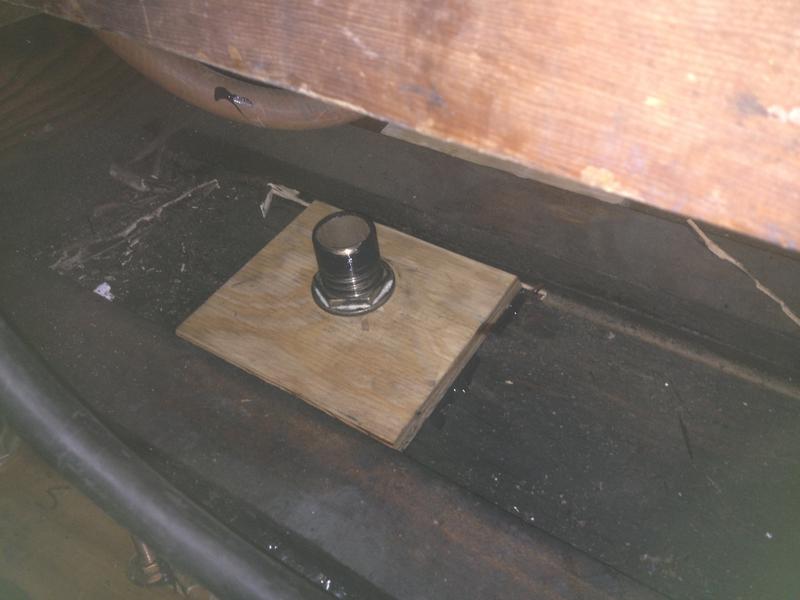
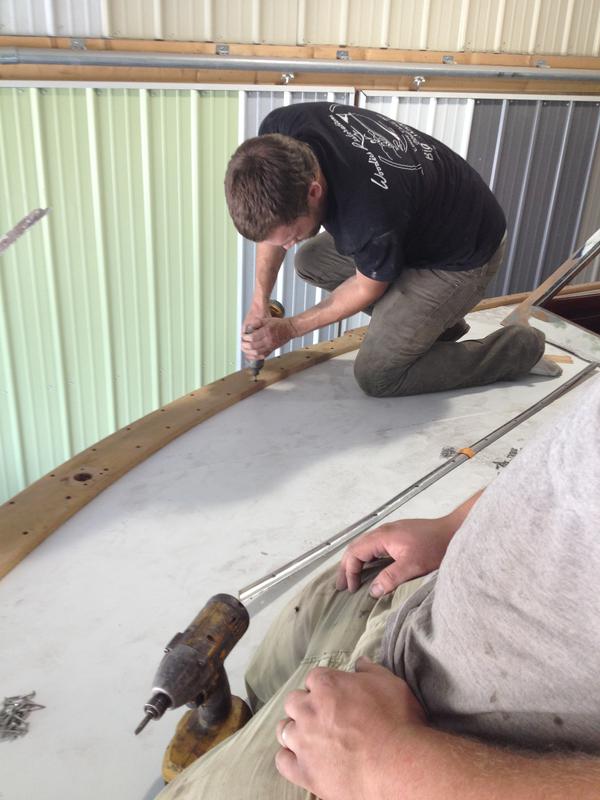
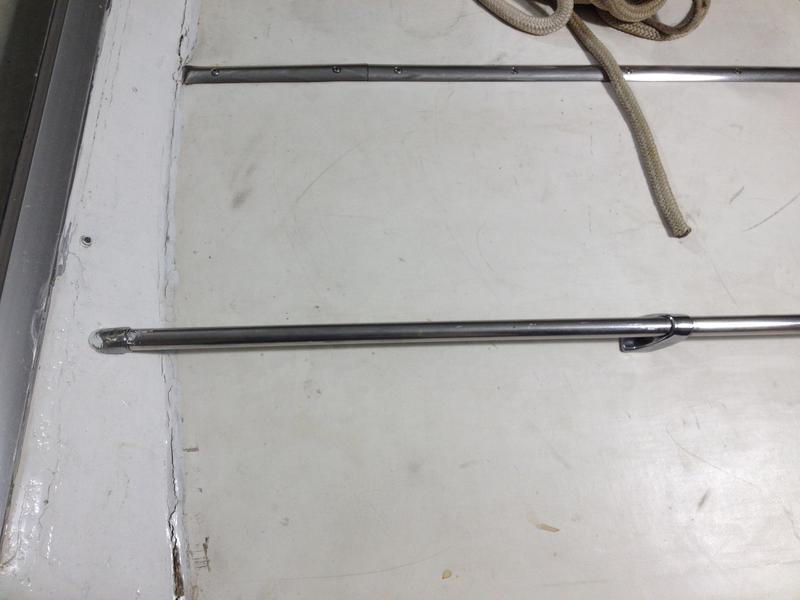
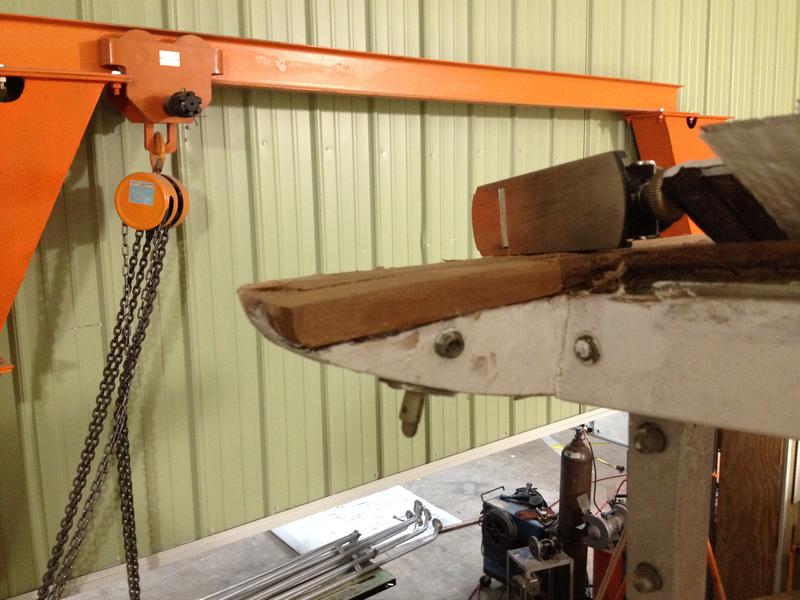
These pictures show places where the frame has to be fabricated, along with the new installation.