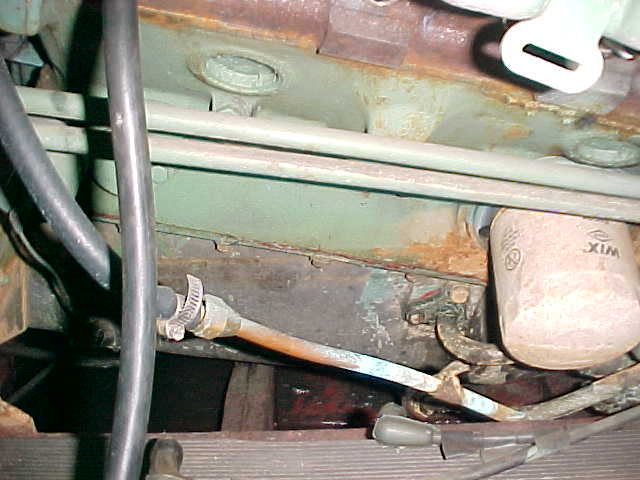
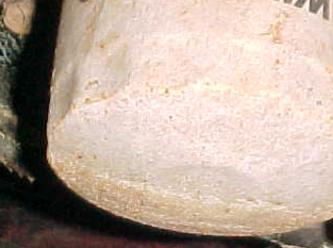
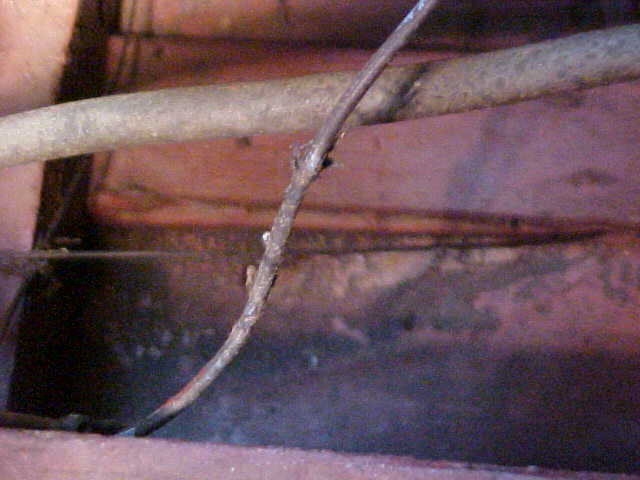
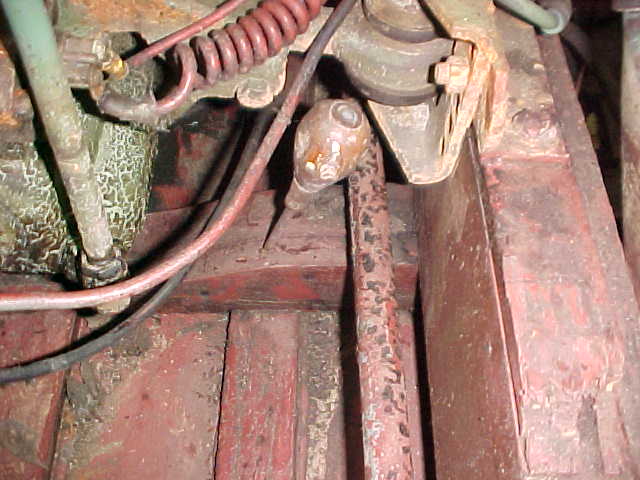
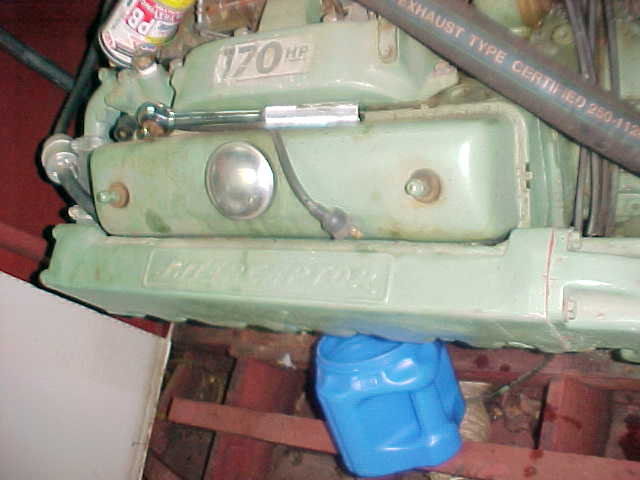
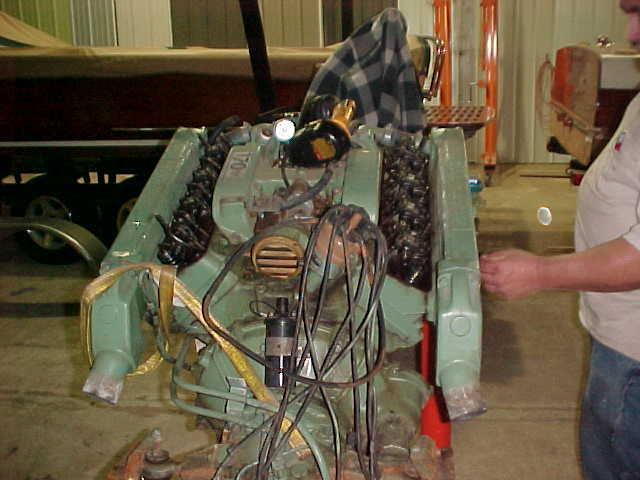
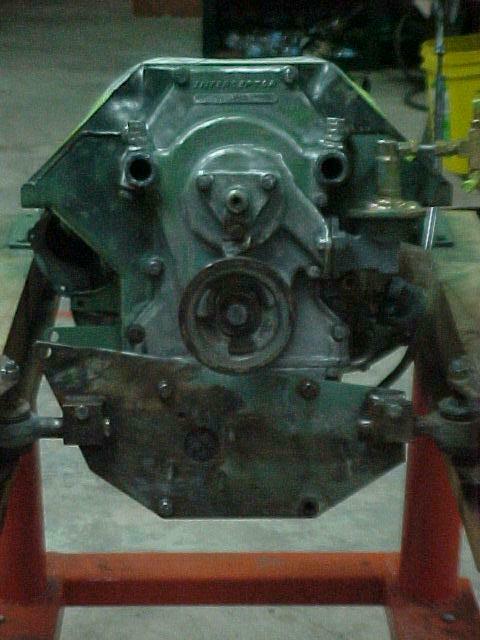
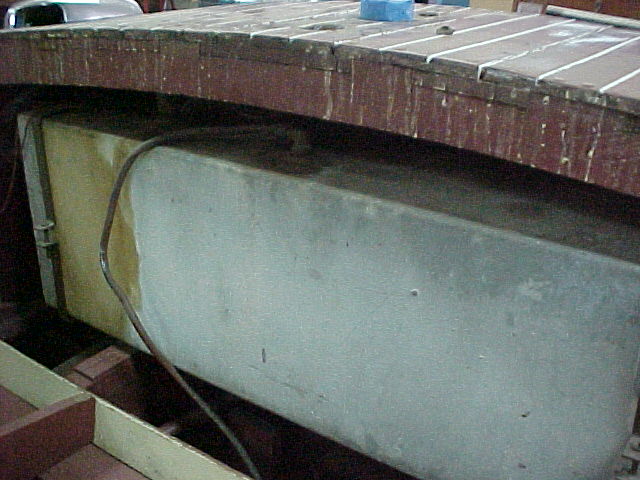
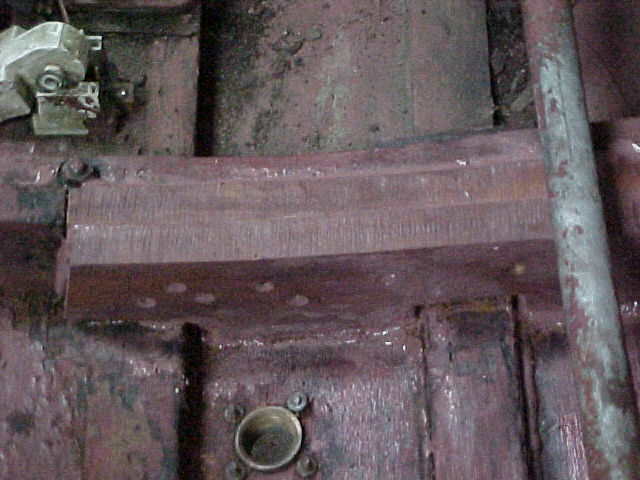
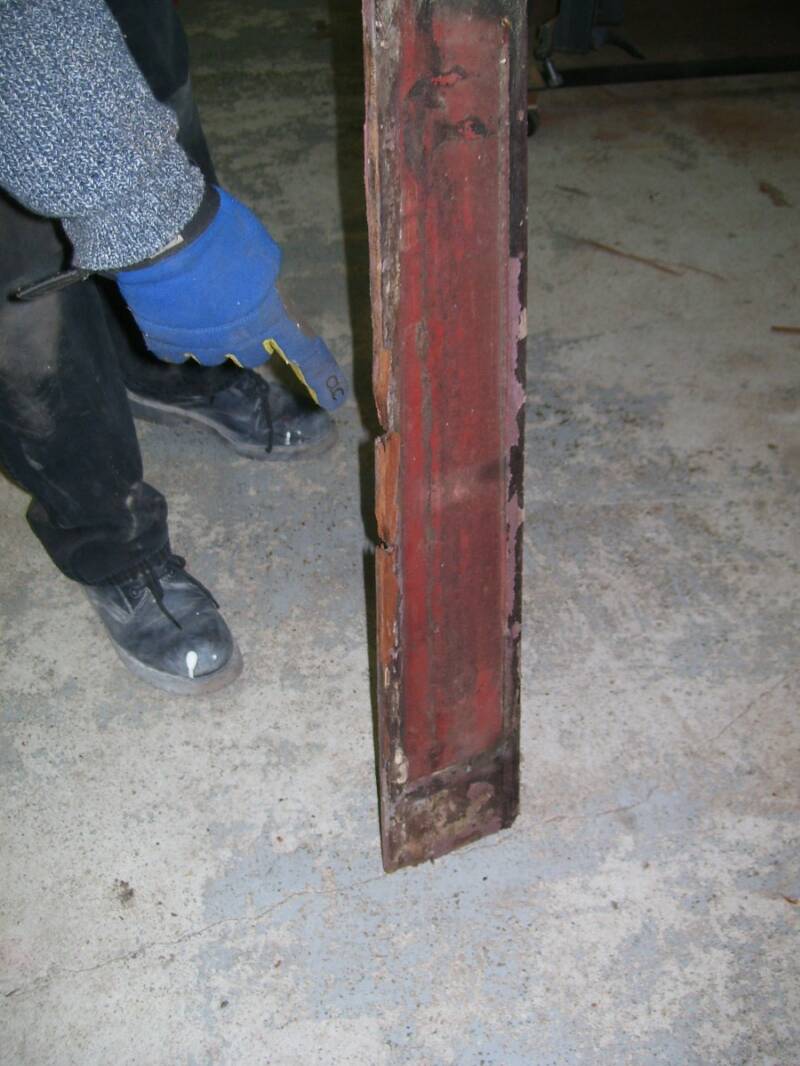
Note waterline on side of engine - Water was found in the oil also. Engine is locked up. It is soaking with oil in the cylinders right now. The Engine needs to come out to access wood frames that need repair and we then need to see of we can get the engine freed up and rotating. Then we can perform a compression test and determine if the engine needs to be rebuilt.
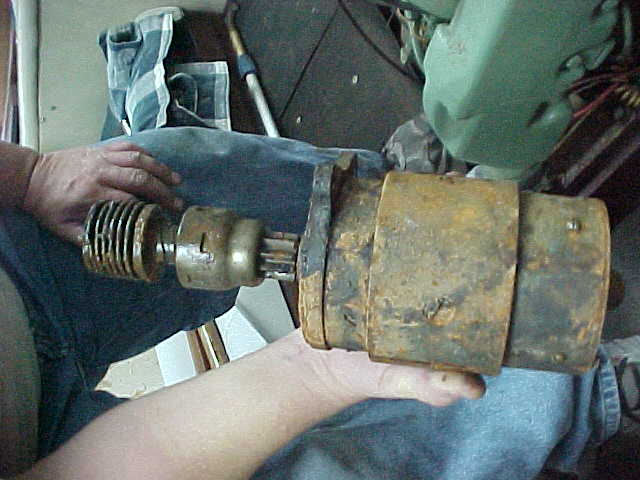
Starter and Solenoid Water / rust damaged
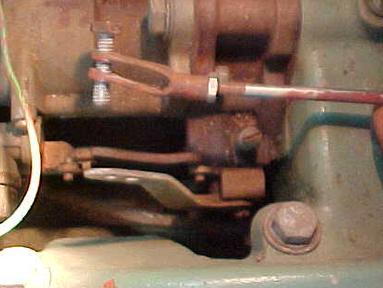
Carburetor Link - lower arrow will not rotate. Originally we suspected the throttle cable was faulty, but after disconnecting it we found one or both carburetors have seized throttle plates in them.
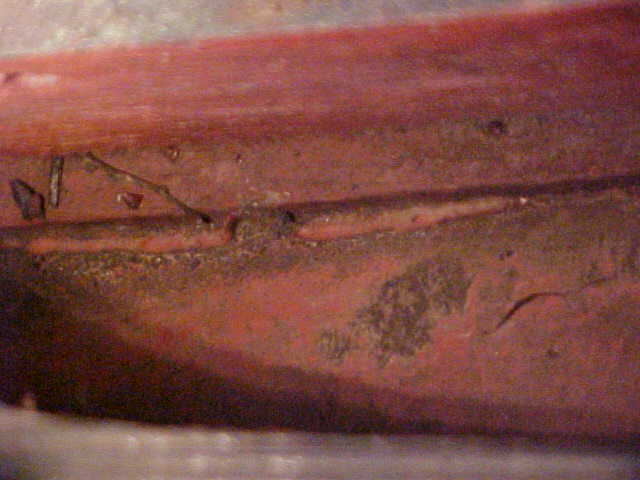
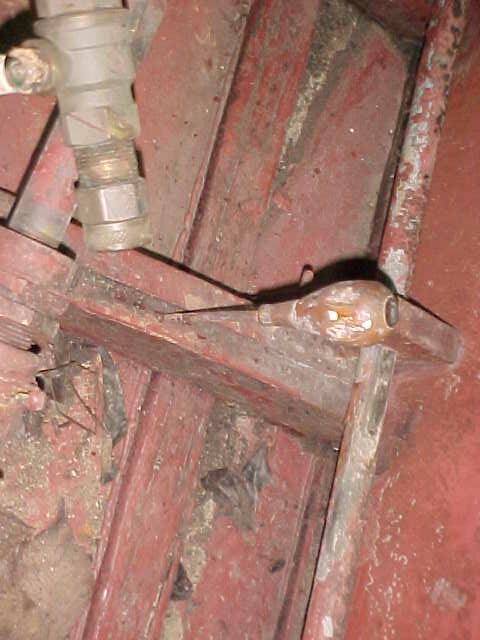
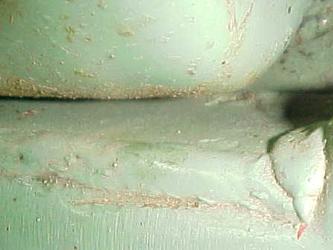
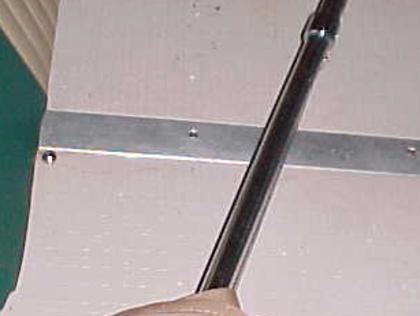
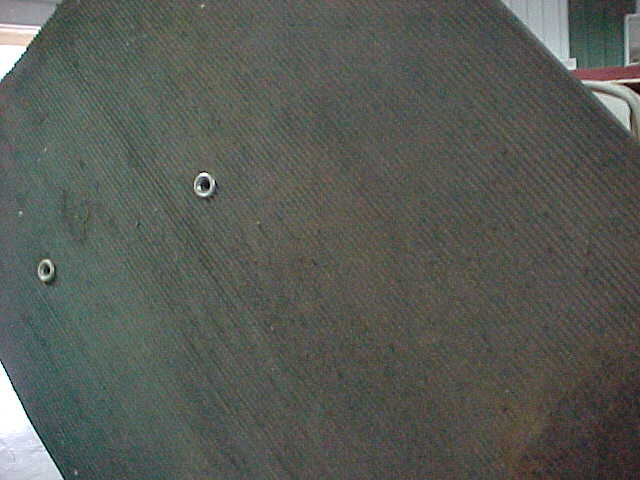
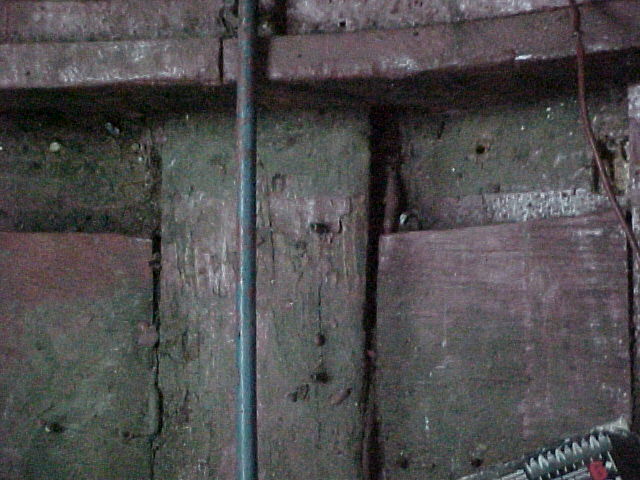
The Green arrows show where caulk (hopefully 3M 5200 caulk is squeezed out between the keel or batten and bottom planks. We call this Squozage. This is a good thing. This bottom was converted to no soak some time ago.
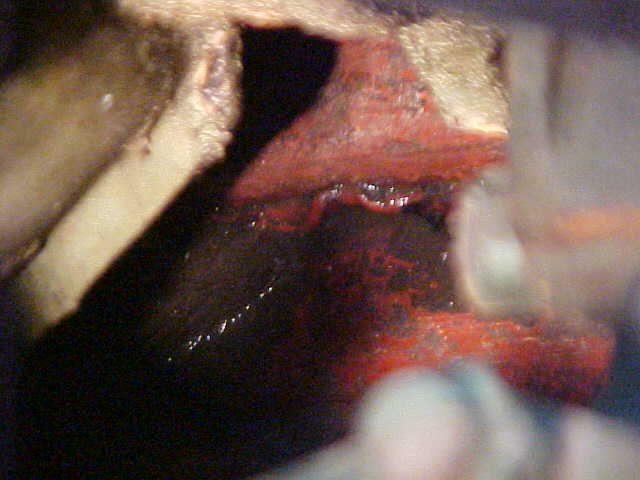
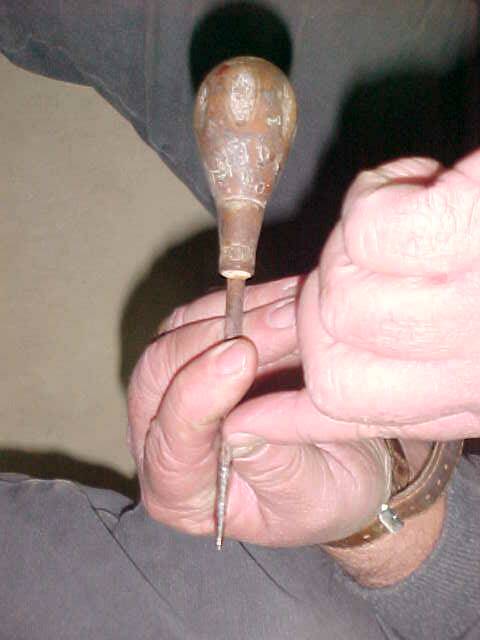
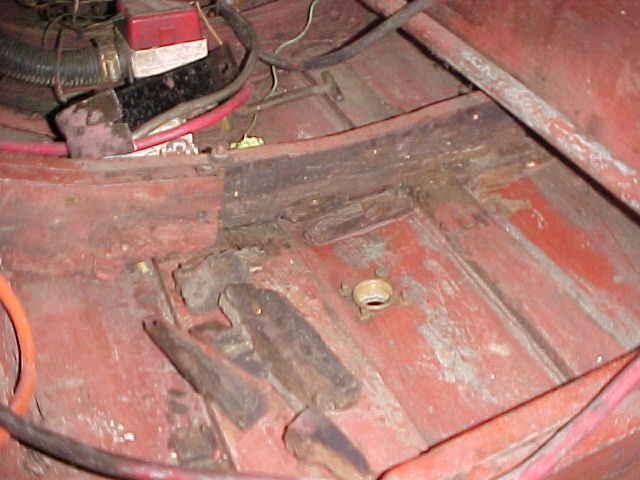
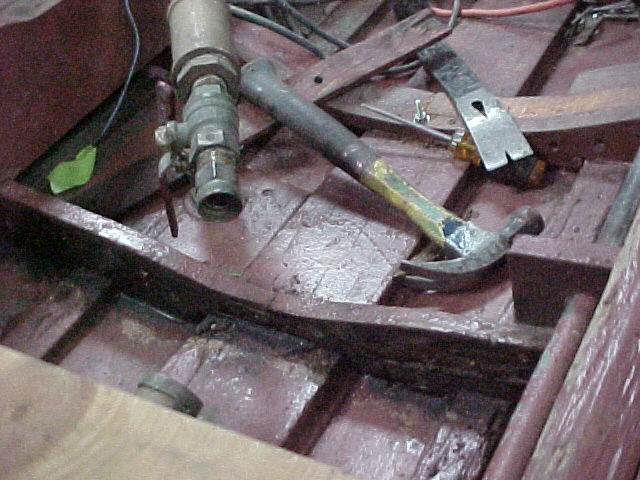
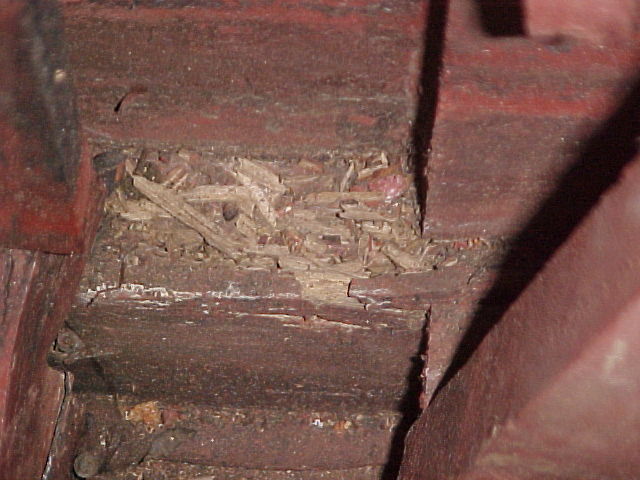
Oh oh..... We have rot in a frame. The Awl sank easily into the frame. These will need to be cut out and replaced after the engine is removed.
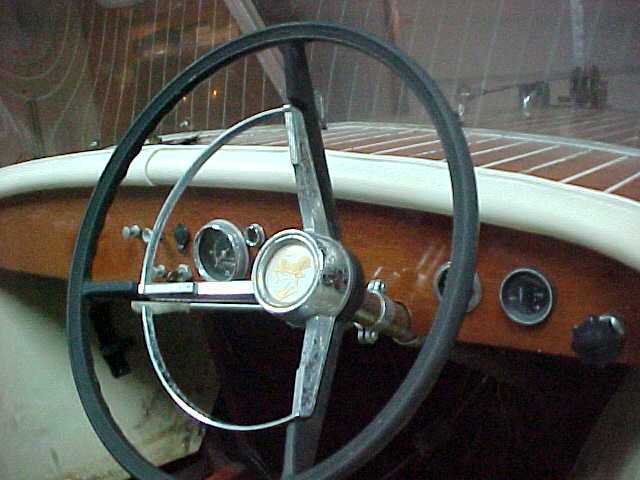
Of the 5 gauges the two on the left (tach and amps) are original and can be restored. The other 3 are aftermarket oil pressure, water temperature and fuel.... and even they don't match one another. I suggest we restore and replace gauges.
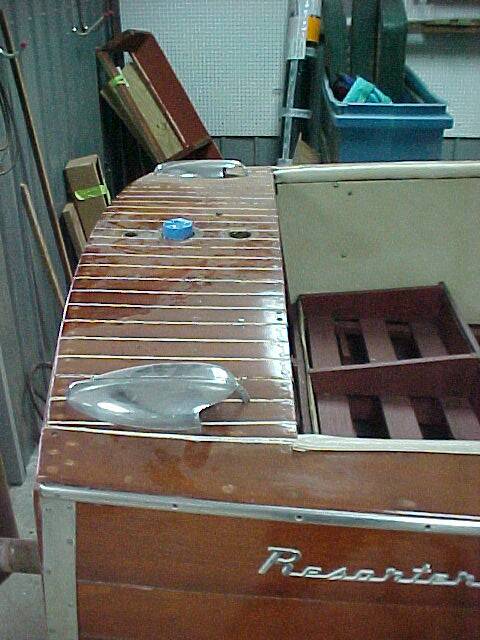
The deck is collapsed where the lifting ring was tightened too tight on its rod that extends down to the bottom of the boat. The deck will require some woodwork to correct this problem
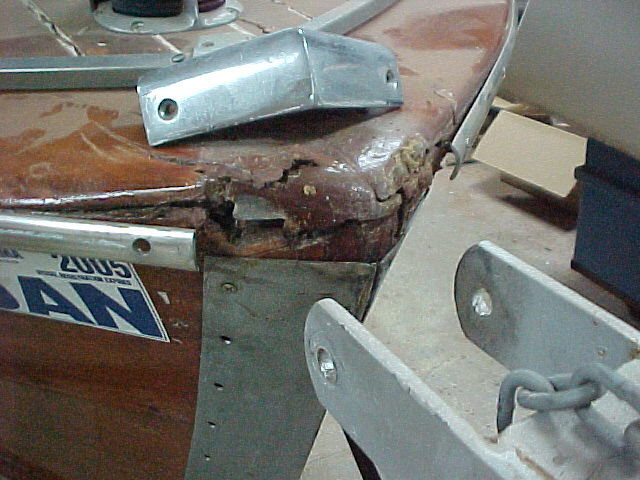
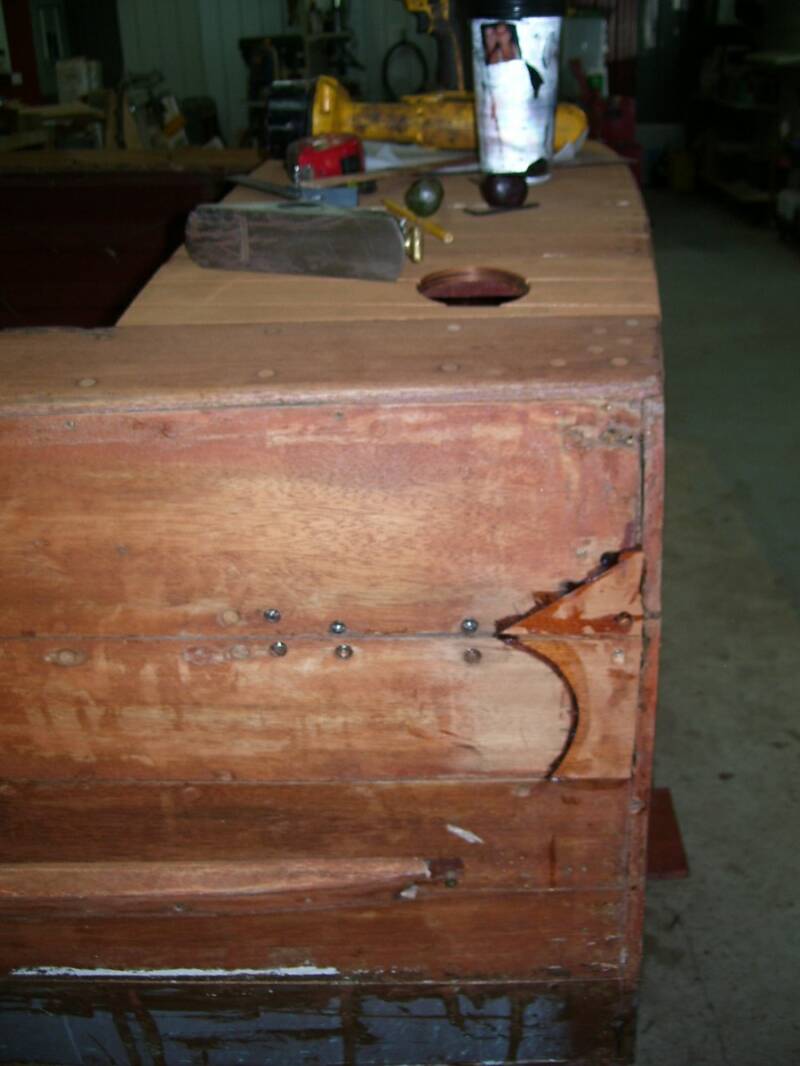
The bow stop pushed the chrome up and broke the wood it is attached to. Wood work required here.
The plank under this text is short and does not extend over the transom - woodwork required here. Plank is only the length of the right arrow and should extend to the left arrow.
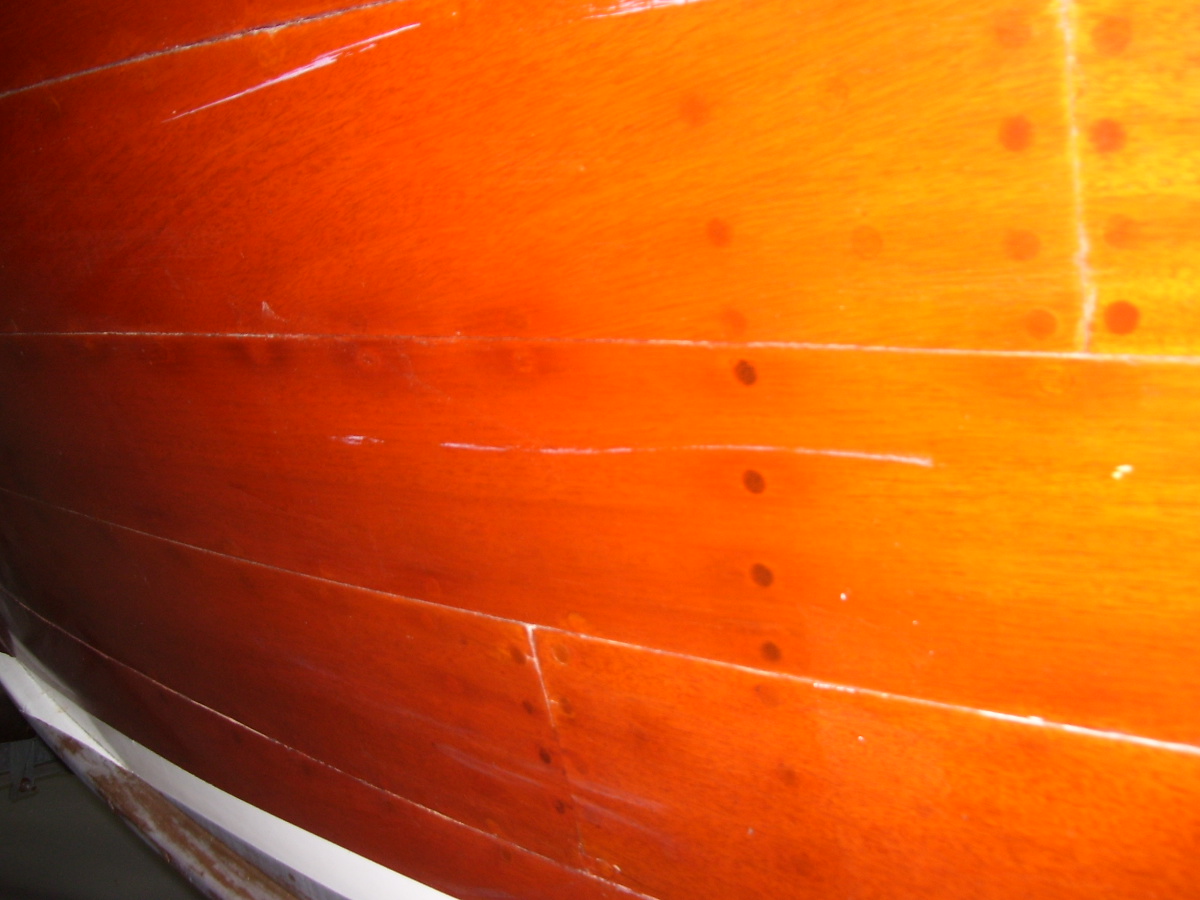
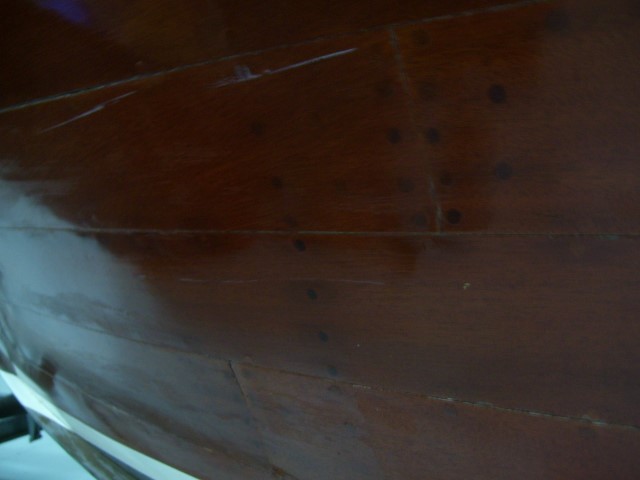
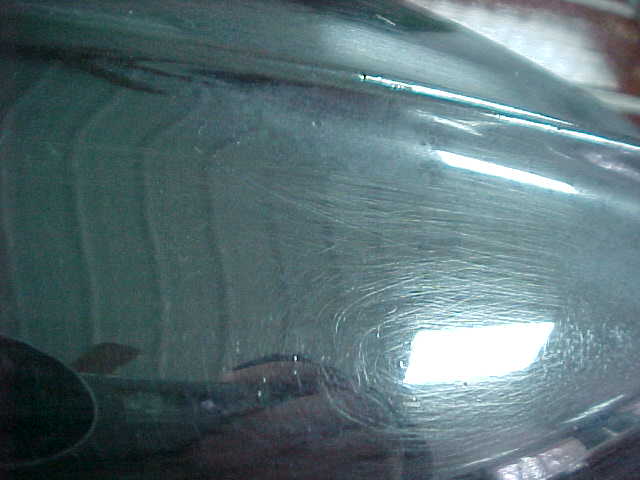
Note the water stains around the bungs and also at the plank seams. To really do this right the sides should be stripped sanded fair and these stains bleached out, The planks would be re-stained and sealed and a minimum of 9 coats of varnish applied. One photo is with a flash and the other without. The plank seam stains are a little washed out in the picture taken with the flash.
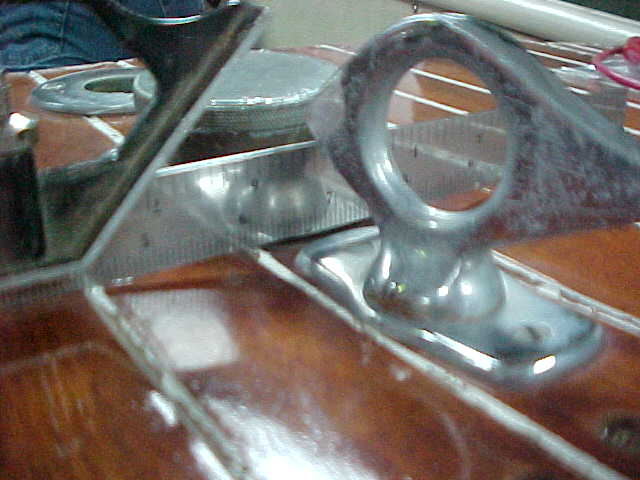
The left hand picture is a photo of the some of the better chrome on the resorter. The right hand picture is chrome on an identical ventilator on my personal boat. My chrome was done over 15 years ago. The round thing in the photos is the lens of my camera. It appears the resorter chrome was "cleaned" with steel wool or some other abrasive material.
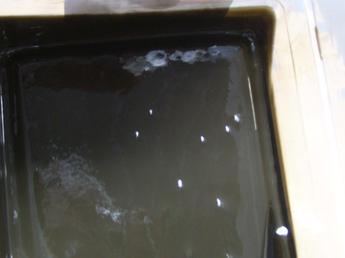
The engine oil quickly changed from black to Milkshake brown when agitated. We also put some in a small plastic tray, let the water separate to the bottom and tilted the tray. The water droplets can be seen in the thin film of oil on the bottom of the tray.
So we are no longer surprised the engine appears to be locked up. We are pulling the engine today to access the frames under it that need repair. We will put the engine on one of our stands and try to use compressed air to get it to rotate. If it does not spin then we will add diesel to the cylinders and let it soak a few more days.
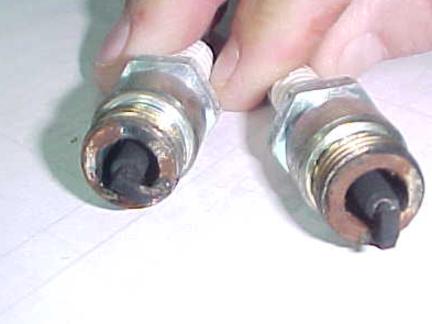
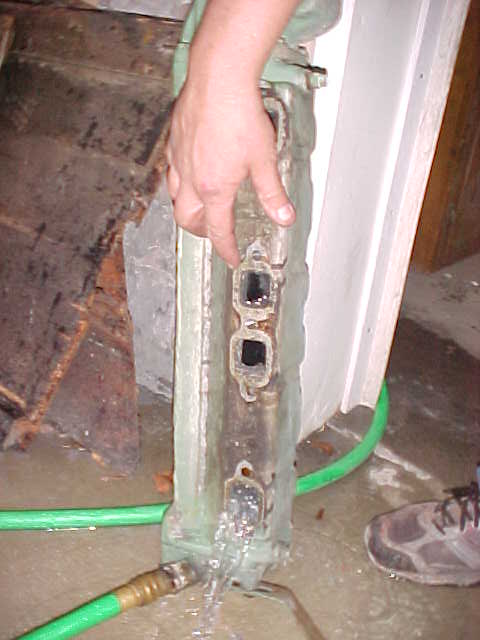
Many times water in the engine comes from faulty exhaust manifolds There is evidence these aluminum exhaust manifolds have been frozen - see the welds on the edge. Not only have these been frozen but they had a reputation of having "holes come in them". Water can be "squirted" from the manifold cooling water jacket into the exhaust port and enter the engine through an open exhaust valve or other path.
The horn ring is broken at the point of the arrow. This is probably not repairable as it is pot metal. We will need to source replacement.
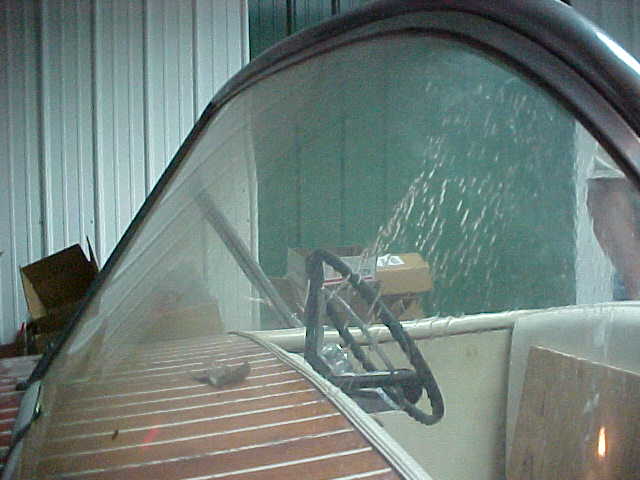
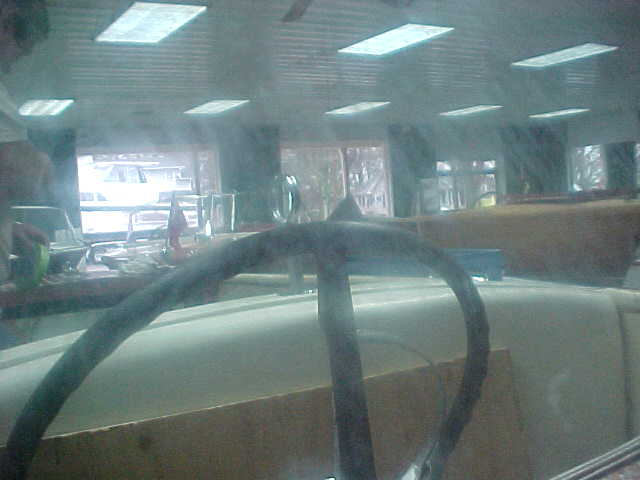
The windshield is cracked all the way through (left picture ) and scratched (right picture). It appears the windshield was cleaned with an abrasive cleaner. The Windshield rubber is at the end of its life also.
Some of the floor boards have been replaced with construction grade plywood. It is possible that it is at least treated plywood. It is difficult to tell since there is so much mold on the bottom of the wood. The panels are serviceable. It appears a black ribbed rubber or vinyl was used for the flooring. (right photo). We are still researching but it appears the proper flooring is pictured above. It is the flooring in a 1965 21 foot Resorter.
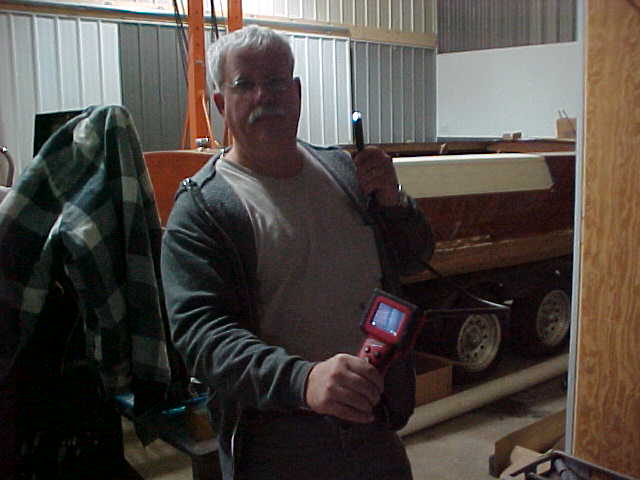
As mentioned.. we are pretty scientific. we have a remote camera with a light on the end that we stuck into each of the engine spark plug holes to look at the condition of the piston and cylinder.
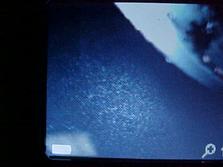
We have taken pictures of the view finder on the camera to show you what the inside of each cylinder looks like. I suspect #8 is the culprit. We are removing the aluminum exhaust manifolds to test them and confirm this is where the water was entering the engine.
1
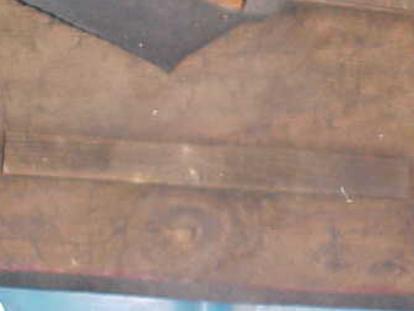
Upholstery scraps were used to secure the wires and cables to the engine stringers. The upper right picture is the flooring pattern up close and personal after cleaning the upholstery taken off the engine stringer.
The bottom right is the same flooring in a 1965 21 foot resorter that is here at our shop.
3
5
7
8
6
4
2
Here is our culprit! #8 cylinder!
Rust on cylinder wall
Clean Cylinder wall Note the fine curved line - edge of piston top where it meets wall
Top of piston
# 8 valve stuck open - note space between rocker arm and valve
Bad Exhaust manifold - water that should be staying in water jacket chambers is getting into exhaust ports. This is the starboard exhaust manifold and will have to be replaced. I would suggest replacing the port manifold with cast iron also to prevent future problems.
At the end of the day the stuck #8 valve is free, the engine turns freely and the carburetor butterflies turn freely. The new (used) starter is on the way.
30
40
85
80
130
60
92
130
120
nr
150
50
120
100
130
75
nr
140
140
nr
155
140
nr
155
First reading
Second reading (nr =no reading)
Third reading
nr
nr
nr
Engine Detailing and re-assembly
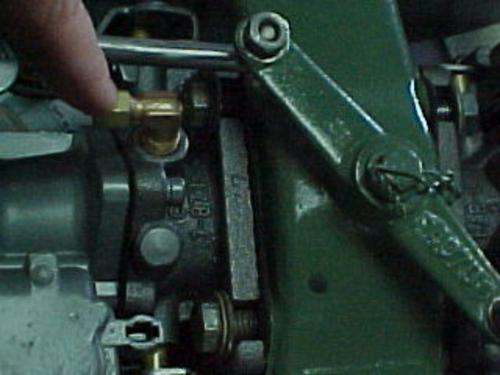
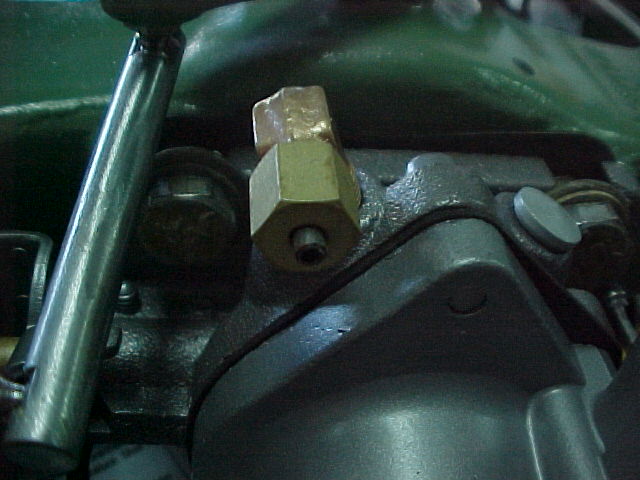
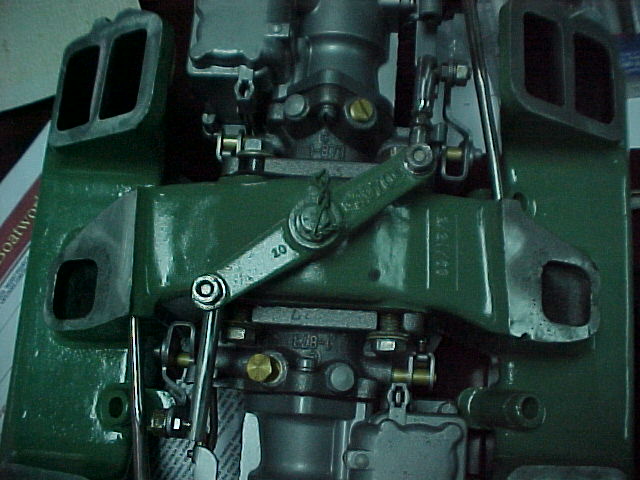
The rebuilt carburetors have been placed back on the intake manifold and all linkages re-installed. Andy brought this fitting to my attention. We confirmed that this fitting was once used for a vacuum advance line to the distributor. The Mallory distributor in place has no vacuum advance.
.In fact it has been my understanding for years that marine distributors did not have vacuum advances so that a carburetor malfunction could not end up dumping fuel to the distributor through a vac advance line. You will note there was a anti collapse fitting and ferrule inside the assembly indicated by the pointer above. This hole was clogged with sludge, but could have squirted out fuel during a malfunction. I suspect this carburetor may have been replaced at one time and this little IMPORTANT detail overlooked. Many times in restoration we have to un-do someone else's shoddy work!
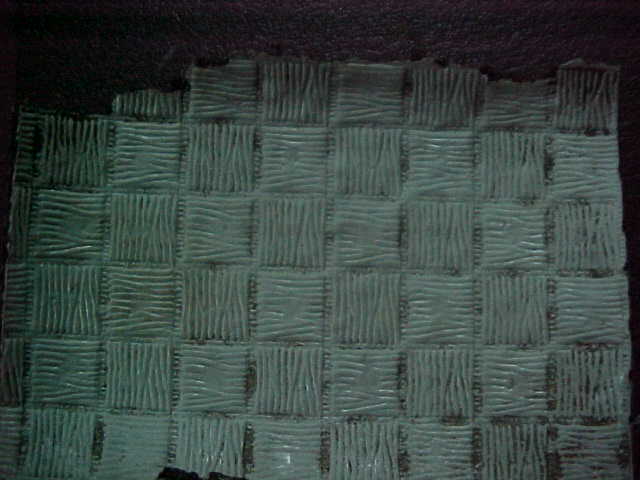
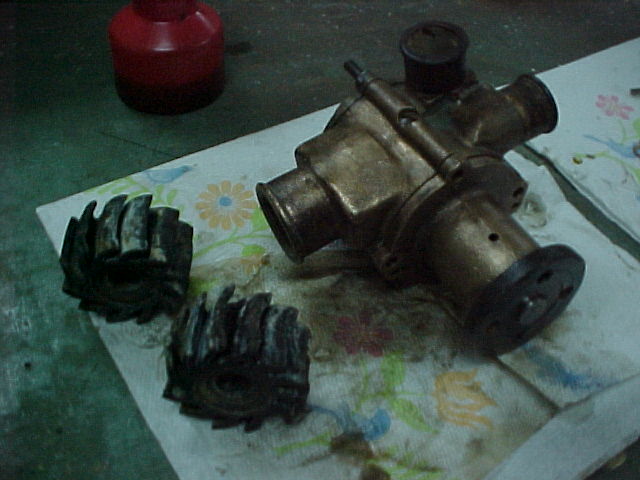
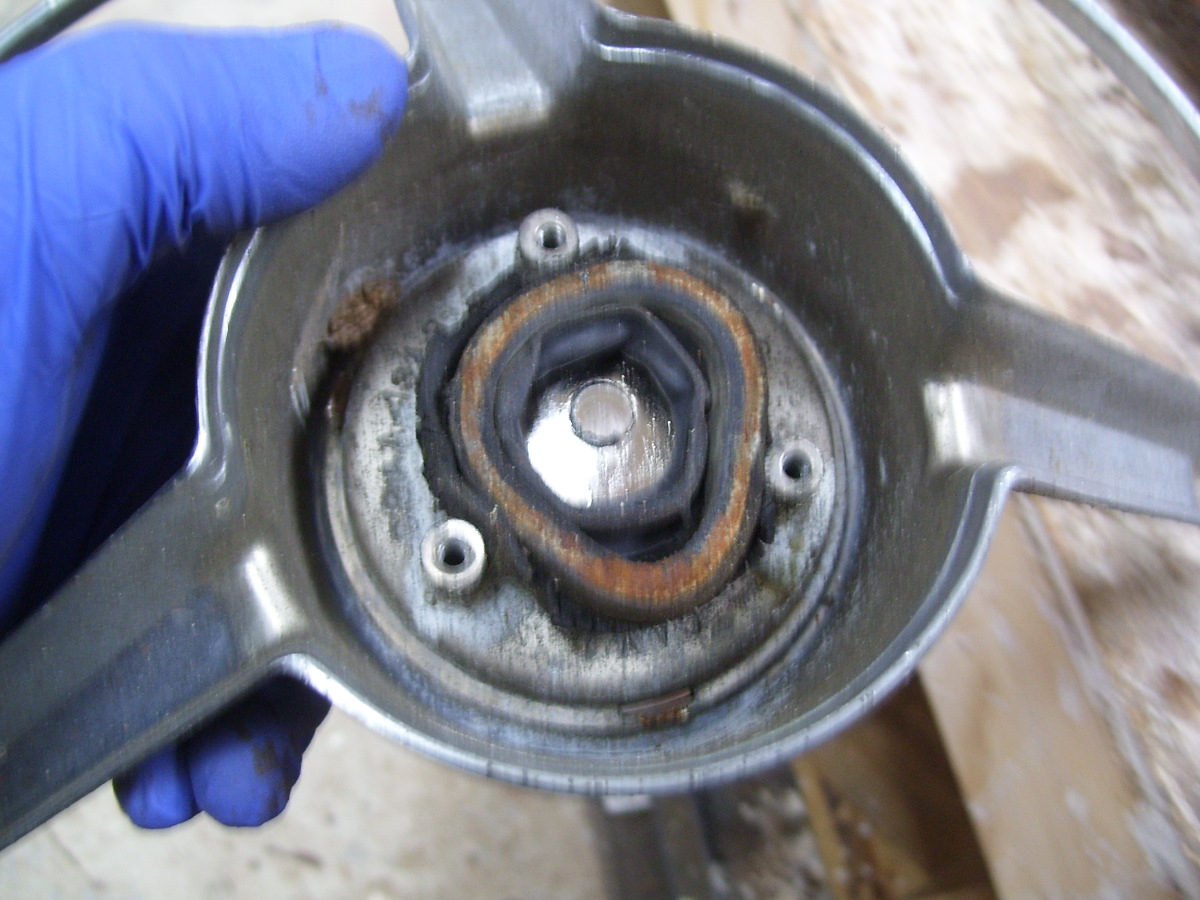
We rebuilt the water pump today also. Note the condition of the water pump impellers that we have replaced with new. We also put in a new bearing, new busing, new seal, and gaskets along with the new impellers.
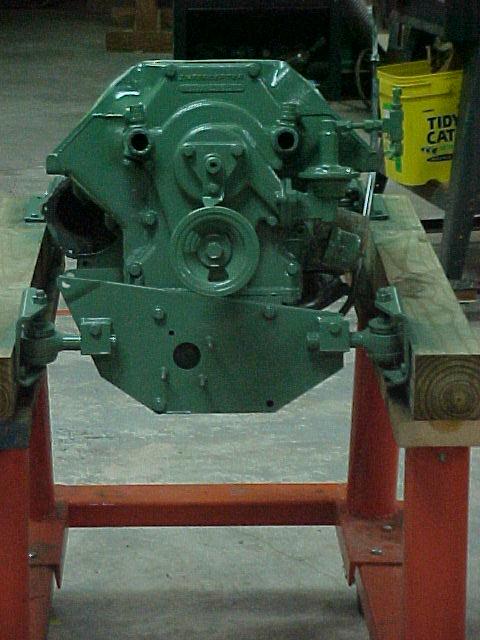
Before painting (After degreasing and wire brushing) to right After painting!
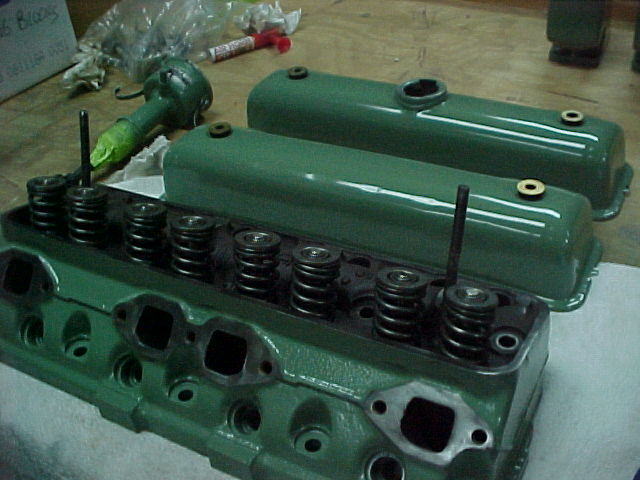
One of the heads, valve covers, distributor, transmission painted and ready for assembly. We DID find water contamination in the transmission fluid today. We removed the transmission oil cooler for painting and very little fluid came out of the fittings on the transmission. I pulled the dipstick and Aw Oh... the fluid was a frothy red... and low. In earlier checks we were surprised that the water that had been so high on the engine had not entered the transmission. I suspected then the water may have settled to the bottom of the transmission and the oil was on top of it. Now that we have run the engine, the oil and water have "mixed". We emptied the transmission and will fill, run the engine and drain at least once more.
Update February 2, 2011!
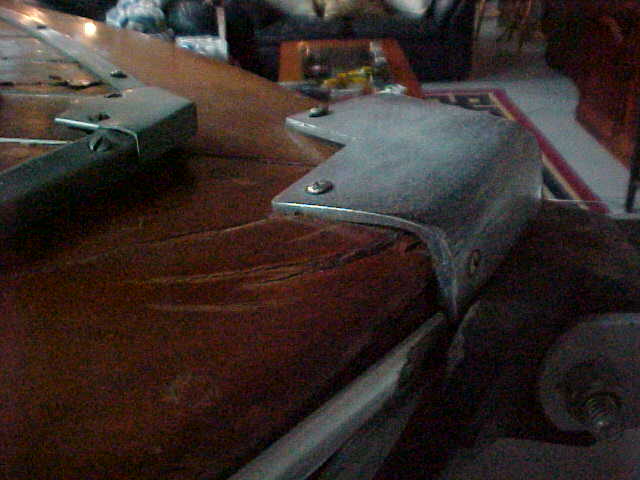
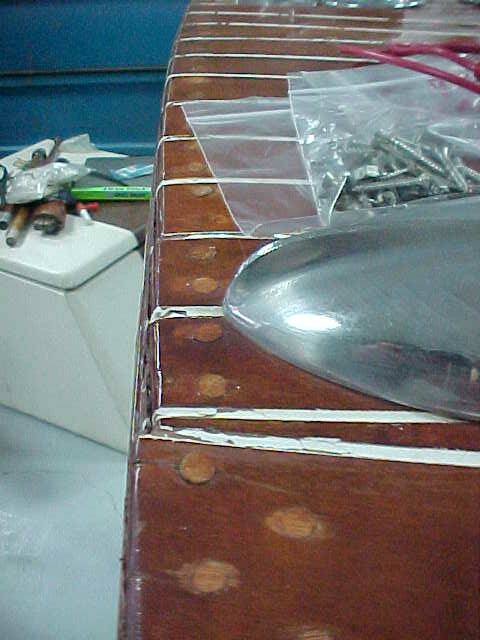
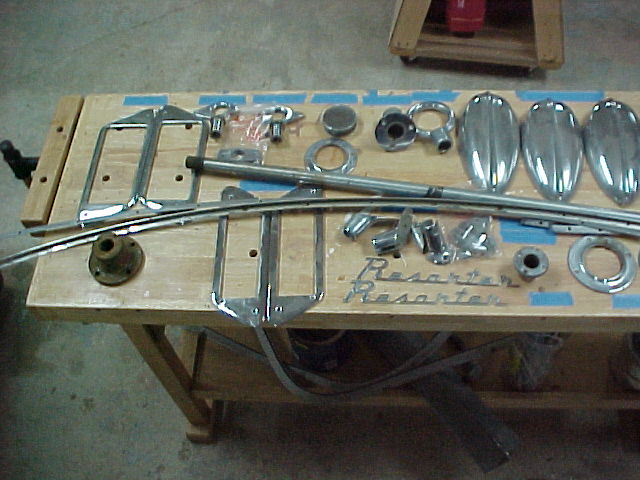
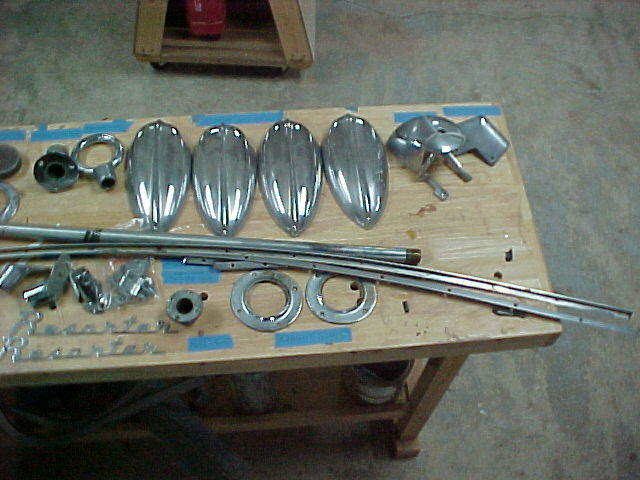
The four pictures above will be used for hardware placement once the boat is refinished
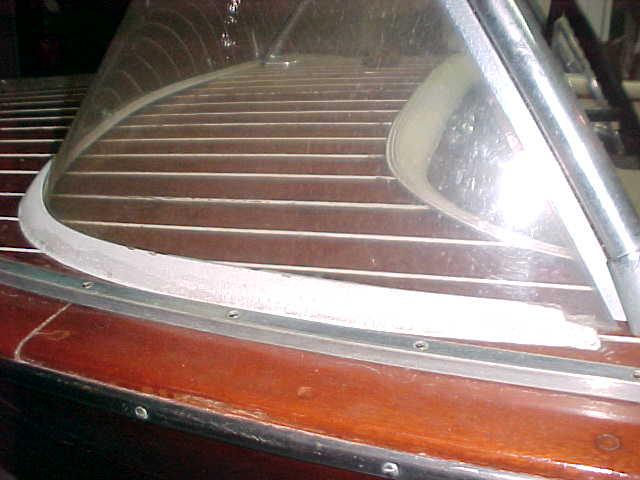
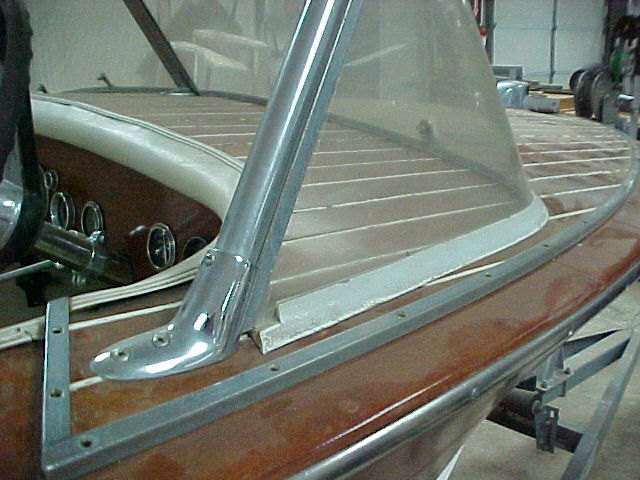
Shown at the tip of the pointer is a crack in the cutwater. Chris Craft made these out of stainless steel and they were very durable. Century made their cutwaters out of chrome plated brass. We have a decorative metal worker we use that will repair the split before we re-chrome it.
The half oval stainless is mashed on the end - see shape of the metal as shown on the mirror piece (blue arrow)
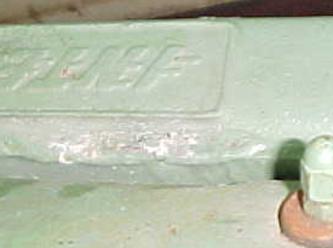
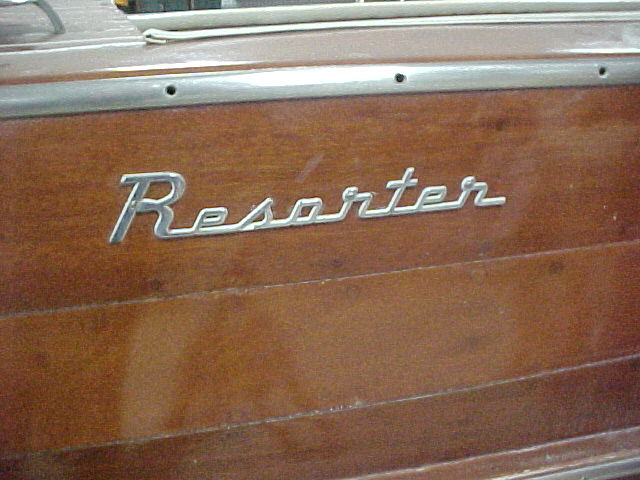
Both resorter emblems were broken in two but you couldn't tell until the screws were removed. We really need to replace them as they were cast of pot metal and can't economically be repaired and re-chromed However, since the break can't be seen we will investigate the cost of new vs. repaired and report to the owner before we do either.
The Resorter emblems look good and can be re-chromed and re- used
The windshield "clips" will be rechromed, as well as the windshield frame and center and corner mounting brackets. Also the angle trim around the raised deck is brass and will be re-chromed.
We work with a supplier that deals in Century parts that we will work with to replace the horn ring. It is made of pot metal and is not economically repaired or re-chromed. Note also the gauges - some will need restored and others replaced.
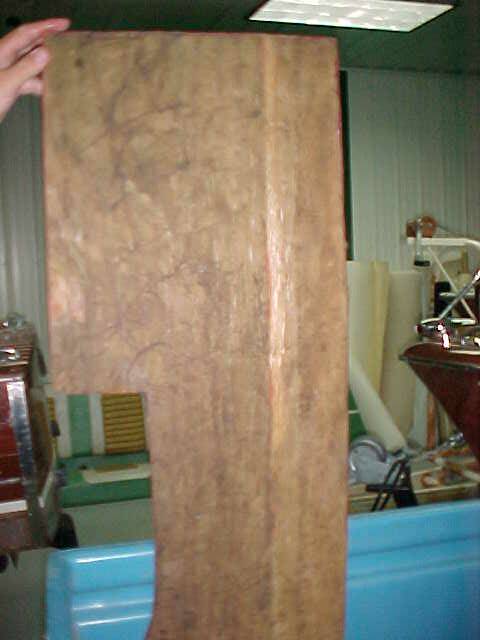
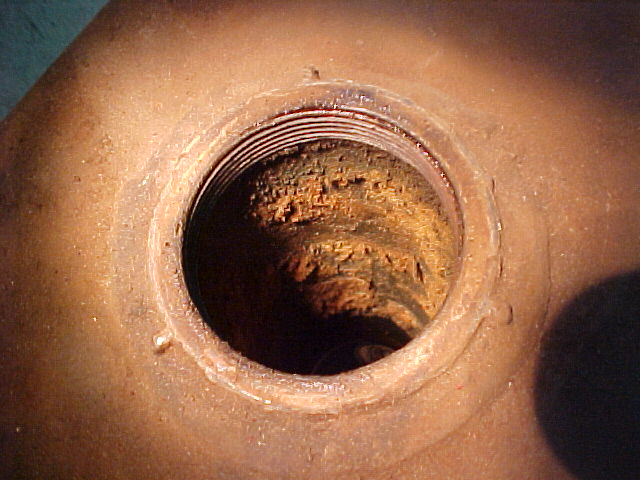
We work with a supplier that custom manufactures new aluminum tanks and pressure tests and certifies them. We will examine the inside of this tank. If it is in REAL GOOD shape we will re-use it. If there is any need to clean and seal we will just replace. We have no tank clean and seal operation close by and as such by the time shipping is paid both directions and the clean and seal bill paid it is over 1/2 the cost of a new tank! Pictured is the fuel fill spout. We have found tar in these tanks in the past.. however this one appears to be fairly clean. The only place we find debris is in the filler neck.
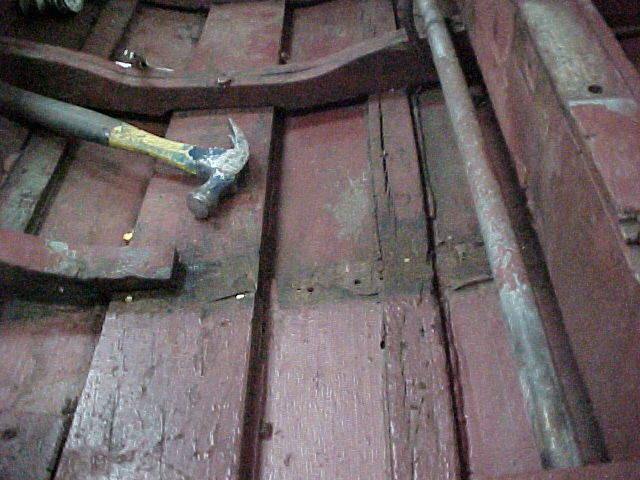
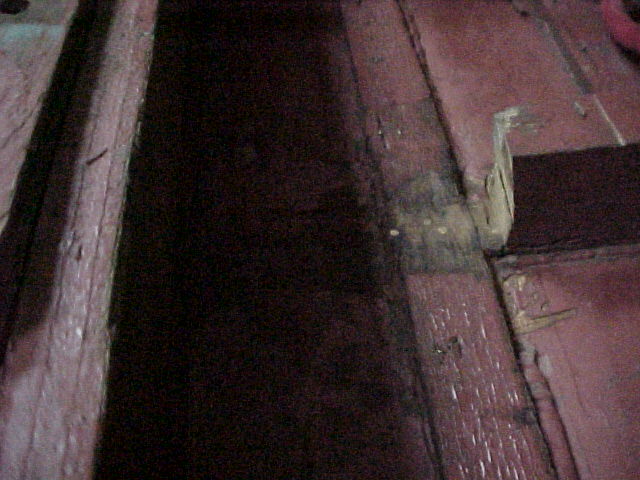
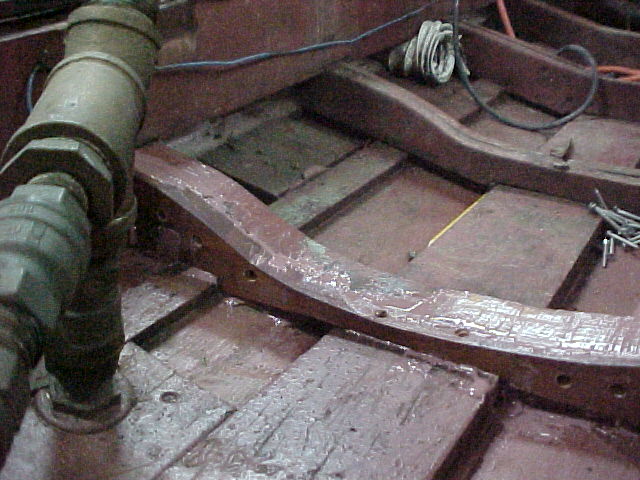
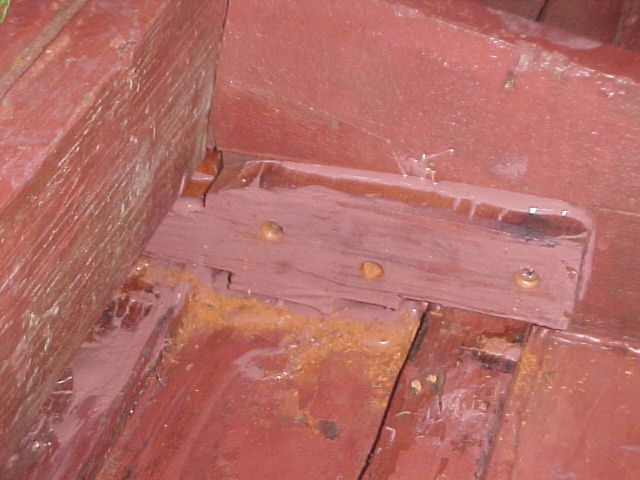
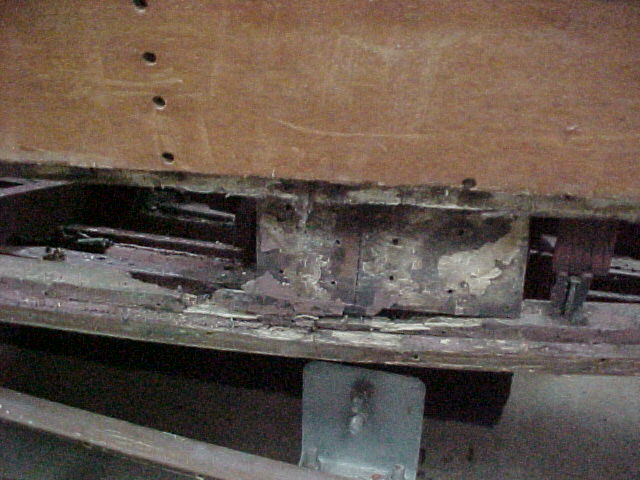
Below is where the old frame was cut out see arrow
Outboard view of cut out frame
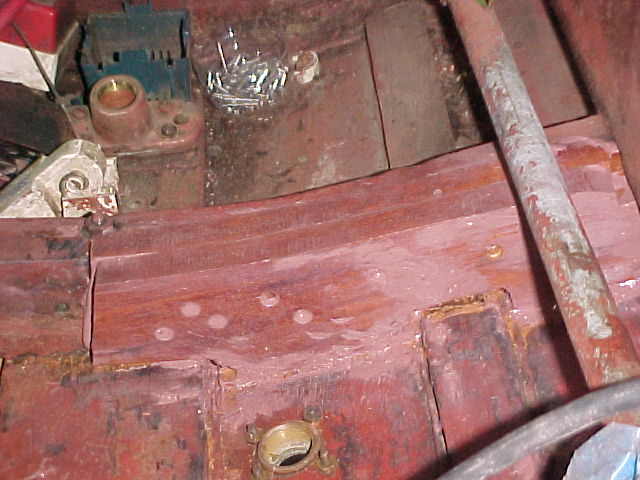
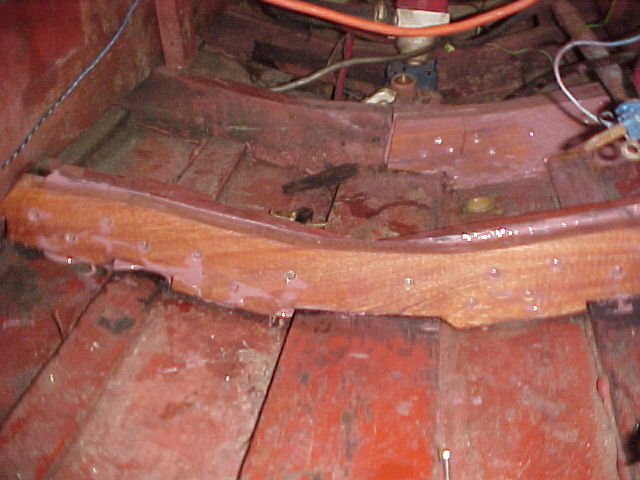
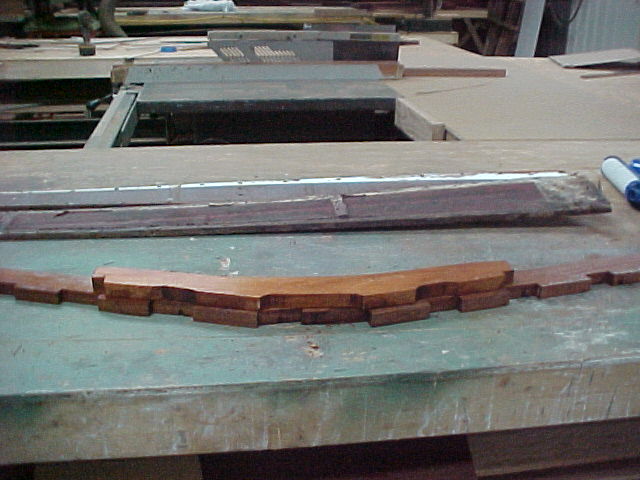
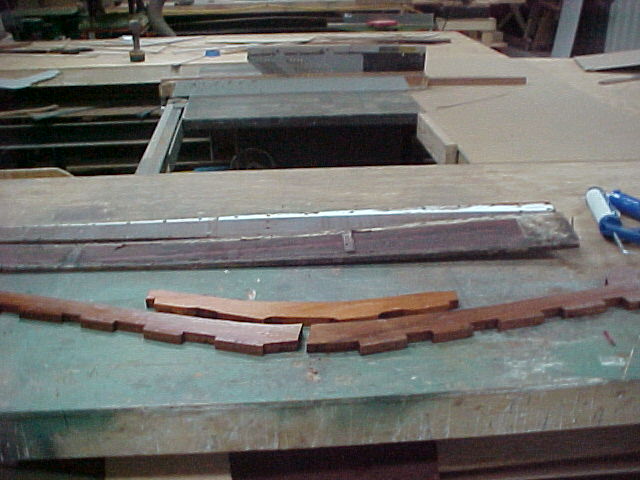
Frame reinstalled one piece at a time, not the matching of the curve
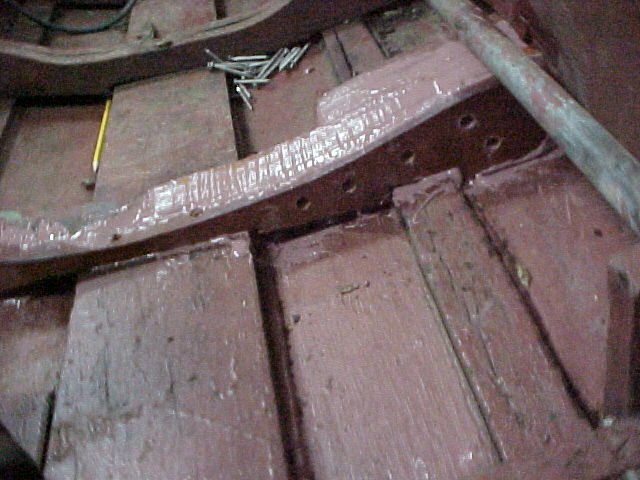
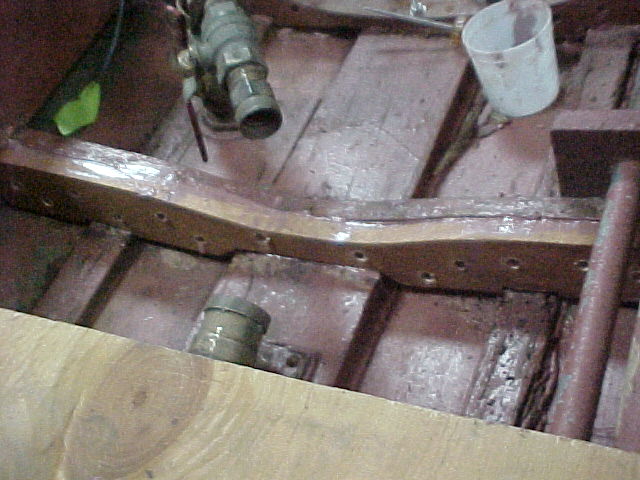
another view of reinstalled frame showing screw holes and 5200 squoages
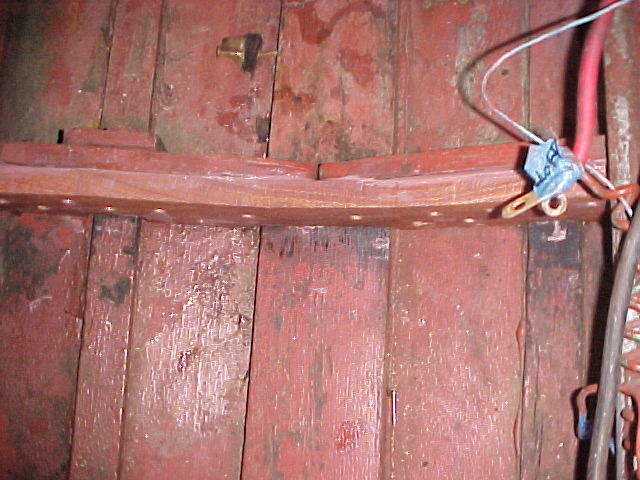
Close of outboard frame reinstall. Note the sister on the aft side arrow 1 and new added sister for strength arrow 2
1
2
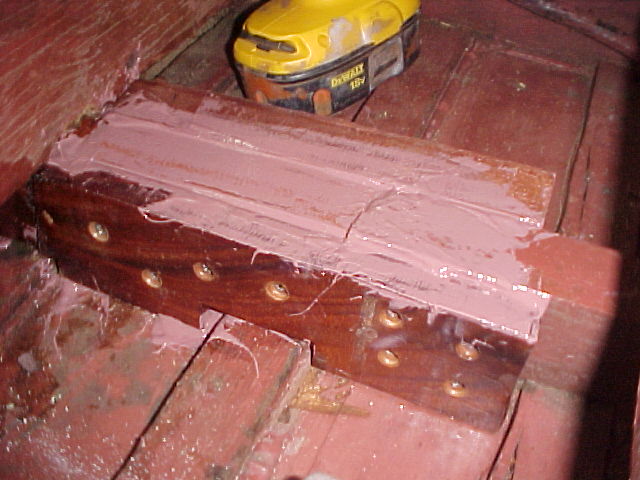
looking aft new frame showing new sister for added strength, not the matched curve and notched to fit battens and not the squoages
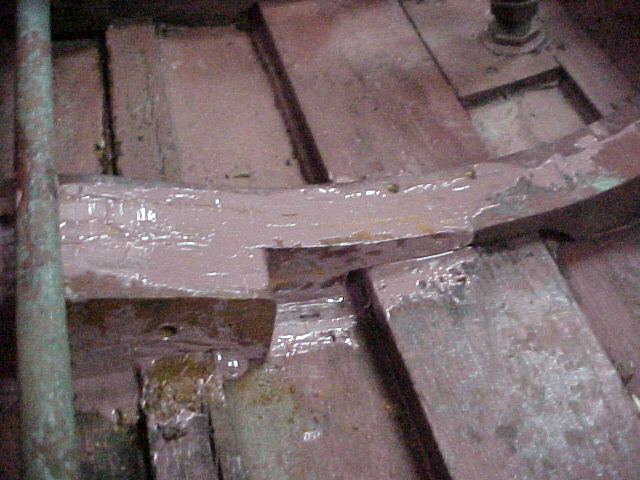
Third frame fwd, this is new frame installed with sister frame
outside of engine stringer showing sister extended past cut off for strength
another view of 3rd frame showing new frame and sister frame arrow 1, sister arrow 2
Picture of 3rd frame and sister before install, frame arrow 1, sister arrow 2 cut is arrow 1, sister arrow 2
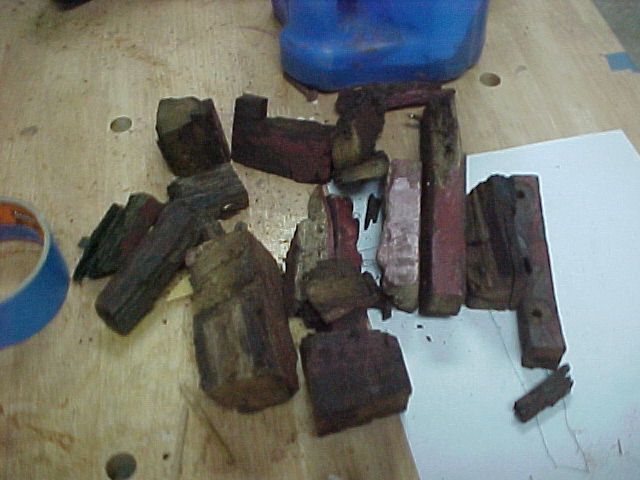
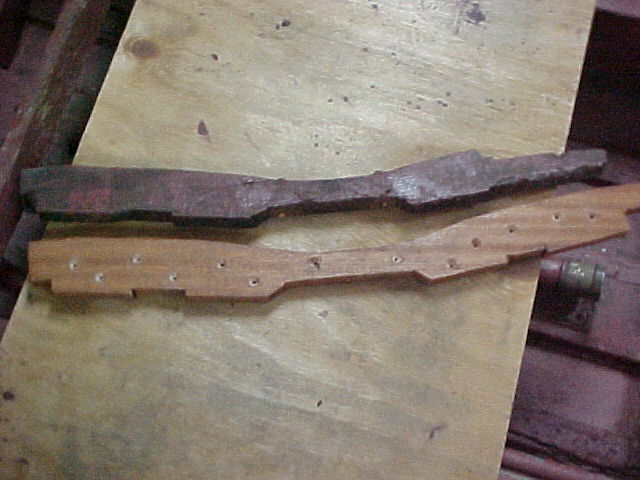
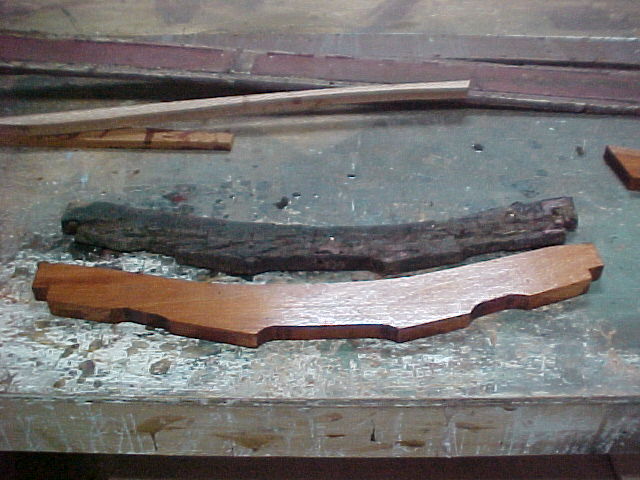
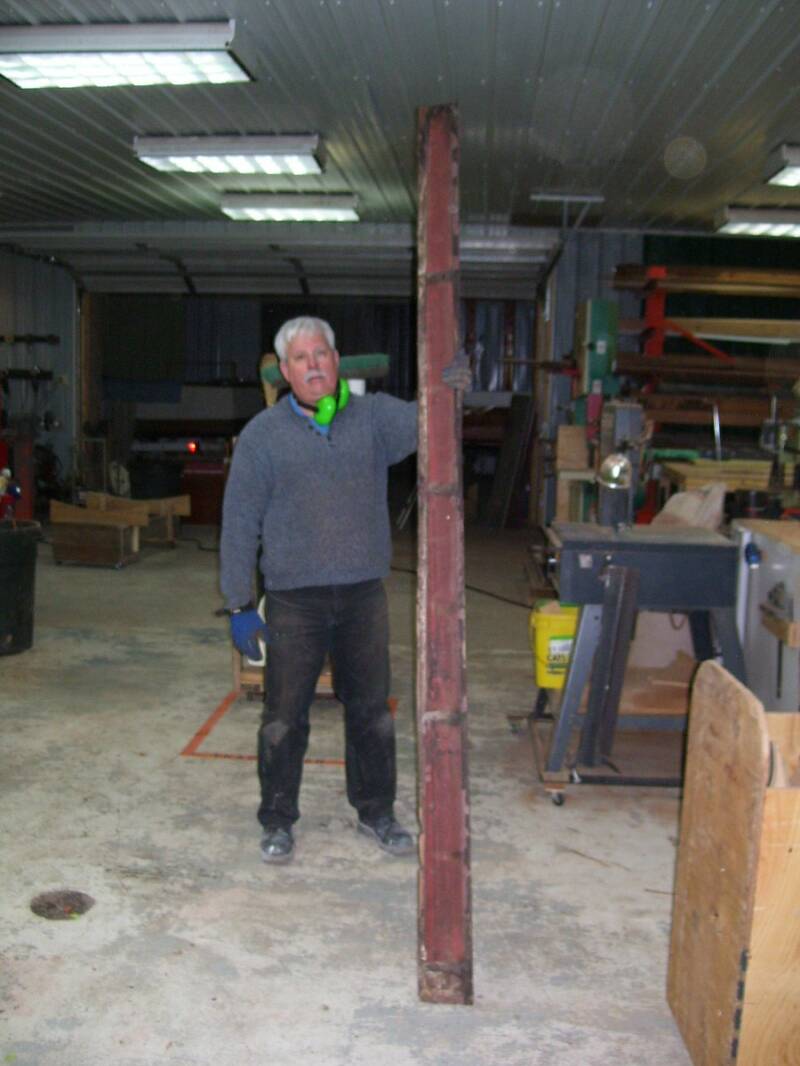
Old 3rd frame out in pieces laying by frame
Engine mount frame in pieces the way it came out
1
2
1
2
1
2
After removing the pressure treated wood, I found the frame to be ok . Now need to add butt blocks to close holes
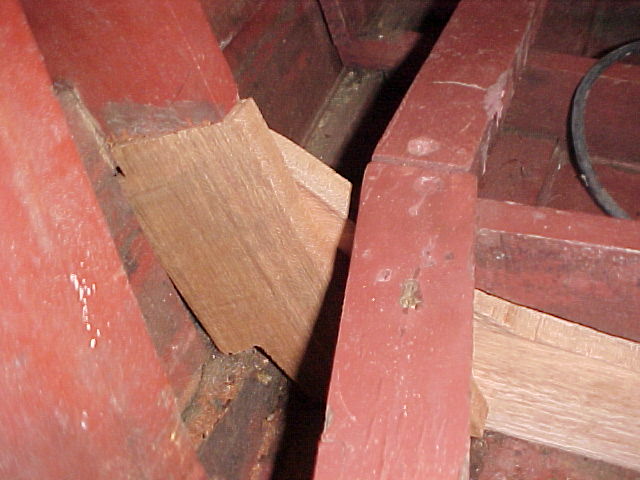
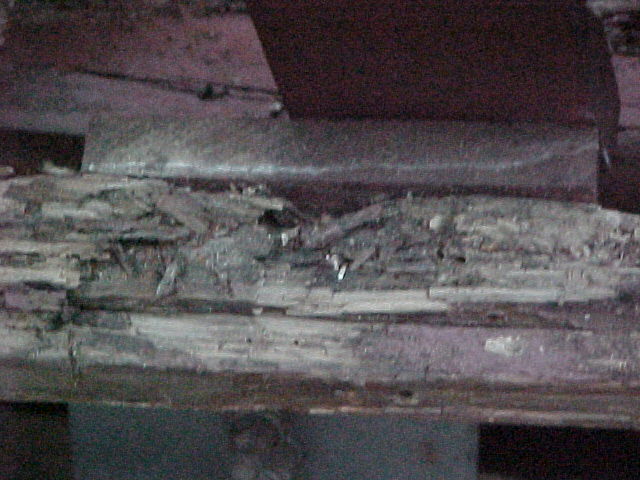
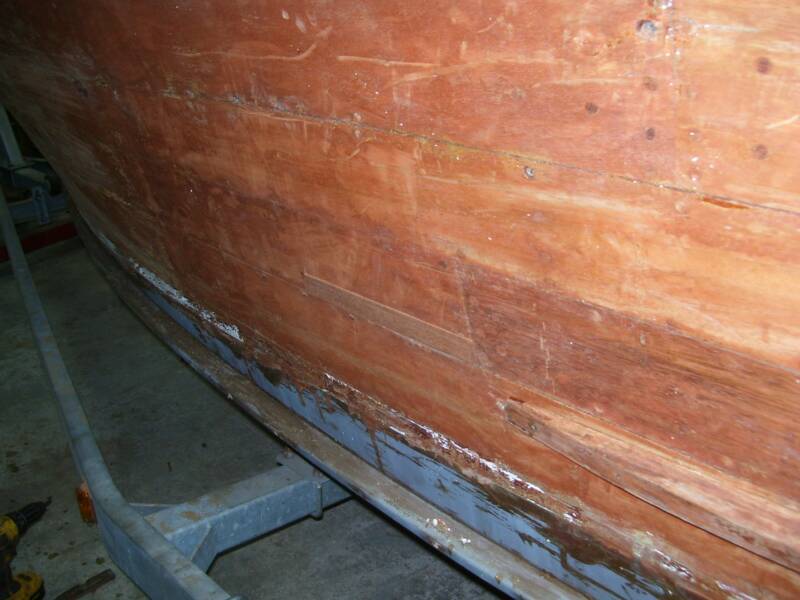
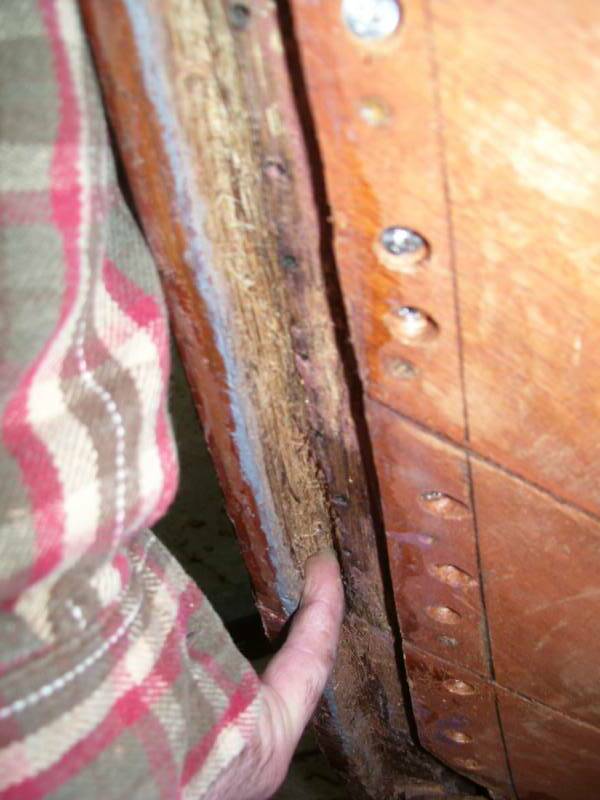
Starboard chine rot found while working sister frame replacement
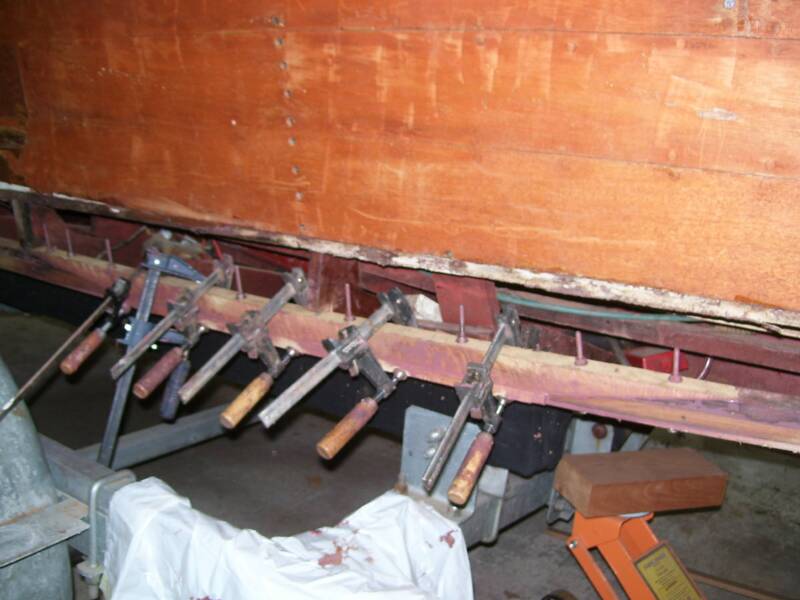
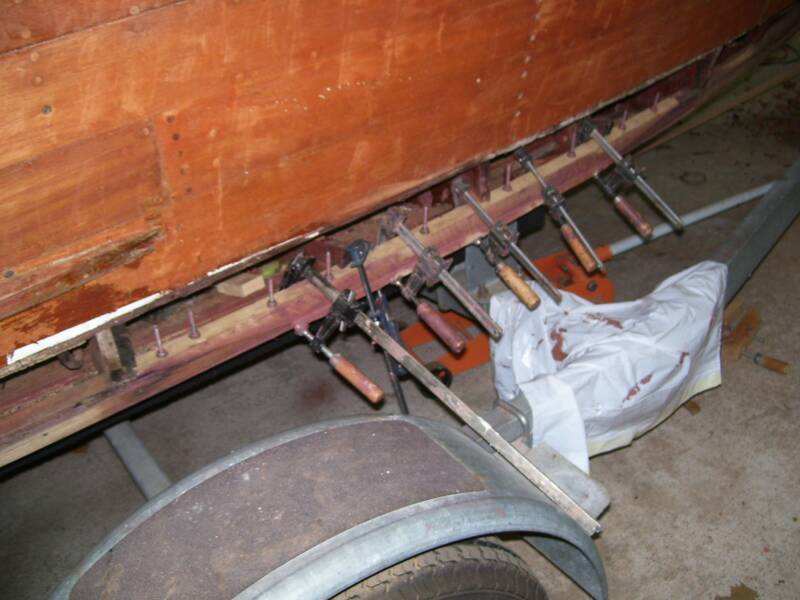
New board cut to repair rot found and to work chine
View of new board being replaced to repair rot, and showing chine rot, arrow
New sister installed just forward of shaft log
Old sister frame and new sister frame
Old sister frame removed and area cleaned just forward of shaft log
New 2nd frame fwd of eng mount frame
looking down view of 2nd frame installation
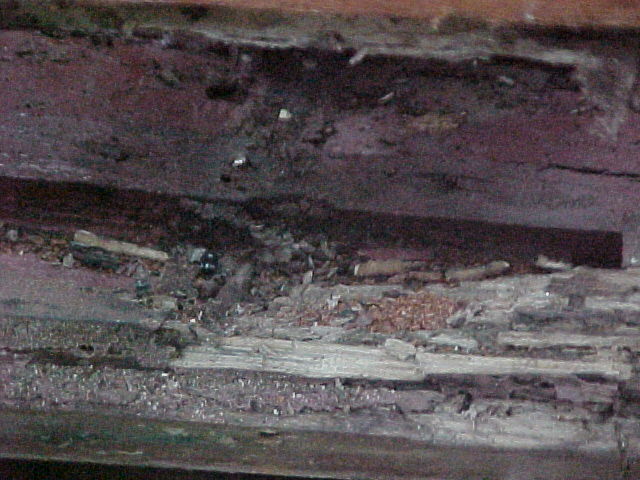
closeup of chine rot
another view of chine rot
view of rot showing the depth of it
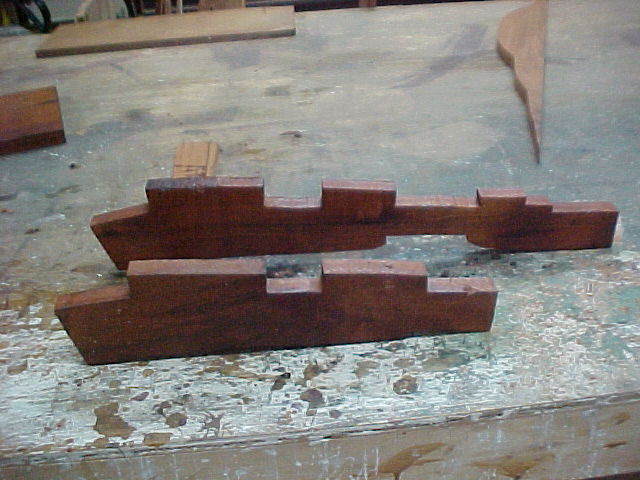
new frame and sister stacked as it goes into boat
frame and sister broke down to show work involved to make all pieces to fit into bottom and under the stringers
view of old rotten frame against the new one made
view of chine rot with side view to better show location
Paul showing location of the chine rot with broad view of boat side
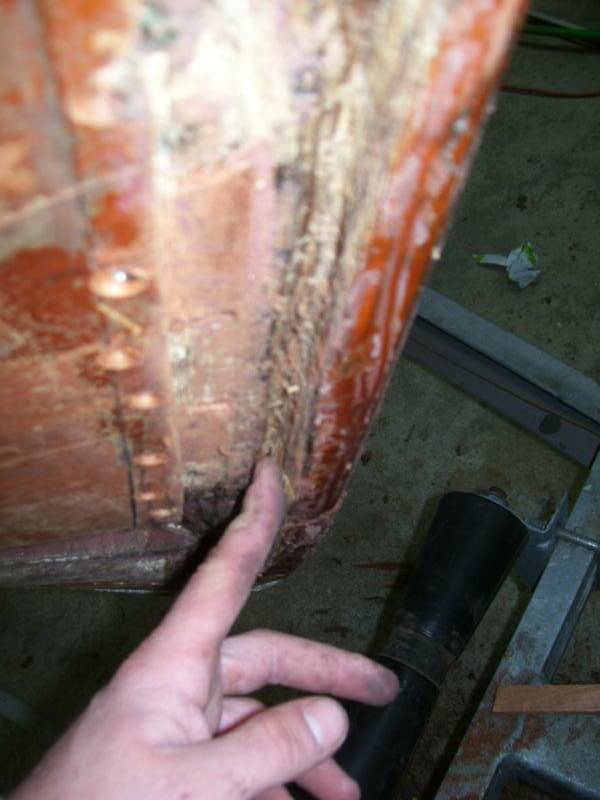
Bottom of plank was rotted adjacent to screw holes. We repaired this plank more quickly than it could be replaced. 2 hours time instead of 5.
This plank had three large areas that had been compromised by rot. The center picture shows two of them. One where it attaches to the transom framing and another by my index finger - still in the center photo. And in the right hand photo, by where the plank attaches to a frame. It was quicker to make a new plank than "Dutch" or make "Dutchmen" for each area that would have to be addressed.
Four more Dutchmen (I guess the Dutch were considered frugal?!?!?) Most of these two Dutchmen will be covered by the stainless metal straps at the transom. In all we ditched 4 areas on two planks
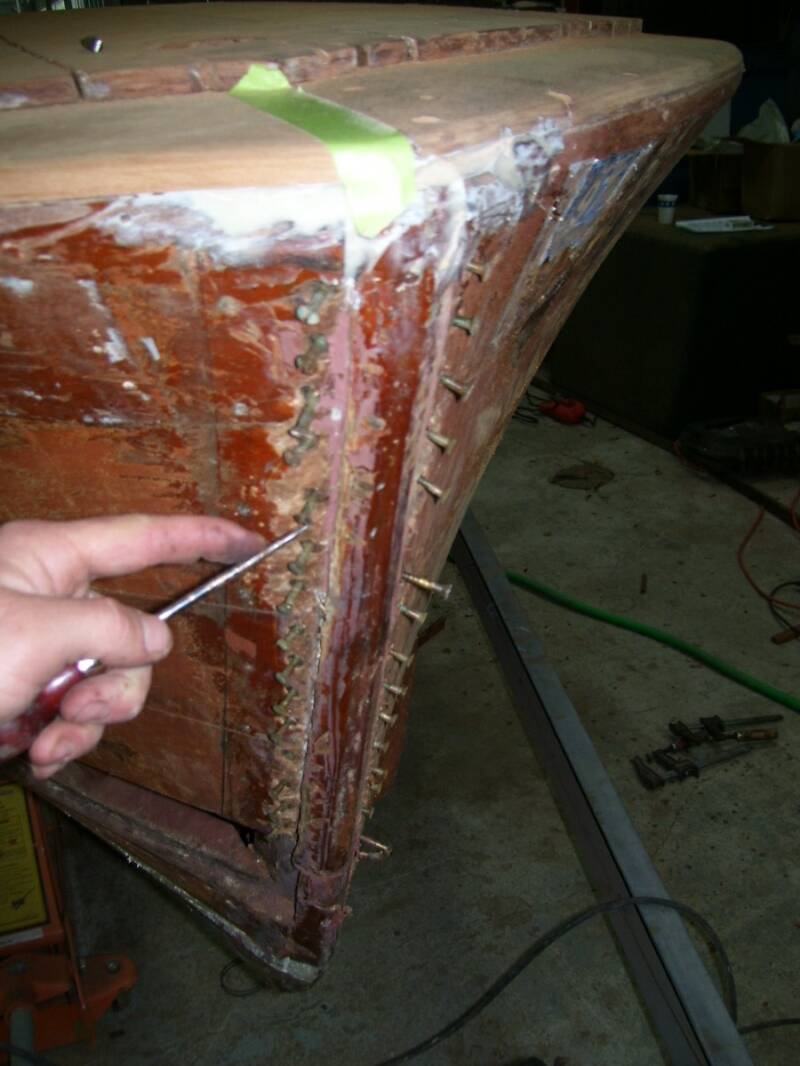
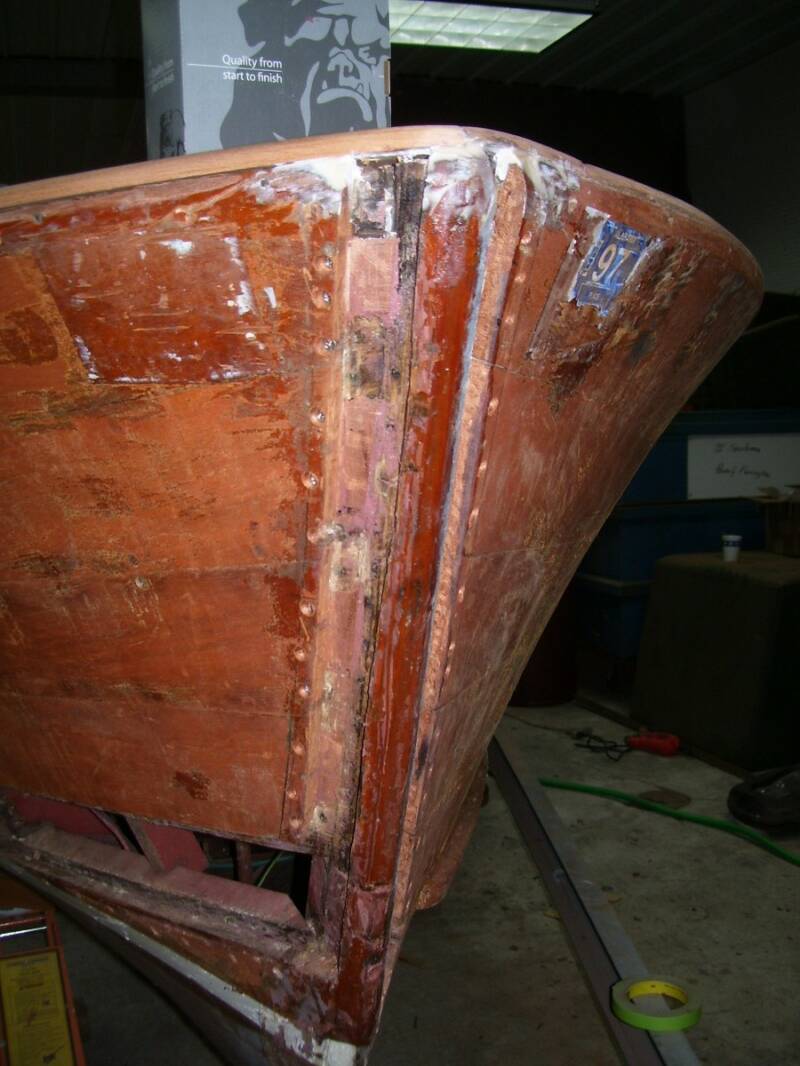
We saved you thousands up here in the bow. We first found a little rot in the ends of several planks, then a little more rot, then in more planks. One method would have been to completely replace all 8 planks that attache to the stem as they all had the ends rotted off.
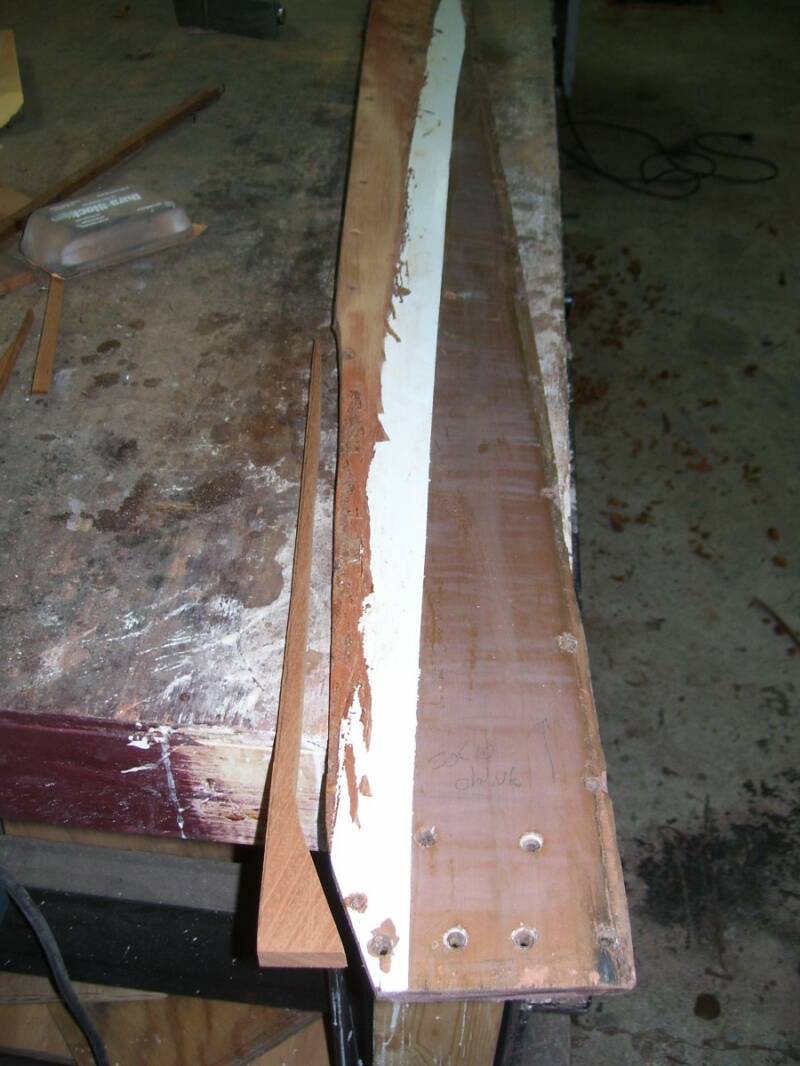
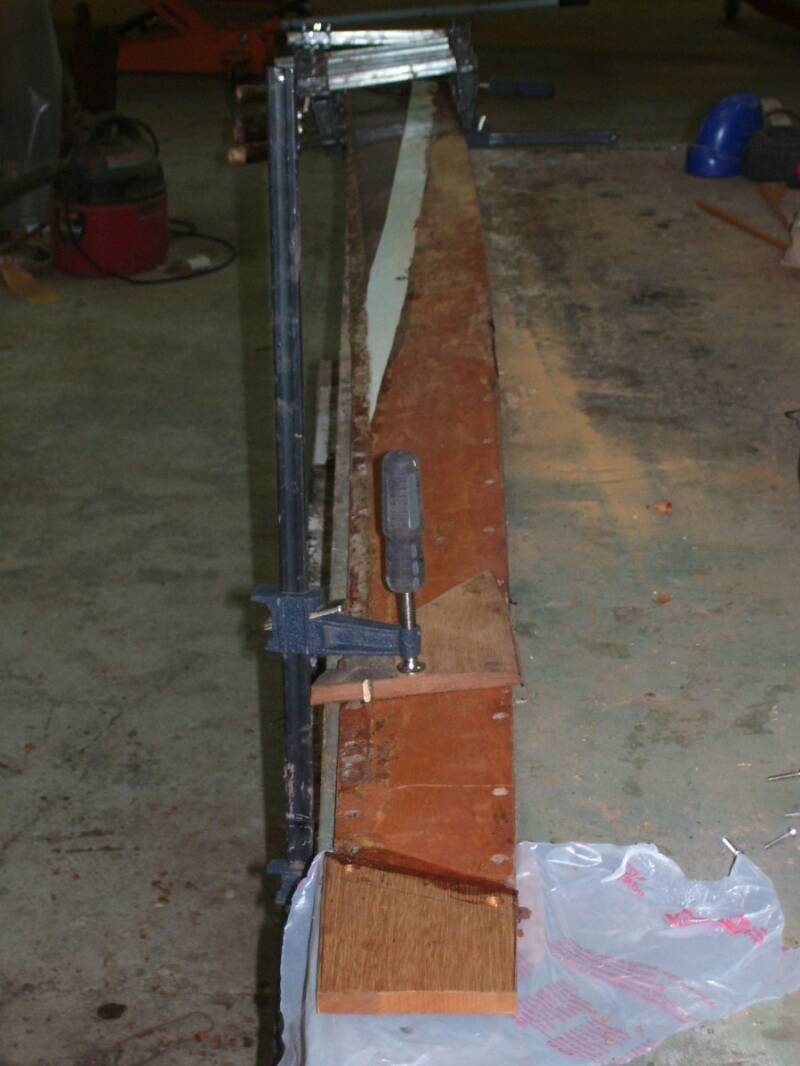
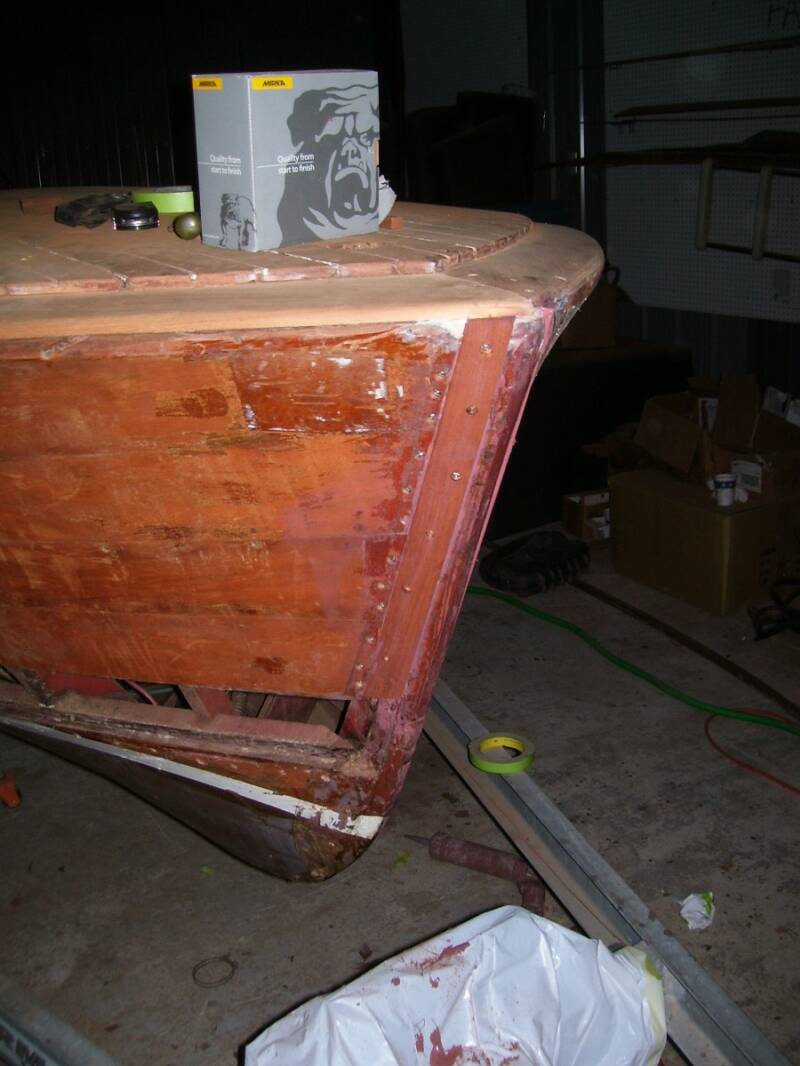
So, we cut off the ends of all the planks and enlarged the stem ( the structural member shown at the arrow in the left hand picture. We then attached the plank ends to the enlarged stem See where we added blocks to the stem to have something to attach the ends of the planks to. Note the right hand arrow in the center picture. This line is a line that shows what the cutwater will cover... everything to the left of the arrow. Then we treated the stem with Clear Penetrating Epoxy Sealer (CPES) as "Chemotherapy' in case we missed cutting out any rot. Then we put in a new filler of mahogany between the shortened planks and where the planks used to land on the stem.
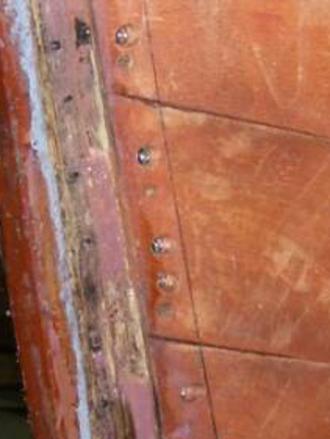
Great view of blocks used to "enlarge" stem. See arrow in right photo!
Remember the rotted chine... we got it repaired this week!
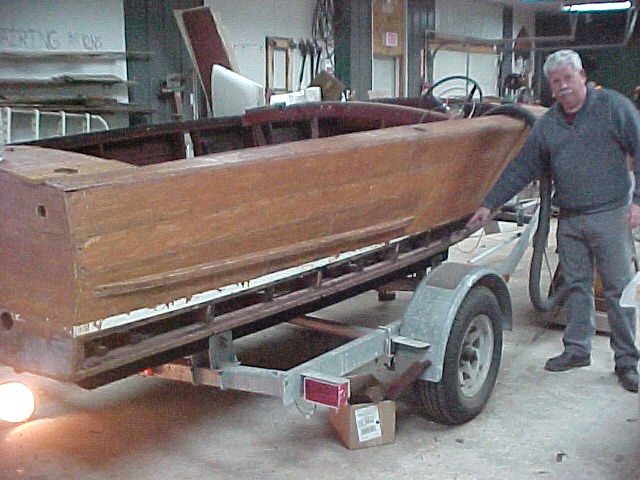
A similar boat - 1961 Chris Craft Ski Boat - Take a look at what your boat will look like! This boat is on its way to the Tavares FL boat show. (Mt Dora)
This boat is also very similar as it has:
Fresh chrome, new upholstery and flooring, rebuilt gauges, new windshield, replace dash wood and two planks on sides, strip and refinish of top and sides and transom, similar chine repair (on oposite side of boat) MINOR engine repair, engine detailing, new flooring, Sandblast and paint trailer, new bunk carpets, new bow stop, new LED lights, New fenders wheels and tires.
Tour of wood repairs - showing particular attention to Dutchmen
20 planks were effected by rot either at the ends or between plank seams.
There are only 24 planks on the sides of the boat -12 per side. If we had replaced the 20 effected planks the cost would have been around $12k for plank replacement. Instead by using Dutchmen we have been able to absorb the woodworking costs into the cost of the $6650 for the deck strip and refinish and he $6650 for the strip and refinish of the sides. We were forced to change our plan from maintenance coat on sides to strip and refinish when we determined that we had small amounts of rot all over the sides - like measles!