The sealing process! April 7 First step after stain
Upholstery issues April 21
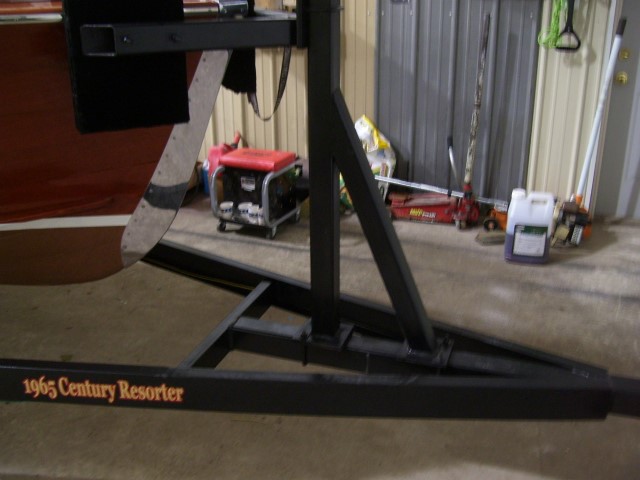
Trailer and Upholstery Update April 24
Trailer, Flooring and Upholstery Update April 24
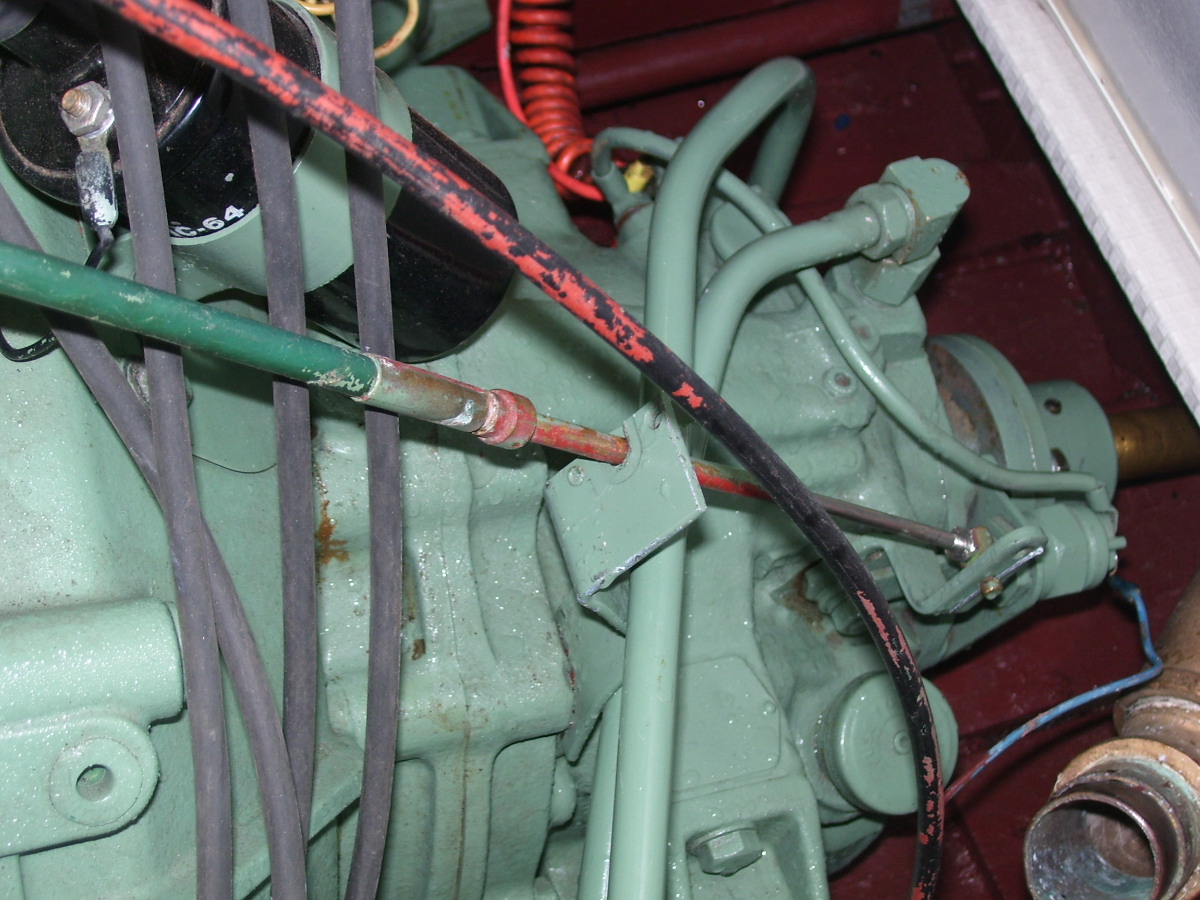
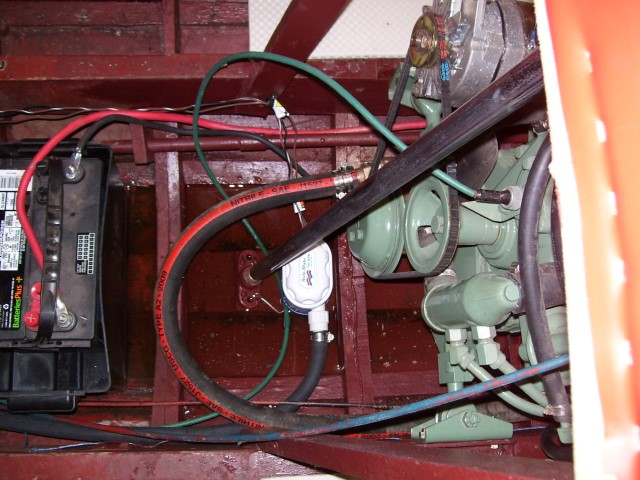
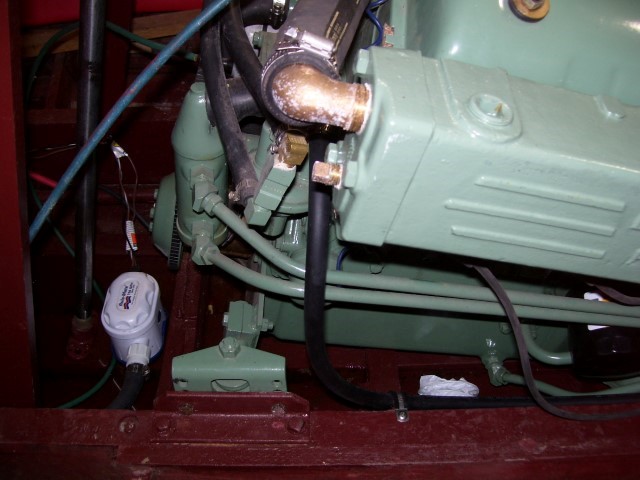
Engine Box Upholstery, lines, bilge blower
Update April 25
Update April 27 - Update on all aspects, engine, steering wheel, metal polishing, Flagpoles, upholstery etc.
Update April 28 - Semi Complete - ready to leave for Texas ... Texas or Bust!
Next Level Issues and plans
The shifter cable - the green one - started working after it was removed from the boat for measuring. We figured possibly it was in a bind when installed in the boat so we tested that theory by re-installing quickly / temporarily.re-installed. The cable continues to work. We found a place where the outer sheath had either been melted or "skint" away. Suggest we purchase a new cable at a cost of approx $40.
We will clean the throttle cable with xylol to remove bilge paint from earlier "restoration".
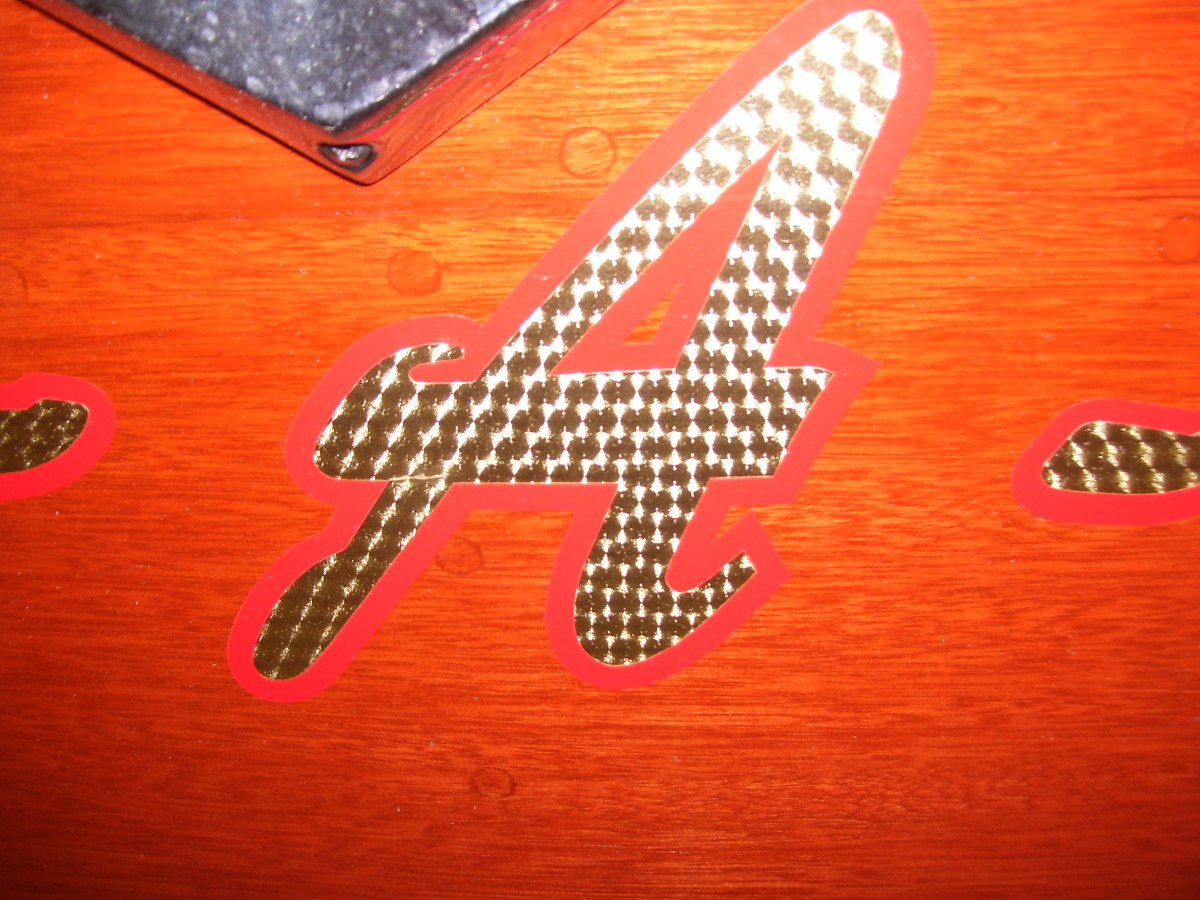
There were several issues with the lettering. What we noticed first is the rip in the lettering. After closer inspection we discovered lots of tiny slits in the letters. A quick call to the vinyl supplier confirms these slits are not normal and they are going to re-cut the vinyl free of charge. We will be replacing the vinyl lettering.
Left -
Fair bottom planking off with transom plank. We will champher the bottom plank slightly similar to many of the boats observed at the Texas show. Interesting how from one region to another there are different details that are given attention. CLEARLY, from the number of boats that had very smooth edges at this joint this is and important detail in Texas!
Right -
Under water line plank seams and plank seam in cutwater need faired
The covering boards were pretty gnarly on the back. What appeared to be filler on this covering board turned out to be caulk that was squeezed up "proud" of the surrounding wood surface when the boat soaked up some moisture. The caulk will be removed and a combination of wood bung and filler used to complete a proper repair.
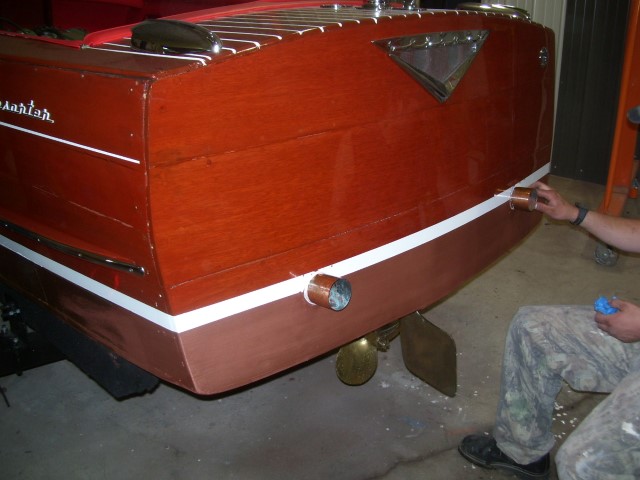
A red bilge paint color is used to surround the Century lettering on the triangle and make the lettering stand out. Another important detail that was overlooked on a few of the other boats as well but confirmed by Century boat experts the Micklos brothers.
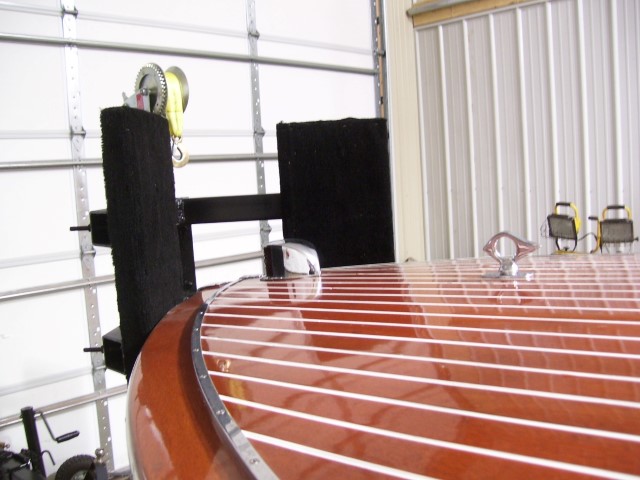
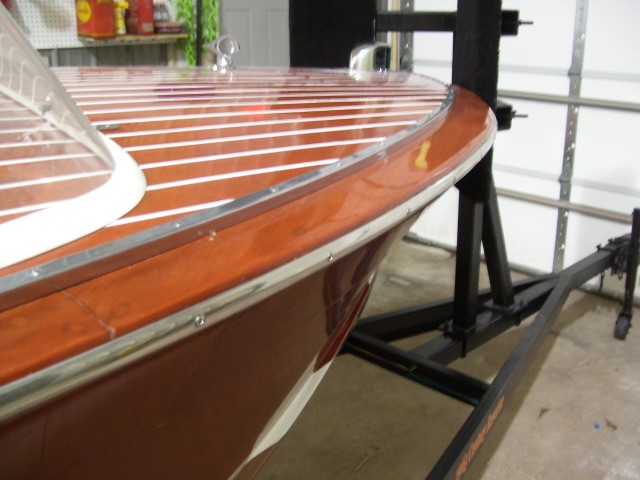
The stainless rub rail placement on one side of the boat (port) while in the original screw holes was too low and did not properly cover the seam between the covering board and first strake of side planking. We will move up approximately 1/16" to make consistant with Starboard side. This is done by plugging existing holes with dowells glued in place and re-drilling for the new placement.
The windshield rubber was cut with the windshield off the boat. New rubber will be cut and the operation will be performed on the boat. The rubber will be compressed between the two limits of center post and side bracket.
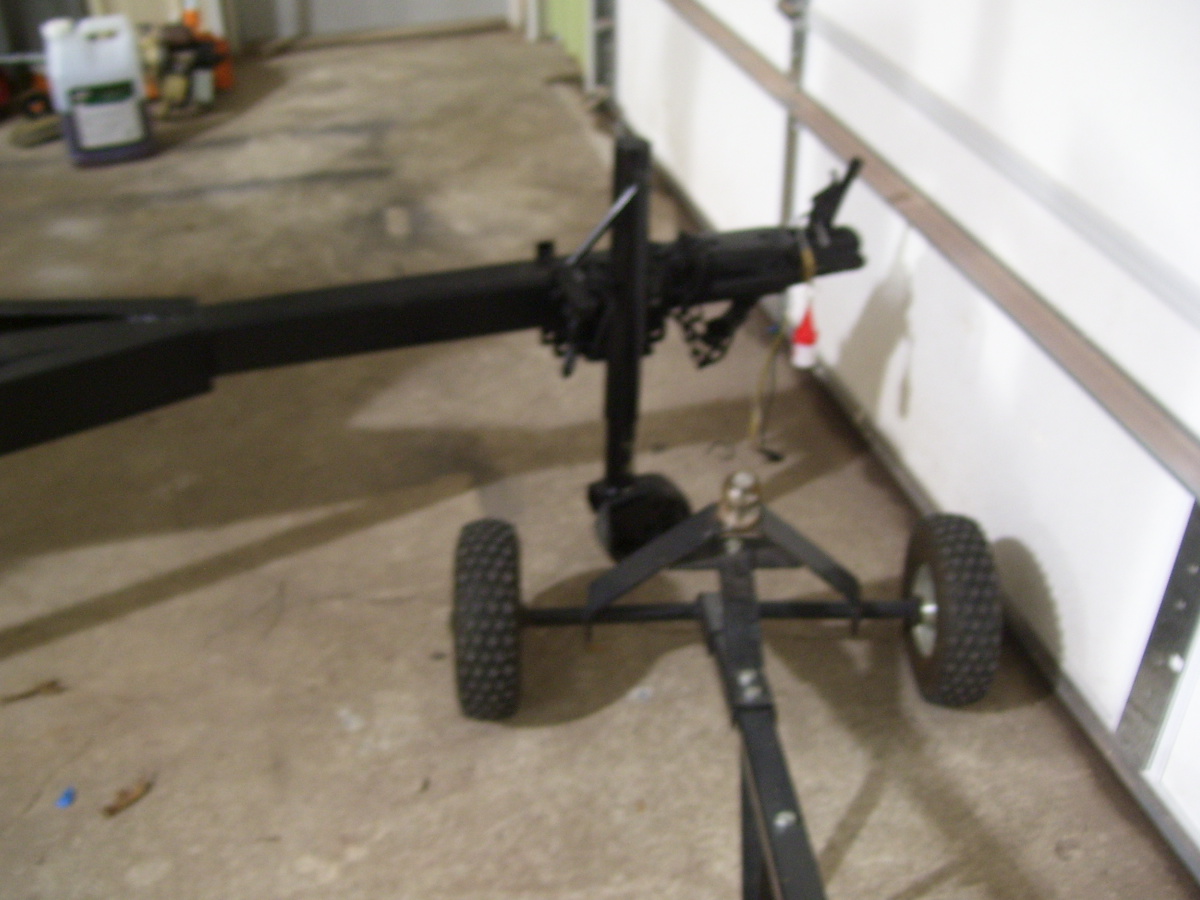
The trailer jack will be replacec with one having more capacity and the abilty for the wheel the swivel when under the load from the boat.
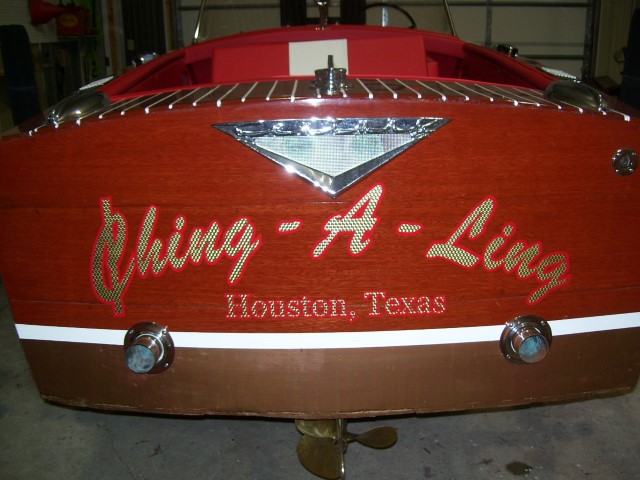
A spare tire carrier, and spare tire mounted on aluminum wheel to match those on the trailer will be added. Also a spare tire cover with "Ching - A - Ling" on it will be added.
Dolly pictured not included!
A lifting strap will be purchased to protect the lifting eye from the metal hook on the trailer winch.
A new handle will be ordered for the trailer winch as the handle was removed / or lost at some point on the road trip.
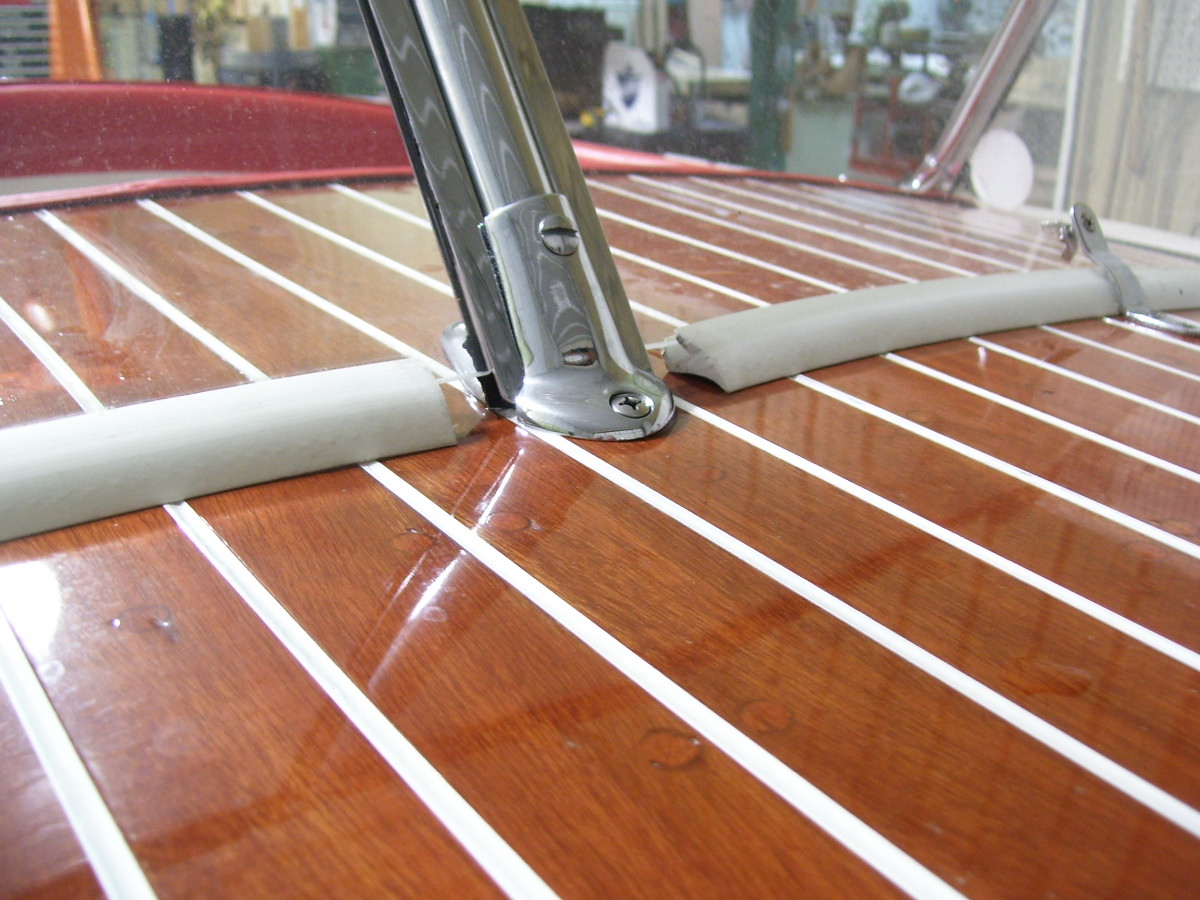
Three extra holes in a 120 degree pattern were discovered as the hardware was being added to the boat. It appears a spotlight was installed either as a factory option or possilby by a previous owner or dealer. A decision will be made based on price as to whether or not to add a spotlight or repair / bung the holes in the deck.
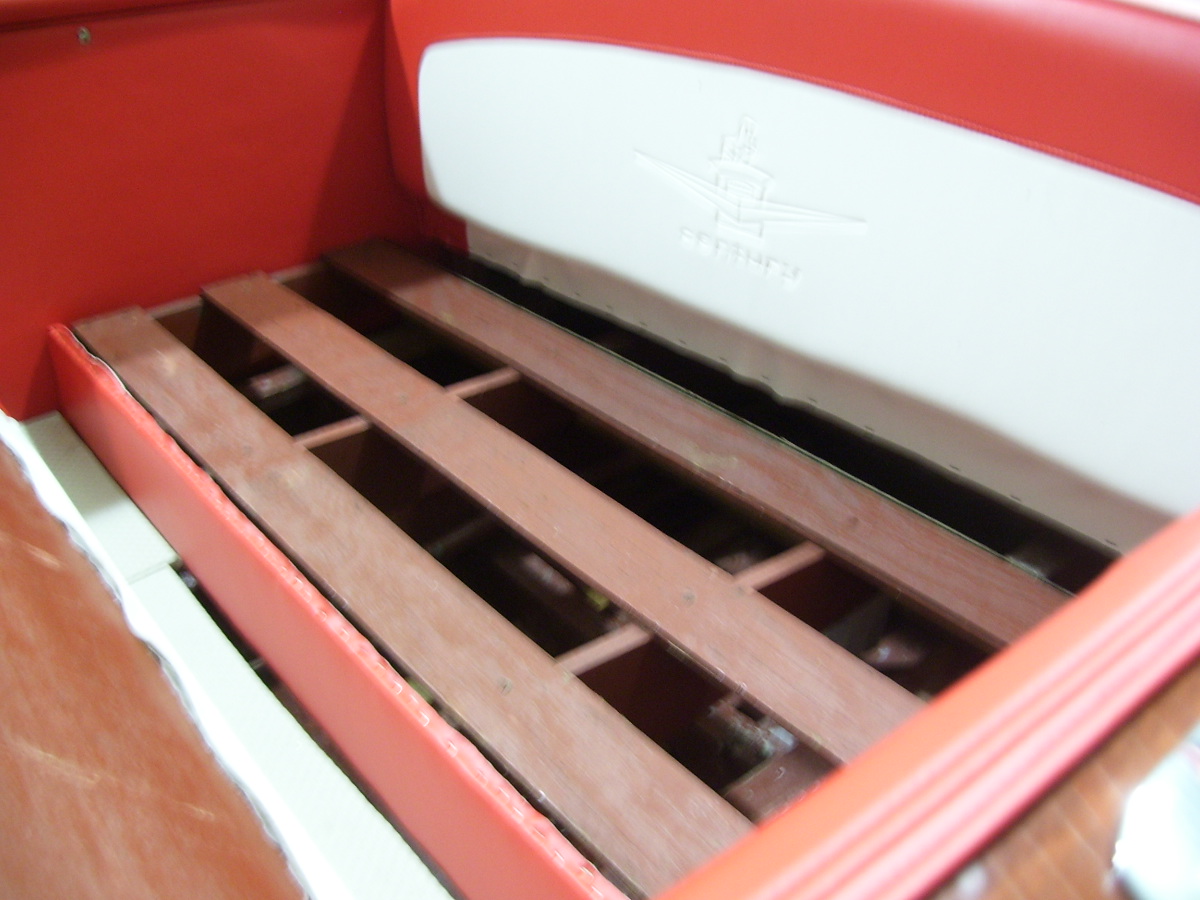
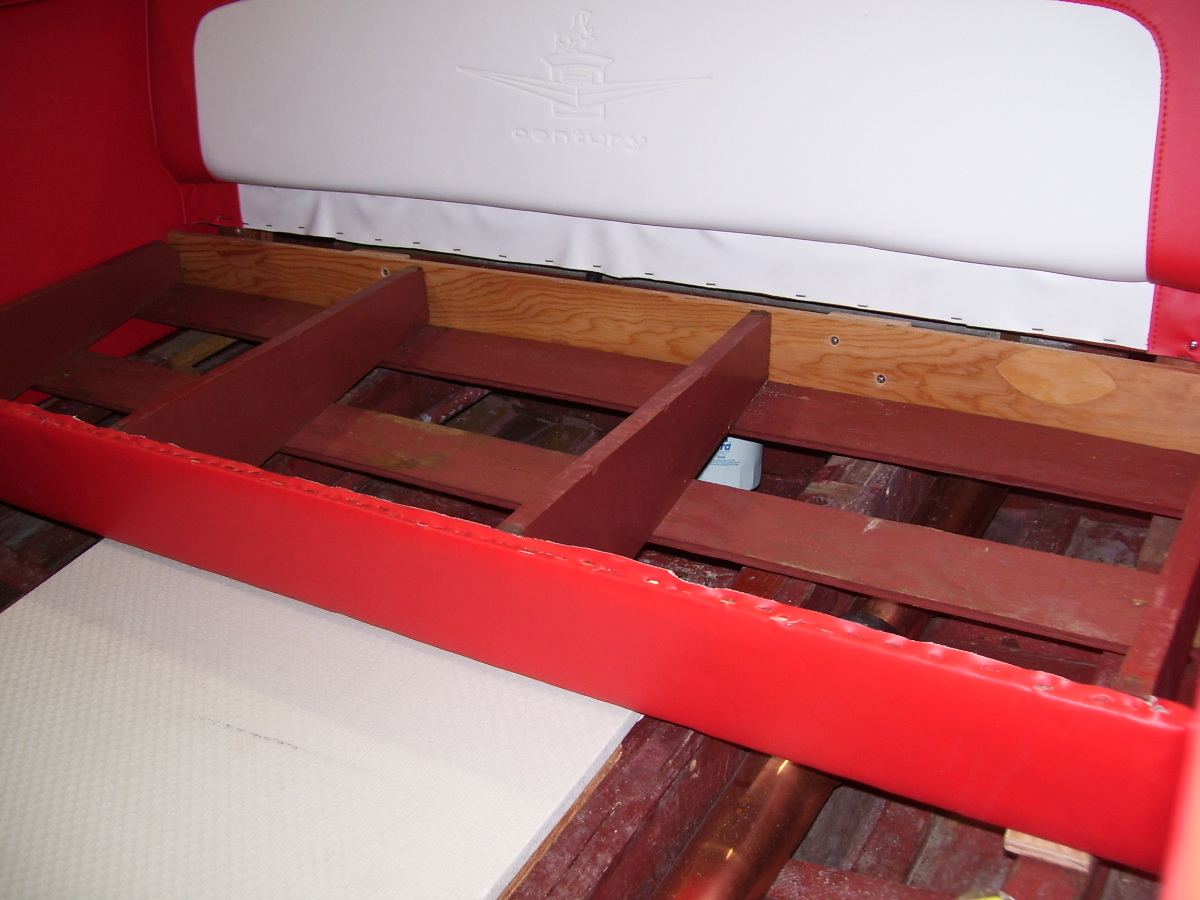
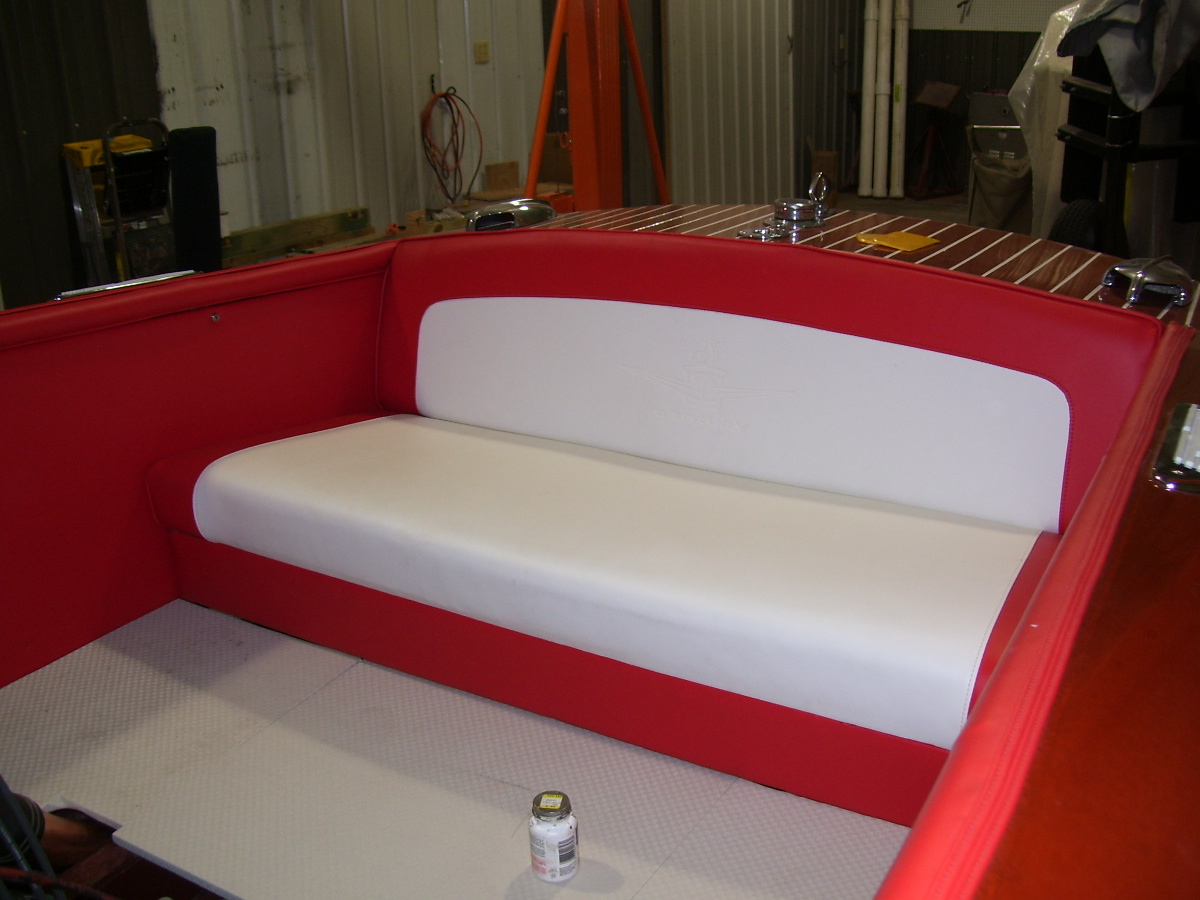
Currently the back seat riser is installed upside down to make the back seat arrangement work. We will be determining the proper seating "stack up" with some additional research and correcting this problem.
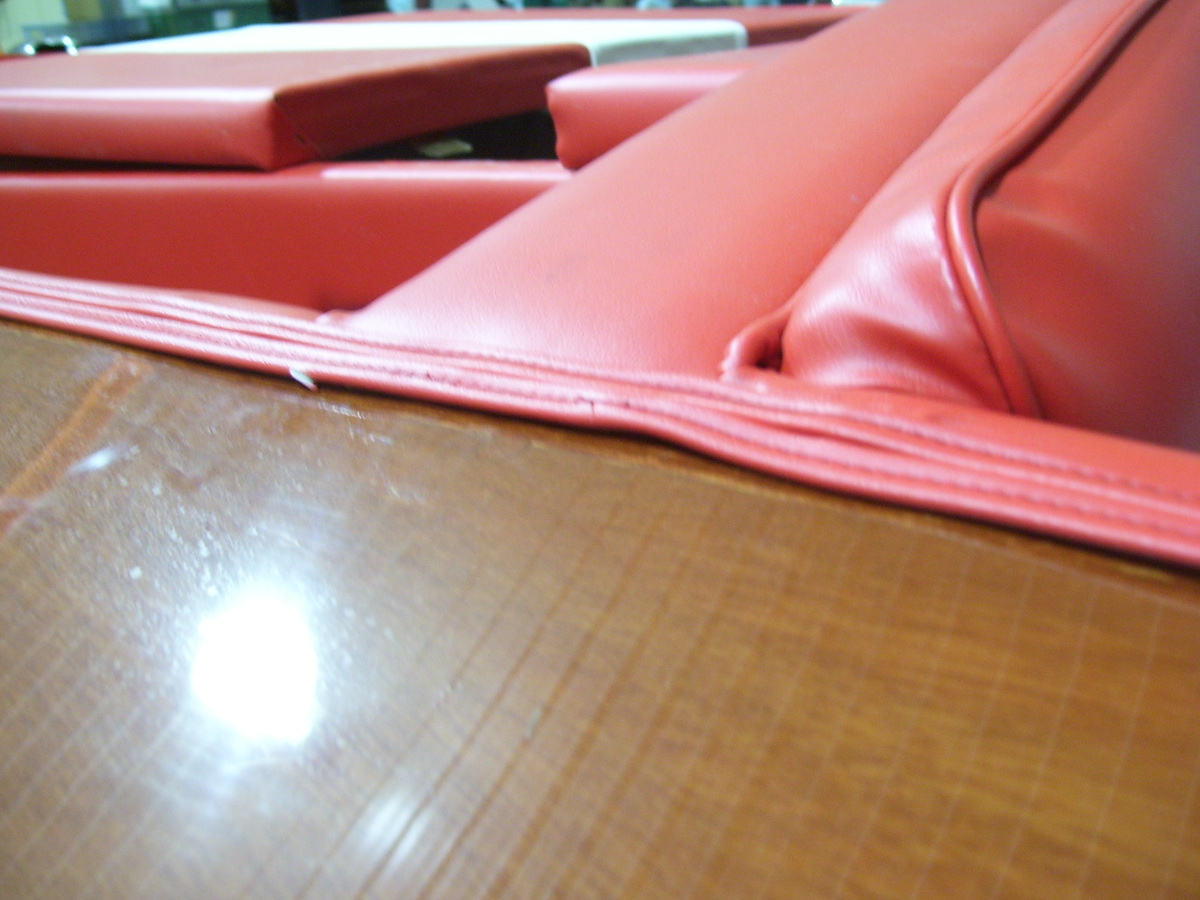
Also being addressed will be the fit and finish of the joint formed by the flooring, the engine box, the wall panel and the front seat back.
Left -
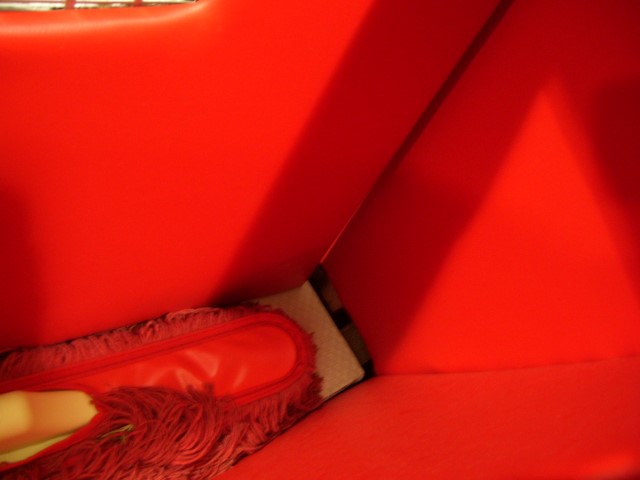
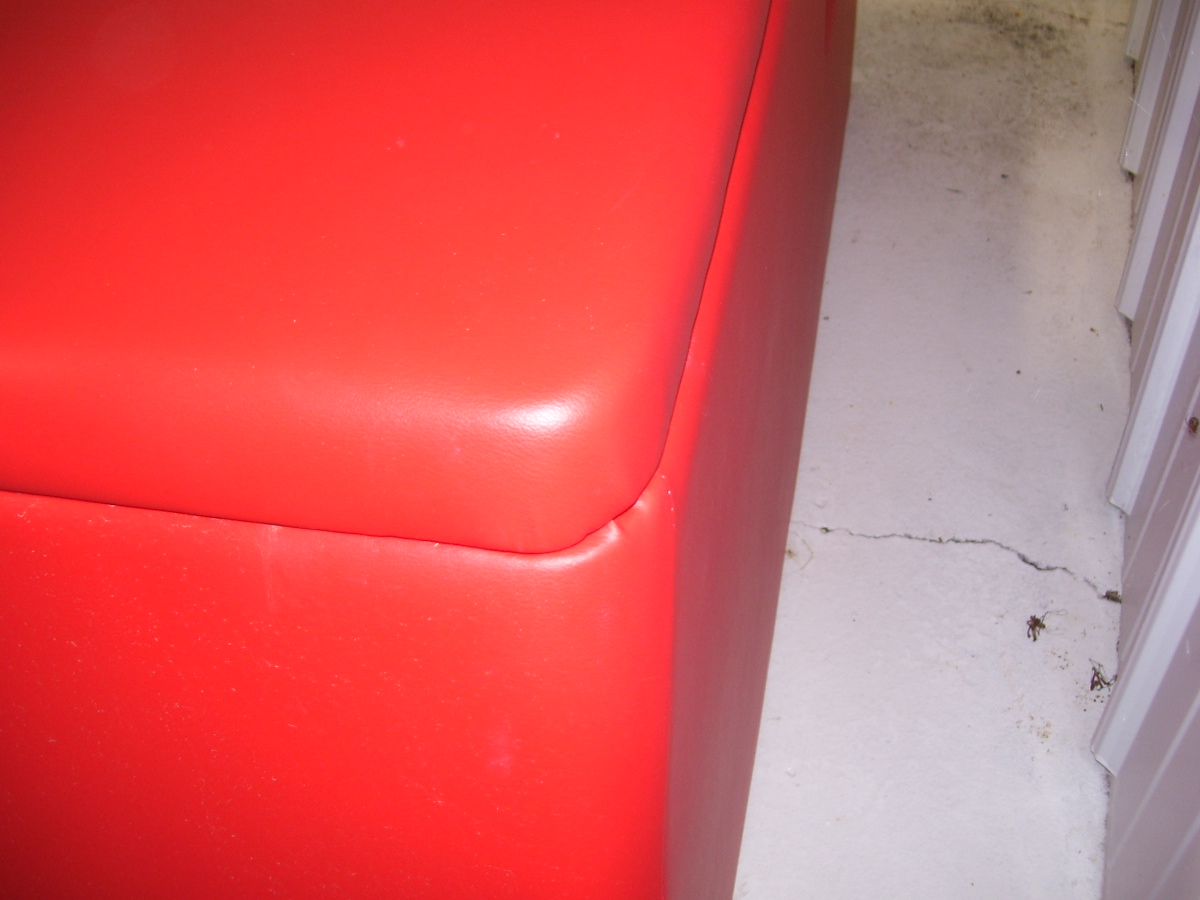
There is a slit in the hidem.. it will be replaced
Right -
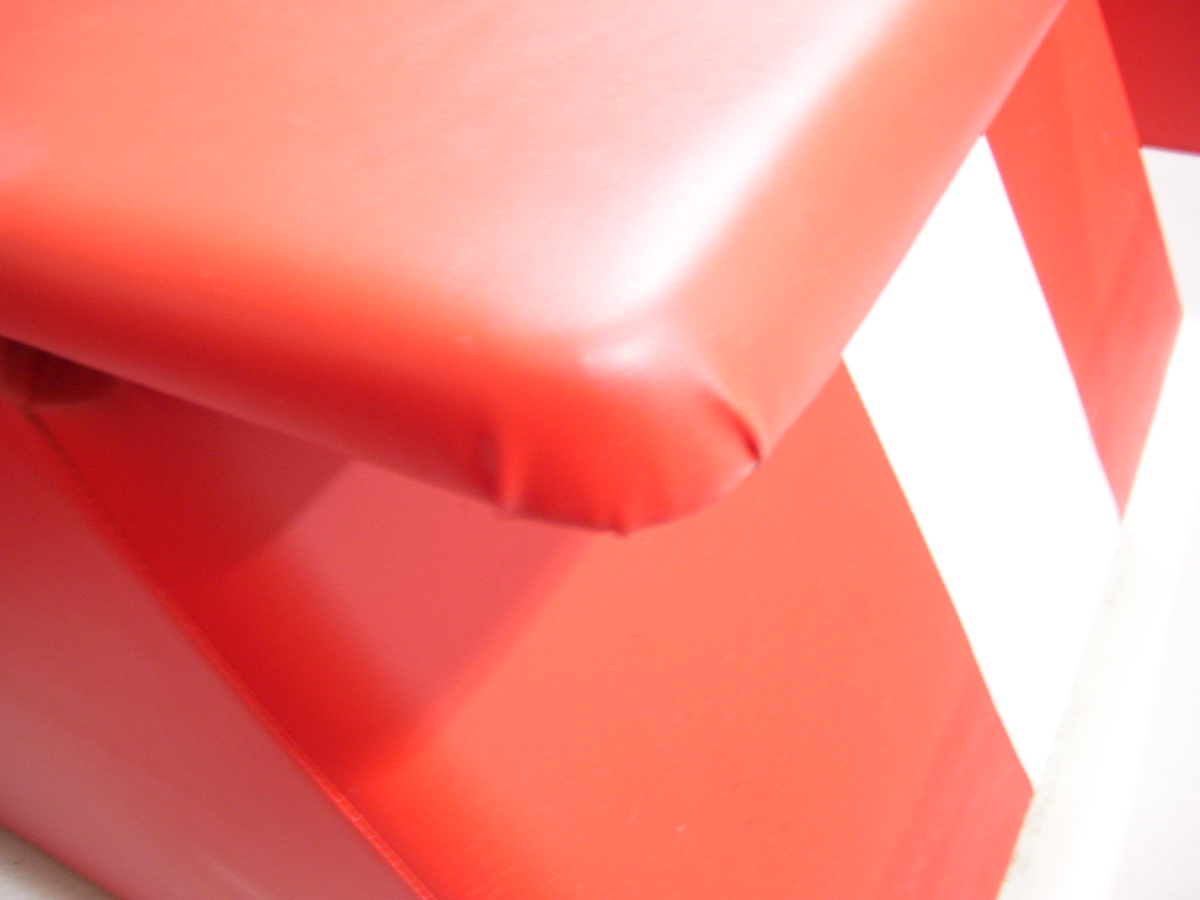
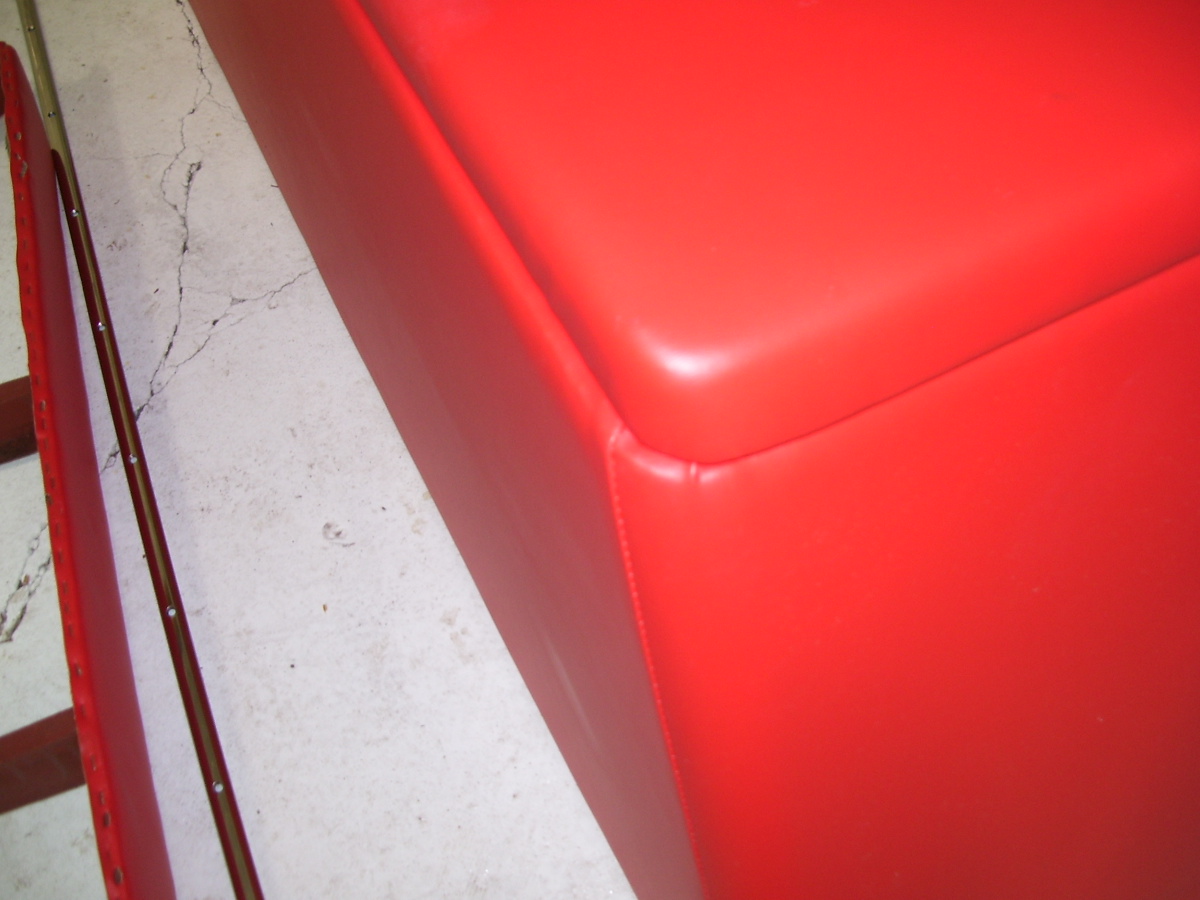
The corners of the engine box will be re- stapled to smoothly cover these corners with no folds in the material.
Right-
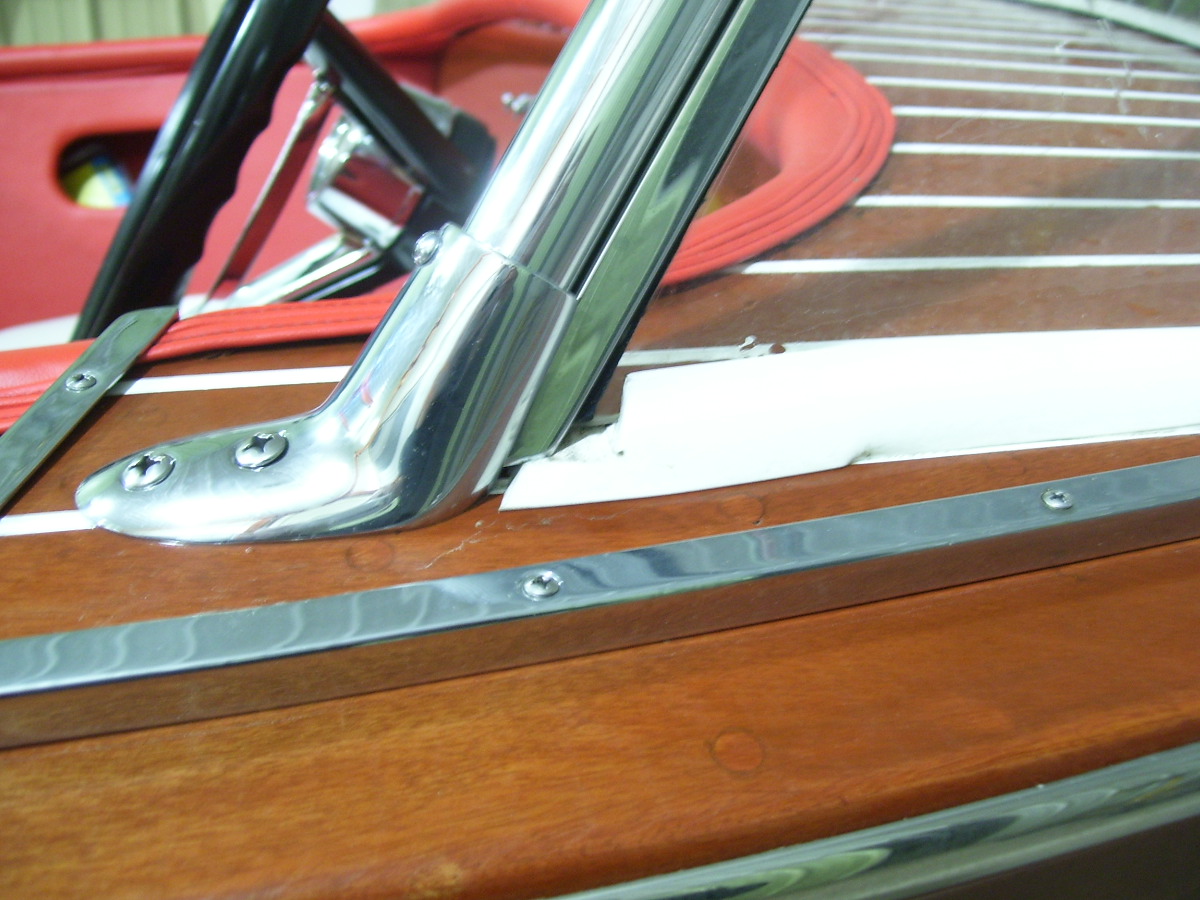
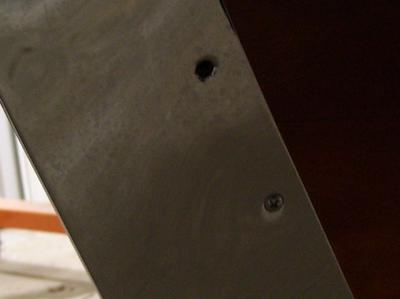
Cutwater missing screw.
Left - bad chrome
Chrome plating on starboard deck angle is flaking!??!? Send back to chrome shop for re-chrome at their expense.
Other issues not photographed
Clear lens to be put on stern light
Stern light wiring not working (inside pole)
Lense on bow light needs cleaned or replaced - very foggy
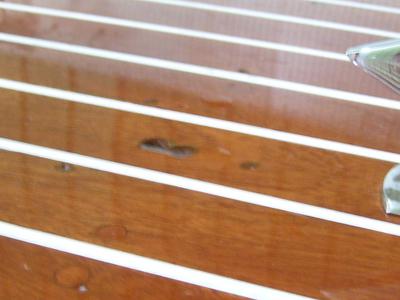
2 or 3 bungs have had the color sanded out of them - find them color and add varnsih - then sand and buff in to mirror finish.
Original factory image shows no scoop, and no light, however it does show a rear view mirror. We located two filled holes on deck where the mirror would have been located. We will look for a mirror and a spot light starting with Paul Merryman.
Chrome ski pole was not re-chromed on the top one foot of it as requested. - Check billing to see if we were charged for it - get it done by chrome shop.
Chrome engine box hatch lid hasp
Next Level Issues and plans - corrections thus far!
Water intake hose installed
Fuel hose installed
Floors reinforced
Transom joint with bottom faired in and vinyl removed and new coat of varnish applied