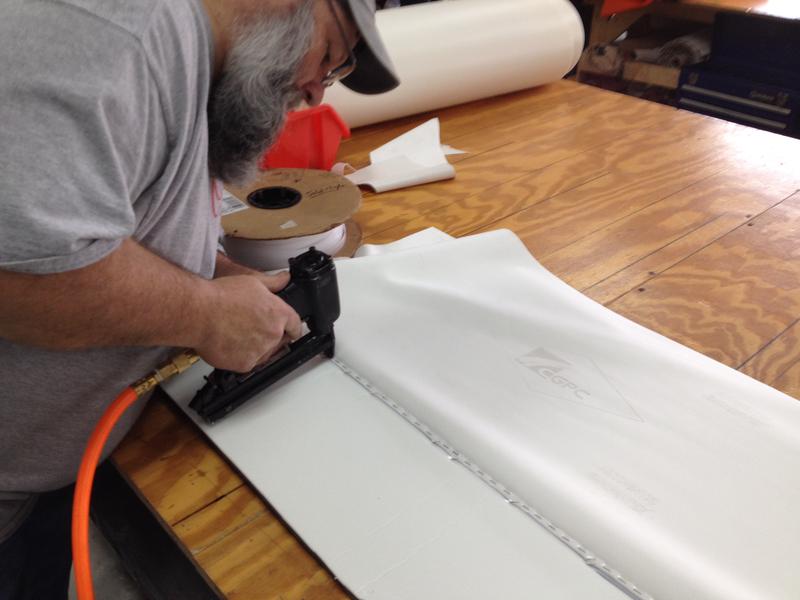
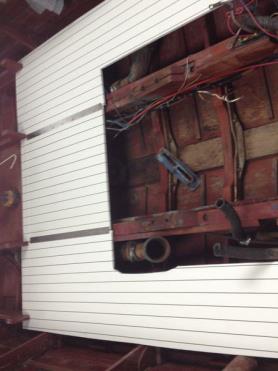
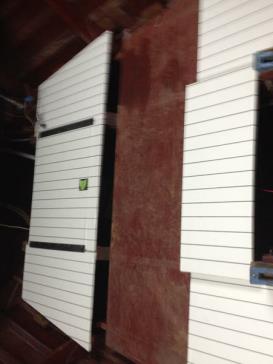
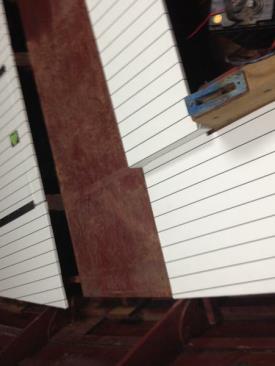
The floor panels have been covered with the simulated white planking.
4/7/15
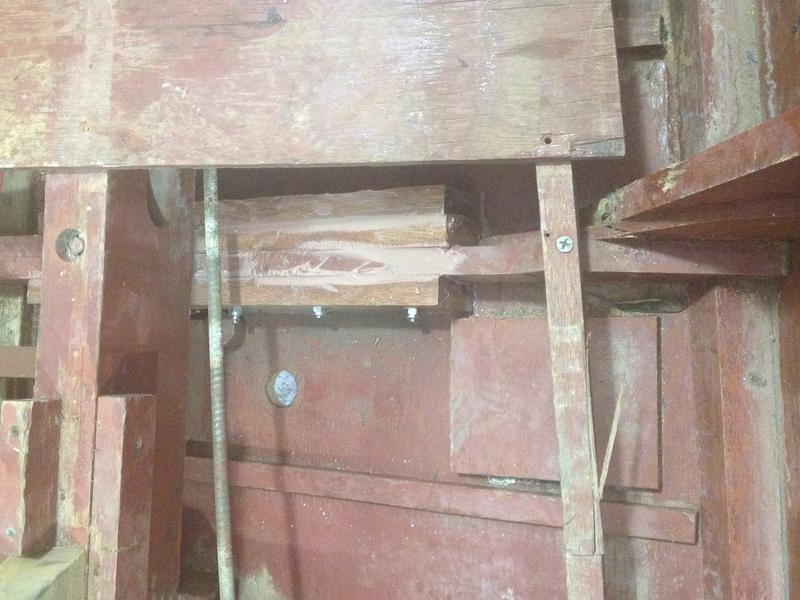
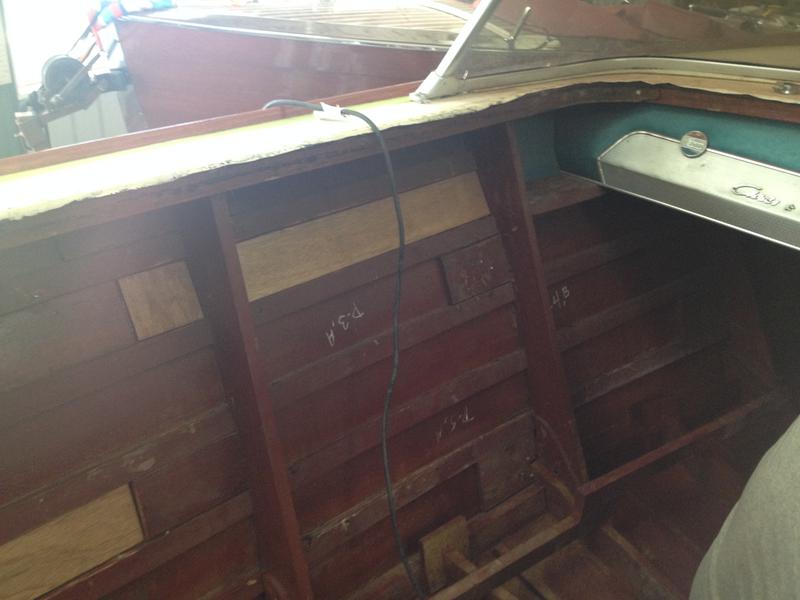
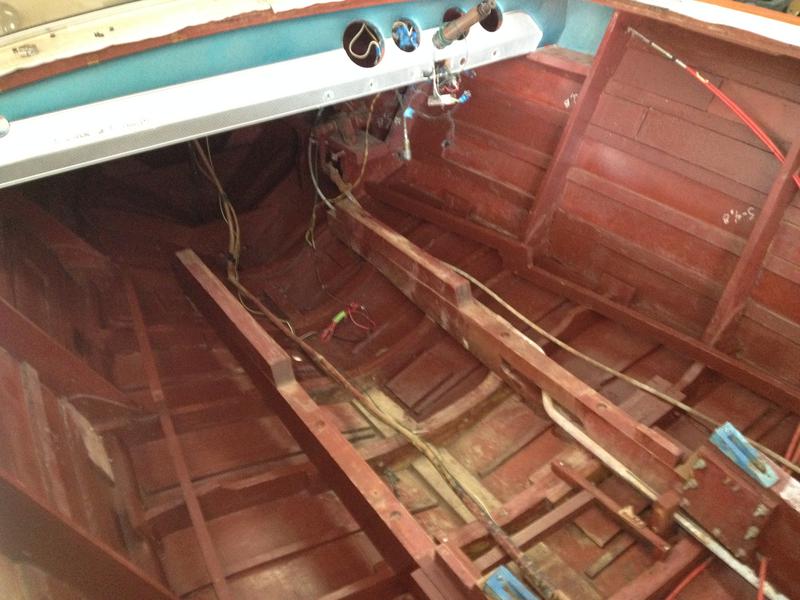
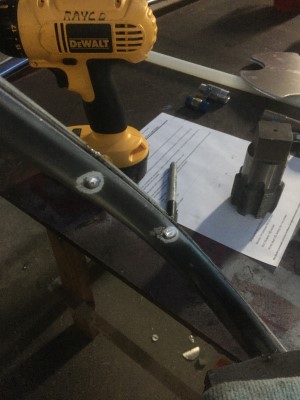
The brace has been repaired in the inside the boat.
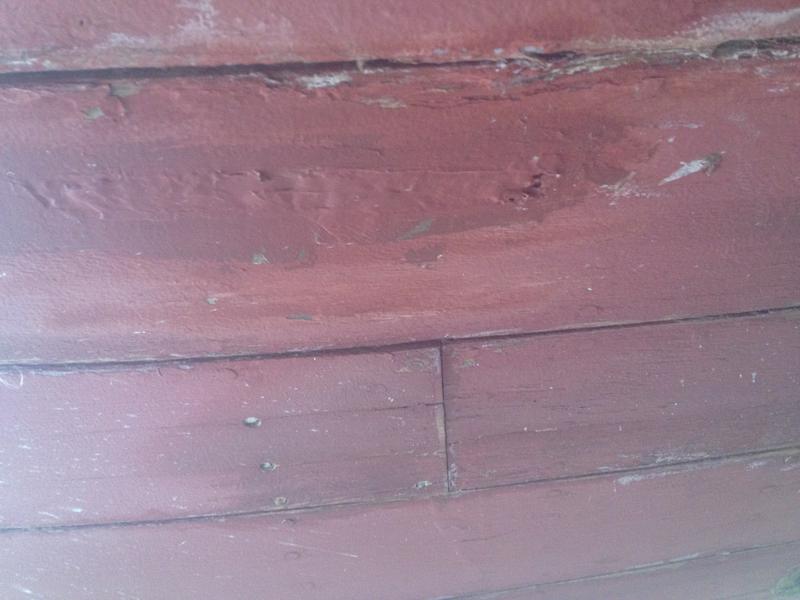
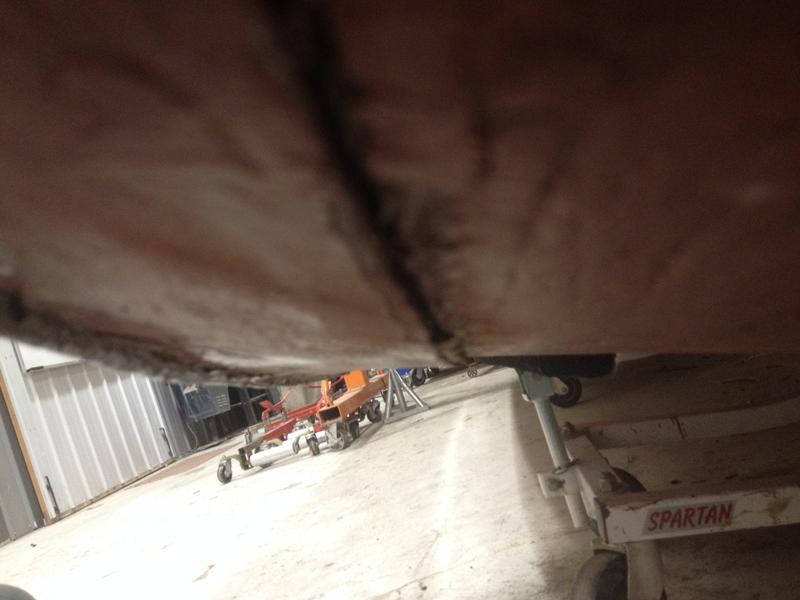
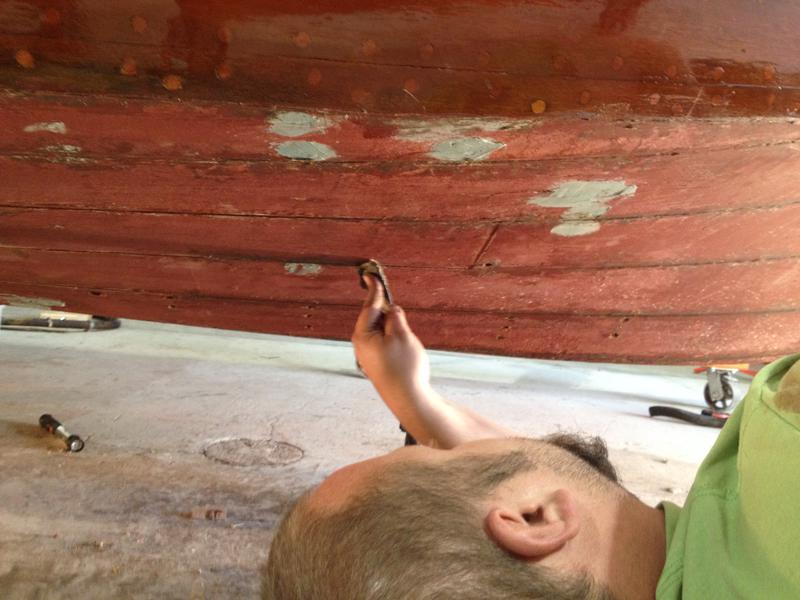
The loose bottom planks are being put back in place and the bottom will be painted.
4/14/15
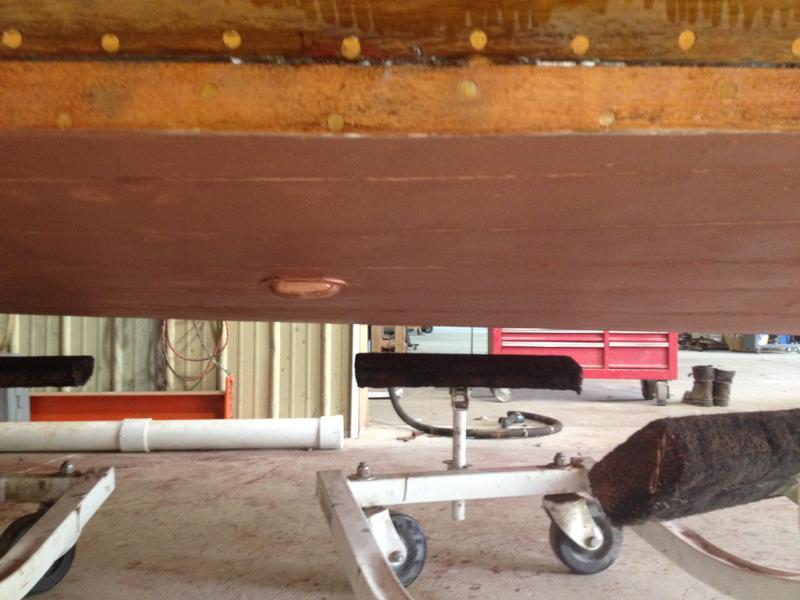
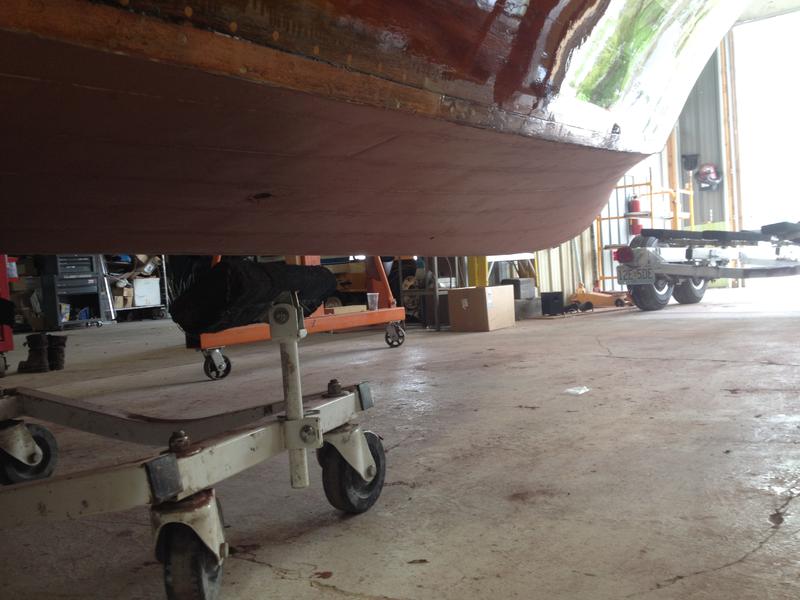
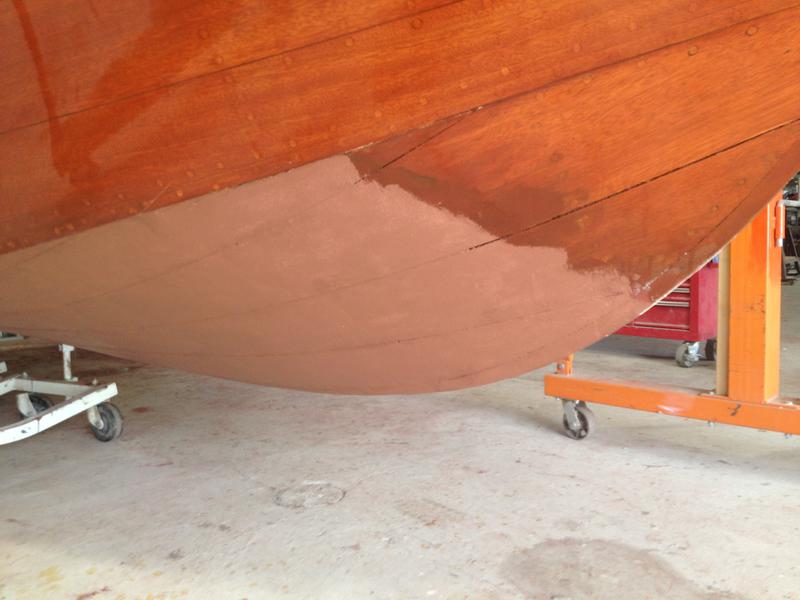
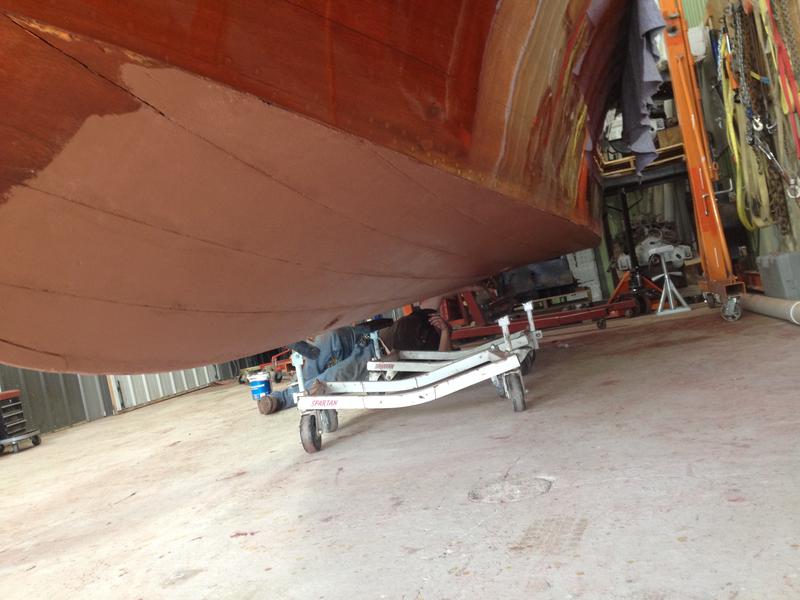
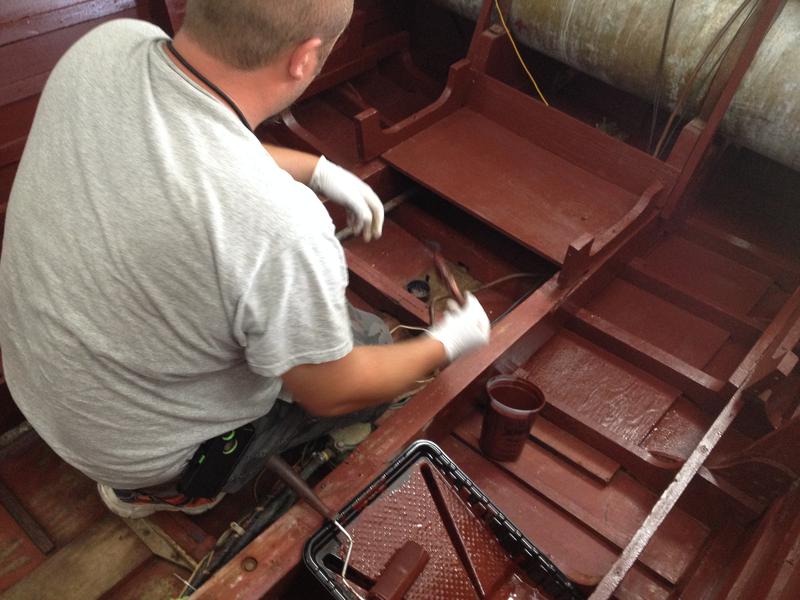
Slick Seam is being applied to the bottom.
4/15/15
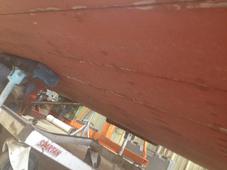
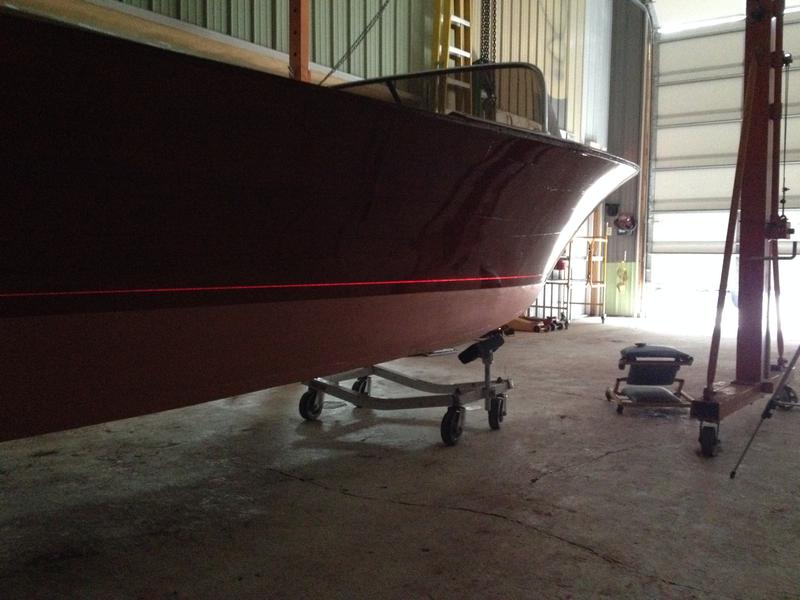
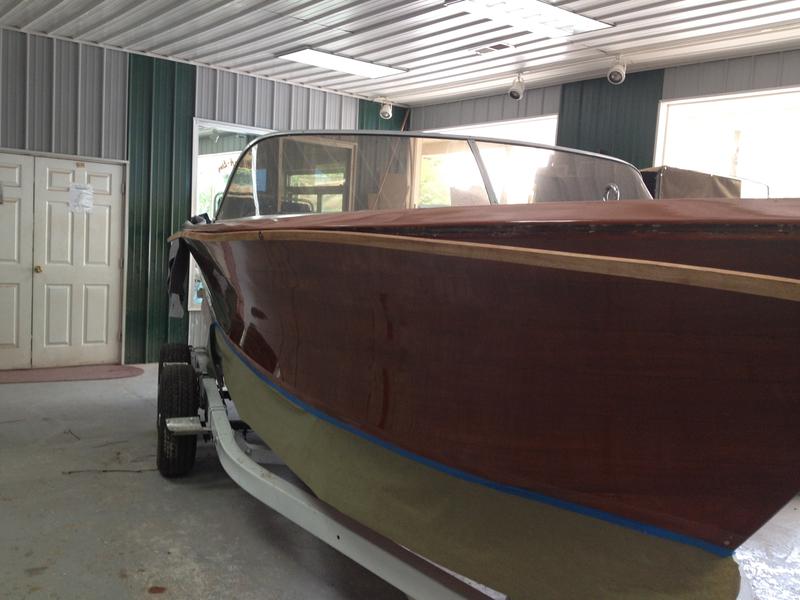
The bottom is being painted bronze.
4/16/15
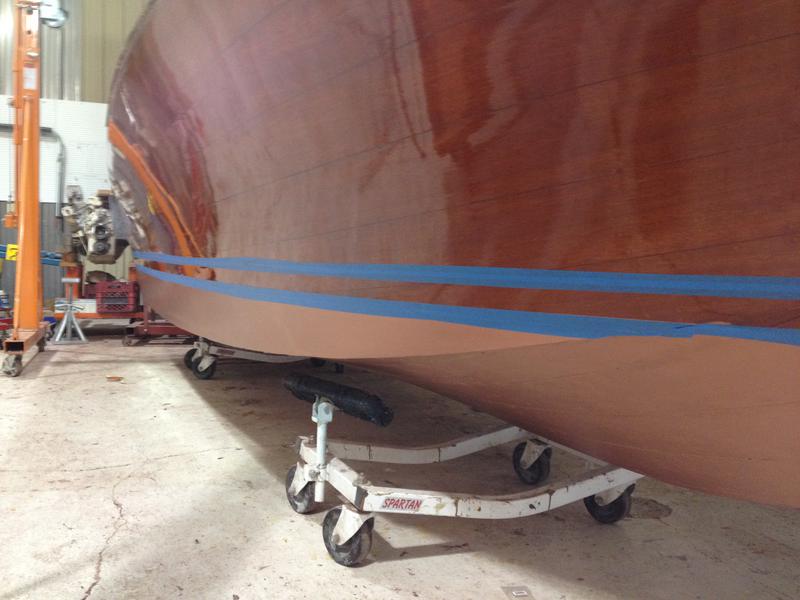
The water line is being taped off.
4/27/15
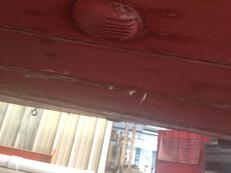
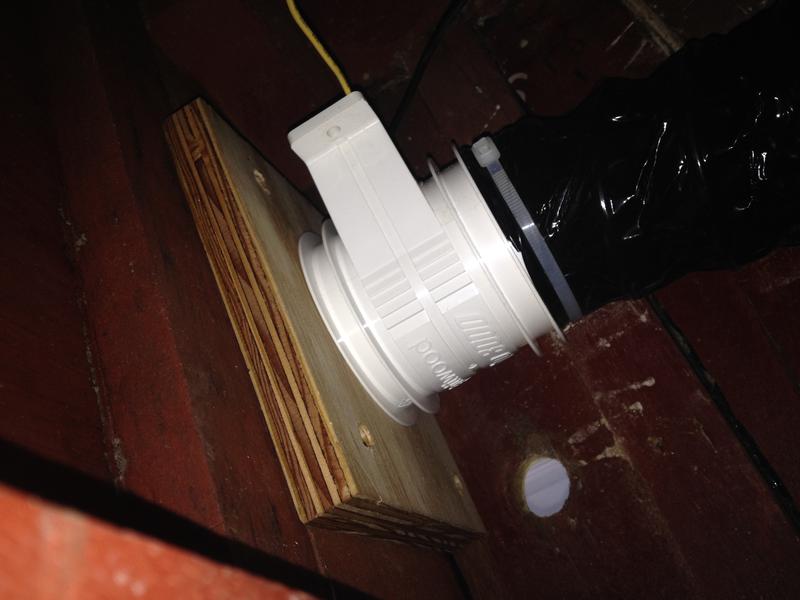
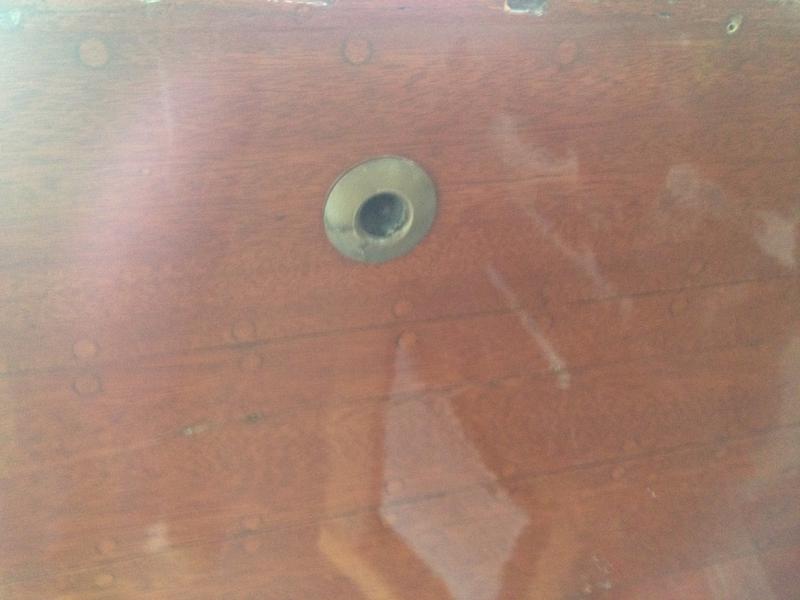
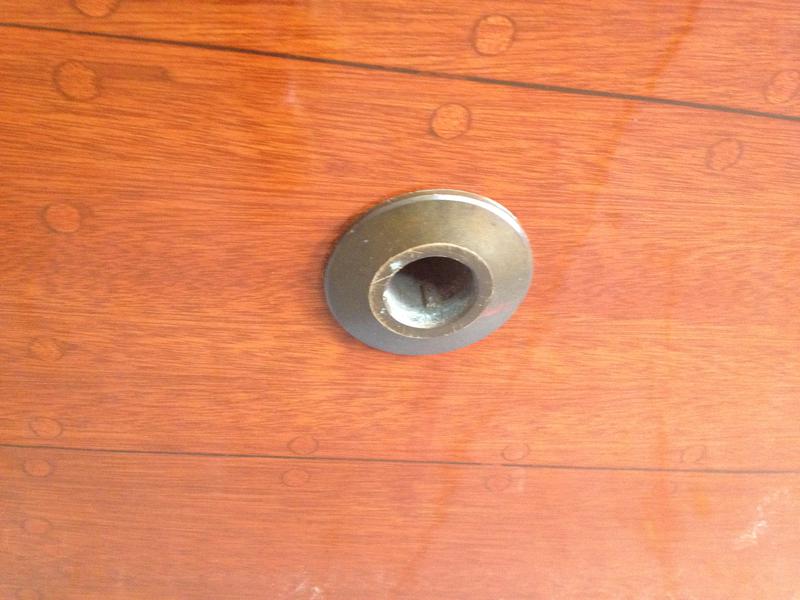
The scupper plug has been installed.
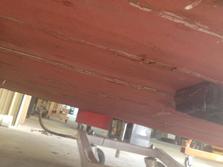
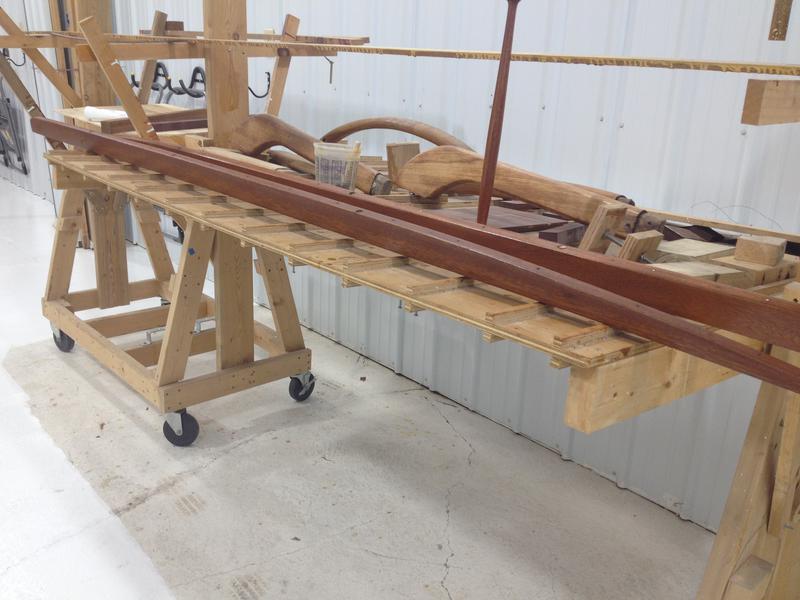
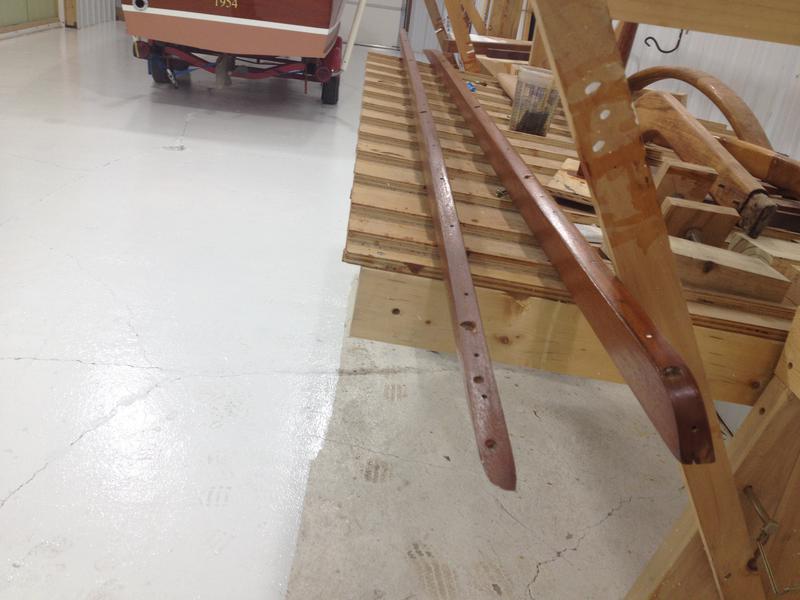
The spray rails have received a coat of stain and varnish.
4/28/15
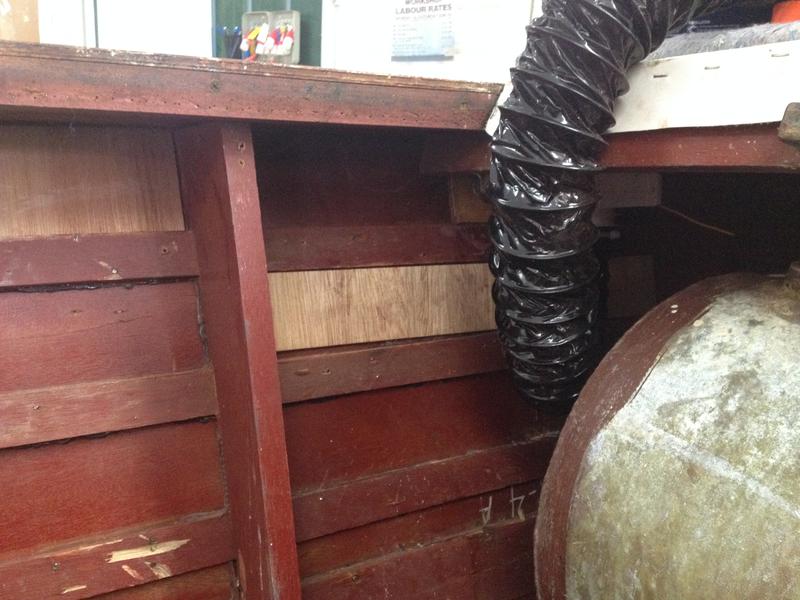
The blower hose has been installed.
4/29/15
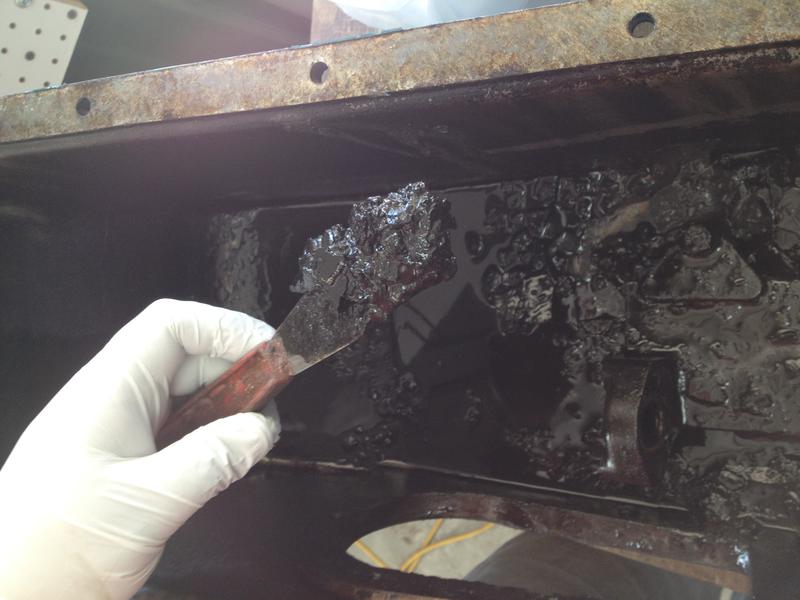
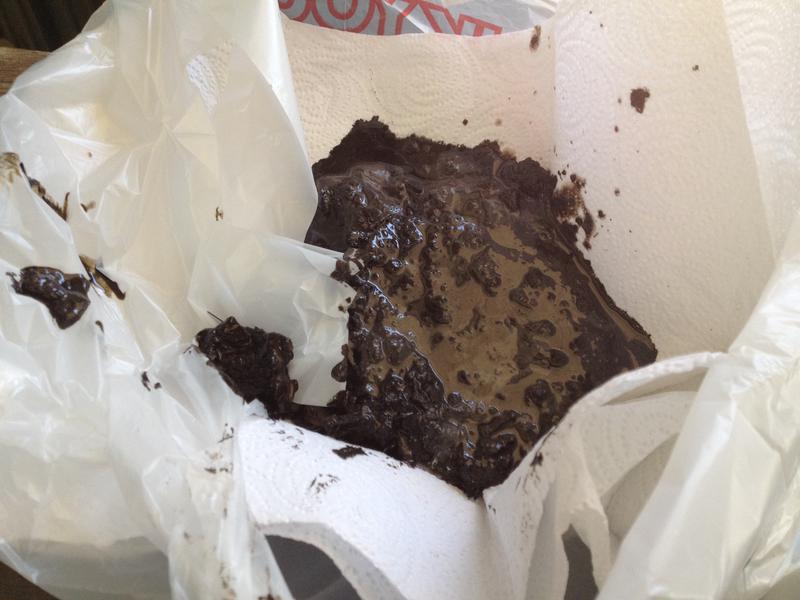
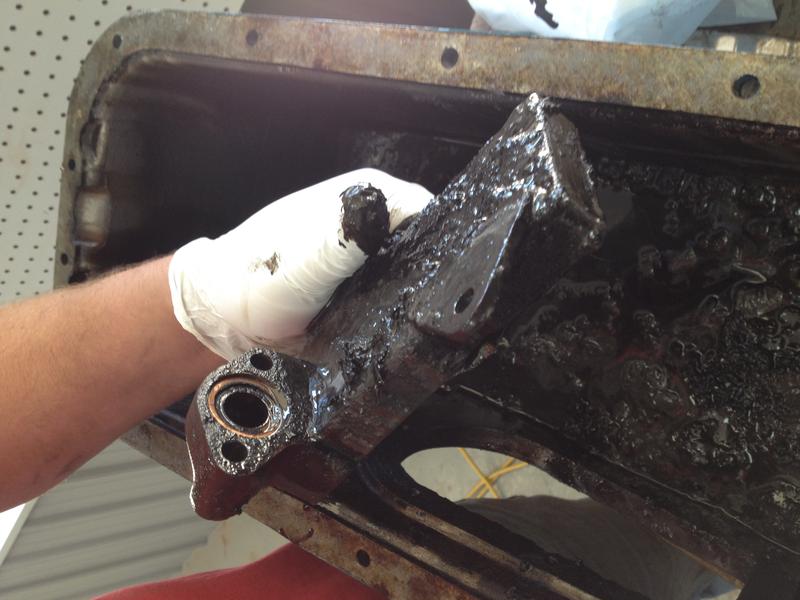
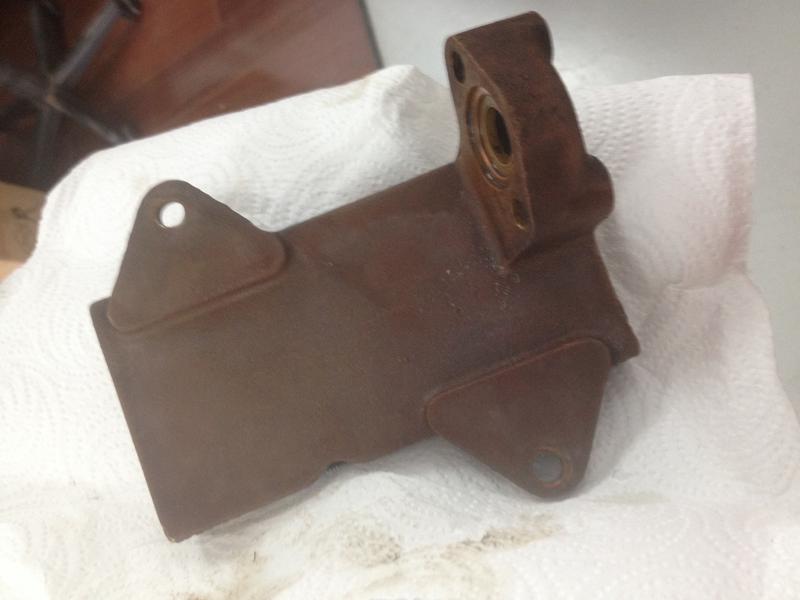
Oil and corrosion from the bottom of the oil pan and pump filter.
The oil pump strainer had been damaged with a big opening in the screen. That opening is large enough to let in sludge that could clog the intake to the pump causing loss of oil pressure and catastrophic failure of the engine. We have replaced the strainer.
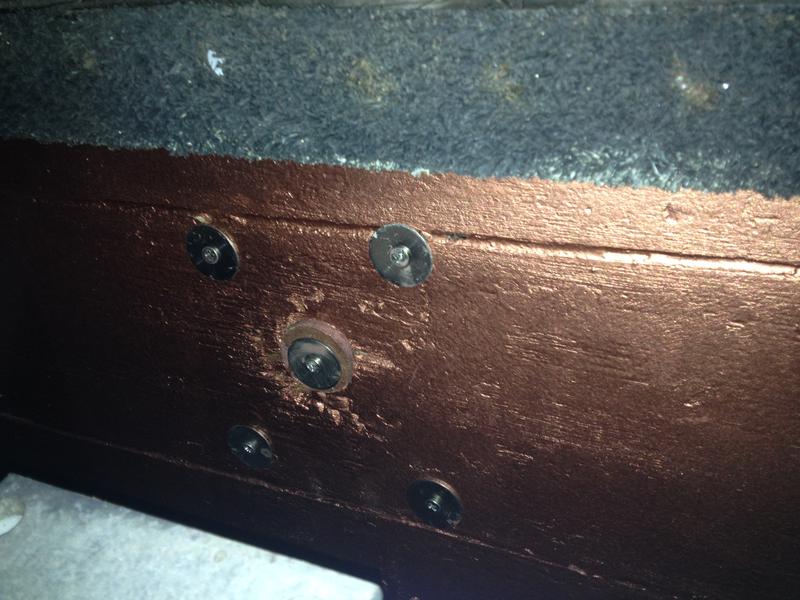
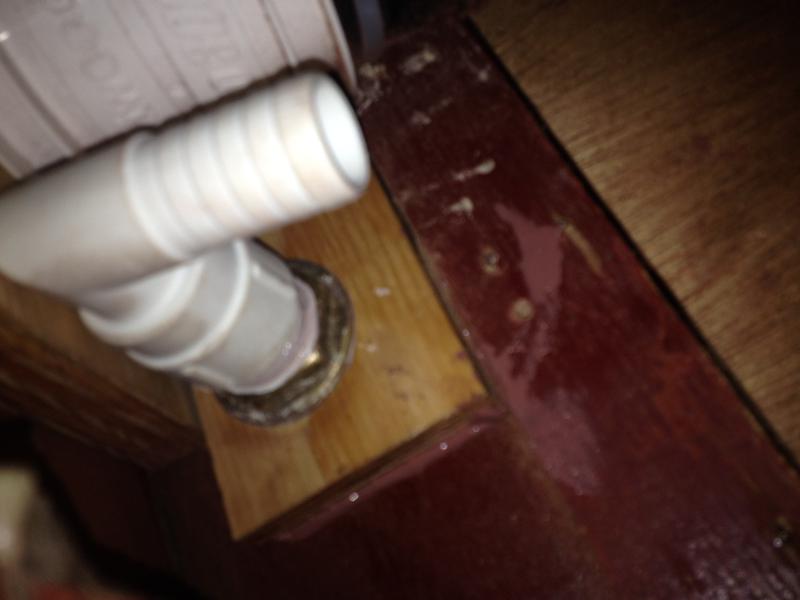
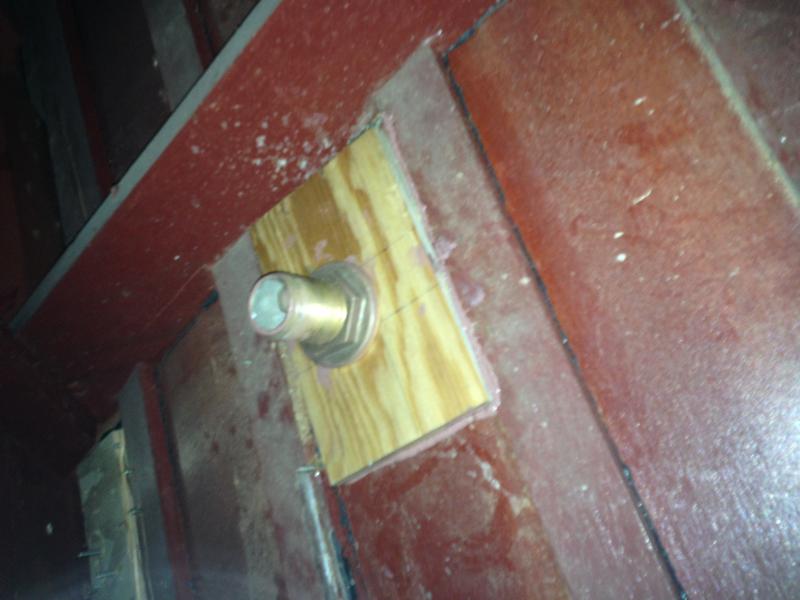
The bilge pump through hulls and backing blocks have been installed.
5/04/15
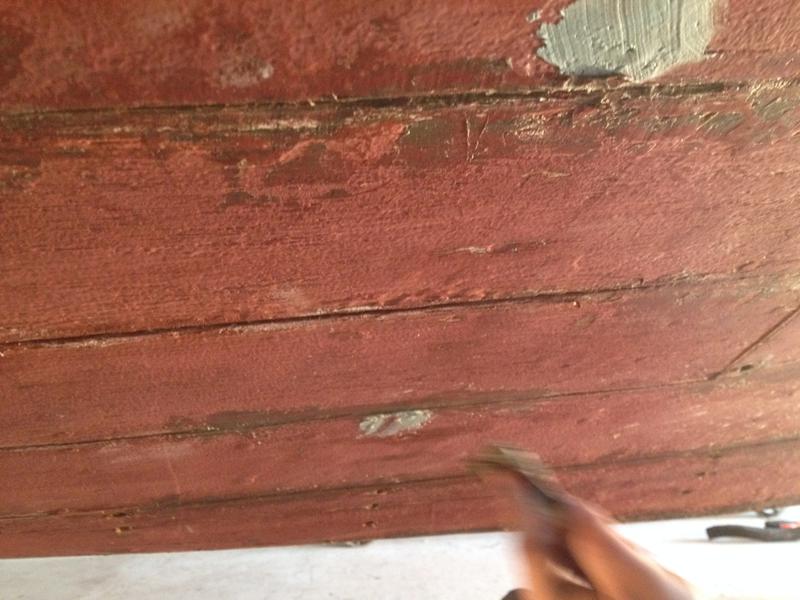
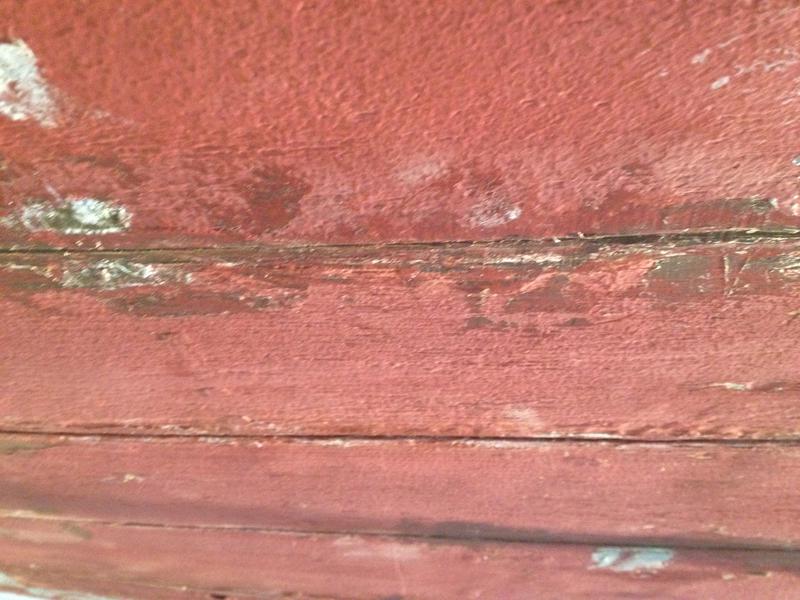
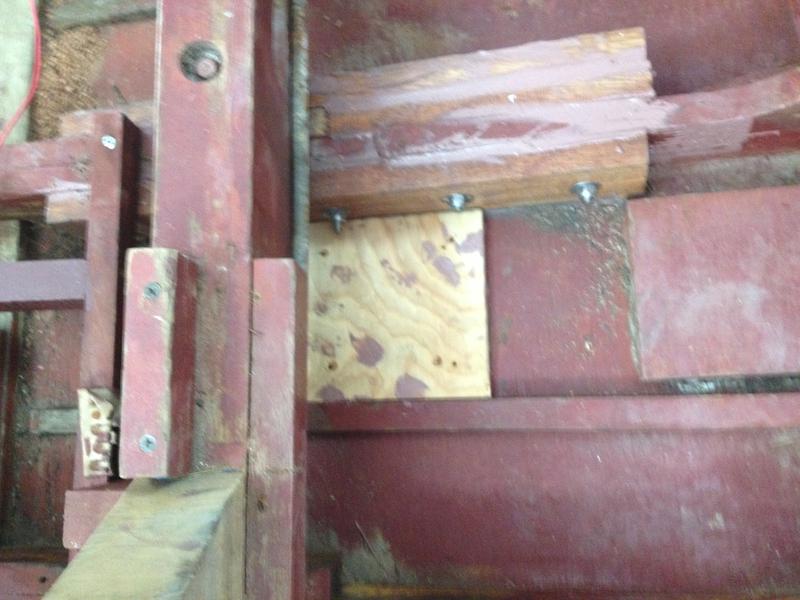
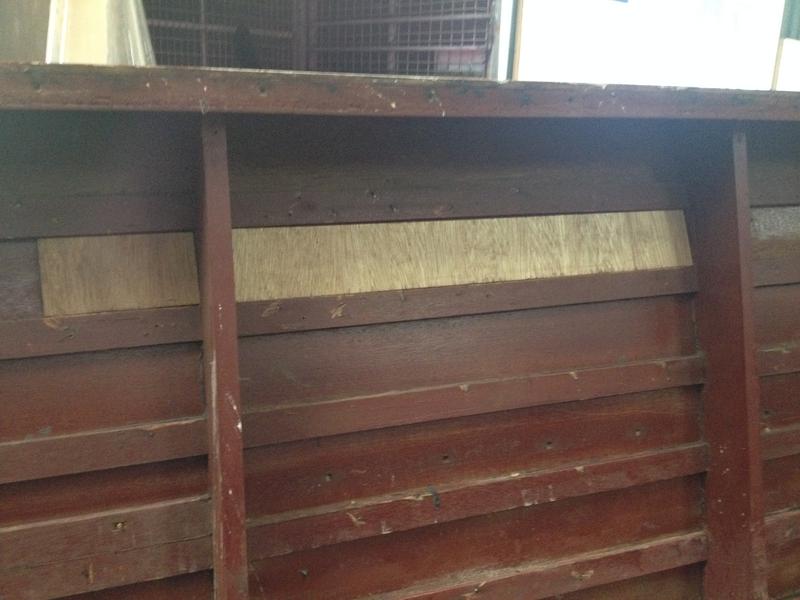
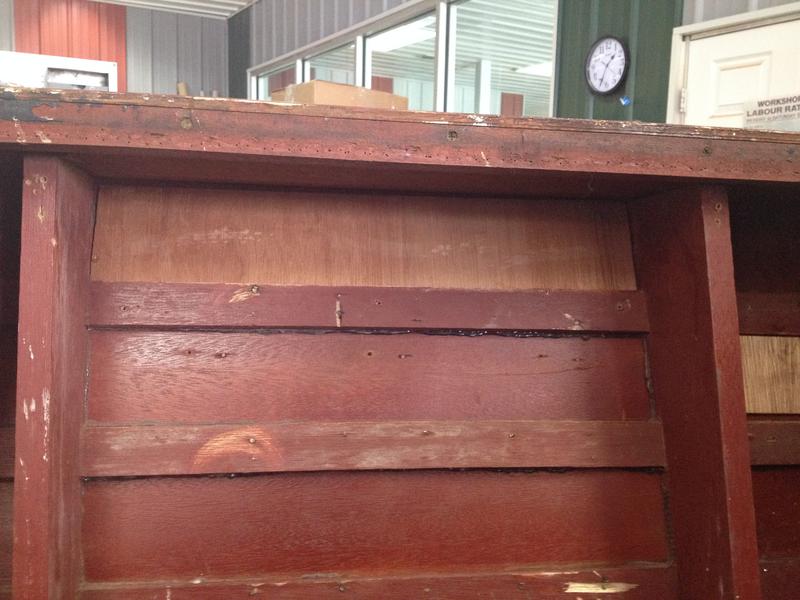
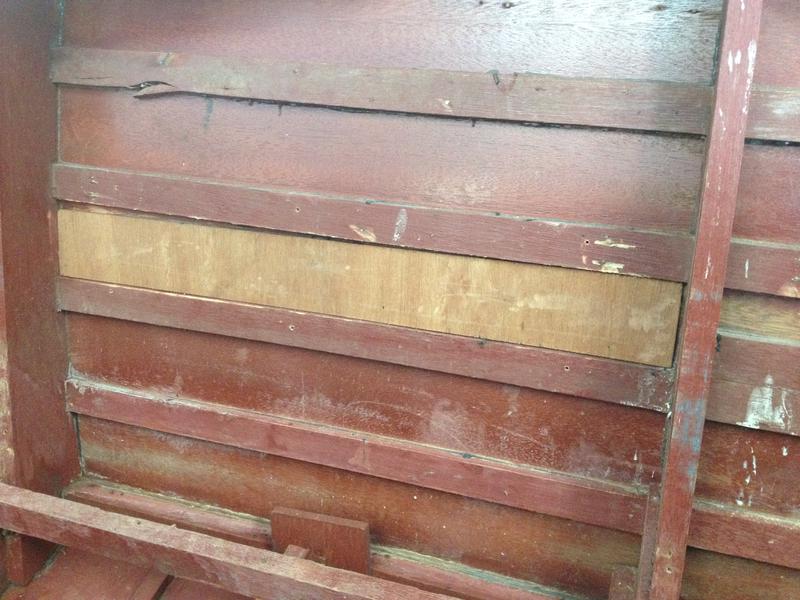
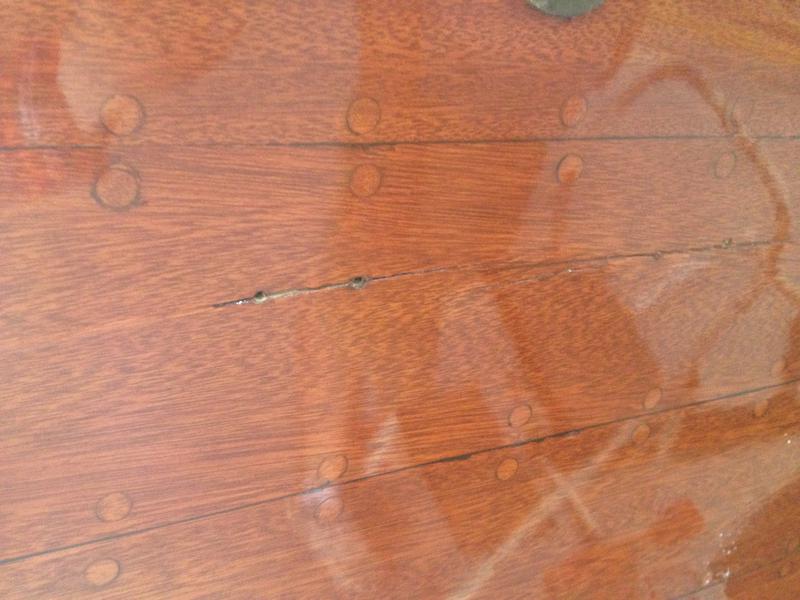
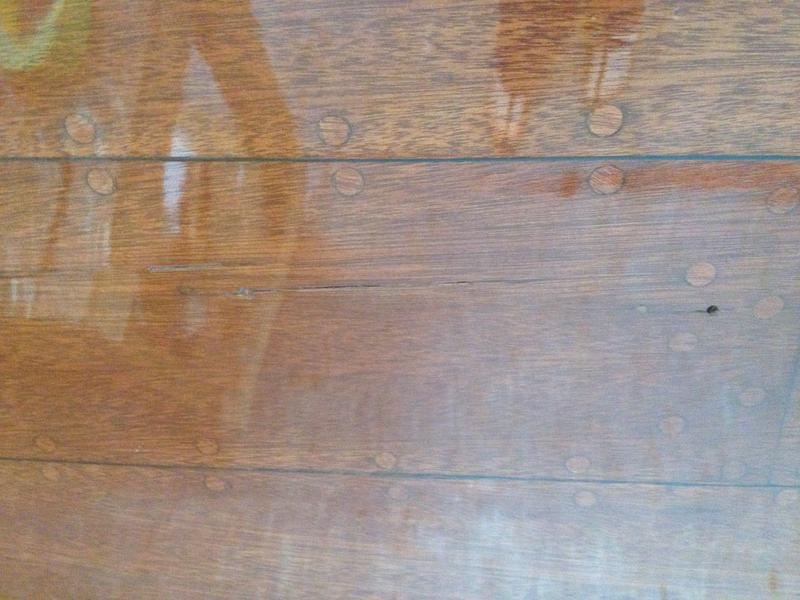
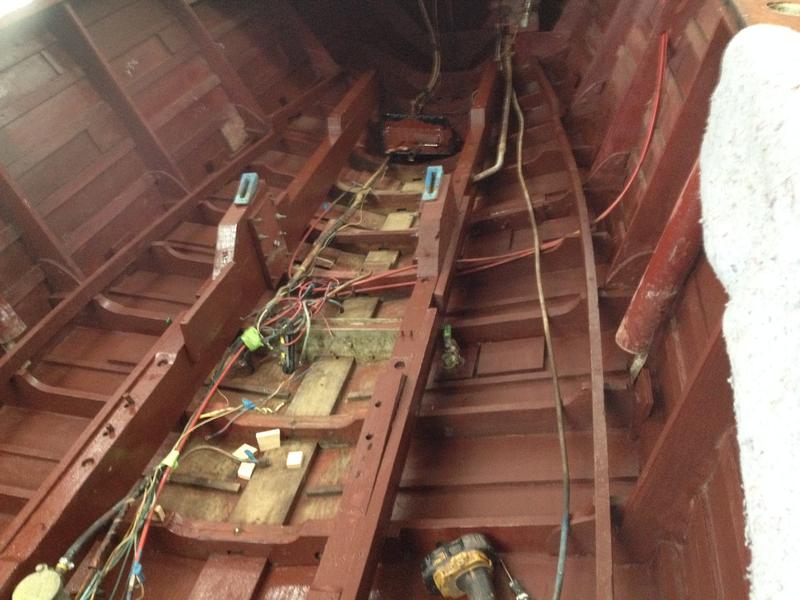
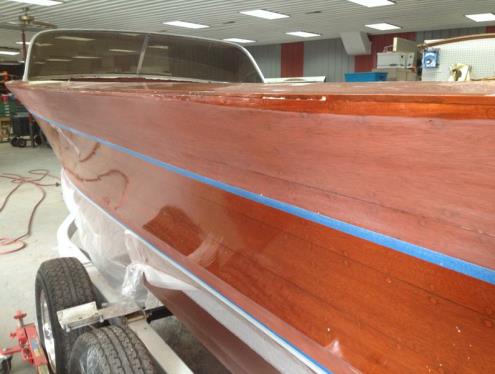
There were hairline cracks in some of the planks so we applied glue in the cracks and then reinforced the glue joint by installing 1/4" marine plywood backing wood with epoxy.
The bilge has been painted with Chris Craft Mahogany bilge paint.
5/15/15
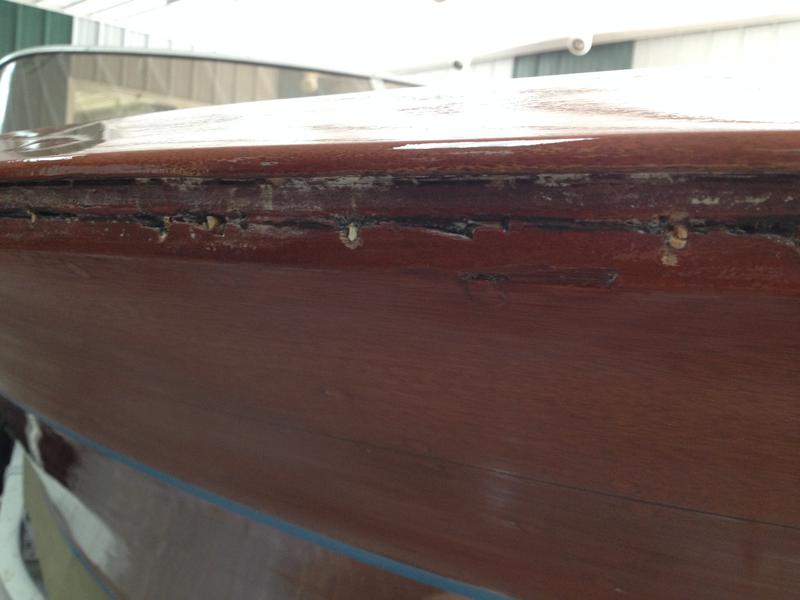
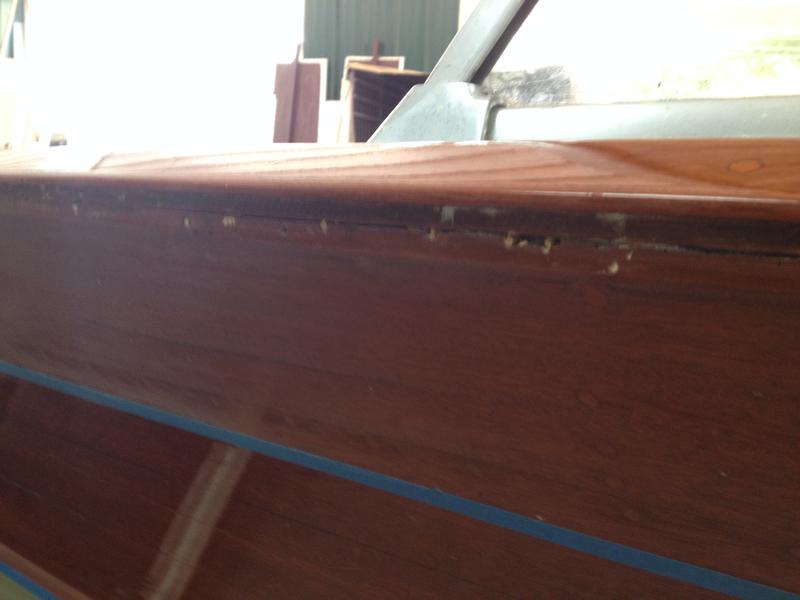
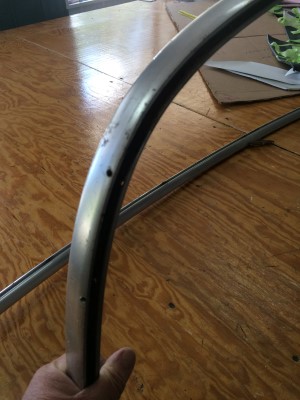
The new 3 pieces per side rub rail has been installed to replace the original that had been damaged and patched so many times there were 6 pieces per side!
5/18/15
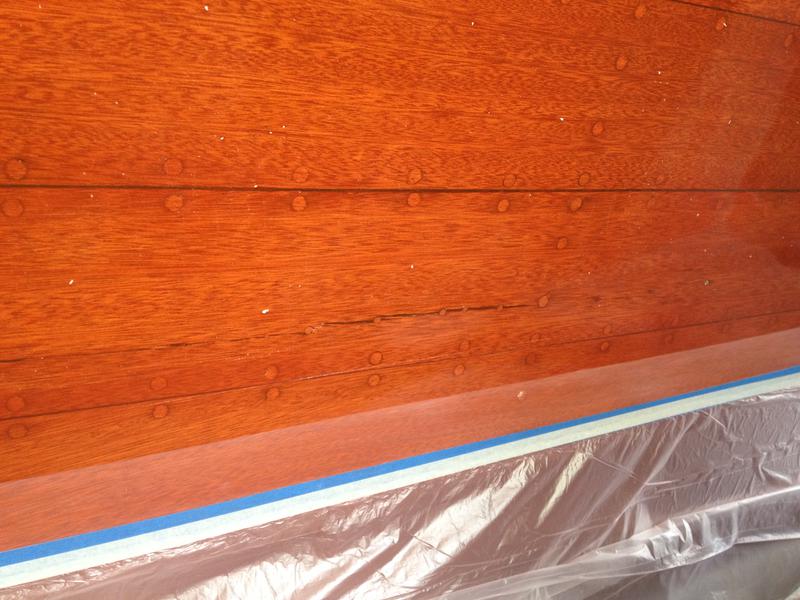
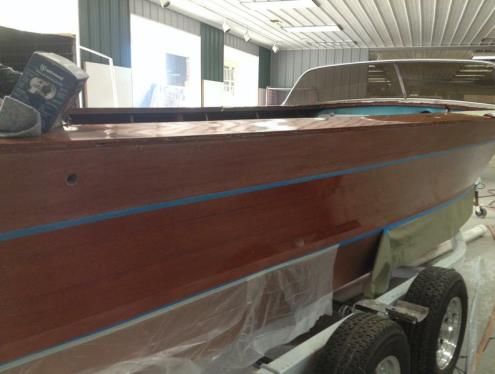
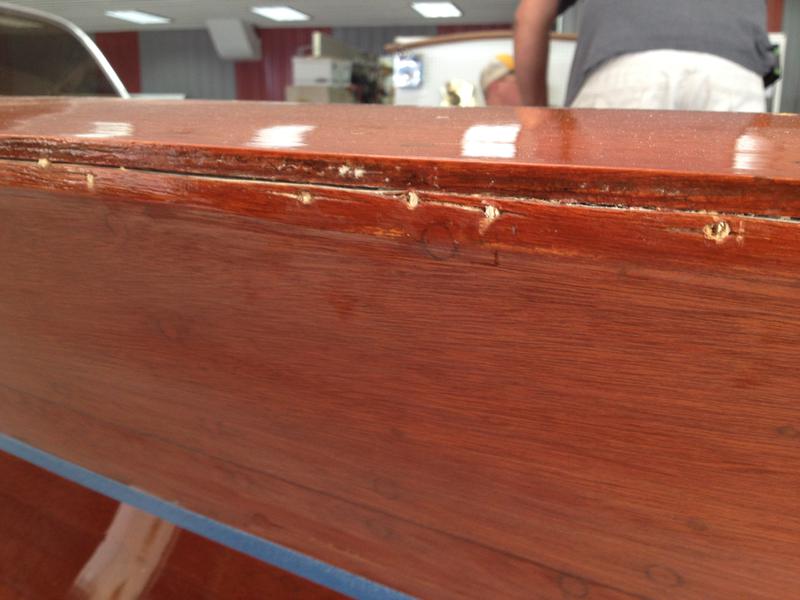
The tow areas where the white stripes will be, has been sanded. Those areas are the top strake (row of planks) and the boot stripe.
5/19/15
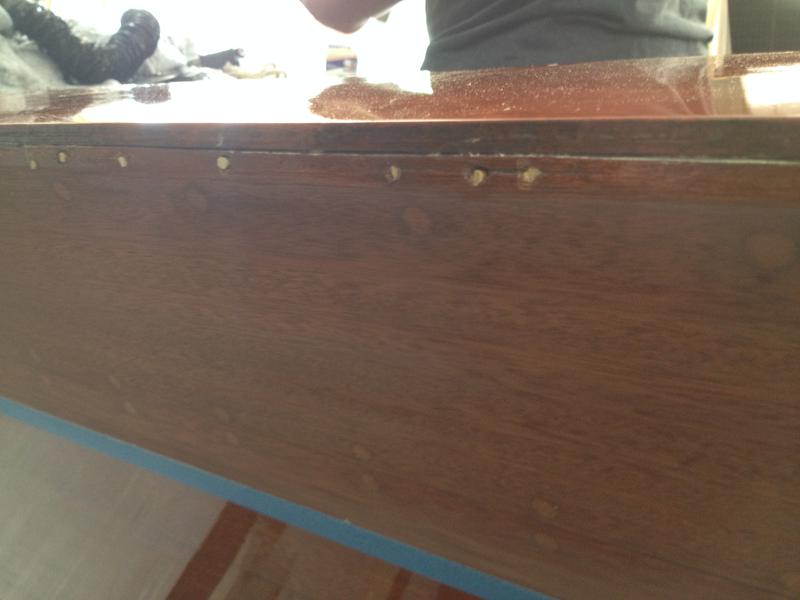
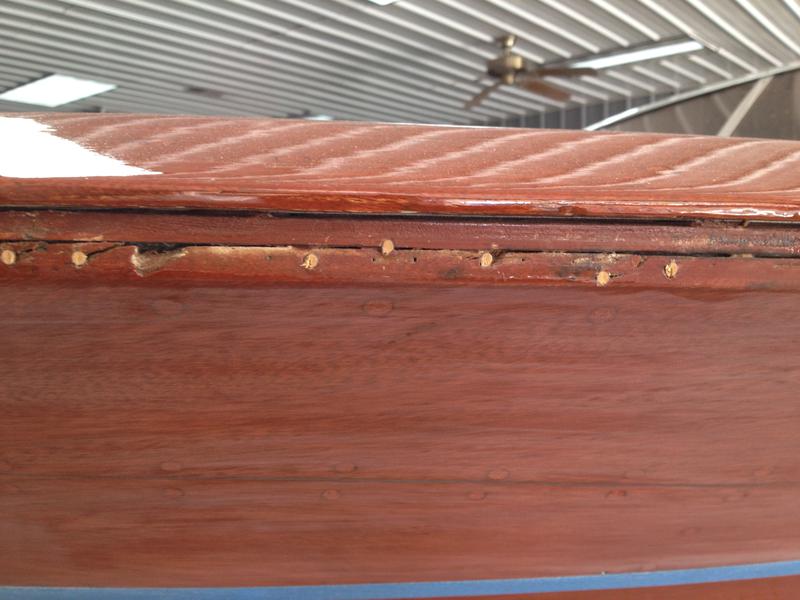
The old screw holes have been filled in with dowel rods so that when we permanently install the rub rail it will mount EXACTLY where we want it to!
5/29/15
EXHAUST MANIFOLD!
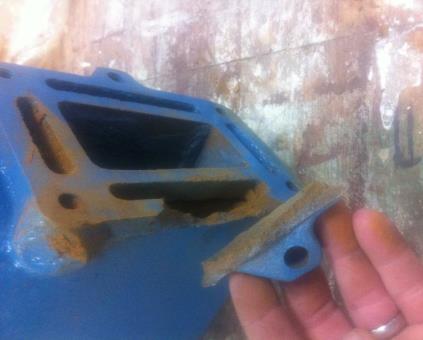
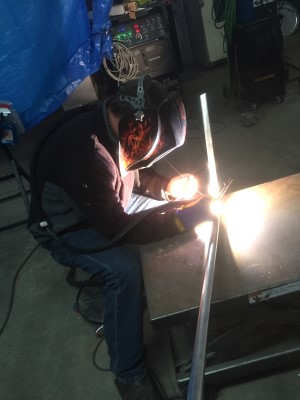
The only one that we could find in the country came in broken! But we have good news, we have a retired navy welder for 30 years worth can fix this and make it like new again!!!!! We are still hunting for a new one! but based on our experience we are going to end up with a repaired one!
Update 8/6/2015
EXHAUST MANIFOLD!
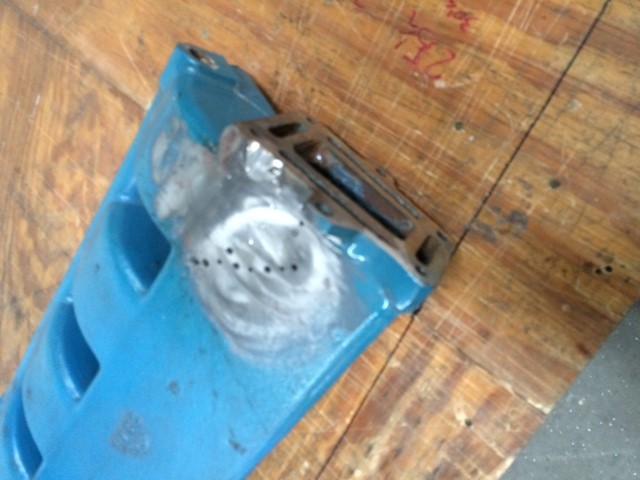
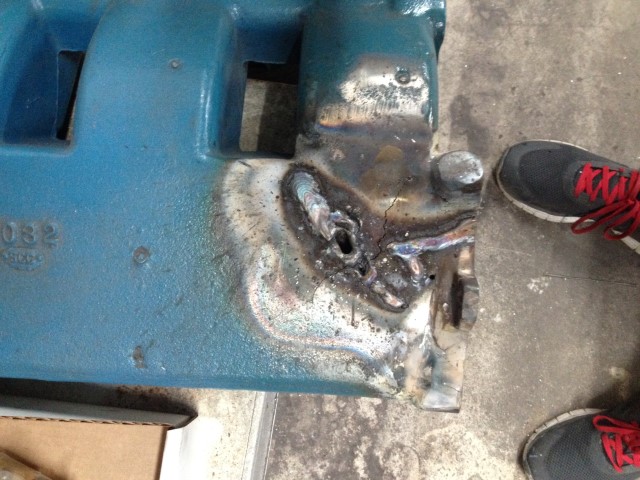
Experience is what you get when you don't get the results you expected! Each time we welded we ended up with more stress cracks to repair. The tiny holes in the left hand photo are crack stop holes. We pre and post heated and peened the cast and still.... it cracked. Cast is hard to weld effectively ... and it got the best of us. #$&& #%&! &^$@#!
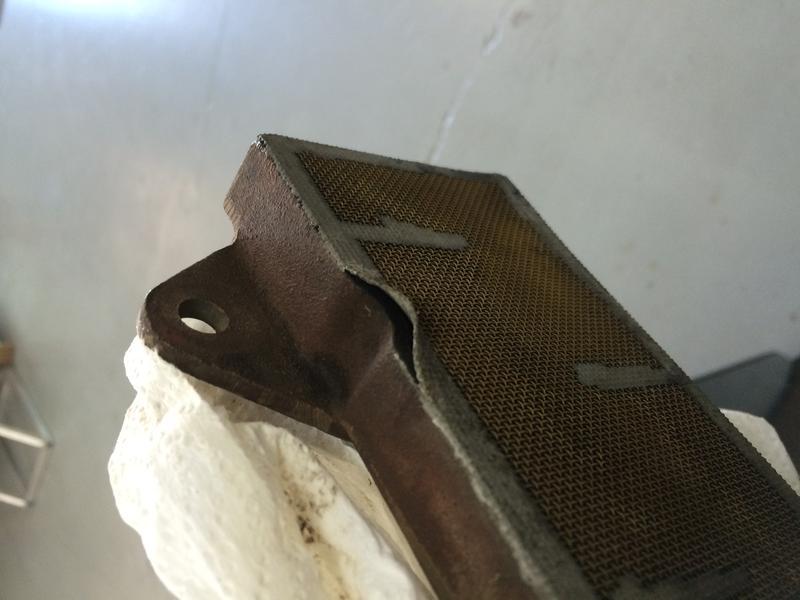
EXHAUST MANIFOLD!
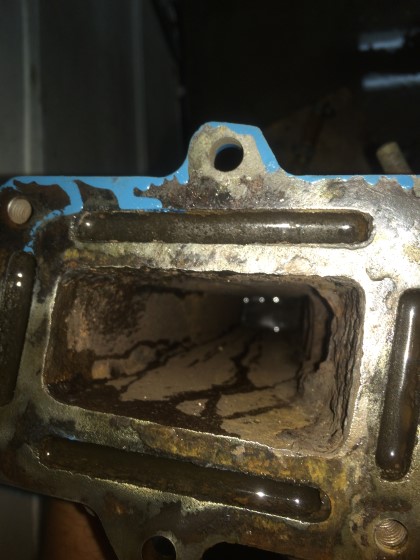
We finally found another in California. It tested good! To test we put one end plate on it and fill the water jacket chambers with water and make sure it doesn't leak into the exhaust gas chamber (large inner chamber). We can tell by if it leaks out of the outer water cooling chambers the water level will go down in them. As you an see we spilled a little water into that chamber when we filled the water passageways but it is not a leaker!
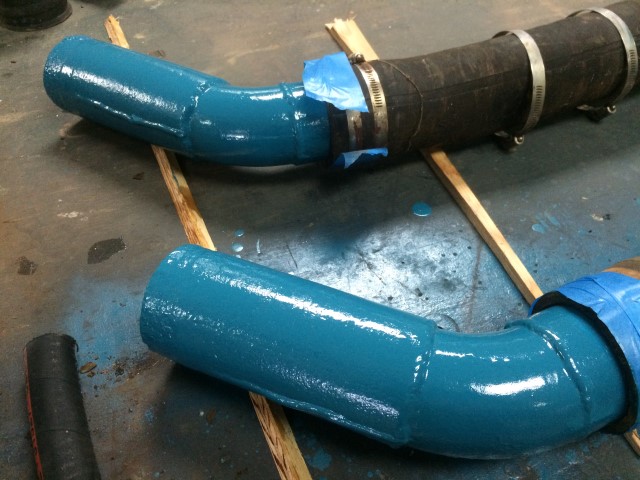
Upper left:
We cleaned all the rust off and painted exhaust elbows.
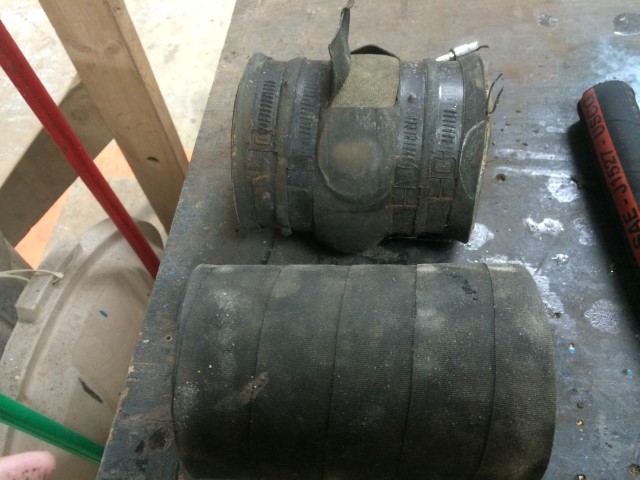
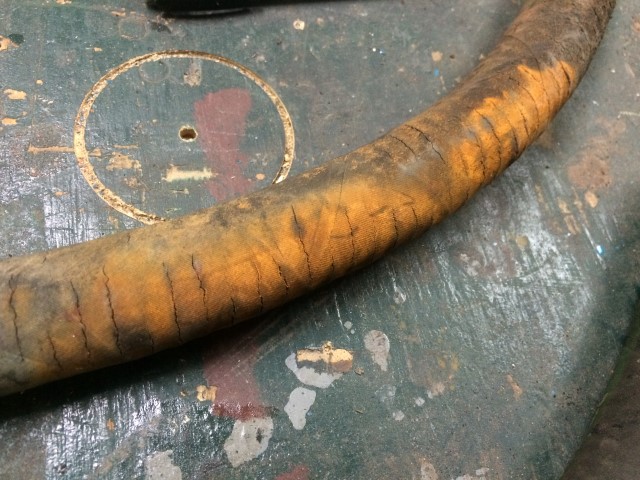
Upper Right :
We replaced the delaminating exhaust hose. (new and old shown)
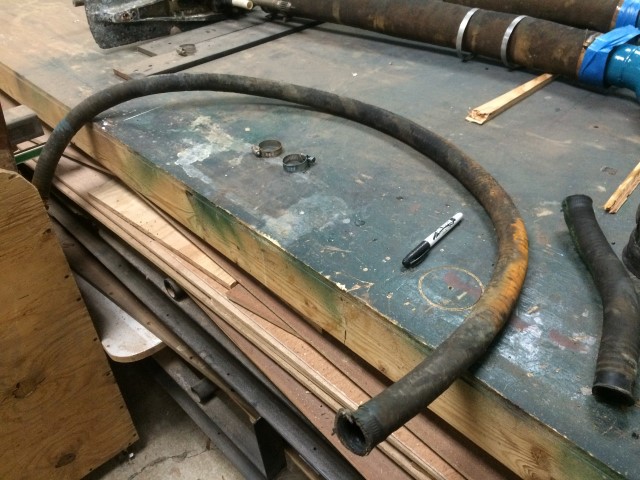
Lower photos:
We replaced the water intake hose
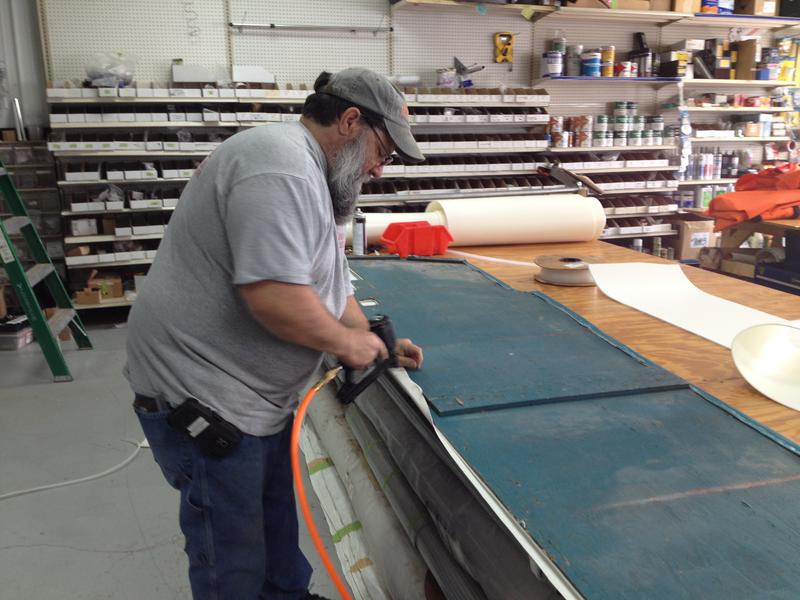
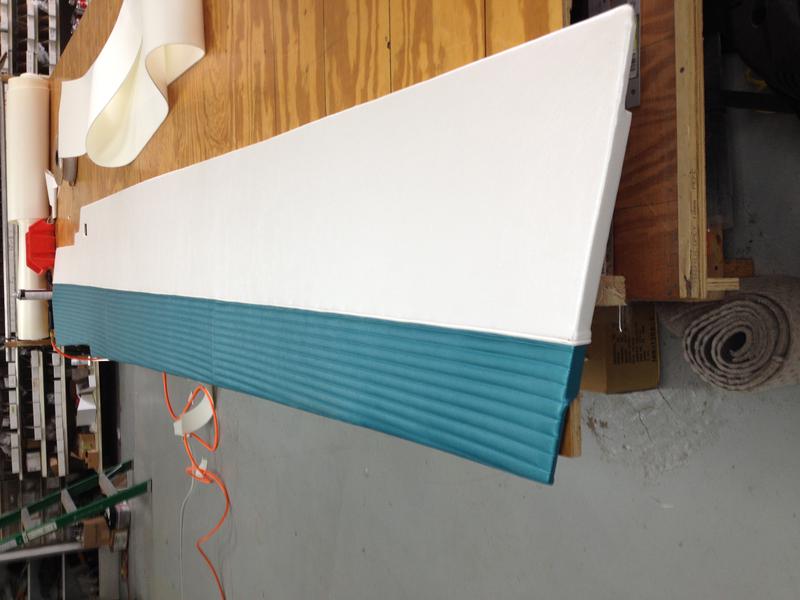
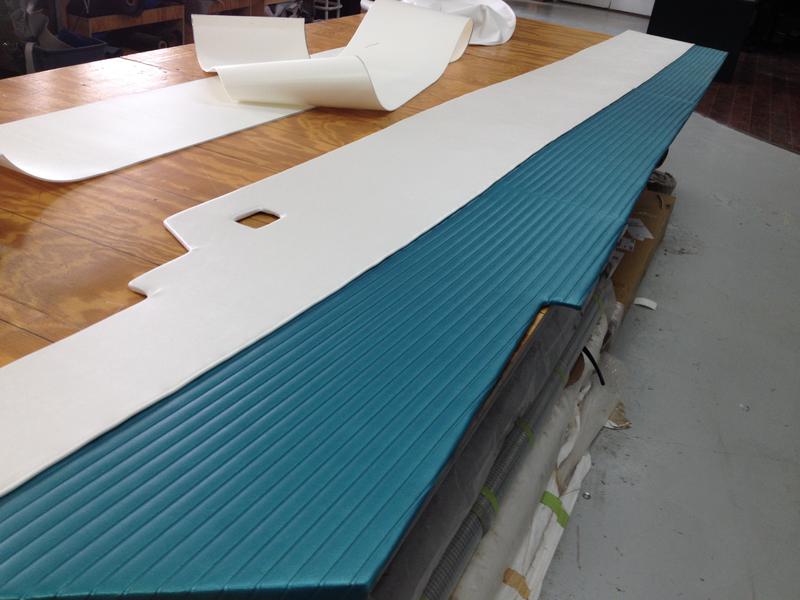
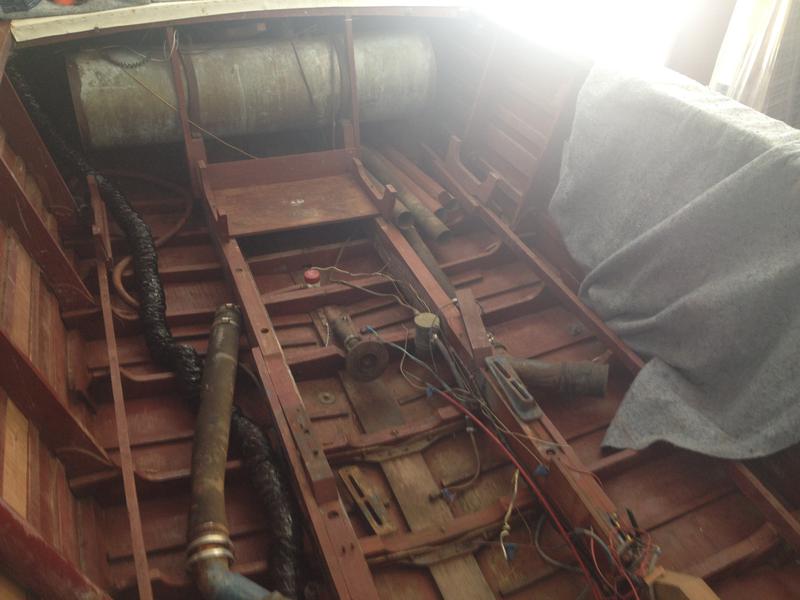
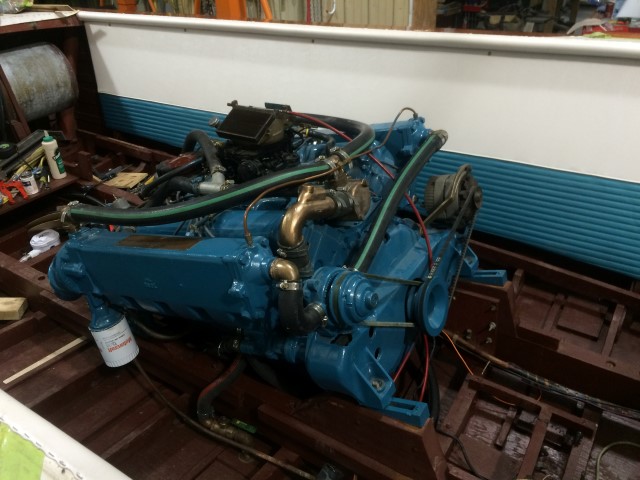
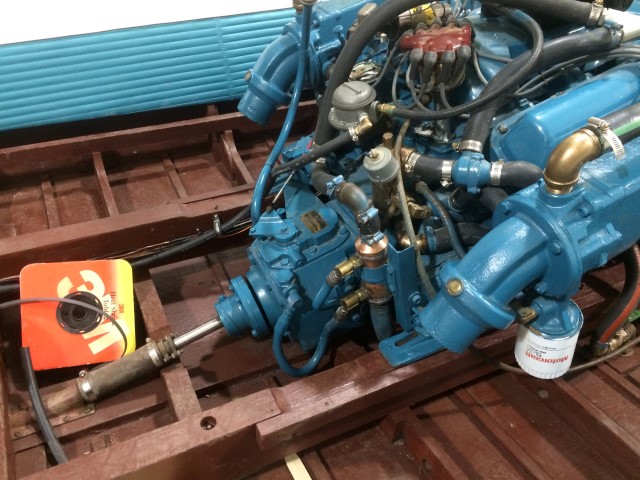
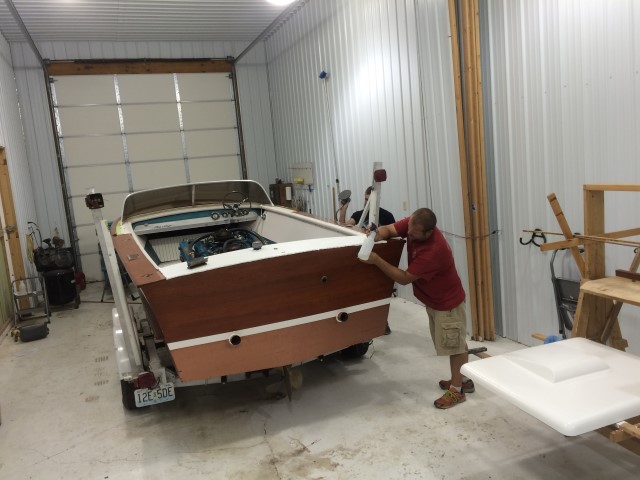
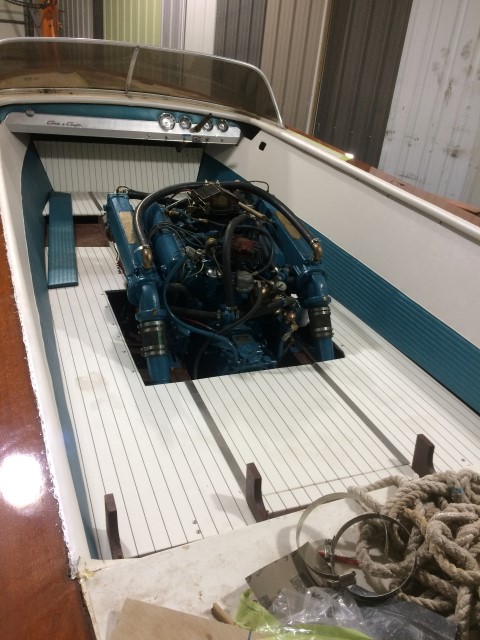
We have installed the engine and begun installing the interior. Side panels (called ceiling boards) first!
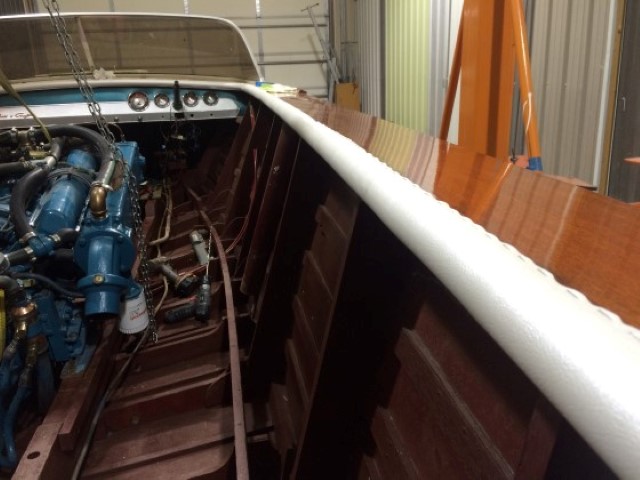
The crash rail has been installed over 1/2 round rubber in the inside of the cockpit. The hidem (pictured in right hand photo) hides the staples.
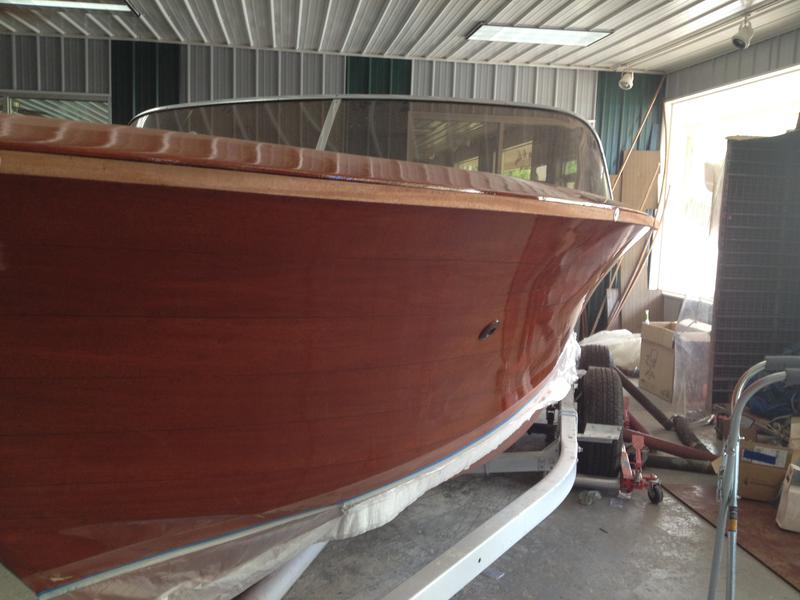
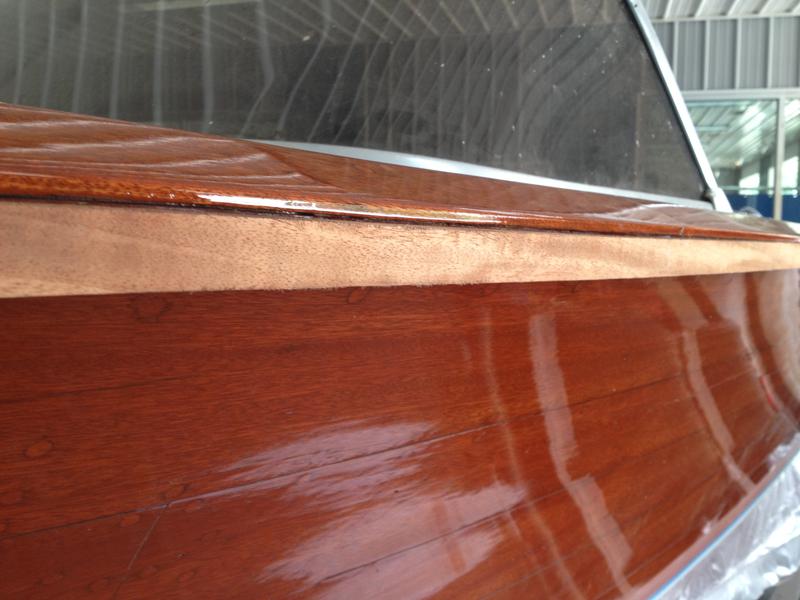
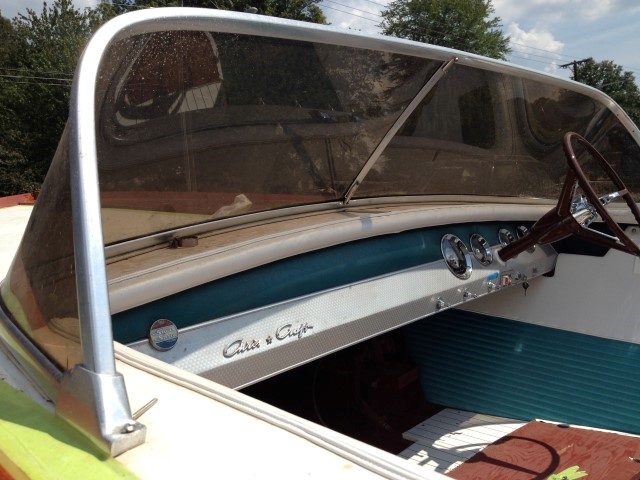
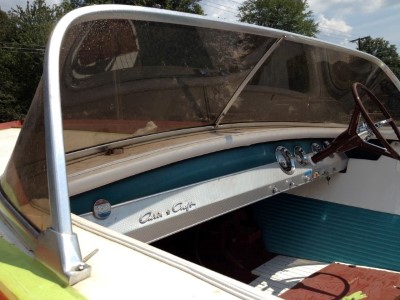
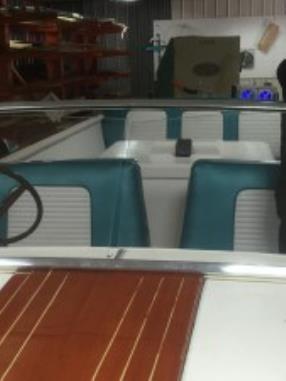
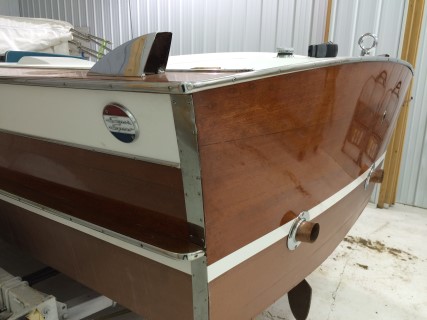
The white color scheme has been duplicated. Factory Photos confirm the screw holes that held the trim separating the painted and varnished surfaces are in correct place. Stainless steel trim separates the painted and varnished areas.
The spray rails have been installed!
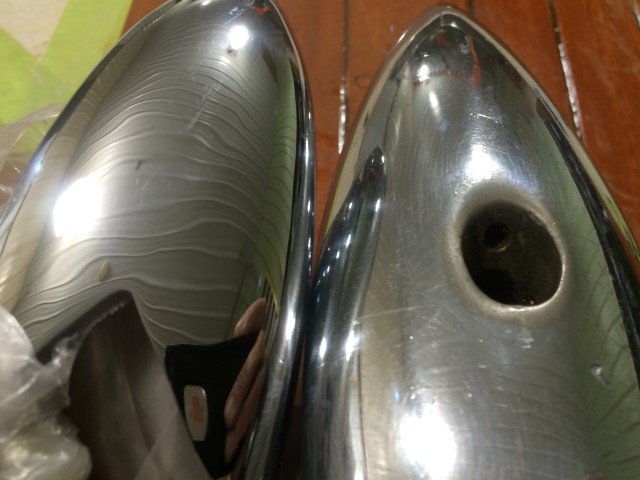
Something you may want to consider. The chrome is looking a bit tired. I polished the chrome on the right before the photo. The chrome on the left is fresh chrome. It would not impact schedule. I will get an estimated cost for you.
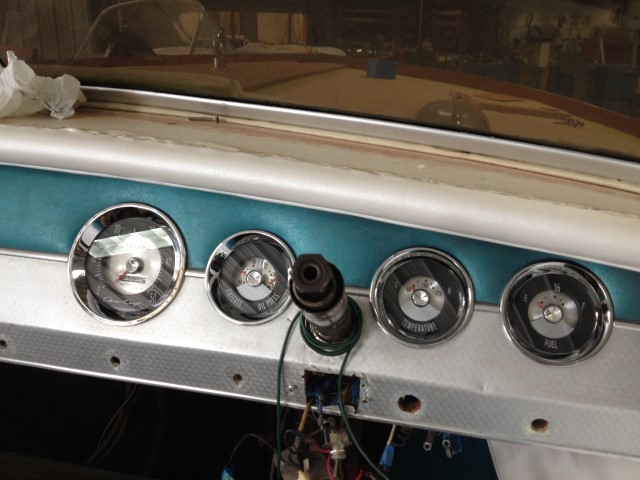
Gauges are back from the restorer and they look GREAT!
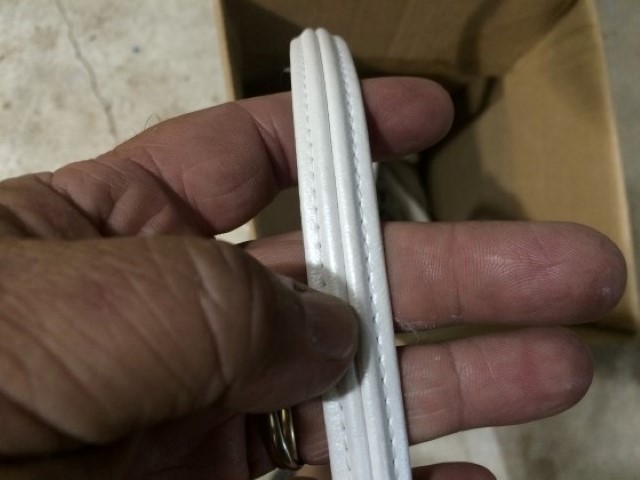
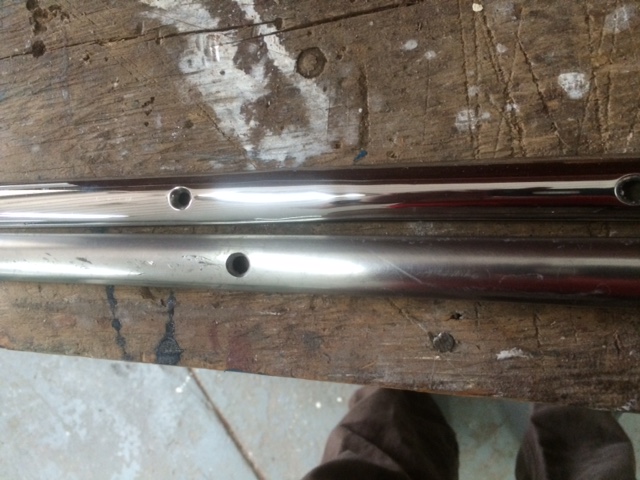
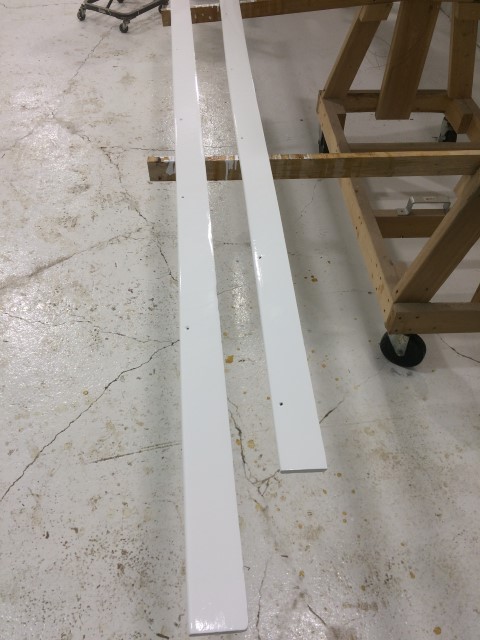
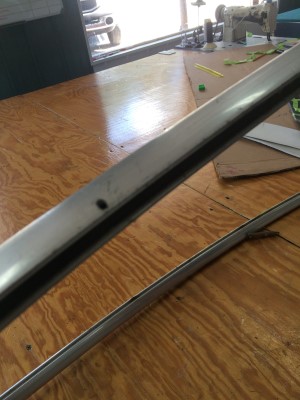
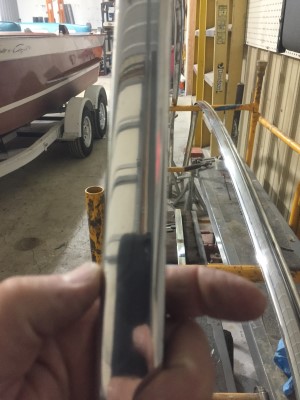
One last question????? Would you like us to machine polish the rub rail. We can take out 90+ percent of the scratches and shine the stainless. Just hand polishing ....even with the best of polishes ... just won't get the sheen you see on the top piece. By the way... the lower piece doesn't look as bad in the photo as it does in person. It will take between one and two days to polish all your stainless. Materials are a couple of denim buffing wheels and a "green" bar of abrasive made just for stainless.
Update 8/6/2015
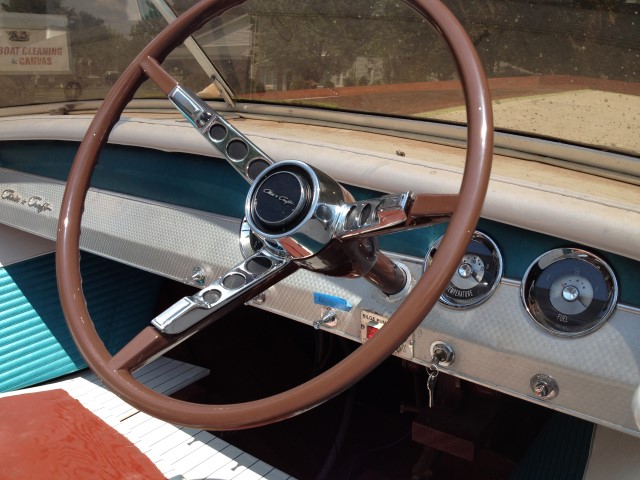
The new steering wheel (correct used wheel) has been painted and installed. Note the beauty tube was also re-painted as it had scratches all over it.
All switches are new for reliability. All gauges have been restored and checked for proper operation.
Varnish initially shrinks as the solvents slowly leave it. When it shrinks it looks uneven and cloudy. Since we had to wait so long while we found a good exhaust manifold the varnish has already shrunk. So we wet sanded and buffed it to a mirror finish again... no charge. The extra mile...
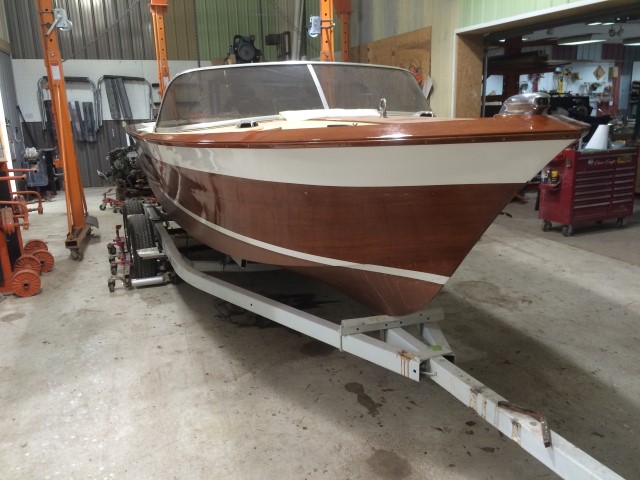
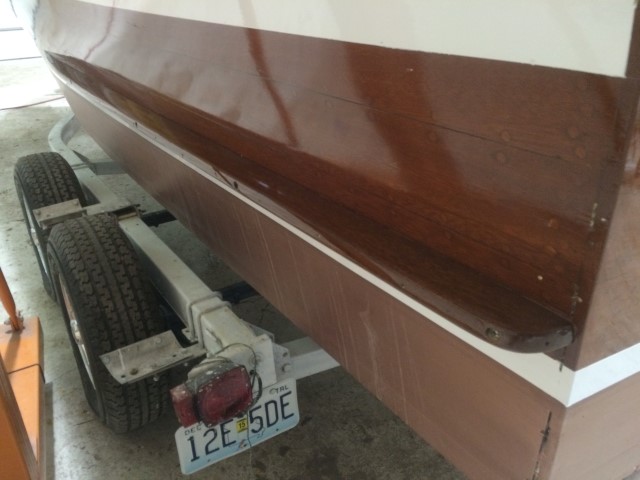
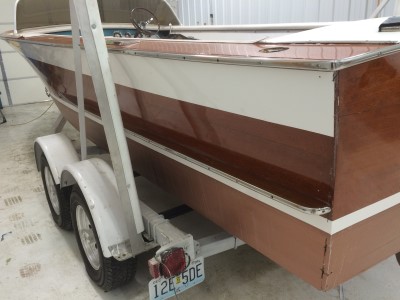
As you can see the trailer has also been put back together.!
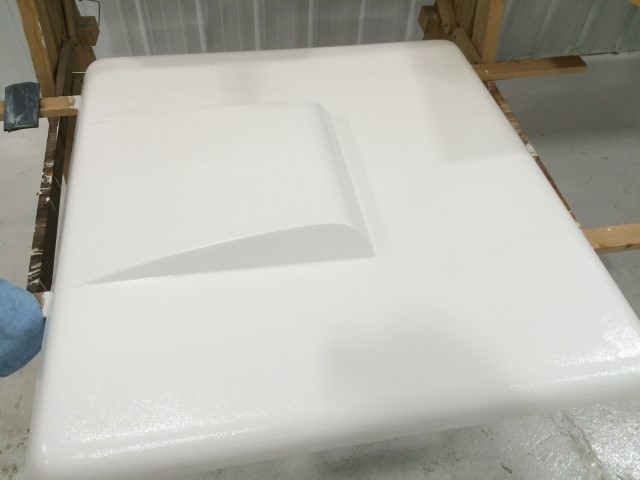
The cracks in the engine cover have been repaired! And the top has been repainted. The aluminum hatch trim has also been polished.
Unfortunately the technicians phone crapped out after taking a photo at the ramp or we'd have some video at the ramp as well!
We are installing the interior today and the boat will be complete by end of day... except for... chrome which is shipping today and windshield.
We will put her through her paces next week to make sure she will be trouble free for you when you get home.
All Stainless has been polished and is actually being installed right now. In fact in some of the photos you will see it already on the rub and spray rails.
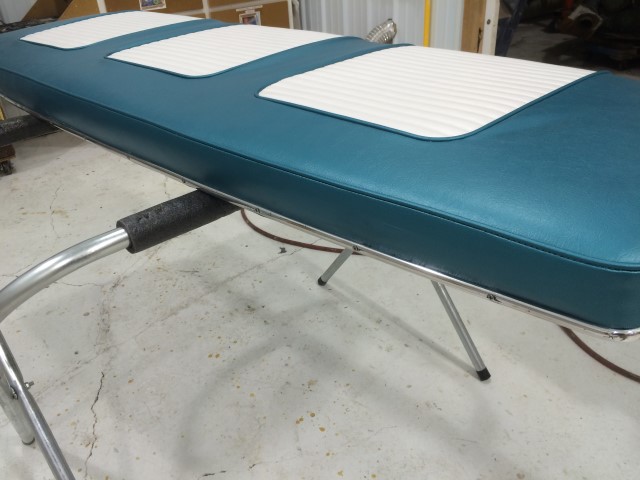
There is aluminum trim on the seats that was in very bad condition so we polished it as well.
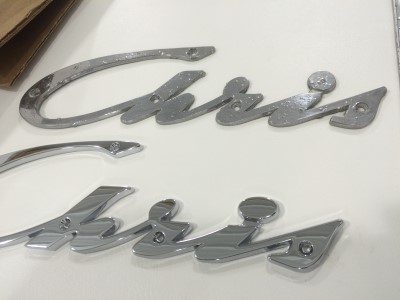
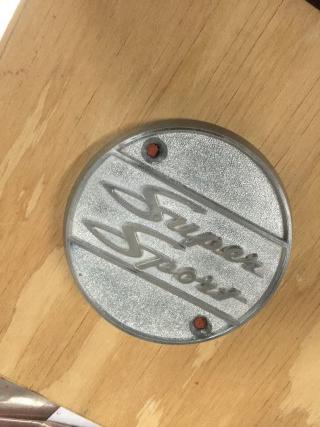
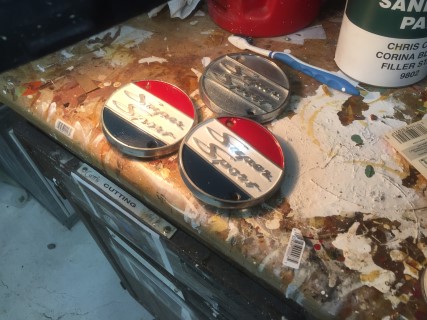
Note the pitting on the original Chris Craft Script and compare to the new!
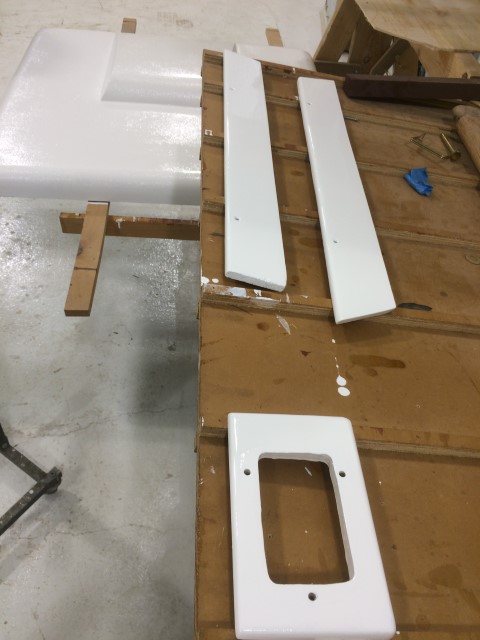
Ceiling panels installed. The photos to the right are of the trim that will be applied to the ceiling panels at floor level. The trim piece that looks like a box is what the gear shift mounted on ... already mounted in the boat.
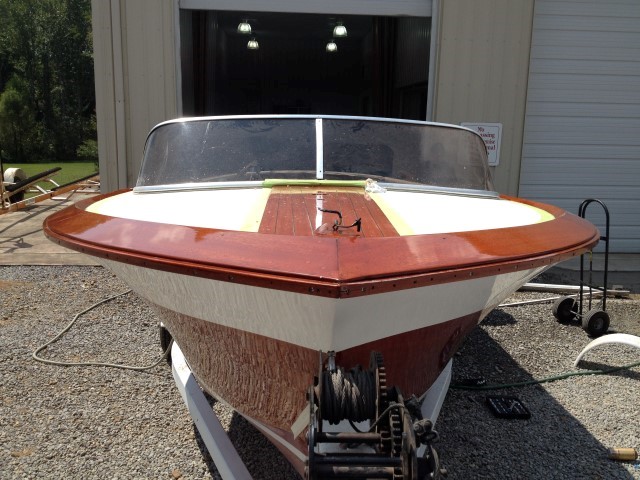
Allen is putting some additional screws in the bow trim as it needed to be lengthened a half inch on one side where there was an unacceptable gap between the pieces. We have a special jig for drilling holes on rounded surfaces.
Just the chrome remains to install!
Will place order for windshield on Tuesday.
Update 1/7/2016
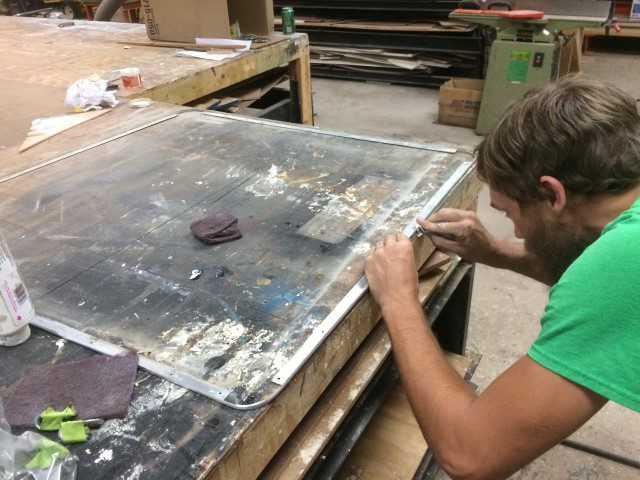
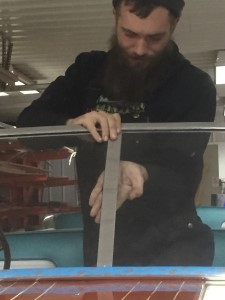
The new windshield was ordered and is now here ready for installation. It takes several attempts.. and the old one didn't fit well to begin with! We often have to fix mistakes of other made since the boat was built. Note: at the top and bottom of the frames in the center notice the scraps of stainless used to hold the frame together. They are ends of rub strakes! We also noticed holes (perhaps for screws) in random places on the frames.
We also noticed holes (perhaps for screws) in random places on the frames. These were not original
We tig welded the holes shut and then ground off the excess weld and polished the frames.
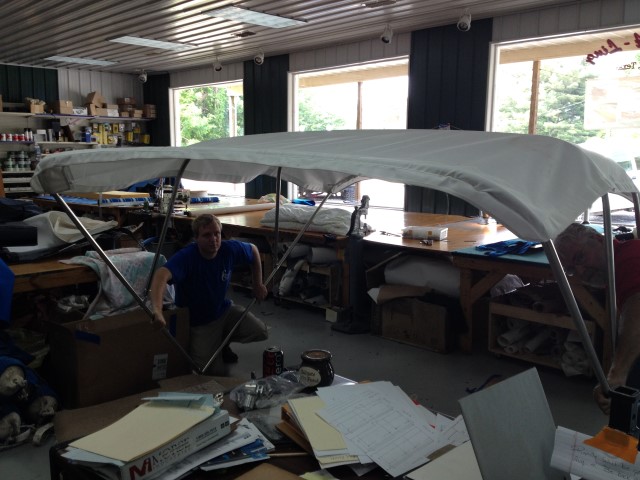
We installed the Bimini on the boat today and we are going to have to make some adjustments as I think the bimini is too tall. I have 8 feet of clearance between the floor of the boat and the Bimini canvas. I think this is excessive. It needs to be lowered to no more than 6 feet. So question... since I am lowering this anyway what height would you prefer to see it at. I can bring it to your height... or slightly lower than your height if you had expected to crouch down a little when under the bimini.
Here are the height considerations:
The lower it is the sleeker the look of bimini and boat
The lower it is the better the protection from the sun will be
The higher it is the more comfortable it will be it move around under.
Based on that please let us know just how high / low you'd like to see it!
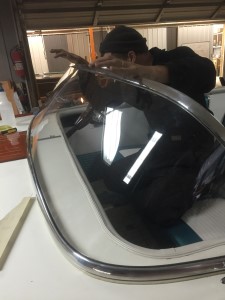
In the first photo is Allen Hash installing a new center bracket. The second photo (middle) and the third (right) show the new windshield and frame being installed.
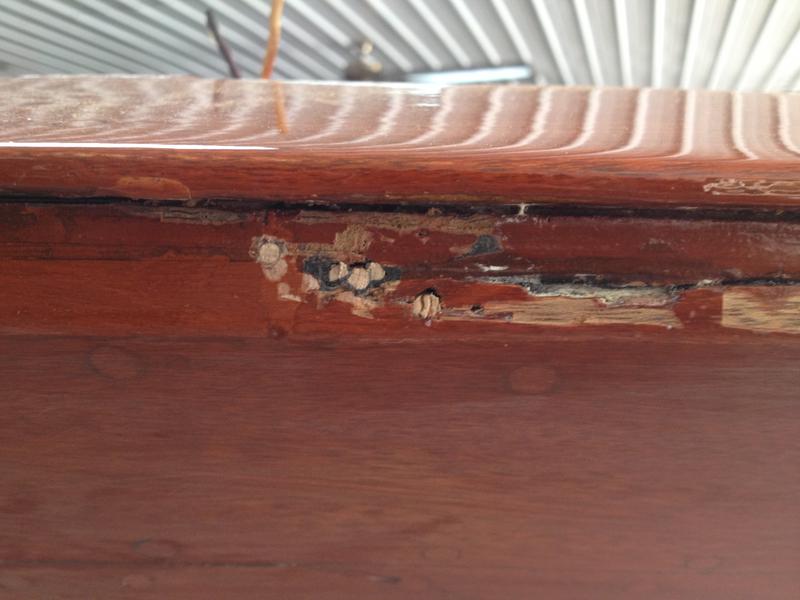
When we took the windshield frame off for repair, we found some undesirable stuff on the king plank that was hidden by the windshield frame, so we sanded that off. Next we restained and revarnished the king plank.
Then we had to put an additional 9 coats on the king plank. Putting so many coats on the king plank turned the white lines to an amber color so we will have to redo them to bring them back to white.
A marine survey was performed today. The surveyor said that you don't have a fire extinguisher or a throwable cushion and that you will need to supply these things. We will be happy to supply them for you. He is preparing a report for us so we should have it by next week. But all in all you have a clean bill of health!
Update 3/24/2016
The two SuperSport emblems which we had located were no longer available when we were ready to order them. Fear not, oh customer!
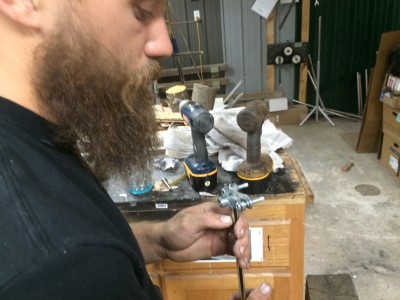
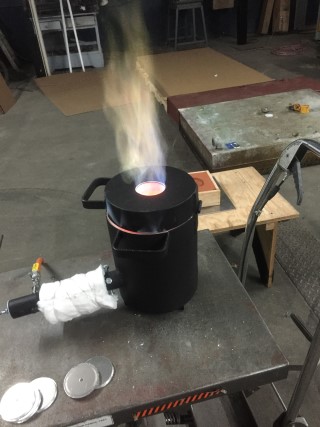
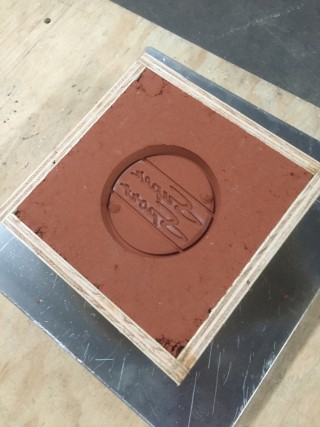
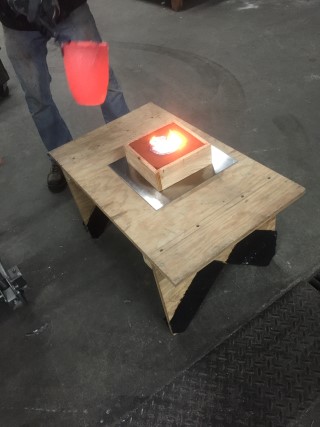
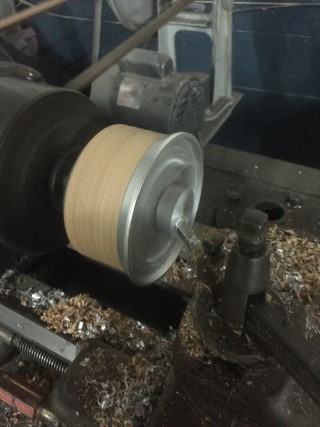
Using the Woodies' Magic of "Presto, Change-O!," we have successfully cast your two emblems ourselves. We bought a forge and the proper sandcasting sand and experimented until we got it right. We pulled an emblem off a boat in our stable to use as a model.
Please review the six photographs below to gain a sense of the process we (Paul and Allen) went through.
Update 4/01/2016
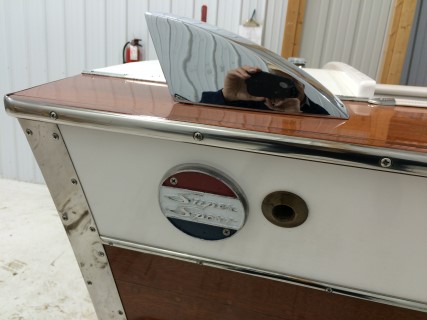
The chrome near your new emblem is reflecting dirt on the floor, not on your boat.