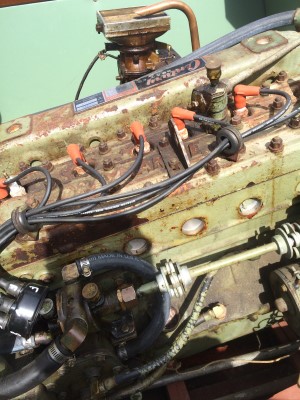
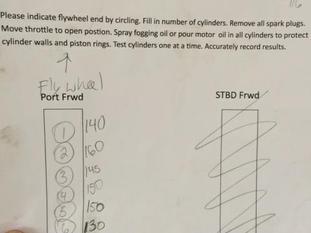
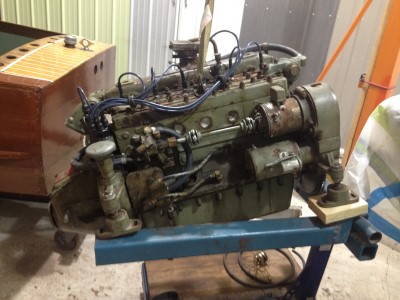
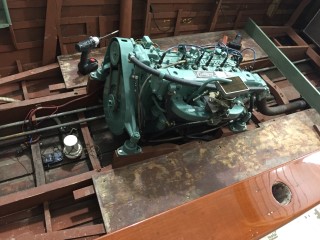
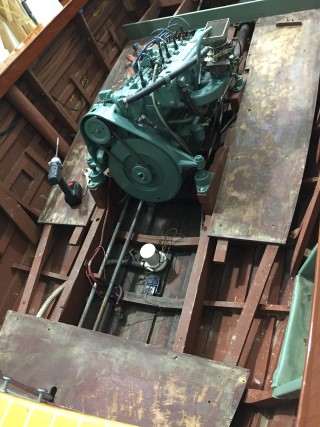
Very Good compression in all cylinders. Usually with an engine sitting for 6 years we see a stuck valve or two that results in low compression on at least one cylinder.
We could not run the engine today... First we need a new water pump impeller. They are made of rubber and get hard and brittle. If they come apart then we have to backflush the entire cooling system in an attempt to find all the pieces of the impeller so a piece or pieces don't clog cooling passages in the engine and cause a hot spot. Next, as you will see in the video, we have a bad rotor button inside the distributor. We suspect that is the reason why the boat was only run one time since it was restored. We think this detail was overlooked and we would imagine the owner got pretty disgusted when the engine wouldn't start / run.
Update 9/23/2015
Update 12/18/2015
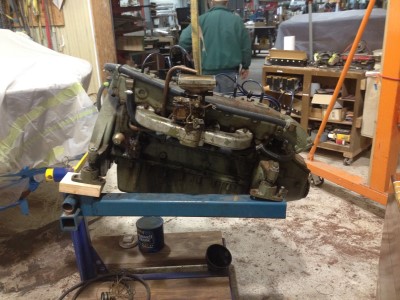
Engine Detailing is complete! We just have to put it back in the boat... which won't be done until all the sanding and cleaning, and varnishing and (repeat the process 9-12 times) is complete.
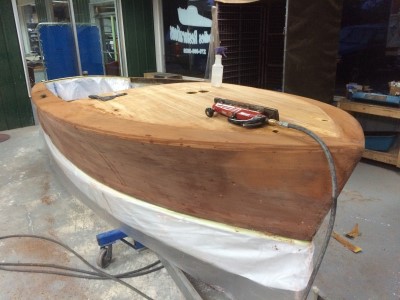
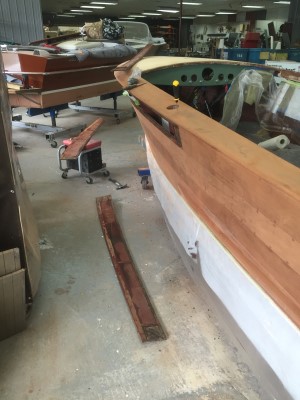
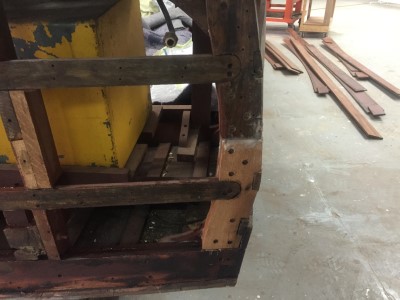
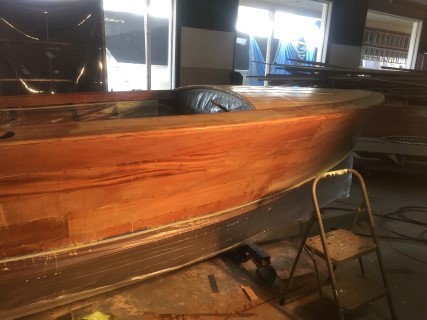
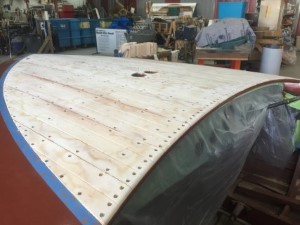
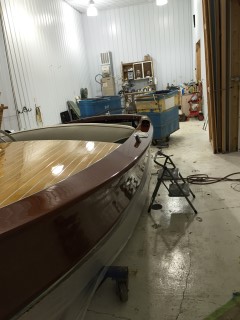
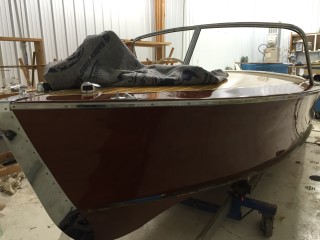
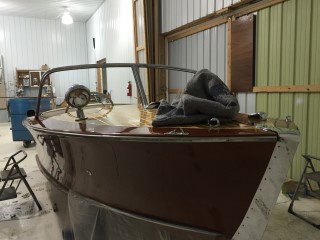
The boat is stripped of all its hardware and sanded. After sanding we carefully inspected all the planks. We originally thought we had to replace 6 planks due to dock rash but it appears the damage sanded out of one of the planks and we will only be replacing 5 planks.
We will be replacing two planks in the second strake (row) down from the top on this side. We are removing the upper row of planks so that the row below is easier and quicker to change. We believe this will result in a net time saver.
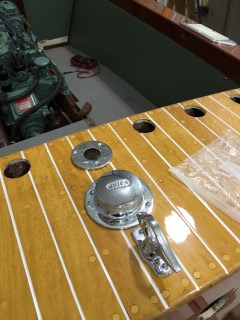
The Holes in the deck come from the aftermarket spotlight that had been installed. We can either plug these holes with circular plugs OR we can change the plank. The bungs will be less costly but will show to the critical eye. So please let us know if you want bungs or for us to replace that plank.
Update 1/20/2016
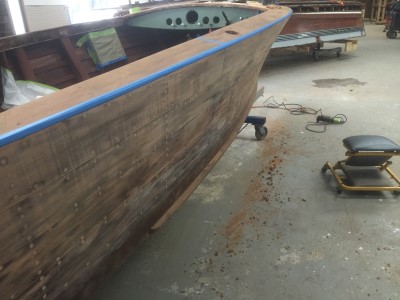
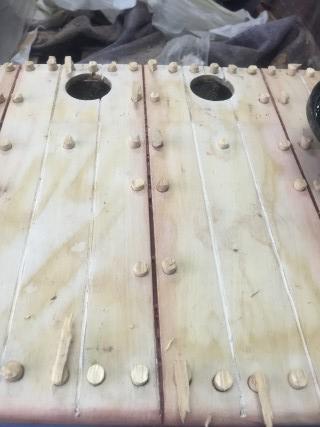
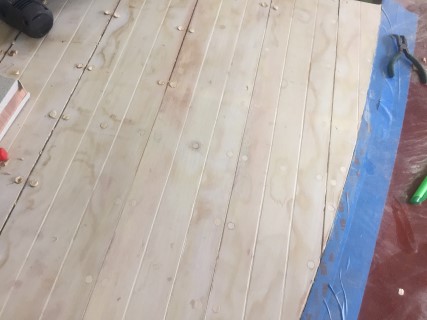
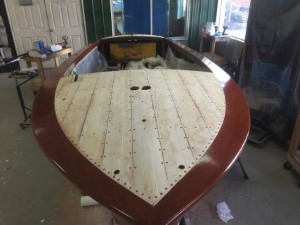
All the planks have been installed, both the new planks the replacement planks. They were all bed in black 5200. We wet the planks to expand them and close plank seams.
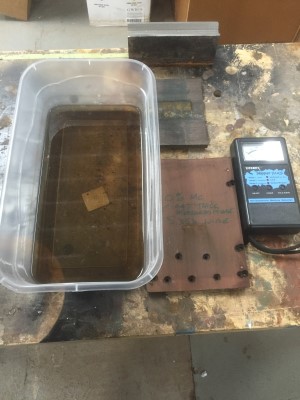
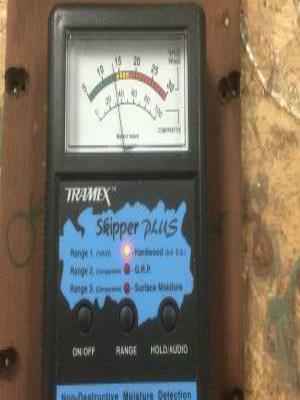
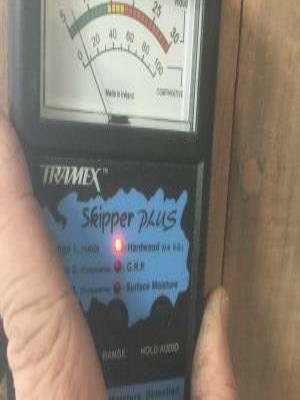
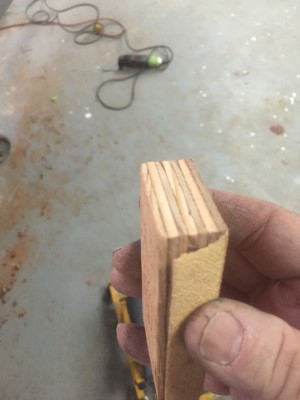
We submerged a scrap of the original wood for 48 hours to see how much moisture it could absorb. (left photo) Then we wet down the hull to a point where it was at 1/2 of the maximum range of moisture content. The planks are at the midrange of the moisture swings they will experience for the rest of the boats life. The will contract slightly and expand slightly from the dimensions they were when set. Note center photo shows 14% moisture content and the side of the boat shows 7% MC. (right photo).
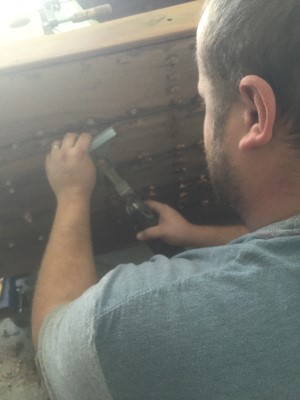
Each and every of approximately 2000 bungs has been cut off just above the surface of the plank. Then each bung is individually sanded flush with a hard block sander, If a soft block is used such as on a power sander the pad gets held away from the surface by the bung and a "moat" gets sanded around each bung!
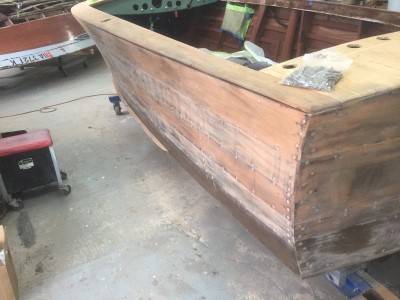
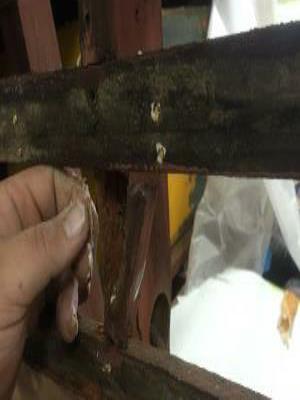
Wood Rot was replaced in the two areas that it was found before installing the planks.
Update 3/11/2016
The pictures below are showing our contractors bleaching the entire boat.
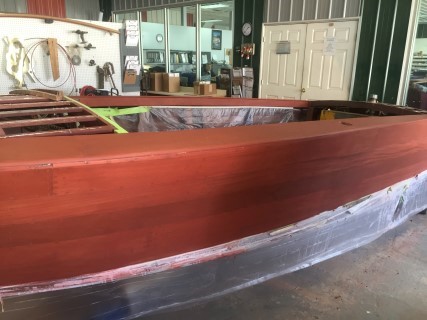
The pictures below on the left are showing the boat after they stained it. As you can see if you look closely, the planks are different colors. One reason they came out that way is that each plank came from a different tree from a different area, so we can't always predict exactly what the outcome will be when we first stain the planks. However, rest assured, as you can see in the picture on the right, we got it exactly where we wanted it to be and it's looking wonderful!
The pictures below are showing after we put the bungs into it, also some before and after pictures showing after we cut them and sanded them down to a smooth surface.
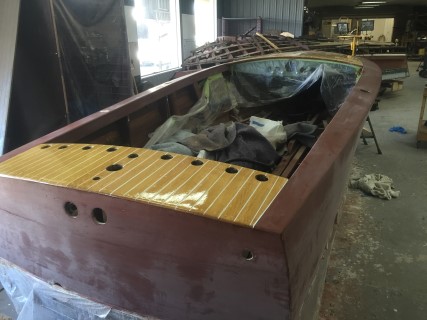
These pictures are showing them putting the finalized stain on, then bleaching the decks to get them to the right color. We have five coats of varnish on at this point in these pictures. We are almost ready to put the finish on the decks, we are getting very close.
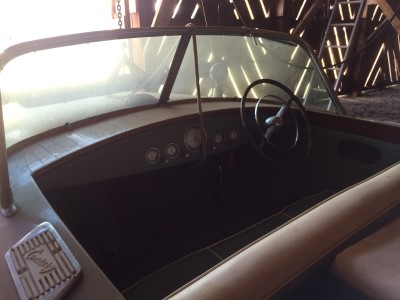
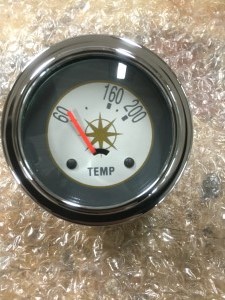
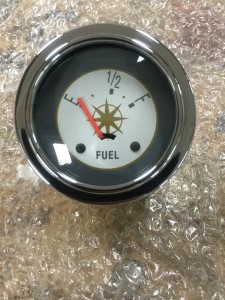
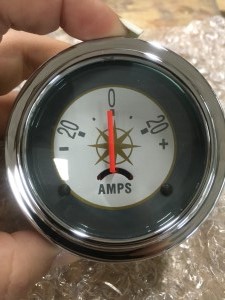
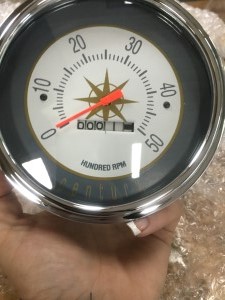
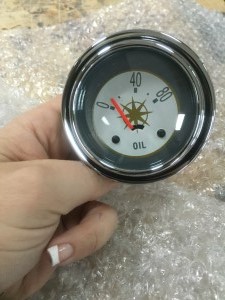
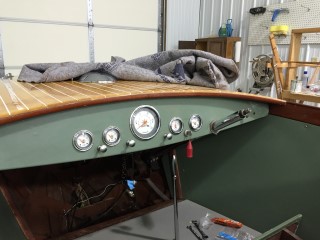
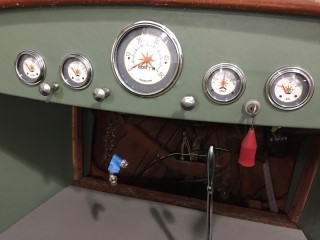
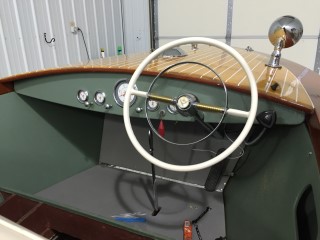
Below are individual pictures of the (restored!) gauges: the temperature gauge, the fuel gauge, the amps gauge, the RPM gauge, and the oil gauge.
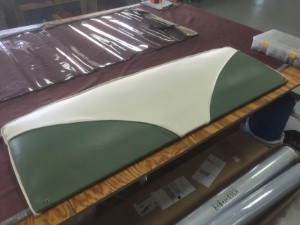
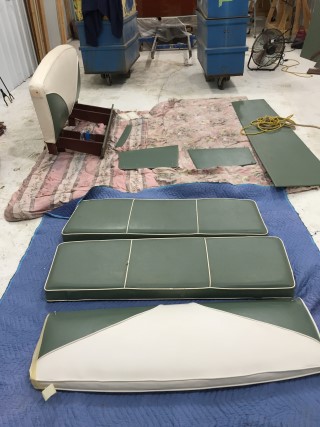
The picture above is showing the seat in its finished condition, after we replaced the middle white panel.
The pictures above are showing the first stages of varnish. Our people are about ready to put the sealer on. They are doing the final prep. The sealer (which seals the wood so it will be ready to varnish) will be on before the day is over.
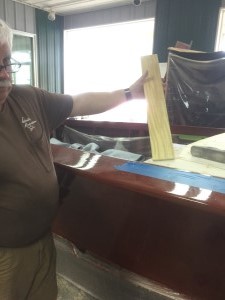
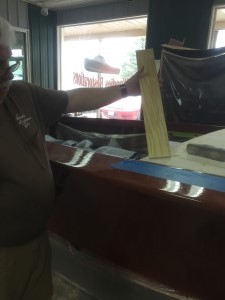
The two pictures above are showing Paul Cundiff holding a piece of avodire (wood plank). This avodire is an example piece showing you what the deck planks will look like once sealer is applied.
Update 3/22/2016
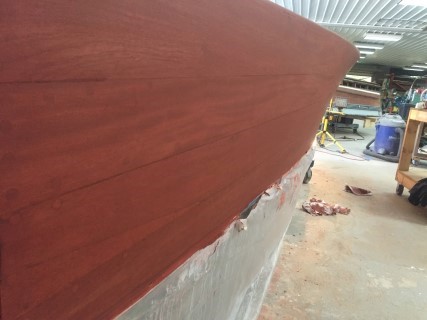
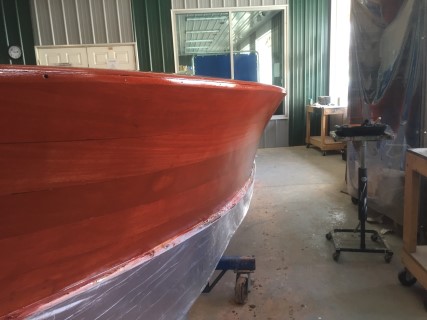
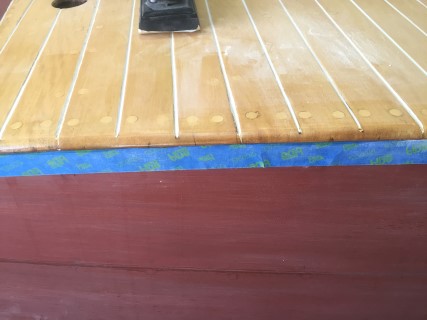
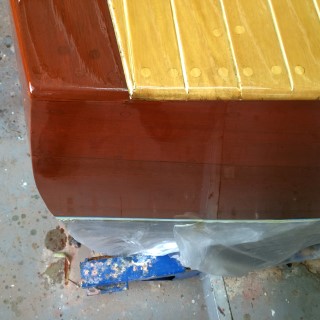
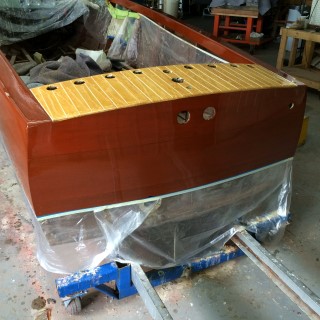
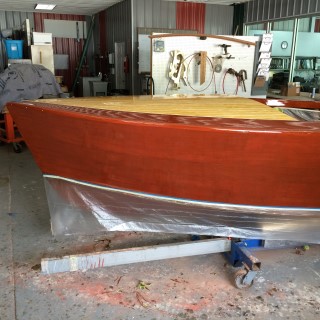
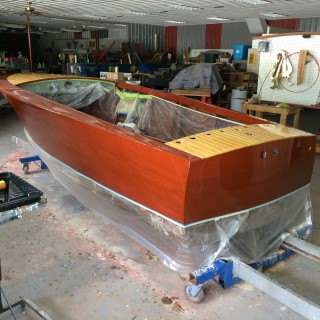
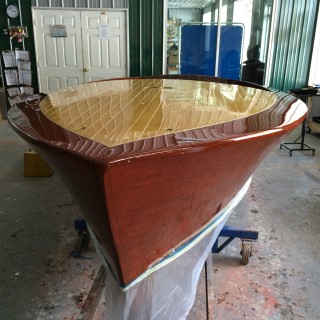
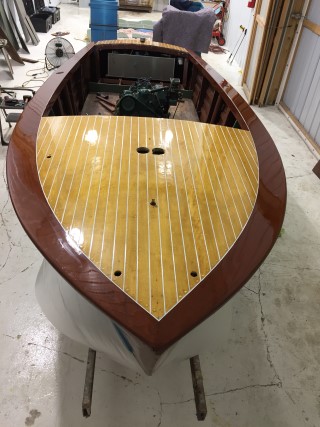
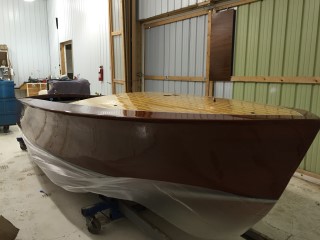
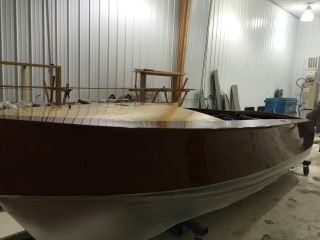
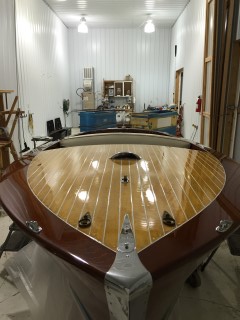
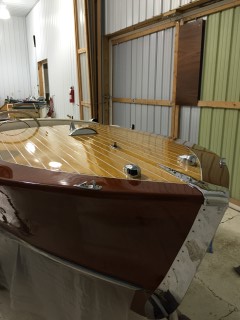
Four coats of varnish have been applied over the entire boat. We have sanded the sides of the boat to achieve some degree of flatness. We cannot go all the way to flat with four coats without risking burning through the varnish and sanding off some of the stained wood (color).
The deck seams have been caulked and we will sand the decks, then apply four more coats of varnish to the entire boat. Then we will sand for flatness. After that, we will apply one final coat of varnish.
We can make up to a 27" skirt from a 60" wide piece of canvas to hang from the owner's boat lift canopy to protect the sides from sunlight when the boat is being stored on the lift. One yard of 60" wide canvas will provide two yards of 27" skirt. The owner will need to provide us with the dimensions of his boat lift canopy.
Update 4/03/2016
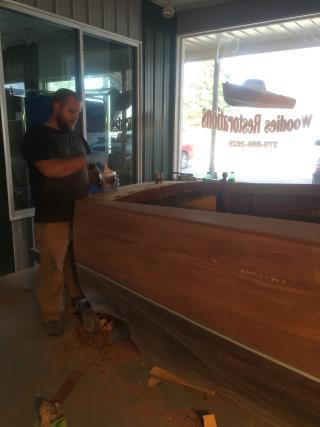
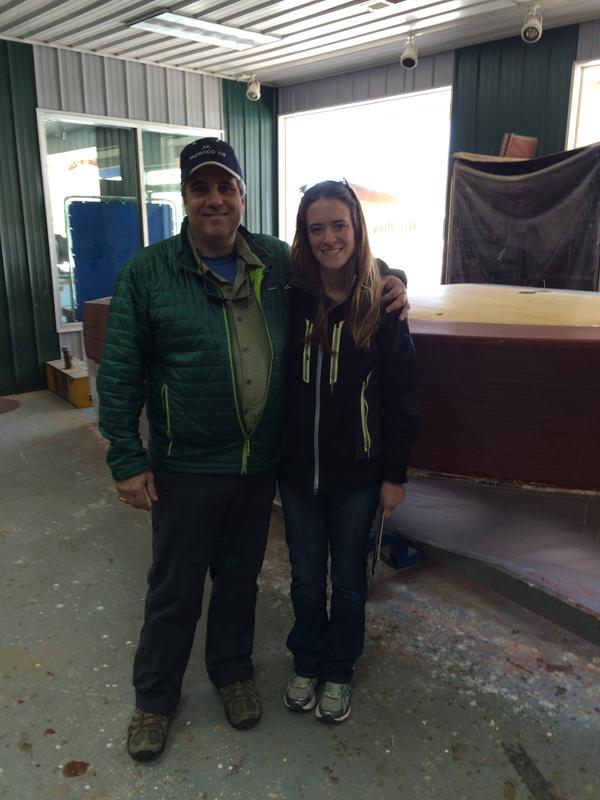
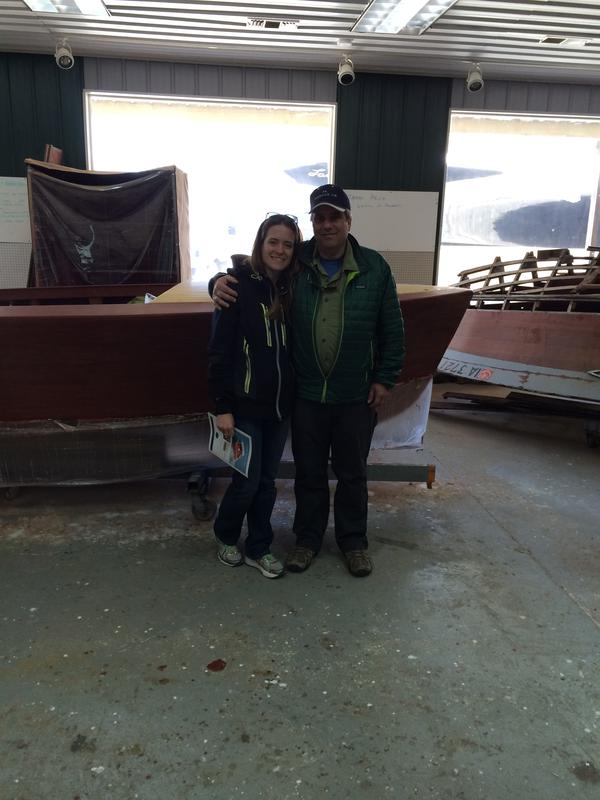
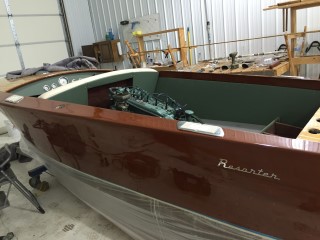
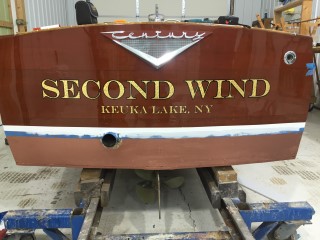
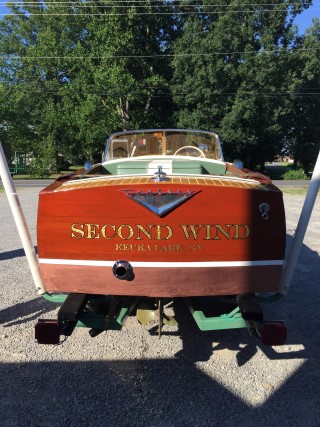
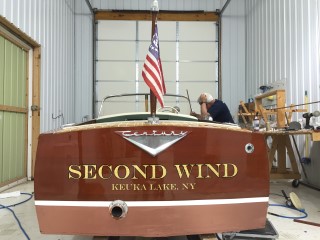
Mark & Abby flew in to visit Paul and his shop and see their boat, Second Wind, Sunday, April 3rd, 2016. Here we see them in Paul's shop on Lakeway Drive beside their 16' Century Resorter.
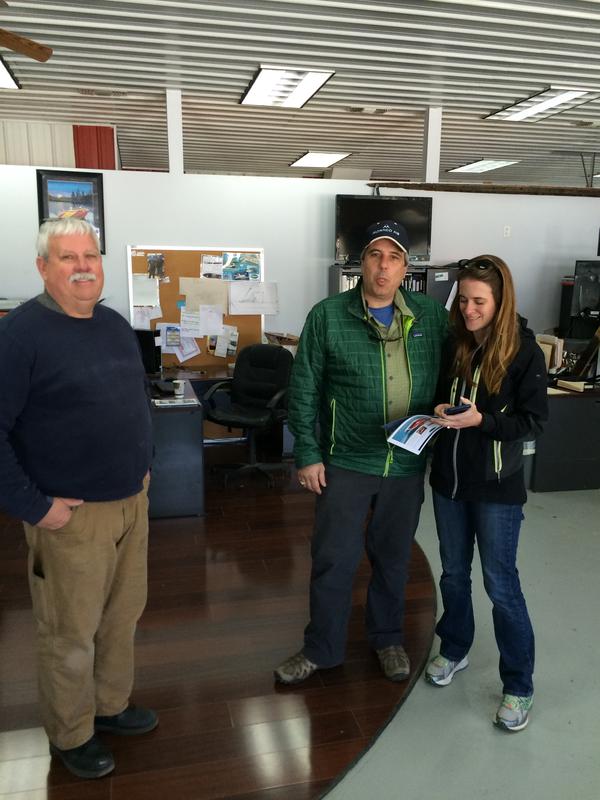
We also see them with Paul in his office in a semi-candid photo which caught them slightly off-guard.
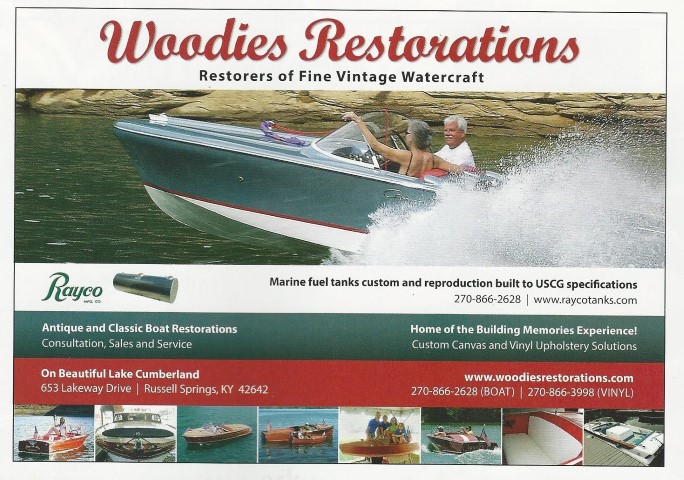
And ... a little advertising seldom hurts. Below is a half-page ad for Woodies Restorations and two of its other divisions (Rayco Fuel Tanks and Custom Canvas & Vinyl) which appeared in Rudder magazine's Winter, 2016 issue. Rudder is the official magazine of the Antique & Classic Boat Society (ACBS) which is headquartered in Clayton, New York.
Update 4/07/2016
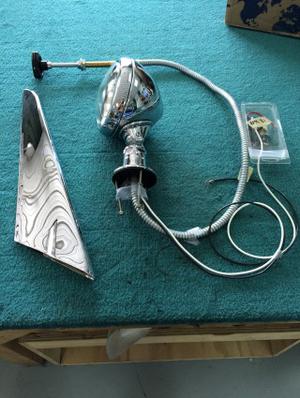
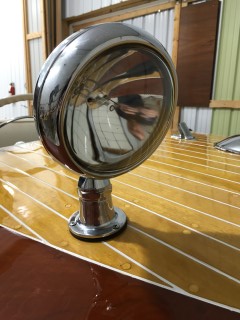
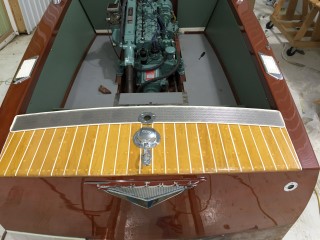
The bow pole and the Iva light for your Resorter have arrived. Below are photos of the finished work at the end of the deck planks at the transom.
The light spots have been removed. The dark spot at the port-side end of the deck planks is due to the natural grain of the wood.
Update 4/23/2016
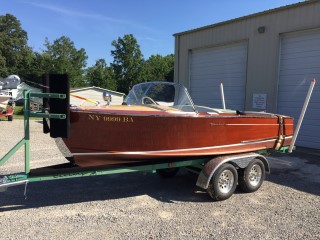
This is the status of your Resorter as of Saturday, April 23rd, 2016. Allen came in this morning in order to work on your boat.
Update 6/8/2016
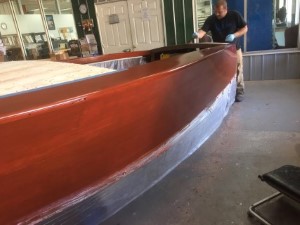
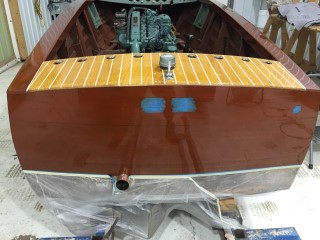
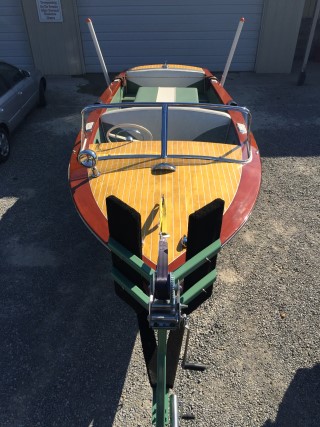
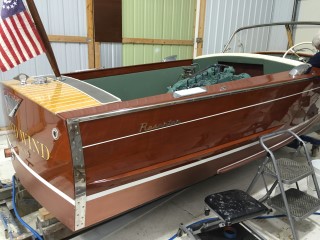
Varnish work is finished!
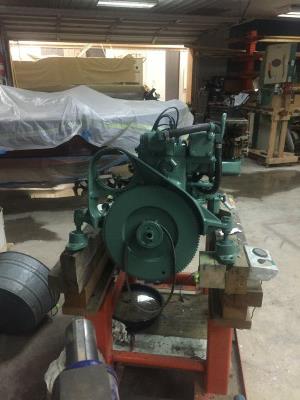
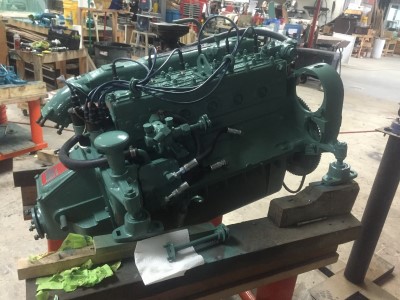
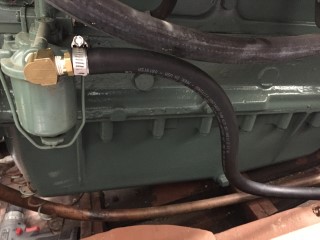
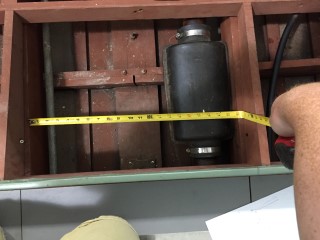
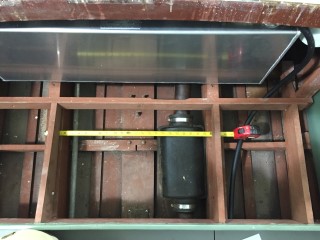
The engine and fuel tank have been installed.
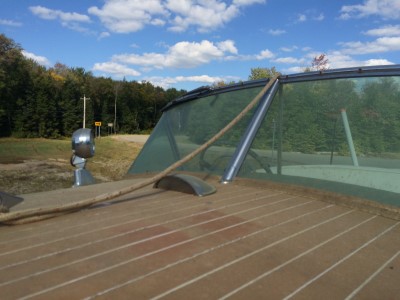
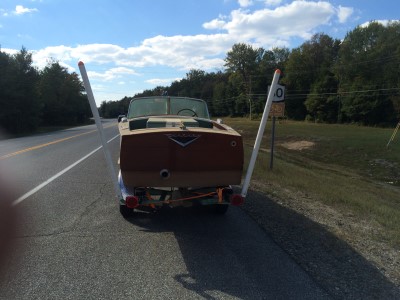
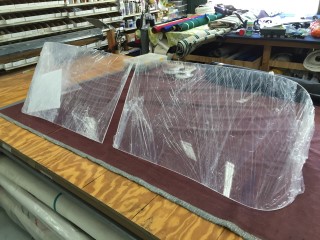
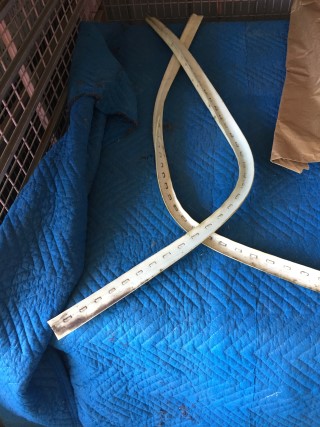
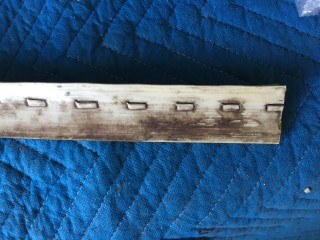
The metal for the transom straps and the new windshields came in yesterday.
We have all of the interior and new shiny chrome laid out and ready to reinstall. We have all of our attention focused on your boat this week with hopes to have it in water this weekend ready to test.
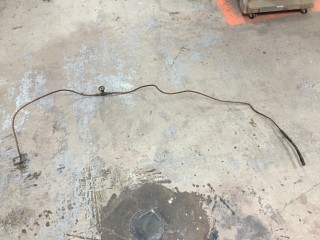
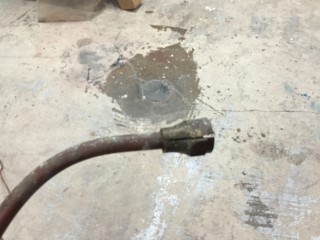
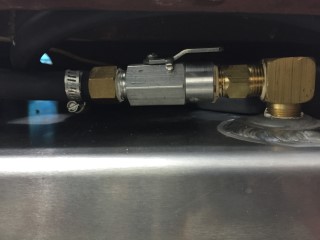
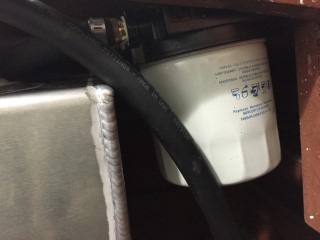
All of the old fuel lines and fittings had to be replaced. The shut off valve was not Coast Gaurd approved and there wasn't an anti-syphon at all. As you can see one of your fittings was cracked. We also installed your new fuel filter.
We have verified that you are not wanting to replace your flag but rather keep your old one for nostalgia.
Update 6/9/2016
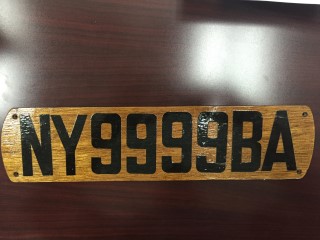
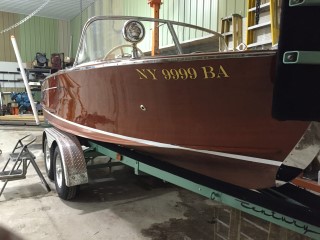
The numbers on your plate do not have enough spacing between the NY and 9999 and BA. So they wont be legal if we follow the same format. So what we could do is:
Produce a new wood plate with new numbers and letters with the correct spacing.
Apply the numbers and letters directly to the boat with the required spacing. (which would be the least cost)
Or we could just place the existing numbers back on the boat as they were. (which would not be legal)
I realize that the spacing was not an issue on a private lake but to be legal you will need to have the correct spacing between the numbers and letters.
Update 6/13/2016
Update 6/13/2016
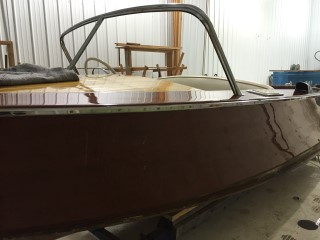
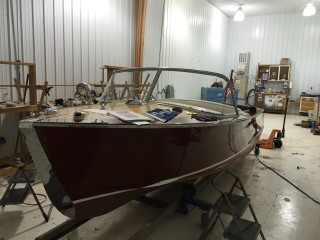
We have almost all of the chrome, the new IVA-Light and steering wheel installed. All we like is installing the windshield, the rub rail and dropping the seats and engine cover back in.
We have the windshield bracing reinstalled but the old rubber seal for the windshiled would not come clean so we had to order new. The seal should be here by Monday.
The rub rail is back on and looking great. We should be finished and in the water testing on Monday and hopefully delivering sometime late next week.
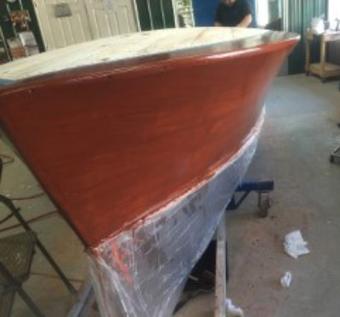
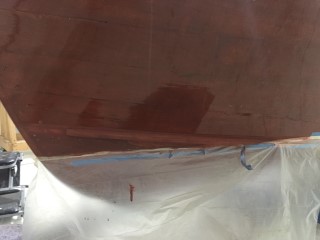
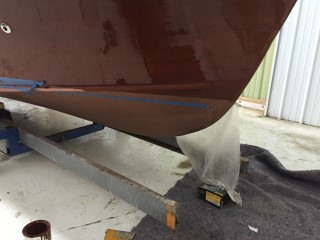
We ran into a problem with the bottom paint. The picture to the left is of the boat when it was picked up before we started restoration. The picture to the right is of a boat we worked on that is also a Century Resorter. If you notice the bottom paint and the boot stripe on the one to the right cuts through the chine cap. Well if you look at the picture to the left the bottom paint follows the chine cap all the way to the front of the boat.
So when we painted the bottom this mistake was not noticed in time and the bottom was painted back to the way it was when the boat came in. This is not a major set back as you can see we marked it off where it needed to be, sanded back down to bare wood and restained. We are applying two coats of varnish a day and will continue through the weekend with varnish. This problem should be resolved by Monday.
On a good note the rubber seal for your windshield came in. We've been waiting on this to come in so we can finish installing the windshields. If everything goes as planned we should be testing next week.
Update 6/24/2016
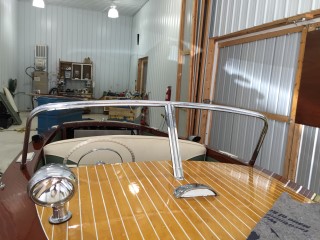
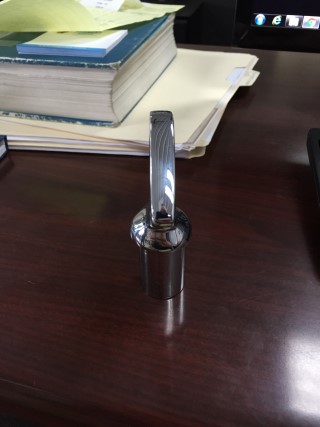
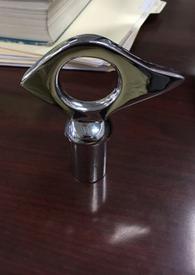
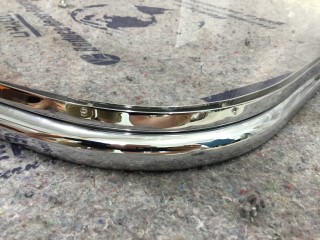
When we went to put your lifting ring back on the front of the boat we noticed that it was bent. So we had to order a new one and have it chromed. Luckily we have a good connection with the company that handles our chrome and they got it in back to us within a matter of days.
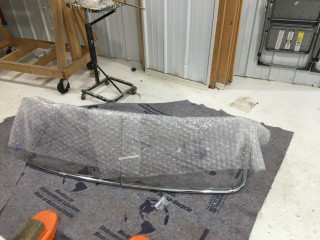
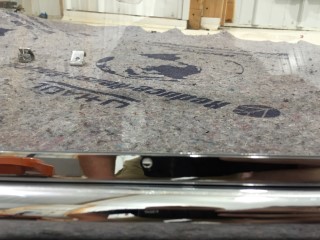
As we were reinstalling the windshield it was brought to attention the holes in the channel. This was yet another mistake that slipped through the crack. We have researched this issue to make sure that the holes were not suppose to be there originally. We are hand delivering the peices Saturday morning to the company to have the holes filled and the part rechromed and we have a guarantee from the company that it will be back in our possession next week.
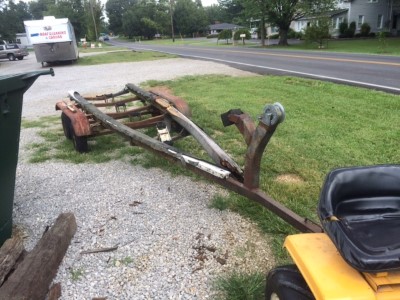
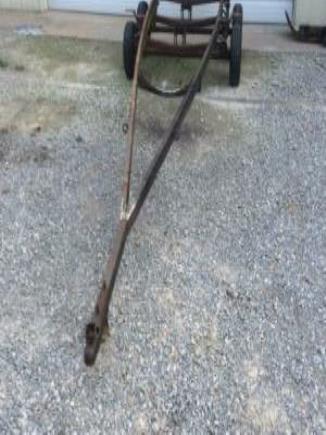
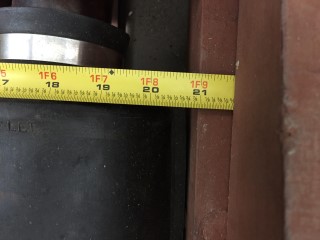
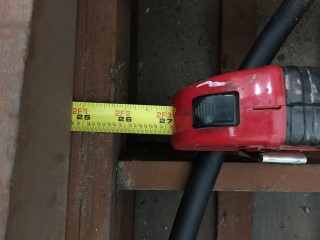
Here are the inside and outside measurements of your stringers.
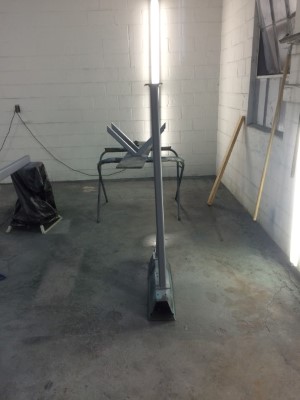
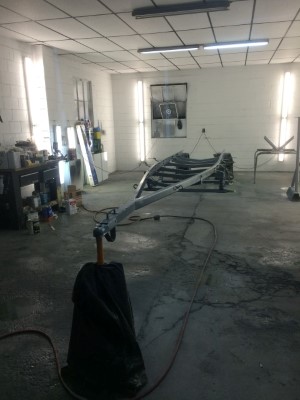
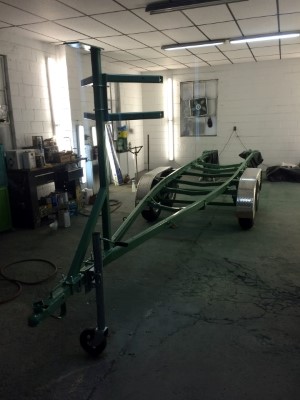
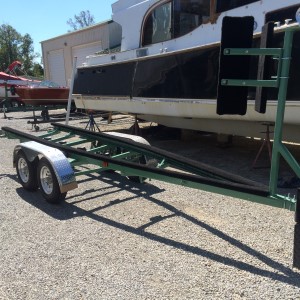
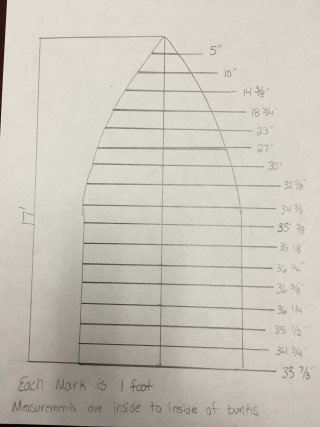
The diagram to the left is to show where the bunks lay on your trailer. From the inside of the front point to the back of the trailer where the bunks end is 17 feet. Each mark represents one foot. The measurements at the side of each mark is from the inside of the port bunk to the inside of the starboard bunk.
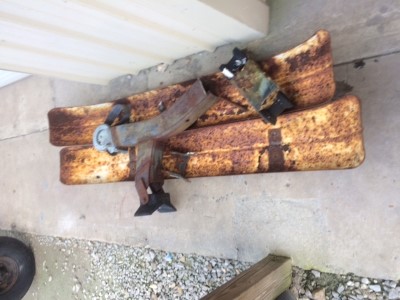
This is the width of the bunks on your trailer just in case you need to know the outside dimensions.