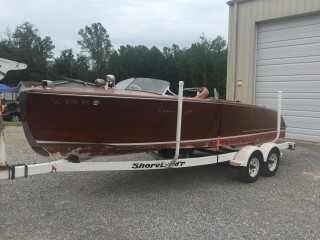
We have the hardware removed from your boat and on its way to be chromed along with all of the rub rails removed to be buffed. We plan to start stripping the varnish either tomorrow or the first of next week.
Update 09/12/17
We have now taped off the cockpit and engine area along with the bottom from the water line down. Then we applied two coats of stripper to the decks and sides of the boat.
Update 09/13/17
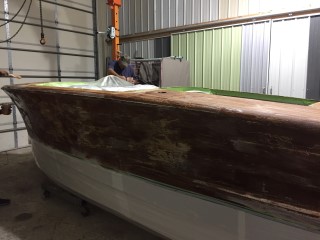
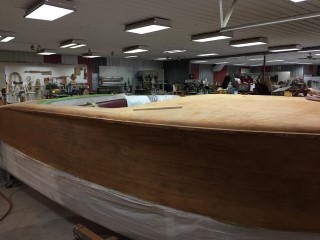
We now have all of the varnish stripped. Next we will sand all the decks and sides smooth then bleach and stain.
Update 09/18/17
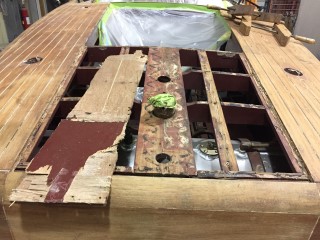
The wood around the cockpit area was badly damaged and about a 1 inch section was almost detached from the rest of the plank. Since it was damaged so badly we used a router to remove the section and glued in a strip of mahogany.
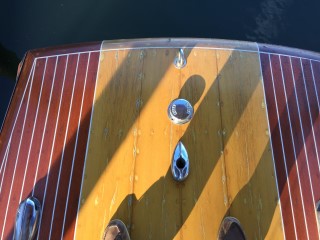
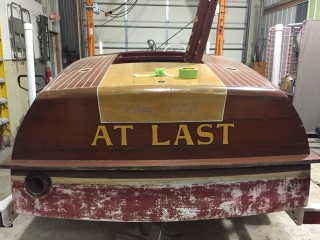
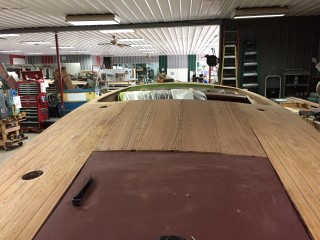
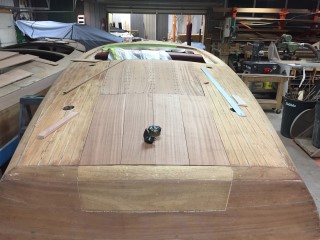
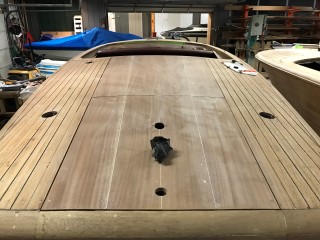
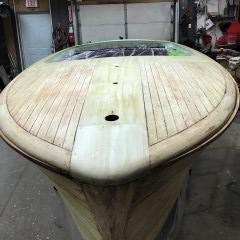
We have the blonde planks on the rear deck removed and we also have the planks removed from the engine hatch. We can now cut the new planks and start fitting them to the boat.
Update 09/21/17
Update 10/13/17
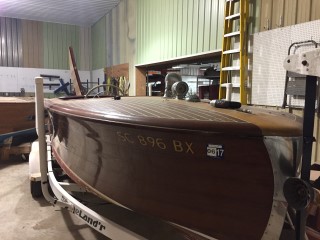
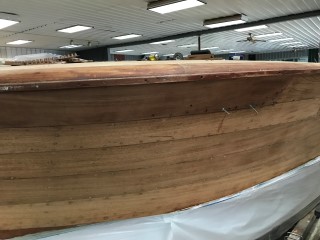
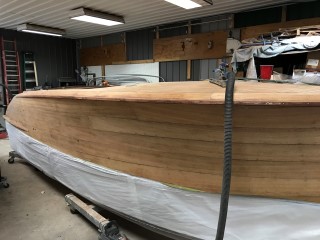
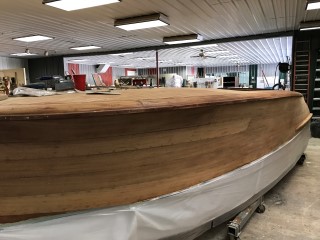
We now have the sides and decks all sanded to the bare wood. All of the varnish and stain has been removed. The next step will be to bleach the decks and sides then we can stain and get ready for varnish.
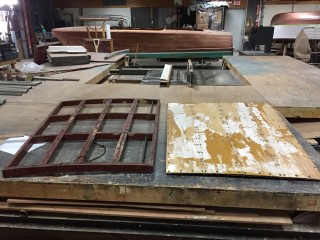
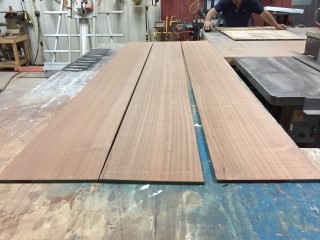
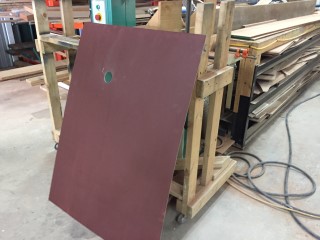
We have started the process of replacing the planks on the rear deck and engine hatch. Here you can see the wood that has been cut and planed. We will use the same planks for the hatch and deck planks so that the grain matches, so there are no mixed patterns.
Update 10/24/17
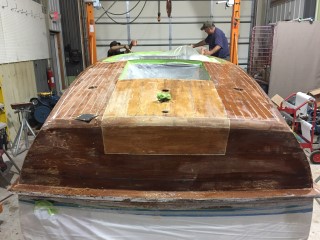
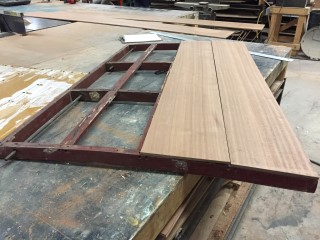
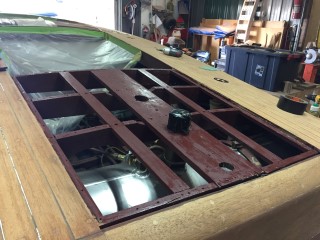
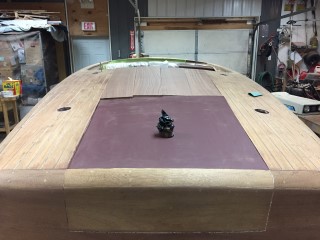
After removing the rear deck planks and plywood we realized there were a few repairs that needed to be made to the frame work underneath. Once those repairs were made we applied a fresh coat of bilge paint to the frame work and the new piece of plywood that was cut. The picture to the right shows the new piece of plywood being fit to the boat.
Update 10/27/17
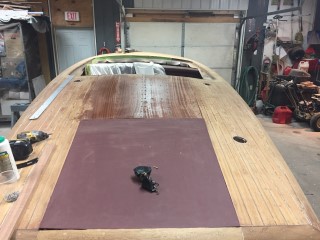
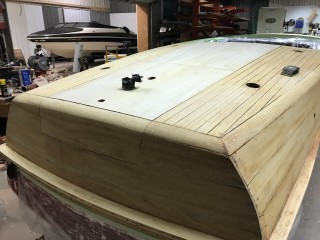
We now have the engine hatch planks installed. We soak the planks before we install so they will swell and we will know where our plank seams will be. If we put the planks too close dry and they swell then we have a problem.
Update 11/13/17
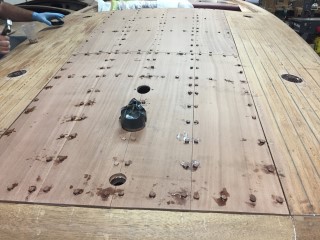
We now have the engine hatch planks and the rear deck planks permanently installed and the screw holes filled with bungs. Once the epoxy cures around the bungs we will then trim them down and sand over the new planks till they are flush.
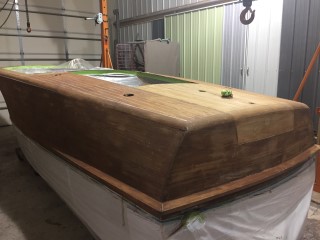
Update 12/01/17
We now have the deck planks and the hatch planks sanded and fared with the rest of the deck planks.
Update 01/10/18
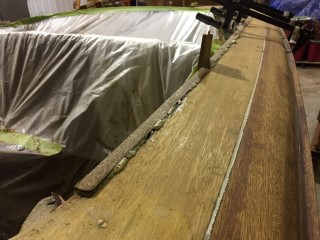
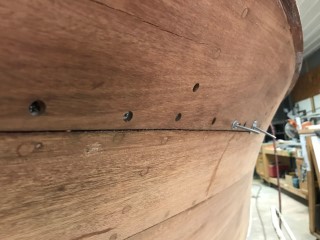
The top front plank on the port side of your boat was starting to pull away from the boat which was an indication that the plank fasteners were loose. We removed the old fasteners from the plank, used dowels to fill the old screw holes in the batons and frames behind the plank so that the new fasteners would have something to grab onto. We then refastened the plank with new screws and 5200 Marine Adhesive on the back side of the plank. We also found a baton on the back side of the plank that had a small split, so while we were making this repair we also repaired the baton with epoxy.
Update 01/18/18
Now that we have the repair to the port side complete and the decks finished we are going to sand over the entire boat once more before we bleach. We should be finished sanding today and have bleach applied either tomorrow or the first of next week.
Update 01/26/18
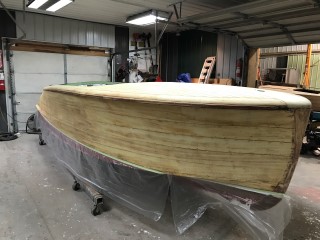
We now have 3 coats of bleach on the entire boat. At this point we will do a light sanding over the entire boat because during the bleaching process the bleach slightly lifts the grain of the wood leaving what looks like a fuzz. All we will do is sand until the fuzz is gone, then we will stain the boat and start varnish work.
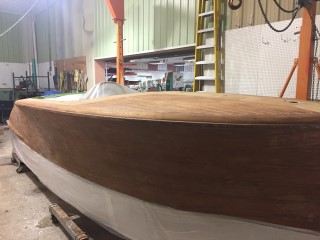
Update 02/09/18
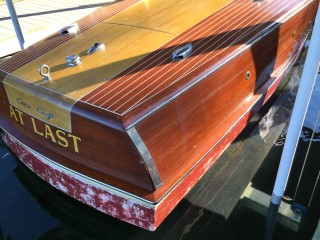
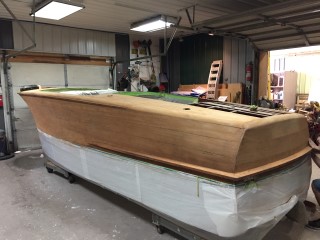
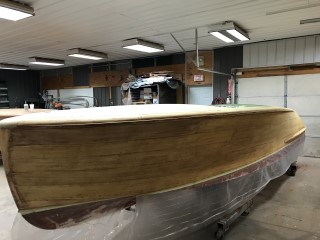
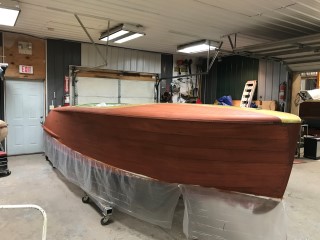
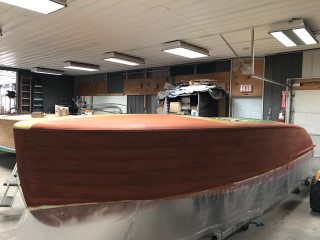
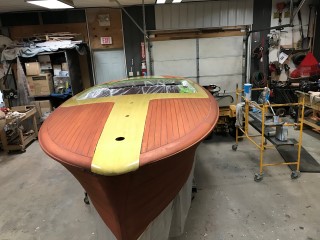
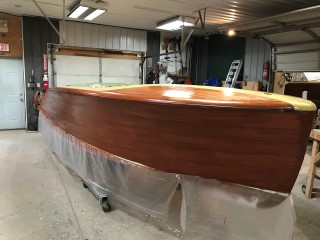
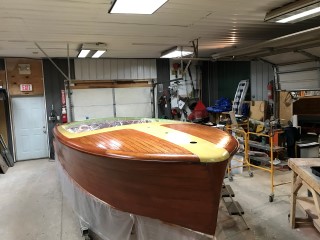
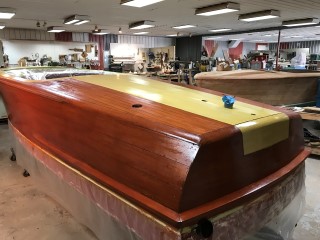
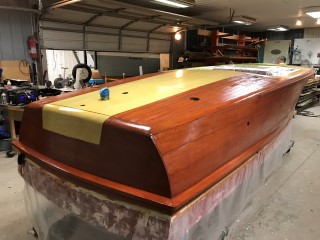
Wow look at that! We know have the center section of the boat stained to the correct blonde and two coats of sealer applied. We also have the rest of the boat stained to the correct color and will be ready for sealer and varnish next week.
Update 02/13/18
We had to touch up a spot of stain on the front deck that didn't take very well. Once that was done we applied the first coat of sealer.