New Toll Free Phone Number 866-921-2628
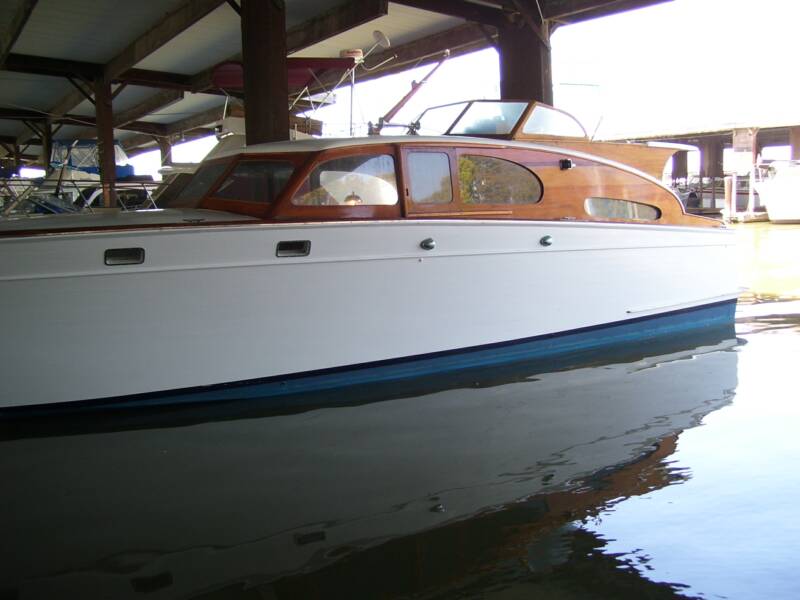
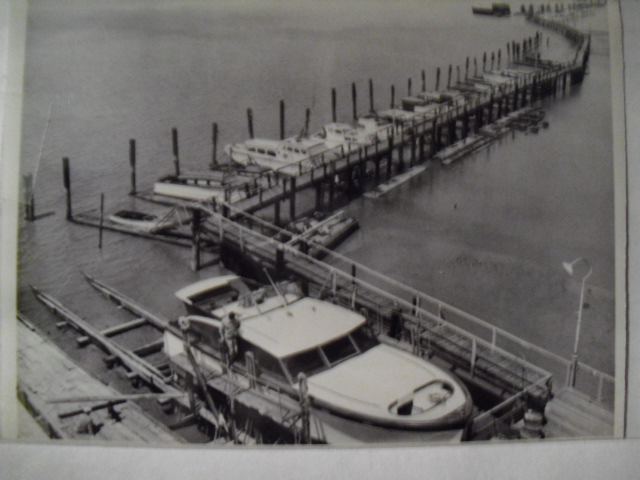
There are a number of projects we are accomplishing on this boat right in its slip in Vallejo California.
Improvement Projects
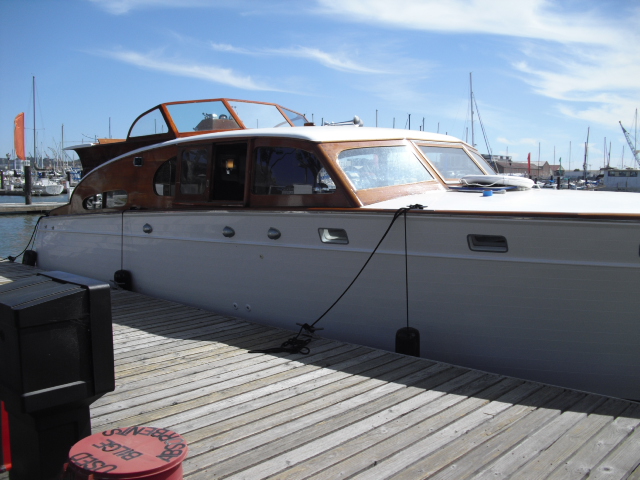
Slip Protection Edge bumpers on dock
Boat Fenders and Lines
Life ring and holder – period correct with Jupiter as graphics on ring
Vintage Chrome Compass (hold)
Clean / Upgrade cushions on boat
Additional Canvas Covers (Hold)
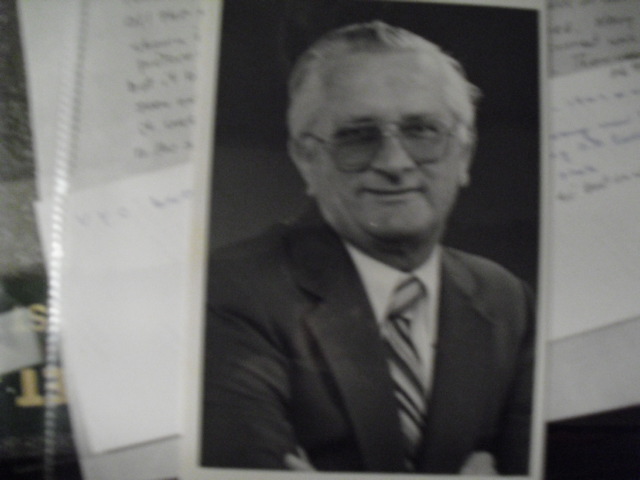
Research history / ownership of boat
De- humidifier permanently installed
Fiberglass touchups
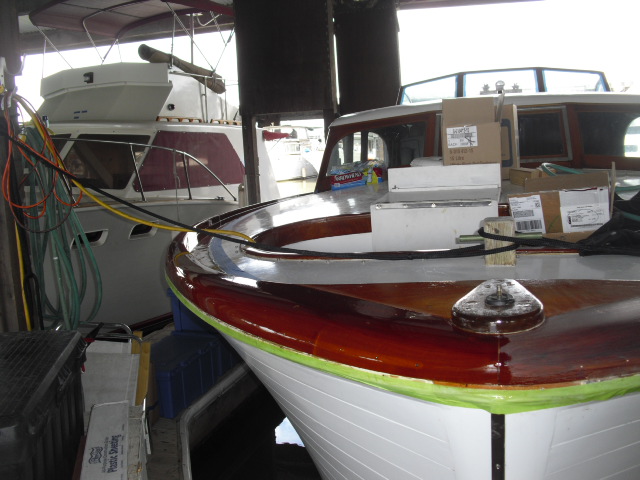
Varnish cap rails
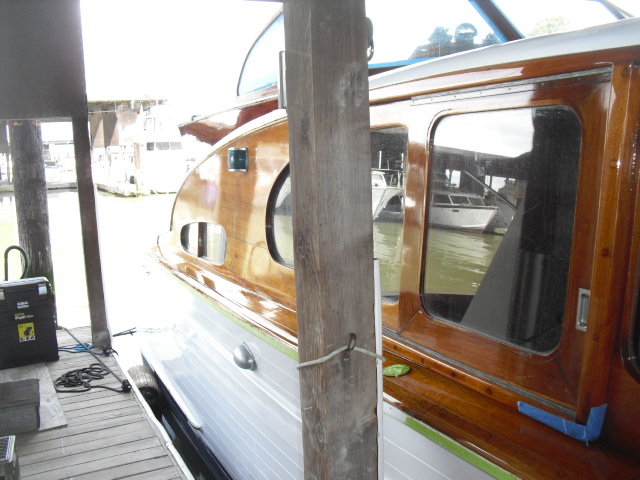
Varnish Cabin sides
Varnish Cockpit
Install electronics in drawer under steering wheel
Install Kill switch and / or personnel strap at wheel
Install new light, bilge blower, and horn switches
Varnish Aft cockpit
Varnish Transom
Install fuel tank equalizers
Develop GPH chart on engines so that fuel consumption may be predicted / controlled
Install fuel vent valves
Modify Rib so forward head door opens properly
Install Head and or shower combination in Aft stateroom locker - outdoor shower
Widen Aft State room bed (can be widened 9-1/2”)
Install Anchor windless and outside hull anchor storage
Purchase and install new 12 volt air compressor and compressed air storage tank for Grover Products air horn but also sufficient to inflate dinghy.
Purchase and install depth sounder
Make anchor light assembly easy to remove and install
Install strap(s) for safety at helm
Breaker Panels Consolidated / Remote monitoring?
Install Inverter
Maintenance Projects
Loose Screws
Chrome Polishing
Adjust Rudder as boat pulls to port side
Replace water heater
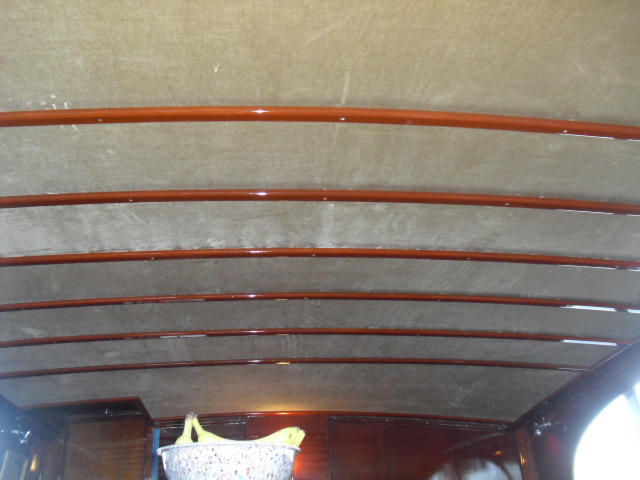
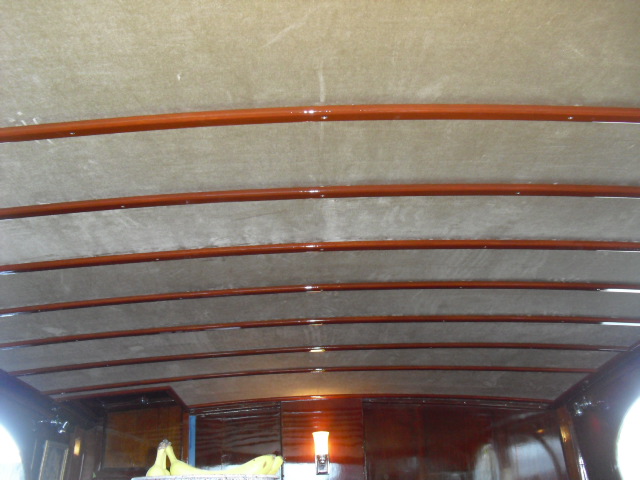
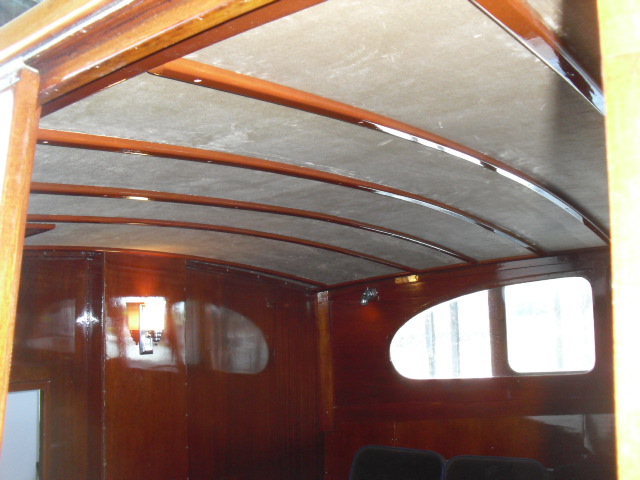
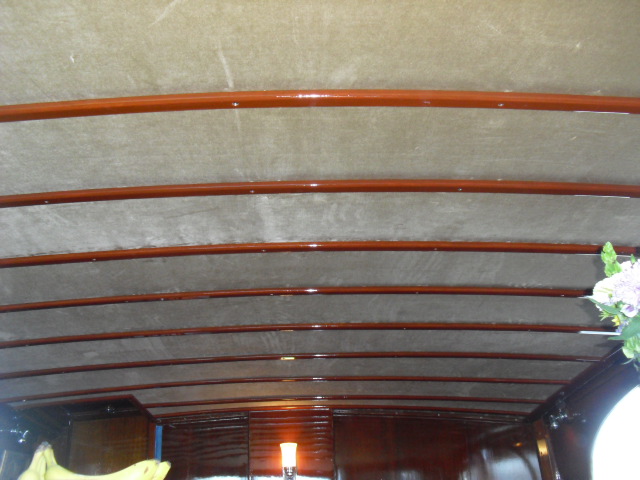
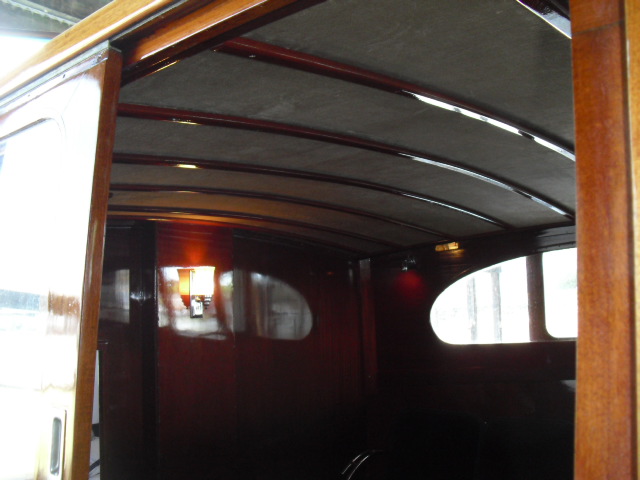
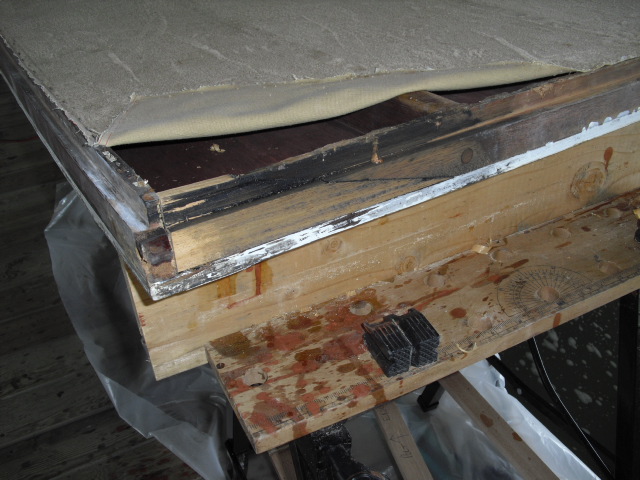
Replace Headliner in cabin
Flush water tank of debris
Replace shaft logs
Find / Replace wire nuts used on wiring
Replace substandard wiring on light fixture in Salon (completed during assessment)
Replace missing cleat backing plates
Secure bow light wiring that was being stretched by anchor tackle (completed during assessment)
Check House batteries
Produce owners manual of boat and accessories
Green = Completed Orange = started Black = Still to do
Credits
To the many people and organizations that have assisted with this project above and beyond the call of duty we owe a debt of gratitude. They are, in no particular order:
- Canvas and cushion work
 Todd Mehserle - Vallejo
- Use of shop tools in remote location Chip Cash / North Bay Cabinets - Vallejo
- Receiving point for packages in Vallejo Chip Cash / North Bay Cabinets
- Quality Control Inspector Next door neighbor to boat - Jerry - Vallejo
- Machine Shop Work Ed - Vallejo
- Cheerleader, all around good guy, Occasional Home cooking Gordon - Vallejo
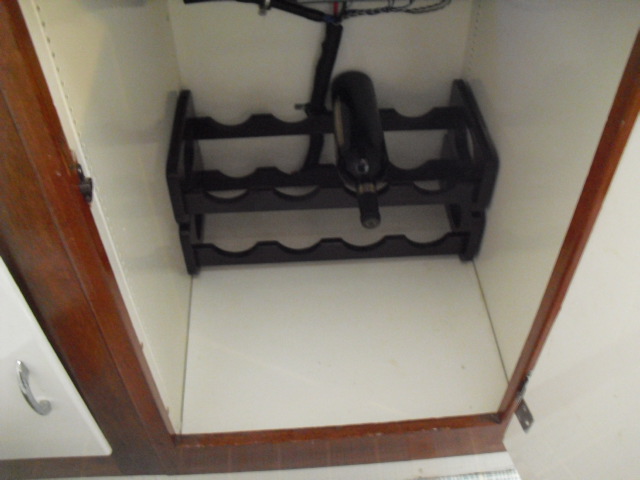
- Lubrication Coppola Winery - Napa California and Todd Mehserle / Vallejo Yacht Club
- Living Quarters and mobile shop Salyers Canvas and Boat Cleaning - Jamestown, KY
- Headliner installation training Custom Canvas and Fun Time Houseboats - Russell Springs, KY
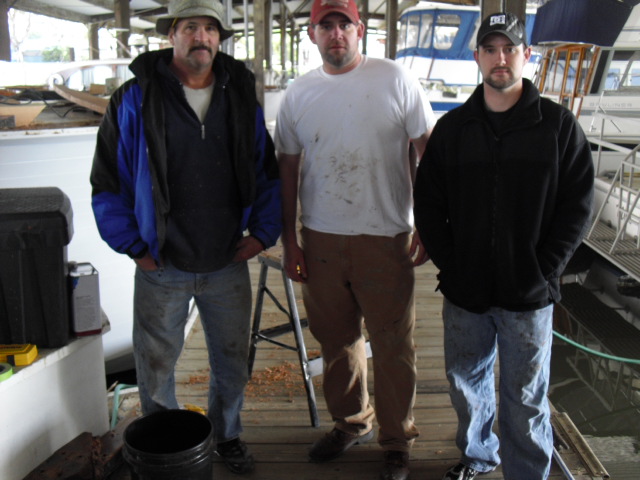
From Left: Robert Ruddy Master Carpenter
Jason Hansmann 17yrs experience in finishes
Taylor Cundiff Remote Project Manager / All skills
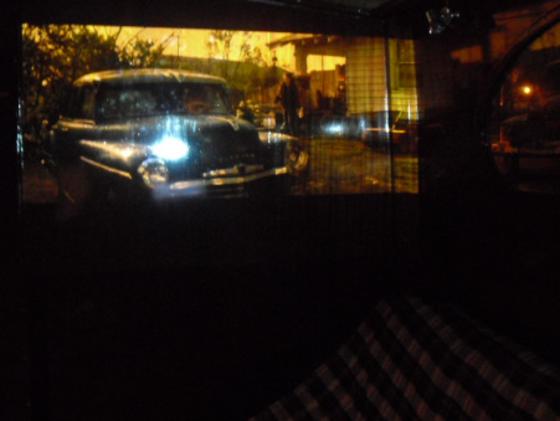
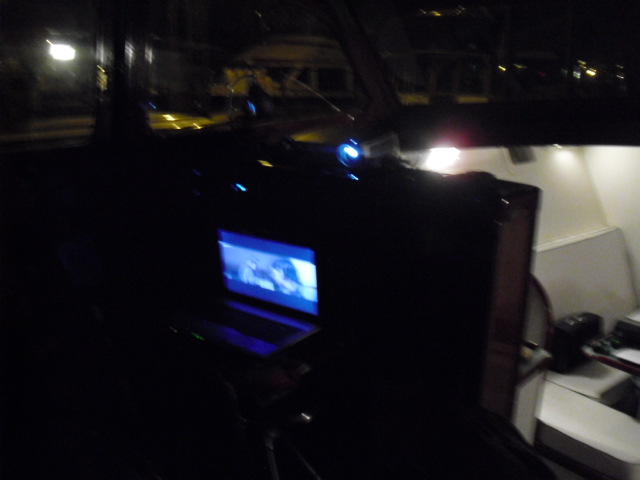
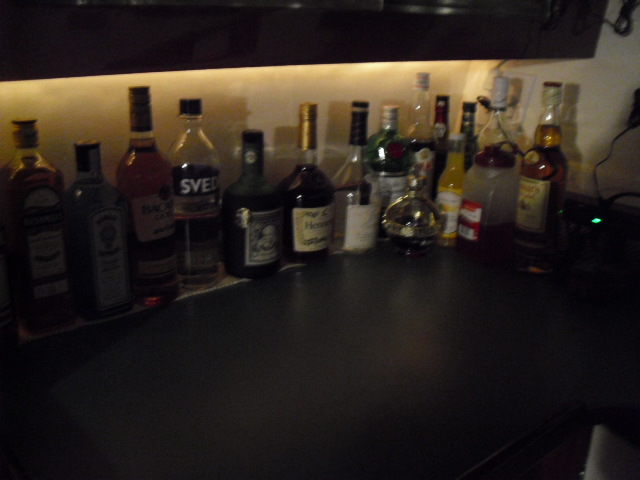
The future bar area could have a small pull down screen and with the installation of a Computer or DVD player and bring along a projector from your office and the Salon could become an entertainment center with its killer sound system hooked up to the computer or DVD player Note the scene from The Outsiders!
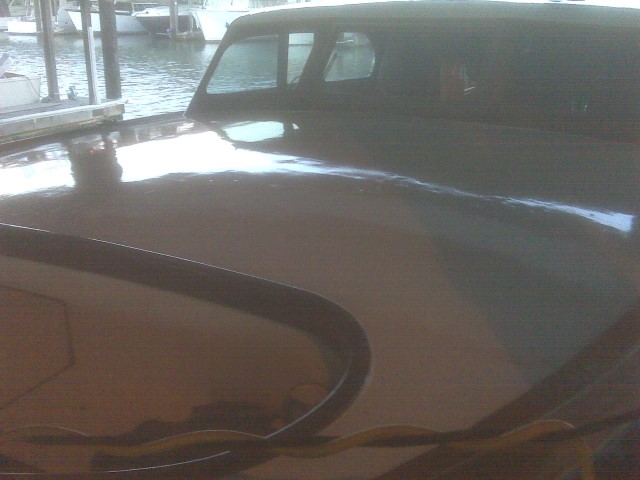
The polished Plexiglass looks so good it is scarey!!!
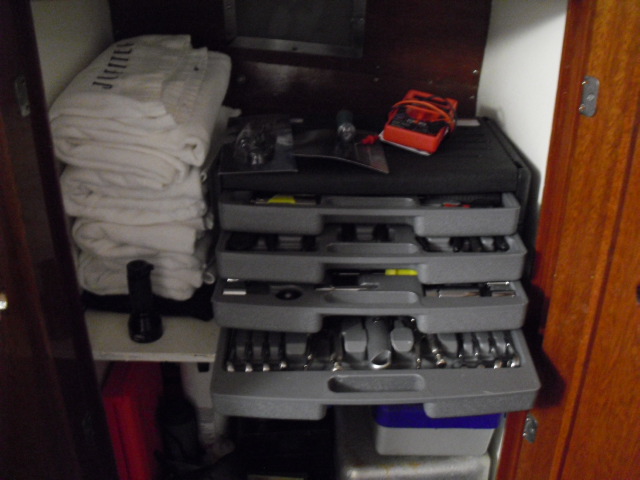
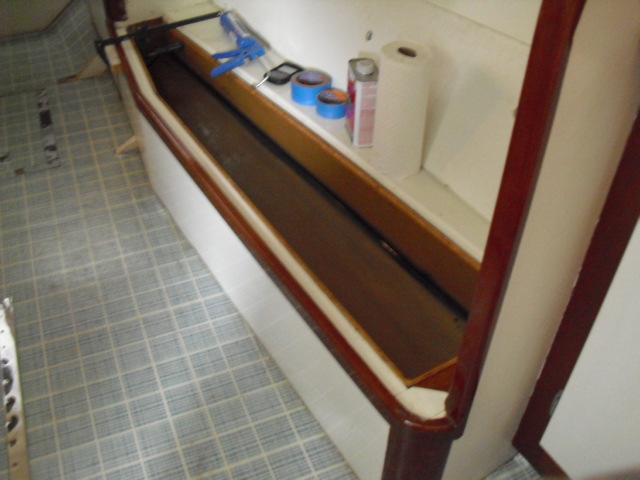
For less than $100 we have tools for every occasion on the boat. On top of the tool box we have three types of electrical testers. A
-spark checker to see if there is spark or not on spark plugs
- a non contact "light pen" to see if 120 volts are available in a receptical or wire.
- a votl ohms meter for checking all voltages up to 600 and resitance / continuity
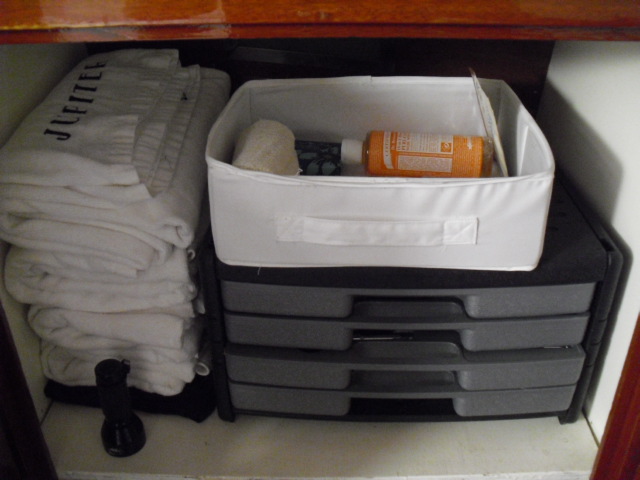
All tools tuck away nicely and cleanly on a shelf in the master stateroom.
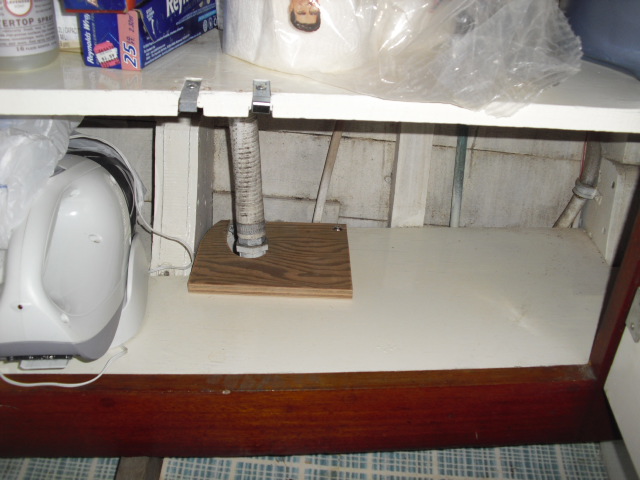
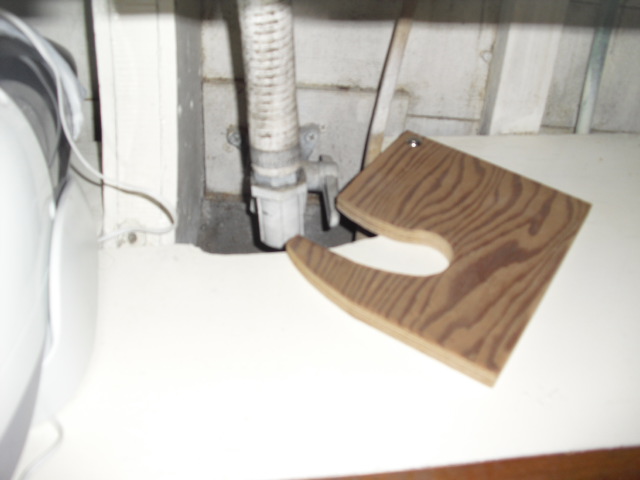
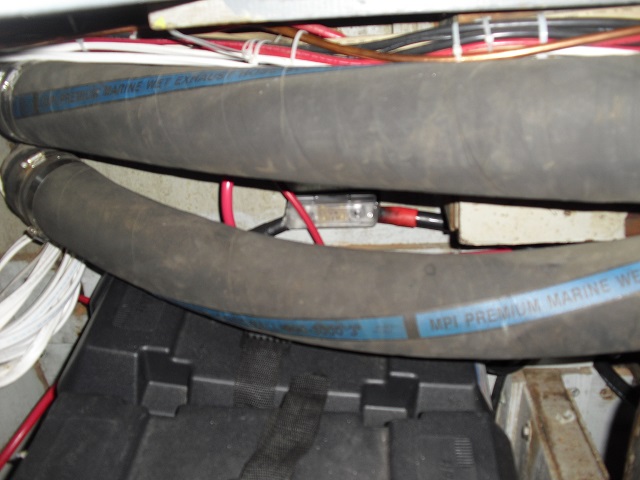
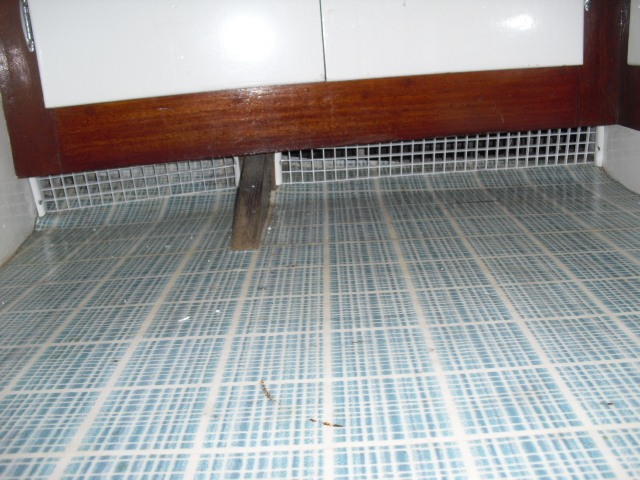
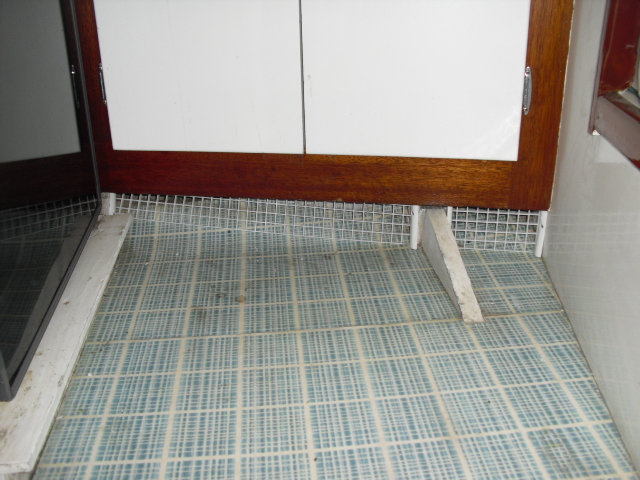
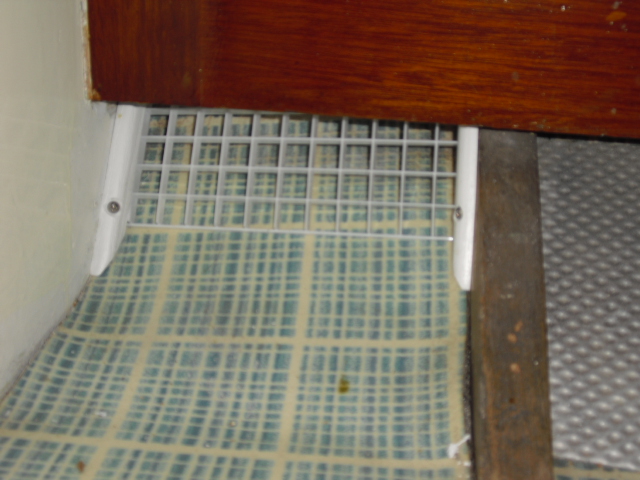
The white spiral wound hoses are the new bilge blower hoses. They go to the lowest part of the bilge... the keel. Here they ensure the atmosphere under decks never gets over 20% of the lower expolsive limit.

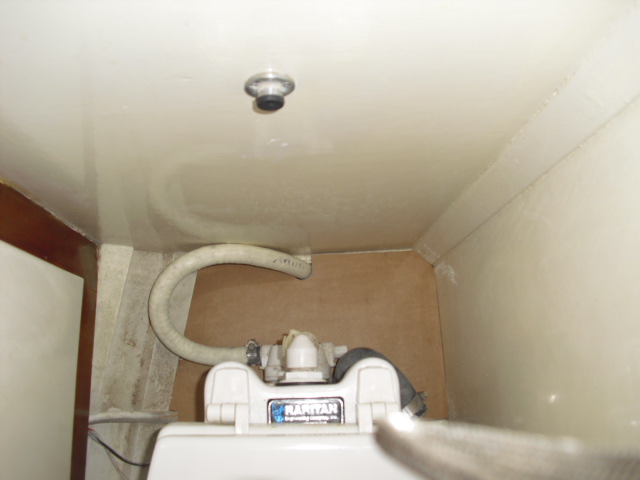
Backlighting of the water tank worked just as planned! Note the water levle of the tank!
Update May 26th 2010
Electrical
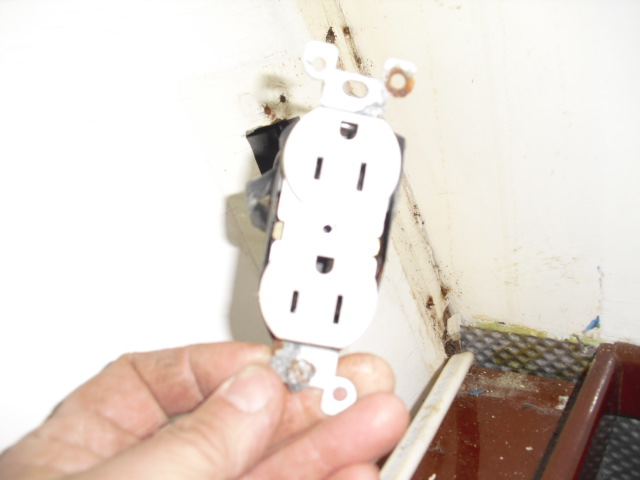
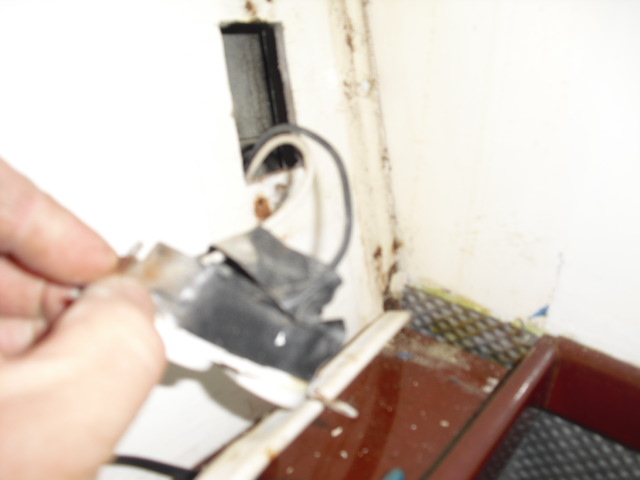
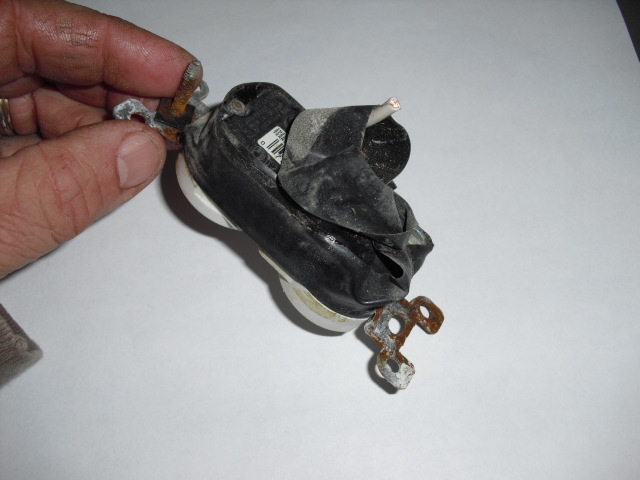
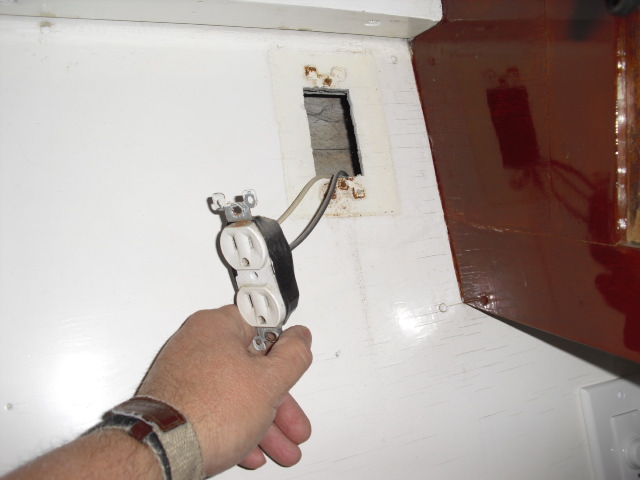
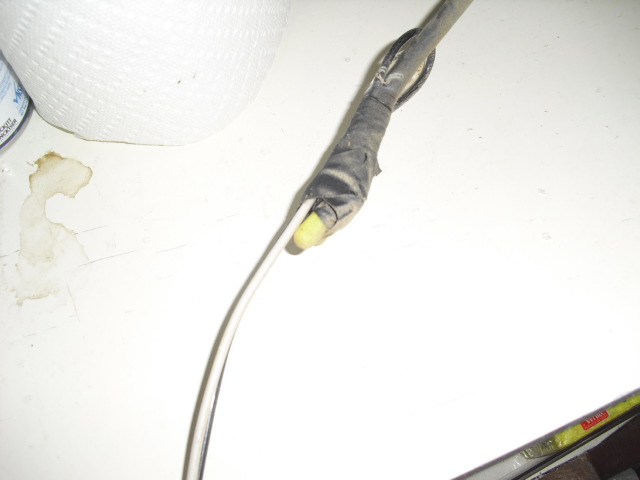
Above are just some of the problems we corrected while rewiring with the proper marine wire. Recepticles without any protection of the terminals with the exception of a little black tape. Wire nuts instead of crimped connectors on splices that shouldn't be behind walls but rather in junction boxes. To top it off 3 prong (grounded) plugs were used without the benefit of a ground conductor.( a third wire - green), There was no path to ground in the case of a failure of an appliance of some sort other than a path to ground through a persons body! scary!
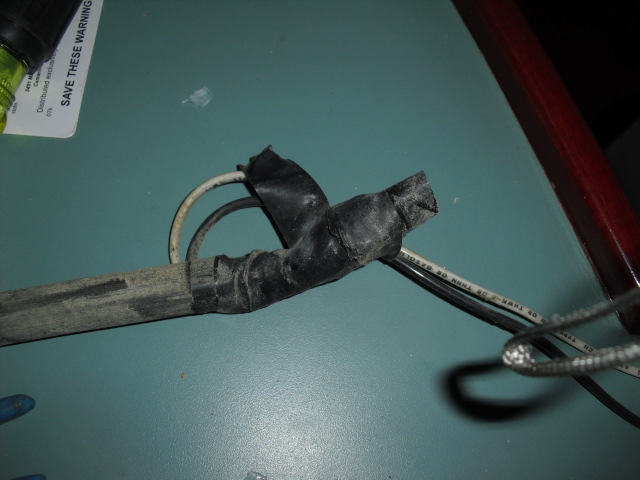
For most of the wiring some type of wizz bang two conductor wire with a thick rubber sheath containing a shield around the two conductors was used. Even when the proper type of wire was used there was still a splice behind a wall and wire nuts were used to make it!
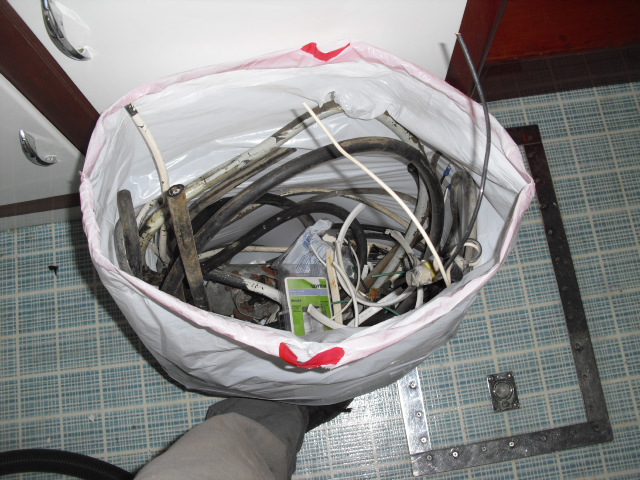
The wiring torn out filled a trash bag and was heavy enough to nearly rip the bag out.
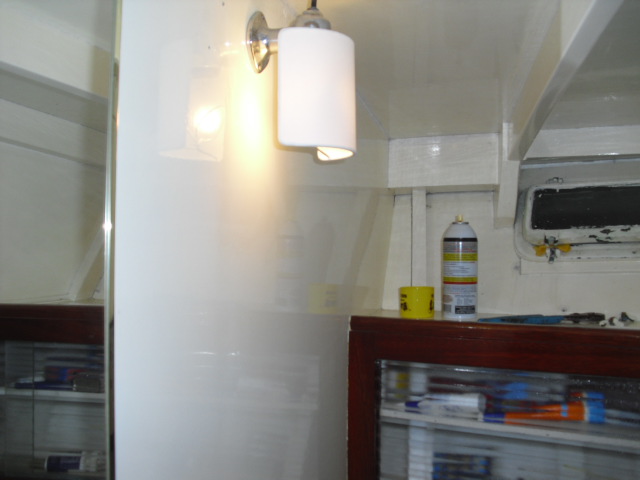
The results are below .... by the way I found a old time bulkhead style clip on lamp shade and purchased it for you!
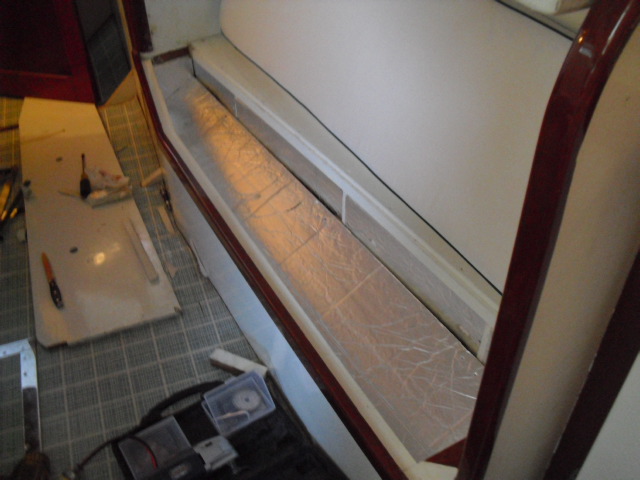
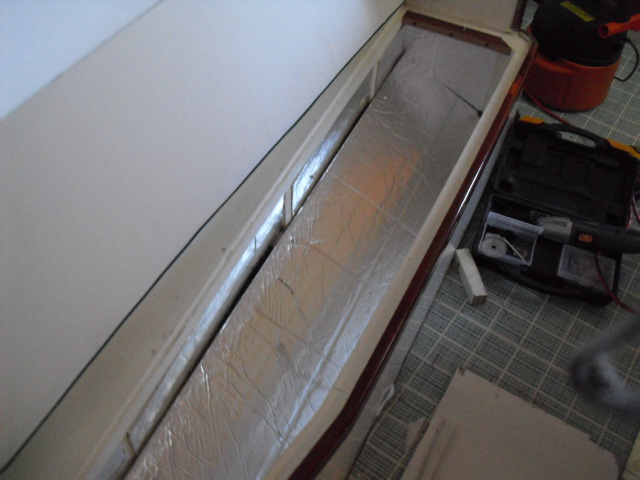
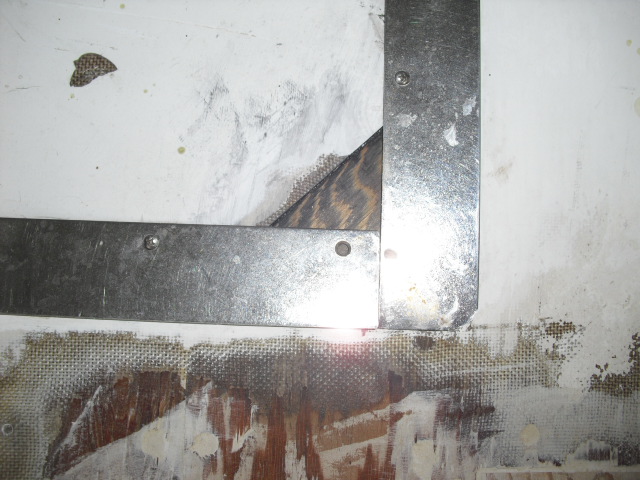
Headliner
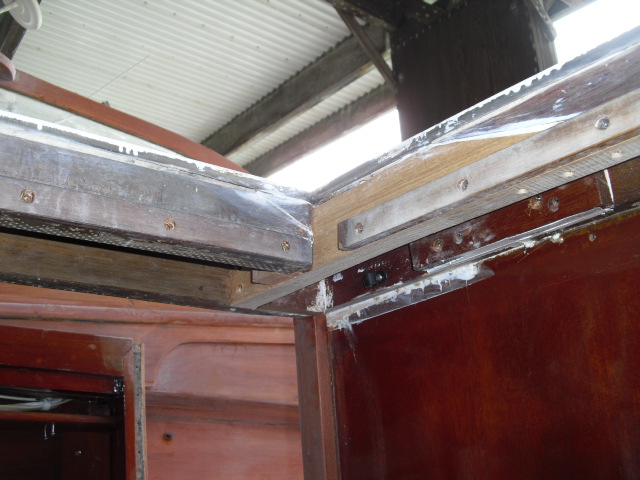
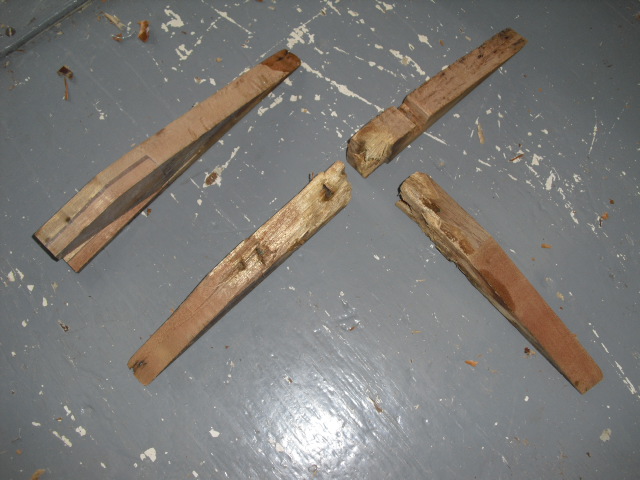
Above, the rotted structure cut out of the roof frames. Below the new structure installed - note the scarf joints (shaped like a slope of a scarf.
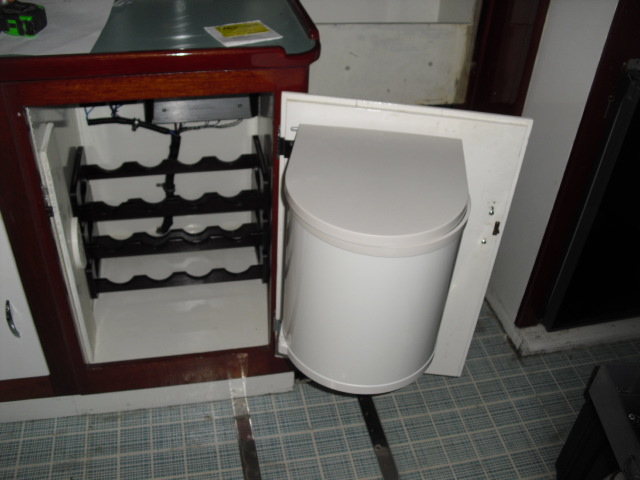
Ice Chest

Varnish - cocpit
Varnish - Aft cocpit
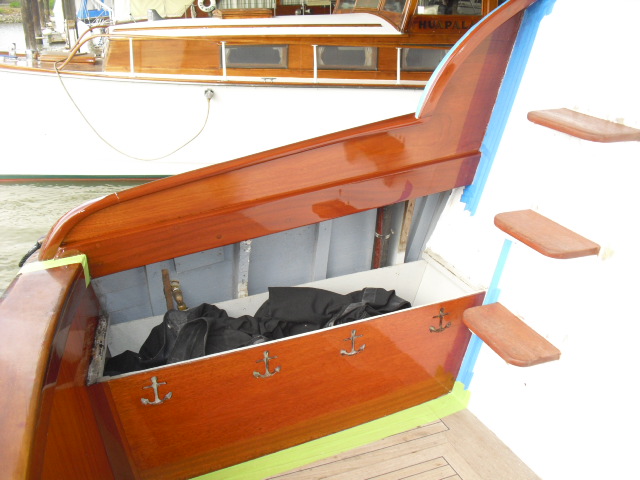
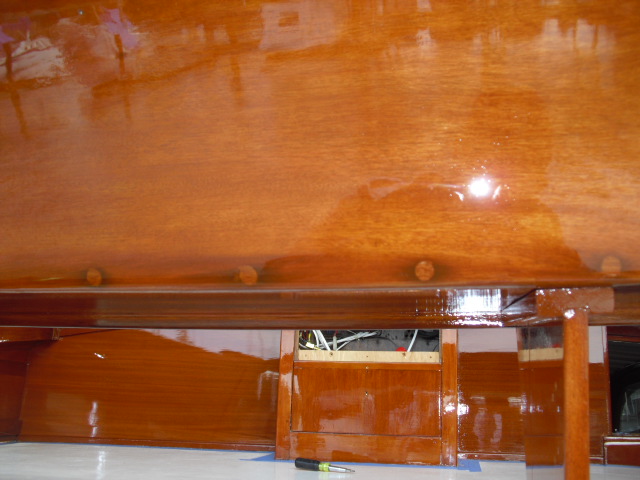
Varnish - Cap Rails
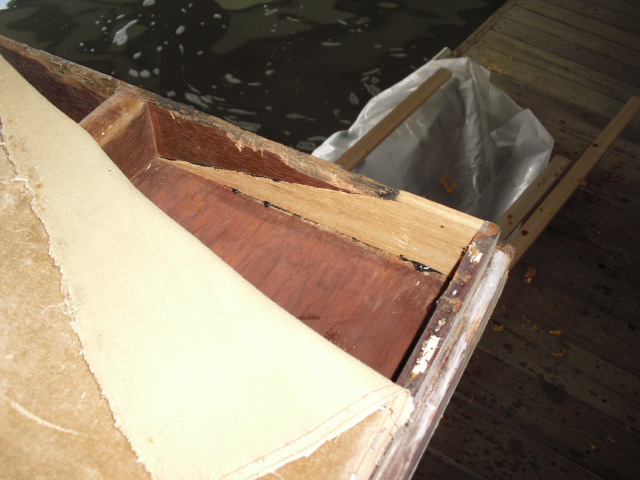
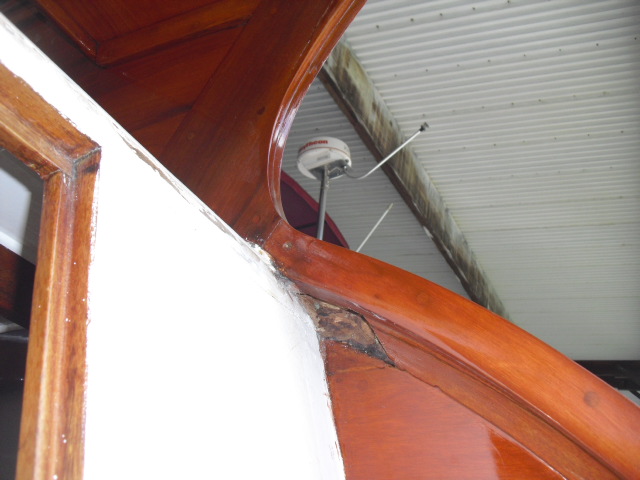
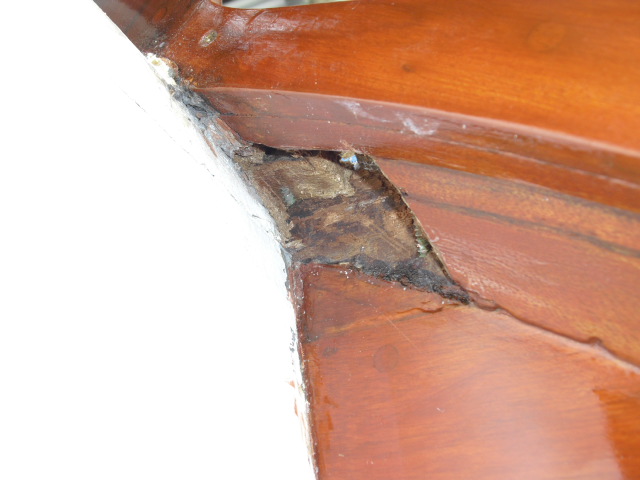
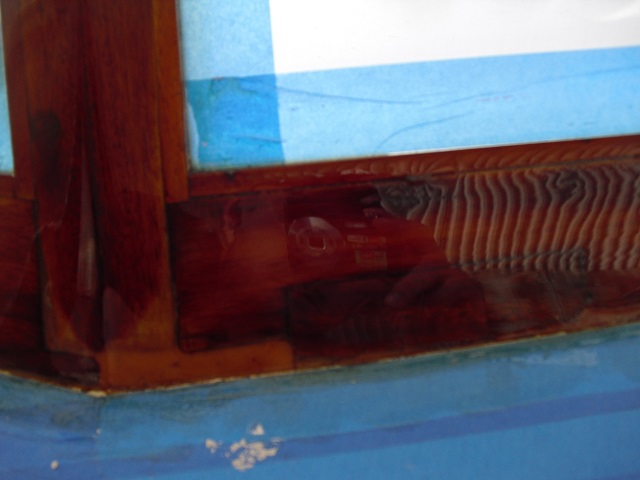
Rot near aft cabin

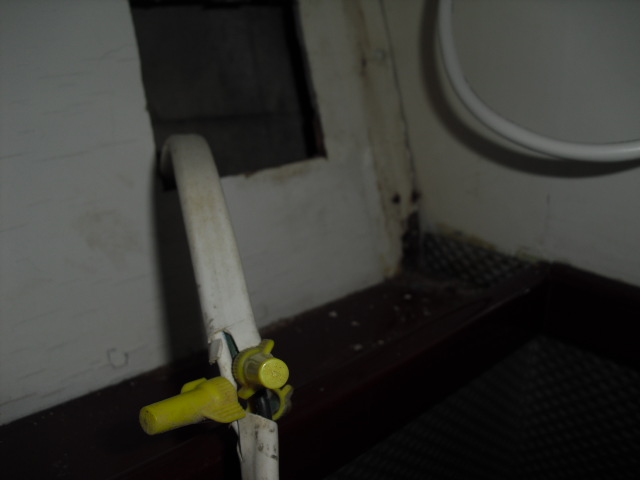
Fuel Vents
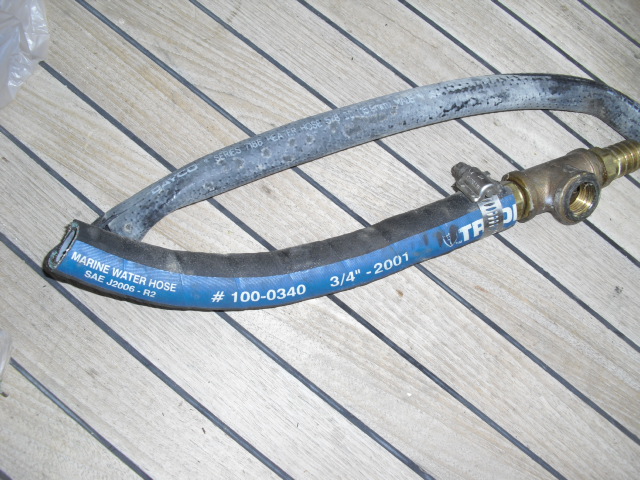

Old vent hoses were not rated for fuel! They were rated for water!
New installation shown to right illustrating how two tanks are combined to use a common air fuel separator and vent. Pictured is the port side vent.
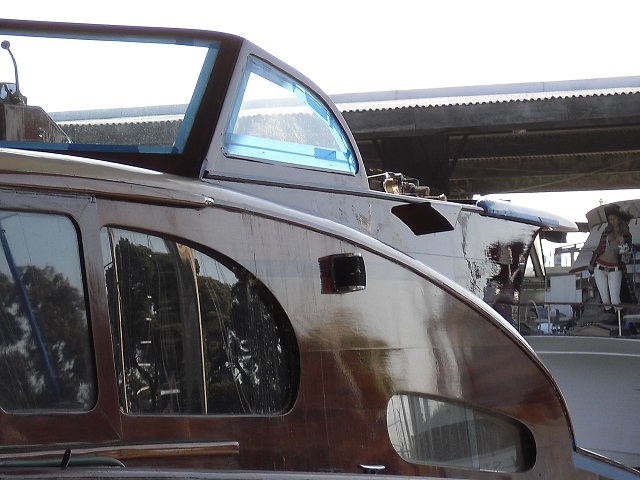
Still a little fairing, sanding staining and varnishing to do on this surprise. The area where the rot was cut out was no longer wet so this is old rot, not active and apparently the source of water intrusion was taken care of some time ago.
A little new news here... the hatch had some rot near where the roof frames around the hatch where we had done some rot repair earlier before putting up the headliner. The rot haunted me and I pulled the hatch out to check it again before sending the truck and trailer home. So, at one corner the plywood was replaced and the other corner some frame was replaced.
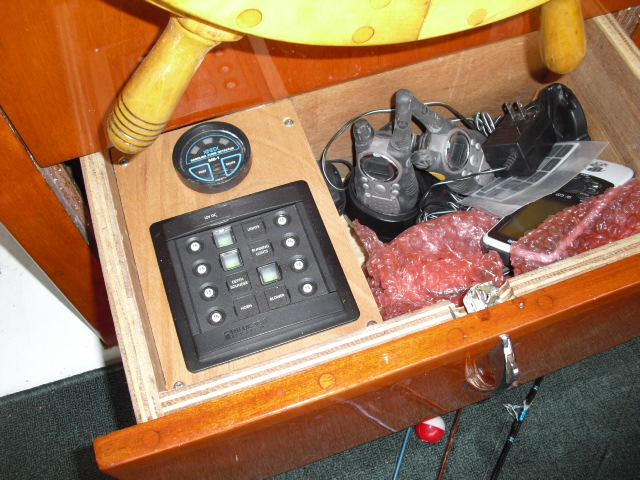
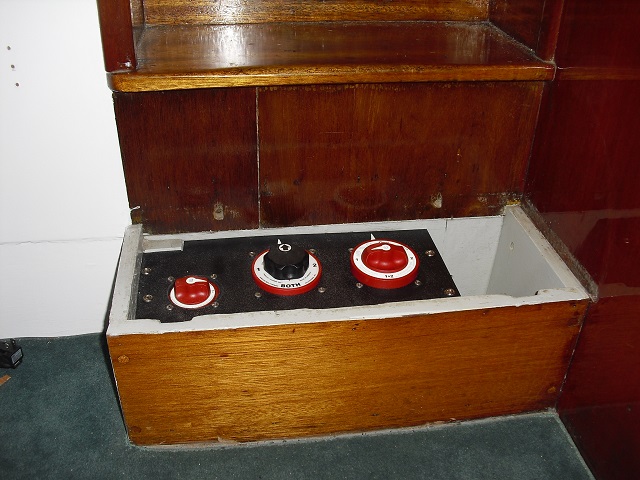
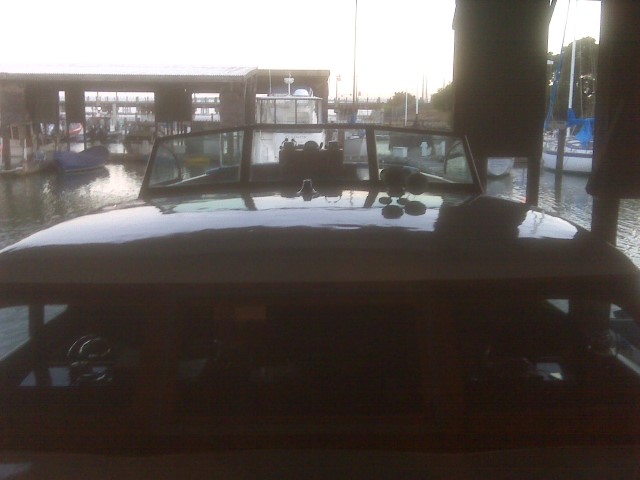
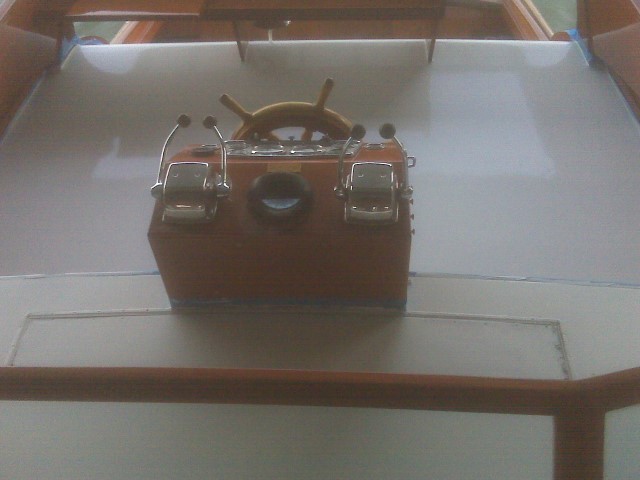
Helm electronics and safety

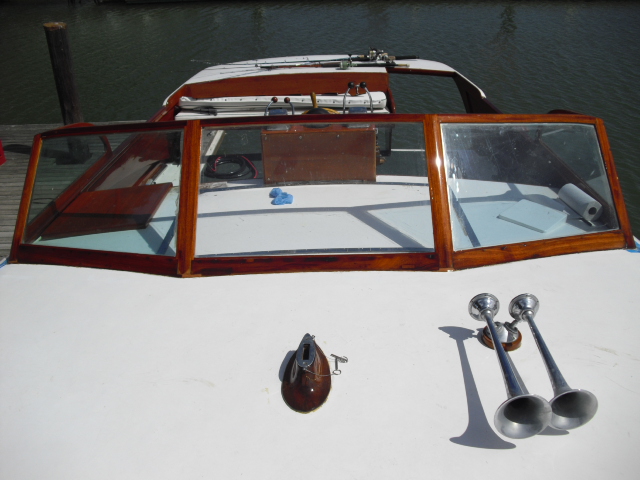
Here is the helm station.
New breaker panel install with fume detector in drawer
Automatic running of blowers when fumes are detected
New switches on side (added before varnish work
Metals polished
New depth sounder mounted in dash where fume detector had been

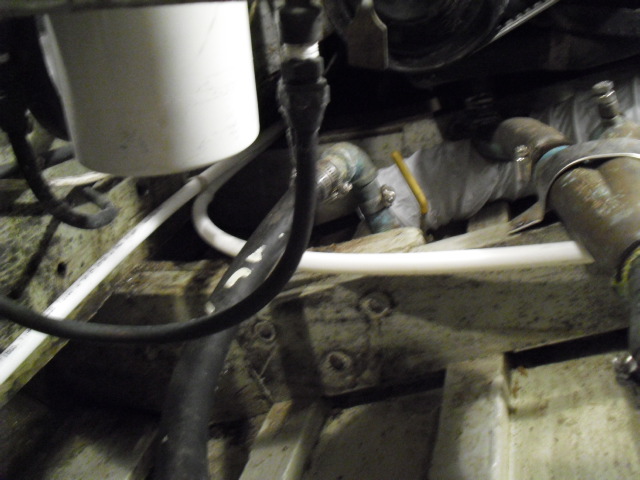
Water heater heat exchanger hook up to engine
It seems nothing is as easy as it ought to be!
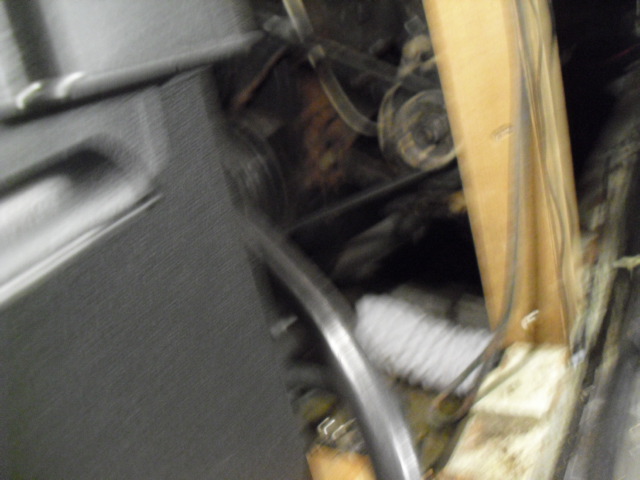
This is a plug in the water pump where I need to install the return hose for the circulation of water throgh the water heater. The two sides of the wrench socket on the cast iron plug have broken off. I will probably end up drilling out the fitting. Hopefully I will not have to remove the water pump to complete this task.... but it is a possibility.

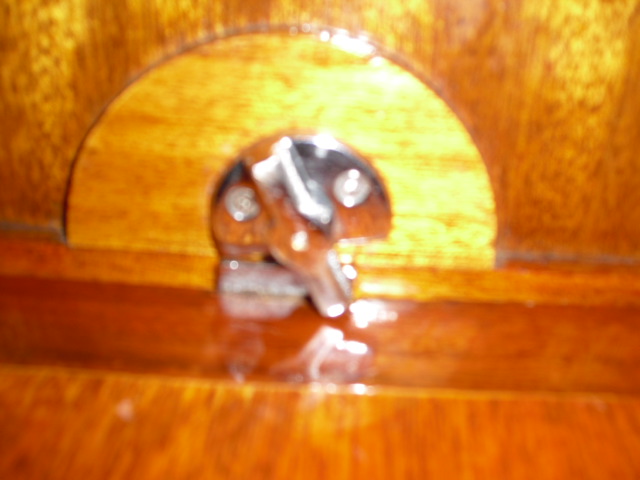
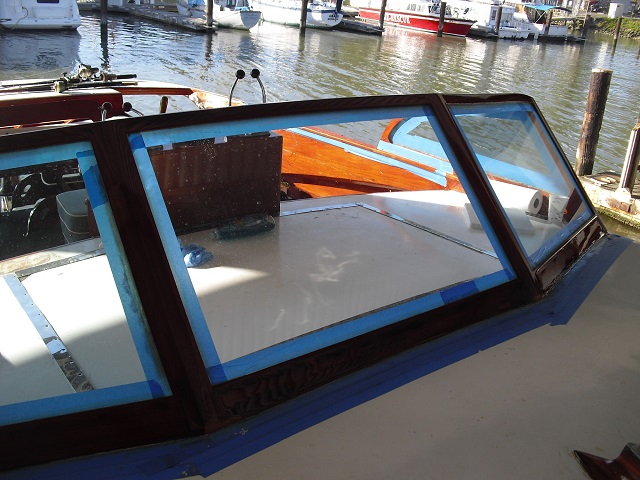
Salon Hatch
We found that the door did not fit well and was causing the hatch to be a problem - getting it to sit down and seal completely. We pugged the hinge screw holes on the door, then re drilled them and re fastened the door. Then the hatch sits down properly. We also found there is a front and a back to the panel. The back end is "coded" by drilling a hole in the latch handle. The front hatch does not have this hole! The latches are also spring loaded so..
The operation to get the top to sit down properly is still a little time consuming as it is difficult to get hold of anything to completely shut the door. All you have to grab is the little eye end of a hook and eye. You may want to consider a handle on the inside of the door and another on the inside of the hatch to make this a little easier. You may want to try it first though.
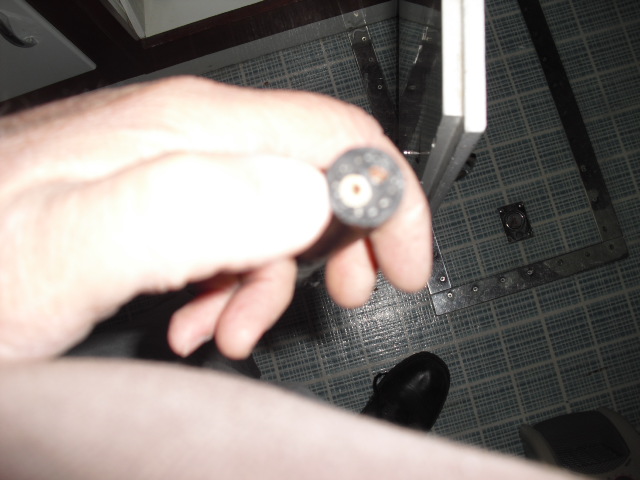
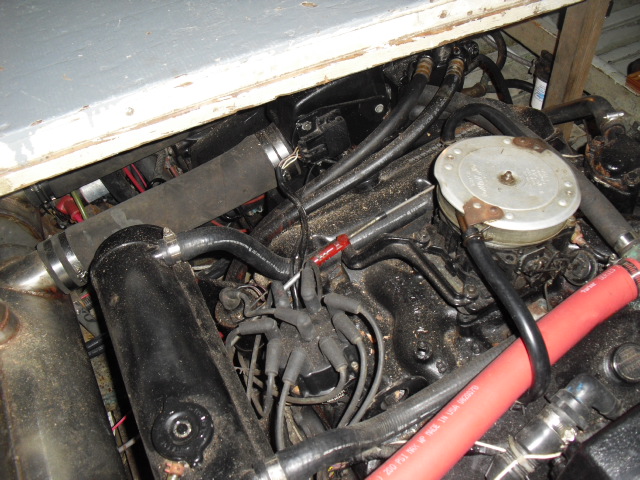
Ignition System
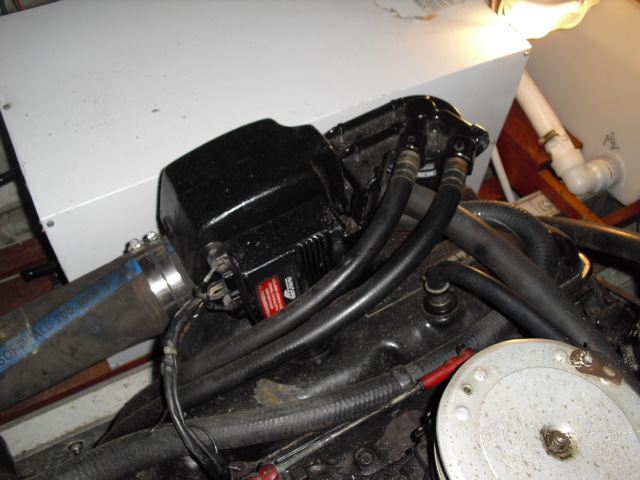
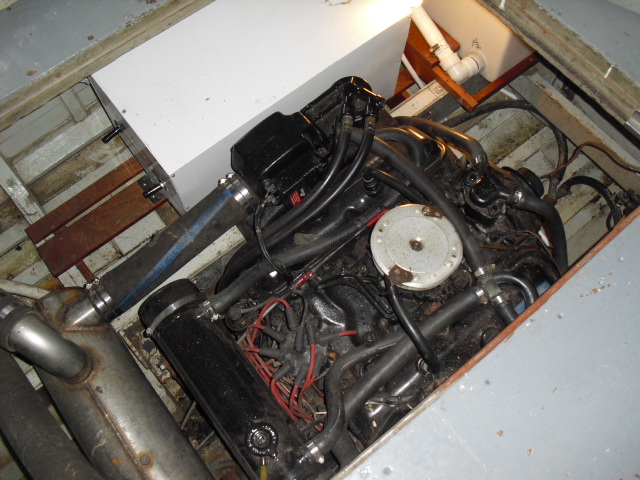
These electronic ignition "boxes" have connections in them that were corroded on the starboard engine. We cleaned them with a vinegar solution to remove the corrosion. The connection gave no more problems on the starboard engine, however, the port engine which had not given the owner any problems at that point in time did in fact begin to act up later in the week of his trip. The overall engine is pictured in the upper right photo so the location can be seen. A closer up version of the original Mercruiser box is shown in the photo to the left and what is apparenlty an aftermarket version of the same thing is shown in the lower right hand photo. We need to purchase one of these units that could be kept on the boat as a spare or installed depending on the owners wishes.
Note to Greg....
The engines are 454 mercruisers. If you need more information such as serial number of the engines just call and I'll read them off to you
Update 6/22/2010
These electronic ignition "boxes" have connections in them that were corroded on the starboard engine. We cleaned them at the end of April with a vinegar solution to remove the corrosion. We have cleaned the connections again on both the controller box end and the end that attaches to the ignition coil and done so on each engine in June.
We will also add these to a list of items that need to be checked as a pre trip inspection. An additional internet based form will be produced for pretrip tasks.
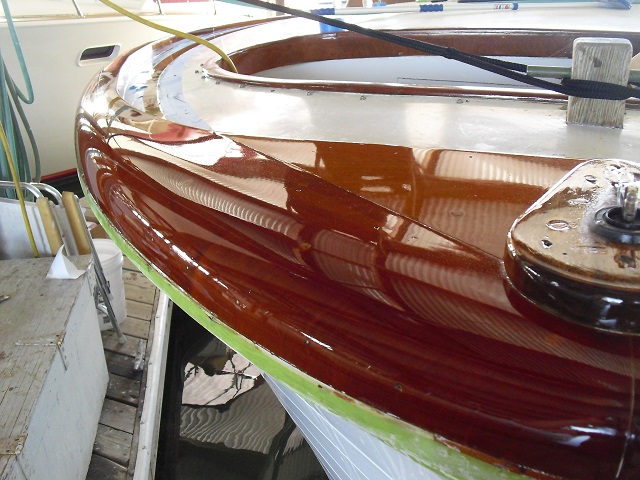
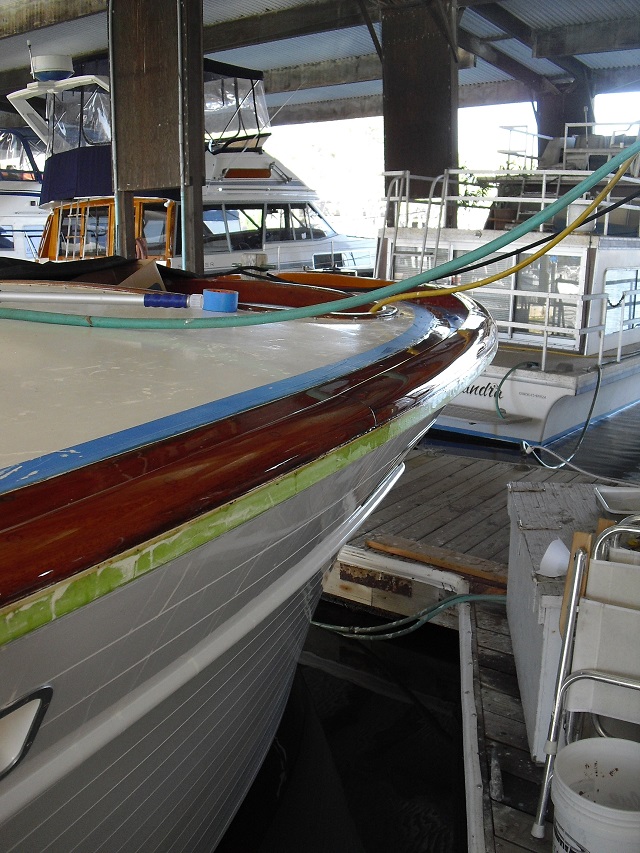
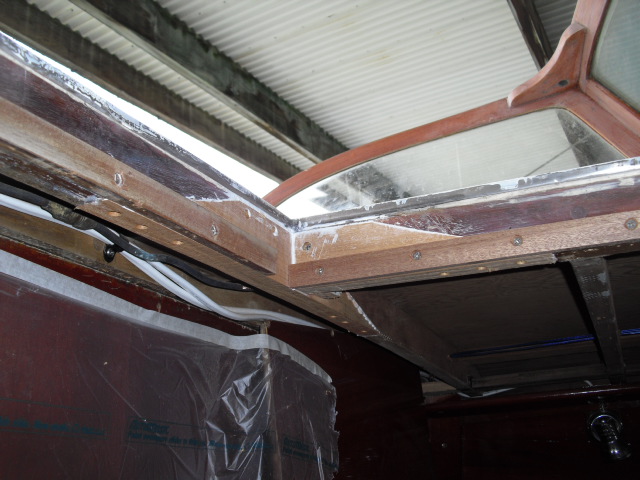
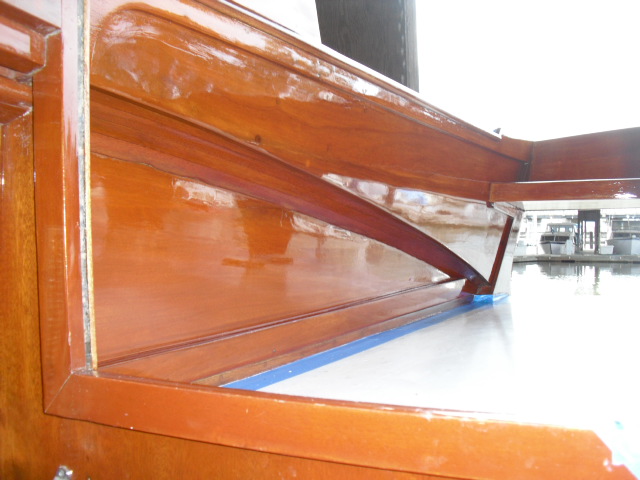
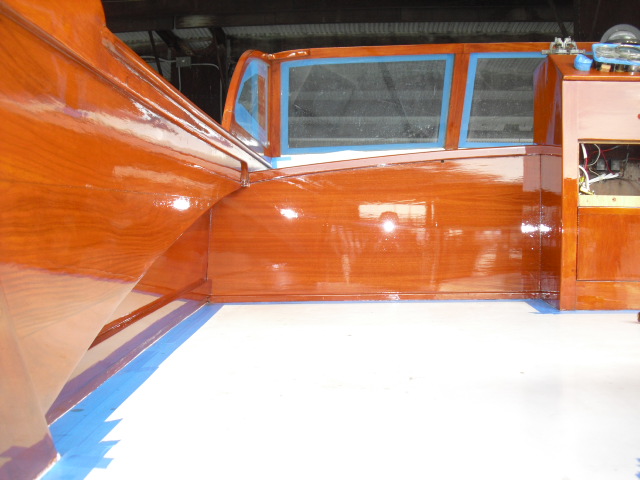
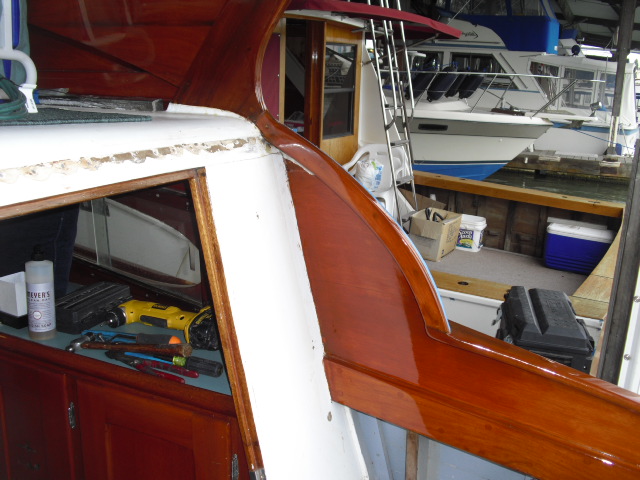
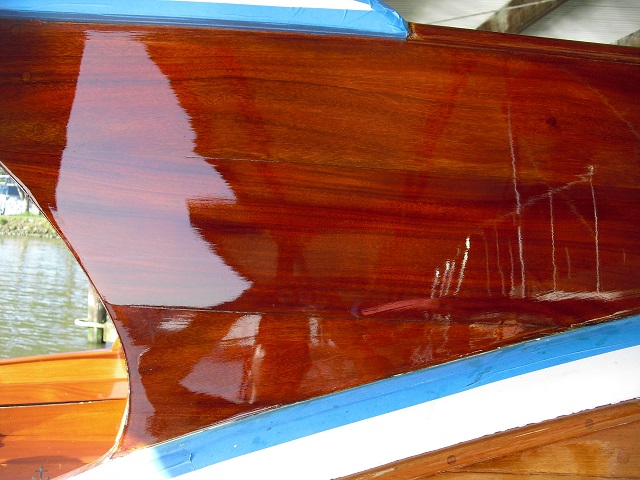
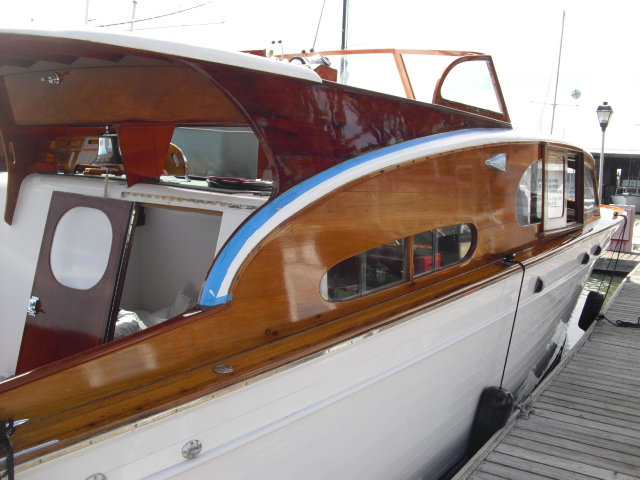
The cap rail varnish is officially complete on the starboard side!!!!
The little white lines are the reflection of the underside of the covered berths roof! The wood is of the windhshield frame.

In addition to completing the varnsih we have also completed:
Insulation and painting under engine hatches
Spiral wrap of all new electrical cable from new panel to junction box at old panel location
Covers on back of new 120 volt panels
Cleaning of wiring harness for electronic ignition both ends, both engines. (and addition of this maintenance task to a pre- trip check list for Vallejo boat works)
We have also begun:
Stripping staining and varnishing small panel by door in master state room
staining and varnishing of the flip up table in master state room
staining and varnishing of wireway cover in master state room locker
Staining and varnishing of new top step from aft cockpit to helm station - original gave way when Taylor was varnishing.
Update 6/23/2010
New switch tying house batteries to inverter batteries
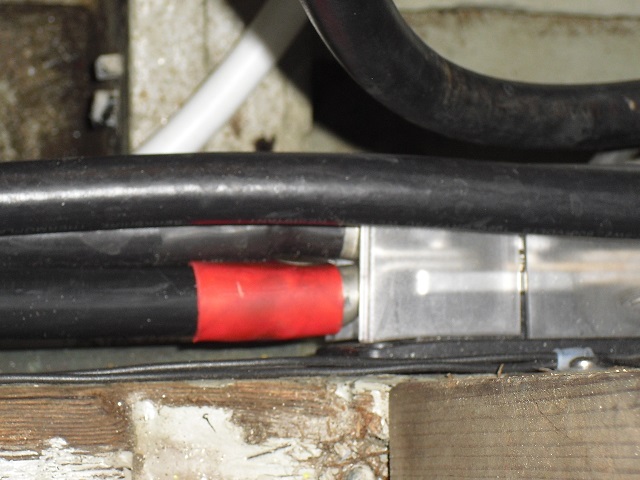
New second cable landed on 400 amp fuse for inverter batteries - tying house batteries to inverter batteries
New 300 amp fuse for house batteries to new battery selector switch tying house batteries to inverter batteries.
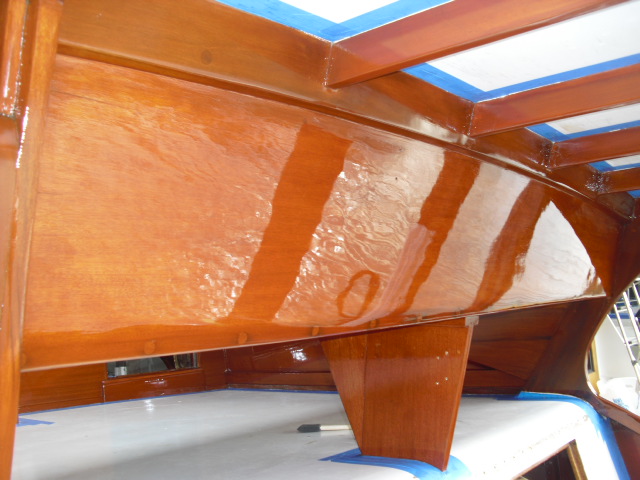
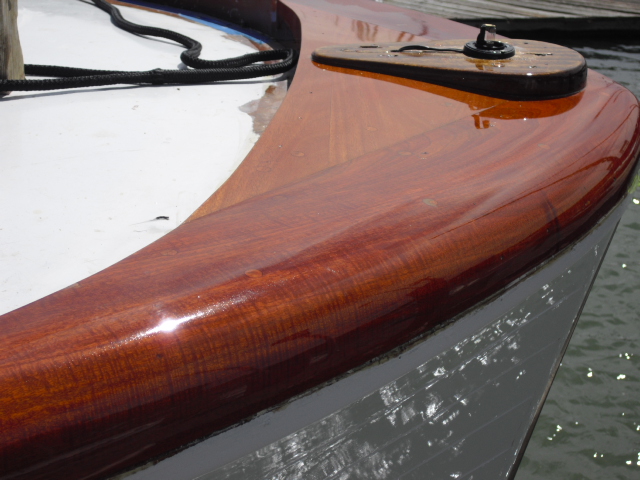
Varnish on starboard fin!!
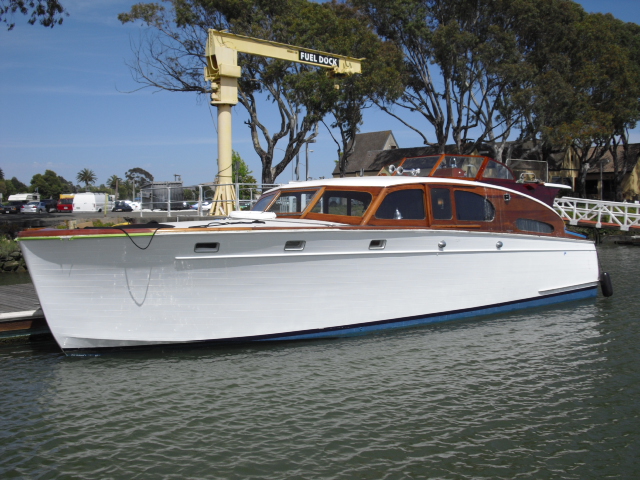
Jupiter at pump out station
Varnish on windshield frame
Update 6/28/2010

These photos were taken at abotu 5:30 am this morning and the lighting is not perfect but they show the glossyness of the freshly painted decks after the fiberglass was touched up!
| ||||||
270-866-2628
Paul@woodiesrestorations.com