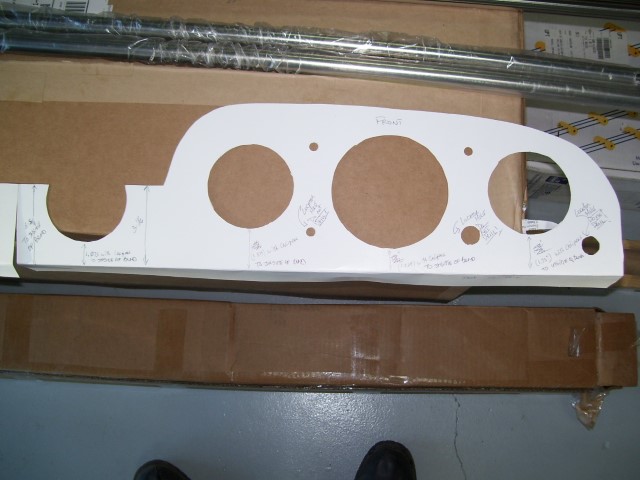
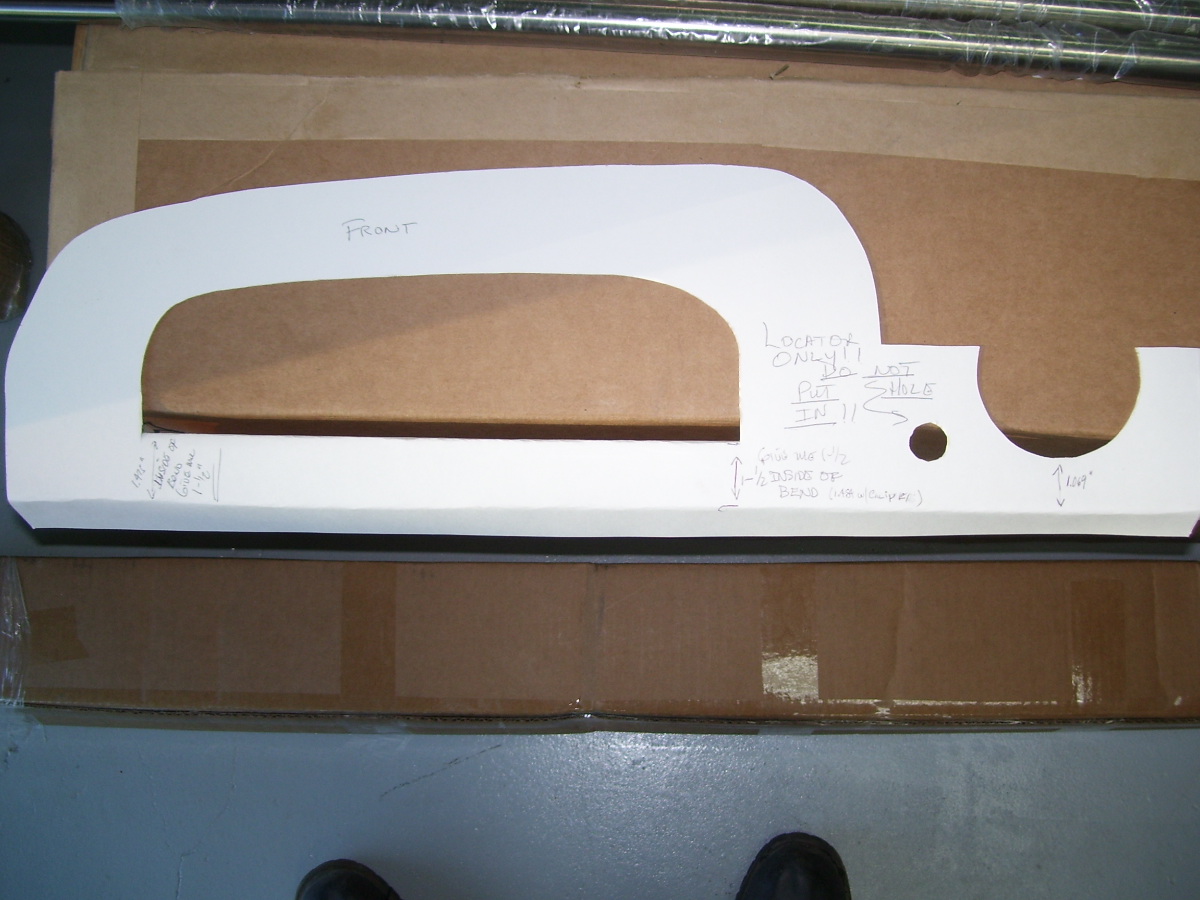
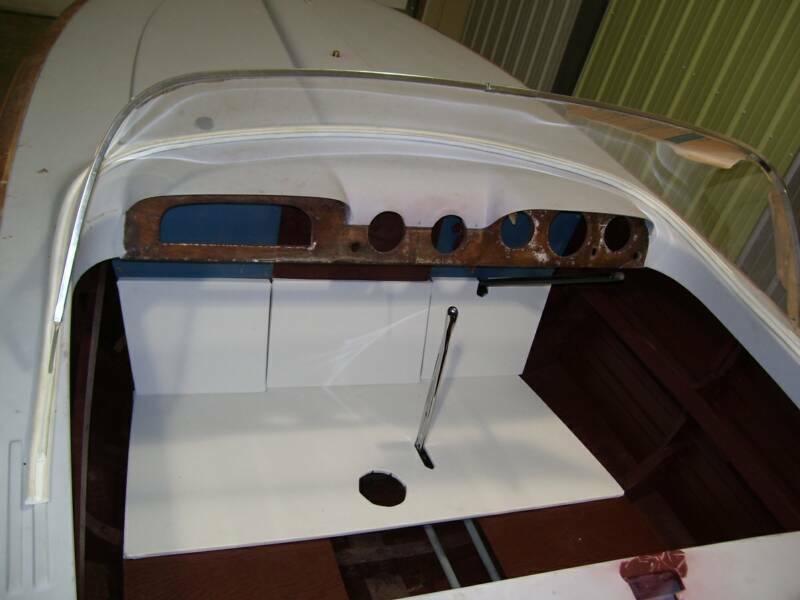
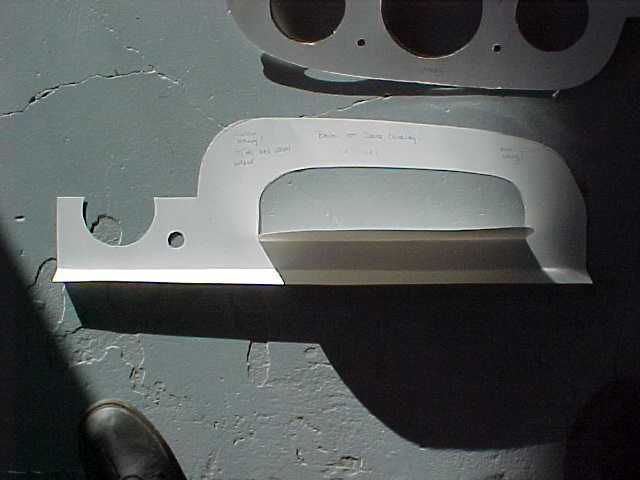
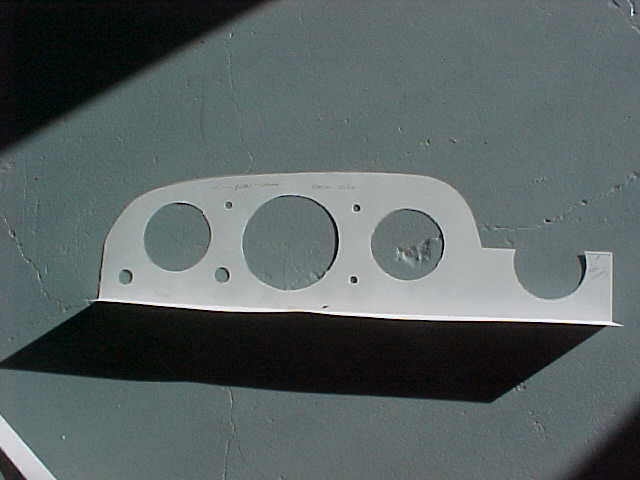
With the discovery of the latest problems with fabrication I decided to make a template of the original dash panels. I then checked the templates against the dash wood panel to make sure the ORIGINAL dash fit tight. The templates fit very very well - durn near perfect. I then measured from the bottom of the gauge holes and glove box hole to the bottom of the wood dash panel and noted those measurements on the front of the template . The use of a template should help you get the right shape. You may wish to make the template from other than the 40 cent poster board that I did but we will be sending both the templates and both of the original dash peices.
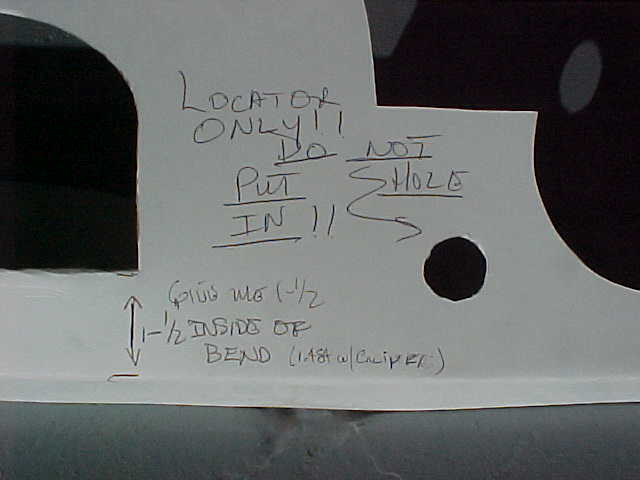
Note measurements above arrows
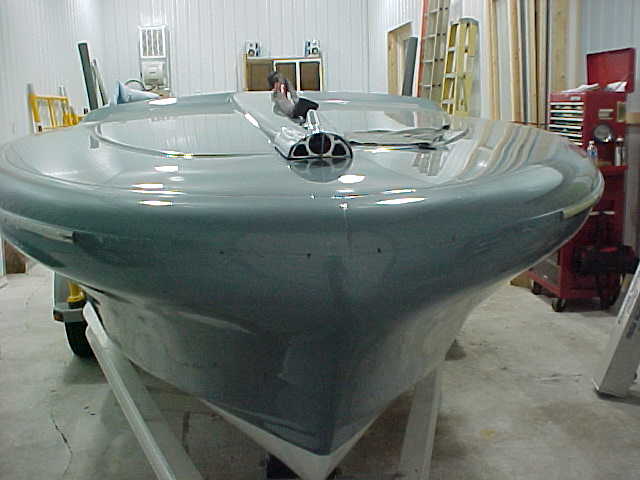
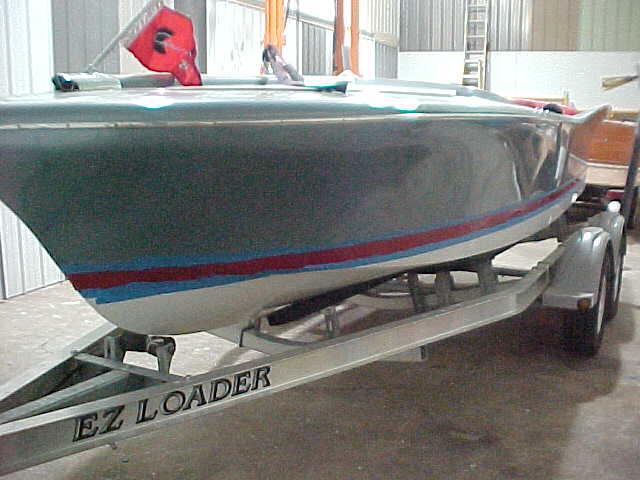
1958 Chris Craft Silver Arrow
New Toll Free Phone Number 866-921-2628
270-866-2628 Paul@woodiesrestorations.com

March 15 2010 Update!

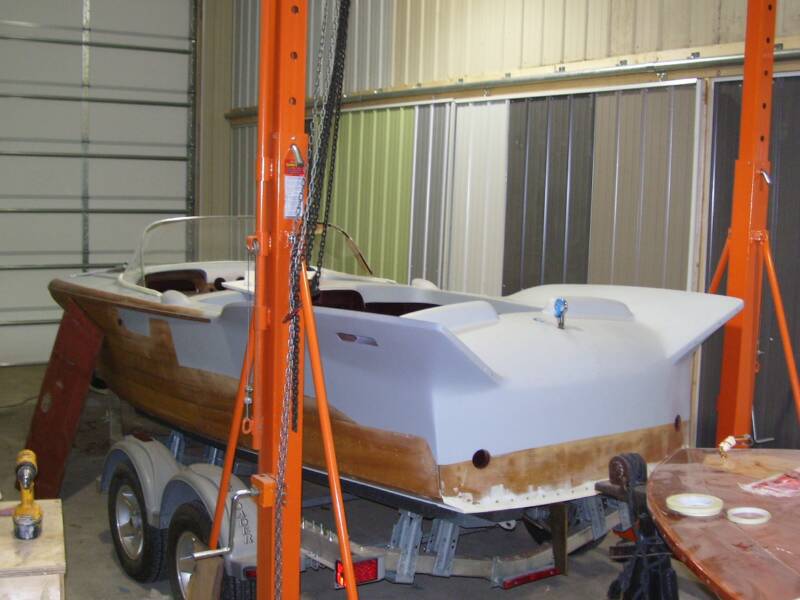
Silver arrow back to shop from body shop
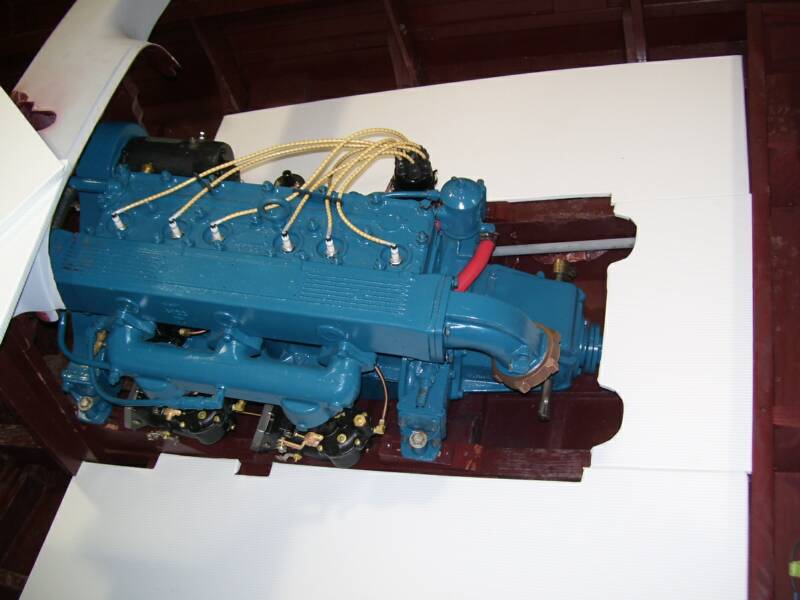
engine installed and all associated running gear.
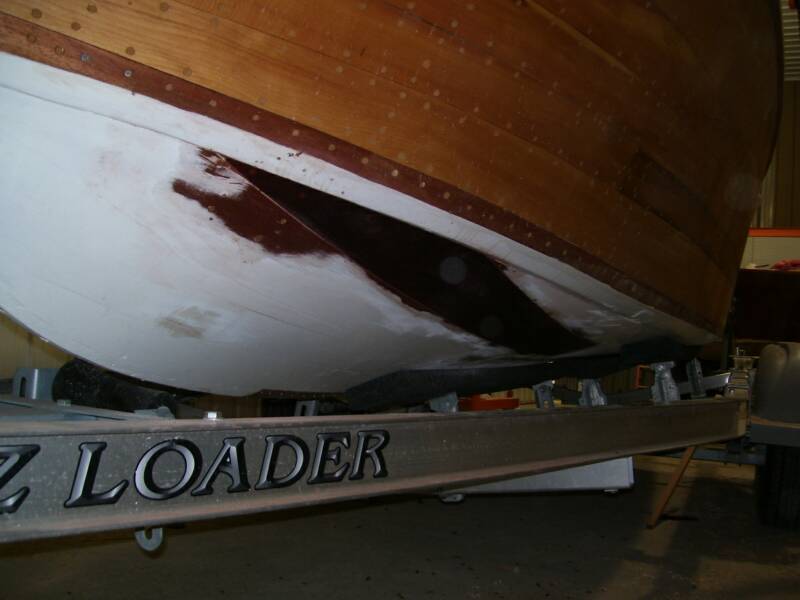
Fwd port bottom plank repair
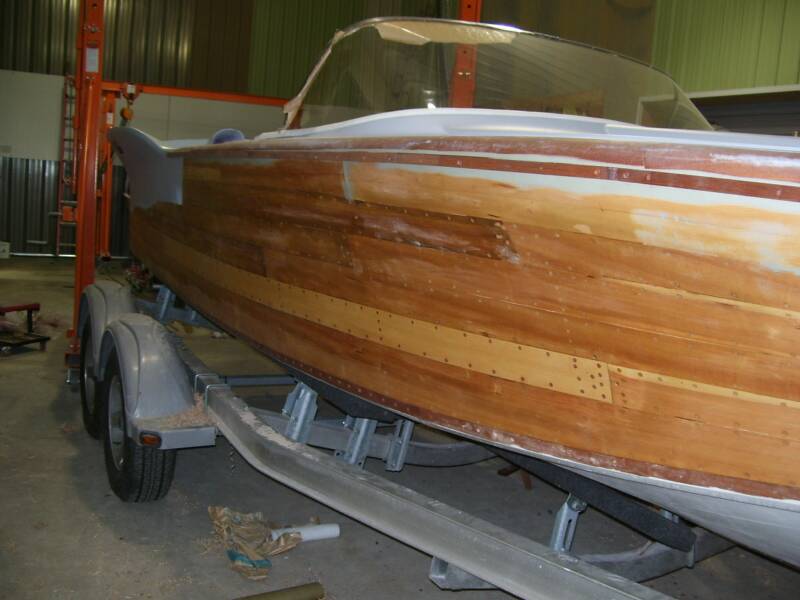
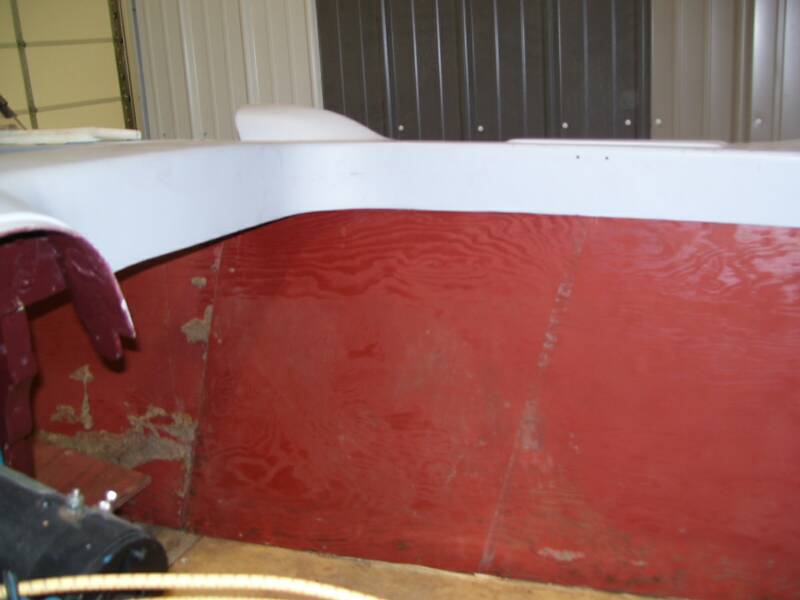
Side planks have been faired and sanded to accept the fiberglass
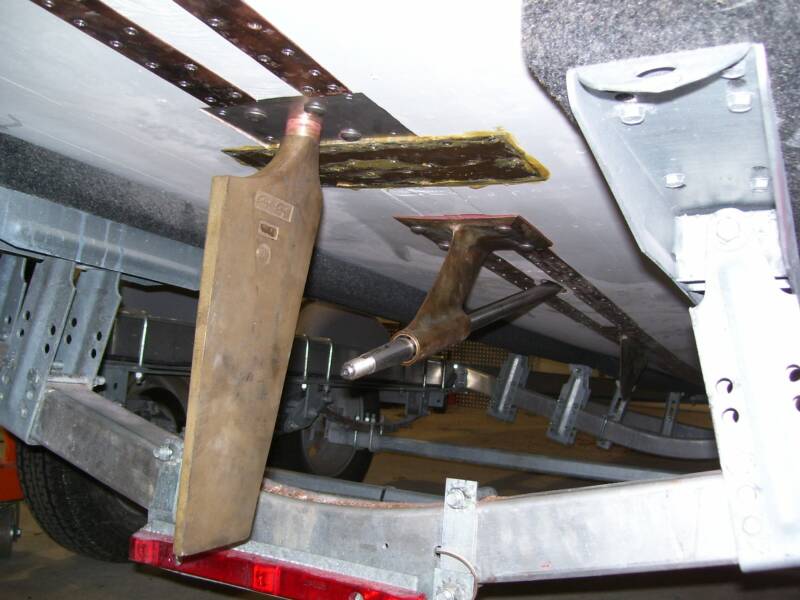
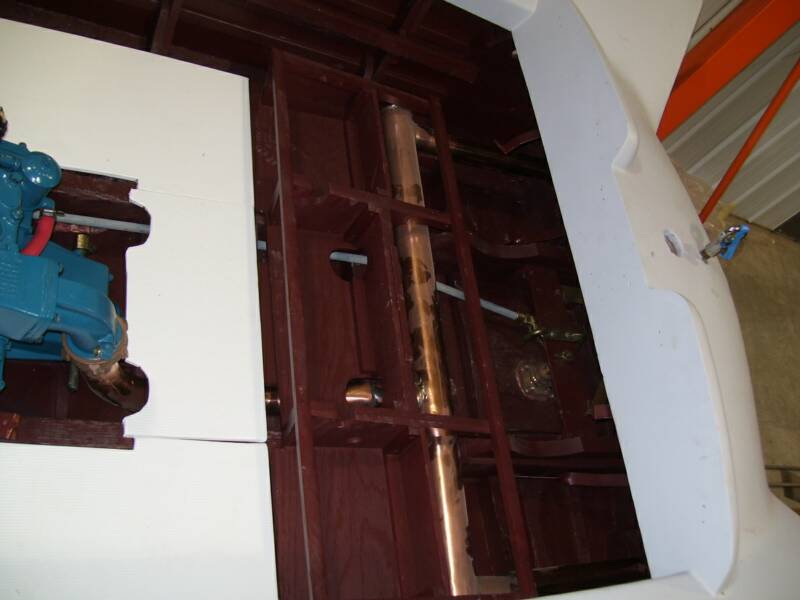
View of rudder, prop shaft, shaft log and all metal trim on bottom
Shift lever and linkage installed
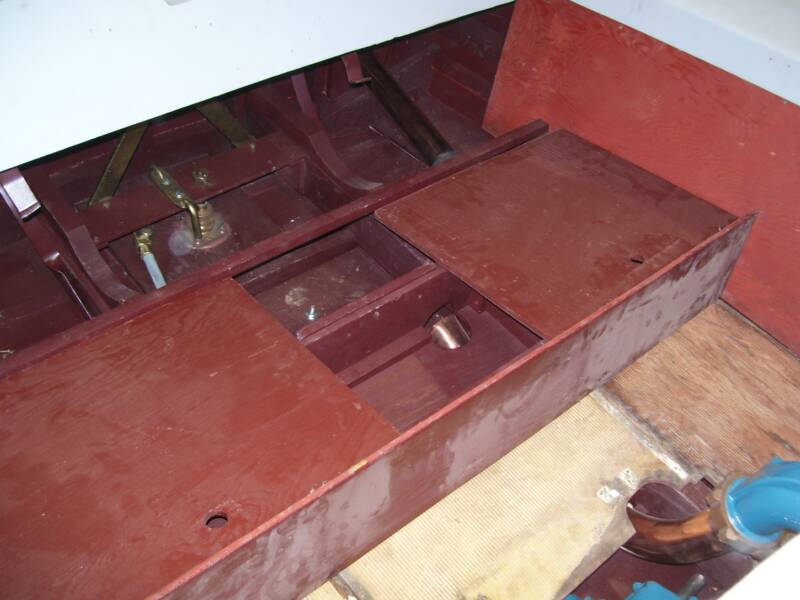
New rear seat platform and panels set in place
Old side panels are installed to verify fit and proper location before new panels are finished with vinyl and foam to insure proper size and fit
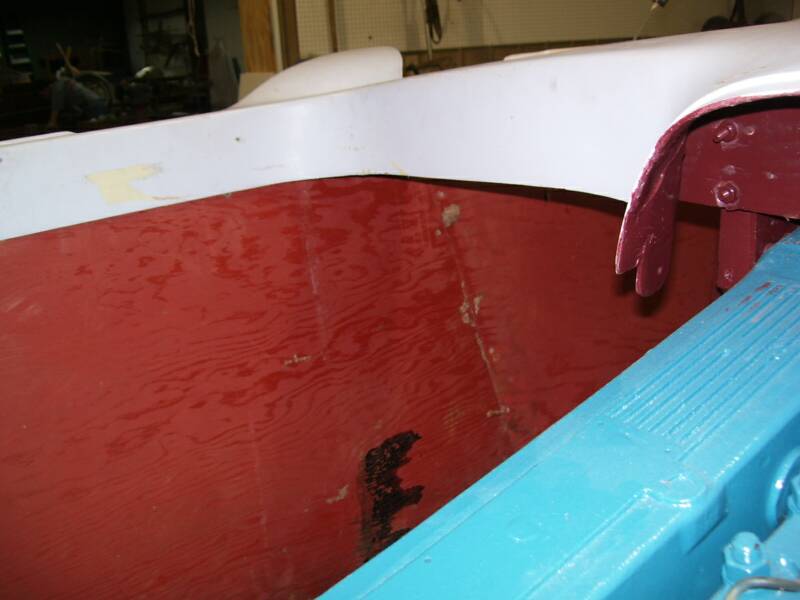
Port aft side panel refit and check
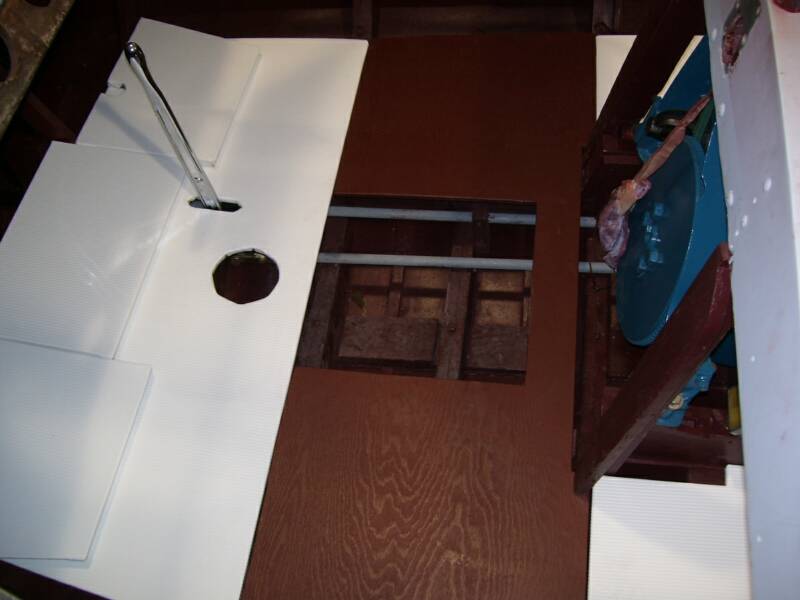
Fwd floorboard panels set in place to insure proper fit and adjustments
New fwd floor panel in place for fitting and verification prior to final install
Engine back in place with new floor panels trial fitting
Engine exhaust elbow fitting and aft floor panel
View of exhaust crossover set in place for fitting, after cleaning and buffing
To ensure proper fit and location, all old panels are located and reinstalled. This is so everyone working on boat knows proper location and fit to expedite installation of new panels after vinyl rapping. We only want to do this once and new panels need a little more room, due to vinyl and foam.
August 17, 2010 Update!

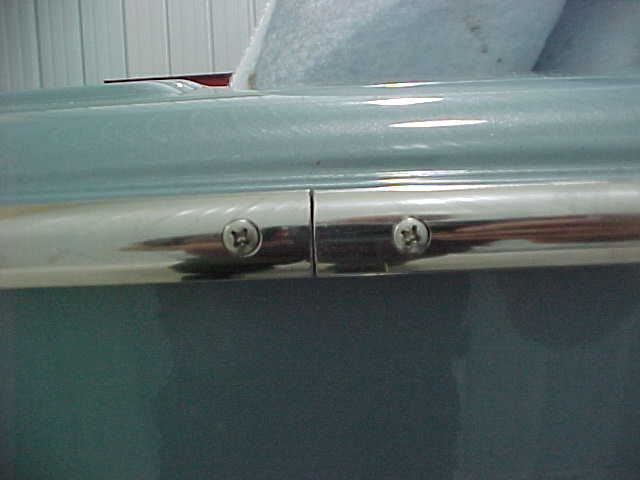

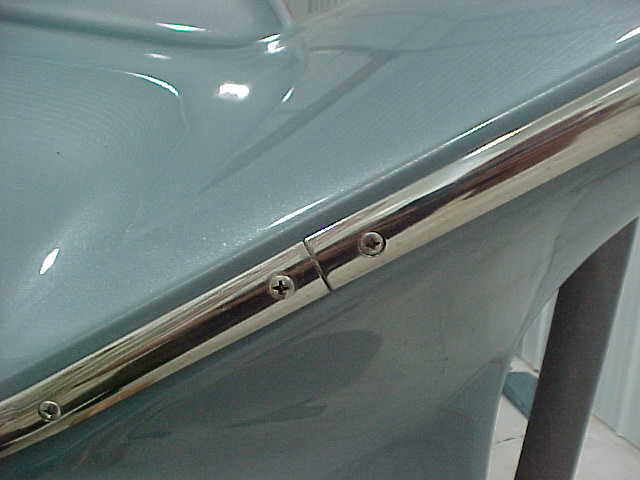
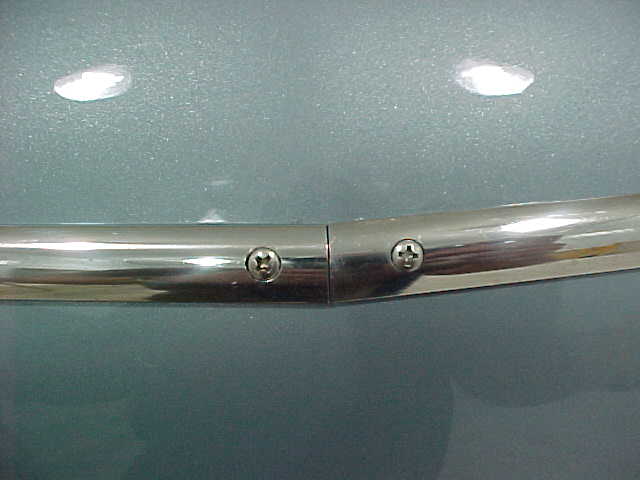
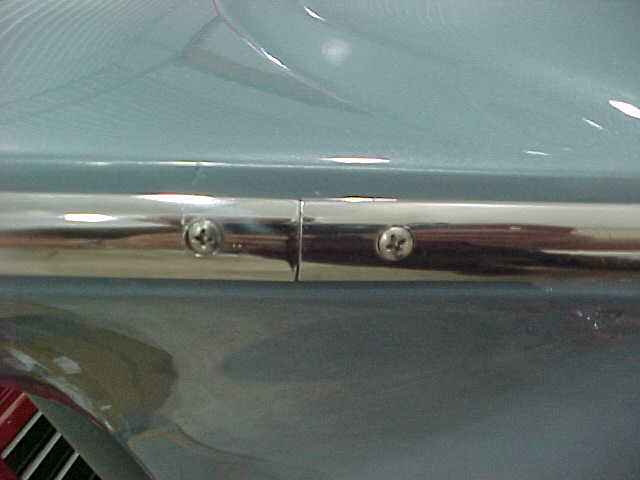
Here are two images... one of Murphy's law and the other of Quiver I believe. Note the difference in the way the hinge was done on these two boats. Actually it is not so much the way the hinge was done but rather the way the wood the hinge attaches to underneath the fiberglass. Note on the picture to the left there were through bolts to hold pieces of wood on to the fiberglass. (the wood can't be seen in these photos - but they are pieces of wood that the hinge fastens to. ) Your boat was originally through bolted so I just wanted you to know that is what I am planning to do again. Before we saw these images Taylor had asked Kinney to "shave" the surfaces and eliminate the holes. ... The holes are eliminated from one piece and not the other. We could I suppose deliver this piece to Kinney and have it shaved.. or re-drill the pieces. Note also... the original holes are not EVEN even or lined up in a straight line. If you want the fasteners to show I will do my best to line up. We will need some touch up paint for the holes where the fastener doesn't completely cover the holes.
I think the shaved looks much nicer... but the through bolts original.
When I removed the bow stop I found where the bow stop rubbed the paint off the wood under where the stainless gets applied. I believe the stainless will cover it.... and prevent any more loss of paint.
September 21, 2010 Update!

Anchor Light and flag pole mount after being nicked with a brake hone stone and re-chromed at our expense and mounted
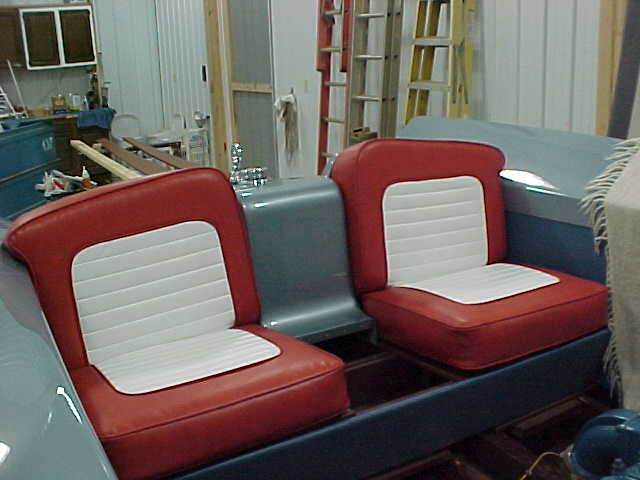
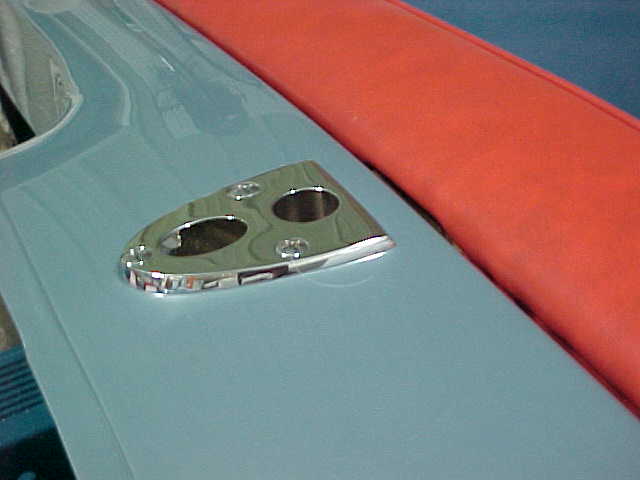
Rear seats and console installed
Anchor Light and flag pole mount through bolt plate interfered with the proper fit of the front seat back. Front seat back was relieved for the plate and also for the stainless tab (see arrow) that holds anchor light assembly in place.
Excellent fit of seat to cross member!
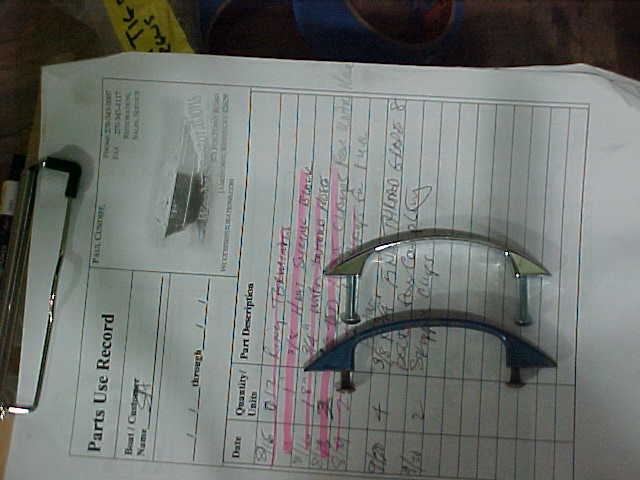
Upholstery
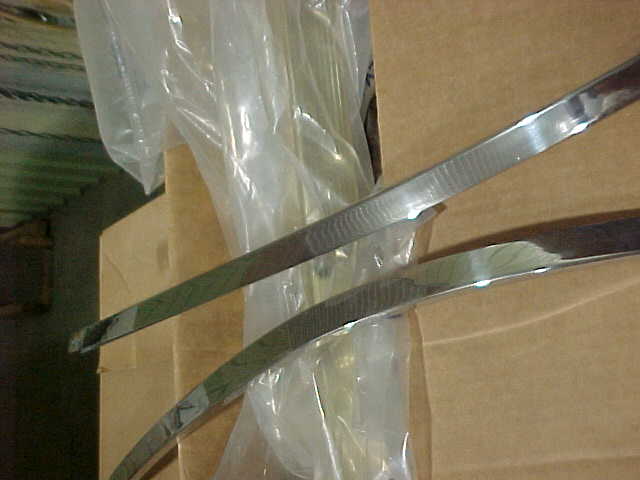
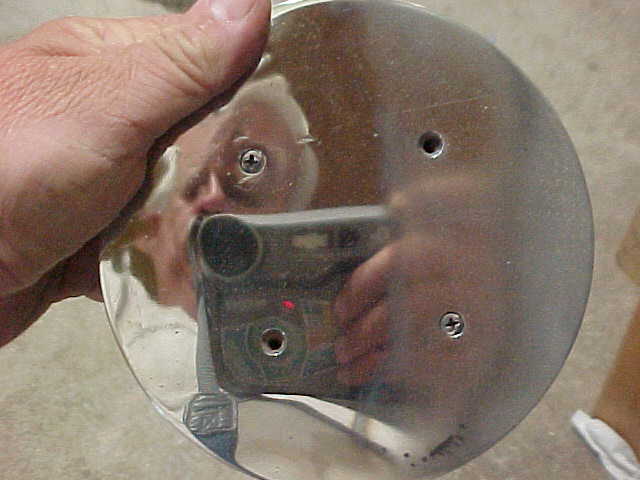
Metals
Part had apparently been dropped before chroming... maybe it had always been this way?!?! Underside of corner was filed away for proper fit.
Bilge access hatch partially polished
Engine hatch handle - we have found a close one made by Amerock but we are continuing to look for an exact match of size and shape.
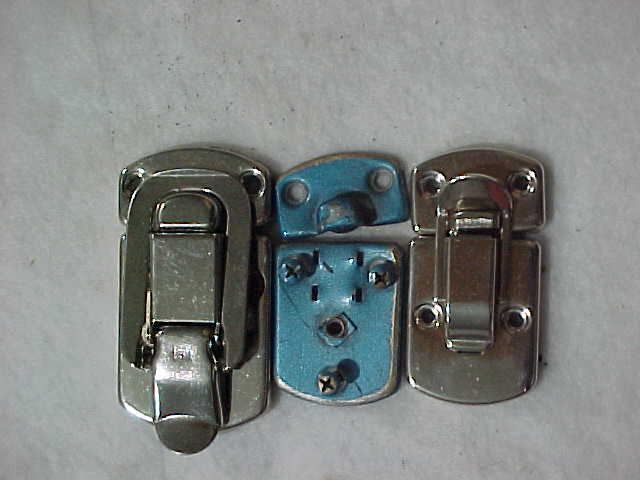
Engine hatch Latch. The center is the original latch - with parts missing. We found these two brief case latches are a close match The one on the right nearly exact.
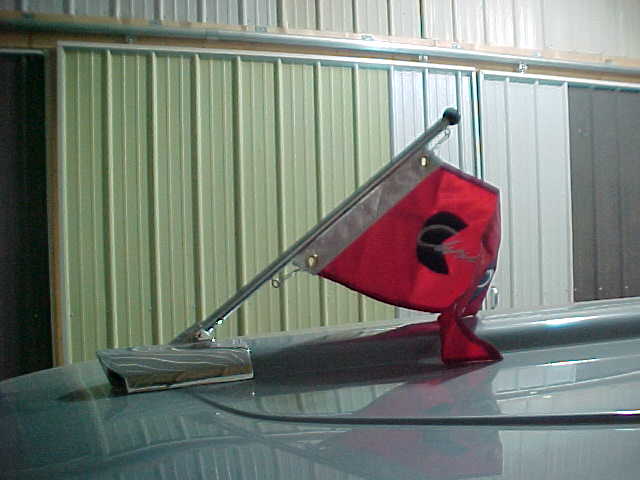
A used Flagpole with the wooden ball re stained and varnished and the pole re-chromed, topped off with a new burgee.
Mechanical
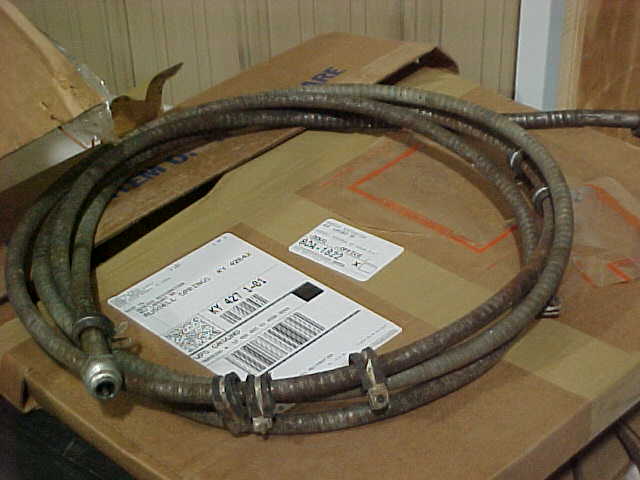
We started to clean this cable and my son decided to test it first! We found it seized somewhere about center of the length. We considered trying to free this up, however when we considered the time it may take to free it up and the impact of failure (pulling up seats and flooring to replace) we decided to have a new cable built. We are currently awaiting it.
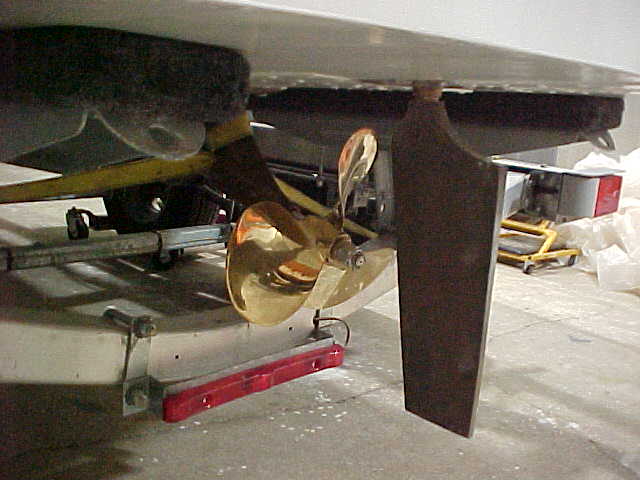
Polished and rebuilt prop mounted on new prop shaft. New prop shaft was drilled with a "dimple" for the set screw to recess into and lock wire applied so set screw / bolt could not back off. Coupling / engine was aligned.
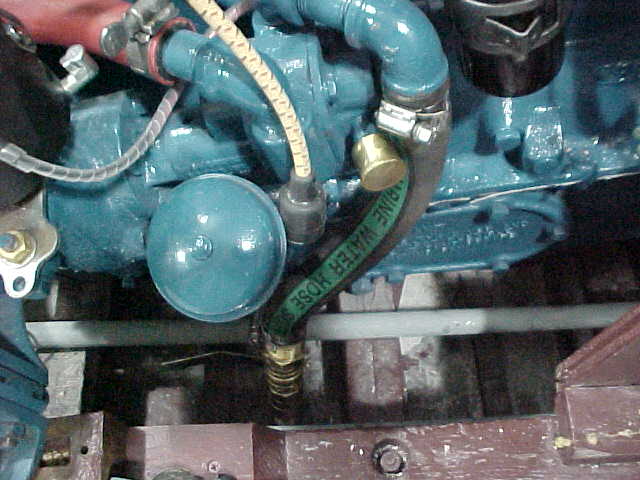
Engine cooling hose from through hull has original shut off valve (cleaned and clear coated) and female quick connect installed on through hull. An extra female quick connect fitting is also supplied for owner to install on his hose for engine operation.
Paint
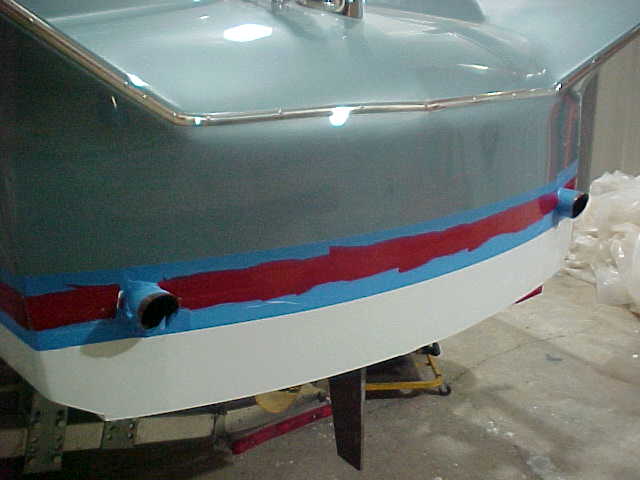
The boot stripe is on!
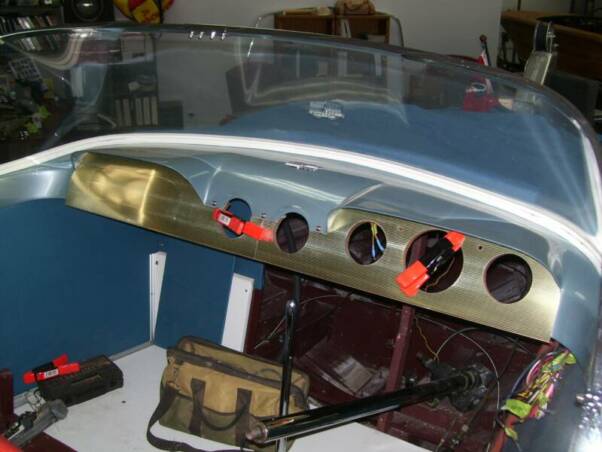
The parts, coffee, picture, documentation table... with very few exceptions the only parts left to install are on this table! We are getting close. I now just have to overcome my fear of installing the dash! The we install the windshield and dip this baby!

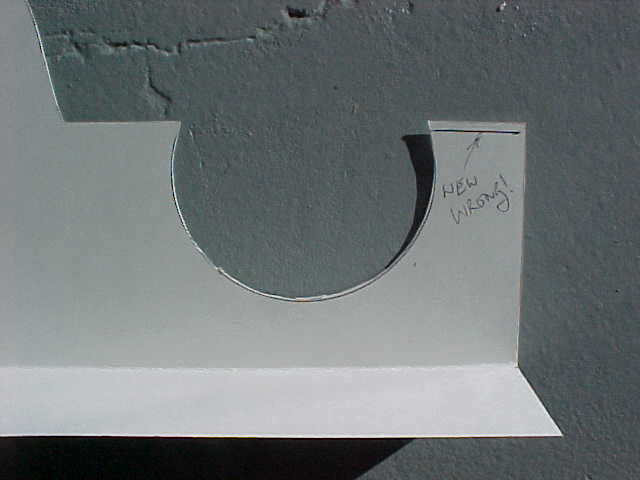
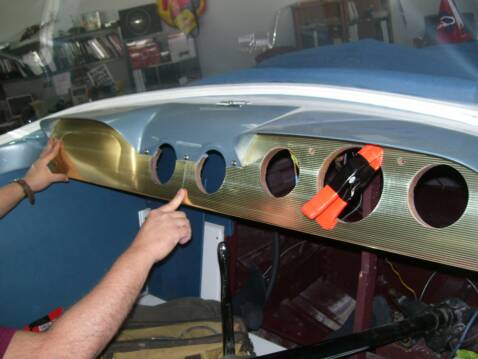
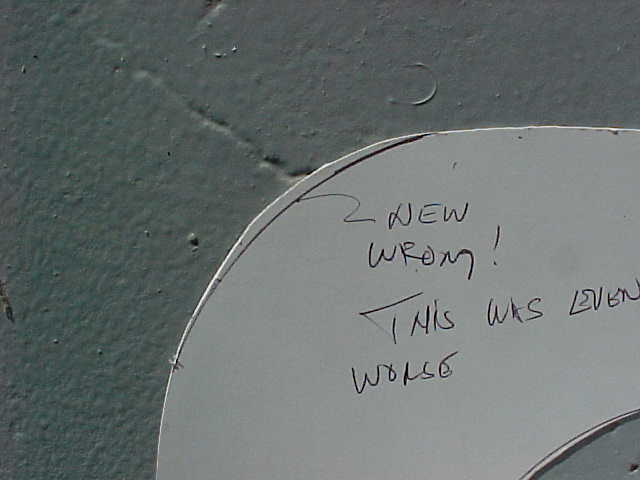
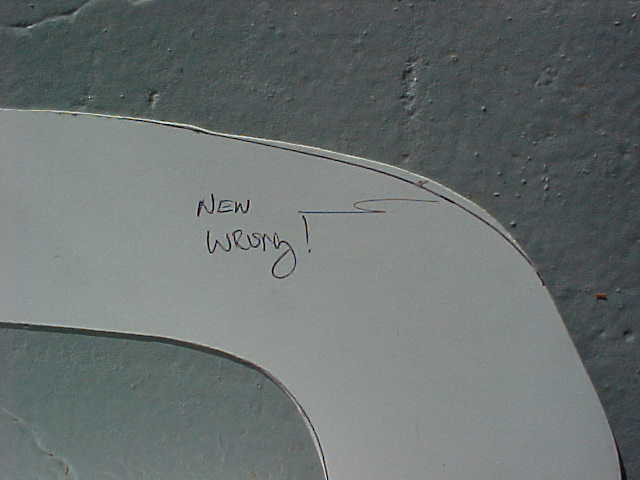
These views show how the contour was missed on both ends of the glove box side (port / left). The contour was also proud between the red arrows. I had hoped that when this was properly shaped that we might be able to get a good fit on the ends. The fit was greatly improved but the bend for the bottom of the dash prevented me from removing any more material at the top.
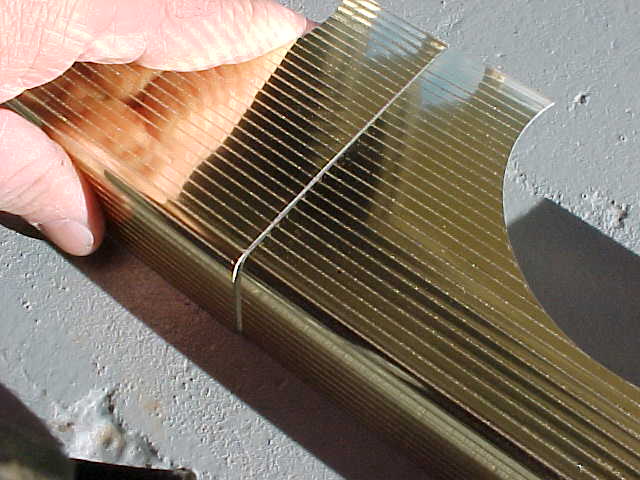
When duplicating it seems maybe the material can be placed against the template and the edges brought in with a plane or sanding for the final fit. I can do this if necessary. But it seems a template based on the original is imperitive.
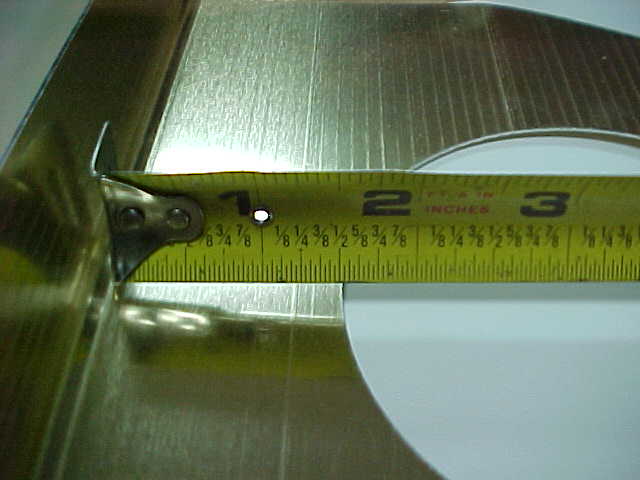
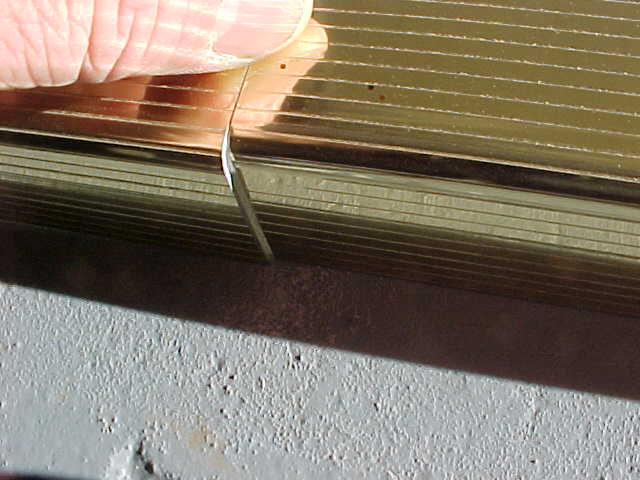
The other problem we ran into was the space between the folds of metal were not wide enough to go over the wood backing plate. The wood is 1-12" wide and there is only 1-3/8" between the "folds" at one end and even less at the other.... just a scoshe over 1-1/4".
The dimension is 1-1/2" all the way across. Measurements were taken with vermier calipers and noted on teh front of the template. - back of template shown here in photo to left. Photo of front below.
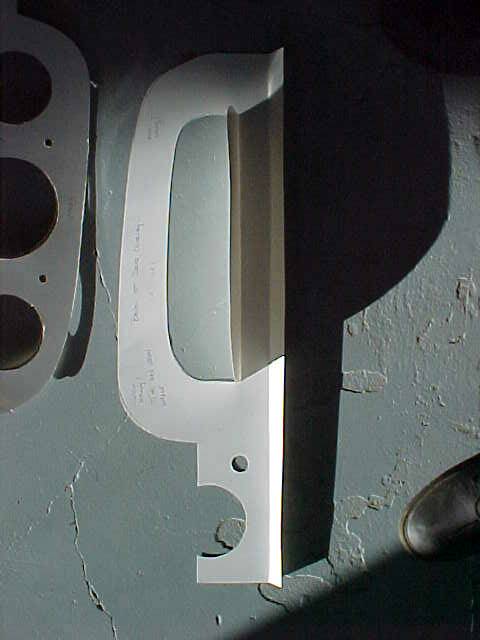
Left Photo
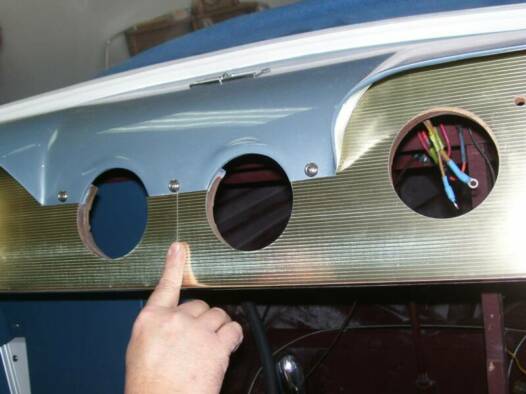
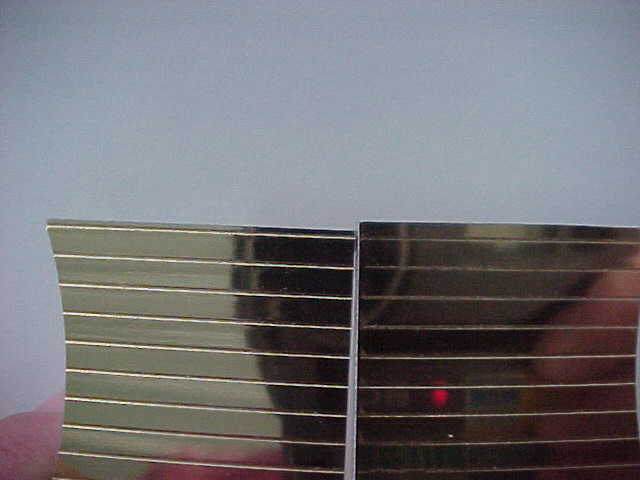
The first issue we noticed was that the lines didn't match up properly OR was it the tops that didn't match?!? So after alerting you Mort and us discussing the problem I sanded off the top on the right so that the top of the panels and the lines matched.
Lower Photo
The tops and the lines match ...But the fold on the bottom keeps me from raising the piece on the right up far enough to get the top to meet the fiberglass that mates to the top edge. Also even if I could raise it ... it leaves me with a missmatch below.
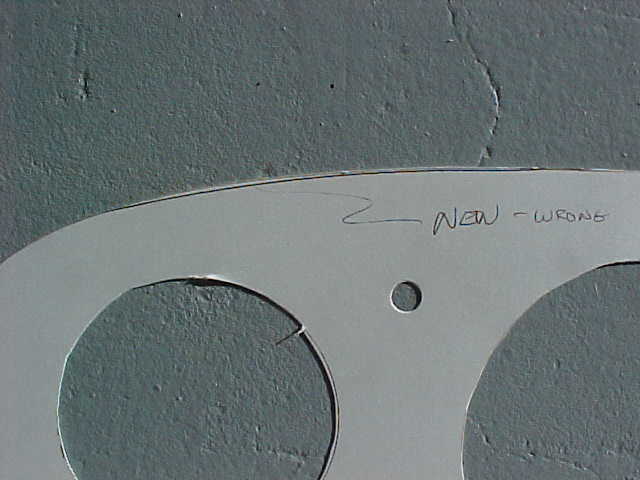
The section at the arrow was the correct height before I modified it (after we spoke) ... but the lines didn't match.
This panel was much closer to being correct than the glove box side of the unit. If I had any play at the bottom I could have made this fit. The bend at the bottom prevents me from raising the panel any higher. To prevent that on the final attempt I have added measurements from the bottom of the gauges to the inside of the fold - see below.
This measurment needs to be 1.814 inches to the bend. There is a small round over on the dash panel - so 1.8" is needed from bottom of hole to the flat on the inside.
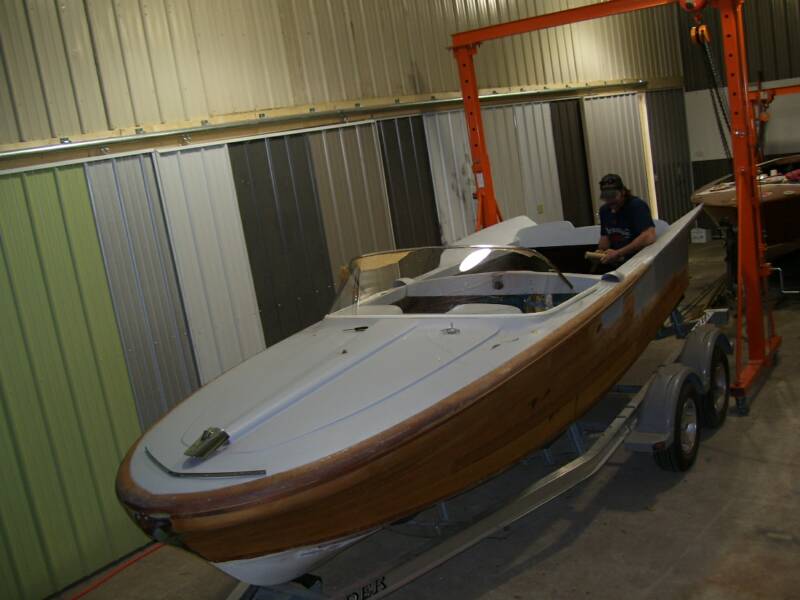
MARCH 4th 2011 THE DASH FITS !