We cut the back out of the fuel tank and Installed a 5amp charger box inside what was once the hydo-mite fuel tank. Of course we had to clean out LOTS of gasoline "varnish" from the fuel tank with Xylol and Acetone!
So since we are converting this from a gasoline powered boat to electric powered we no longer had a need for the fuel tank and fuel fill....... or did we have a NEW use for those?
NOTE:
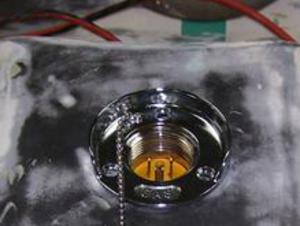
The male plug in the fuel filler neck. We purchased a new standard filler, cut off the neck / hose barb that a filler hose would have slid over, then added a sleeve made out of aluminum pipe to fit over the fuel neck. We drilled and tapped the sleeve to both keep it attached to the fuel filler and to keep the make plug in place with set screws. Now the plug for the onboard 5 amp battery charger is hidden where the fuel filler was once located.
12/17/13
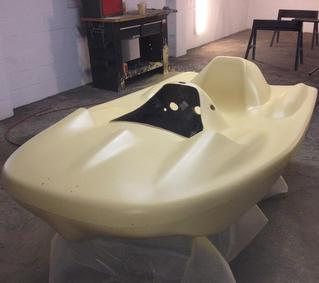
We are converting this little Hydro-mite Racer from gas powered to electric powered. We will also be painting the unit and installing new rub rail inserts. Watch for some very innovative things we will be doing in the conversion.
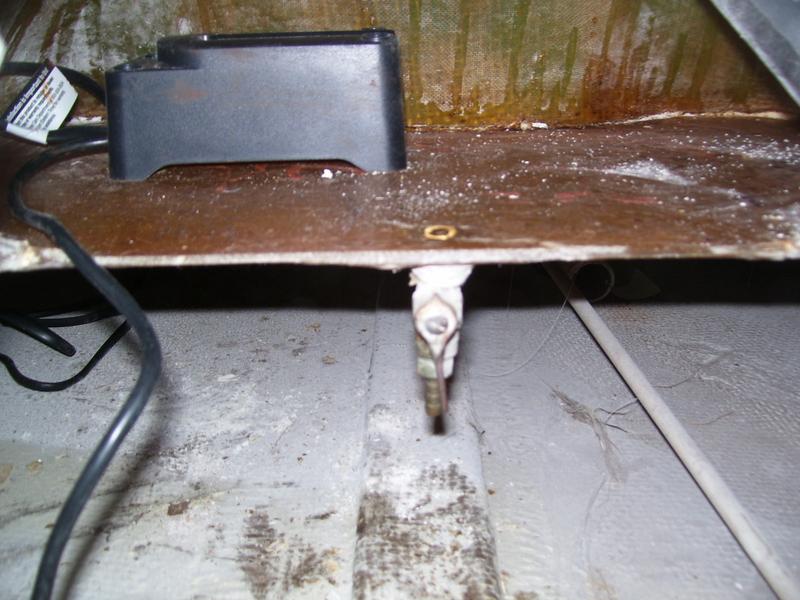
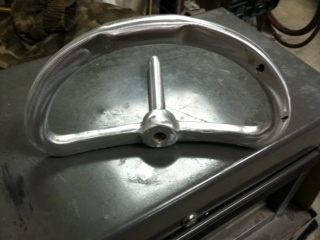
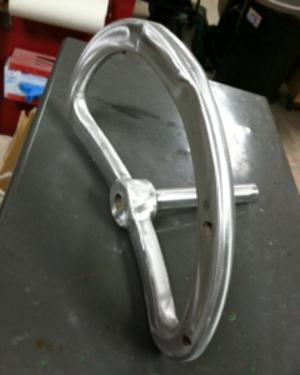
Pictured above is a top view of the rudder post and tiller. The original aluminum steering rod broke when we bent an offset in it to turn the tiller that will be attached to the motor. We purchased a new piece of 1/2" diameter aluminum rod and bent the offset in it without an issues. The "rudder" post (where the trolling motor will rotate) is now in place.
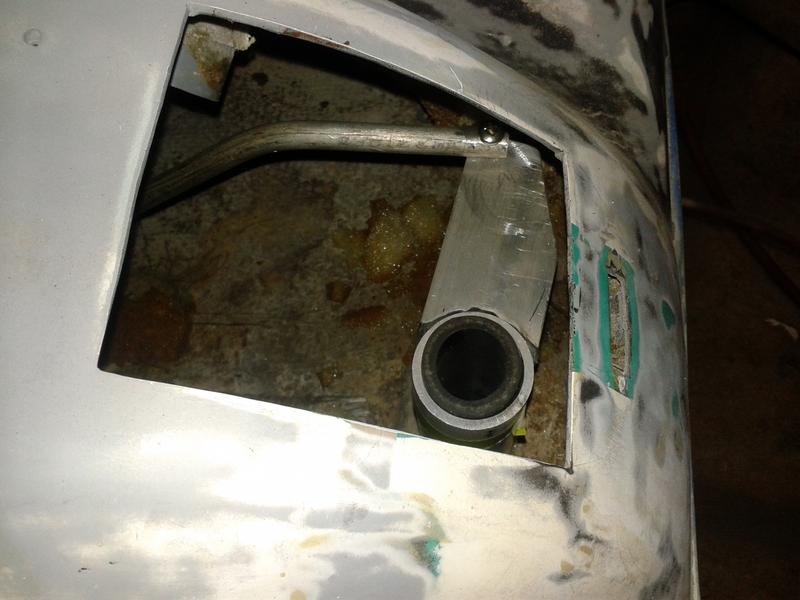
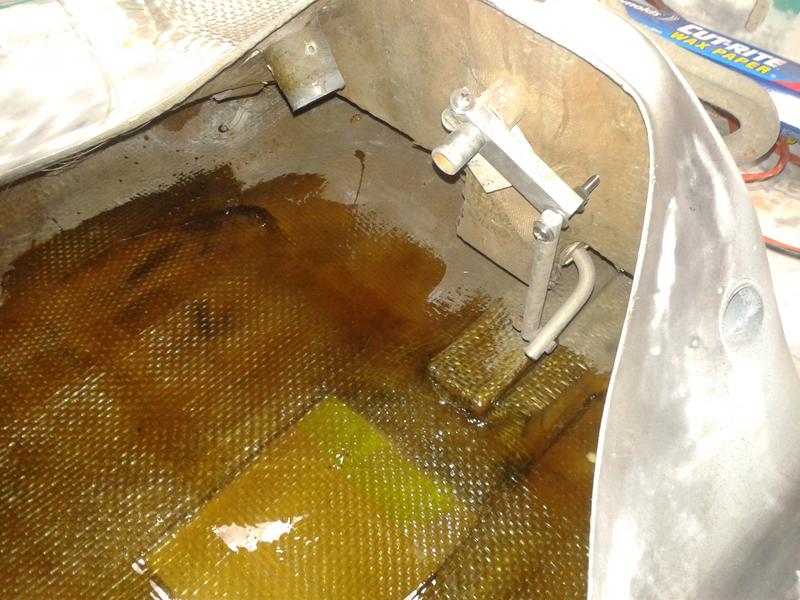
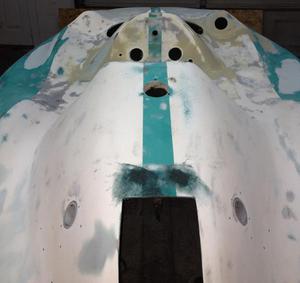
Pictured above is a top view of the inside of the forward compartment where the gasoline engine used to be. We have cut out the old flange (shown in the photo to the left) and glassed over the hole left with 2 layers of heavy roving that matches the roving used in the original construction of the boat. We will also grind back gel coat from the bottom and put in two layers from underneath so original materials will be sandwiched between the layers we are adding. Underneath the whole bottom will be faired underneath with epoxy filler compound prior to painting.
Before
After
1/6/14
We now have installed the sub floor, cut the plastic from the rub rail, flipped the ground away from the fiberglass for blending repair, cut the material and glassed in the layers.
1/16/14
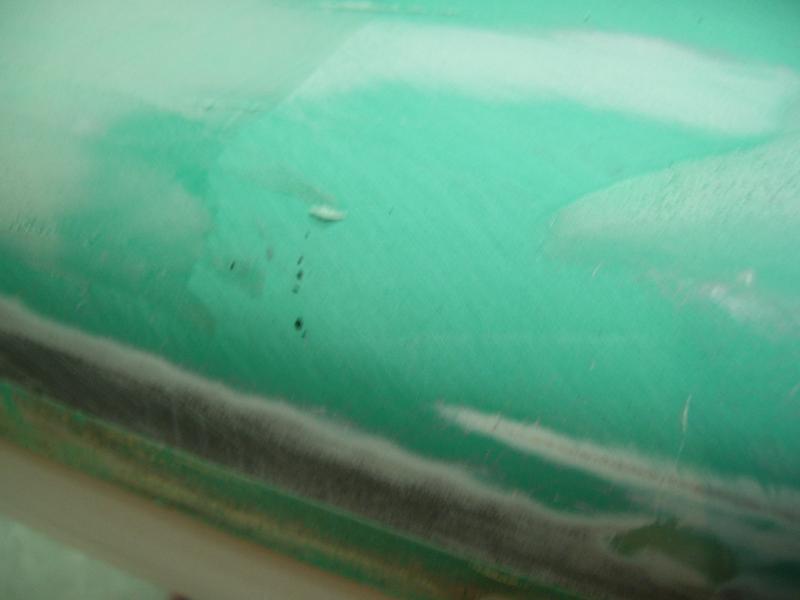
While working the racer we have come across a few holes that will need repairs.
Cleaned the steering wheel and gave it a brushed aluminum look.
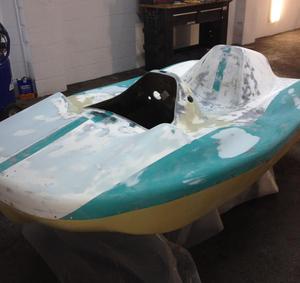
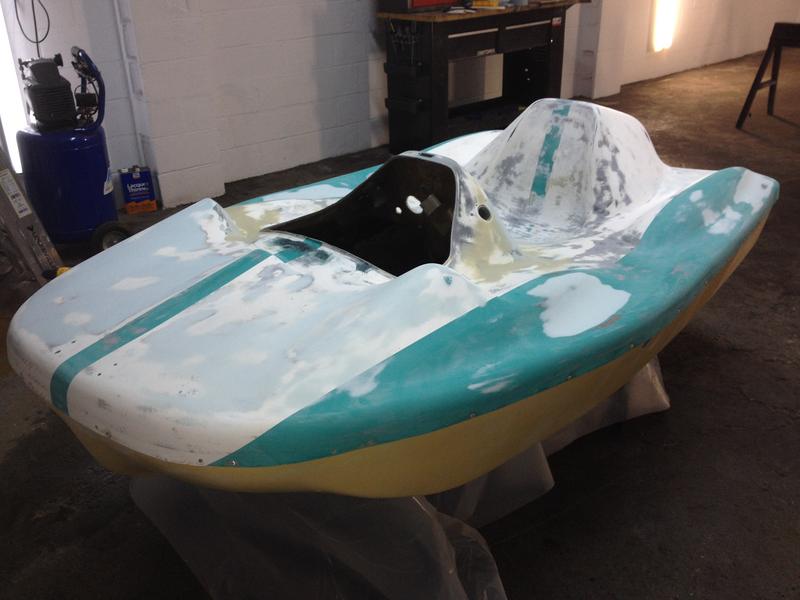
We measured and cut the holes for the gauges, switches, key, the monetary switch pedal, created a mold and glassed the aft hatch with the fin as well as glassed and fabricated the area for the foot switch. We coated areas on the top, sides and bottom with icing for heavy blocking, sanded smooth and primed.
1/21/14
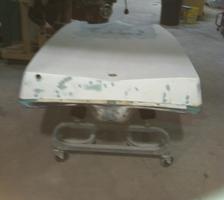
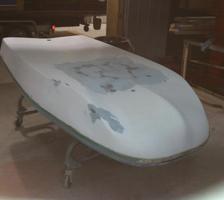
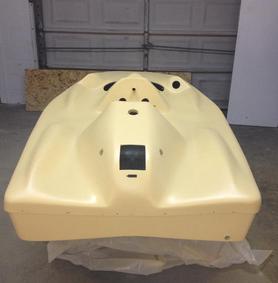
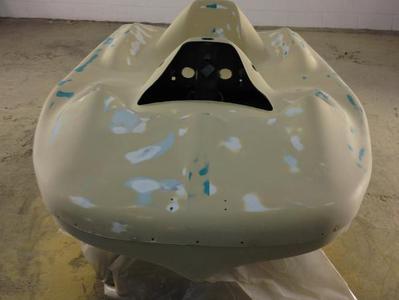
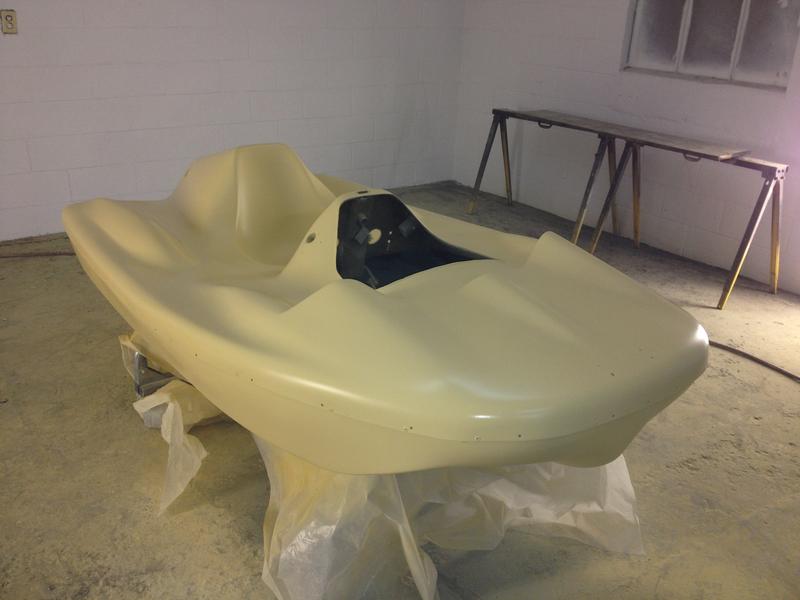
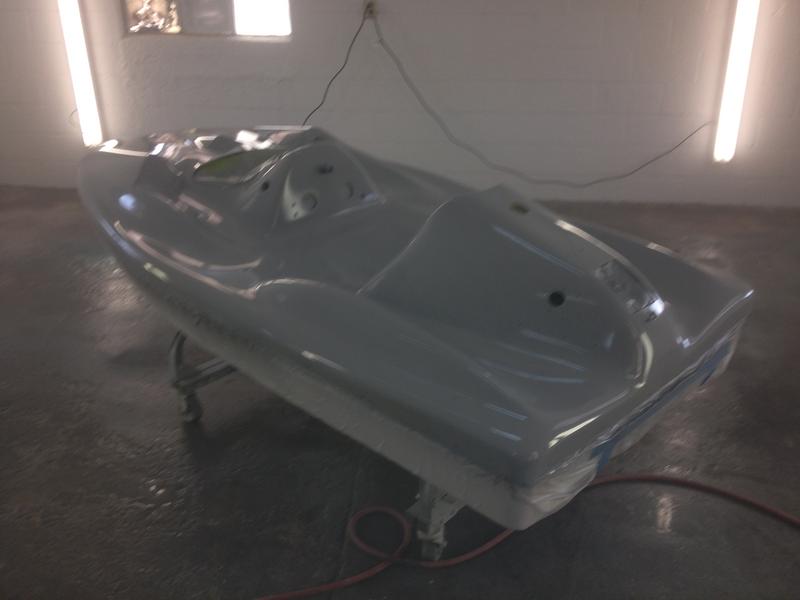
These are pictures after the second block sanding and recoating of primer.
1/23/14
2/14/14
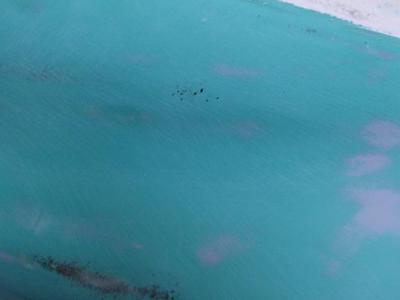
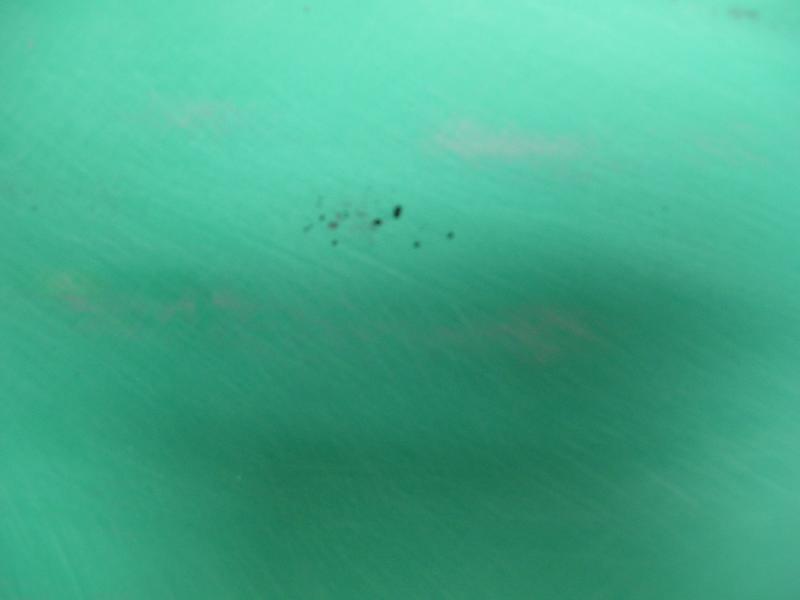
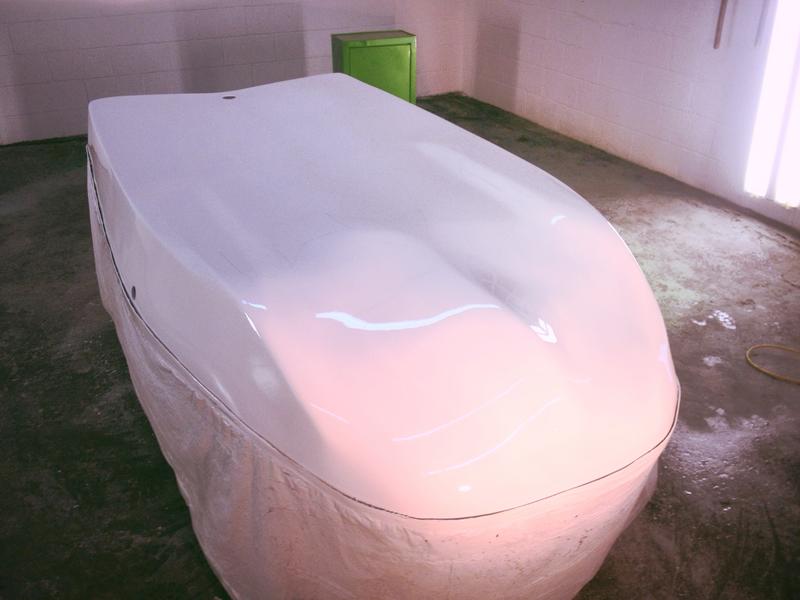
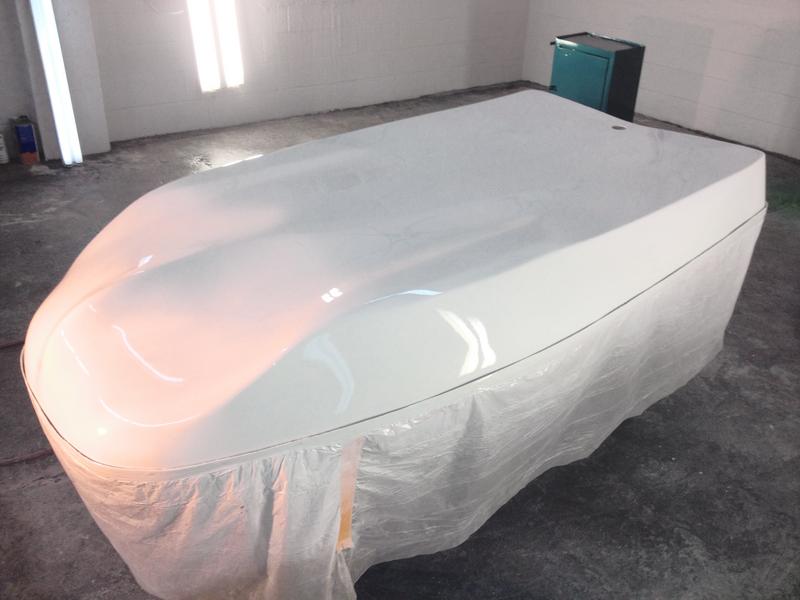
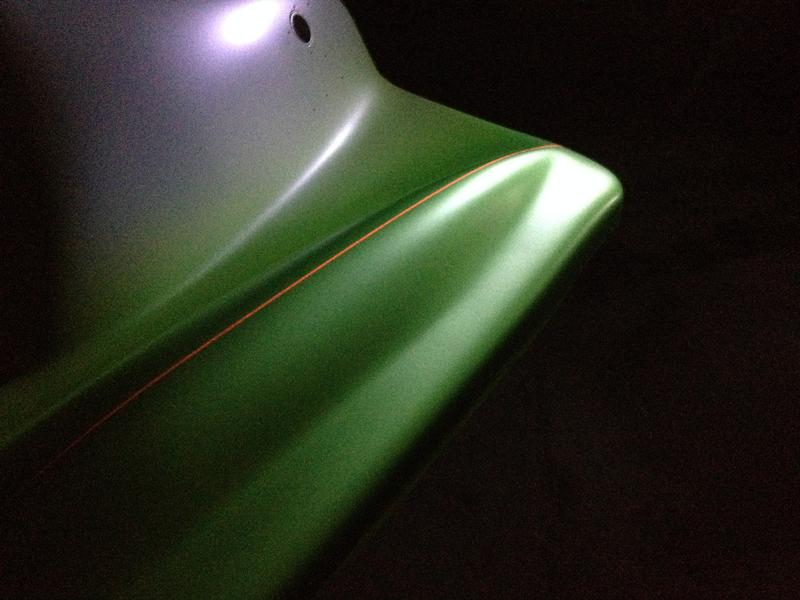
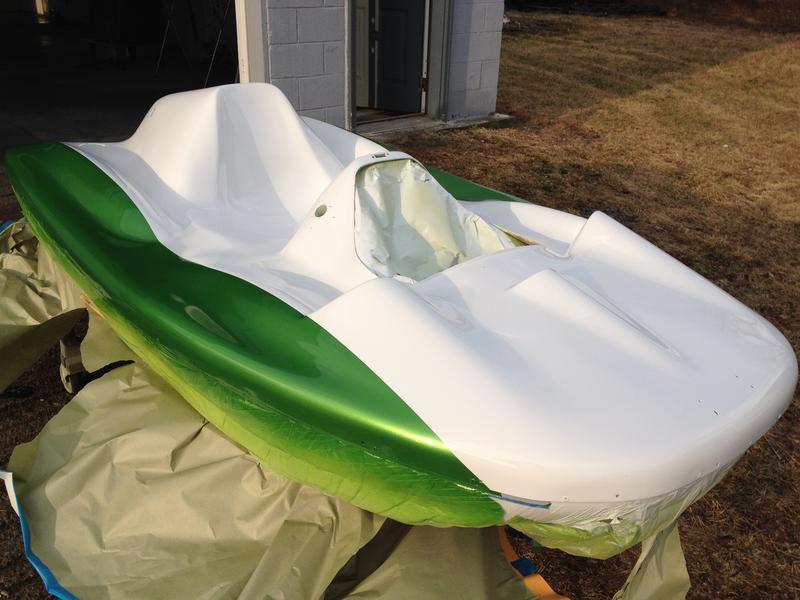
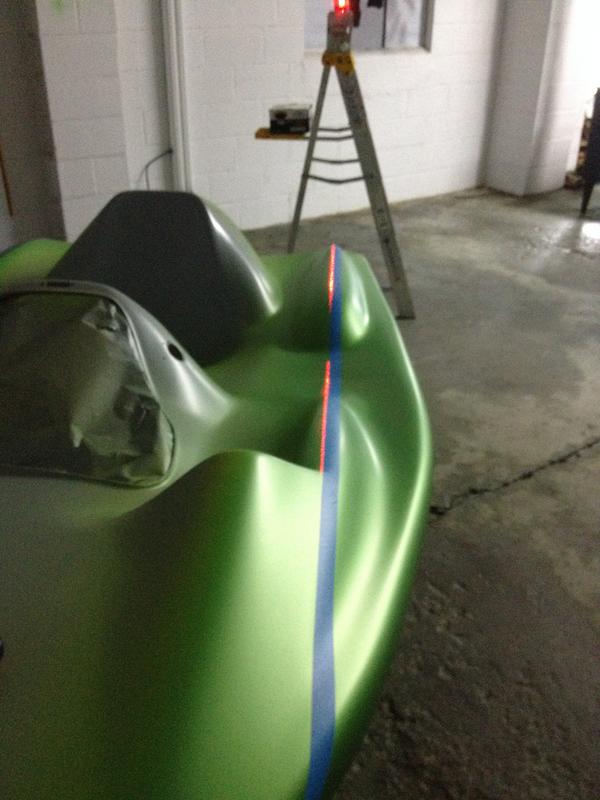
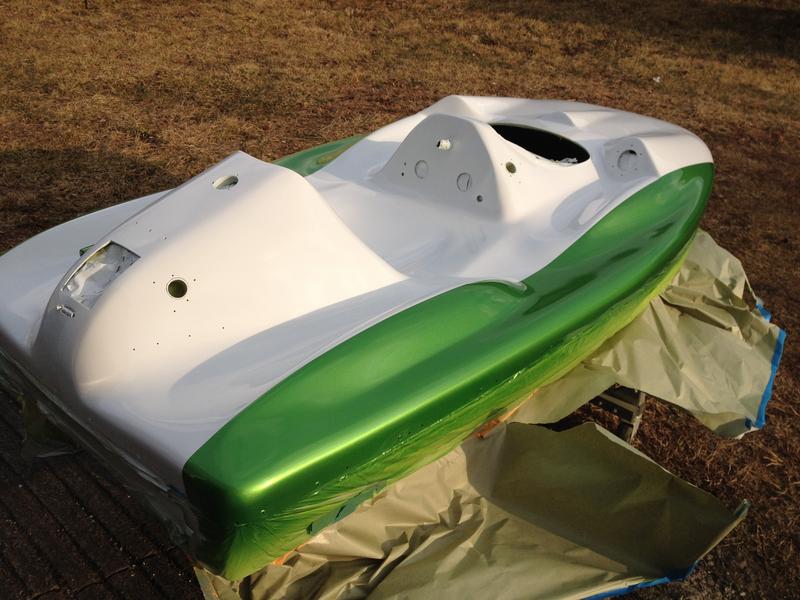
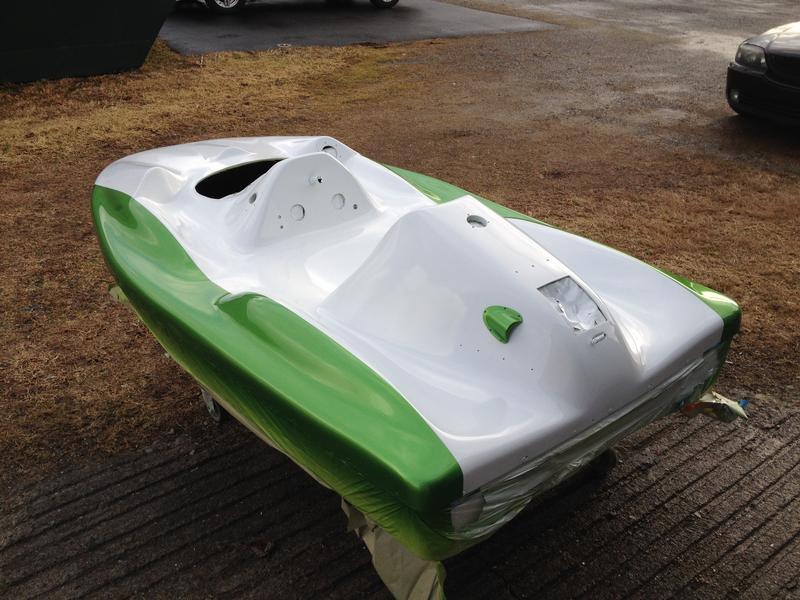
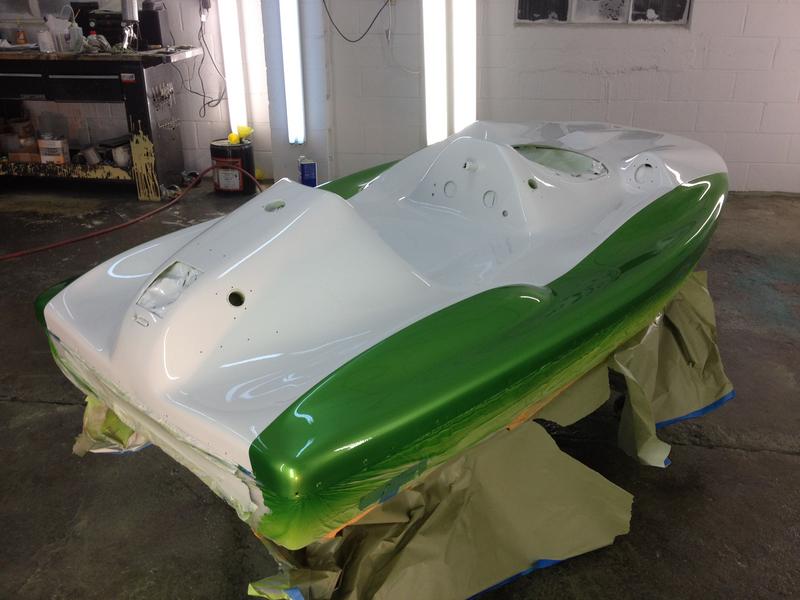
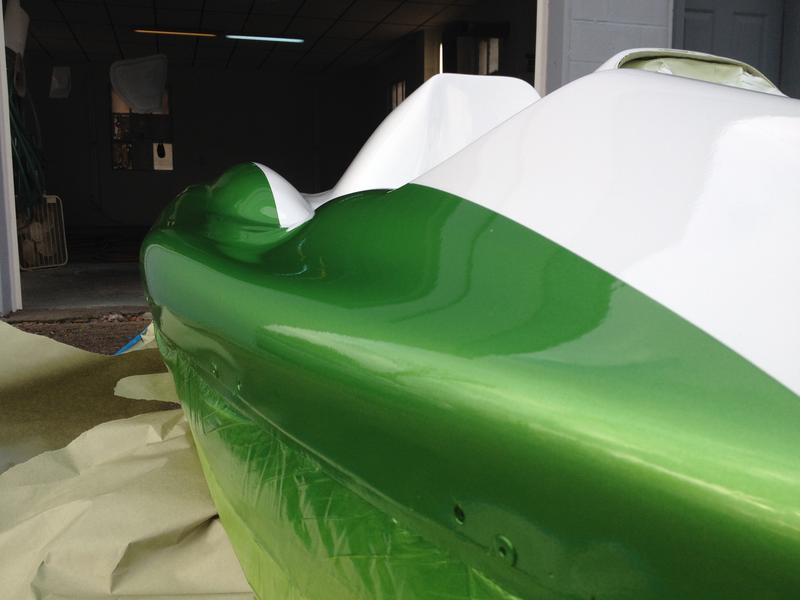
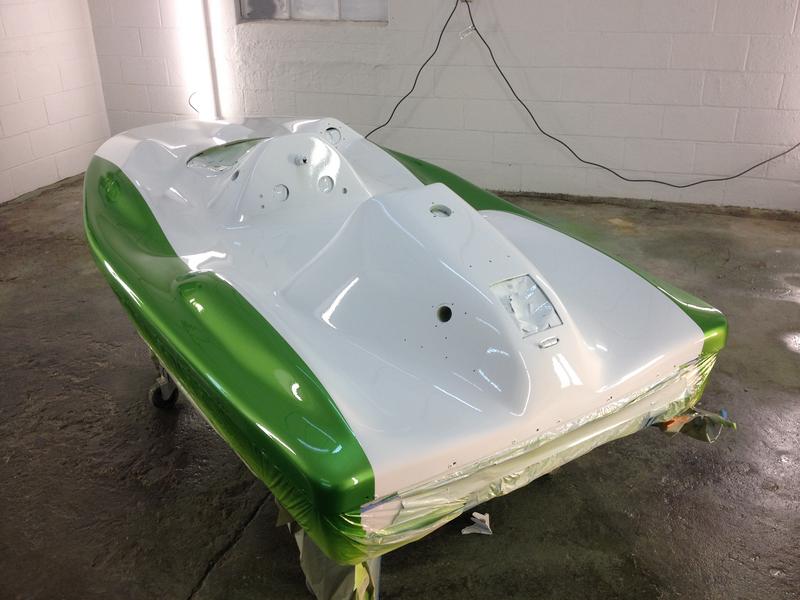
Repaired the cracks in the forward hatch, cut out the bad area, glassed in the new area on the hatch, repaired the cracks in the vents, applied two coats of primer, blocked out and then sanded it down for paint we then flipped the boat over, block sanded the bottom, primed, sanded once more, sprayed a sealer and a color then spayed it with a clear coat.
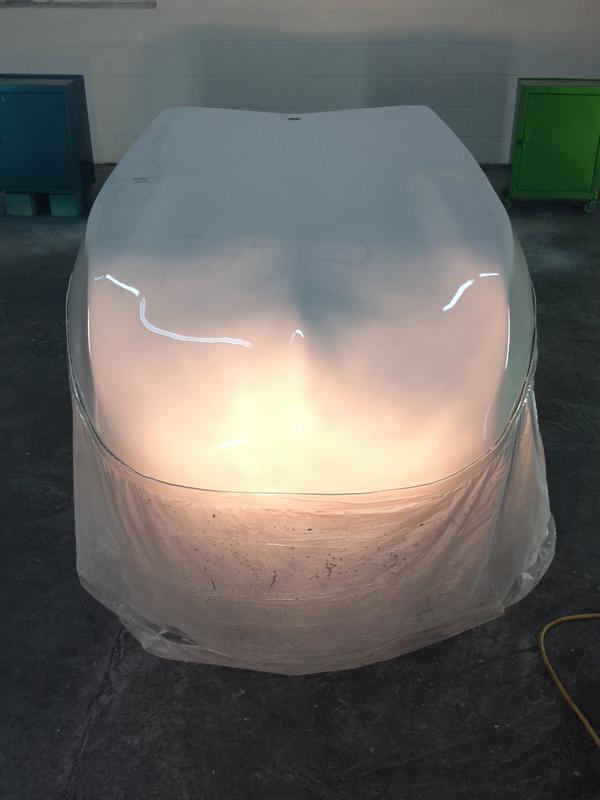
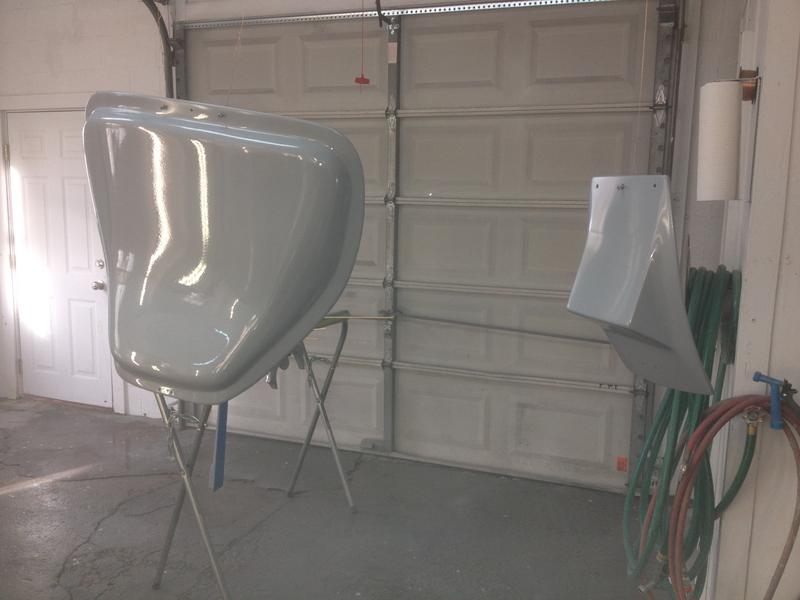
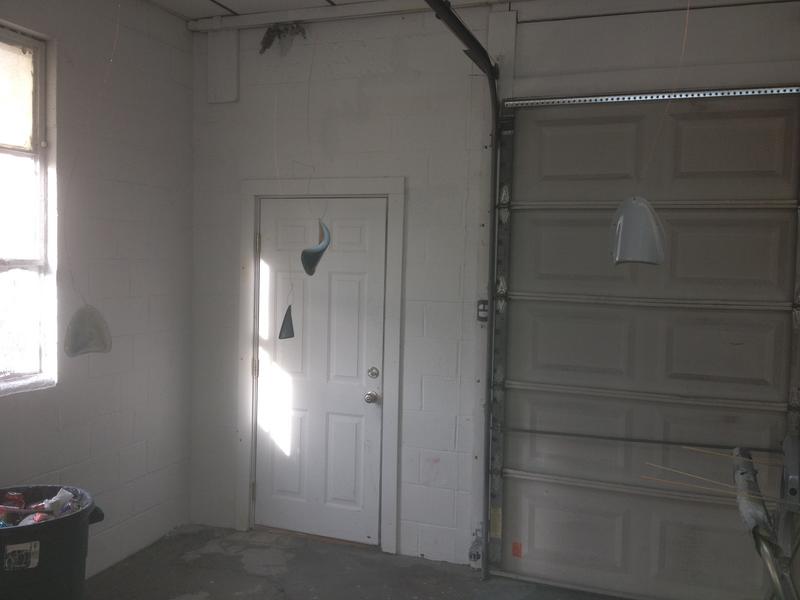
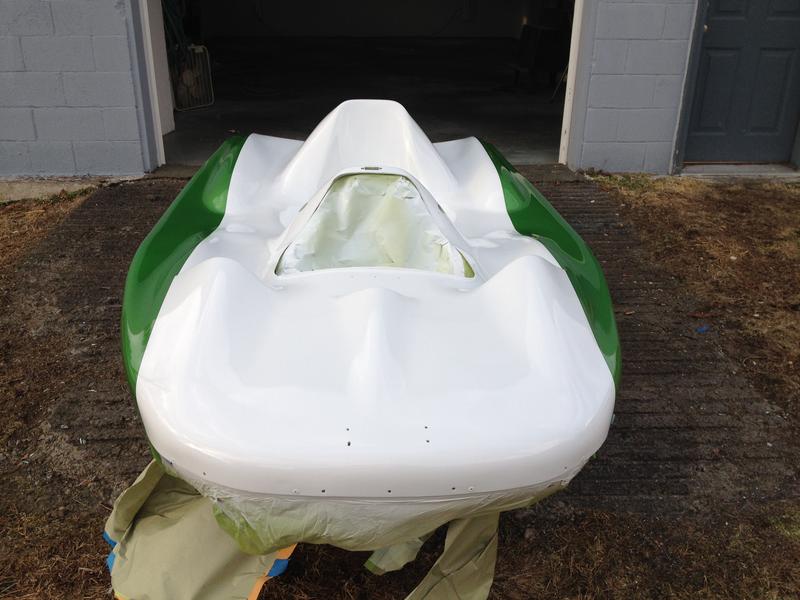
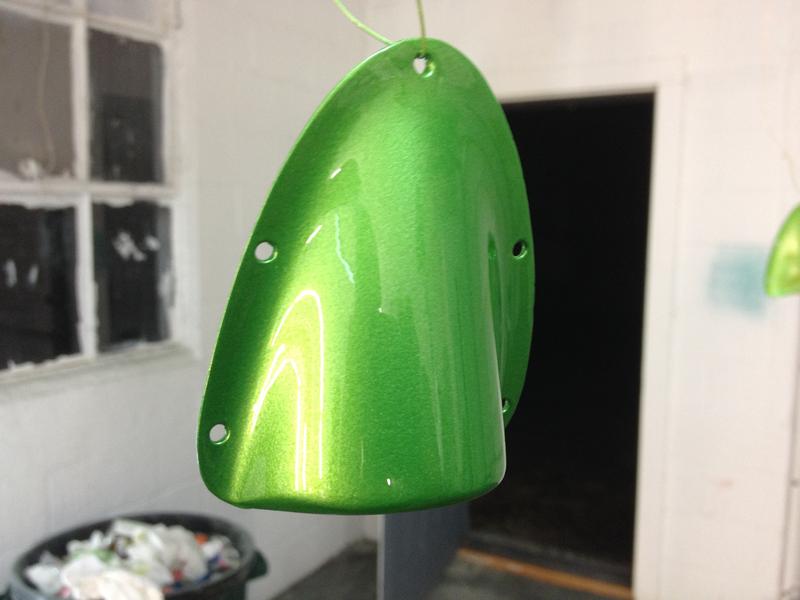
We have applied our final coat of primer, hung detached items to dry without coming in contact with other surfaces and are ready for color.