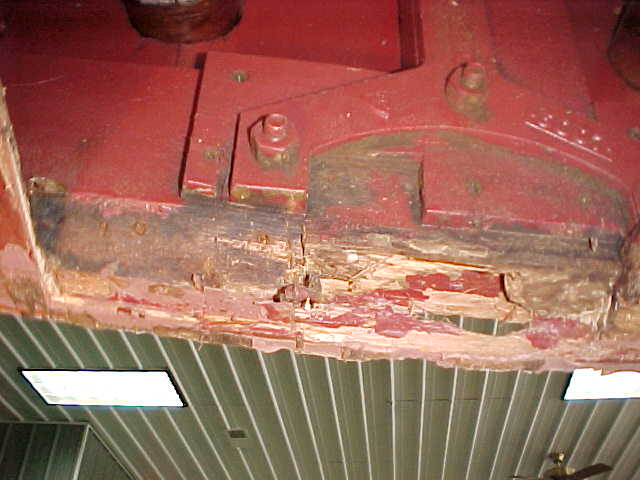
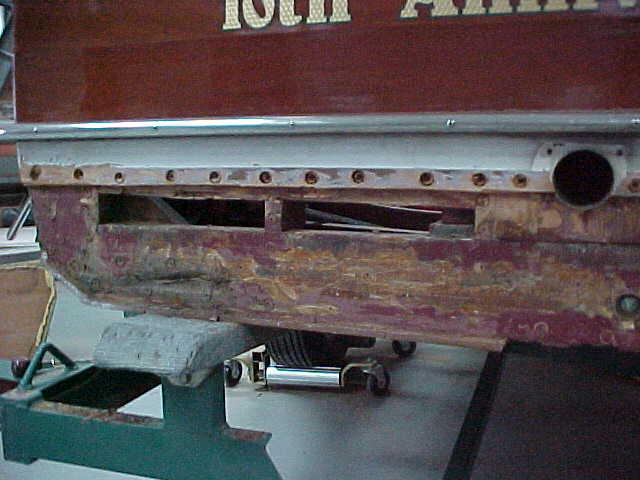
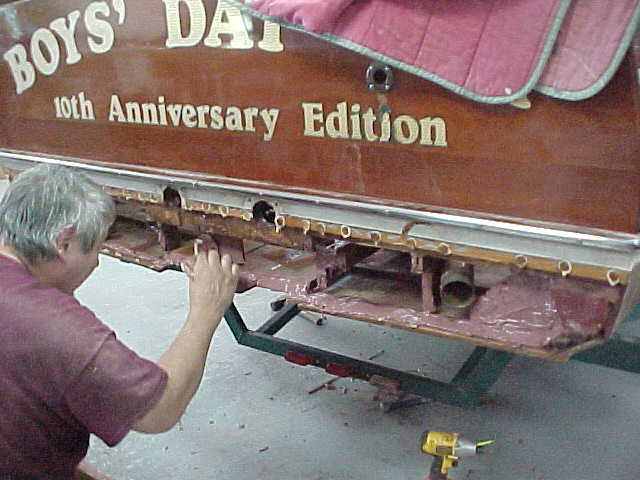
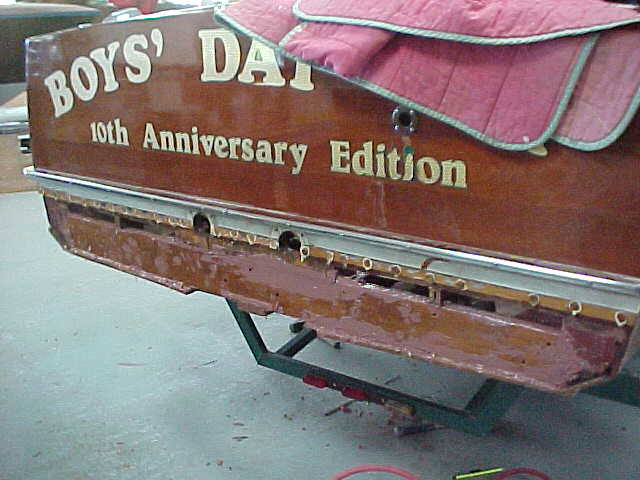
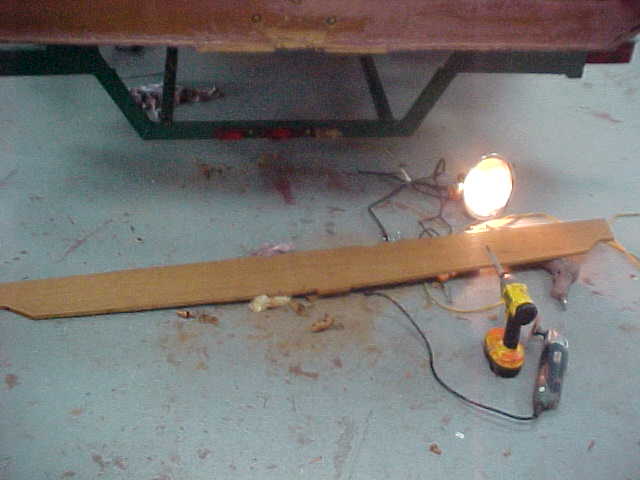
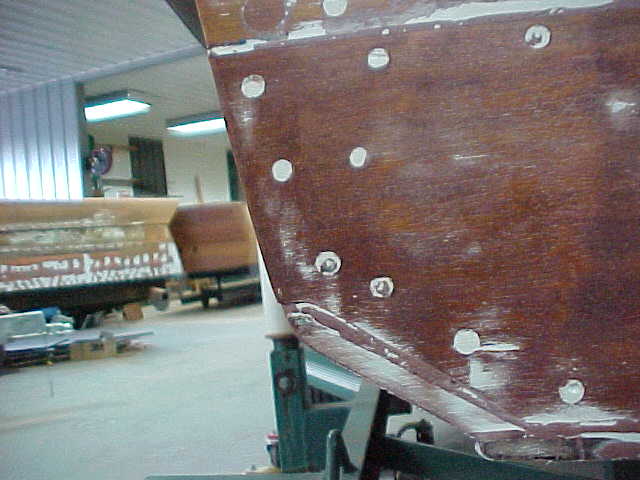
This ski boat was brought to us after another repair was found to be not quite up to par and therefore some rot has encroached into the aft keel section. We will be removing several bottom plank sections and part of the keel in order to repair this area.
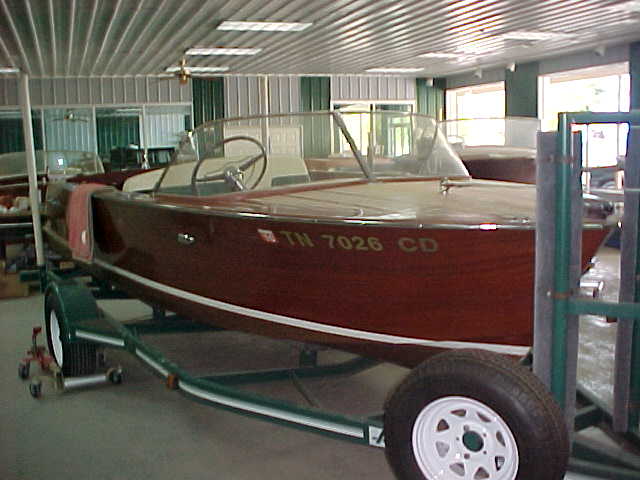
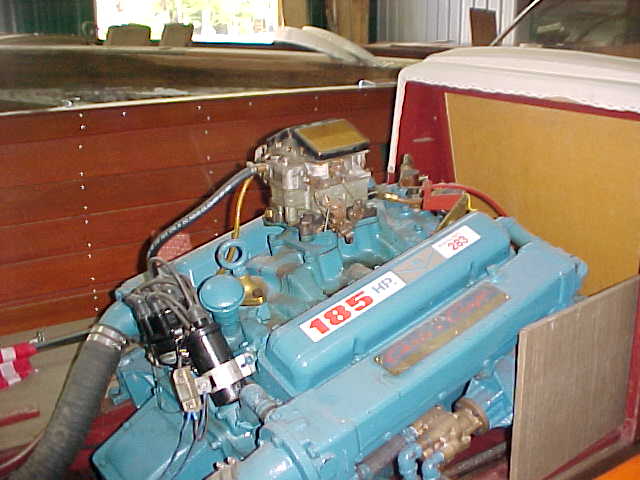
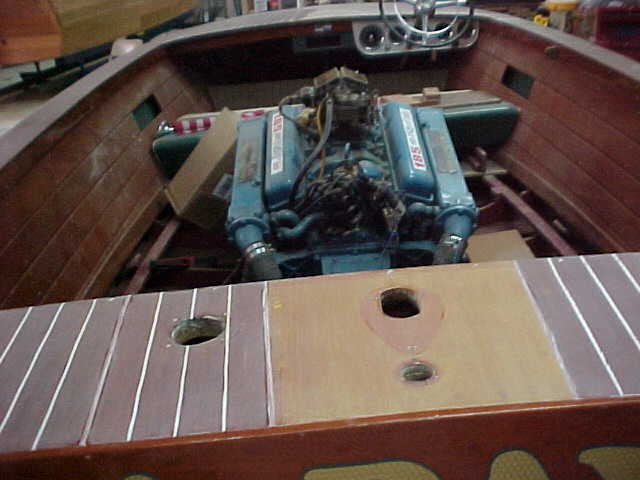
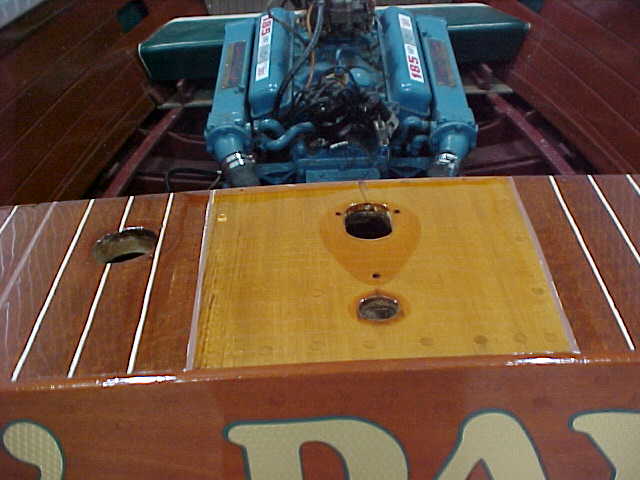
Powered by a GM 283 with 185 hp, plenty to pull skiers with or just run the lake!!
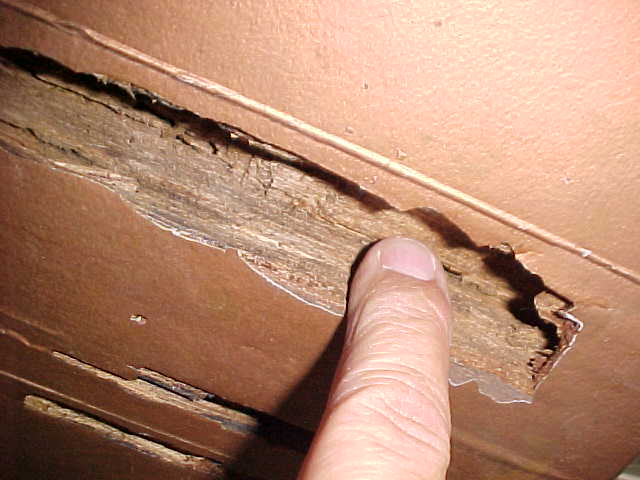
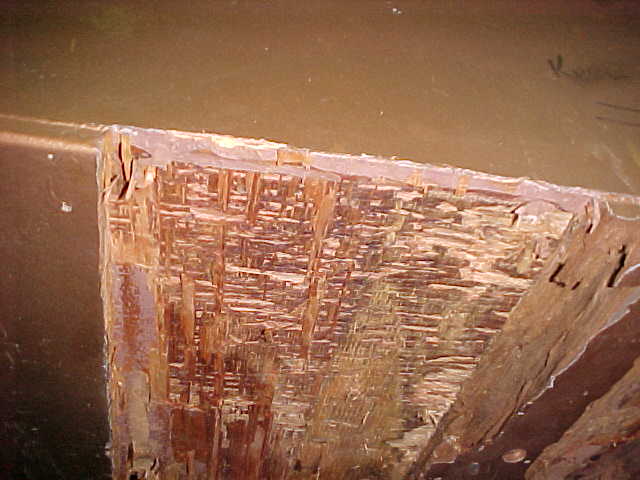
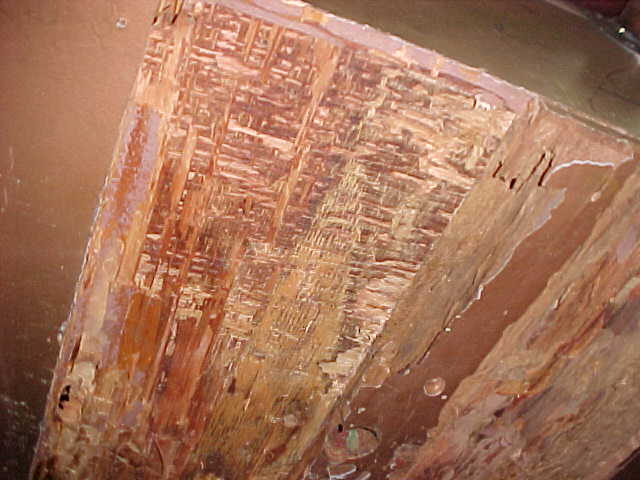
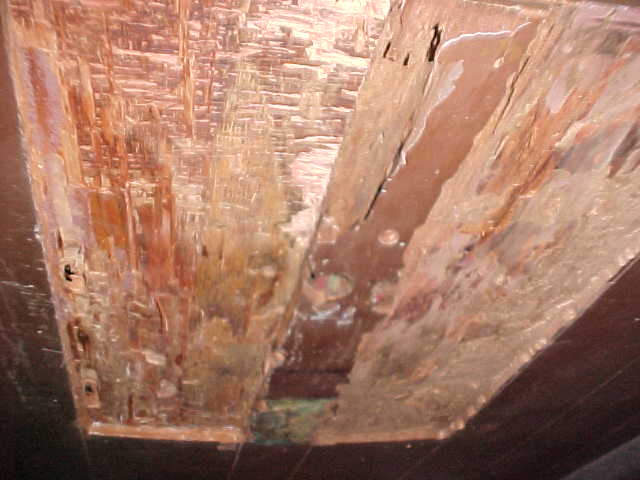
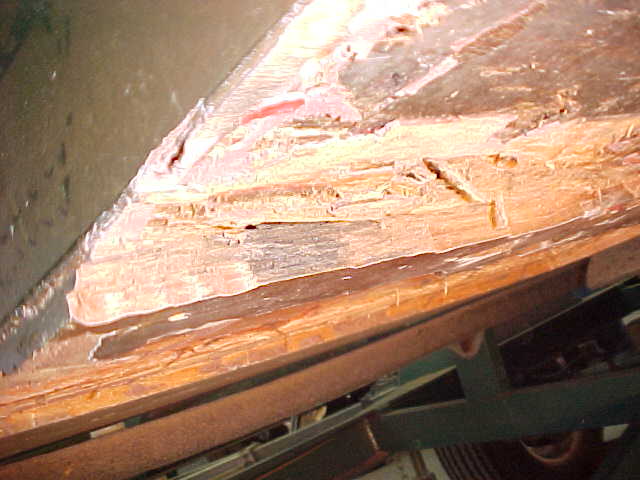
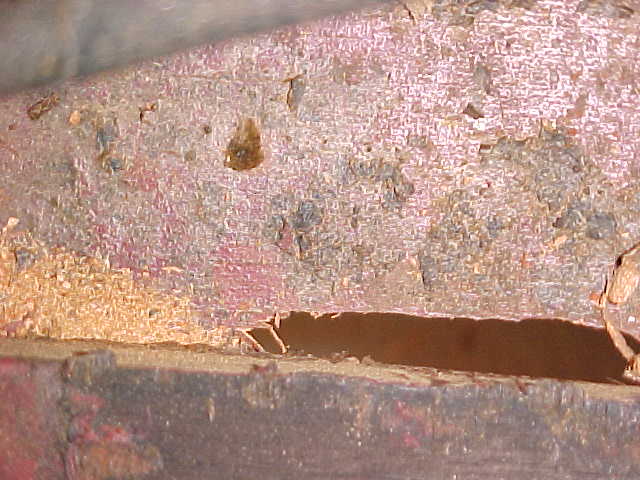
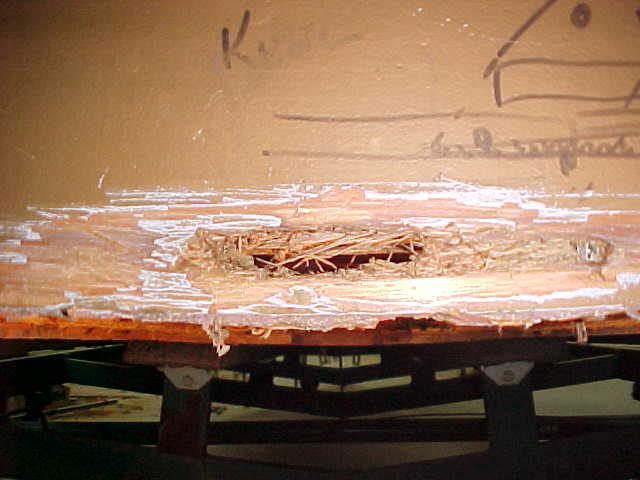
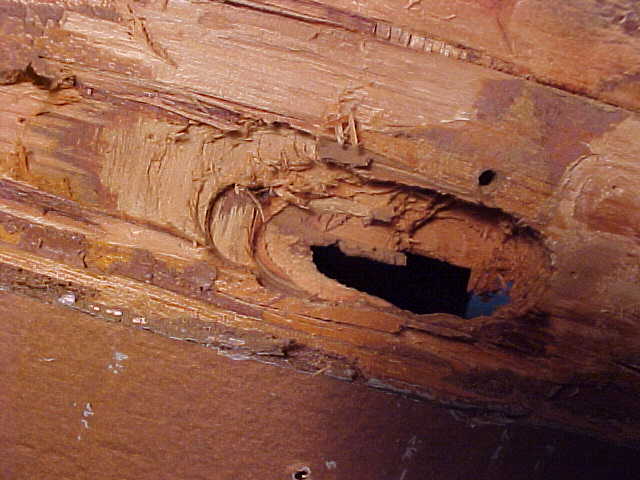
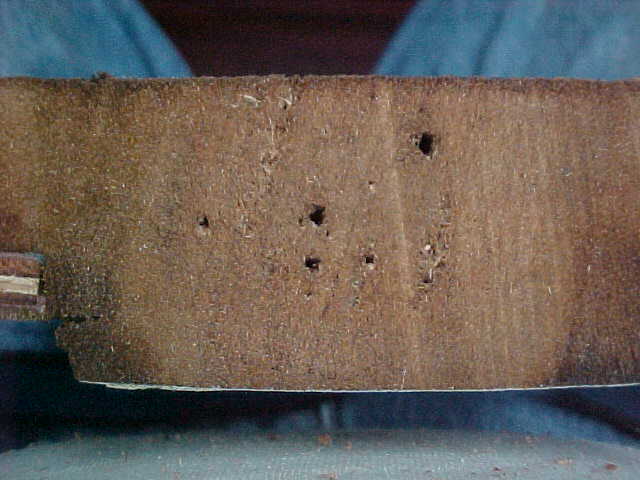
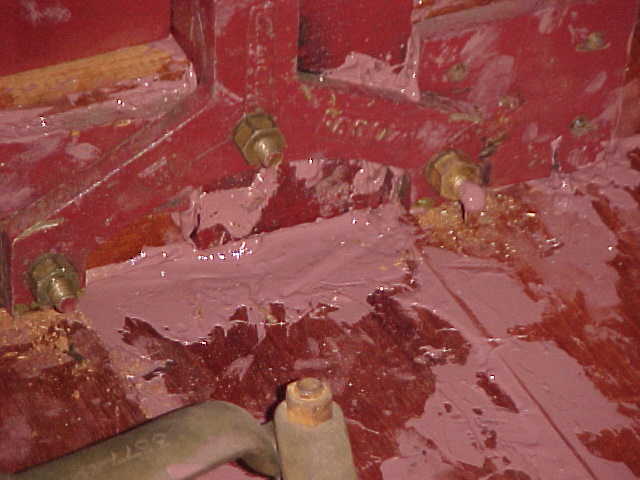
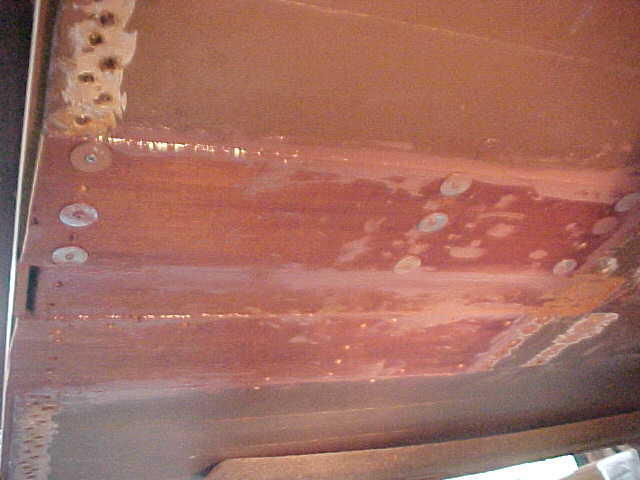
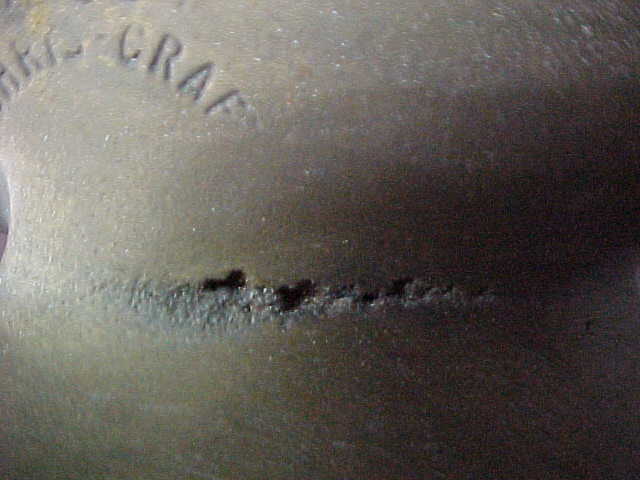
Above photo shows the rot in the keel area and my finger gives you an idea how deep it goes. Approx. 11/2 inch.
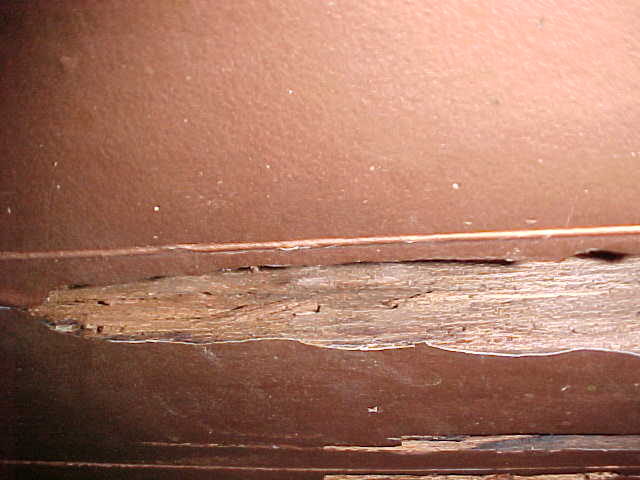
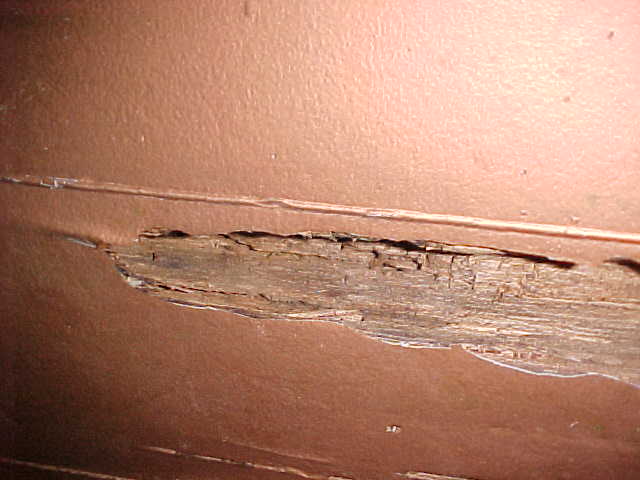
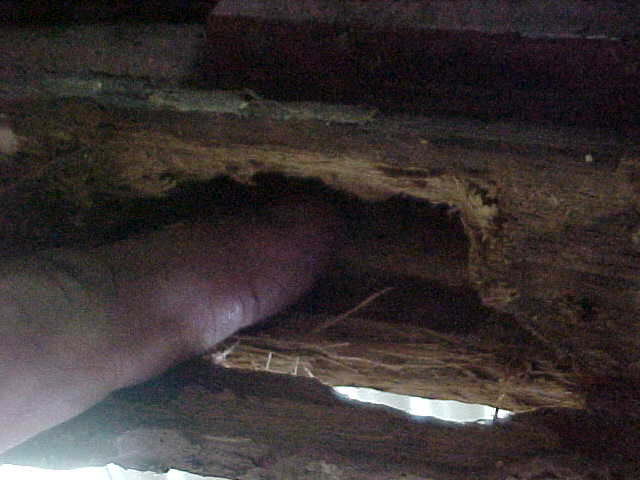
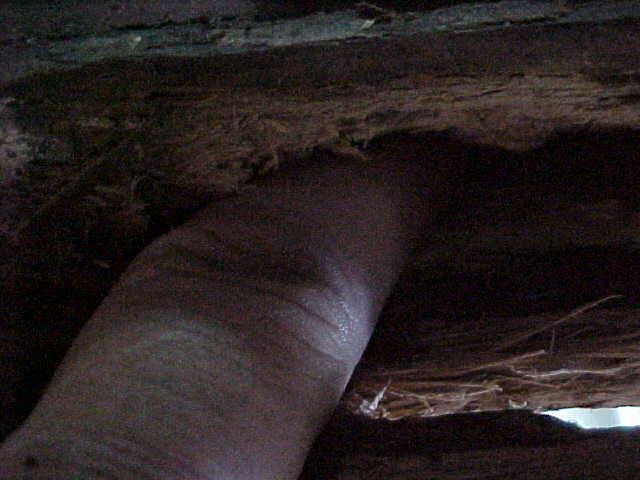
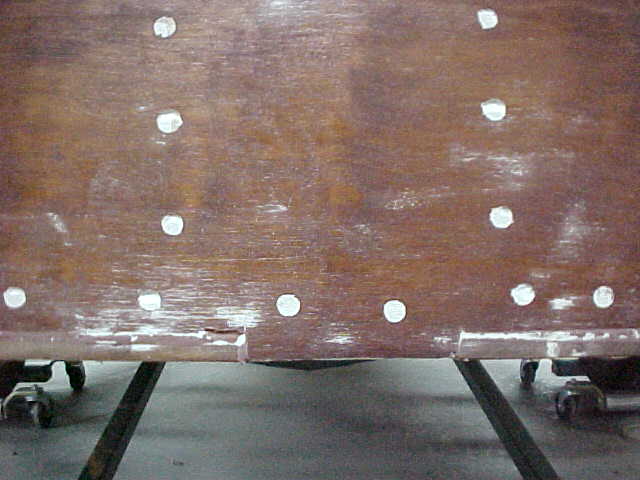
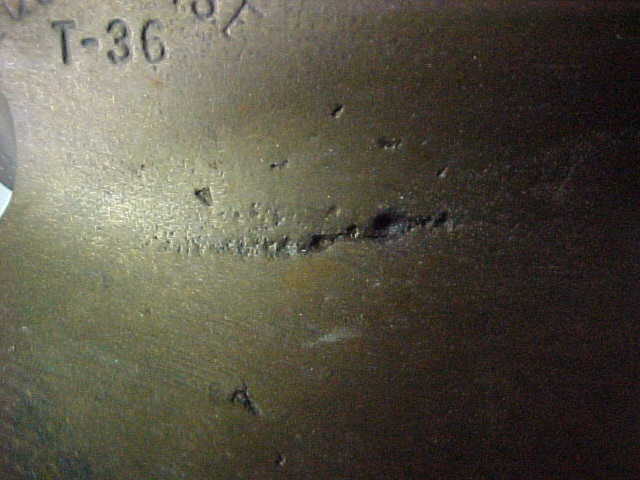
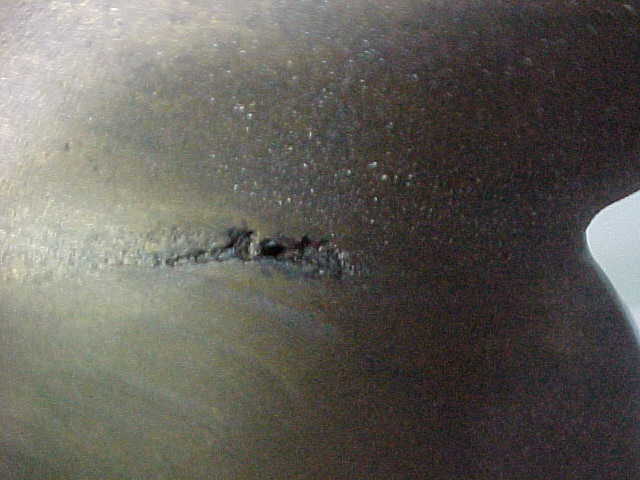
The above two pics show the same area and allows a different viewpoint.
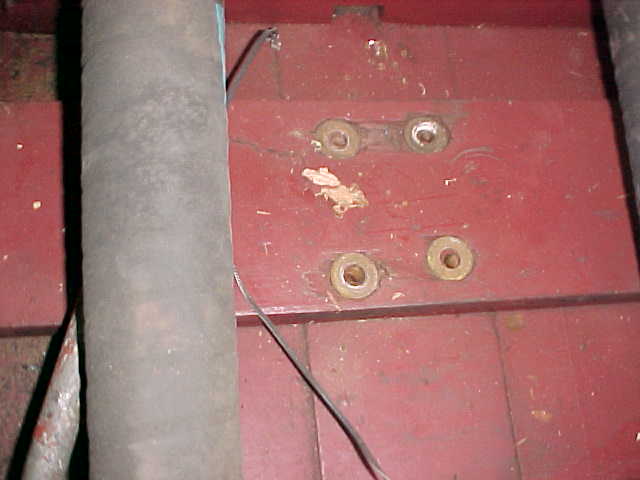
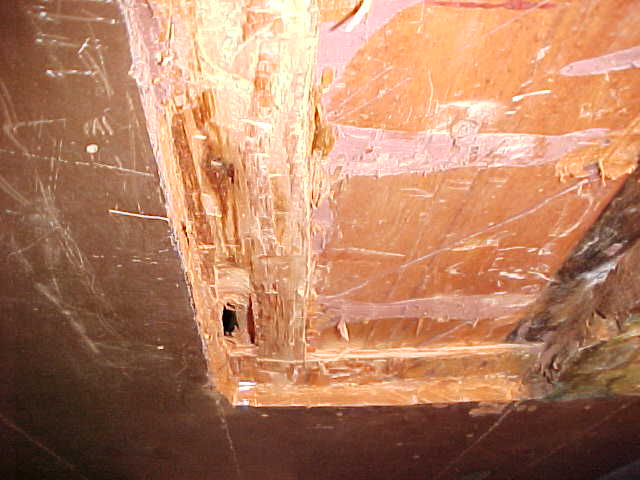
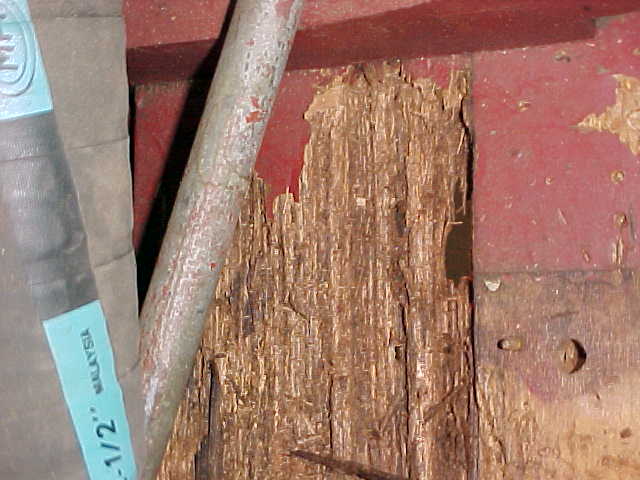
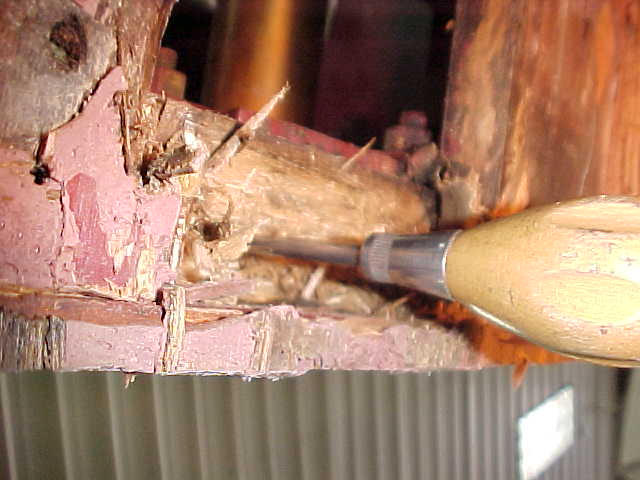
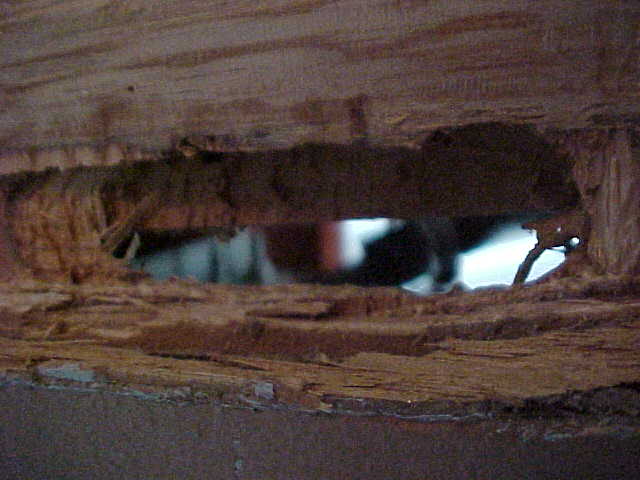
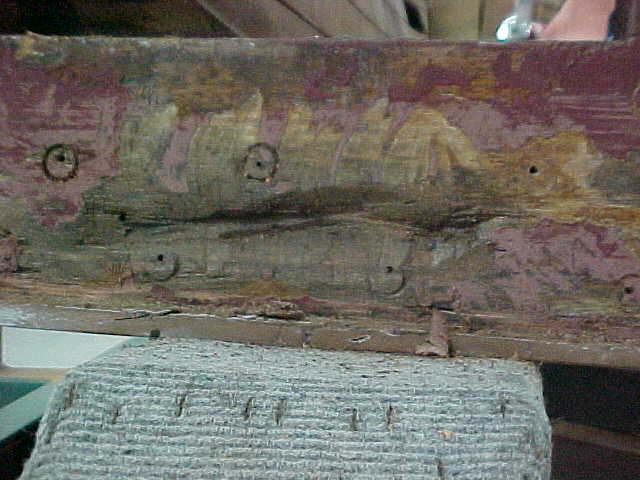
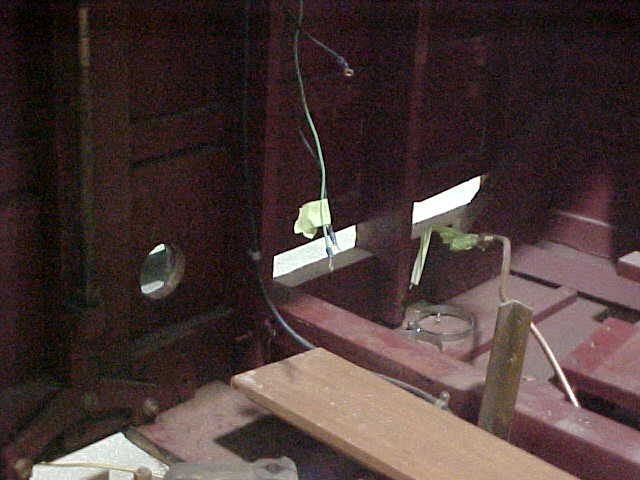
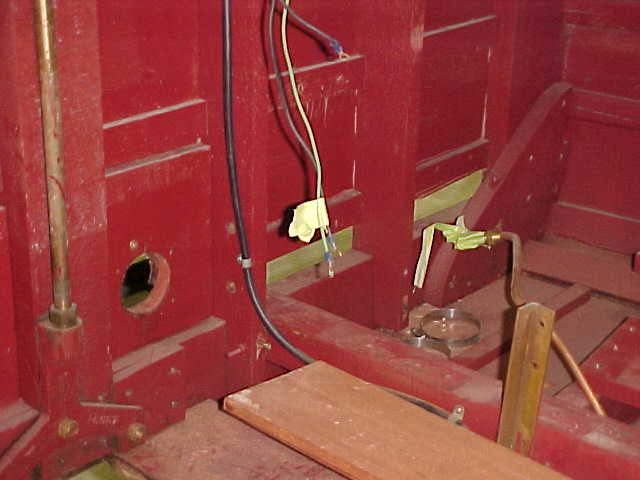
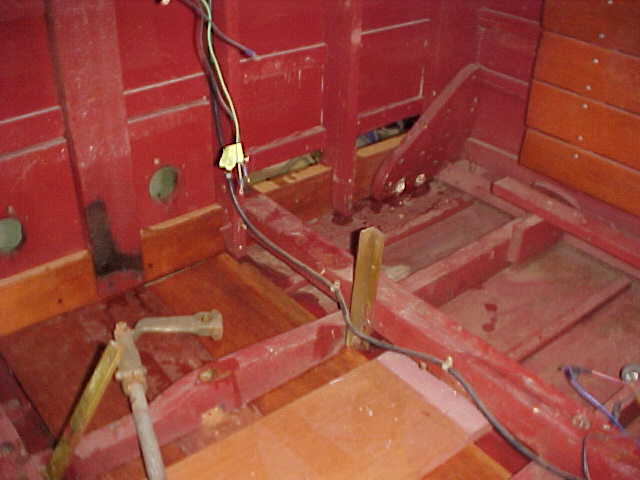
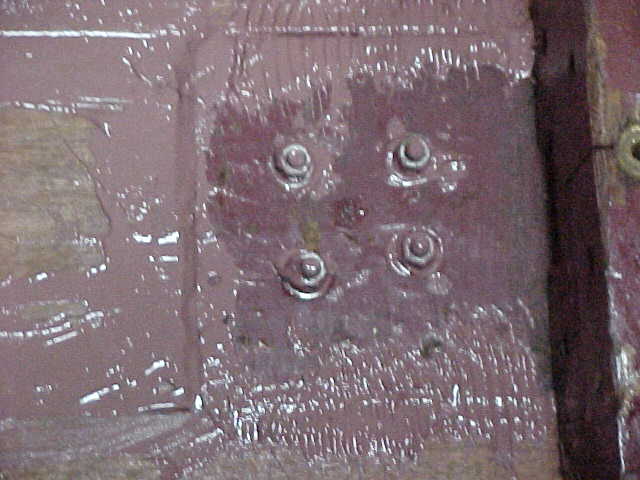
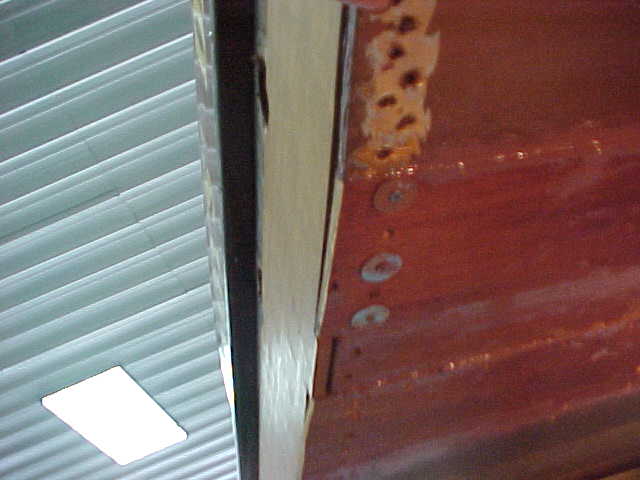
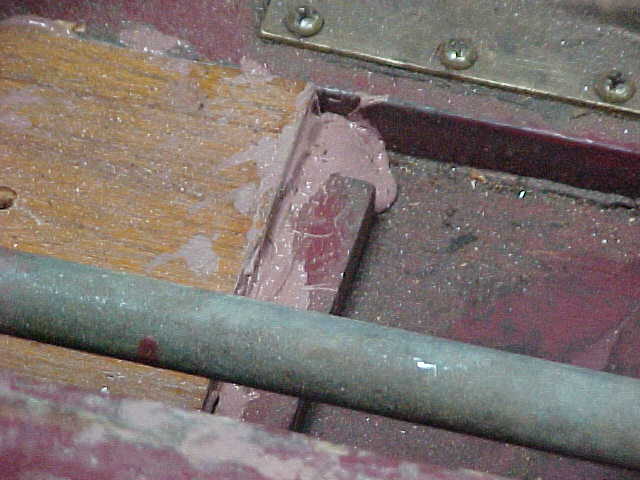
Here we have the rudder shaft and packing gland tube. Notice the area around the tube and one of the carriage bolts. This dimple show soft areas in the, also just below is the start of the open gouge shown in above photos. wood which is rot
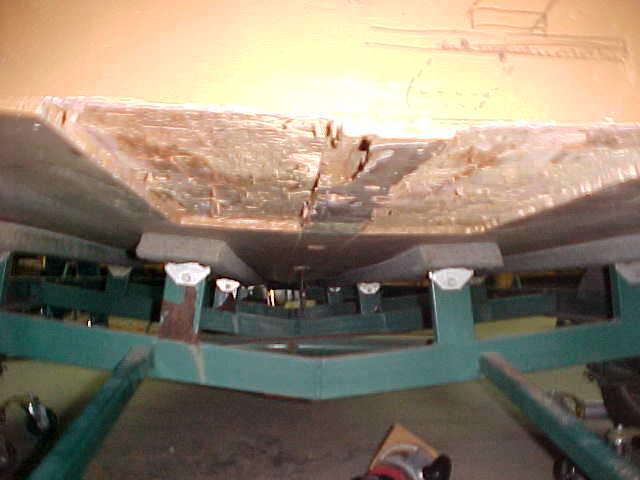
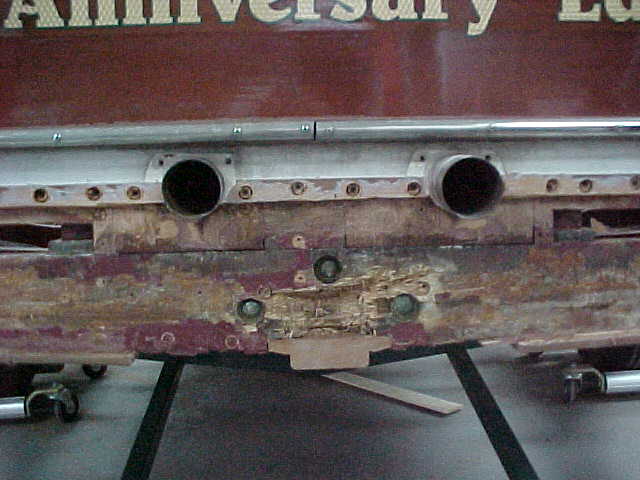
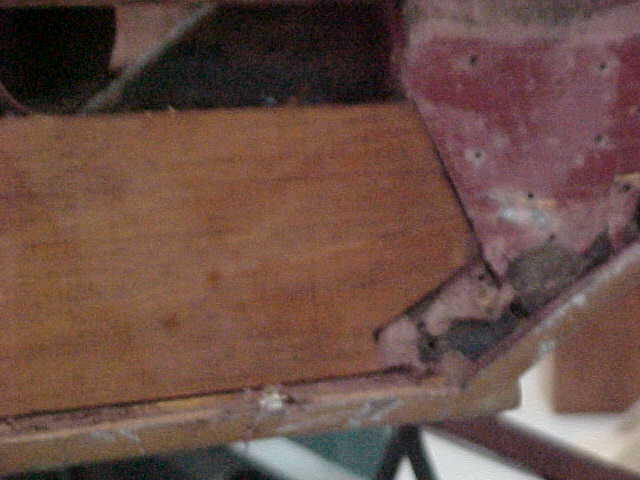
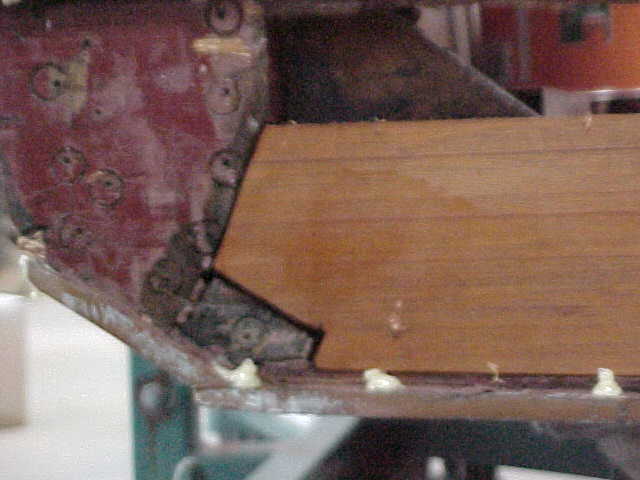
Above two views... left shows planned area to be removed looking at it from the bottom. The right is a view from inside showing the area to be removed to access the bottom planks to repair.
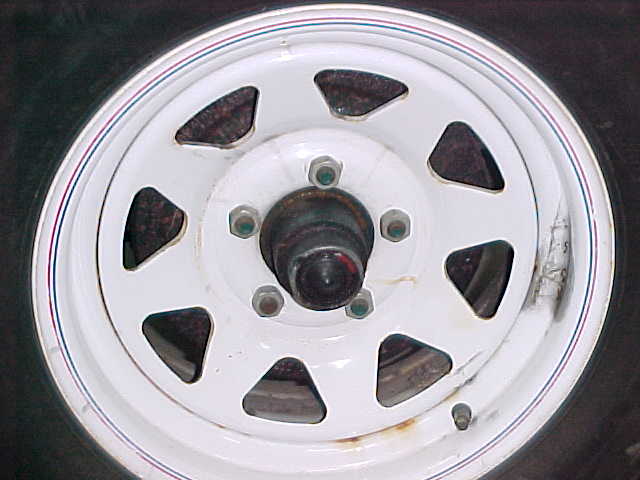
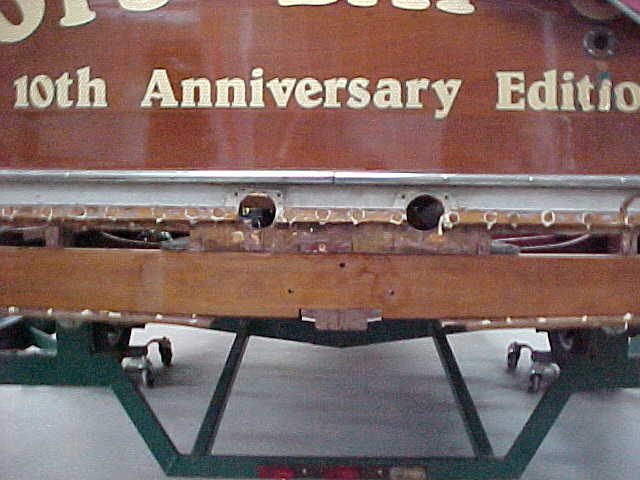
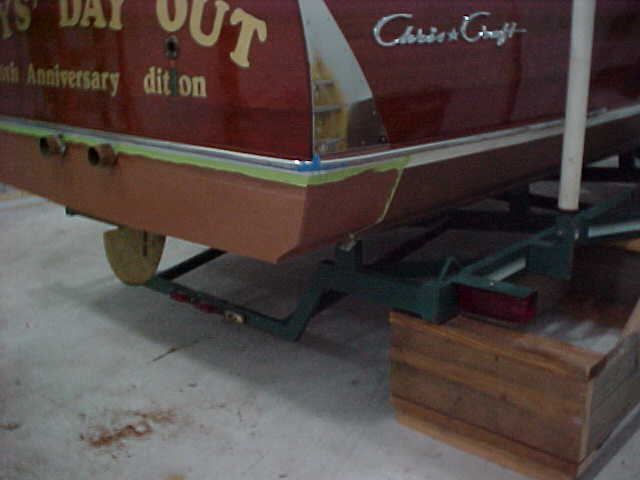
Pic of the right trailer wheel and hub, which was smoking when arriving at Woodies. We will be removing and inspecting this to see what needs to be repaired. Suspect as a minimum the wheel bearings.
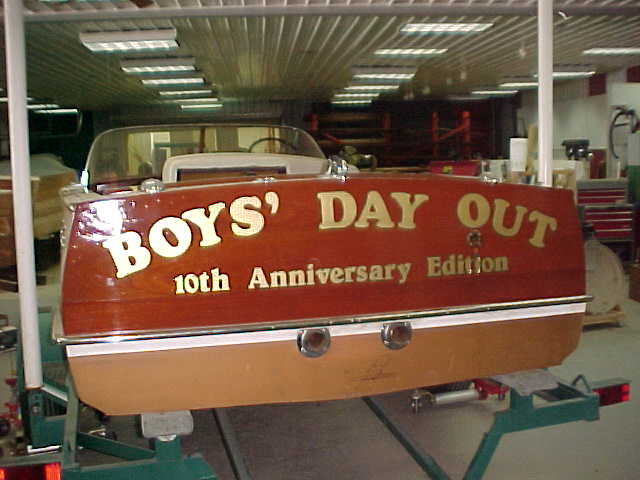
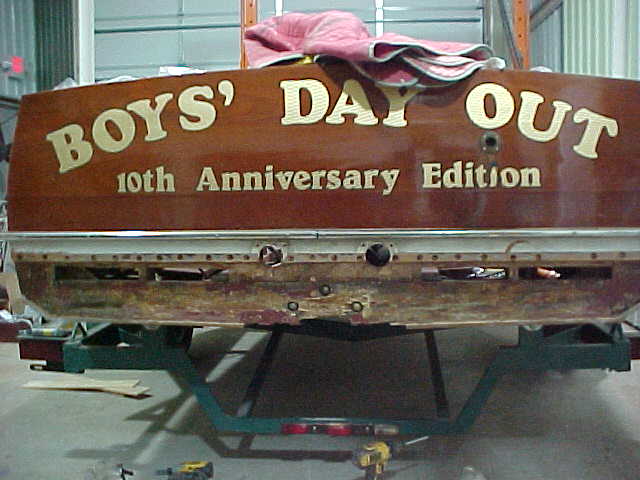
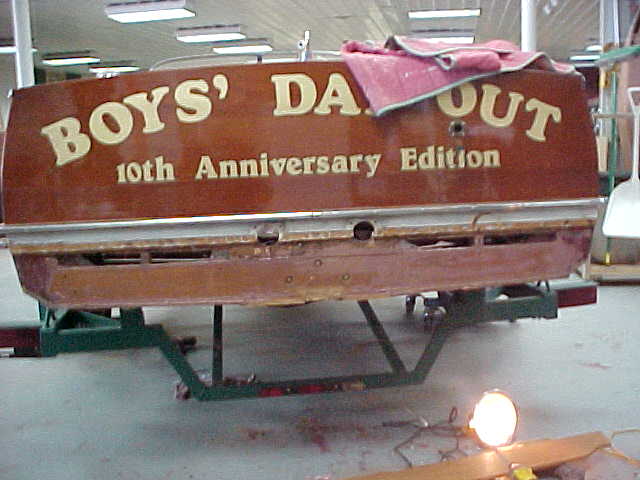
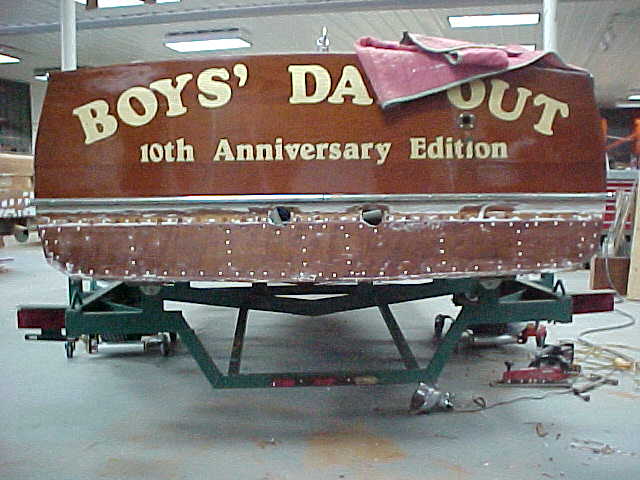
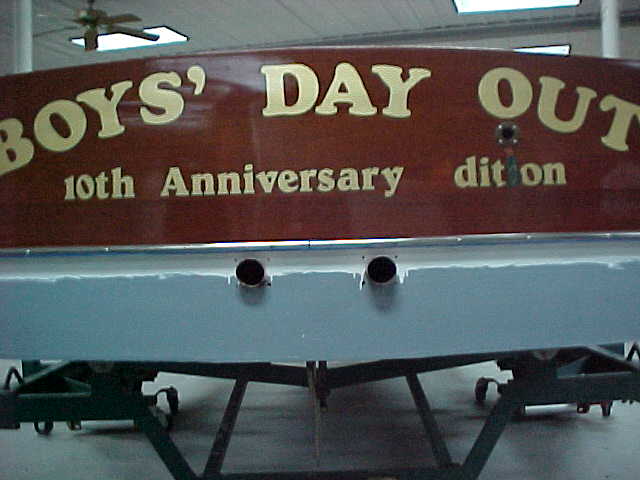
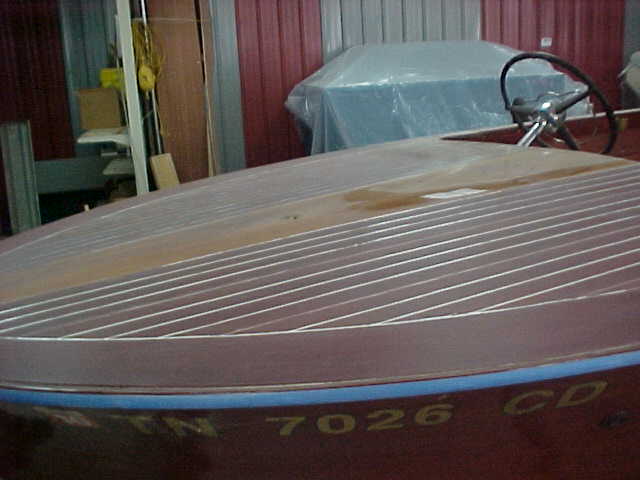
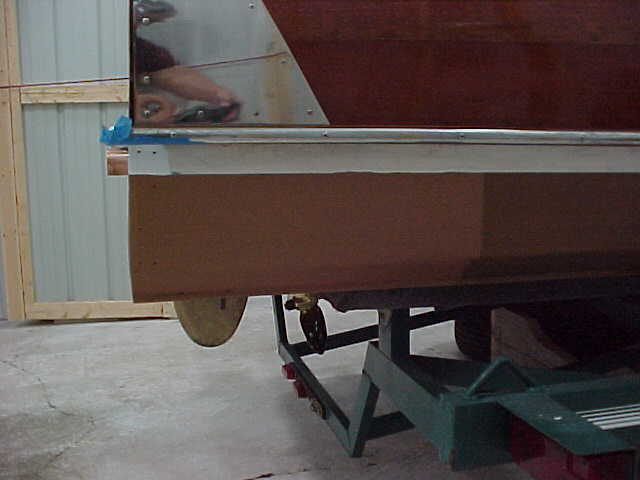
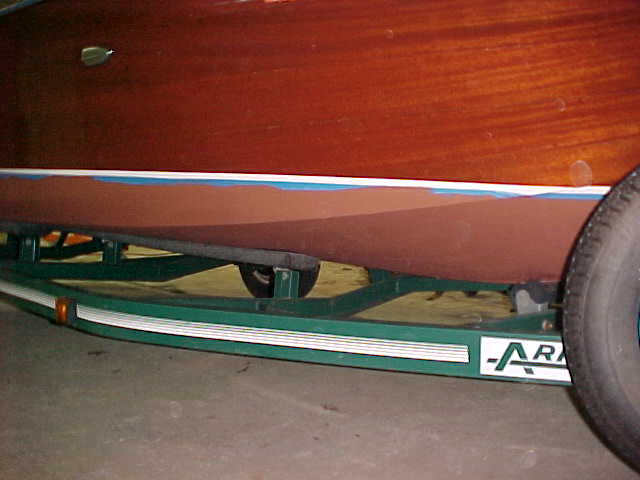
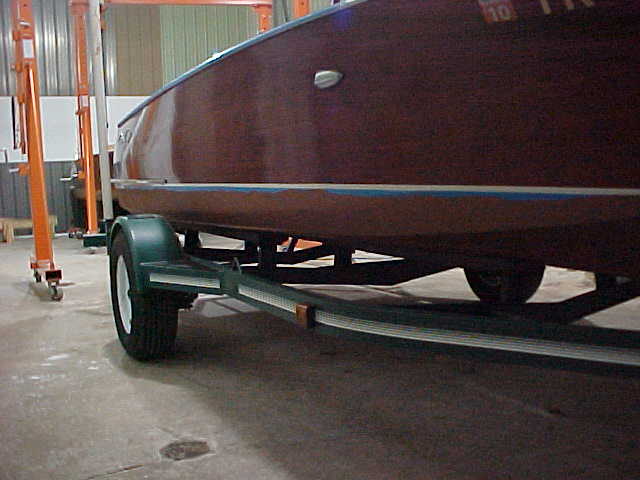
1959 Chris Craft Ski Boat
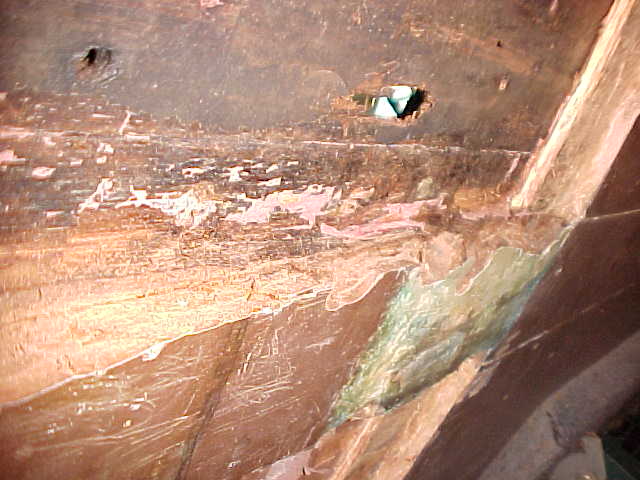
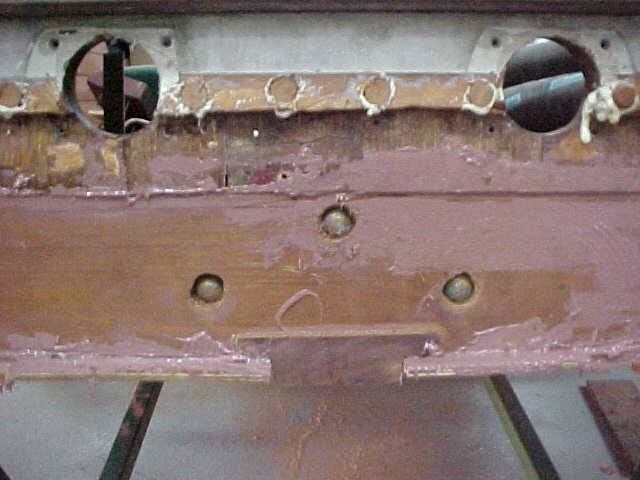
above is bottom port plank removed showing ply and keel rot
another pic of port showing bottom panks remvd and the keel rot
view of the bottom planks remvd and ply showing
view from aft showing planks off bottom and keel rot
pic of ply being rmvd form bottom
port bottom, ply remvd and showing 2 holes penetrating thru hull on ply used for shelf
pic of bottom cutout showing ply shelf and plank bottom
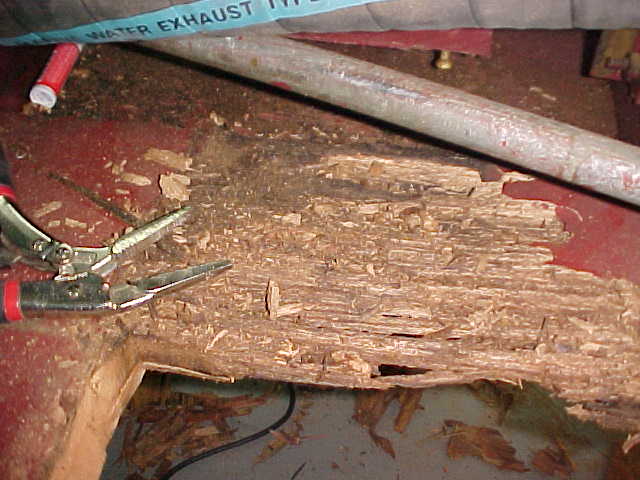
stbd side bottom plank showing rot thru
inside stbd, garboard plank showing rot
inside garboard plank stbd side next to keel showing rot
prt side looking at bottom from insside boat showing hole penetrating hull. This is thru the ply shelf made
aft of the previous pic showing the 2nd hole penetrating thru hull in the ply shelf
pic of the stbd garboard plank inside showing rot. This is outboard of the keel, on both sides
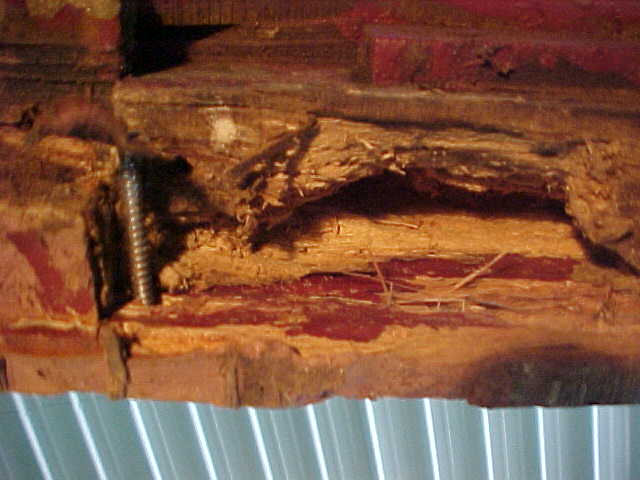
pic of the keel from inside boat showing rot and shaft support location. Need to cut out where arrow points, which will be 4 inches past seen rot.
keel edge line
old keel removed
transom bottom middle, rot where keel connects, arrow 1 is transom, arrow 2 hole in bottom plank of transom
looking up at transom center support beam, rot appx 4 inches deep up into beam
transom bow from bottom showing pic wstuck in and the hilt is even with the bottom planks, arrow 1 shows bottom planks, arrow 2 shows aft planks and hilt height
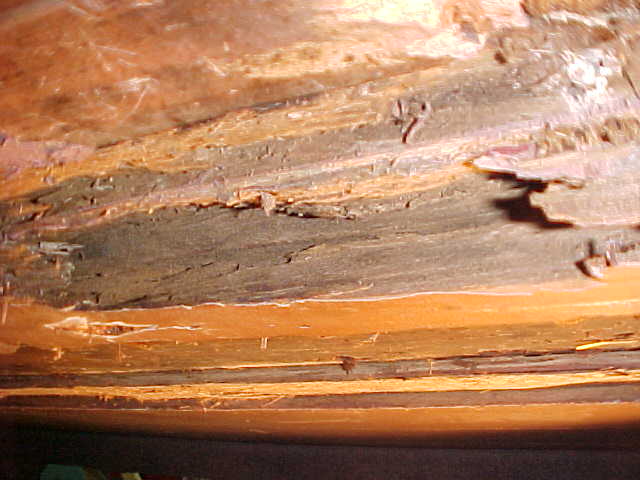
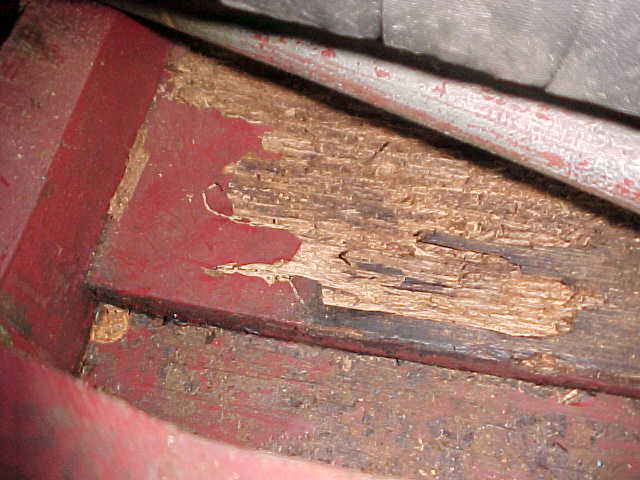
keel removed, plank to stbd showing rot. Arrow A shows 5200 sealant and as we see rows of it instead of solid spread layer. This is the culprit of your rot. B shows an edge of board whic was rotted alsodue to water and mold spore groth.
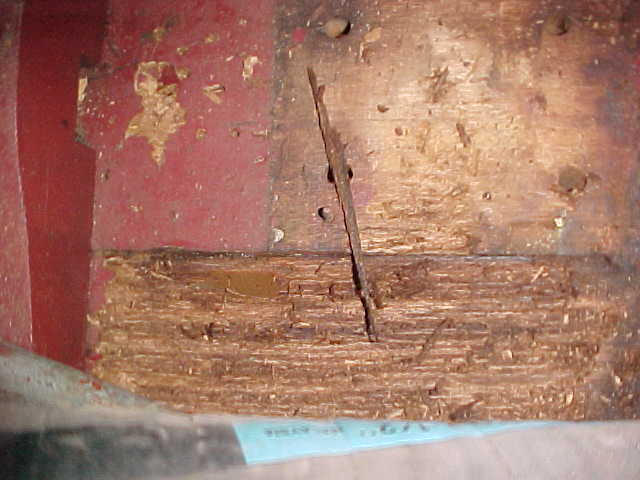
from inside boat, stbd plank by keel shows a lot of rot
transom bow rot under lifting ring support, also shown is rot in bottom plank of transom, looking from underneath facing aft
close view of transom bow rot, screw shown was for the keel but not holding anything. Arrow 1 shows transom bow good area, arrow 2 shows planks on back of boat.
view of rot in transom bow from directly underneath, rot is appx 3/4 way thru bow and approx 5 inches wide
hole in 1/4 ply port side
another hole in port 1/4 ply
The decay in the transom bow is approximately 3/4 way into the bow and about 5 inches wide. Also bottom transom plank has rot in middle area about 5 inches across and 2 inches high. All rotted keel removed and side adjoining planks inside hull were removed also, support plank running across for the shaft support strut was removed due to rot.. The keel will be replaced with a specifically cut piece and other internal planks will also be cut to fit and replaced. This rot was caused by, as we see it, improper application of the 5200 sealant between the layers of wood and seams. Should be applied in a solid spread layerr with groves to allow boards to squeeze the 5200 flat and cover all voids and spread out thru the joints between boards. Without this the water has channels to follow and sit in which allows mold spores to grow like a cancer slowly eating away the wood.
work notes
approx 5 inches wide
#1
#2
#1
#2
lift ring support
bottom plank aft
aft planks on transom
transom bow looking up rot
#1
#2
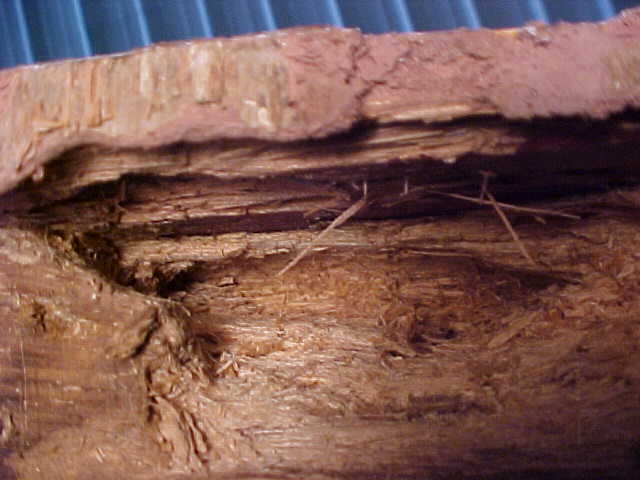
Above is transom showing rot in bottom plank which is attached to a support beam(transom bow), which holds stern together and is bent with steam for strength. We will have to remove this bottom plank and then the transom bow. this will take 1 to 1 1/2 days. Then we will replace these which will be another day, day and a half. After we will reinstall keel and all associated bottom planking which will be a day and a half. This gets us to 5 days, then we will sand prep cepes and paint. Actually it is a little more involved than just described but it gives you a good idea of the extent of the work. We do not expect to find any more rot as we have wlooked it over carefully. The 2 pics to the left show the transom bow from a bottom view with my finger in the hole and as you see it is 2 1/2 inches deep into the wood. "actual length of finger from tip to middle nuckle".
A
B
2 pics above show cut out of old keel and rot
transom bow at keel showing rot and new keel, temp in place
port side transom bow. Found more soft spots and again, 5200 not spread out for complete coverage
Above group shows transom. On port side there was a soft spot, center you can see major rot, and stbd side we see 5200 not spread for complete coverage.Arrow A shows lack of 5200, arrow B shows good 5200 coverage
pic of new keel and stbd garboard temp in place
A
B
bottom transom plank removed, note the lack of 5200 on transom bow
ripout of bottom transom plank port inside view
ripout of the transom bow, inside view stbd
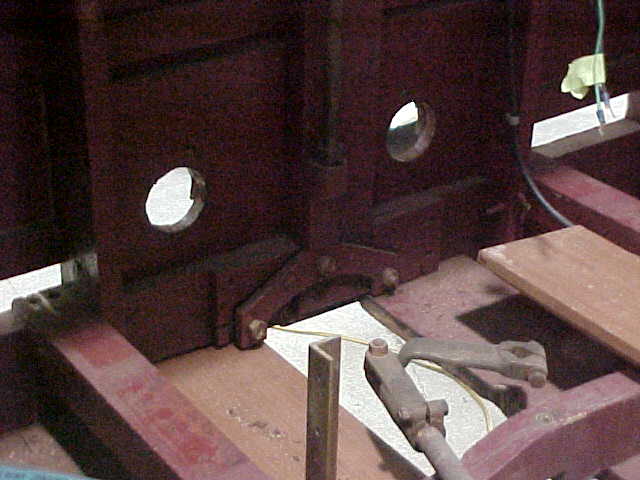
view of lift ring support rod and bracket
ripout of the transom bow, inside view port
left and right arrows show rot
view of aft transom bow being fitted
closeup of transom bow fitting stbd side, arrow shows notch cut for corner fit
closeup of transom bow port side fitting, arrow shows notch cut for corner fit
pic of inside aft transom showing new keel and both garboards temp installed
inside view showing both new gar boards and keel. Also cross support plank for the shaft support, temp installed, see holes drilled for keel bolting
inside view showing new keel and gar boards and port corner temp installed
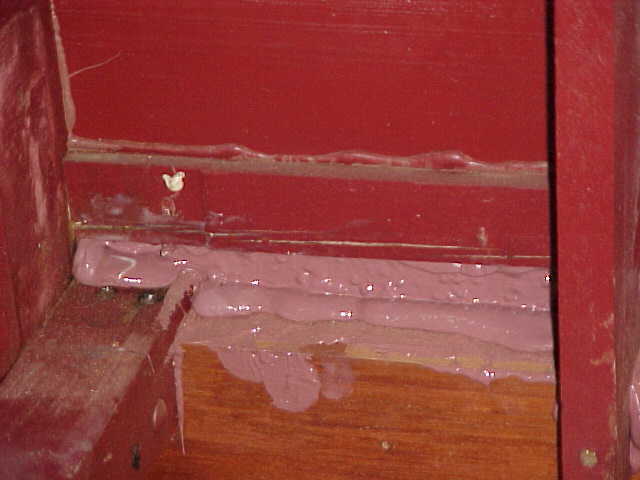
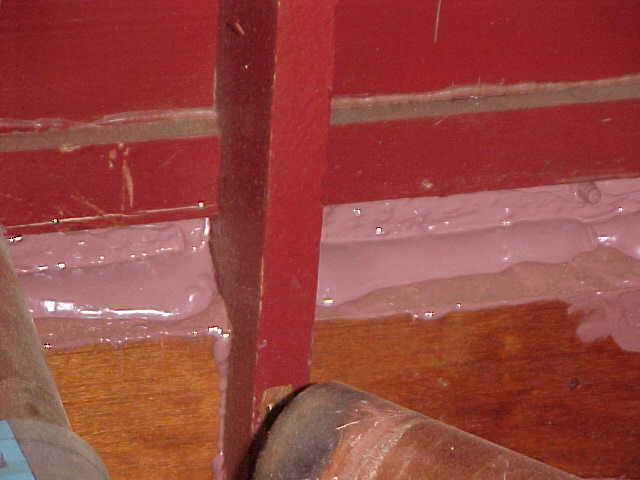
4/29/10 we are putting her back together, note the 5200 being spread over all surfaces to insure complete bond
Click here to add text.again spreading out the 5200
transom installed and excess squoges wiped off
inside view shows squoages at bottom and transom bow joint
inside center at keel joint and transom bow, lot of squoages
just a pic of clened out bottom
showing stbd garboard squoages
transom and bottom inside view
Keel lap joint and carriage bolts securing it and 5200coming out of all the seams.
Looking from aft to fwd, pic of innerlay plywood with full spread 5200 and excess cleaned from joint facing
securing inner ply layer imbeddeed in 5200
other side inner ply piece secured in 5200 bed
pic of both sides inner ply showing 5200 from seam at keel and cleaned off for dripping
pic from aft of transom showing new innerply installed with a solid bed of 5200
bottom plank of transom being fitted
new transom plank rough cut
bottom transom plank fitting
both bottom planks port and stbd of keel installed
bottom planks fit to stern edge
view of inside bottom planks(garboards) installed
bottom transom plank back in place
view of stbd corner of bottom trtansom plank
port corner of bottom transom plank
bottom transom plank at keel
5200 squeezing through edges of boards as tightened
another view of 5200 excess filling any gaps and compressing under boards. Will be cleaned up and painted
5200 at the stbd garboard front edge
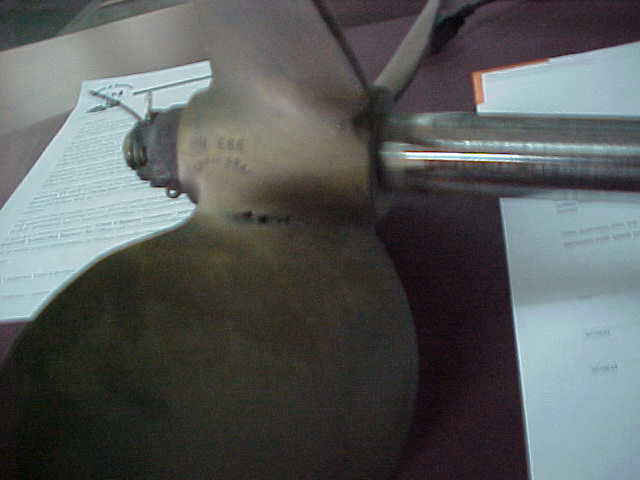
above are pics of the prop and showing deep pitted holes on all blade to hub collars
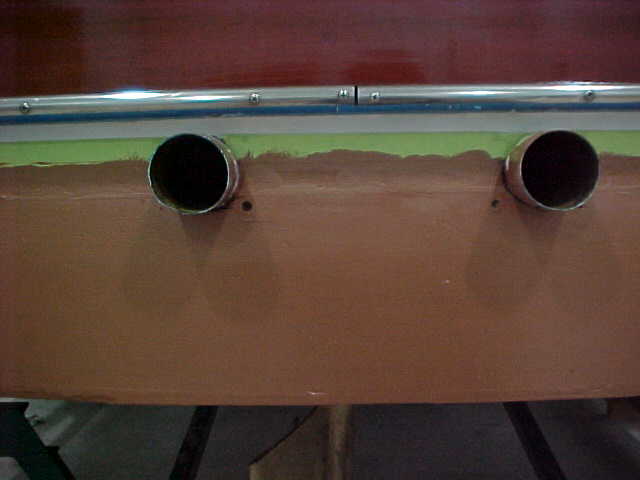
bottom transom plank primed, exhaust thru
bottom transom plank and bottom view
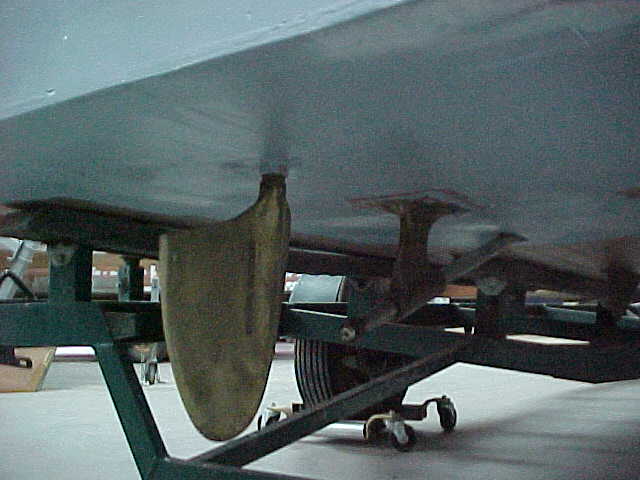
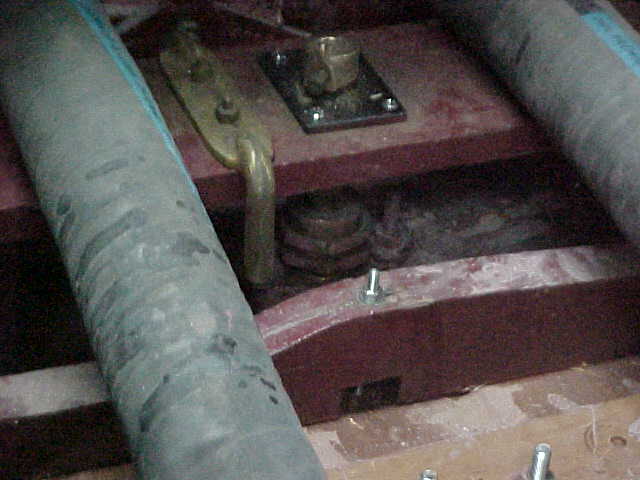
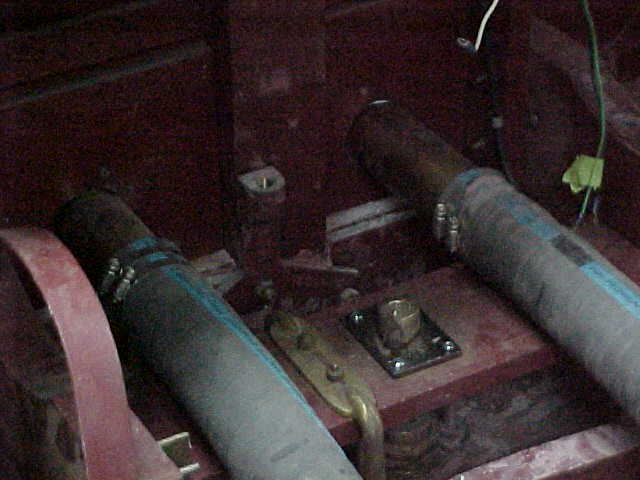
rudder and shaft with strut, bottom view
internal view of rudder packing log, sterring linkage, stop, and locking nut
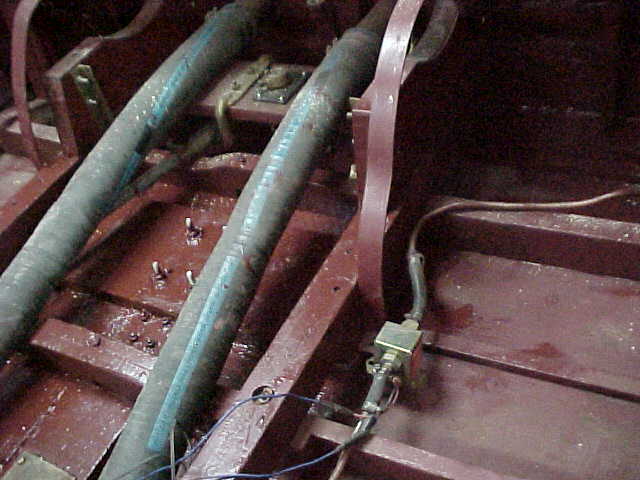
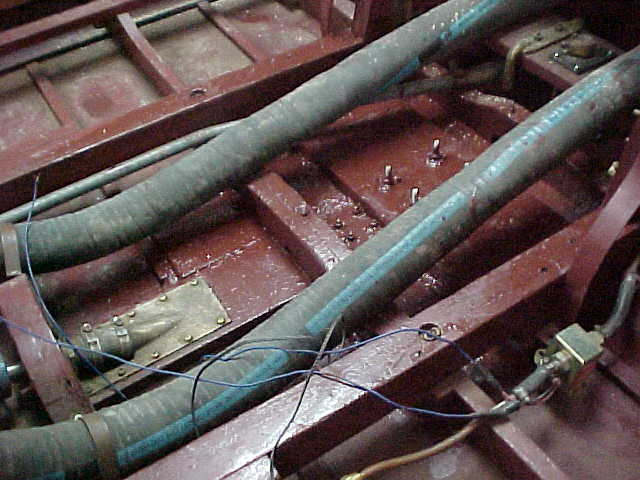
internal view of shaft log thru bolts and cross support board
internal view of exhaust hoses and rudder assembly
inside bottom painted
inside of transom painted
inside bottom shaft support painted
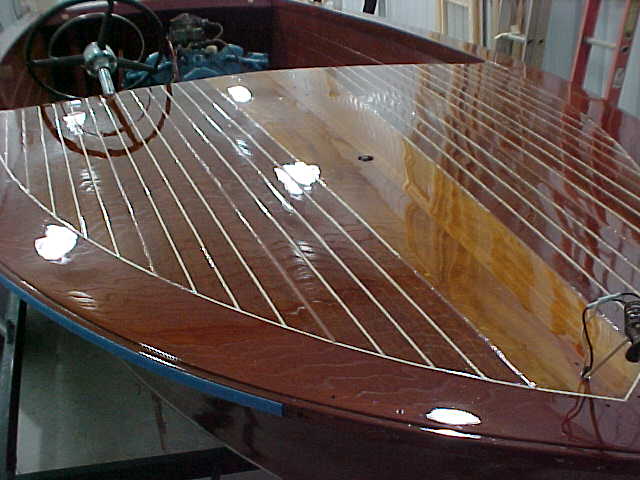
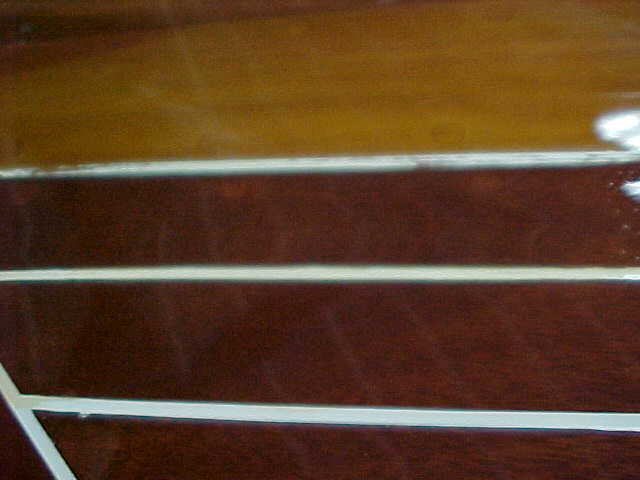
top decks sanded prepating to varnish
aft deck sanded preparing to varnish
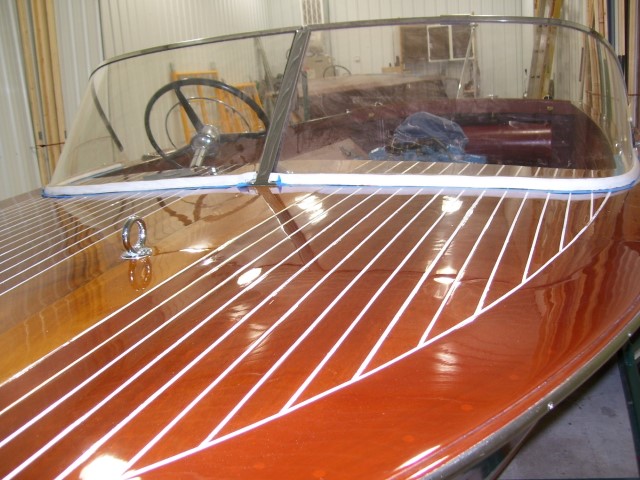
forward deck varnished Nice Shine!!!!
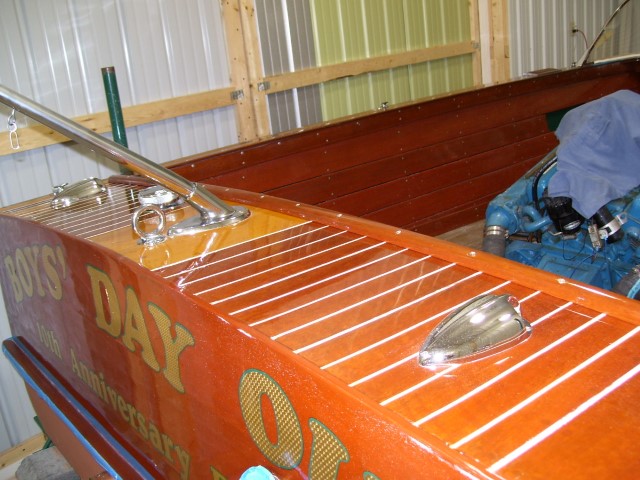
aft deck varnished, almost there!!!
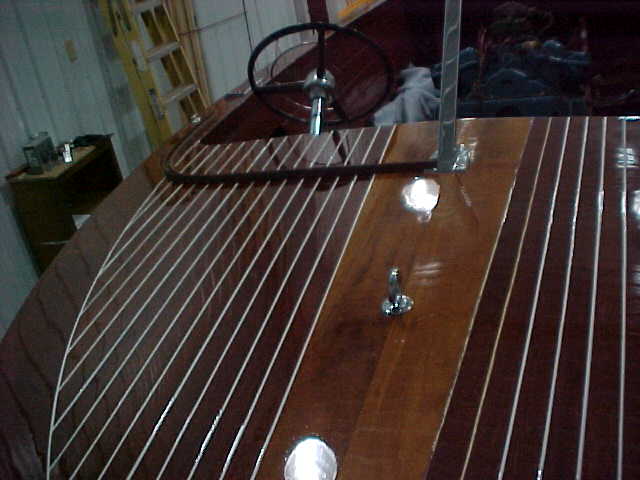
forward deck stbd view striping done and final varnish
back deck varnished and striped, chrome installed
bottom plank of transom primed and painted
closeup of painted transom
view of aft transom stbd corner painted
view of bottom primed and painted
another view of bottom painted
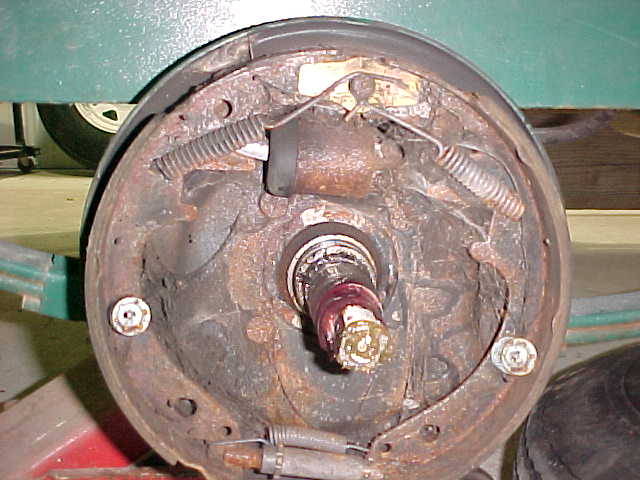
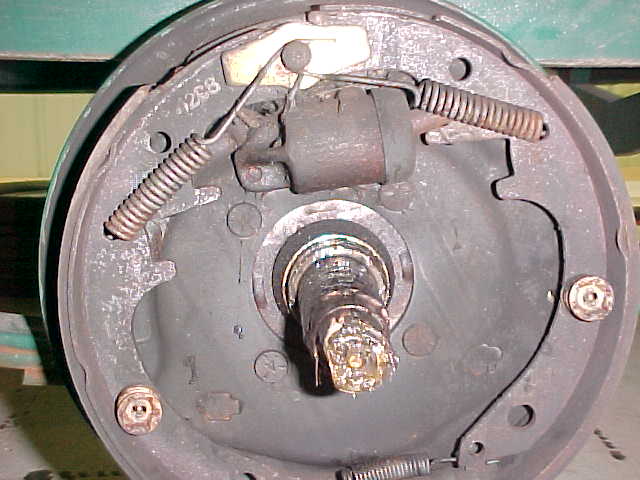
port side brake, locked up and drum shows signs of over heating, rusted with cob webs
stbd side brake, barely moves and was smoking
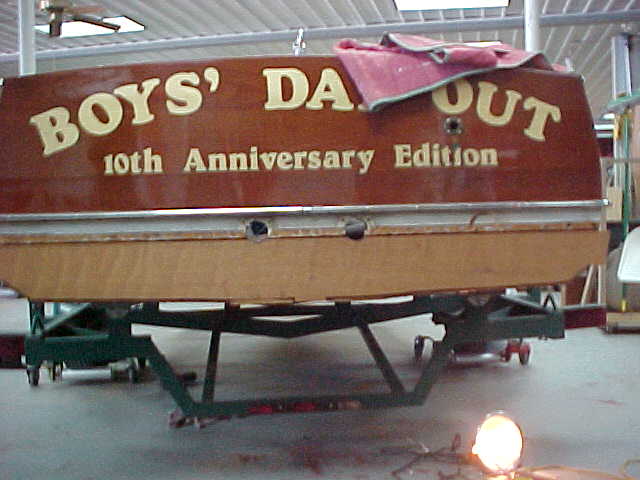
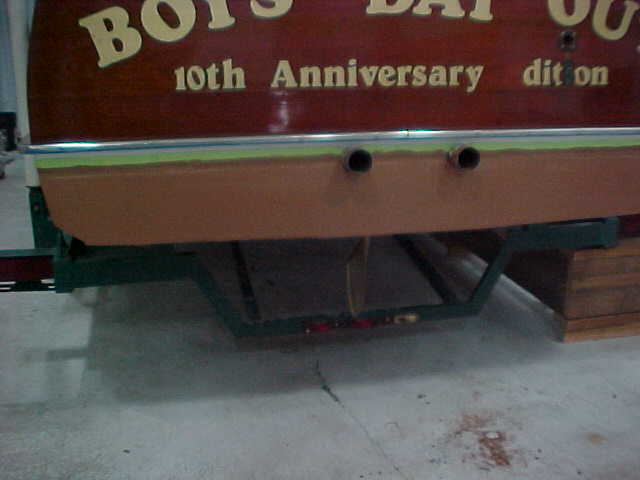
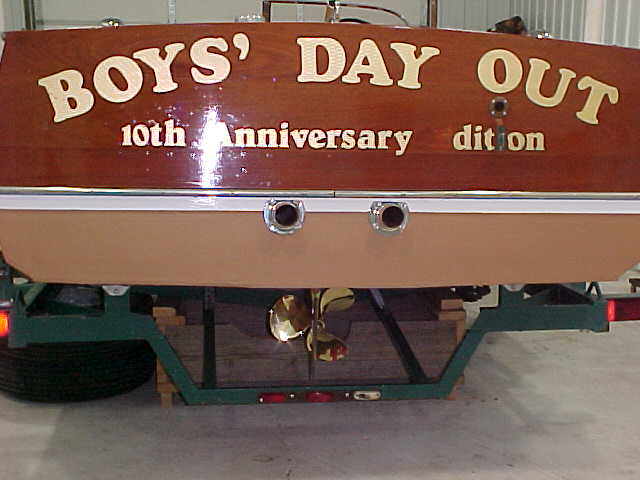
transom view of completed work
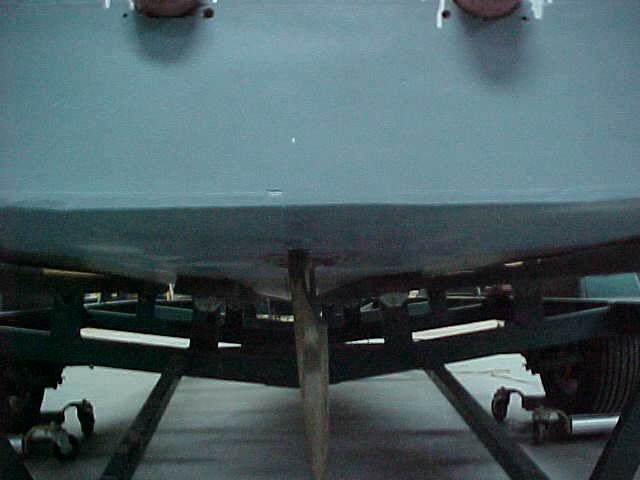
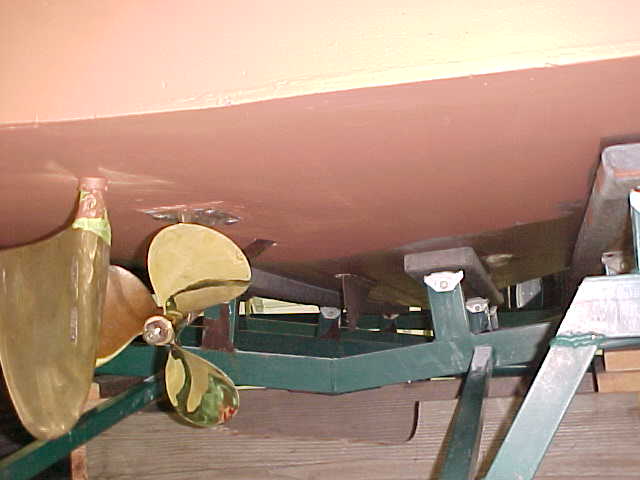
bottom view of completed work with prop installed
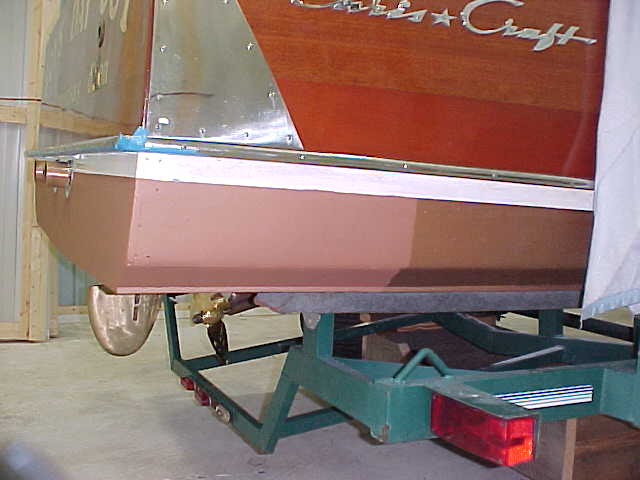
view of stbd aft corner showing new bottom paint against old bottom paint
port aft corner showing old paint against new paint without flash, still very noticeable
stbd side without flash and noticeable
side bottom painted to blend in
Folow thru with bottom paint to blend with new work
view of stbd side showing new bottom paint
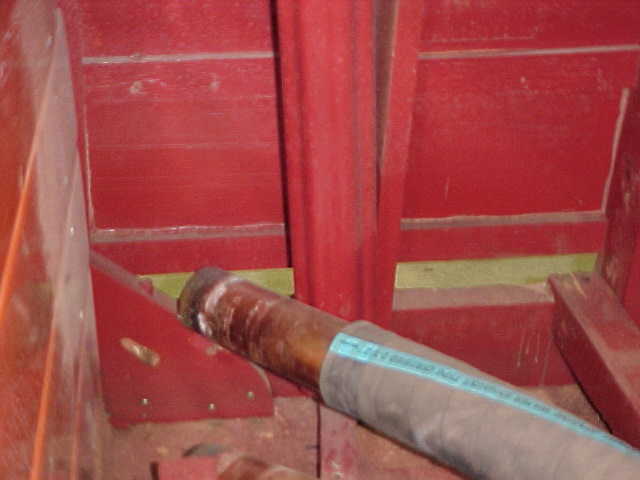
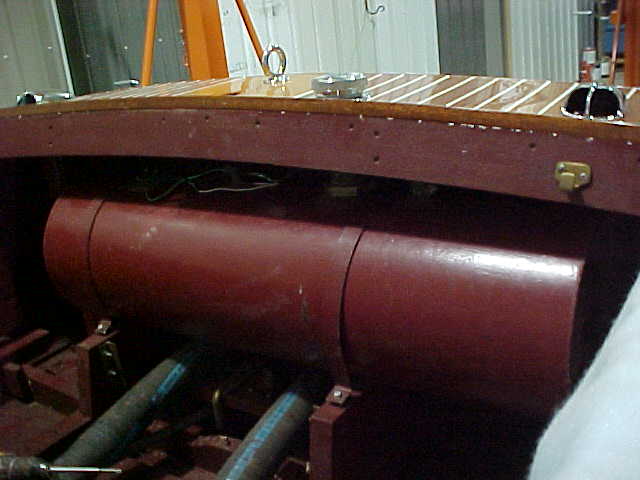
shaft log removed to plug and redrill all holes and seal with 5200 due to stripped screws and seeping leak.
old shaft log removed and cleaned ready to reinstall
5/27/10 We took boat to lake to dip test and ensure everything was ok. New repair was as expected, "No Leaks". Now I saw water seeping from the rudder log and the shaft log. Tightened rudder packing gland and stopped that leak. Tried to tighten shaft log packing gland but found water was coming from around the shaft log itself. After discussion with Jack and Paul, I removed the shaft log and cleaned area and log. I then plugged old holes and will redrill when glue sets and apply 5200 to log and boat and no more worries. I also painted around entire boat bottom edge and under the bow to blend bottom in with aft repair for cosmetic appearances.
Shaft log replaced, note 5200 seepage
Gas tank back in place
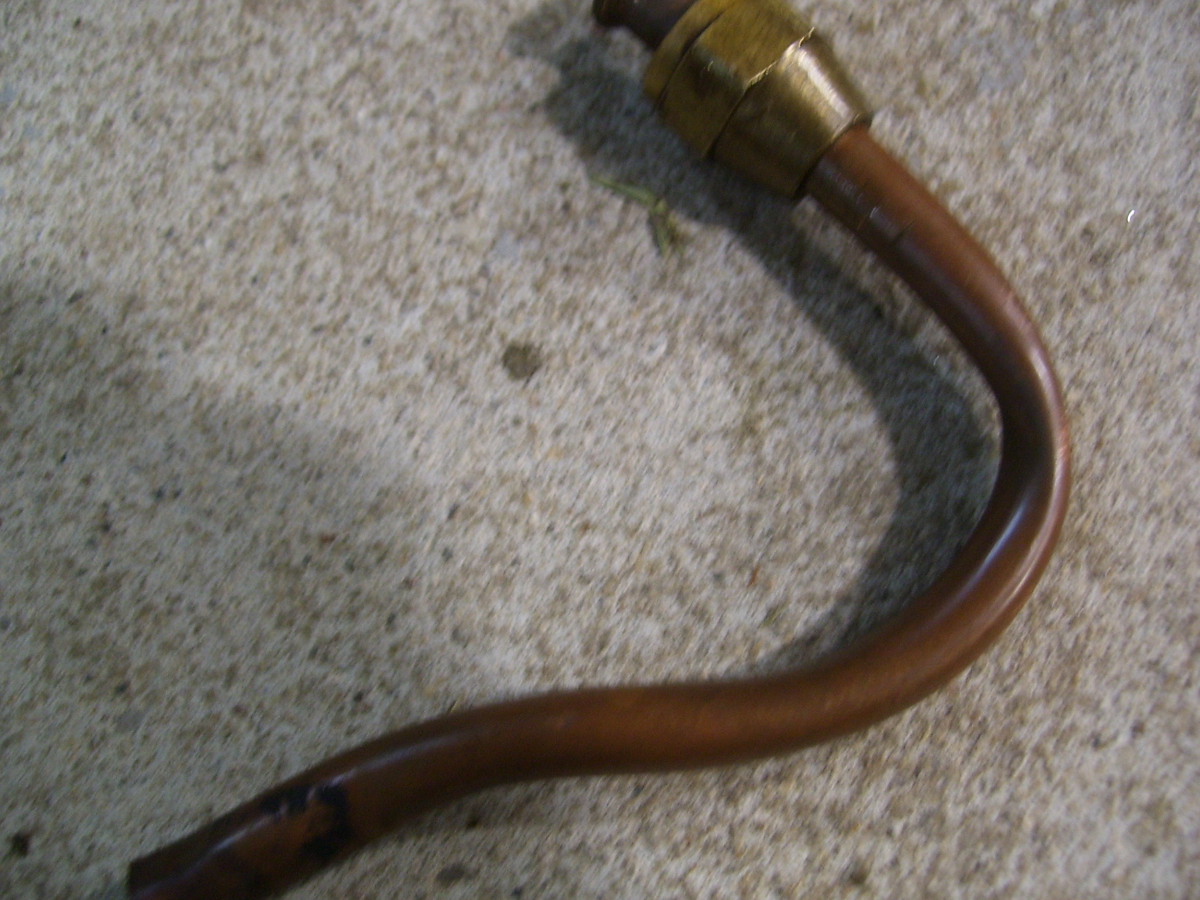
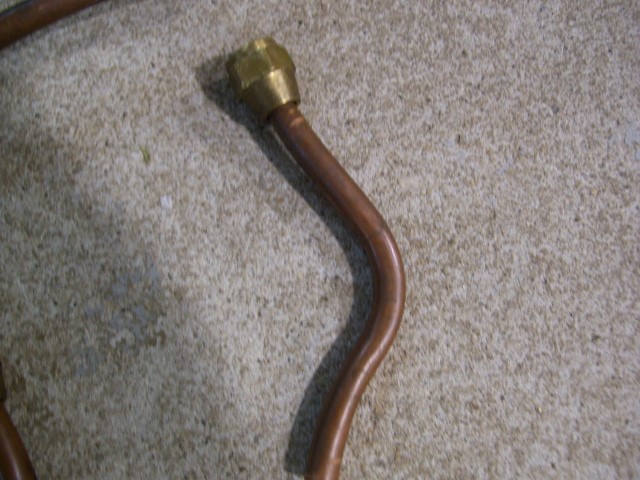
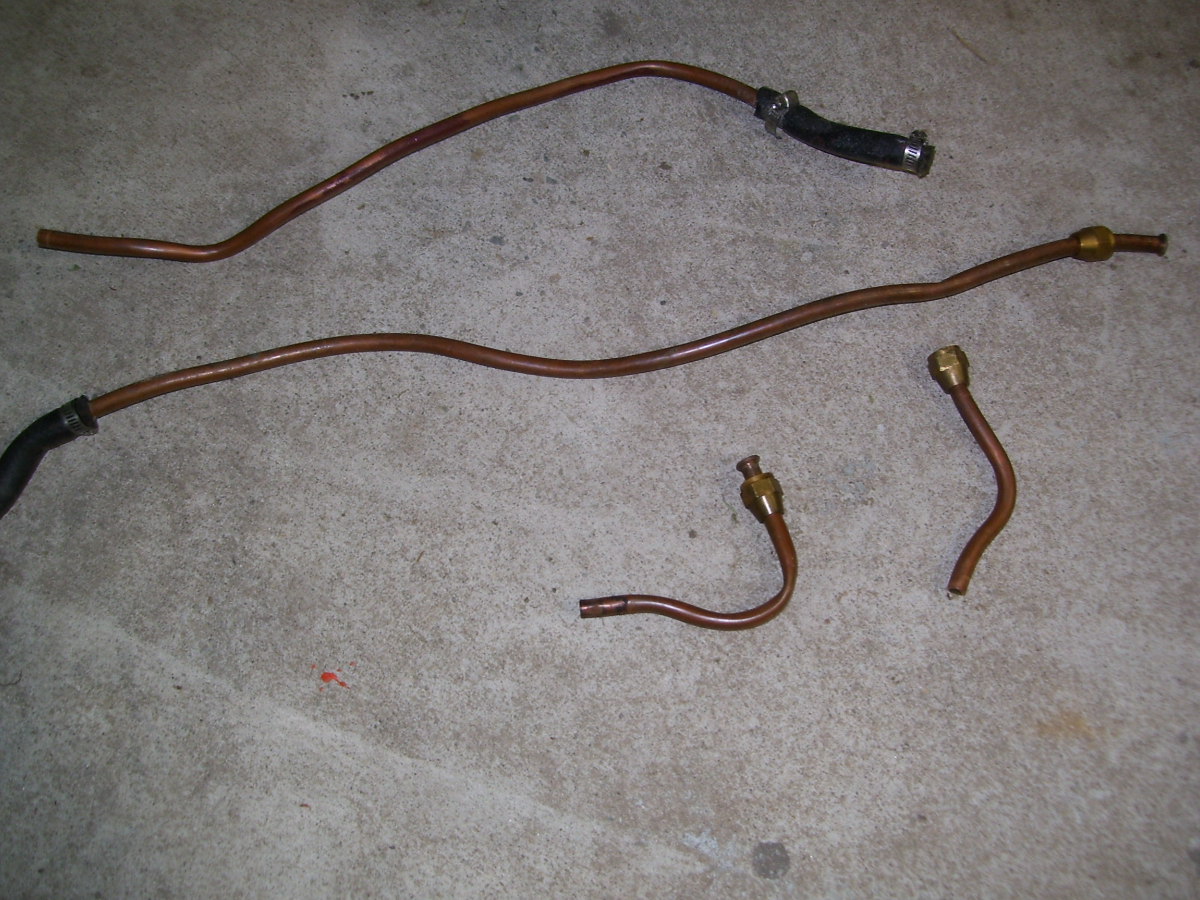
Above is old fuel line at engine, note the severe kink
old fuel line at tank, note all the bends
old fuel line, note the bends and kinks, and rubber hose connections
front bow deck and new windshield rubber going on
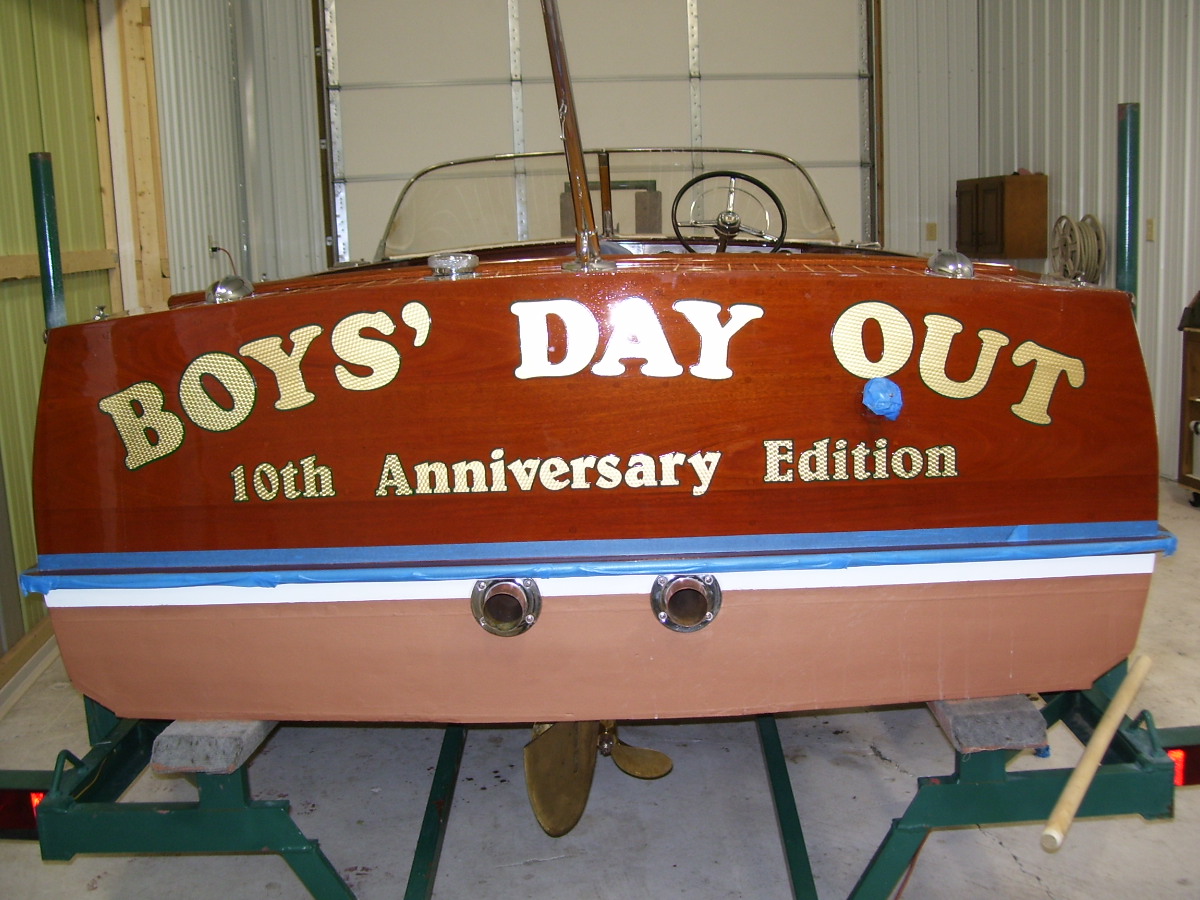
new letters and fresh coat of varnish, What a difference!!!!!
aft deck complete with light pole installed. It even works now!!!!
Above pic is of varnish issues we corrected at no charge of course