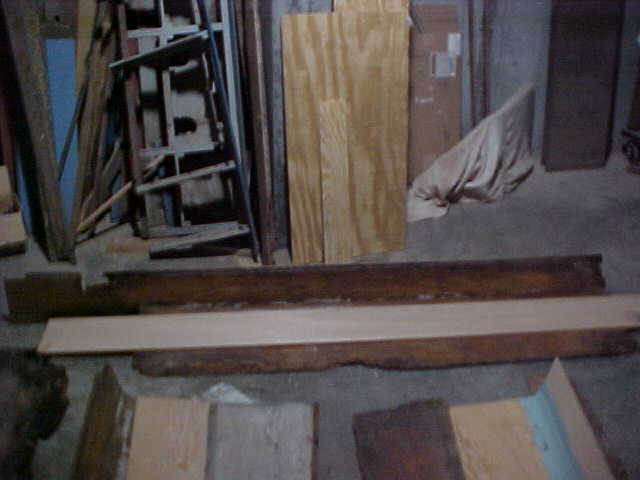
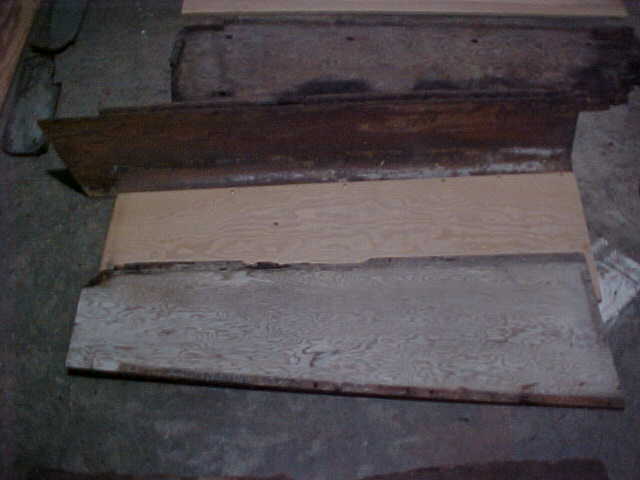
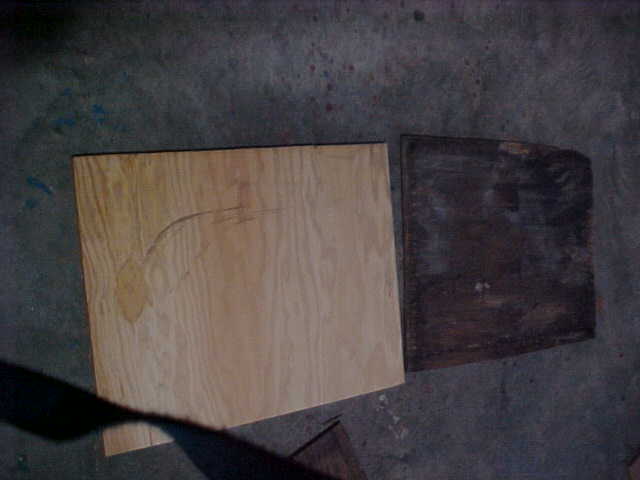
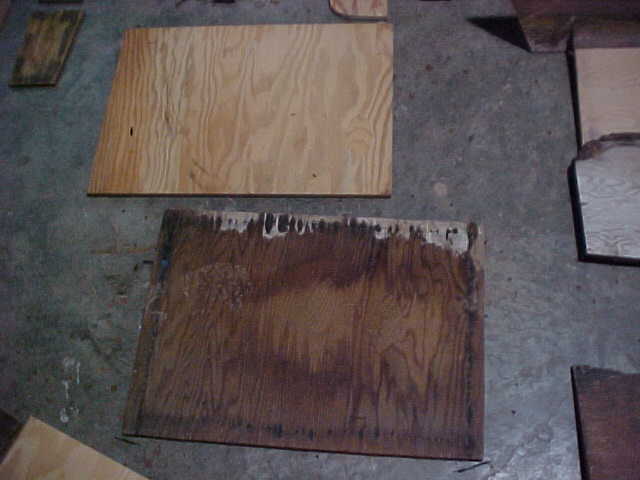
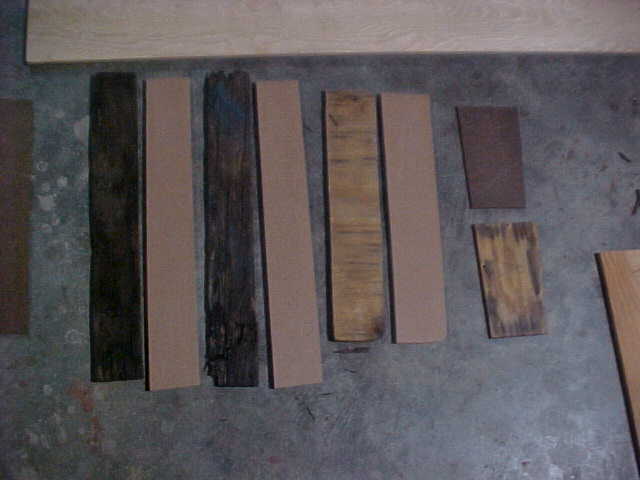
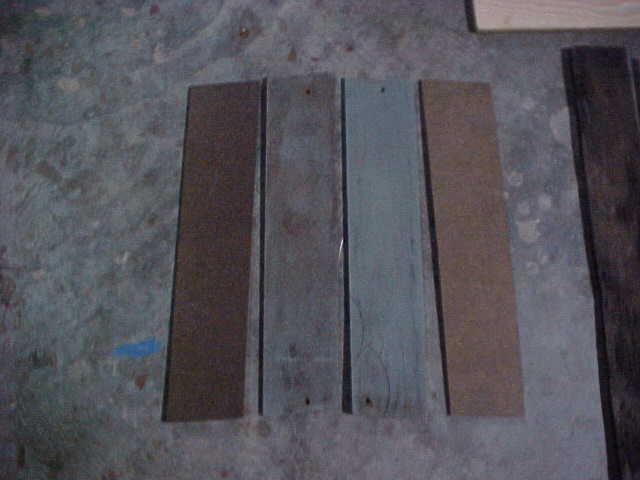
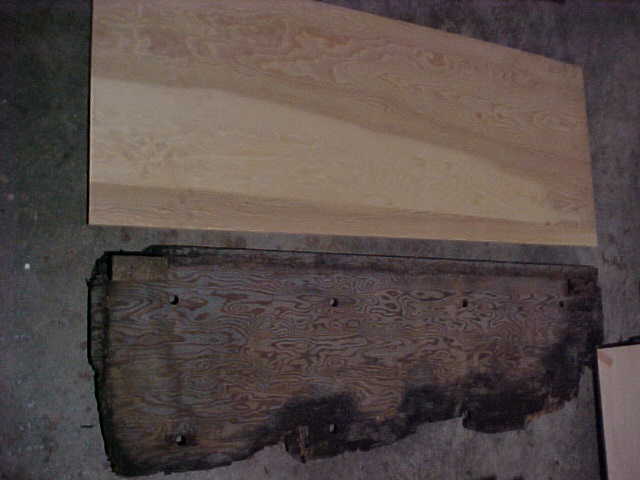
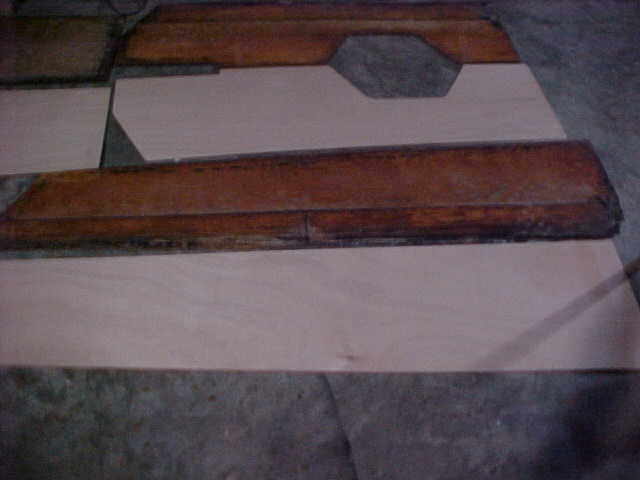
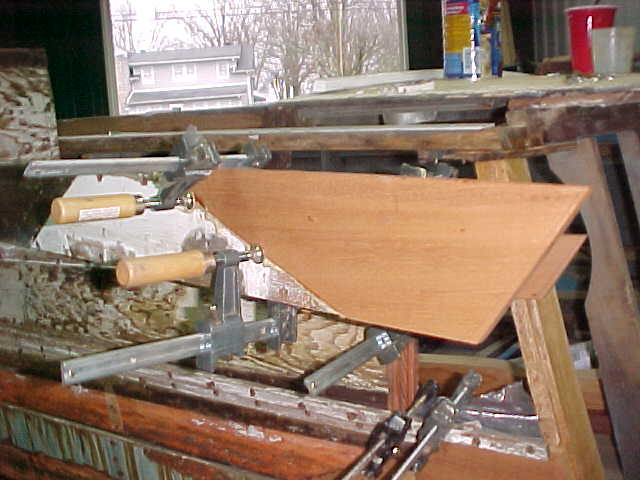
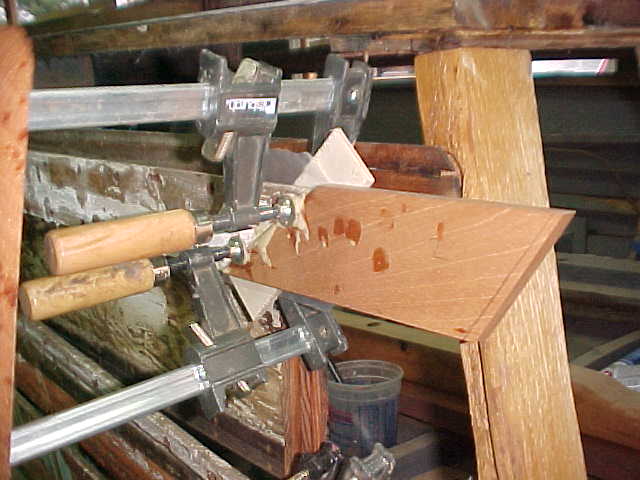
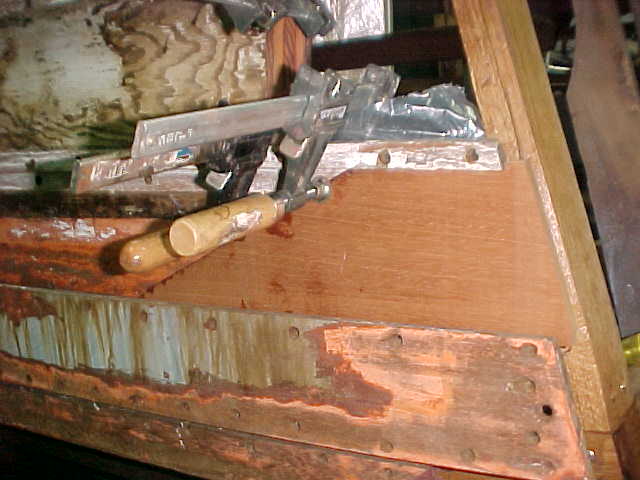
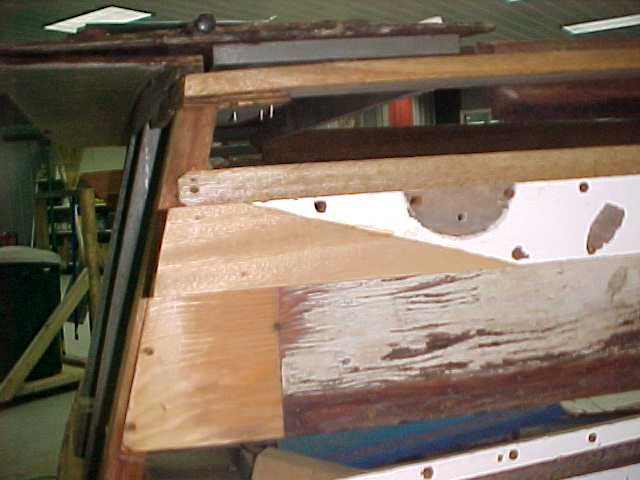
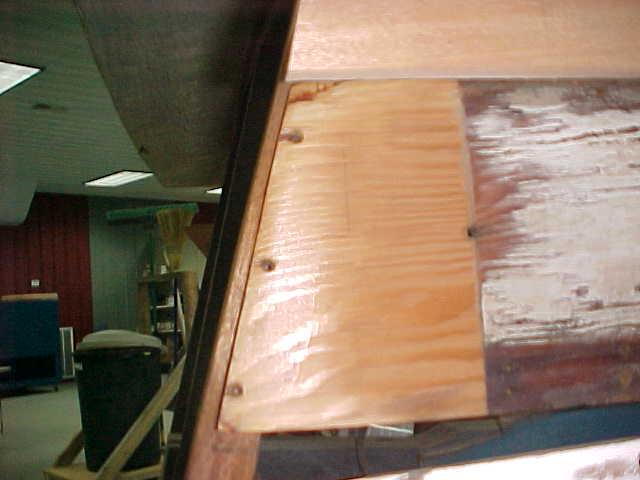
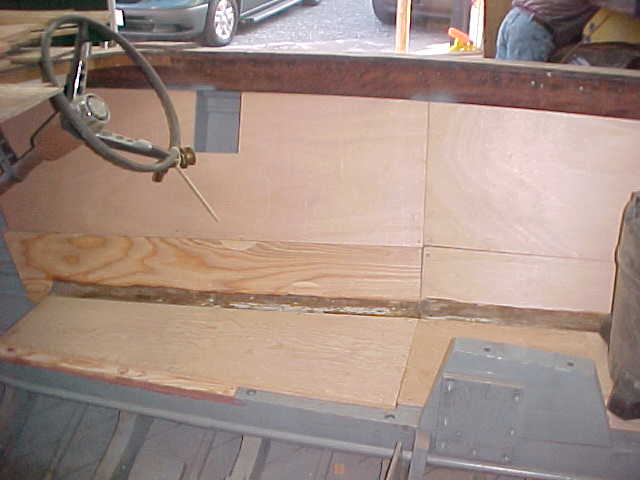
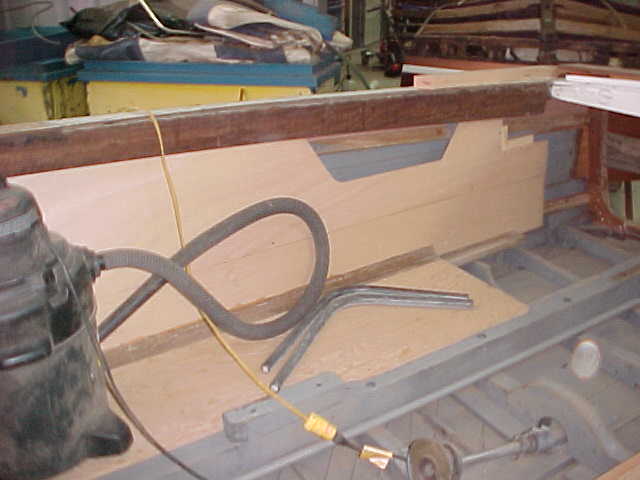
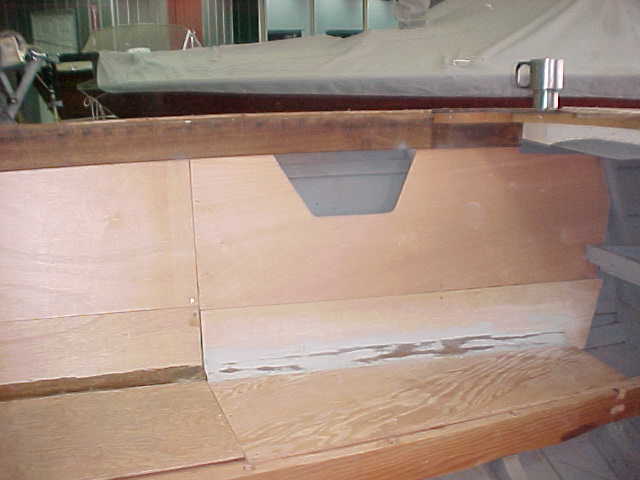
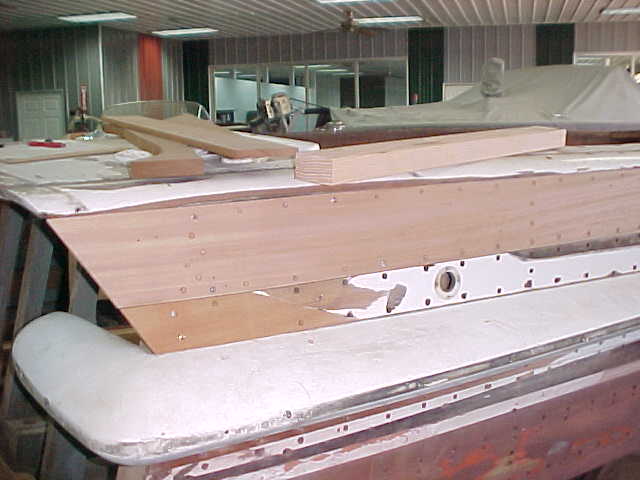
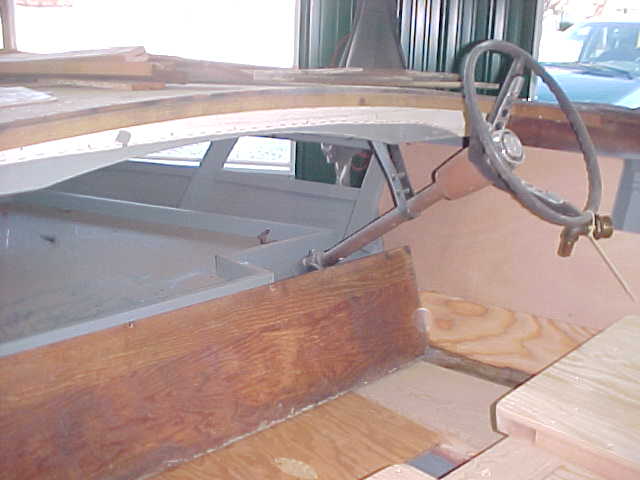
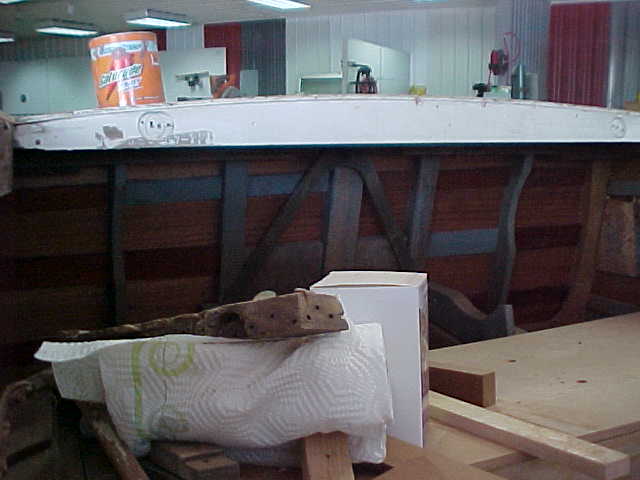
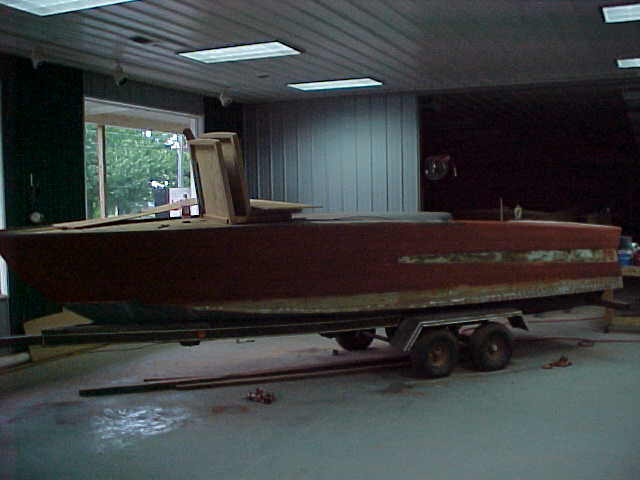
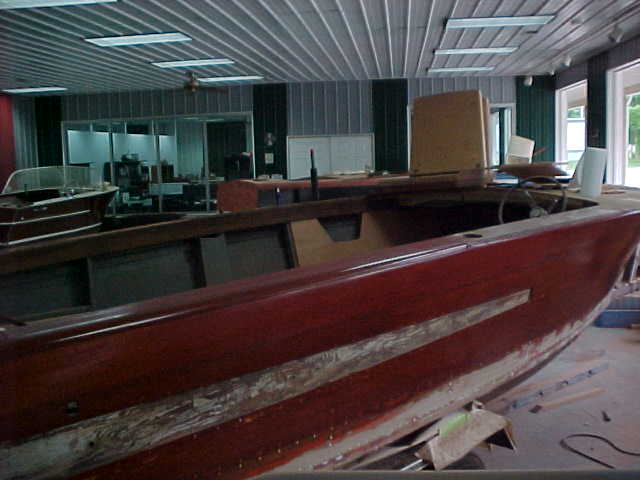
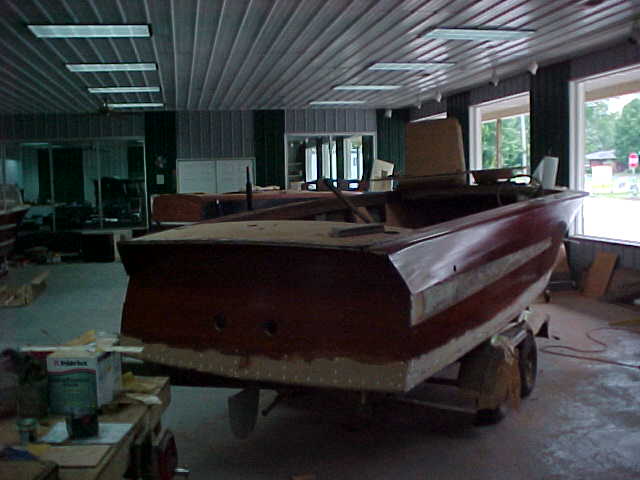
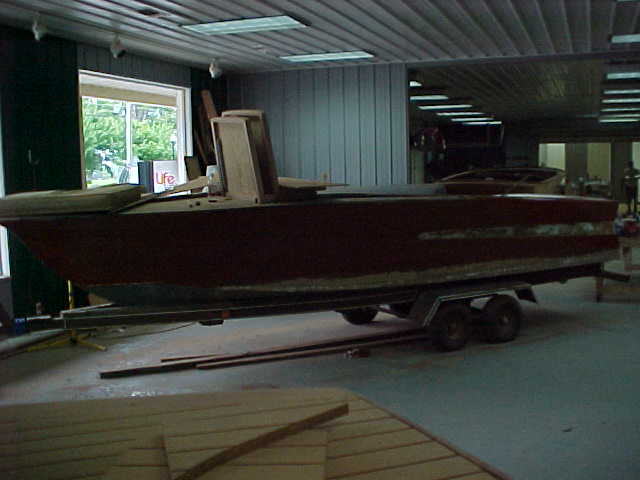
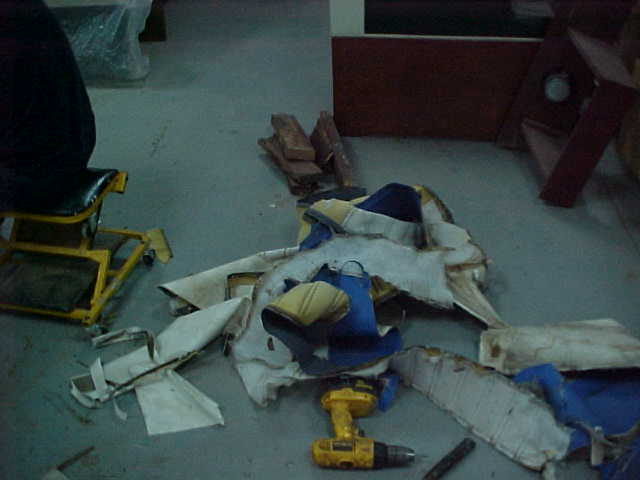
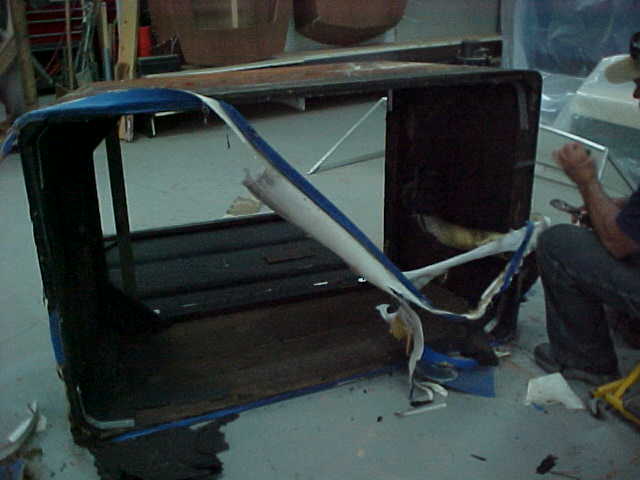
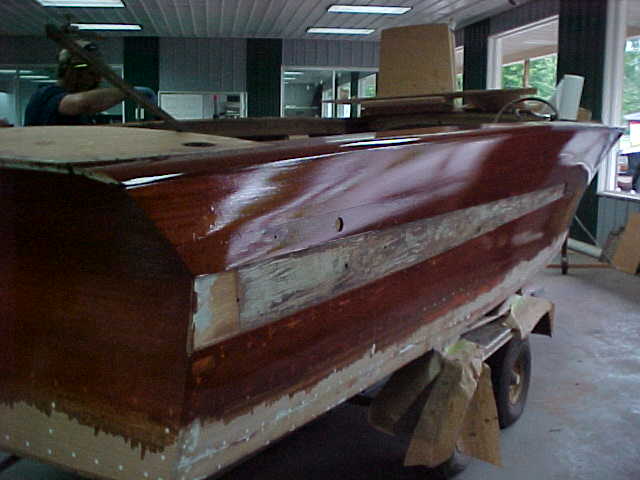
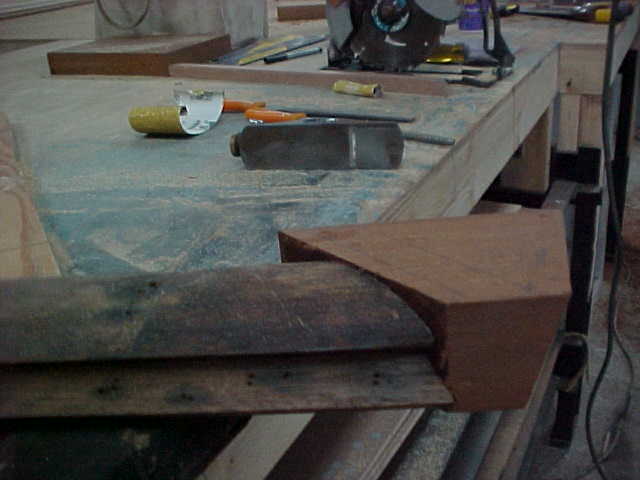
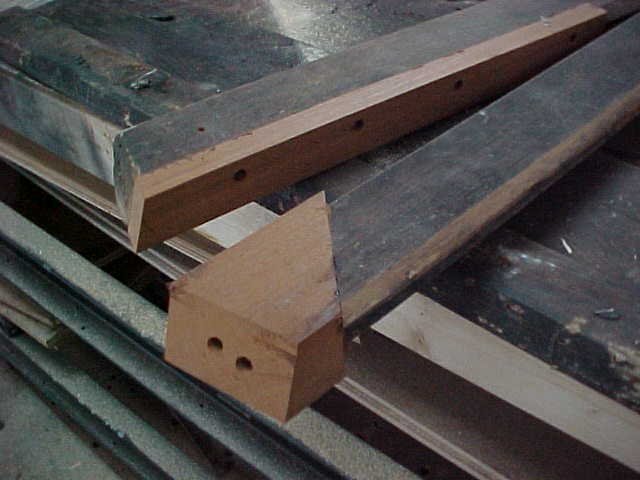
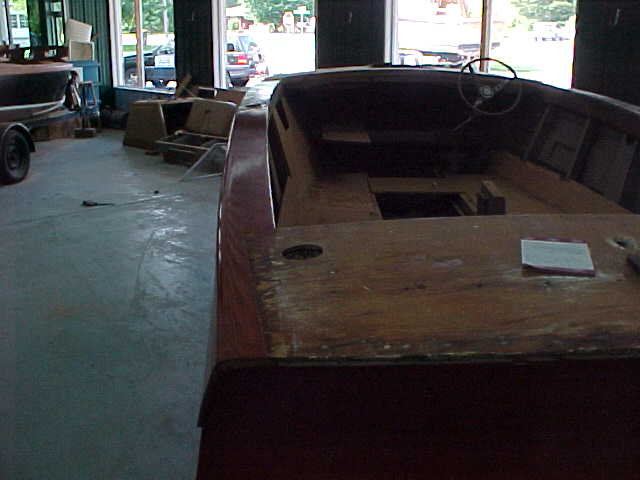
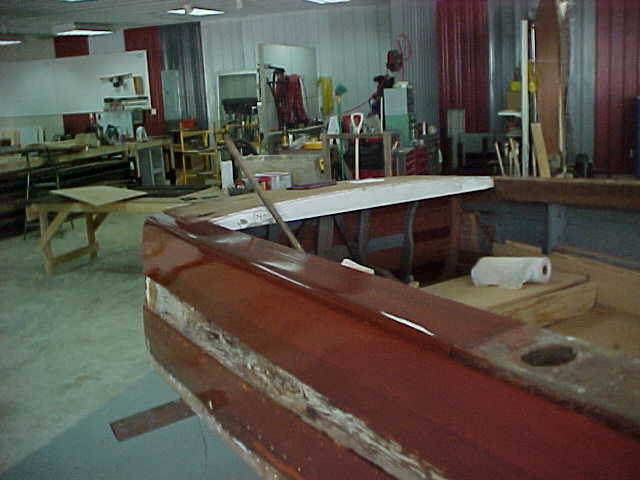
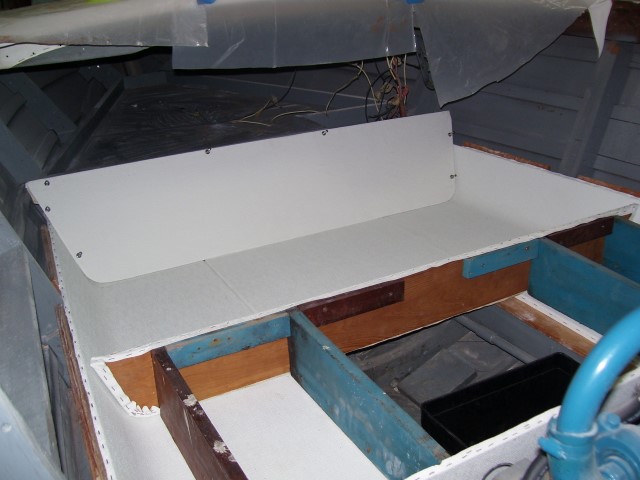
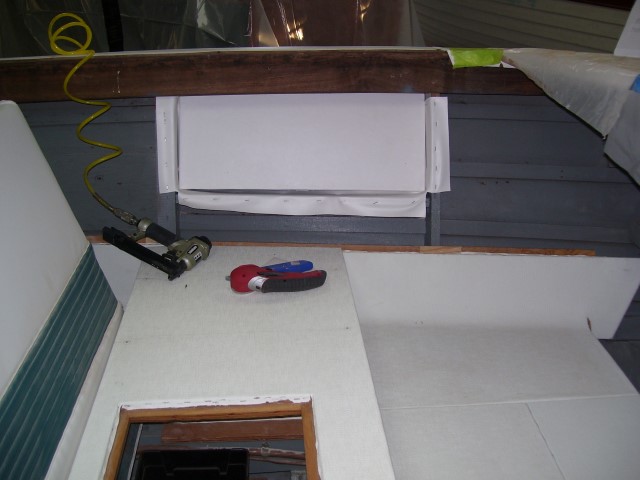
Interior ripped out and beginning to make new pieces
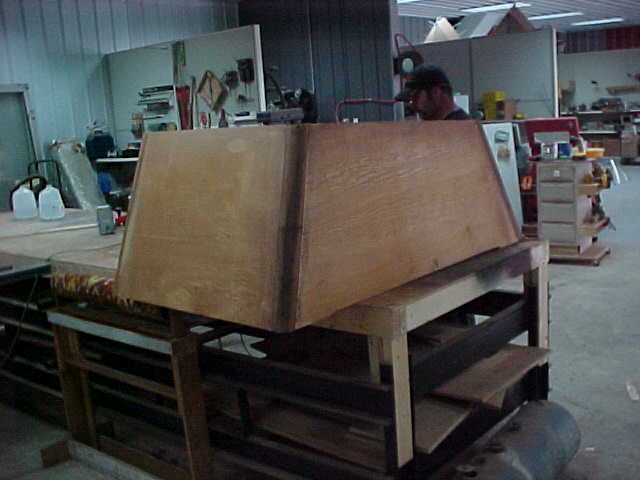
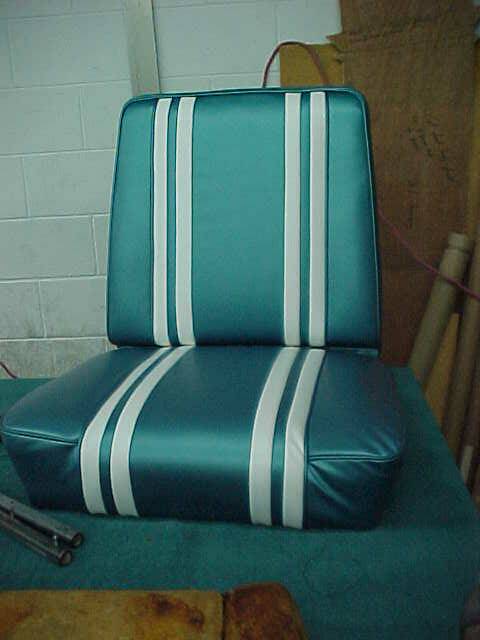
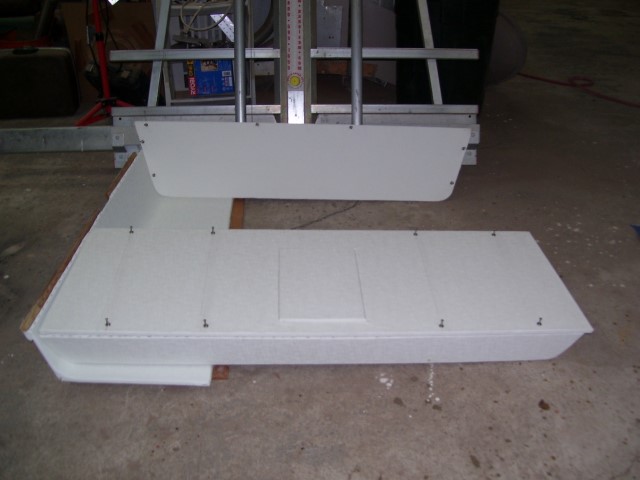
seat back
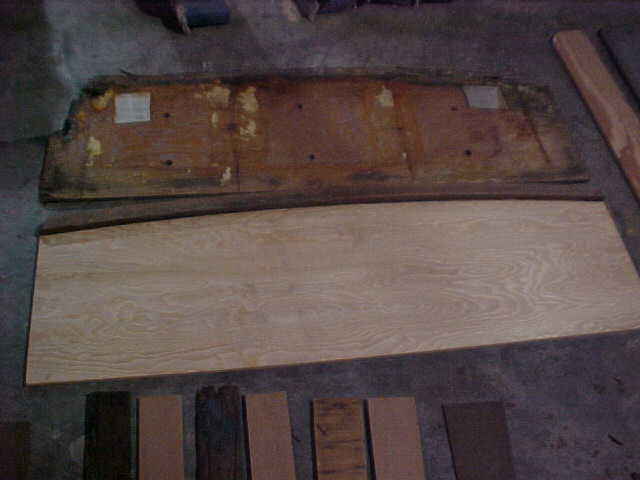
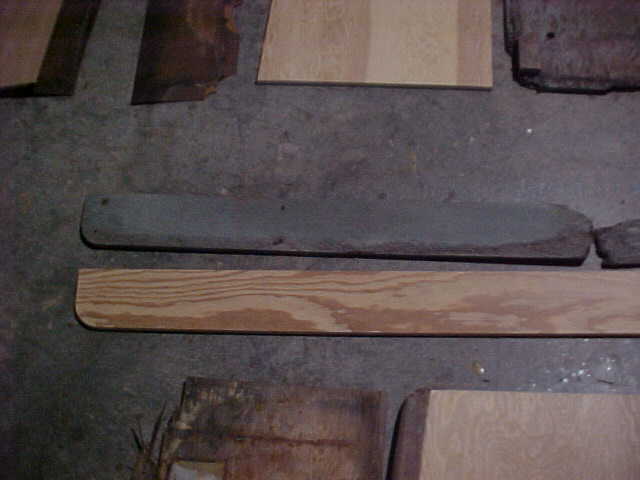
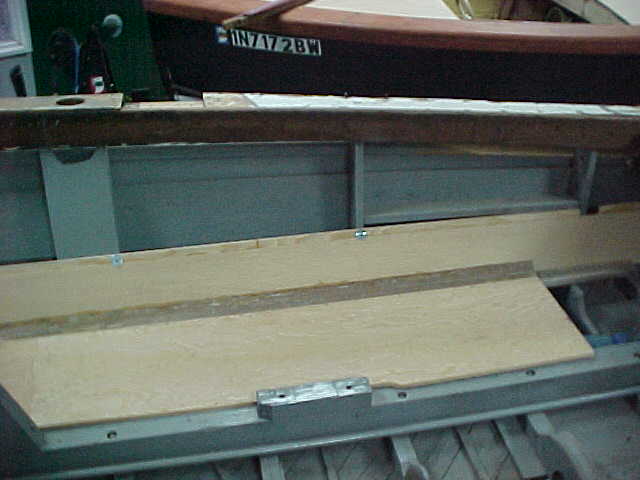
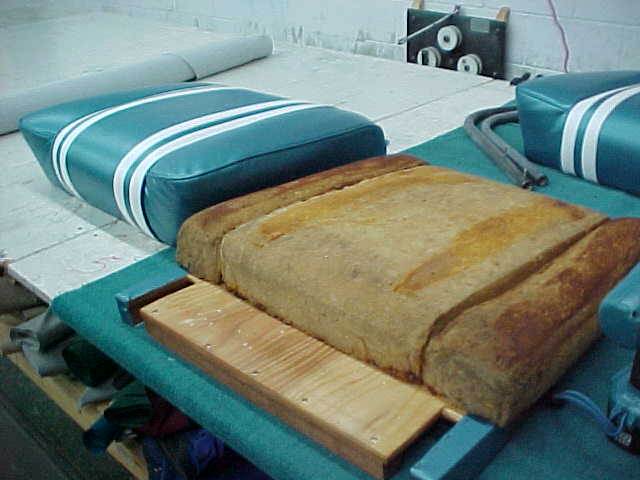
new and old floor bottoms to left and below
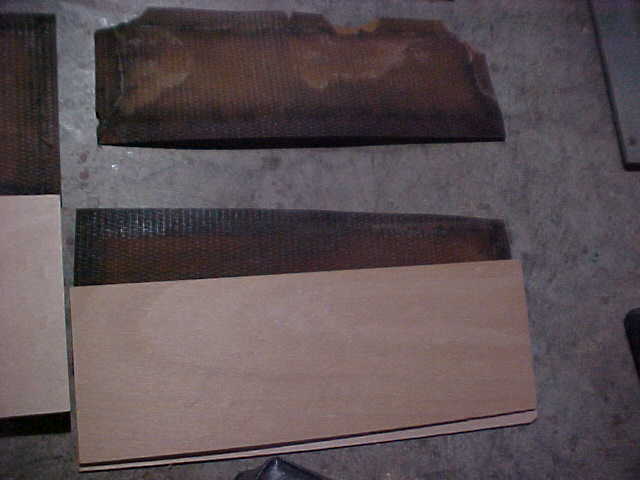
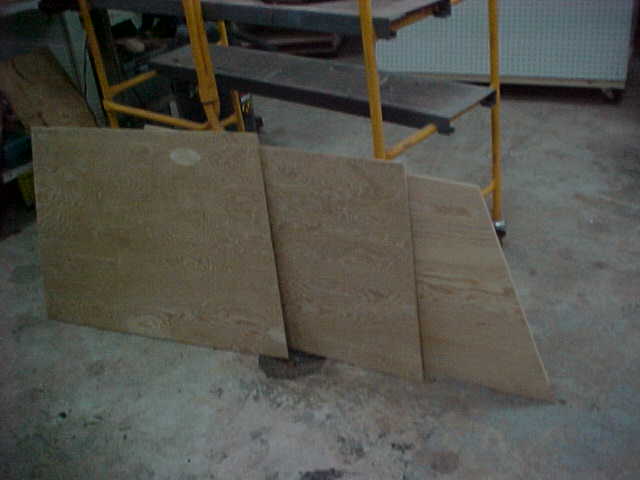
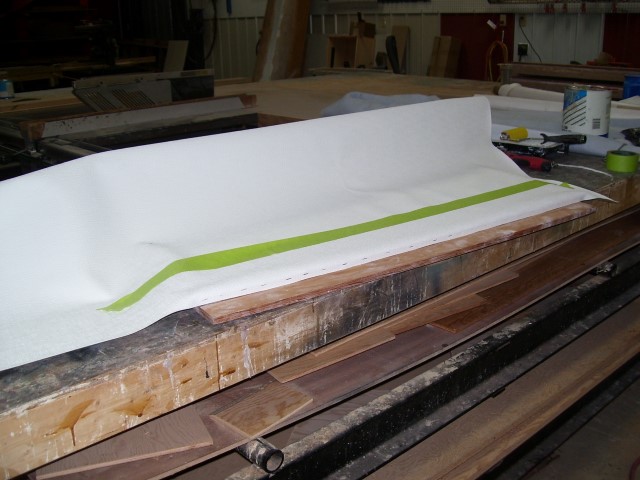
side panel
side panel
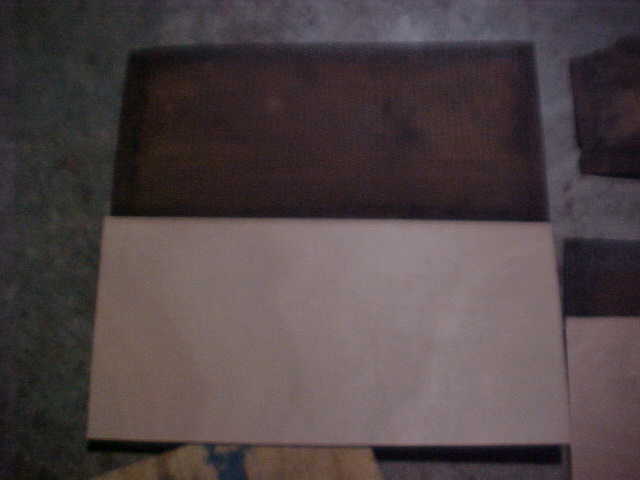
seat back
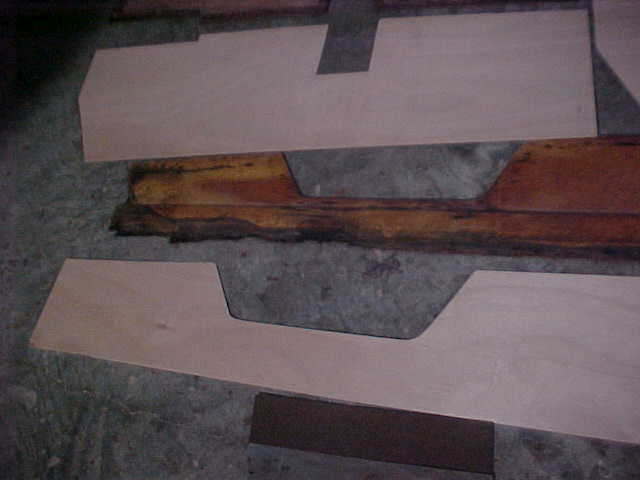
side panels
original side panel ok for reuse
misc. trim panels
misc. trim panels
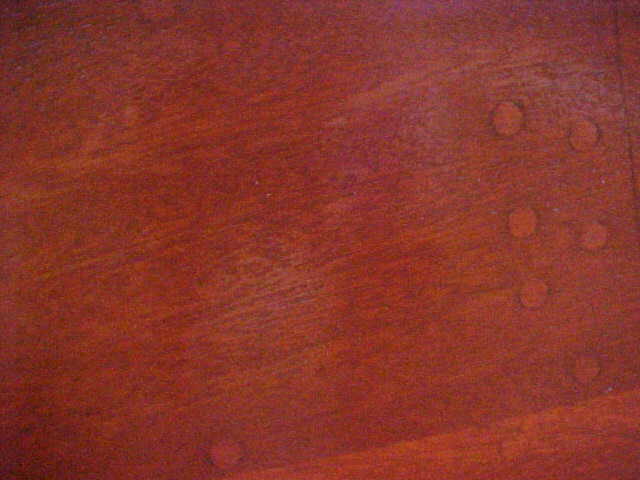
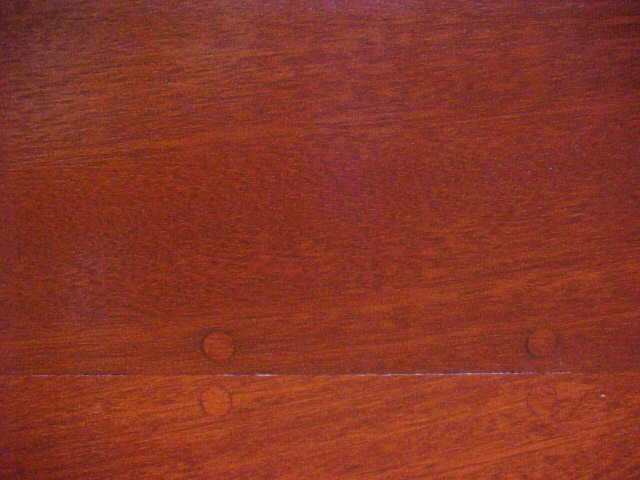
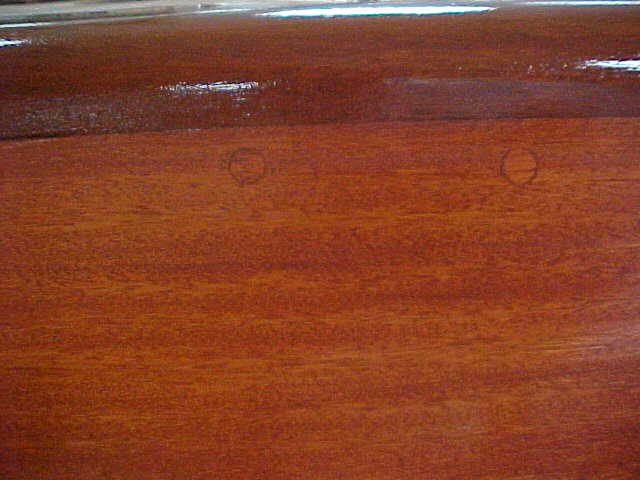
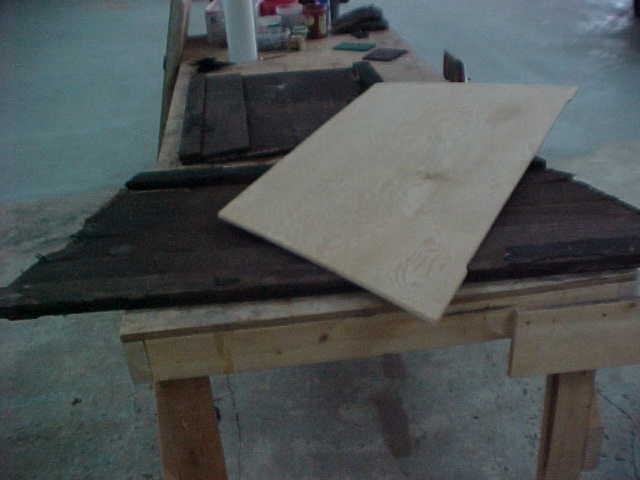
All the pictures above are showing old pieces with the new ones that were made using old as a pattern. As you can see the condition of the old panels were too far gone to reuse with the exception of the one shown on the left bottom.
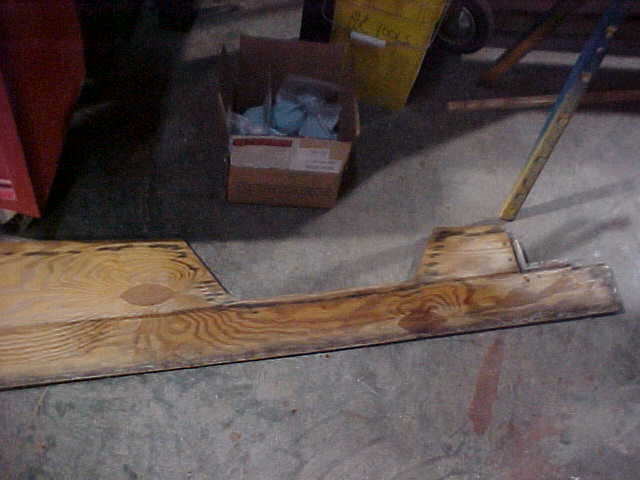
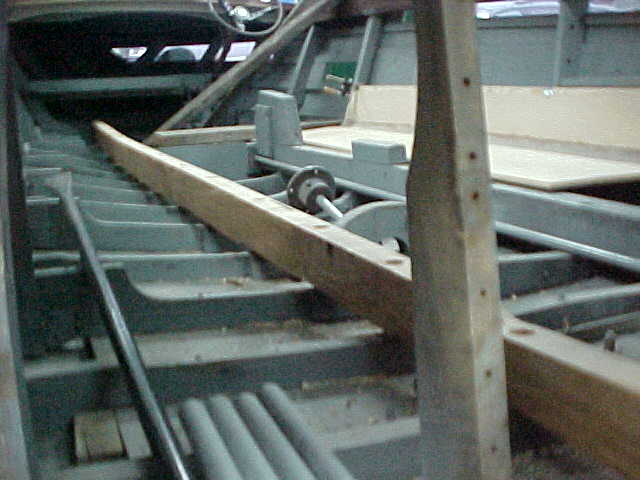
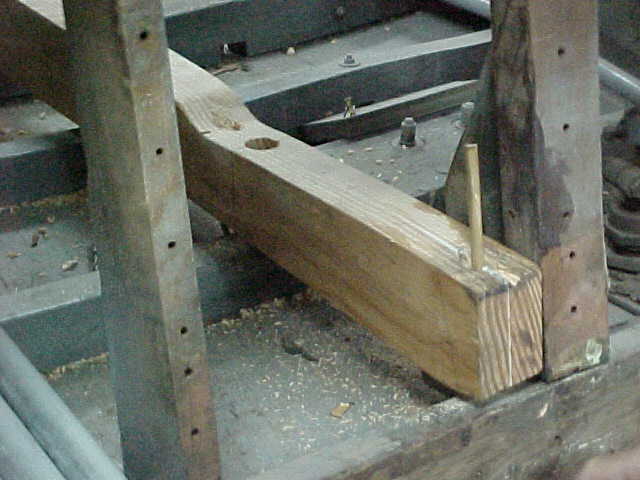
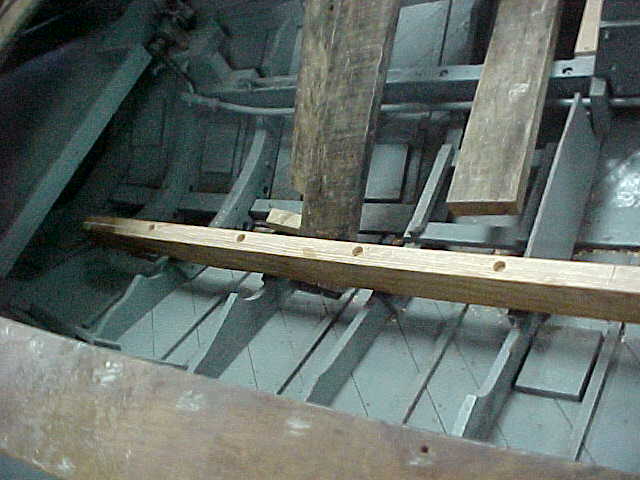
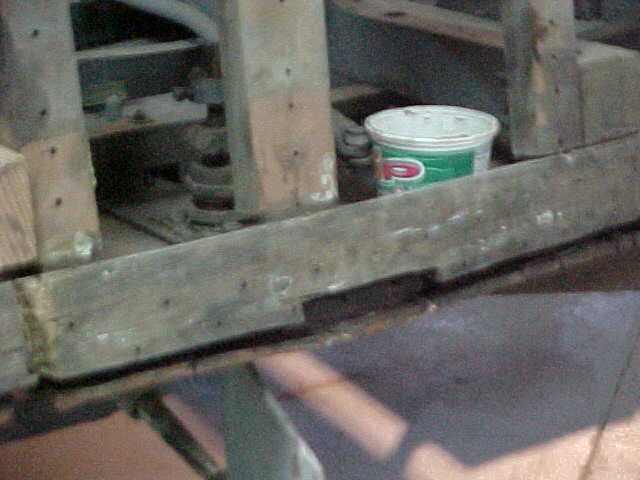
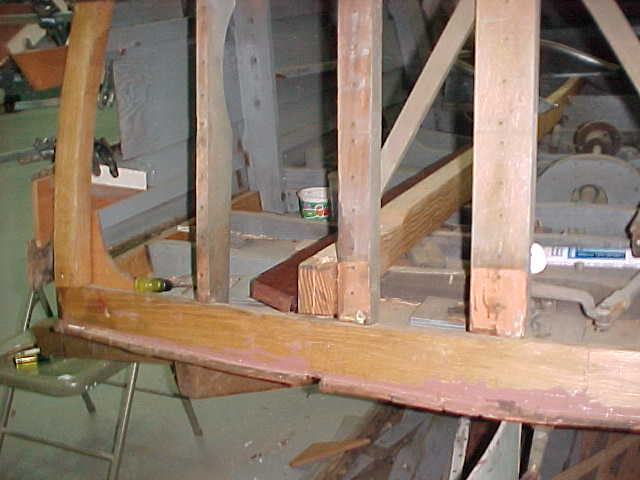
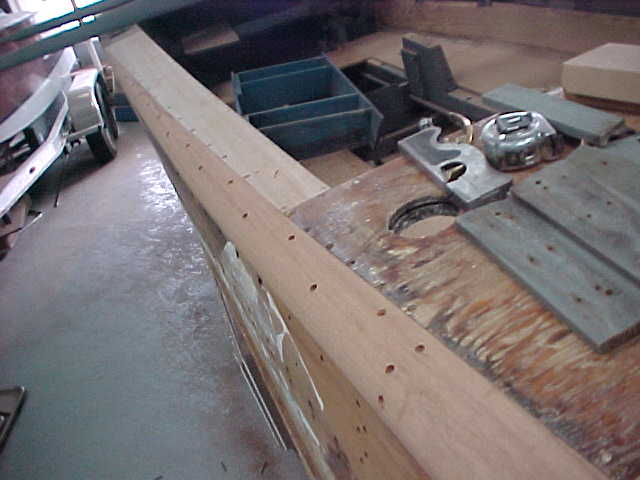
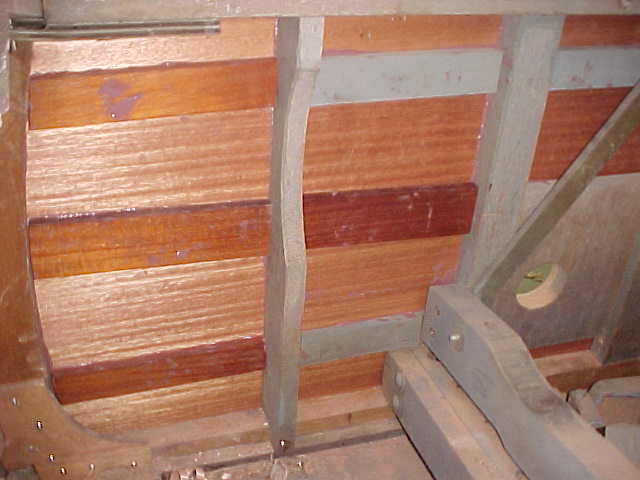
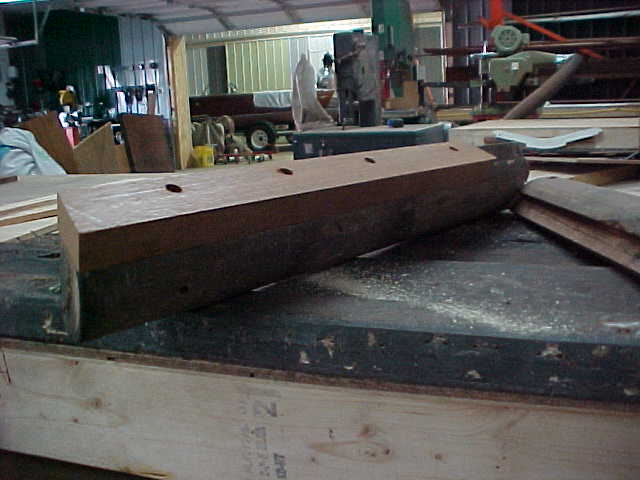
new longitudinal stringer installation on the port side
aft view of new longitudinal stringer going in, and showing the 5200 joining seam. This seam is now stronger than the wood around it.
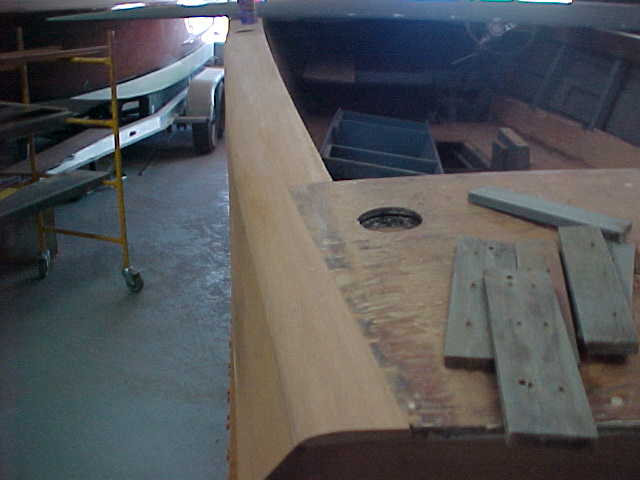
new aft stbd deck plate being fitted.
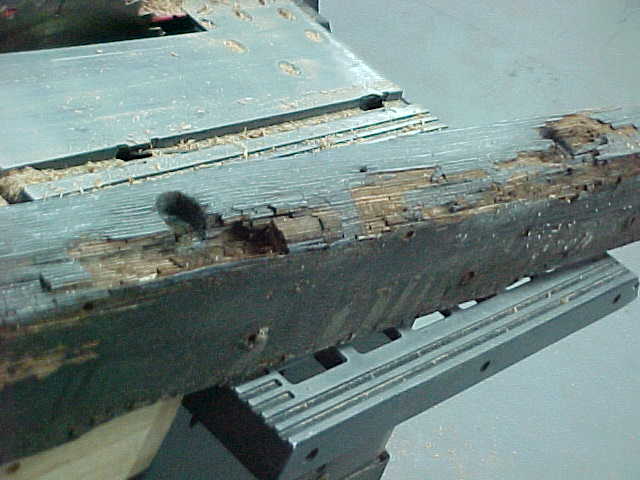
view of port longitudinal stringer from above
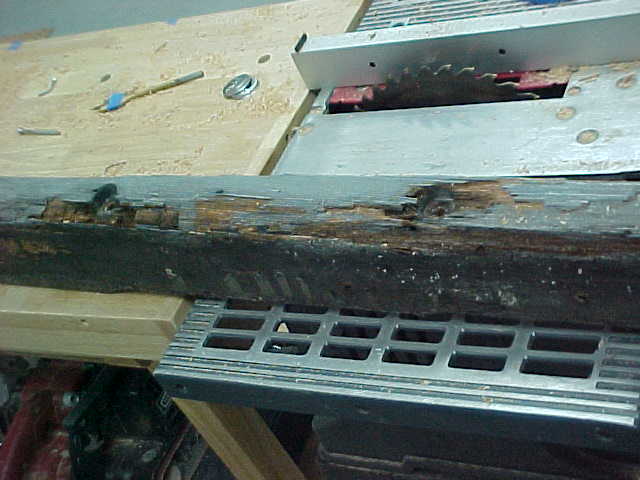
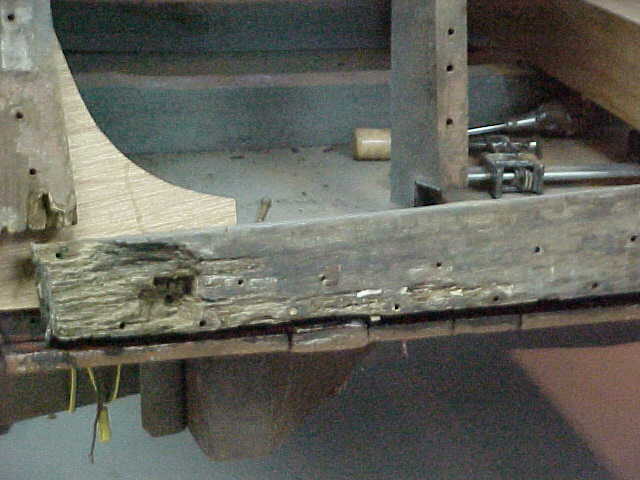
port longitudinal stringer showing decay
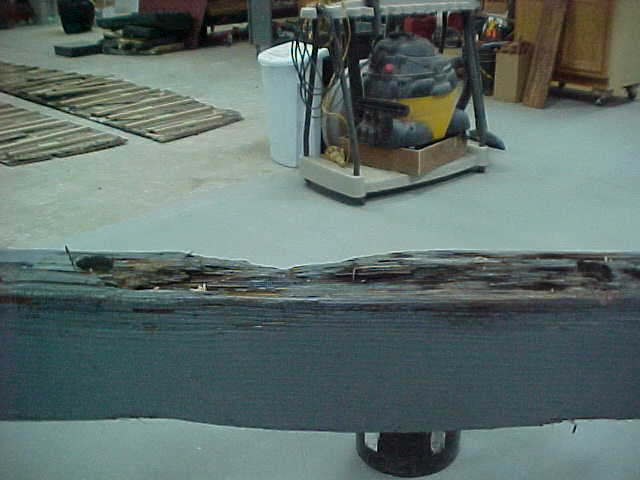
above pics show longitudinal stringer decay and the reason it needed replacing
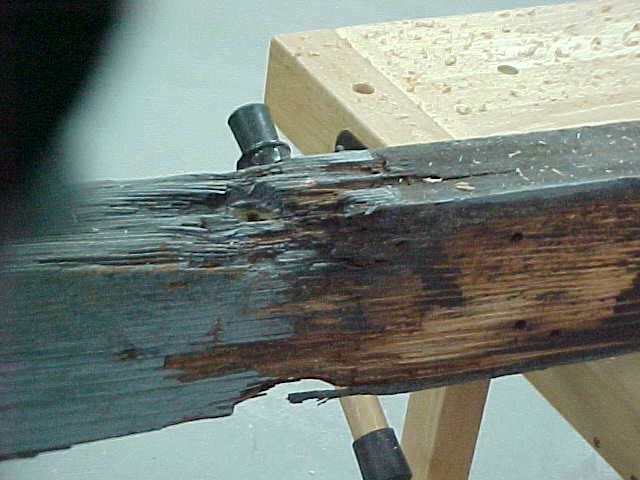
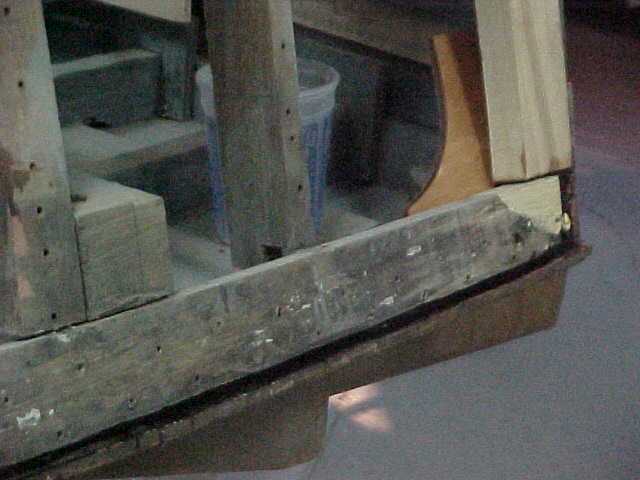
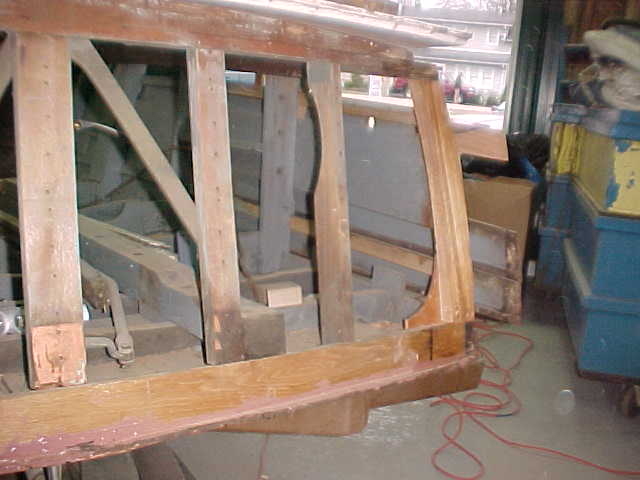
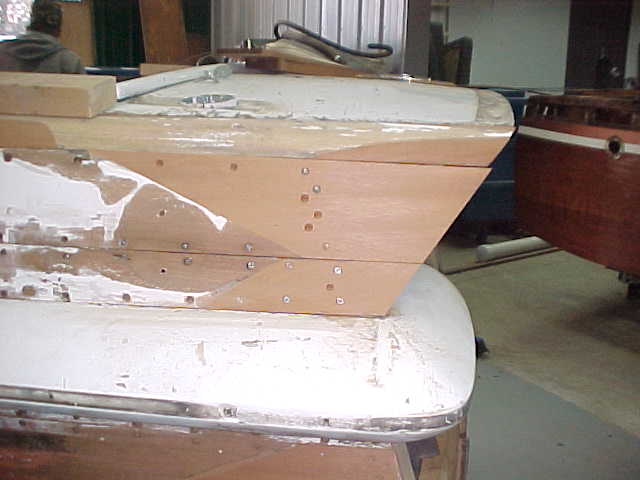
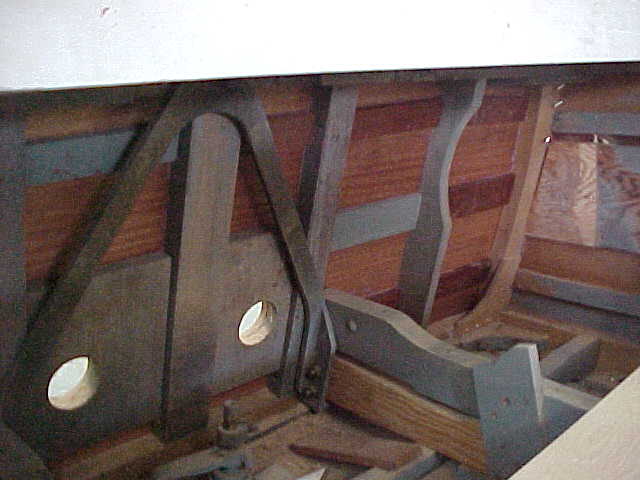
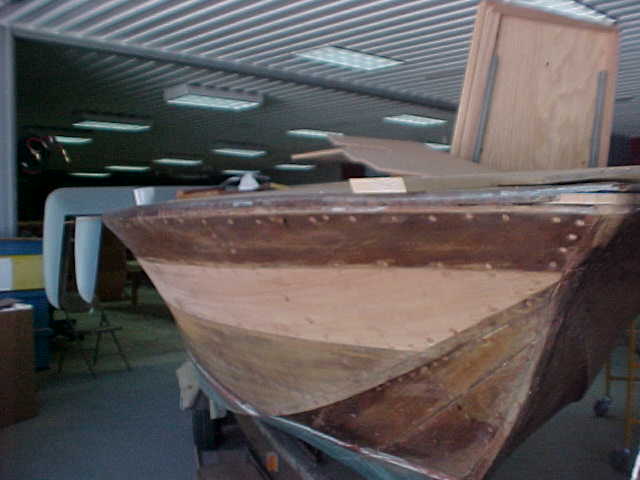
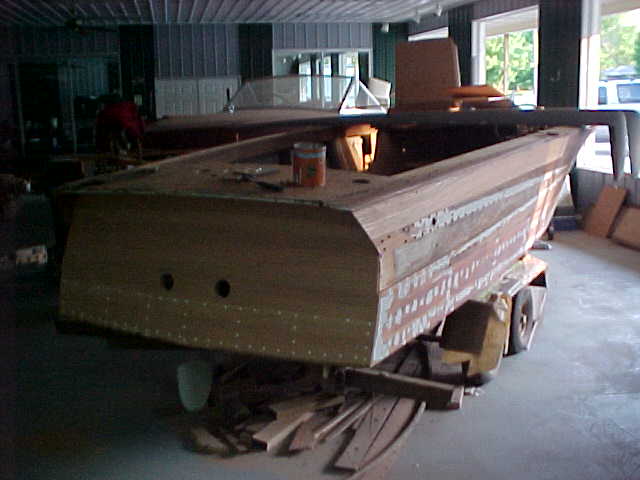
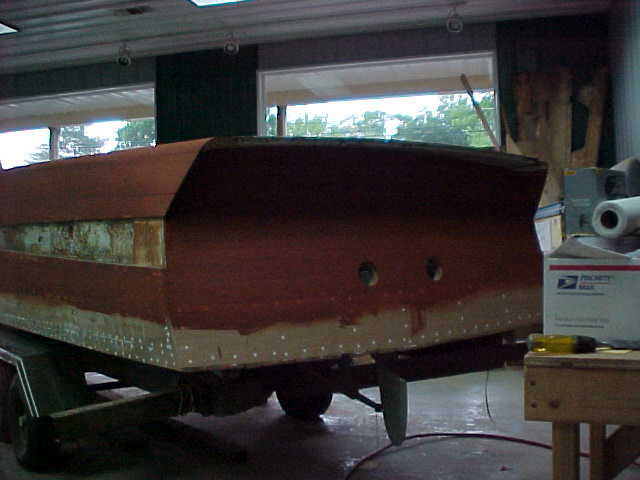
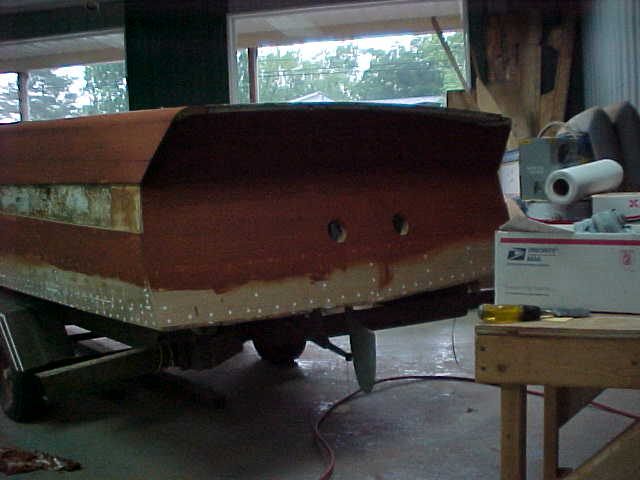
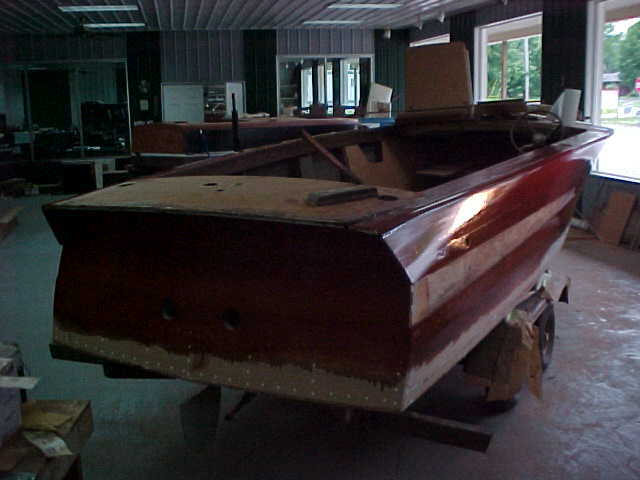
transom bow showing decay
old transom bow being removed
stbd corner of transom bow
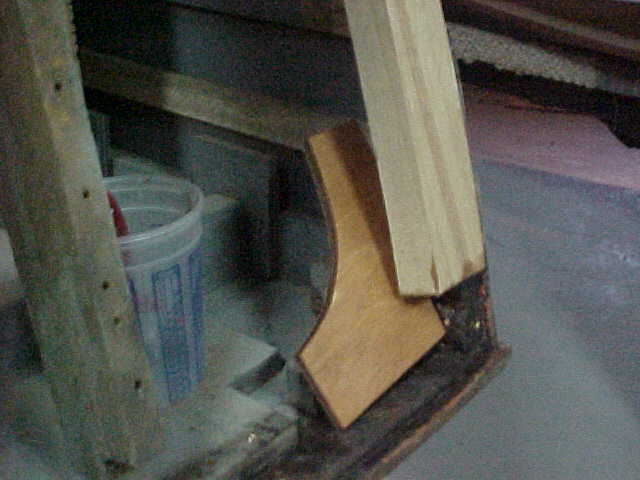
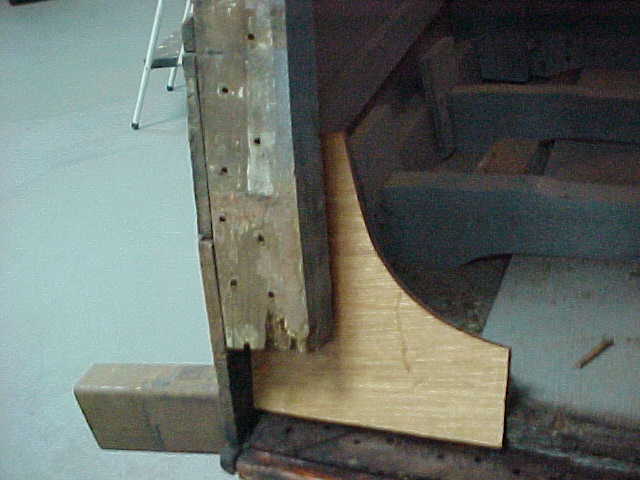
new gussets being installed
close view of decay in old transom bow
new port gusset being installed
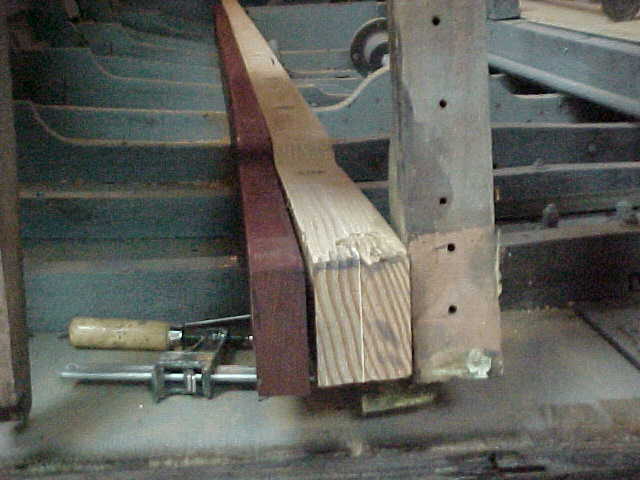
new port stringer and new sister stringer
CEPES preservative being put on wood prior to reinstallation of transom pieces, Robert is excellent at reproducing replicas of the original pieces and reassembling them with perfection.
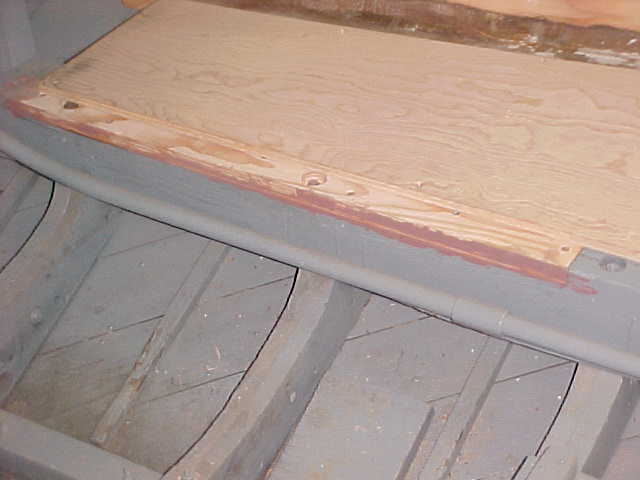
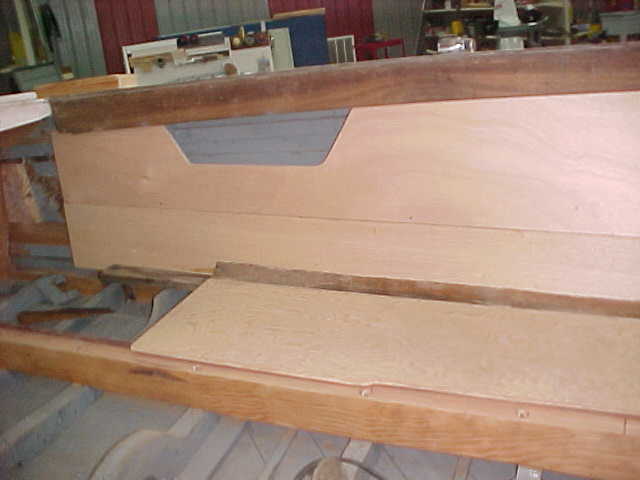
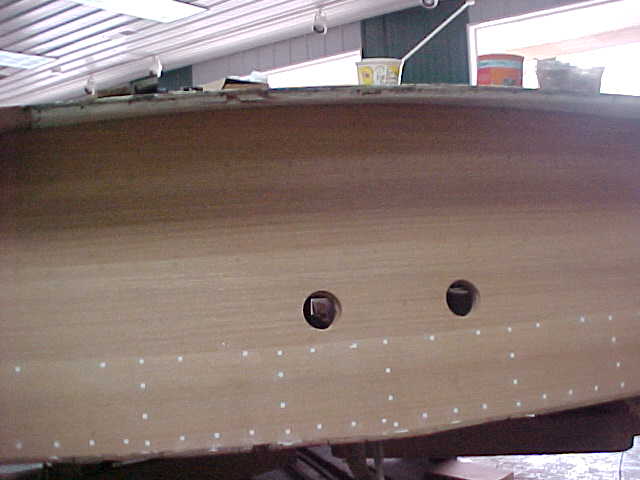
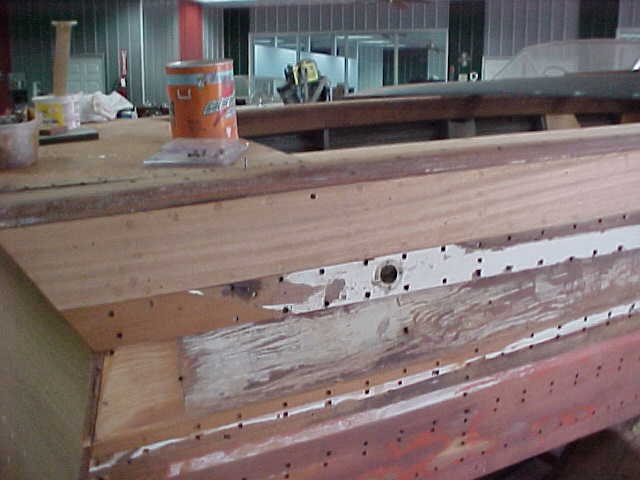
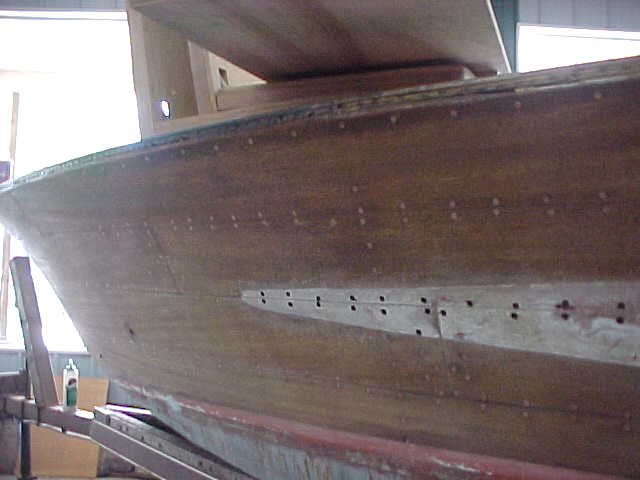
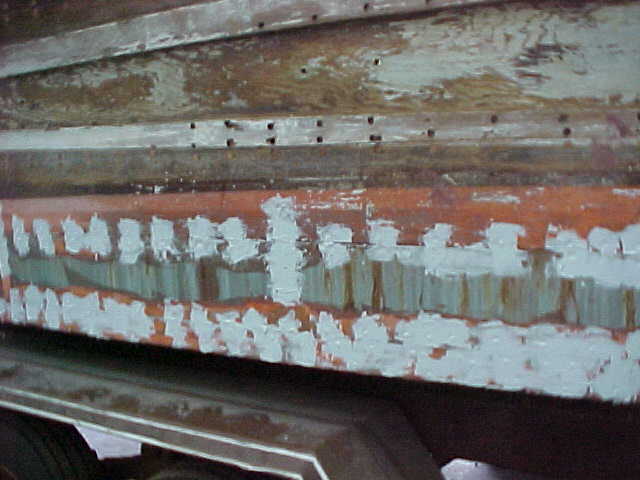
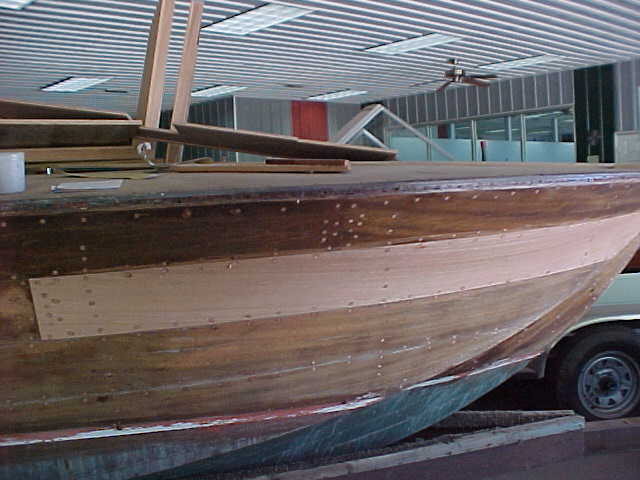
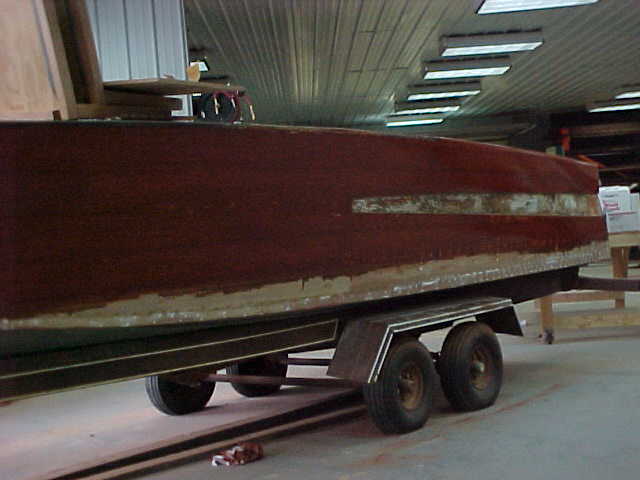
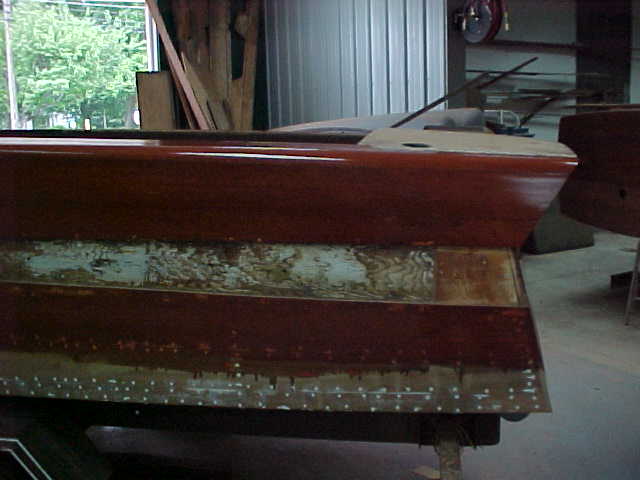
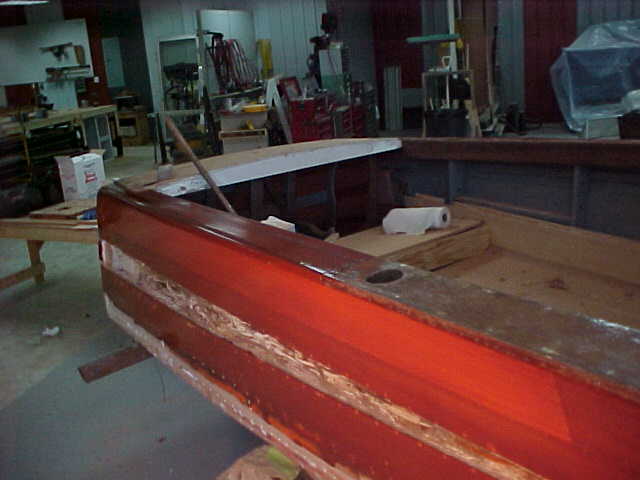
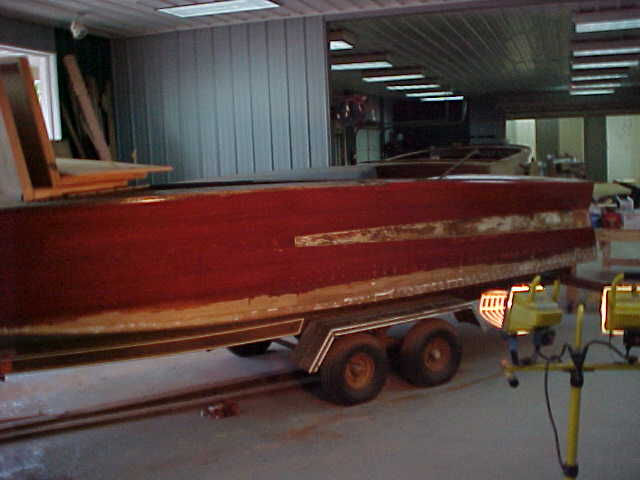
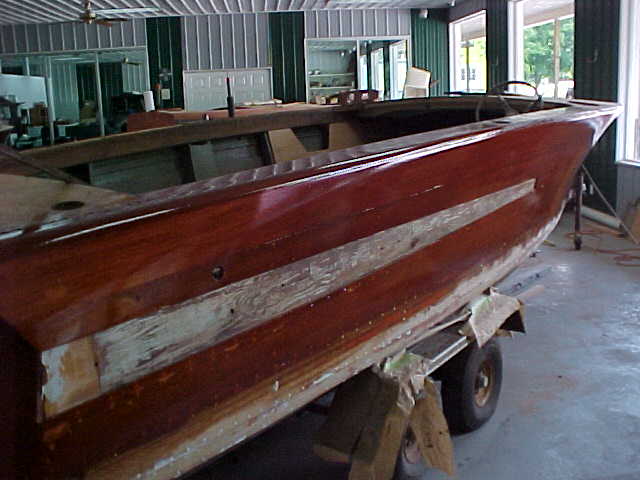
Both above pics show repairs done to the port aft strakes (side planks)
Above pic shows lower port aft strake repair
Above pic is of stbd strake repair
another look at a stbd aft strake repair
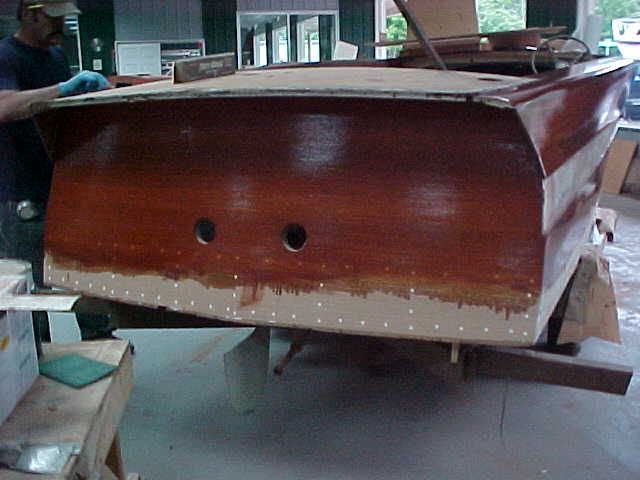
Above pics show the new transom bow beam installed and sealed with 5200. This had to be steamed and clamped in order to achieve the bend of the original piece. Also this shows the 2 new gussets and beams which were replaced also, due to rot found.. Due to the techniques used and the materials, this will make the transom stronger than it was originally.
.
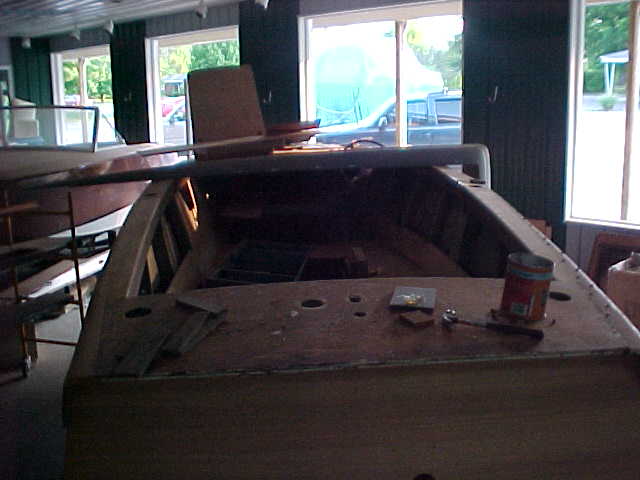
stbd bottom panel and repaired stringer
stbd side panels in place temporarily
aft stbd side panel temp. in place
port side panel fwd temporarily in place
aft port side panel temporarily in place
Port stern corner showing new work
stbd stern corner showing new work
port midships showing new work
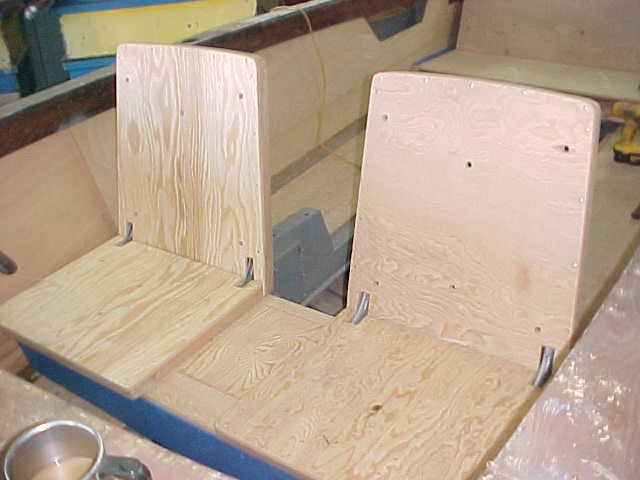
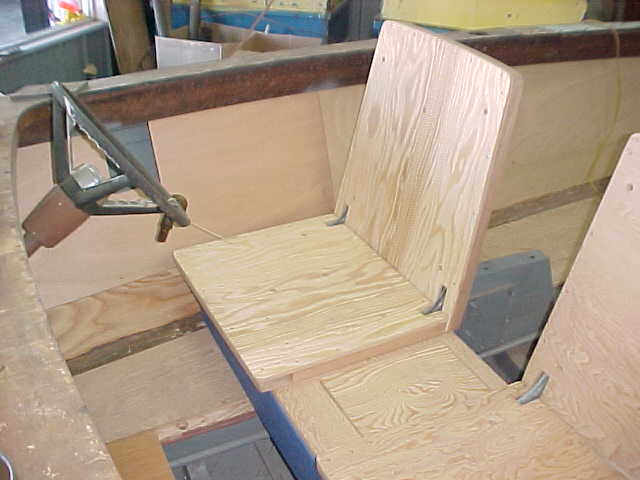
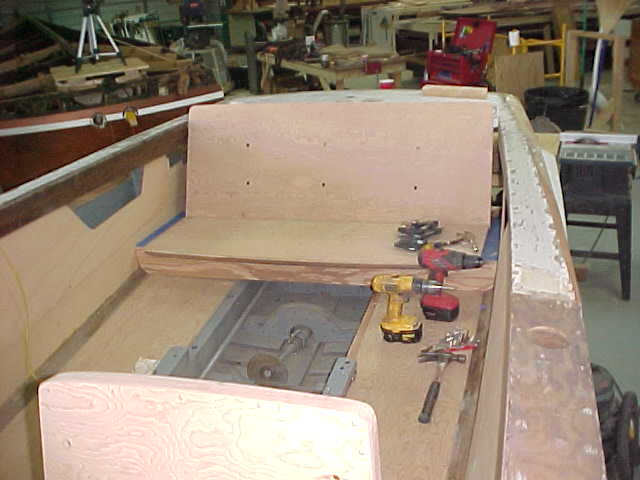
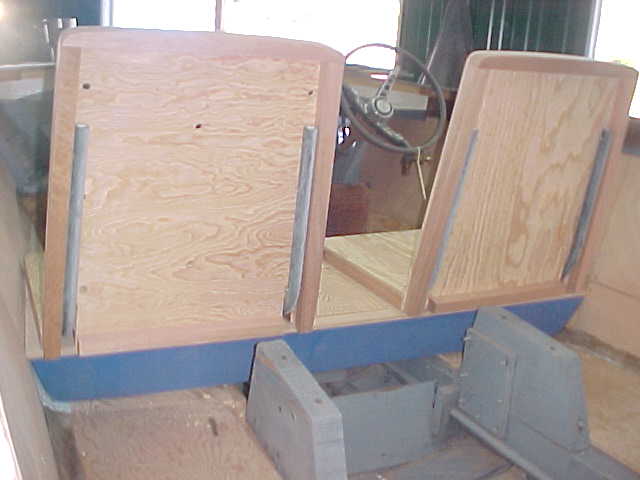
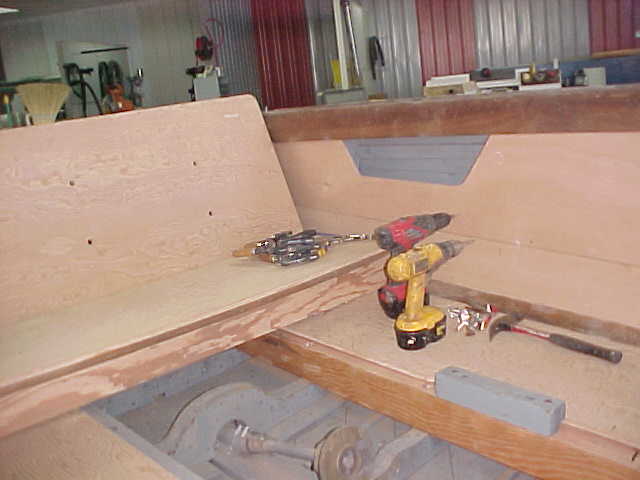
new front seat bases set in place to fit
view of front seat bases form port side
view of aft seat base set in place
view of front seat bases from the aft side
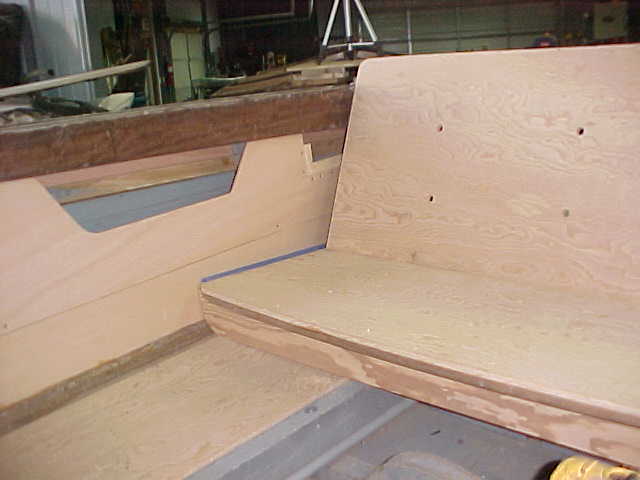
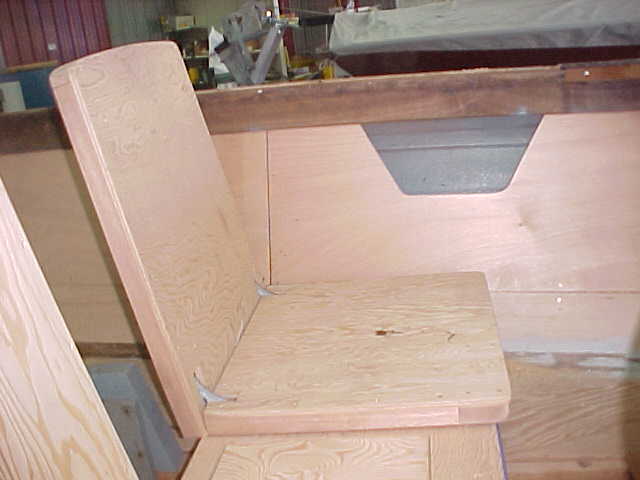
close up view of the aft seat in place and side panel
view of the kick plate under the console
view of the port front seat in place from the stbd side
view of the aft seat form the stbd side and the side panel
forward floorboards and side panel
front seat port side and side panel
view of rear seat and floor panels
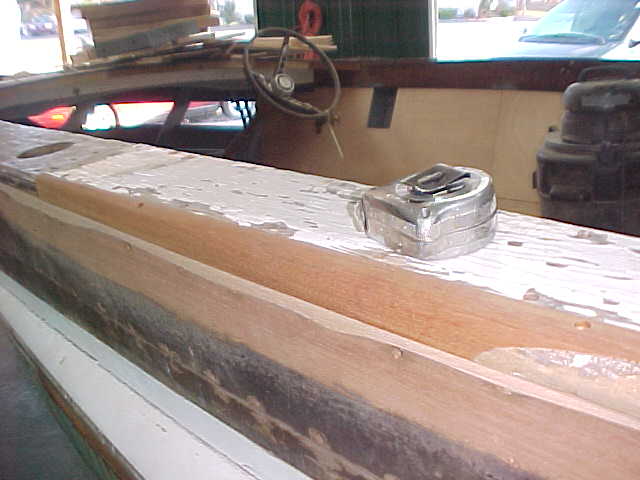
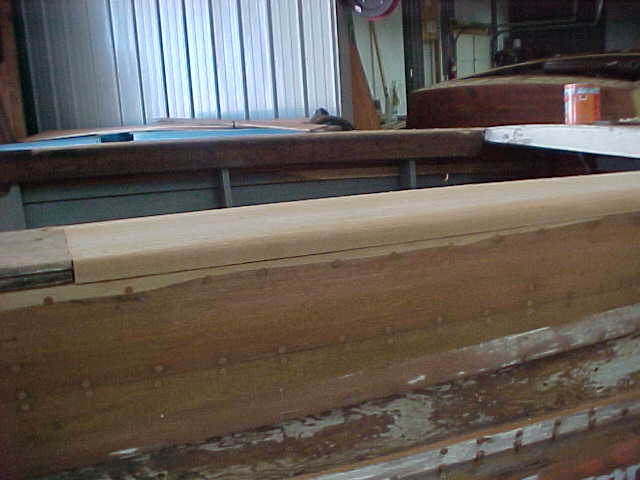
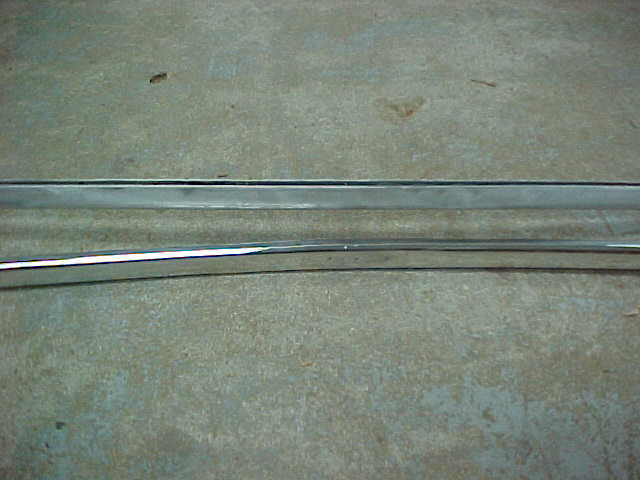
new port side rail made from single piece of mahogany
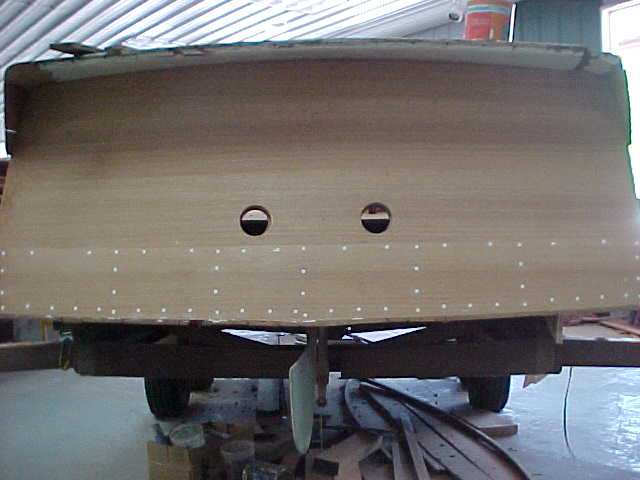
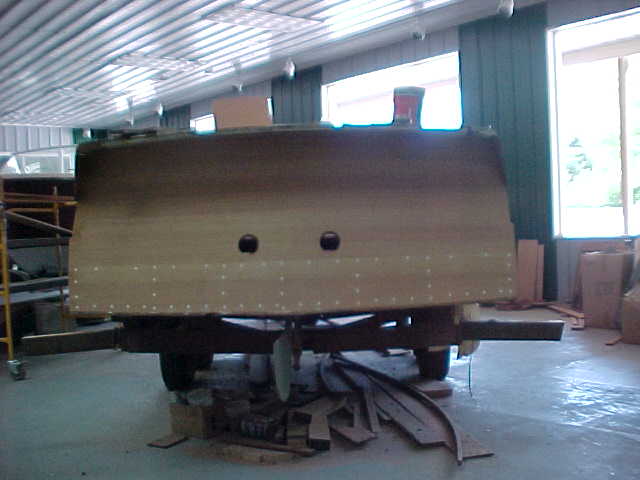
transom planks installed
stbd side fin plank installed
stbd bow side plank installed
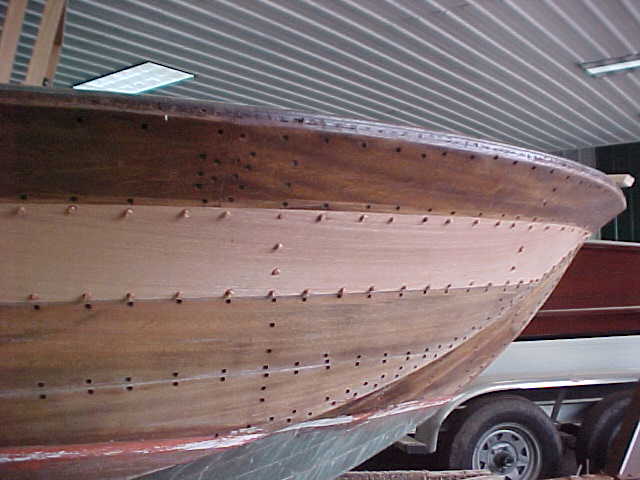
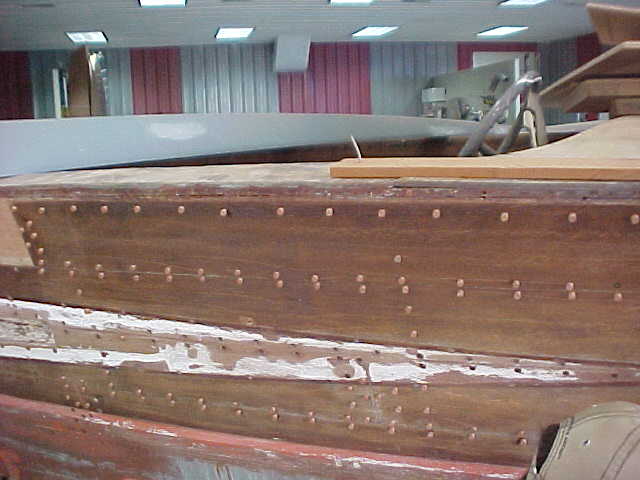
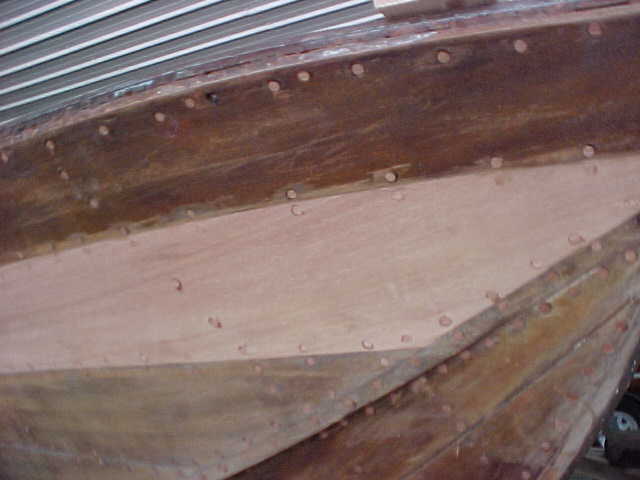
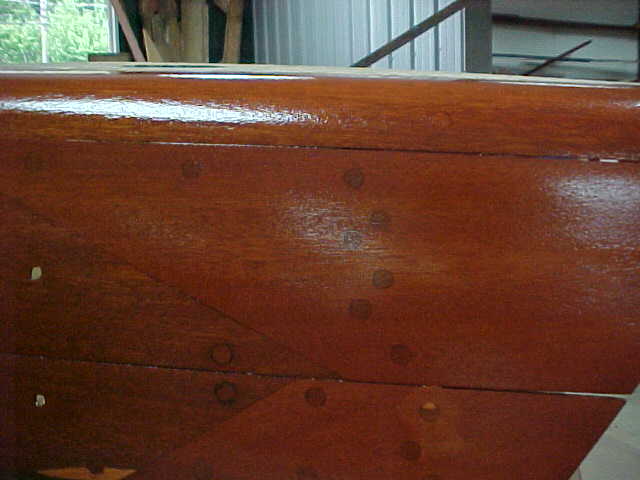
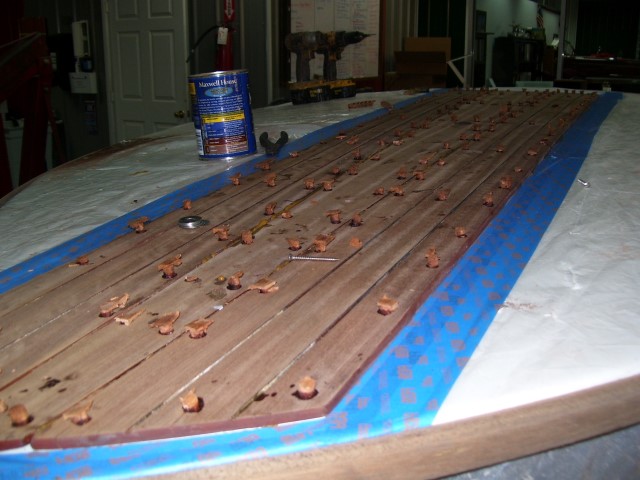
bungs installed in all screw holes, then to be cut , sanded flush
stbd transom battens from inside
port inside transom battens from inside
bungs plugged holes over screws and then cut off and sanded
filler spread over screw holes for bottom side planks
stbd side plank reinstalled ,bunged and sanded
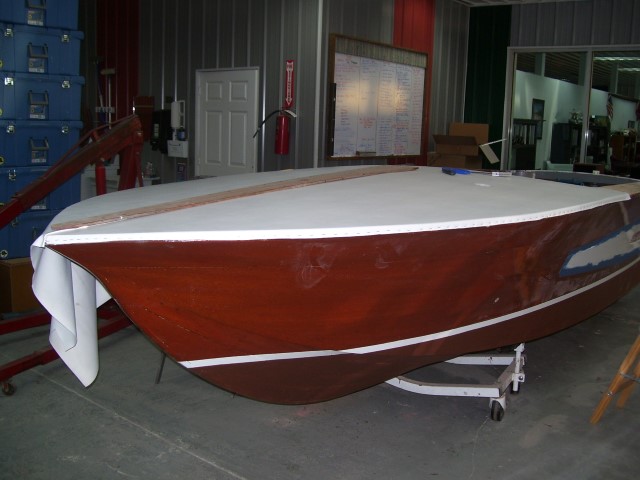
Larger view of recent work accomplished
new transom planks installed
wider view of transom work
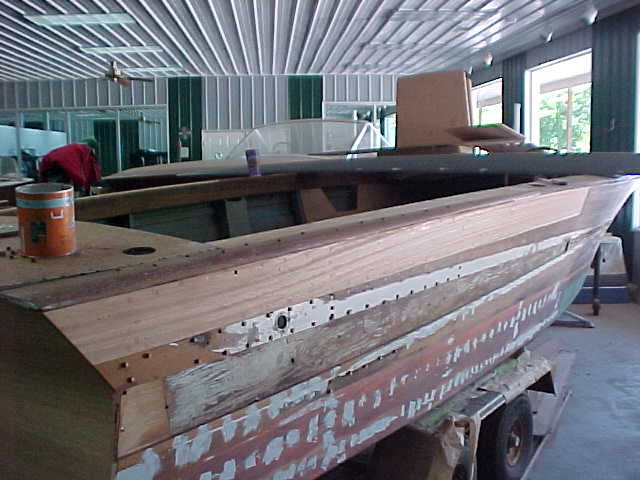
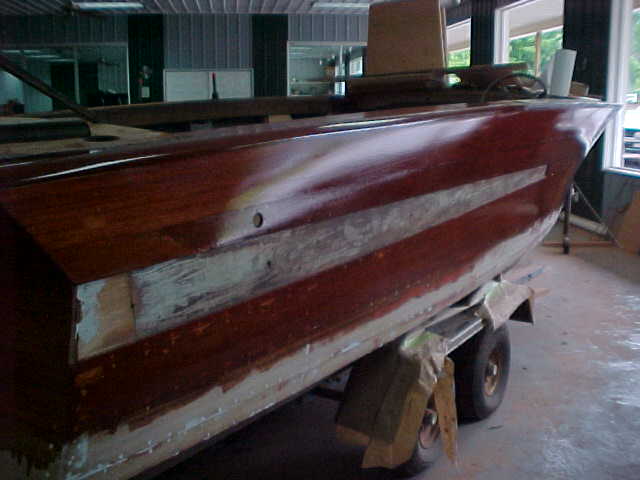
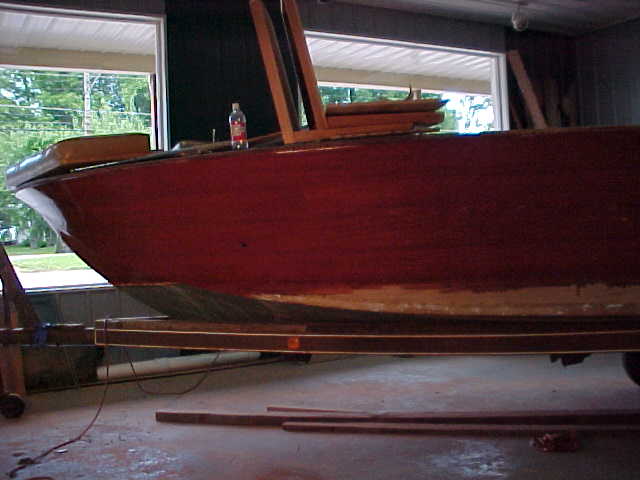
larger view of stbd top aft strake replaced
larger view of stbd fwd strake replacement
view of strakereplacement stbd side from front
view of aft stbd caprail replacement
larger view of port aft caprail replacement
view of inside transom, with new battens installed between frames
broad view looking from aft of ongoing work
wide view of port side ongoing work
topside view from aft of caprail work
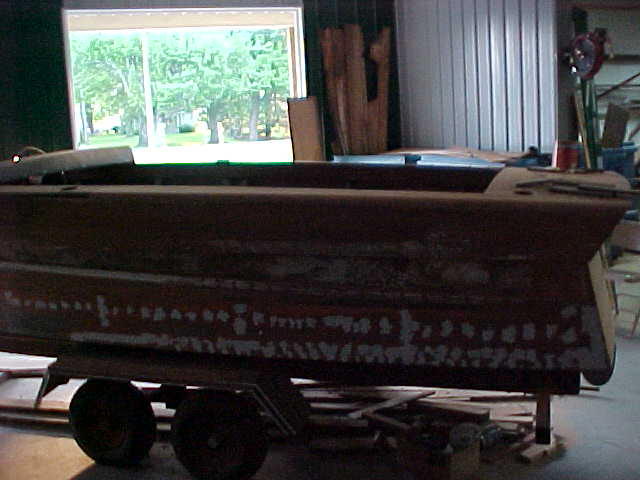
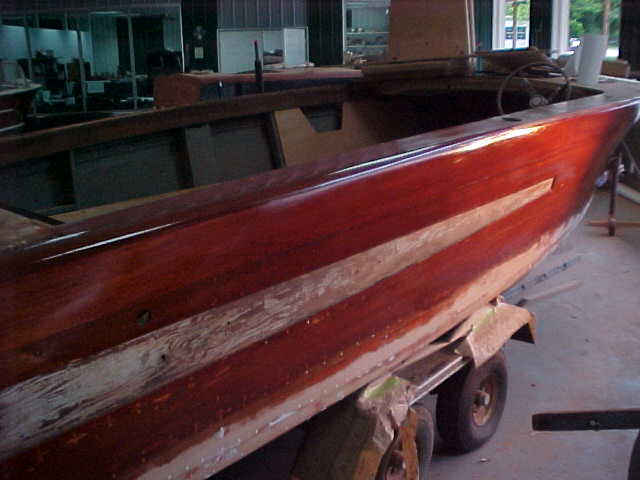
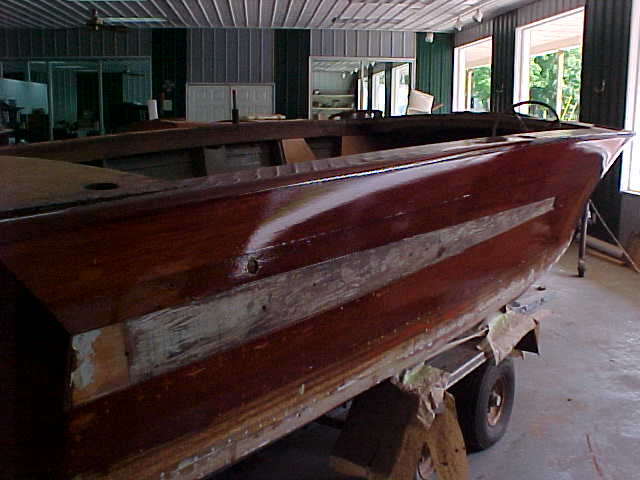
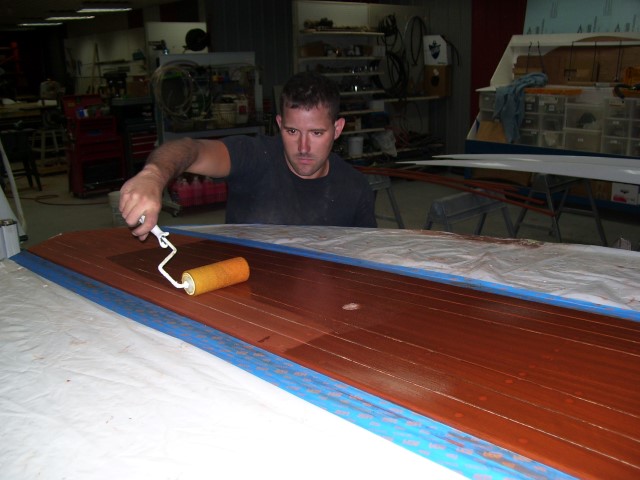
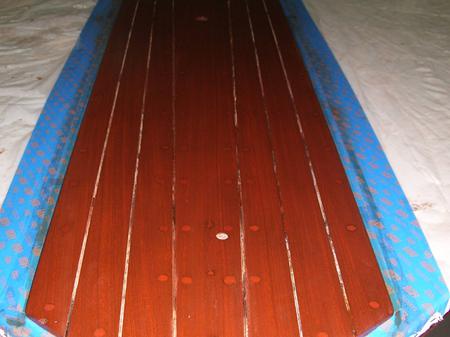
stain applied to port side after sanding
after sanding stain was applied to sides and stern
another view of side and stern with new stain applied
following 8 pics are of various spots around the hull where sealer and varnish have been applied
no vertical scratches were noticed by us looking with halogen lights
pics above are from port and stbd and the stern, 3 pt, 3 stbd, 1 stern inthat order
above are 4 newest pics of varnish applied to sides and stern
todays views of second coat varnish
stbd side view of 2nd coat varnish
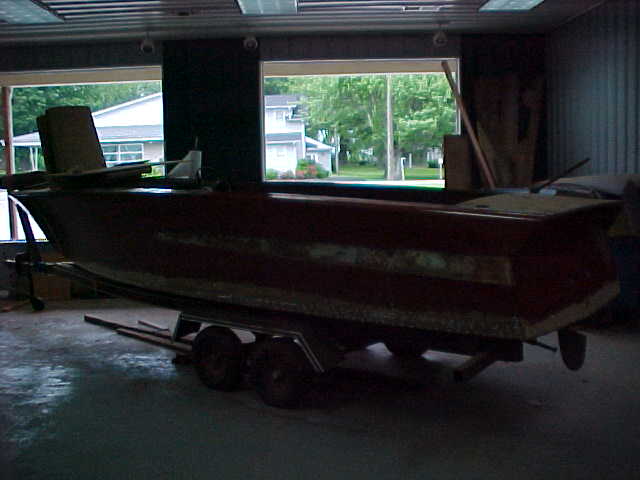
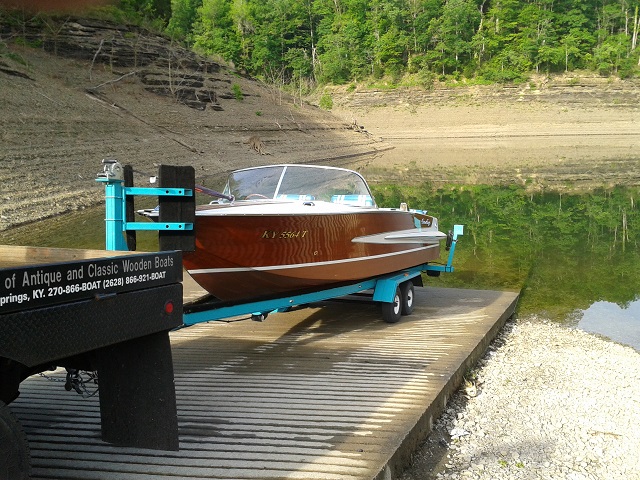
overall view of boat
old vynil removed from sides of engine cover
getting off the old vynil
stbd side view of 2nd coat varnish, halogen light
stbd side aft corner with halogen light
over view in natural light
port side view of 2nd coat varnish using halogen light
port bow view with halogen lights
third coat of varnish transom view
third coat stbd view from aft end
third coat port side large view
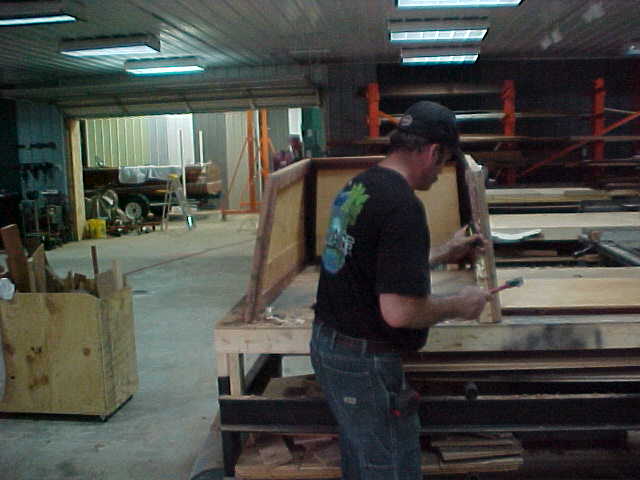
engine box being rebuilt, old pieces used as templates
3 more side cut out
corner braces added on to for strength and rot removal
again old piece modified to work
bad wood removed and new added back
Click here to add text.
nice view of stbd side with varnish applied
view of top caprail from aft port side
view of stbd side looking from fwd to aft
new engine box being worked
putting new panels on old frame for engine box
stbd side showing a fine shine
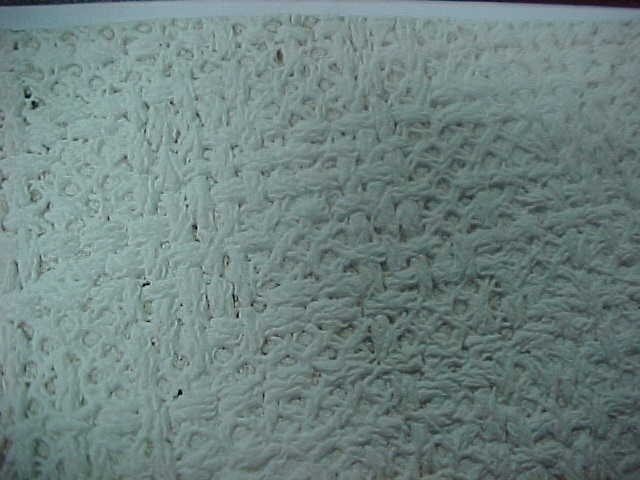
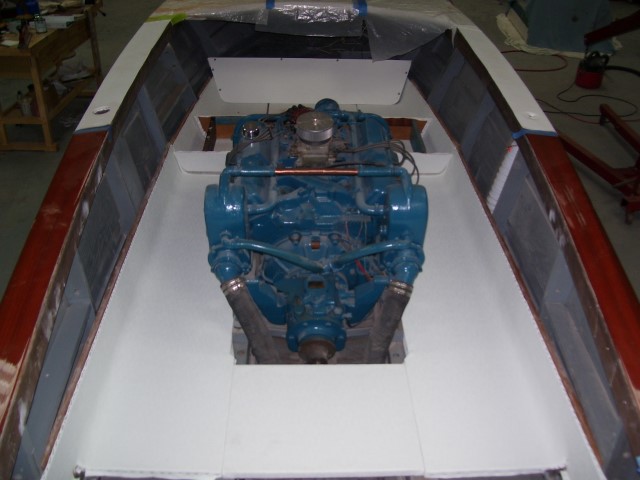
The proper flooring material is shown above !
Update 8/10/10
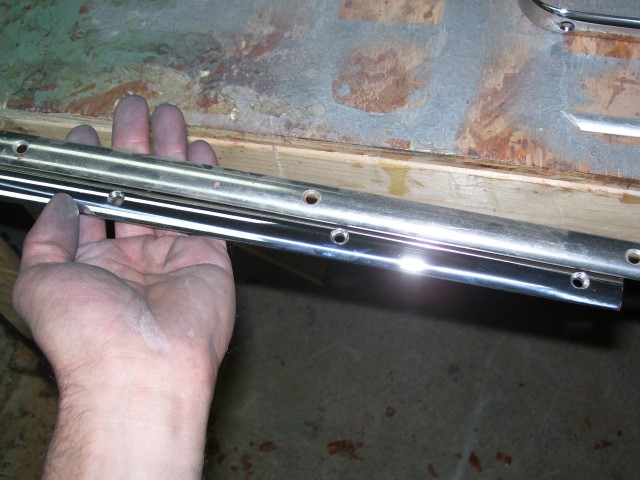
WindshieldRemember your old frame? Highly screwdified wasn't it.
Well we took it apart a week or so ago and took it to a local welder that does stuff for the stars in Nashville.
He added aluminum to several places - one where someone had taken some type of torch to the frame, another where holes had been drilled that didn't belong there and so on.
We un bent the frame back to the original shape and also bent the chanel that holds the windshield so that the slot that holds the chanel is of uniform width. (took all the waves out of it).
Then we chemically stripped the anodizing and then sanded with 220 grit paper then 600 grit paper and then buffed.
The photo shows the the bottom of the frame just after chemical treatment and the top half of the frame after buffing. We have another 1/2 day to get all the buffing done.
Greg is researching where to get a new center bracket since the original one had been cut down.
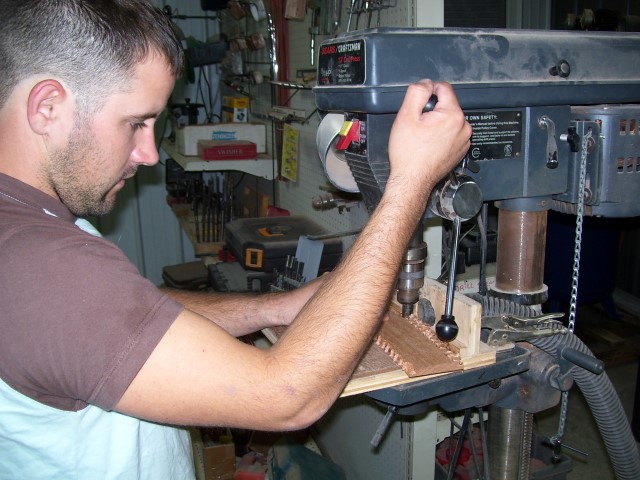
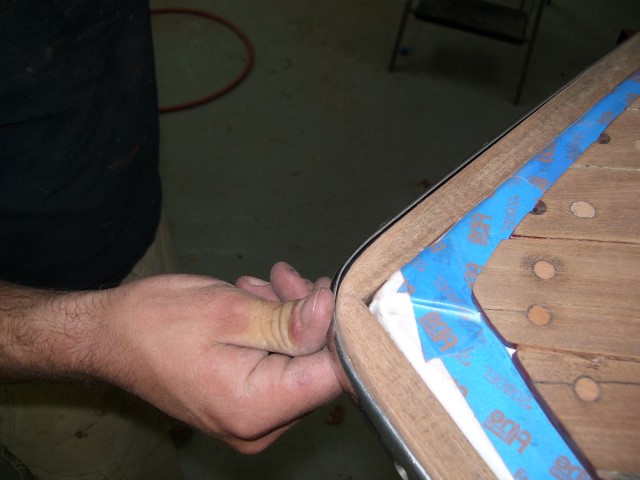
Taylor is pictured here getting the wood deck, the flat trim on the top and the half oval trim on the back (where he has his screwdriver) to all match the shape and lengths at the same time! Not easy when so much wood has been changed and the trim MAY not have fit to well to begin with!
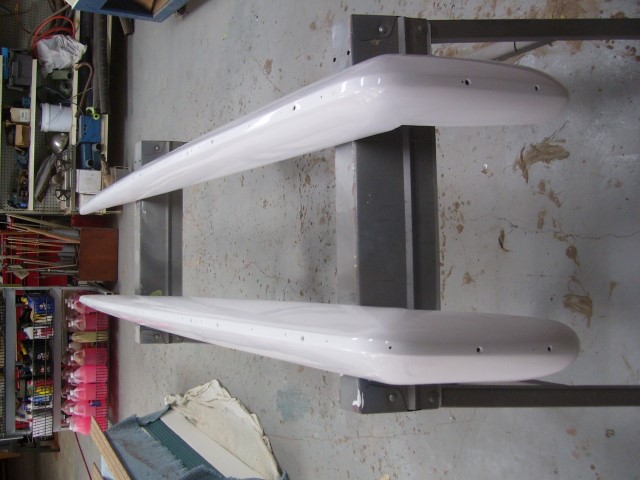
Sponsons or spray rails are ready to paint! They have been filled, primered and sanded in preparation.
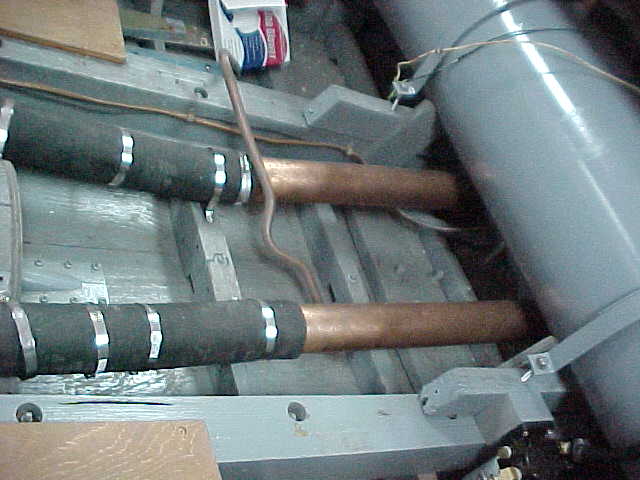
Fuel tank has been installed as new fuel tank sender , fuel tank vent and all associated wiring.
In addition, not pictured is a new bilge blower has been installed for protection against explosions.
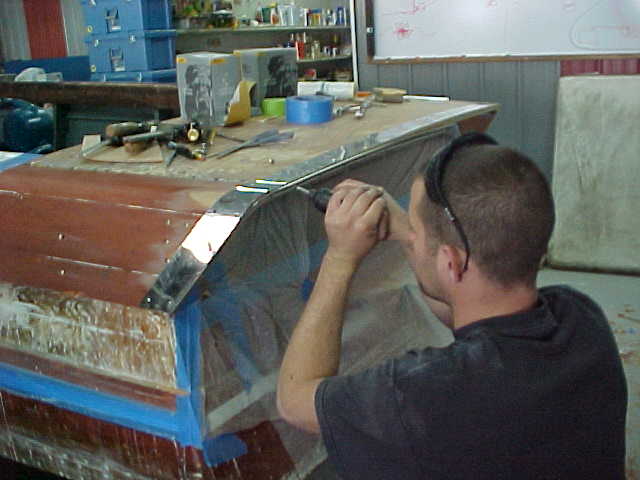
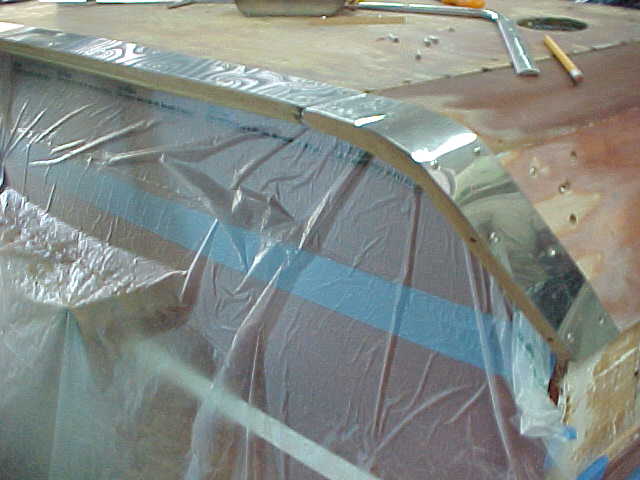
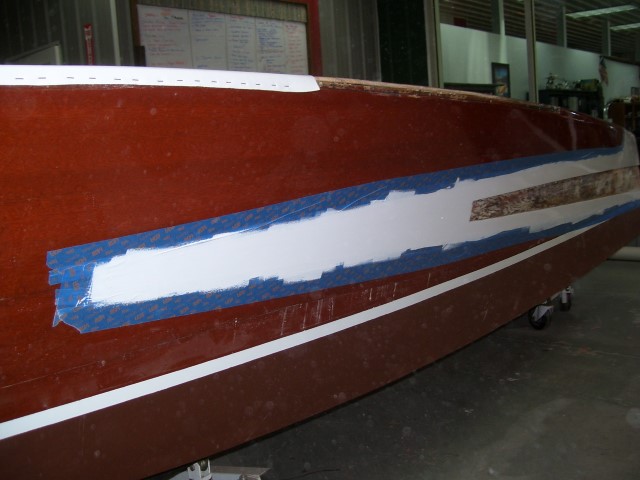
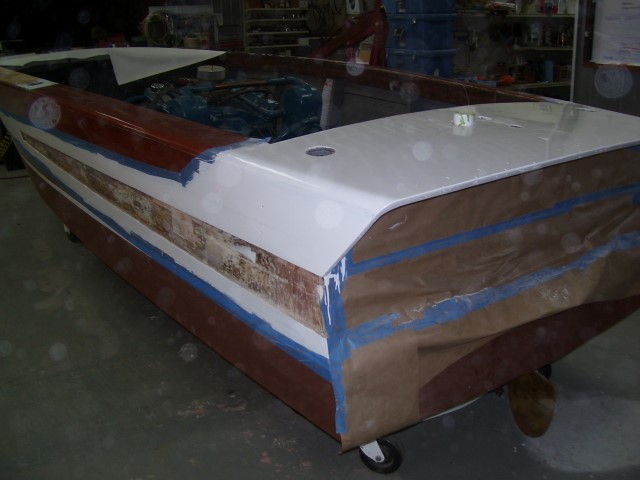
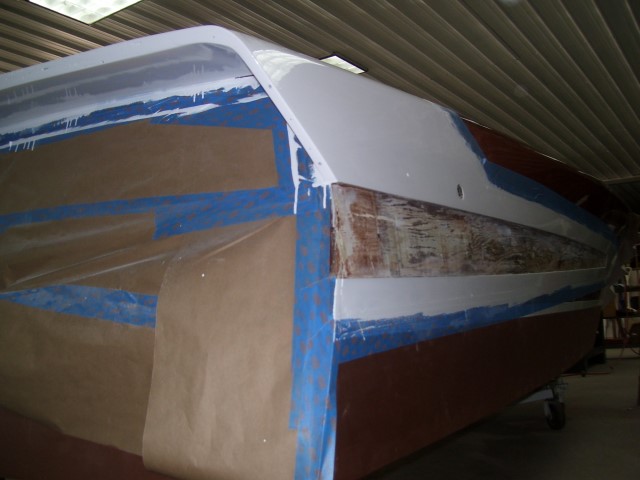
Stainless has been installed to know where the paint line should be to be hidden. Taped and painted. Getting very close to a final coat on the white.
Sponsons after third coat. One more then its in the booth for a final.
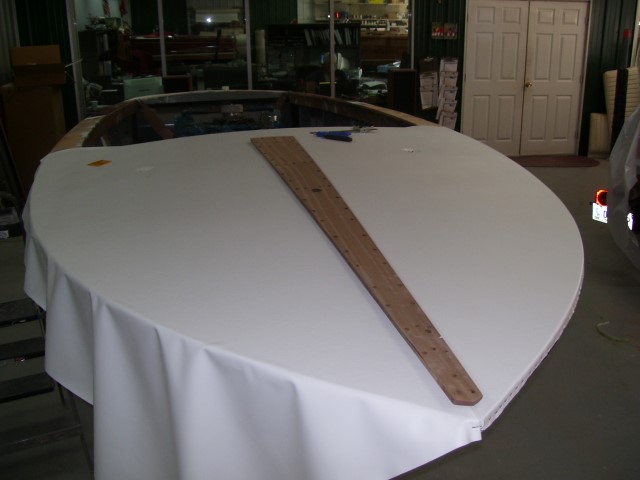
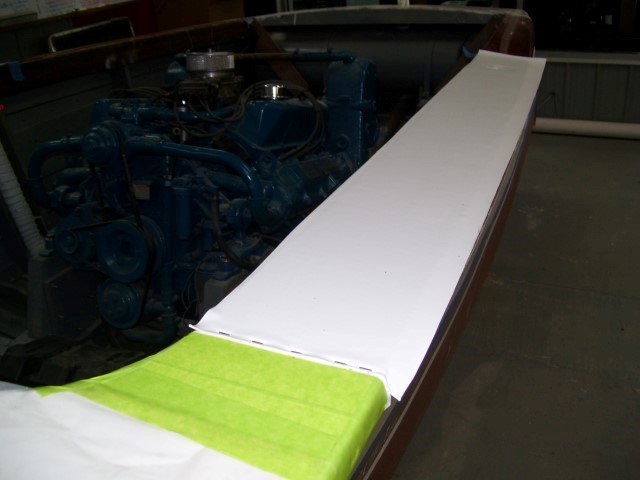
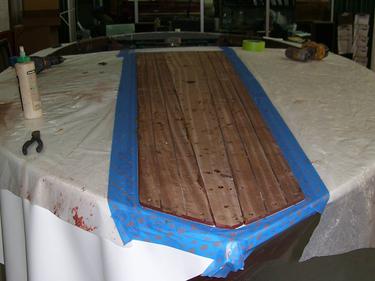
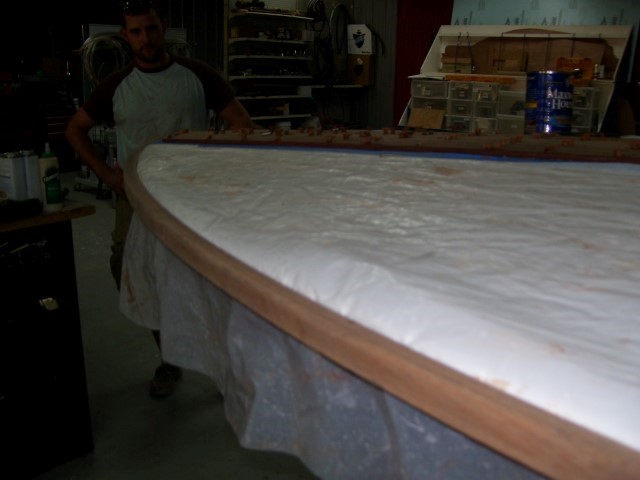
Vinyl is installed on the front deck. It is now ready for us to install the King planks. The center plank is laying in place.
LEFT: Vinyl was installed on the gunnels. Tape was used on both ends to protect the varnish and deck vinyl. This is a preventive measure we take to avoid making more work for ourselves.
RIGHT: Vinyl is protected from glue, stain, varnish... Preventive measure.
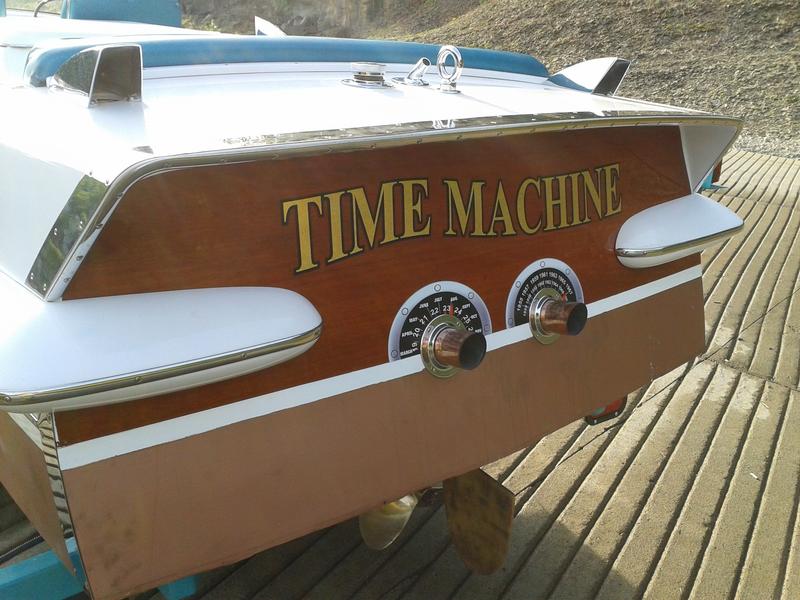
Beauty tube, trim ring, and wheel have been painted to match the color code from the beauty tube.
Bow Stop has been modified to catch the nose of the boat.
We fit the interior before and after the material is applied to assure we have a tight fit.
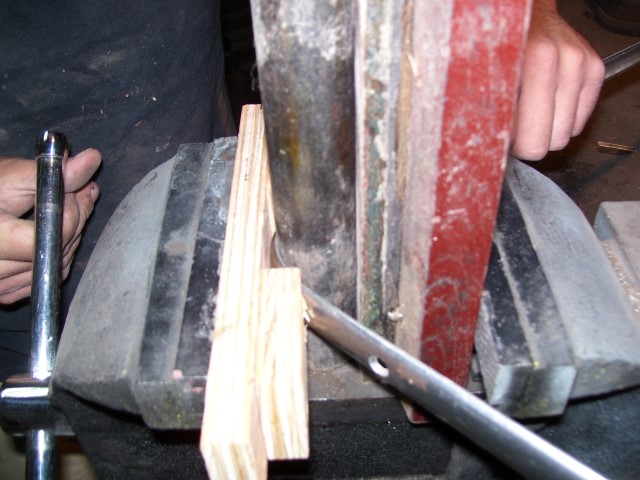
LEFT: The bung making process. We set up a jig to make bung strips for fast and easy installation.
RIGHT: King Planks are bunged, ready to be cut and faired in for stain and varnish.
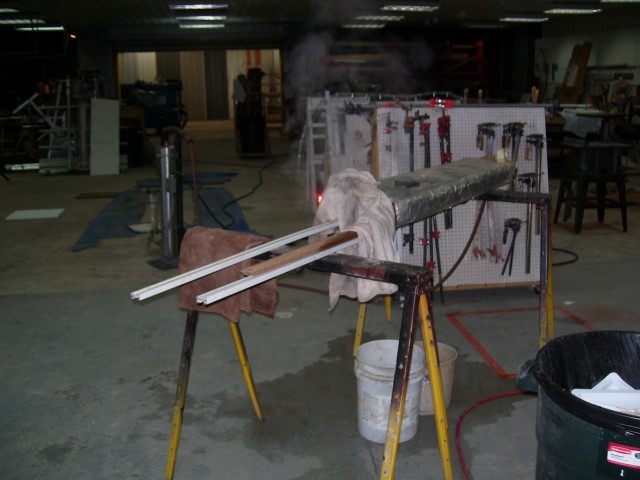
LEFT: Our steaming set up. Allows us to turn wood into noodles.
RIGHT: The new rub rail is installed to the bow before before stain and varnish to take the shape of the nose.
Flooring has been laid in to assure a tight fit. We will pull it out to protect it while we finish our other work.
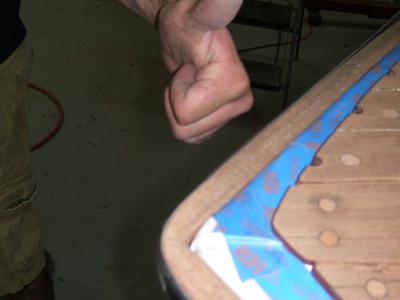
Deck has been sanded fair and filled around any bungs needed. In some cases where bungs have been removed time after time in the past, some holes can become irregular.
The new rub rail was shaped to where it needed to be but the stainless did not have an even bend. We have a jig for this kind of problem.
Stained and first coat of sealer
Before and After
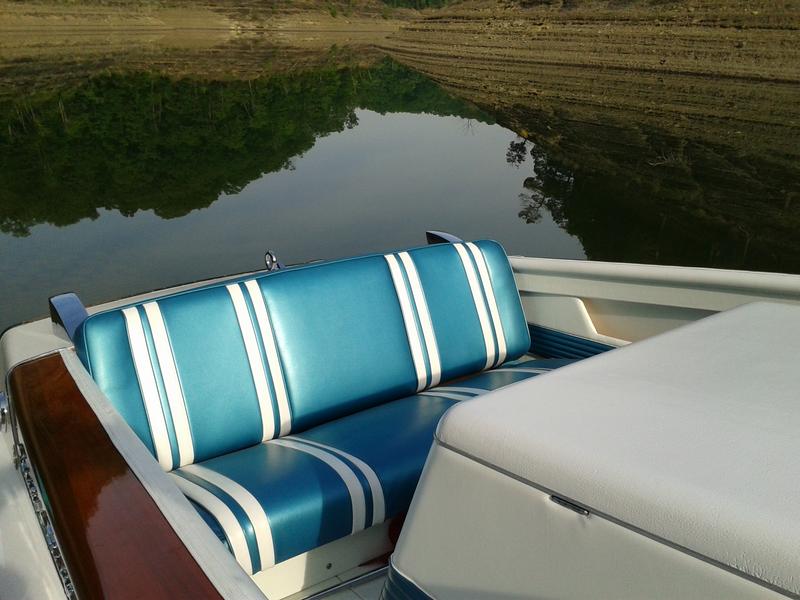
LEFT: Vinyl in pockets have been stapled in. There are inserts behind the pockets as well that have been covered.
RIGHT: The shine difference from taking the scratches out and after buffing.
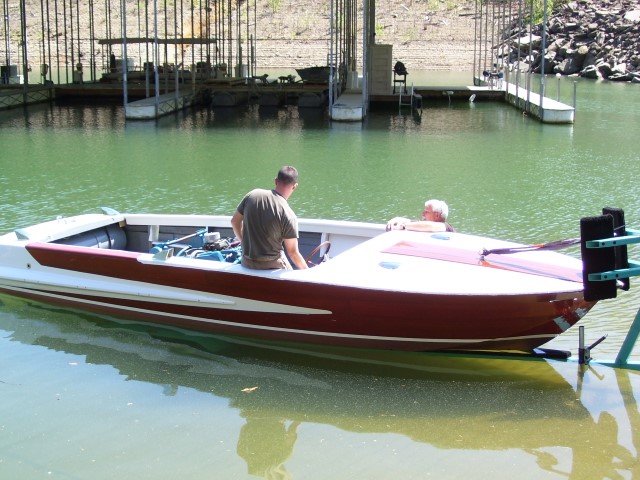
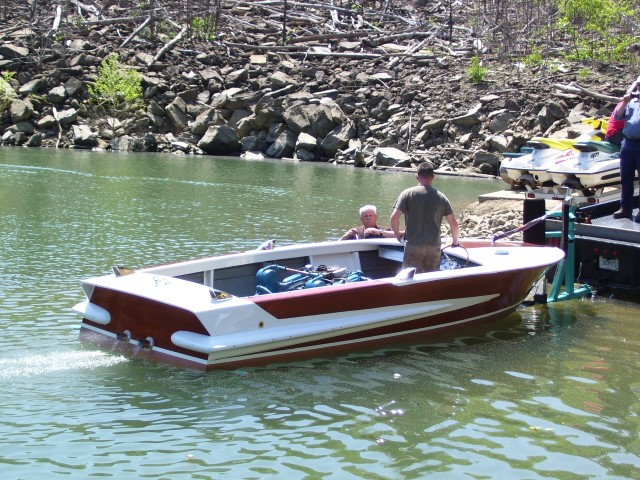
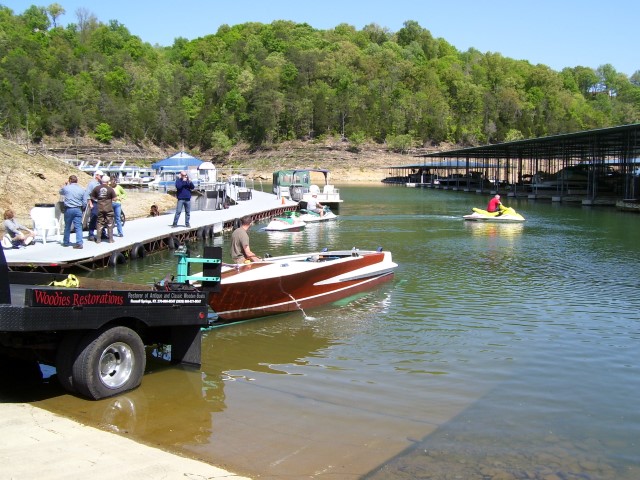
TEST DAY
Finished on 4/29/12
9/17/12
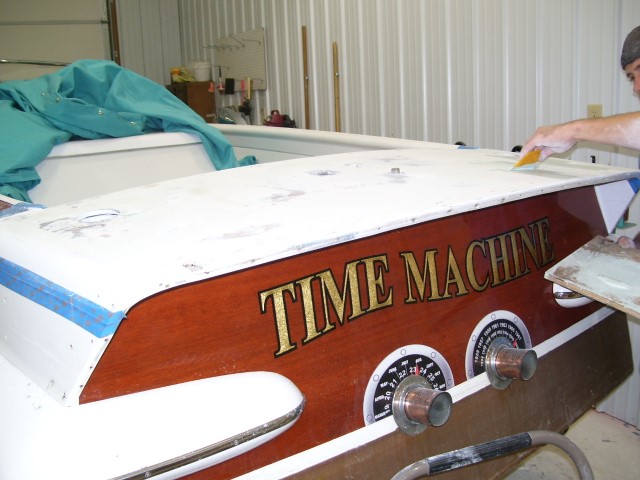
Boat being preped for boat show. taking off stainless and buffing it.
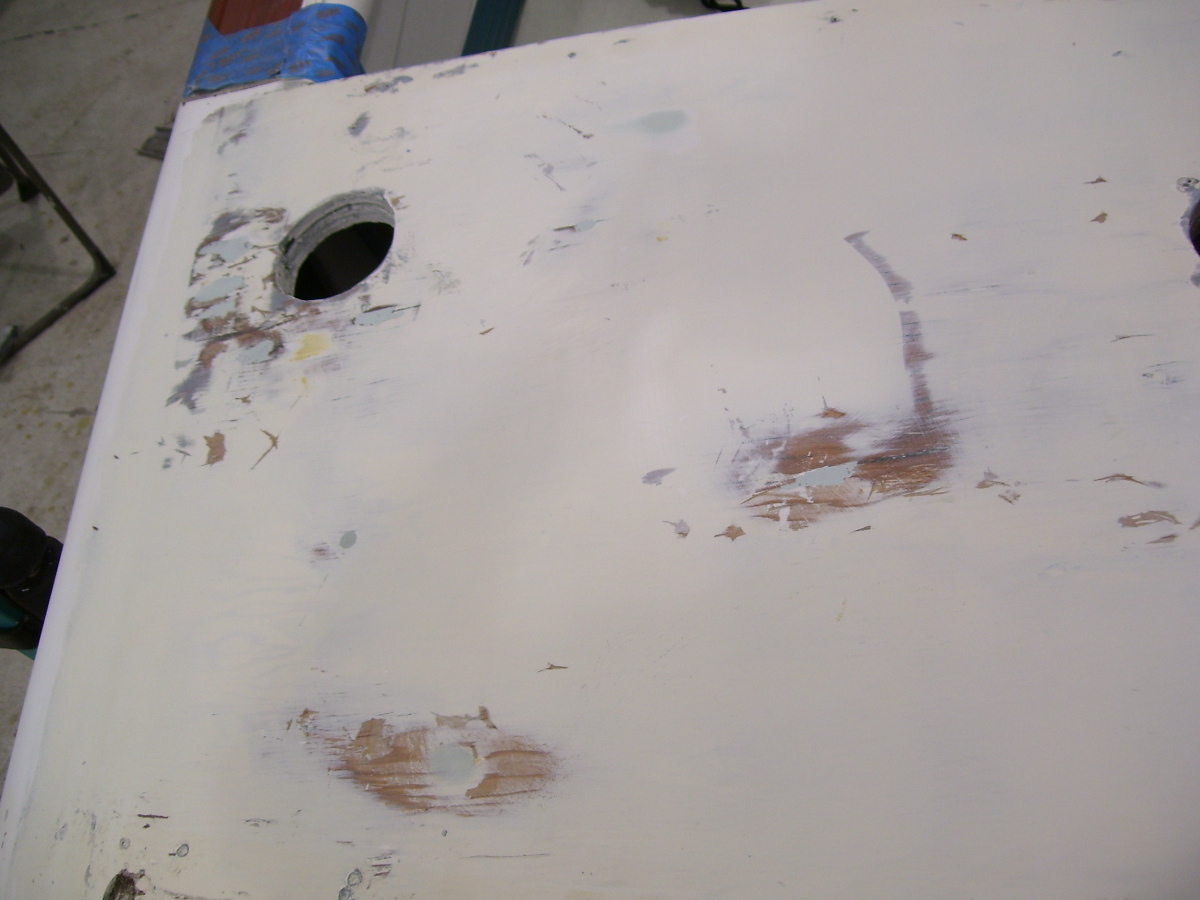
Sanding down cracked and chipped paint to be repainted