270-866-2628 Paul@woodiesrestorations.com

New Toll Free Phone Number   866-921-2628
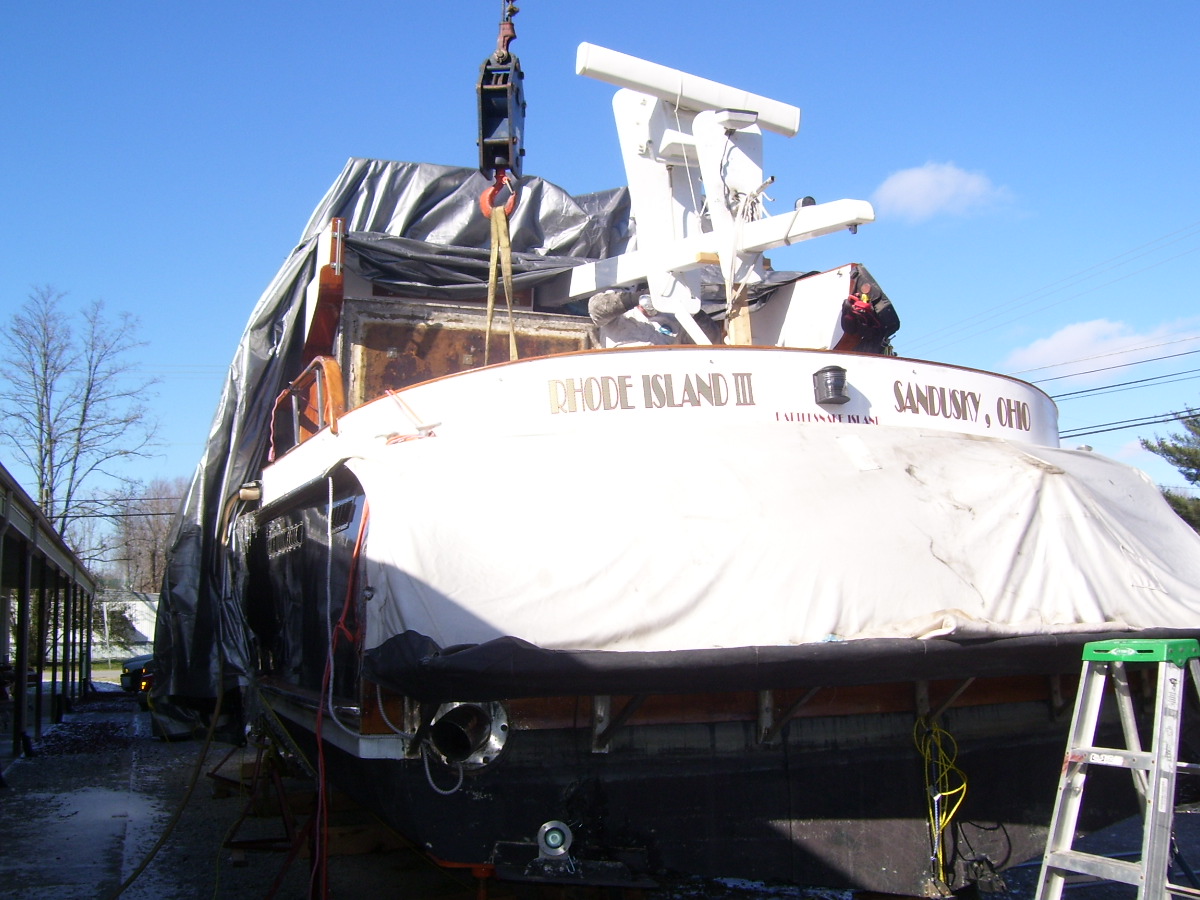
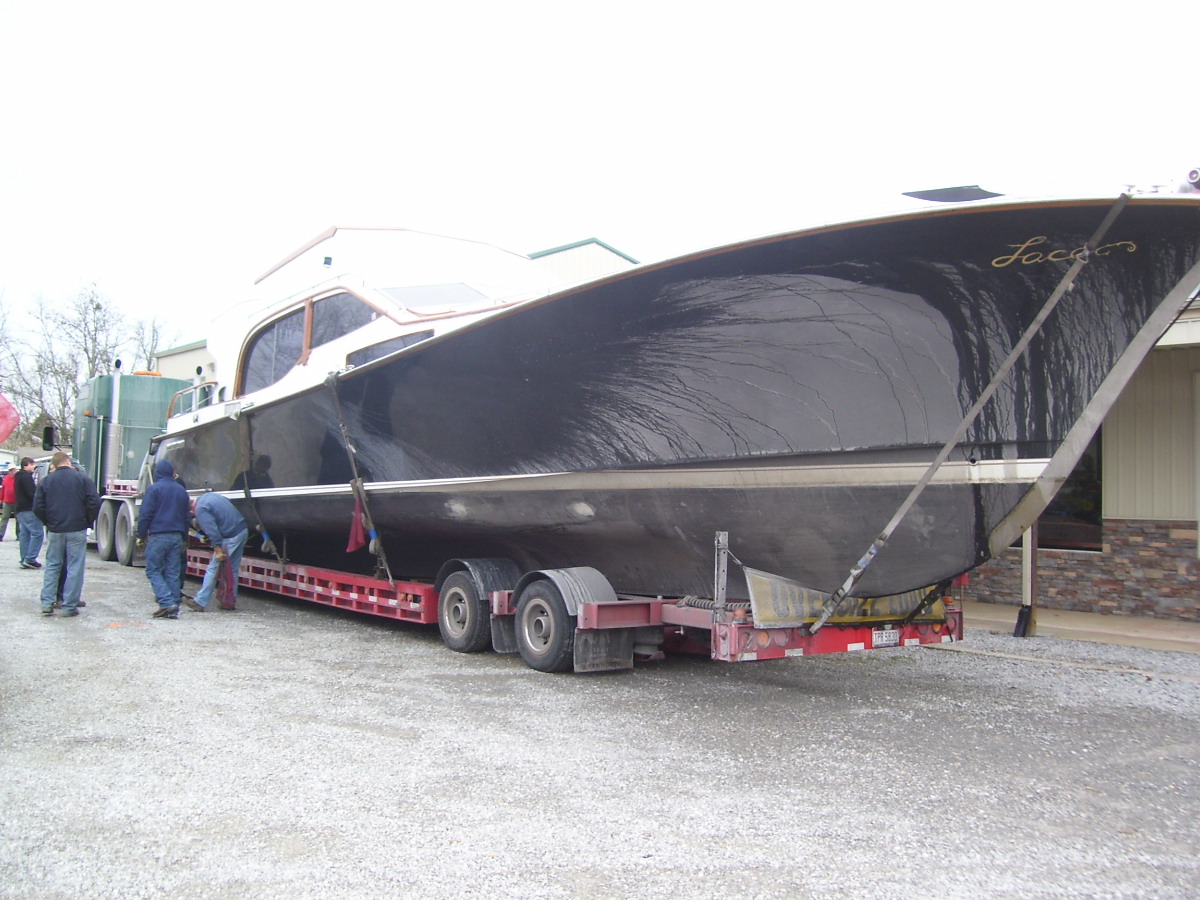
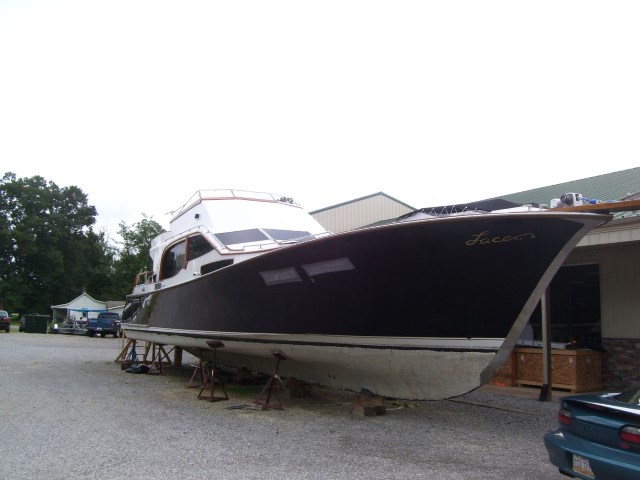
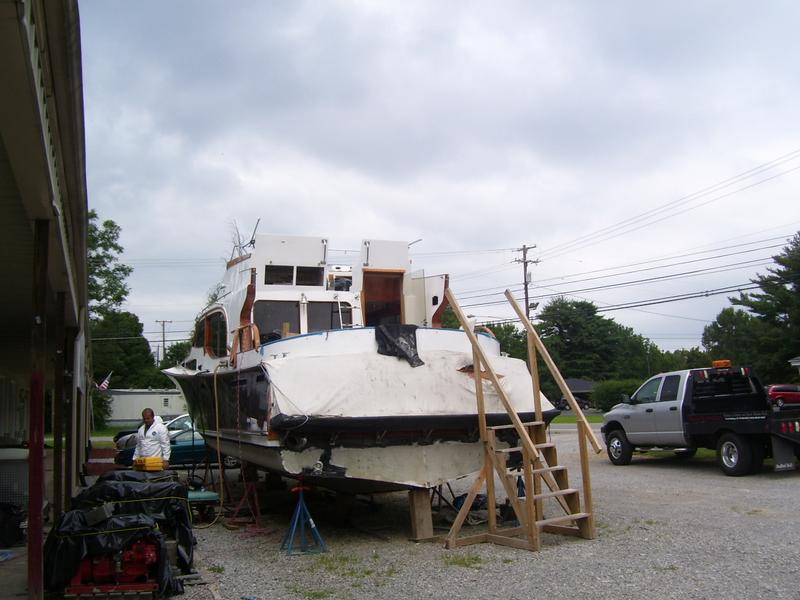
1983 52' Midnight Lace 
built by Choey Lee Shipyards
Before pictures
1/6/13
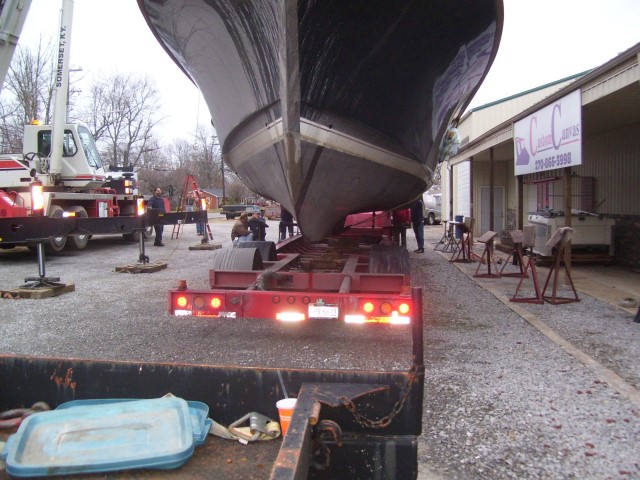
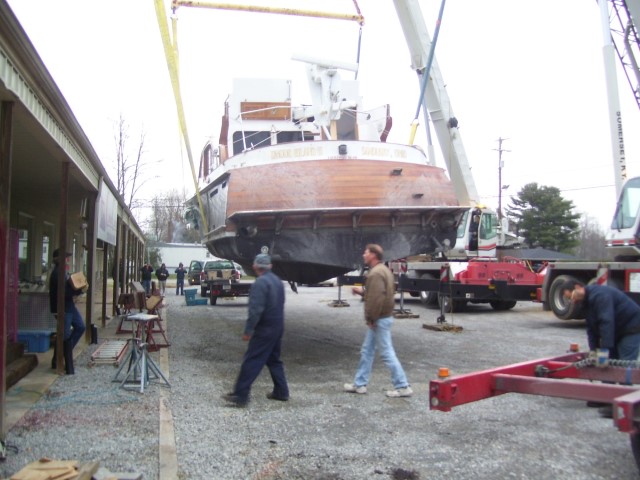
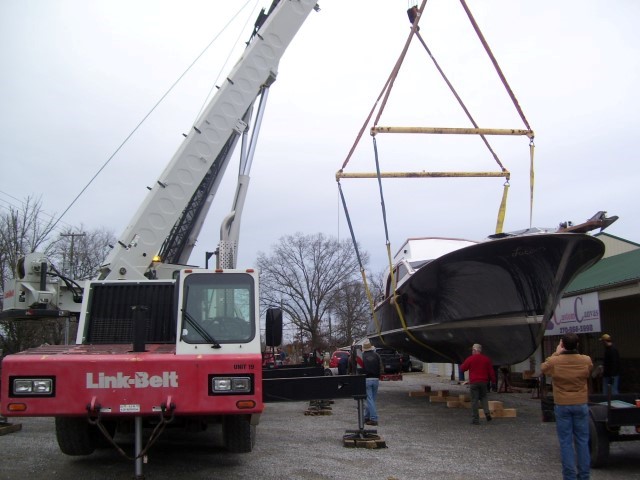
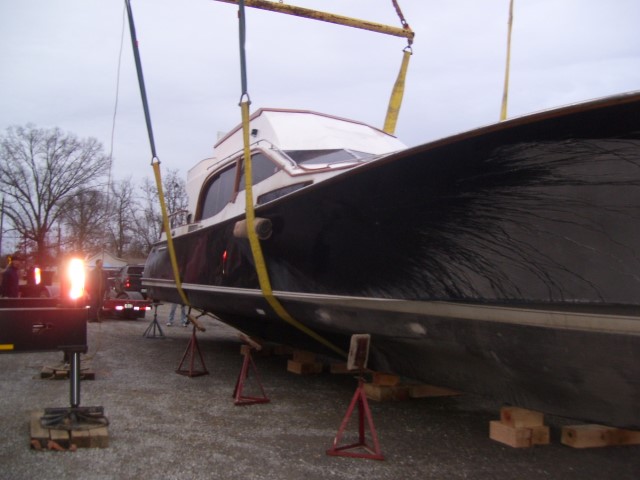
The boat came in on a semi truck from Sandusky, OH. Two cranes were used. One 70 ton and one 60 ton. The unloading process took about 3 hours. 
1/23/13
1/29/13
1/31/13
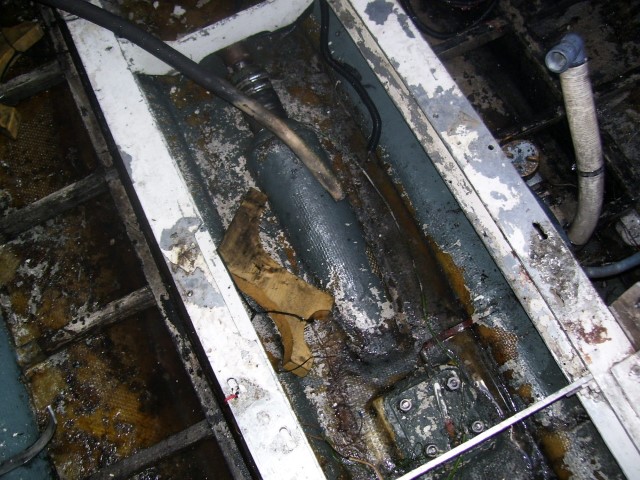
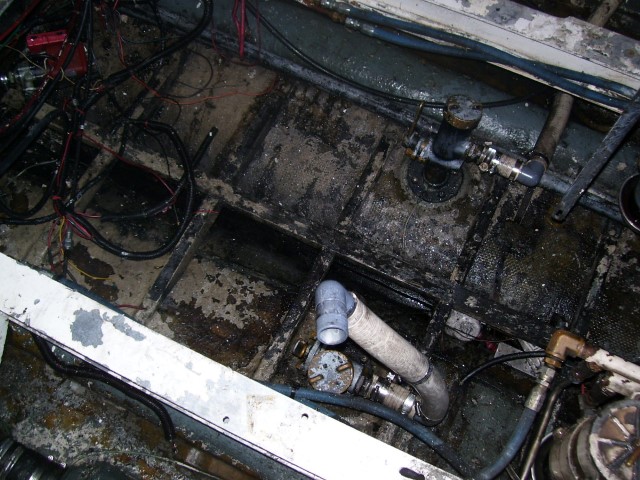
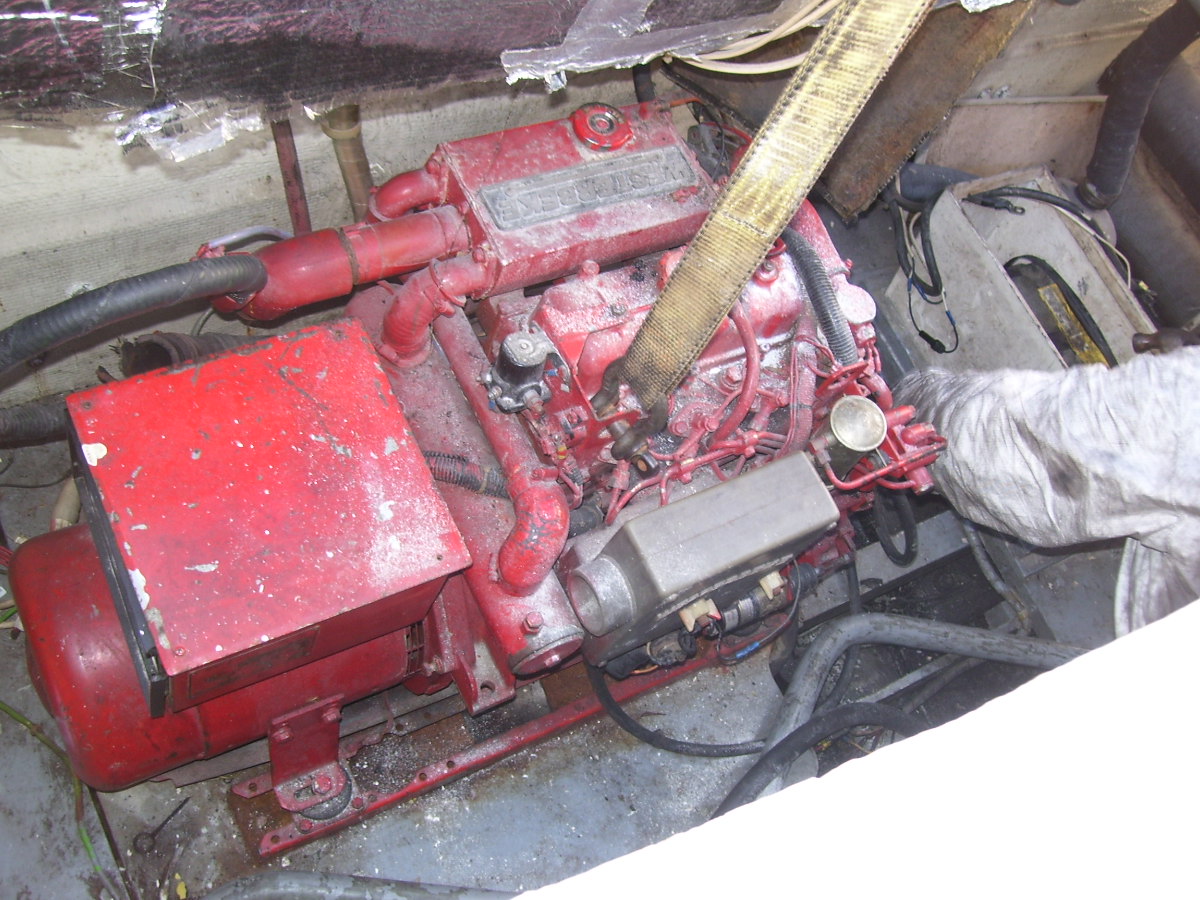
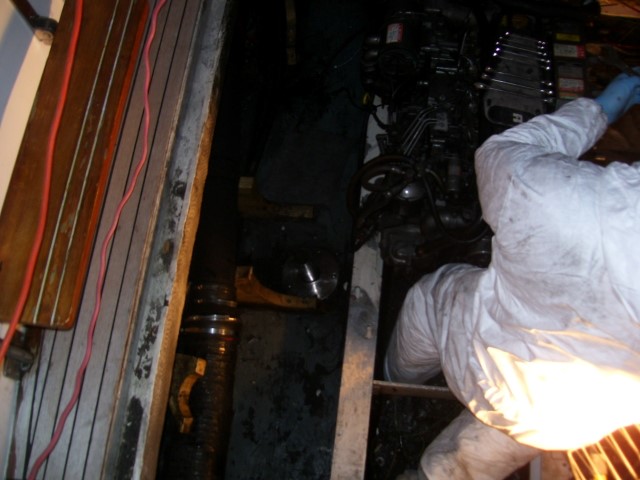
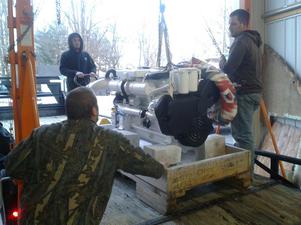
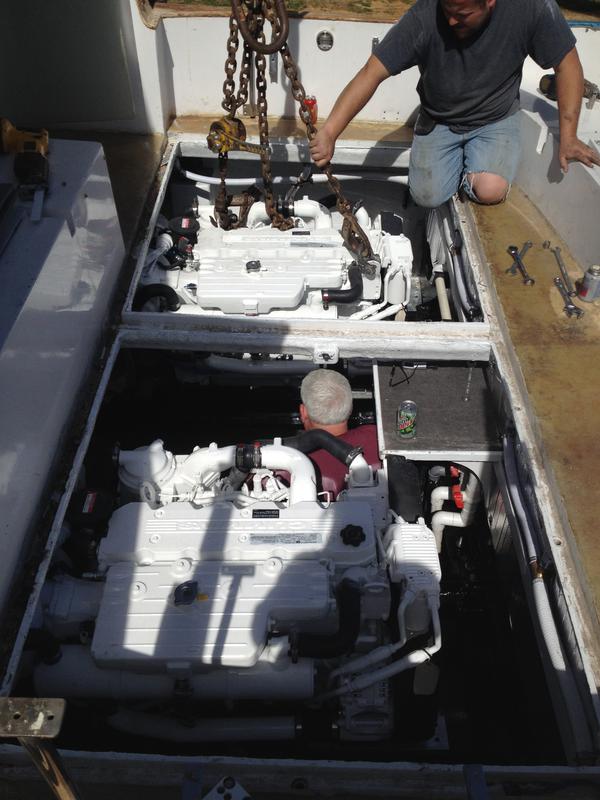
Working to remove engines. Judging by coveralls, the engine room is about clean too
2/1/13
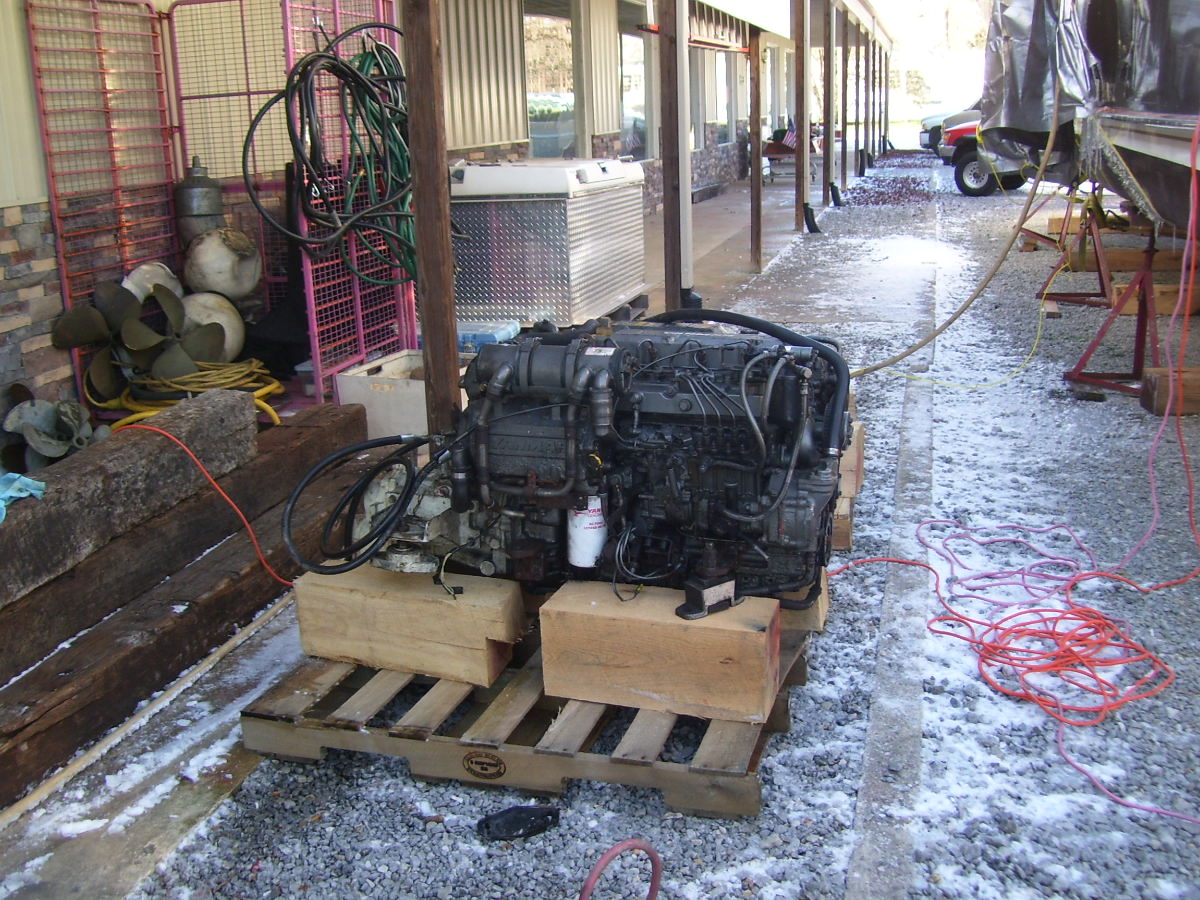
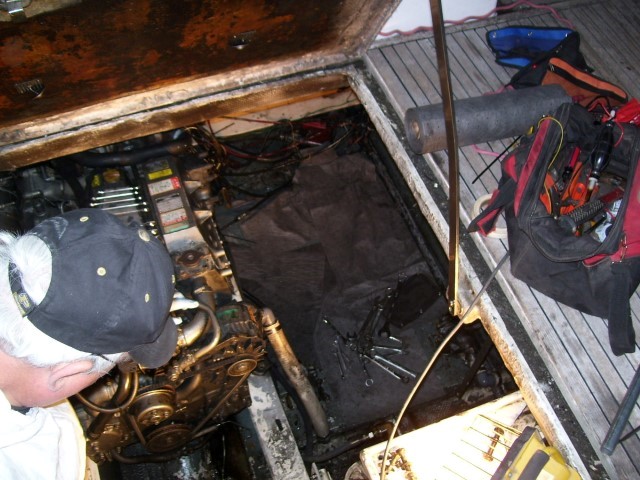
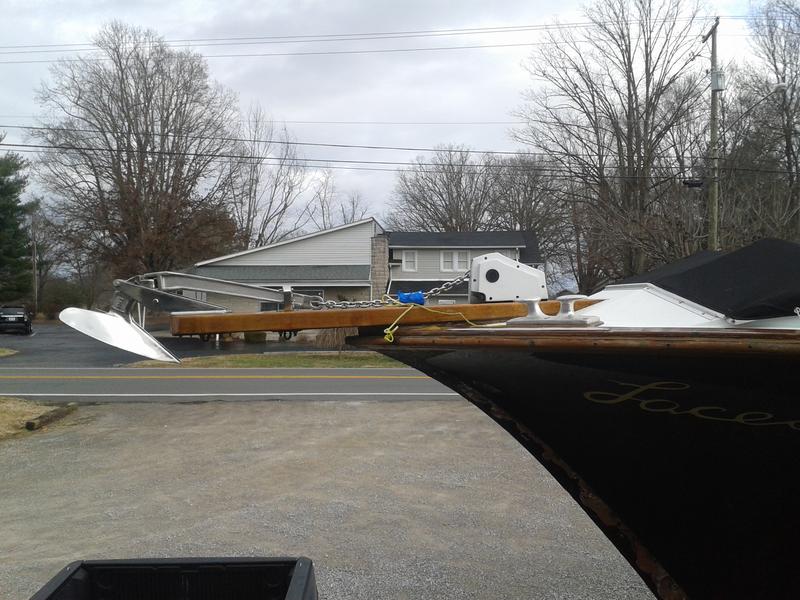
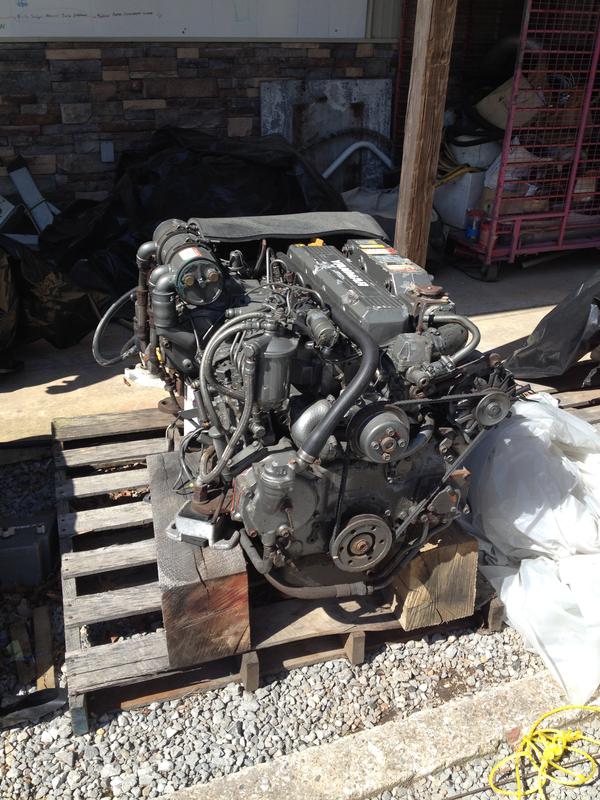
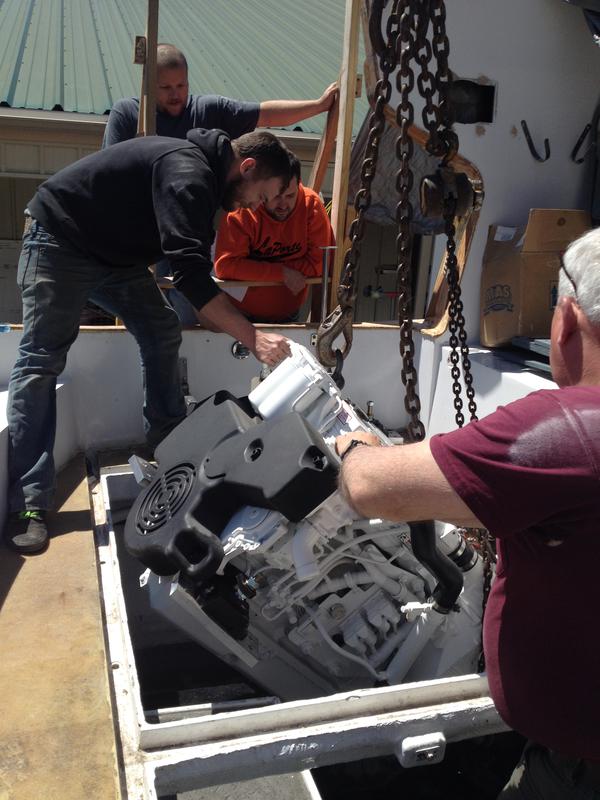
Rented a crane to pull engines and generator
2/4/13
2/5/13
2/6/13
2/11/13
2/14/13
Cleaning engine room with
Hot water used from hot water heater for boat
Cleaning engine room with
Hot water used from hot water heater for boat
The walls on the the inside of the engine room cleaned. Much whiter!
How the walls looked before
Cracks around the shaft log
Painted new flooring pieces for engine room
Where hot water heater used to be
Bimini top
Exhaust removed
Crack in exhaust filled with sealant
Garbage removed from bilge
Crack in exhaust filled with sealant
Cleaning bilge under the cabin
Bilge in engine room.
Bilge in lazarette
Old flooring pieces of engine room.
Rams for engine hatch. Currently seized up
New material to be used. 3/4 in thick
Where the engines used to be
Where the generator used to be
New battery tray
Old vinyl window pieces
Old bimini top
New fender covers
New bimini top
Removed water from bilge. was up into forward bilge compartment
counter
2/14/13
2/18/13
2/22/13
3/4/13
3/5/13
3/6/13
Painted wall of lazerette
Painted bottom of engine room
New Shaft to replace bent shaft in rudder. Also removed all old bottom paint from rudder
Lazerette prepped for painting
Walls of engine room painted
One of ten floor panels that have been increased in thickness to 1/2" of wood and another 1/16" of polished aluminum tread plate to applied on top of these.
Your sample of Teak flooring has arrived!
4/1/13
Removed and painted uner exhaust
Old speaker being removed. this pair is blown.
flooring ripped up
Bow cockpit cover
Bow cockpit cover
Rest of wiring harness removed
Painted bilge under cabin
Old wiring harness removed
Bungee cord holding multiple wires together under the dash
The engine room after a lot of the wires have been removed
4/5/13
Ripping up flooring at helm
Lights that are going to light up the engine room
4/15/13
Removing old transducer
4/17/13
New transducer installed
4/19/13
Engine room lights
Engine room lights
Engine rails removed from boat
Where the engine rails sat before
Finished sanding floor at helm
Finished sanding floor in galley
Plumbing for engine labled
Plumbing for pumps finished
4/30/13
5/9/13
Sanding doors of closets and cabinets
Hooked up icerette in shop
Inside of icerette. working great
Ice Ice baby
5/13/13
Varnishing master bedroom
Putting filler stain on door
5/17/13
3rd coat of varnish
3rd coat of varnish
3rd coat of varnish
3rd coat of varnish
Multiple parts to cutlass bearing.
Strut ready to be removed
5/21/13
Tearing up flooring around engine hatch.
Taking off flooring on engine hatch with hammer and pry bar.
Pile of old flooring
Flooring on engine hatchs removed. Epoxy left behind will be sanded off.
Flooring at front helm removed
5/23/13
Sanding off epoxy that was holding down flooring. Half way done at this point
Finished sanding epoxy off and around the engine hatch
5/31/13
Sanded epoxy off in forward cockpit
6/3/13
Sanded down varnish
Sanded down varnish
Sanded down varnish
6/4/13
More sanding done
More sanding done
More sanding done
6/5/13
Sanded in main cabin
trying to match stain on spot on door
The many differnet colors used to try to match it
Put a coat of varnish on
6/6/13
Finished wih build up coats. Ready for final sanding and final coat of varnish
6/17/13
The old hoses removed from the boat. going to be replaced with new ones. appoximately 100'
6/26/13
Starting processs of removing bottom paint. Should take 1-2 weeks
Mask used to try to keep dust out of our lungs
6/28/13
Making progress on bottom. marker shows where blisters are
7/2/13
Stripped more bottom paint off
7/8/13
7/9/13
7/12/13
Cleaning drain pieces for aft cockpit. 
Before
After
All pieces cleaned up
7/15/13
Putting in drain lines for ridges around engine hatches
Putting in emergency plumbing
Taking moisture readings from bottom of boat.
7/23/13
Power cord going to A/C
Place where power cord had melted through
Running plumbing through boat
7/24/13
Forward cockpit cover
8/14/13
Rotten area of bulk head
Pile of rotten pieces of bulk head
Area prepped for new piece of wood
8/15/13
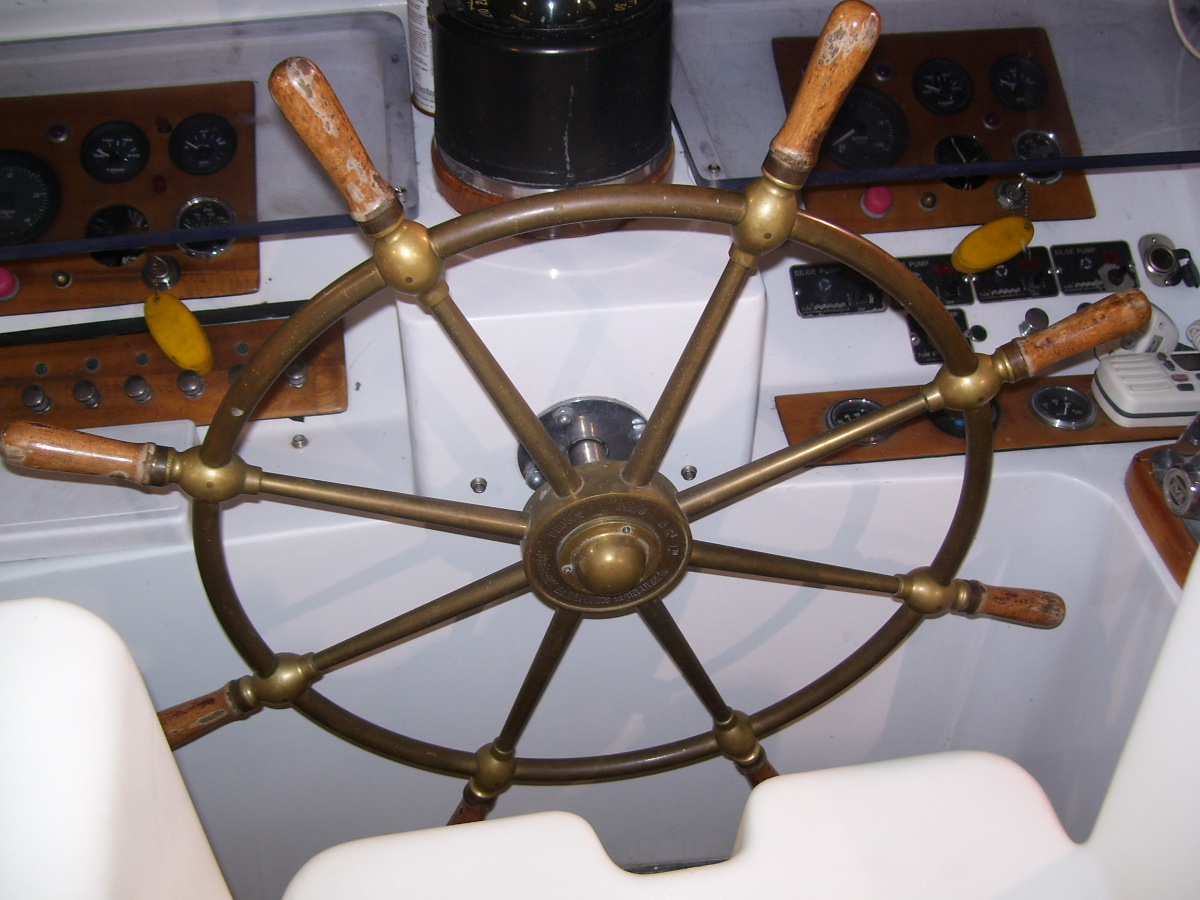
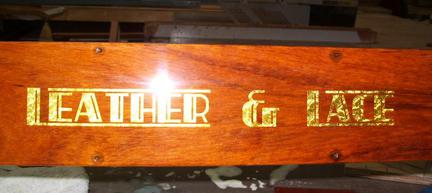
After sanding, buffing and several coats of varnish Midnight Lace has a 
name plate.
12/23/13
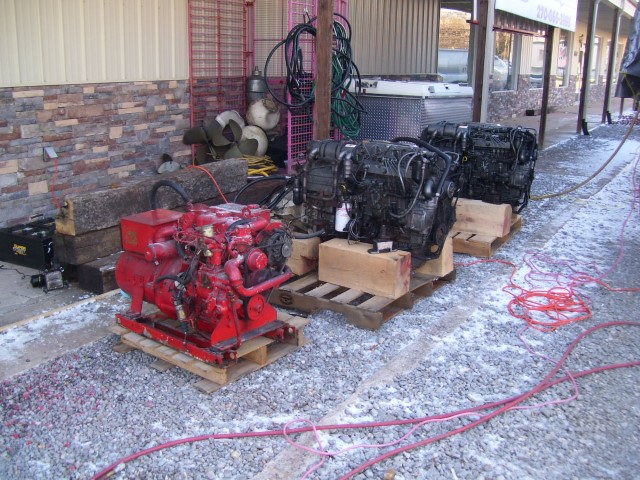
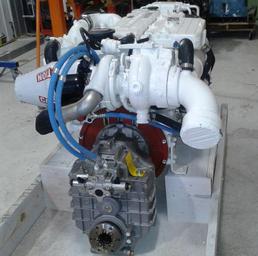
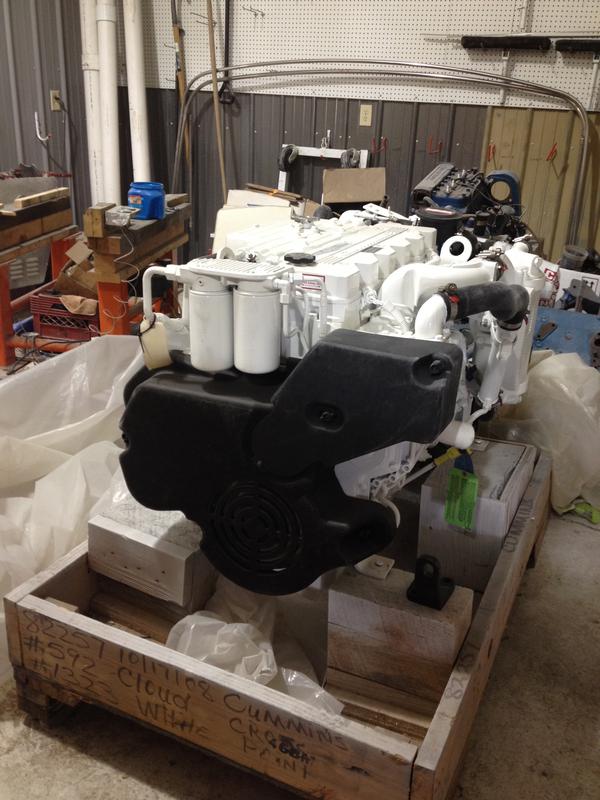
Close to $80,000 worth of engines and transmissions were unloaded.
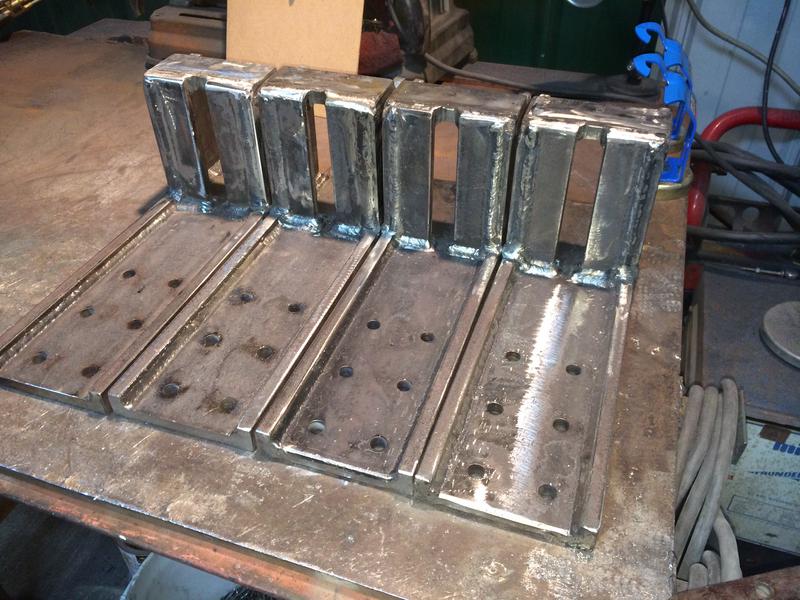
These are the engine mounts.
2/14/14
3/12/14
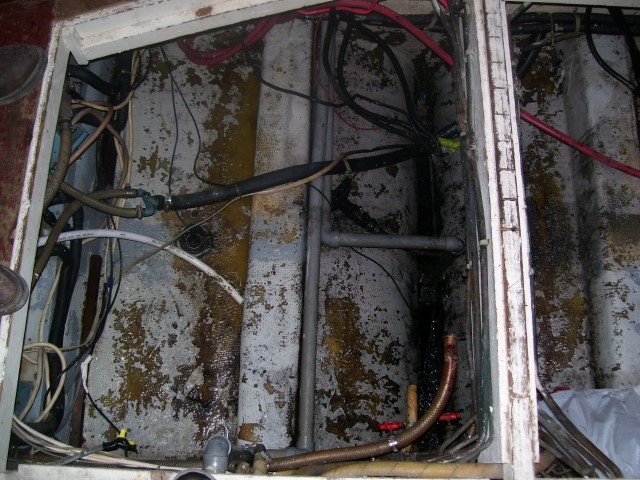
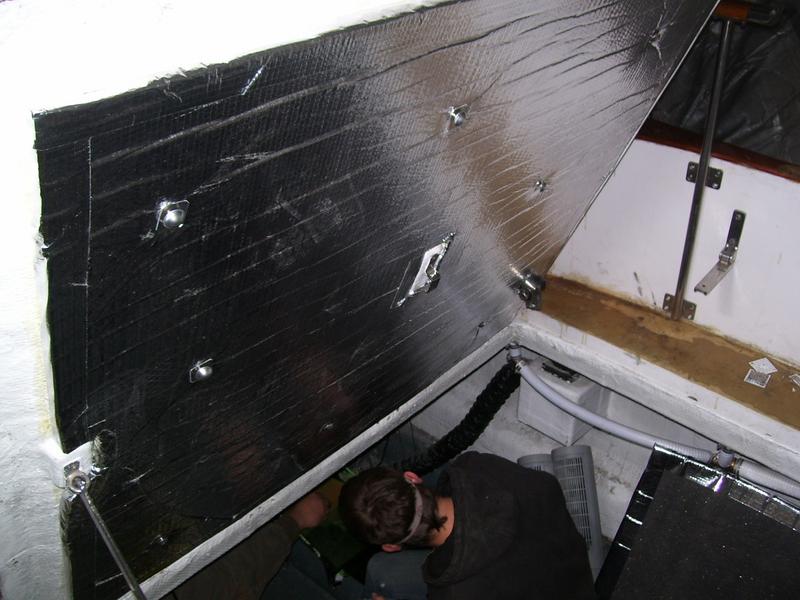
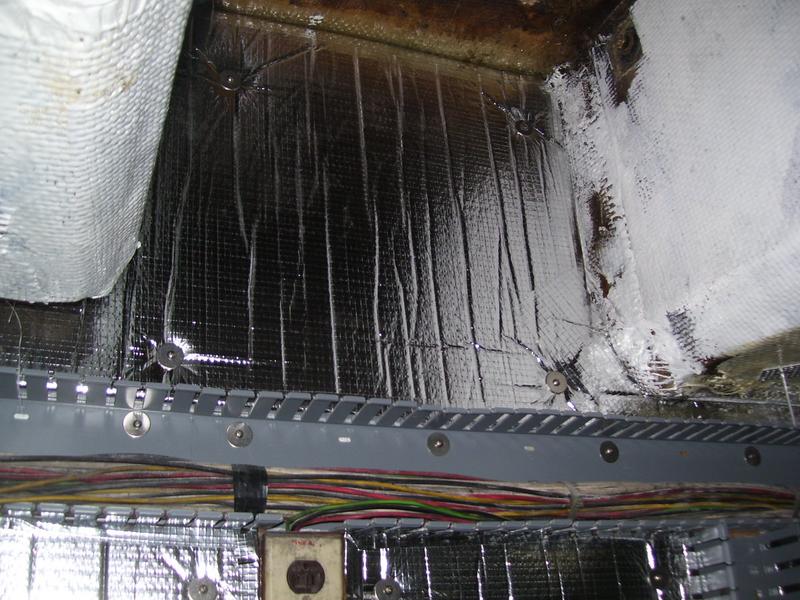
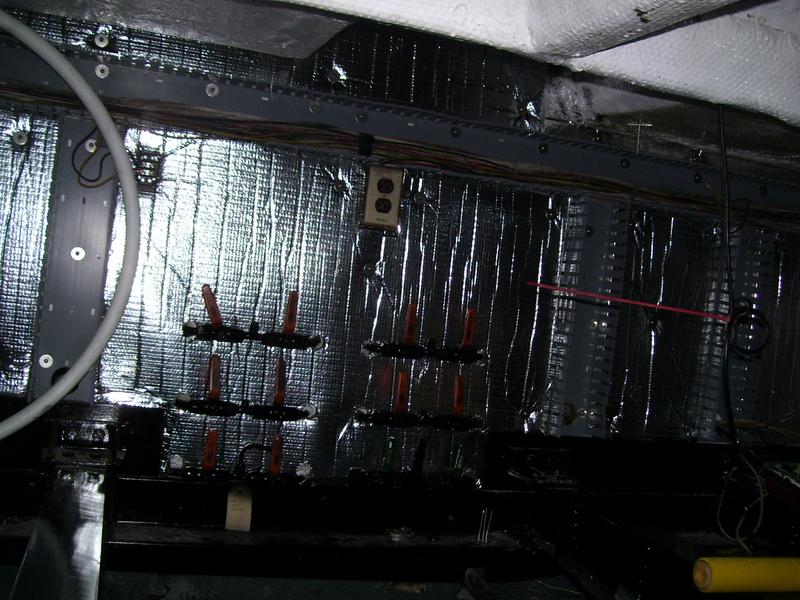
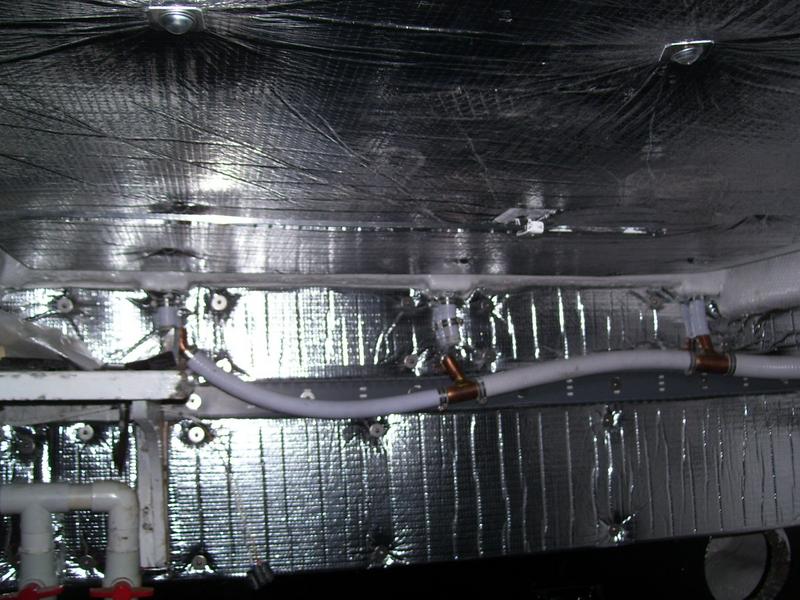
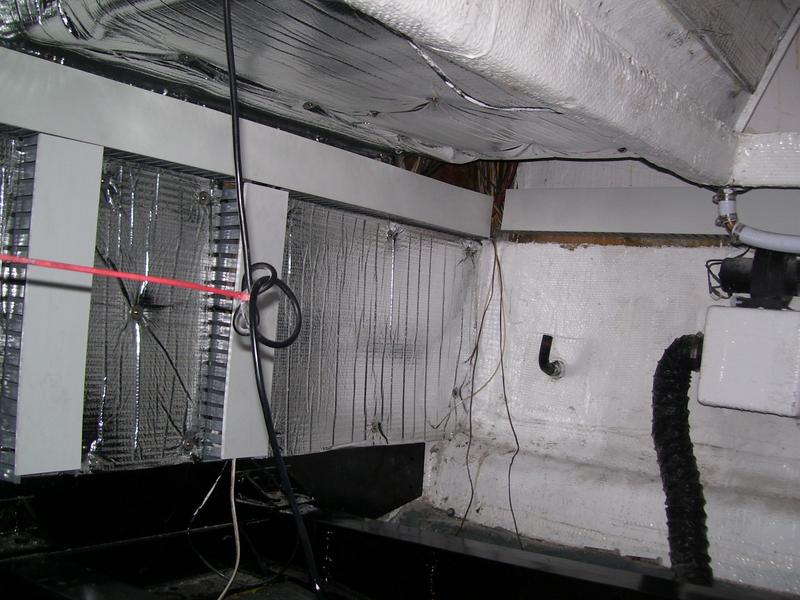
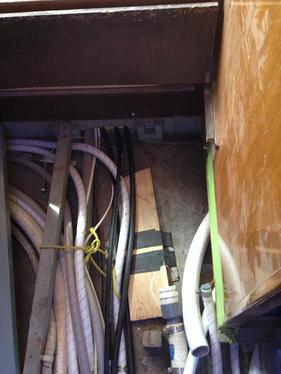
Installing the insulation. 
4/8/14
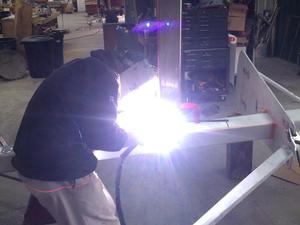
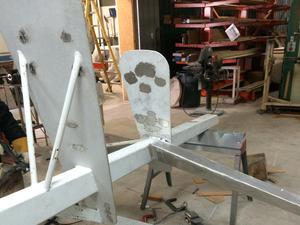
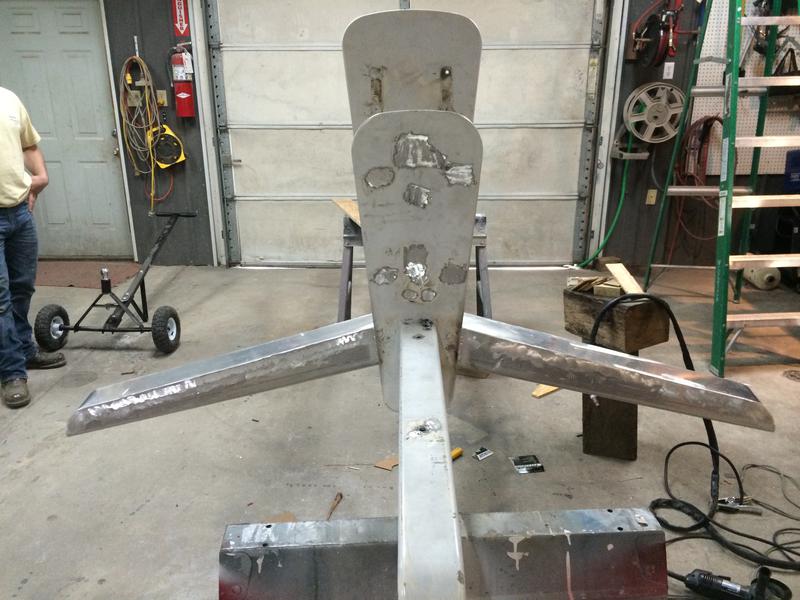
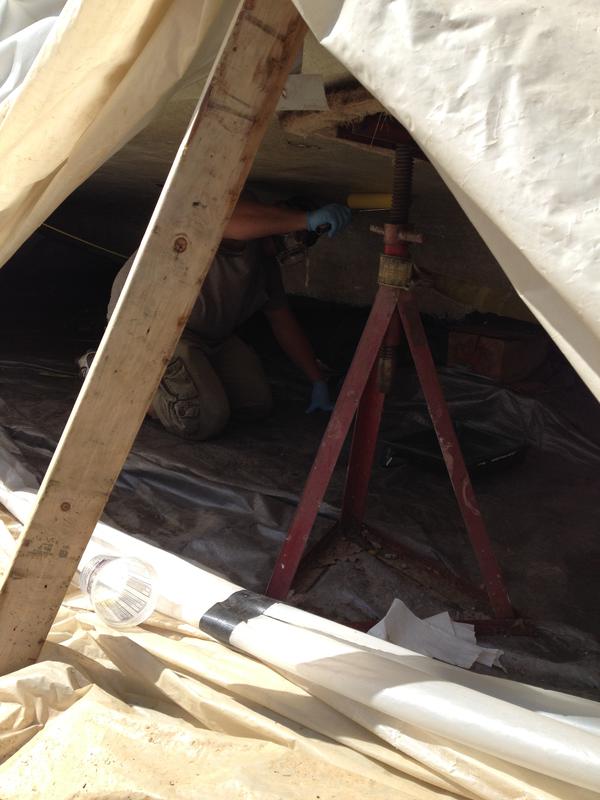
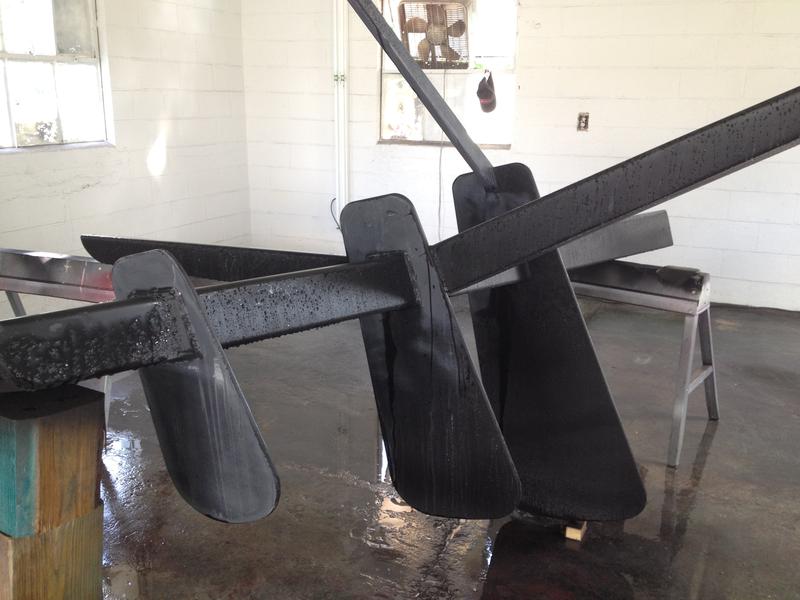
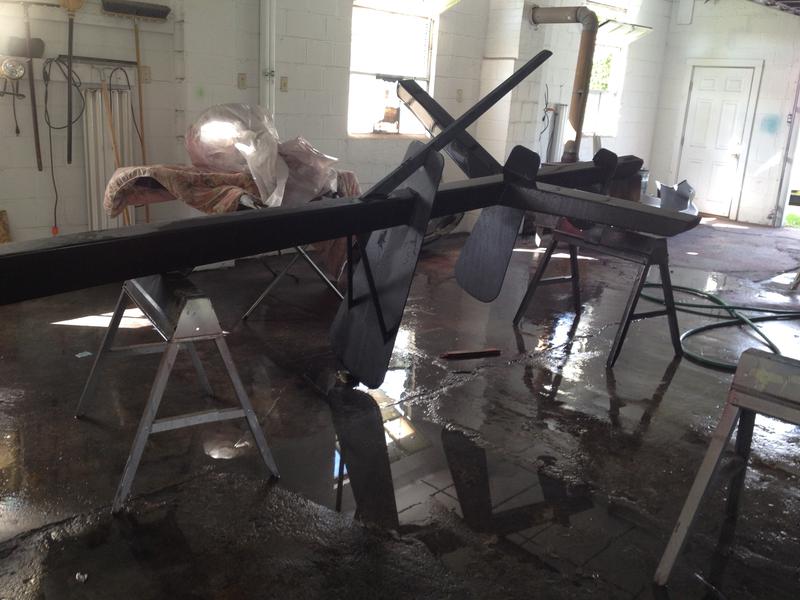
We are using a laser to determine that the wings are flat. Tig welding to get the wings wings to keep the mass in place. 
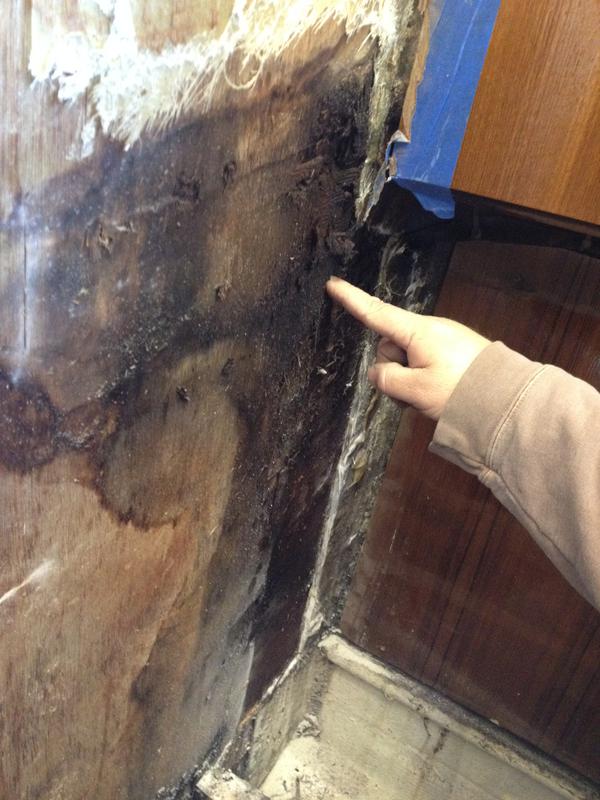
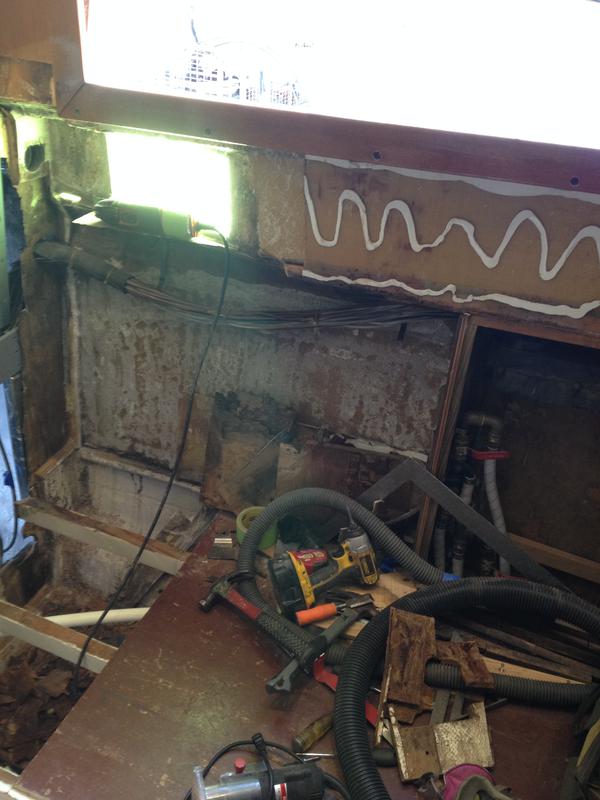
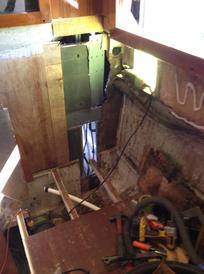
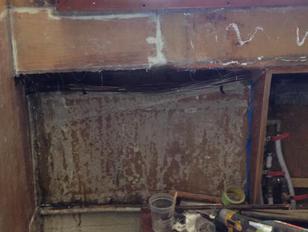
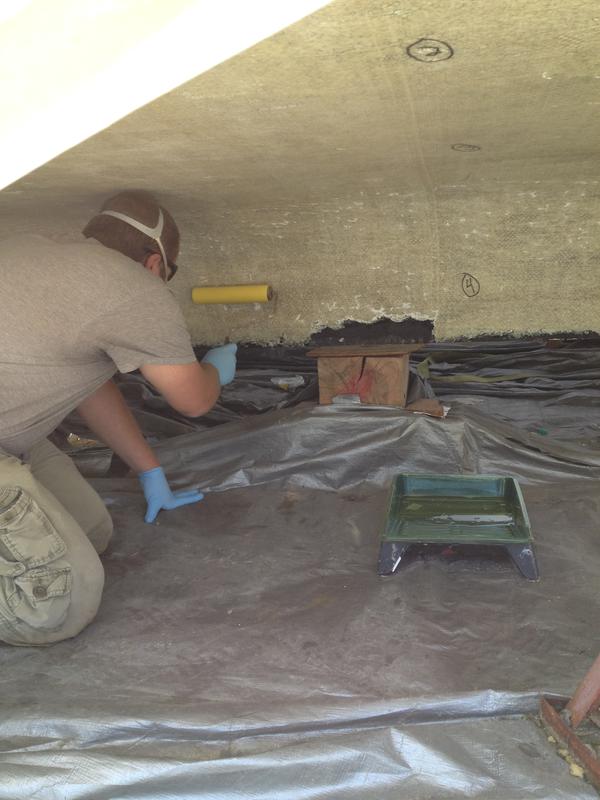
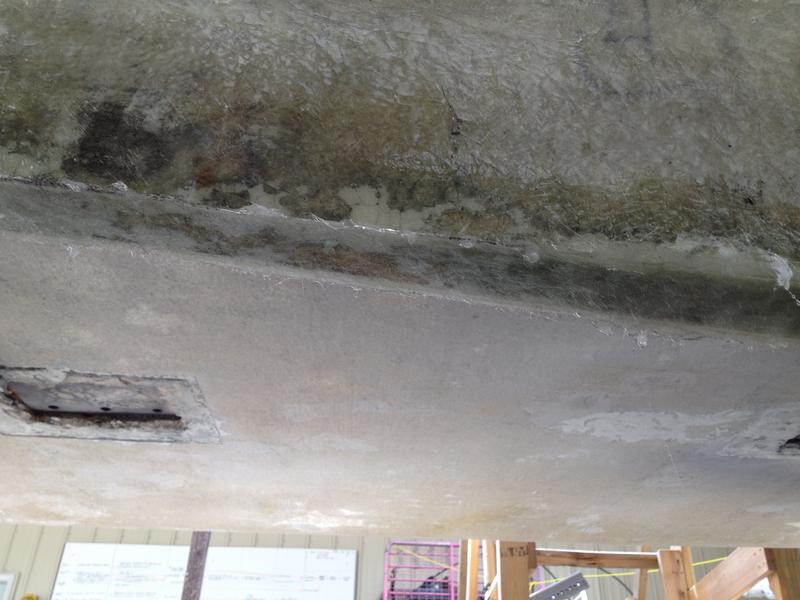
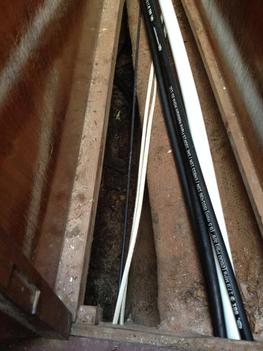
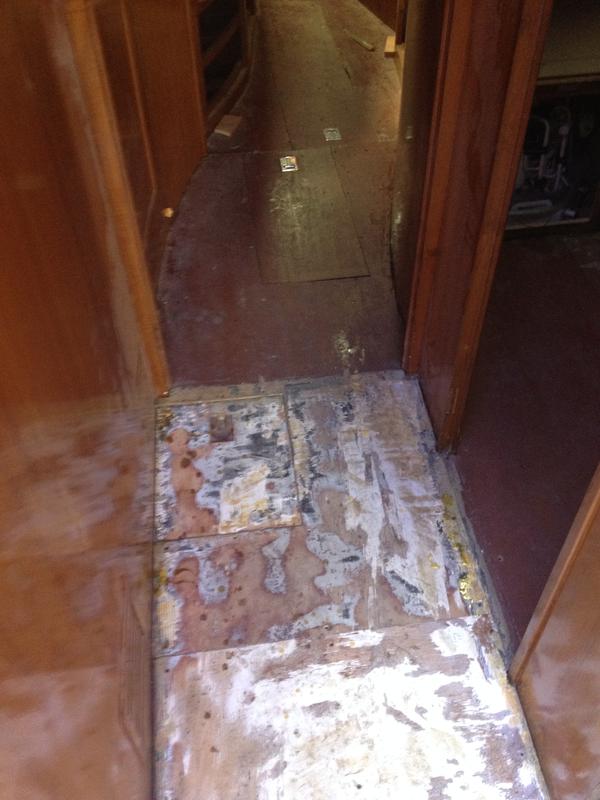
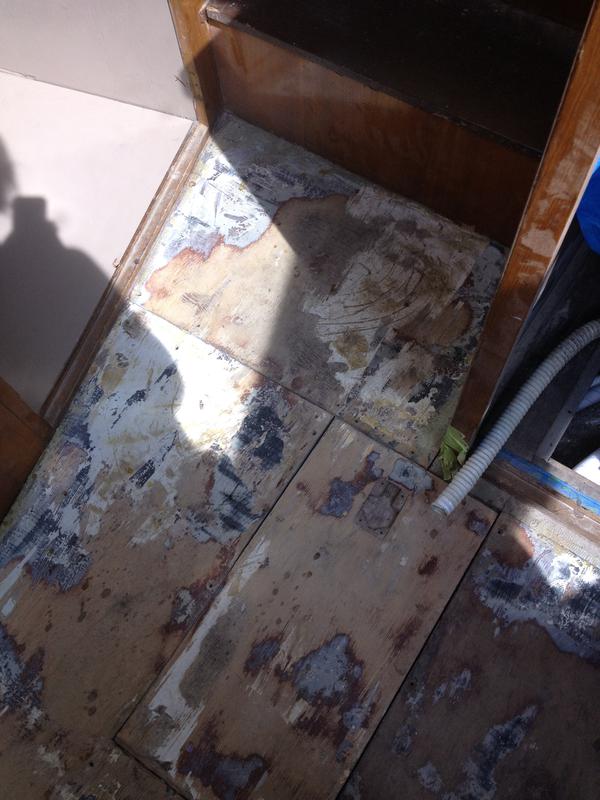
This video shows the rot, but we need permission to proceed.
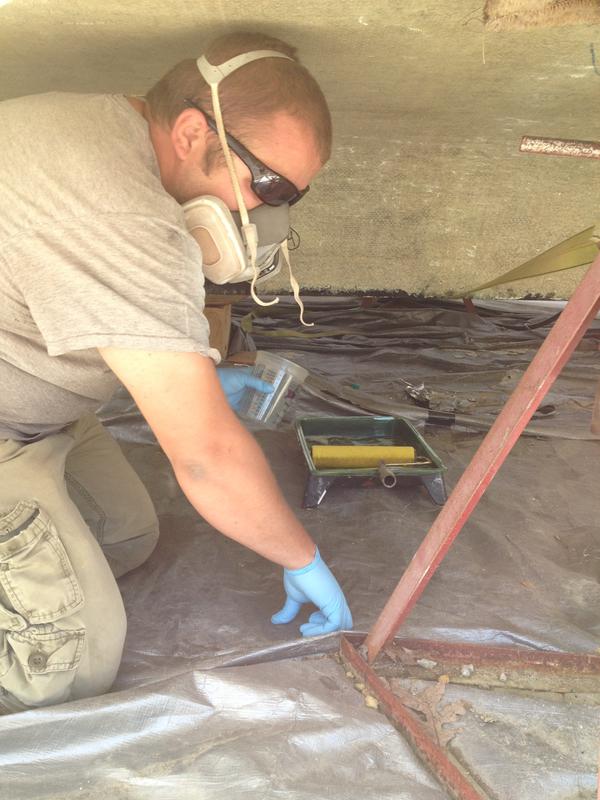
This video shows the welding process. 
4/10/14
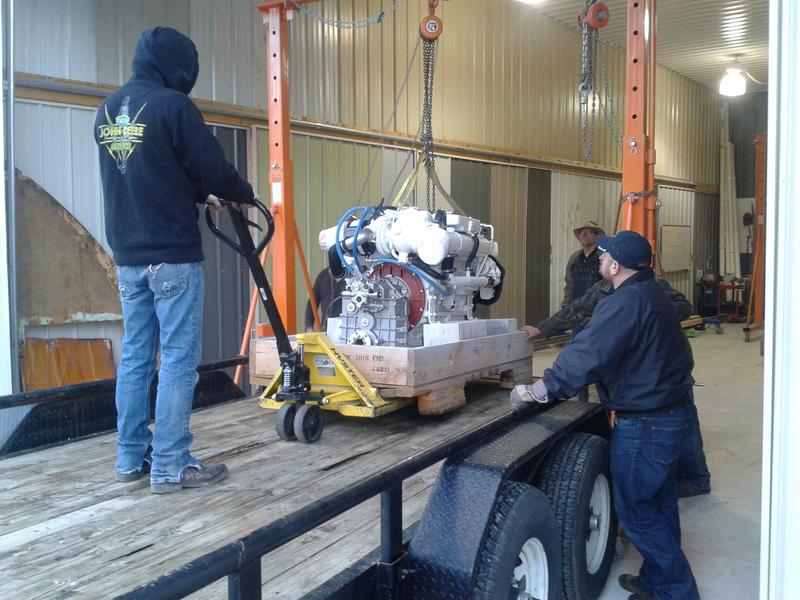
The engines will be replaced tomorrow. The left is the new one, the right is the old one.  
4/11/14
The epoxy has been poured. 
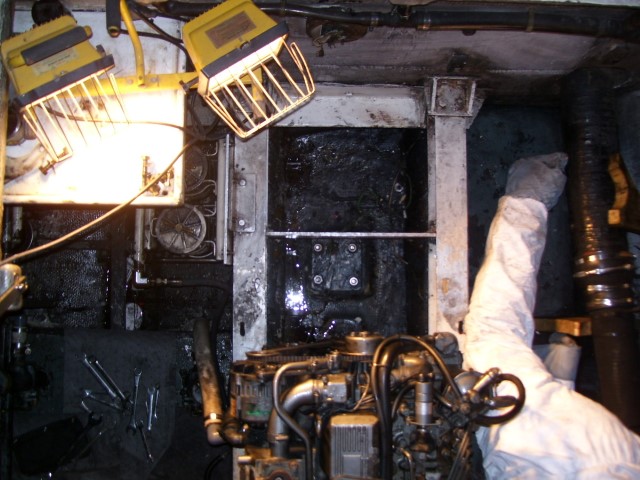
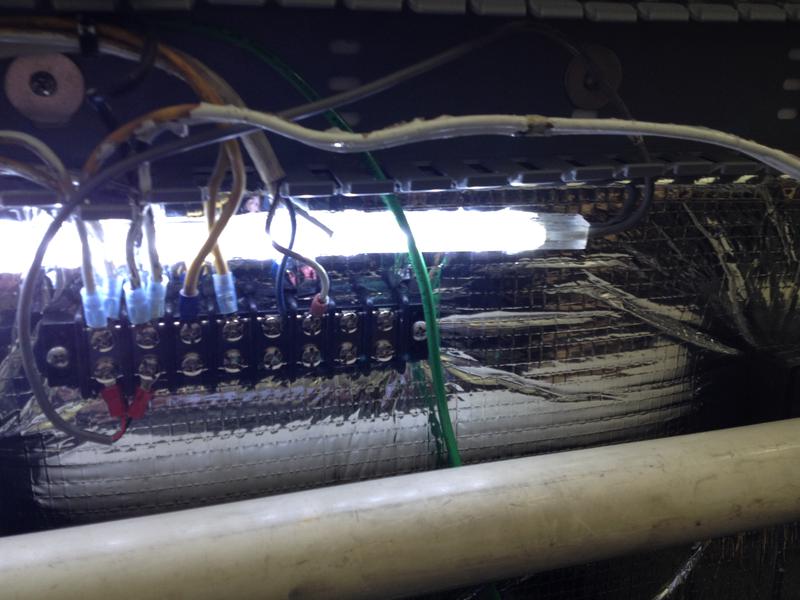
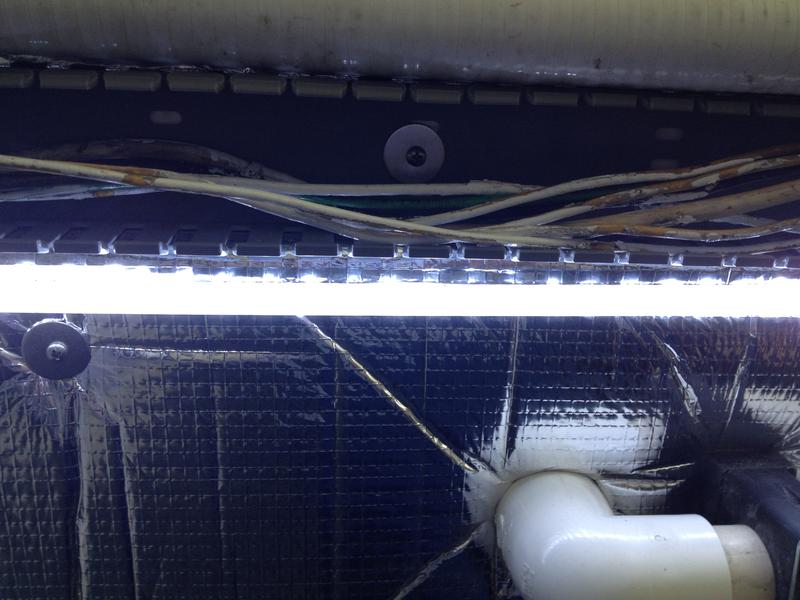
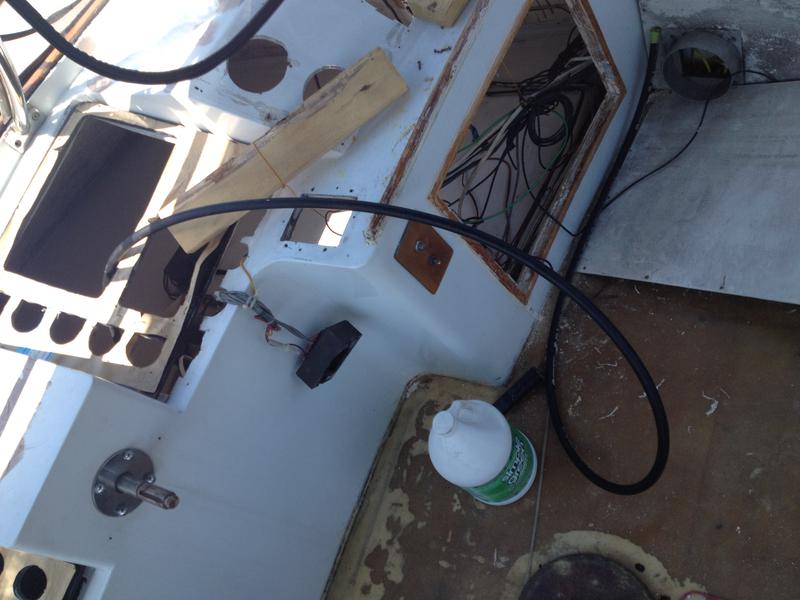
The lights in the engine room have been installed. 
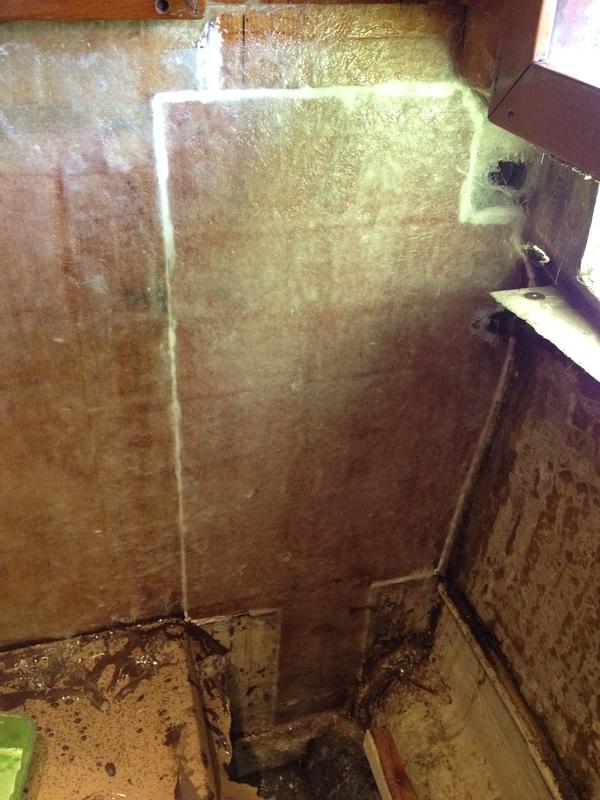
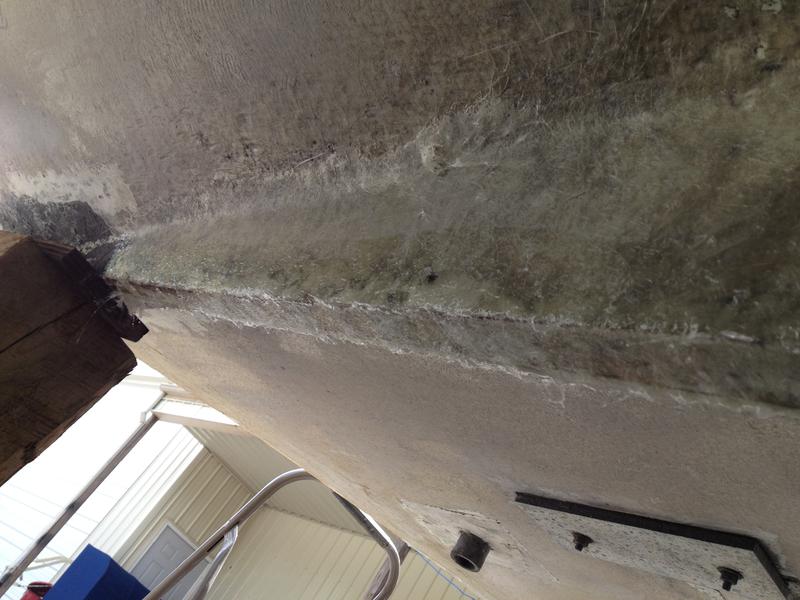
This video shows rot that has been found near the window.
4/17/14
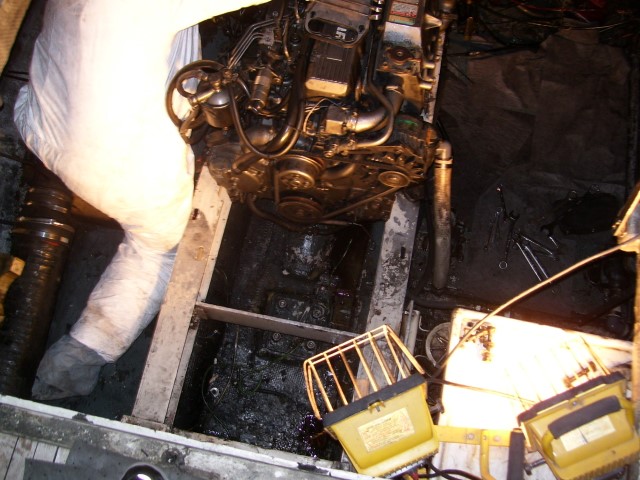
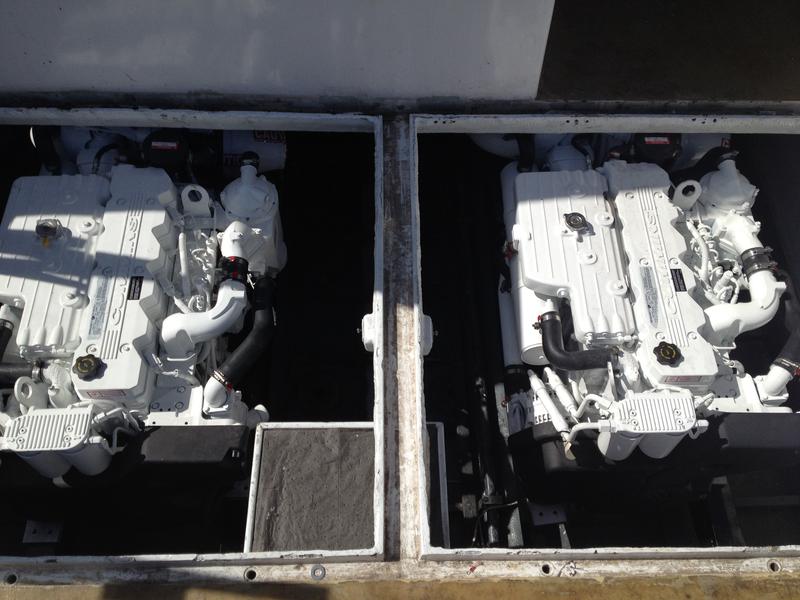
The engines have been installed. 
4/23/14
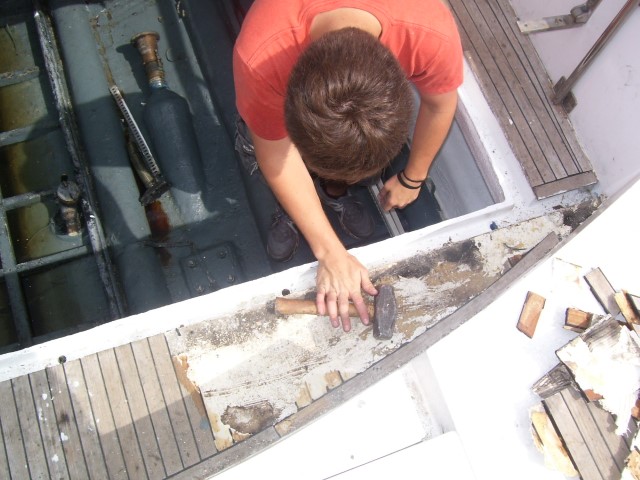
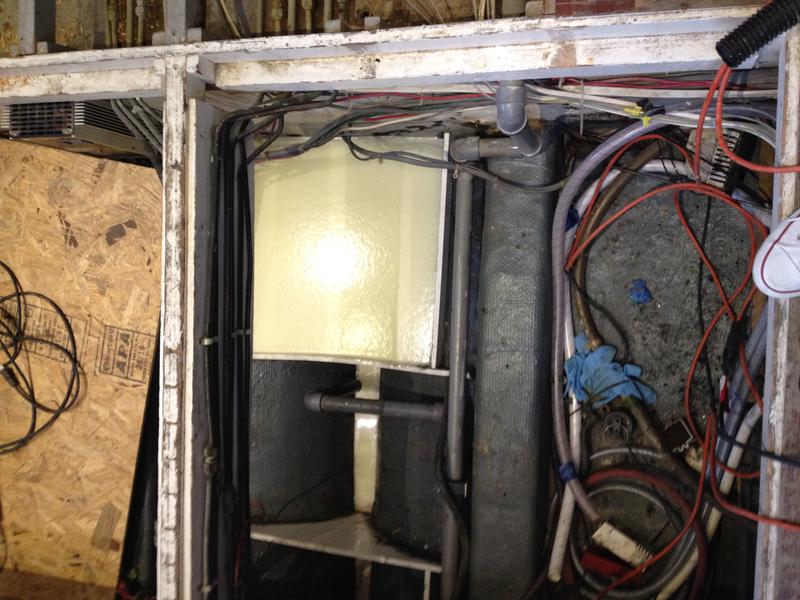
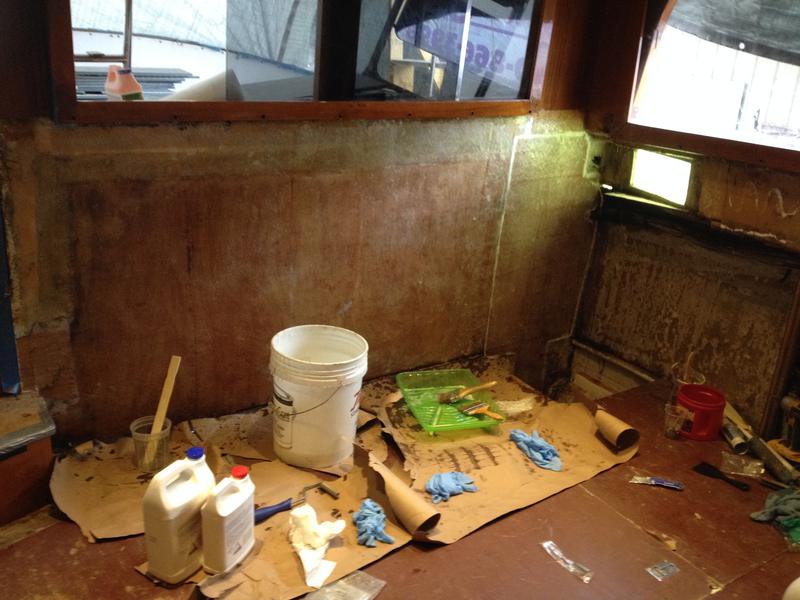
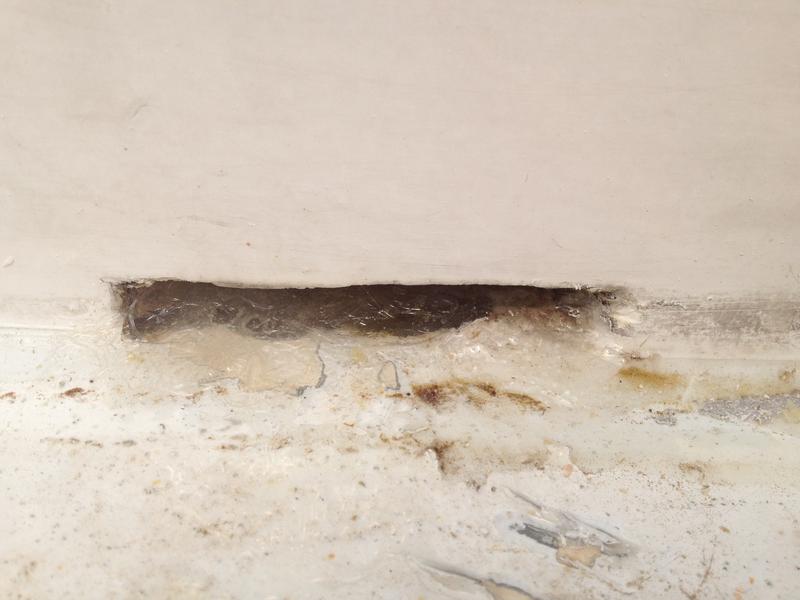
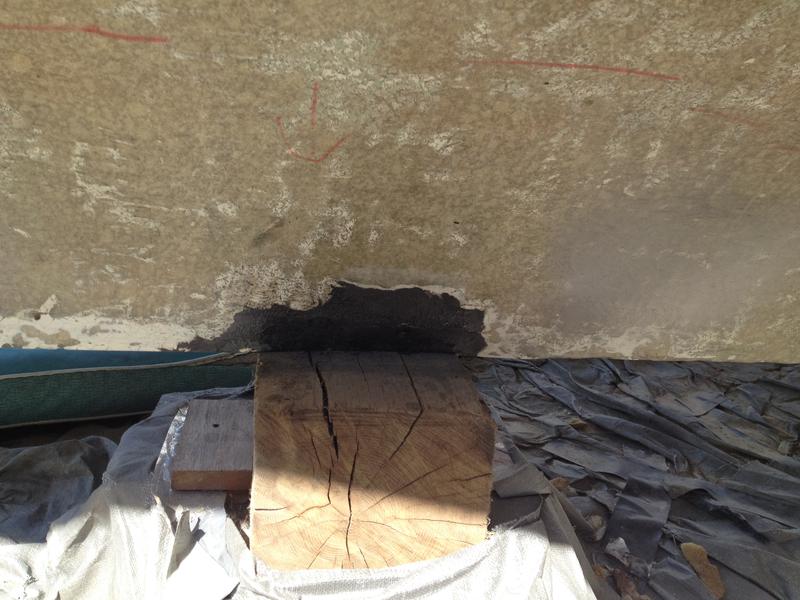
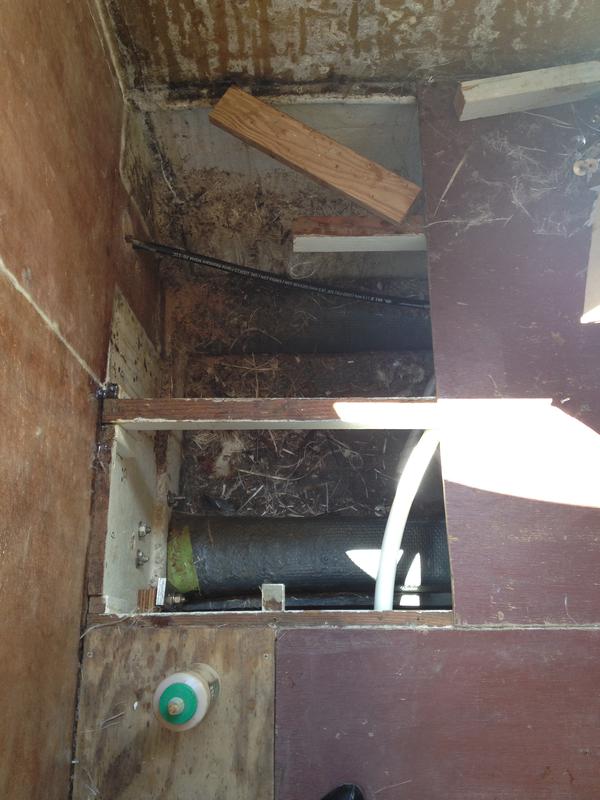
The wall that was rotting has been taken out. 
4/25/14
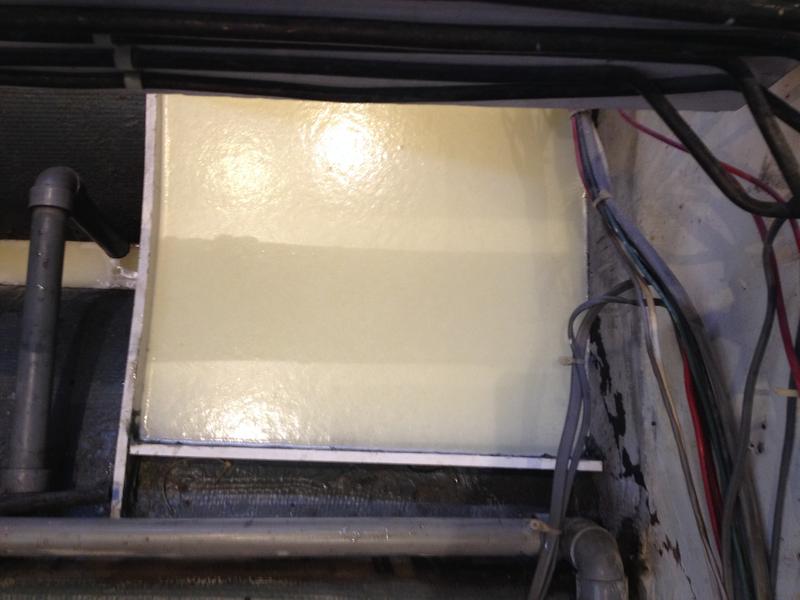
The spot that was rotted has been repaired and the entire wall has been fiber glassed. 
Outside view 
Inside view 
5/12/14
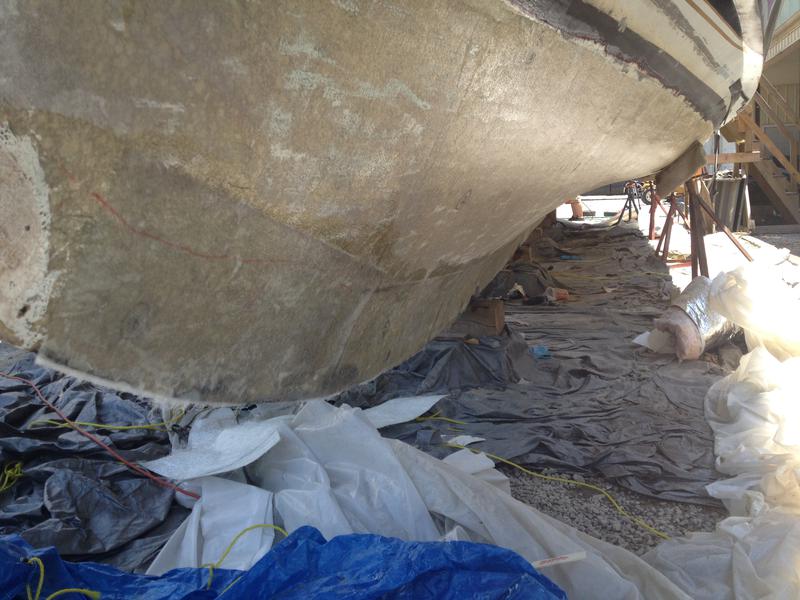
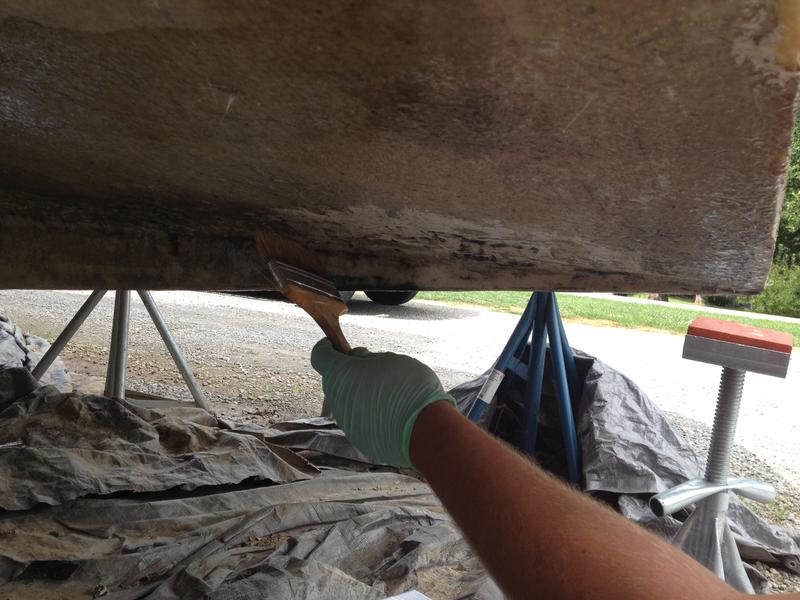
A second coat of Cpes is being applied to the bottom of the boat. 
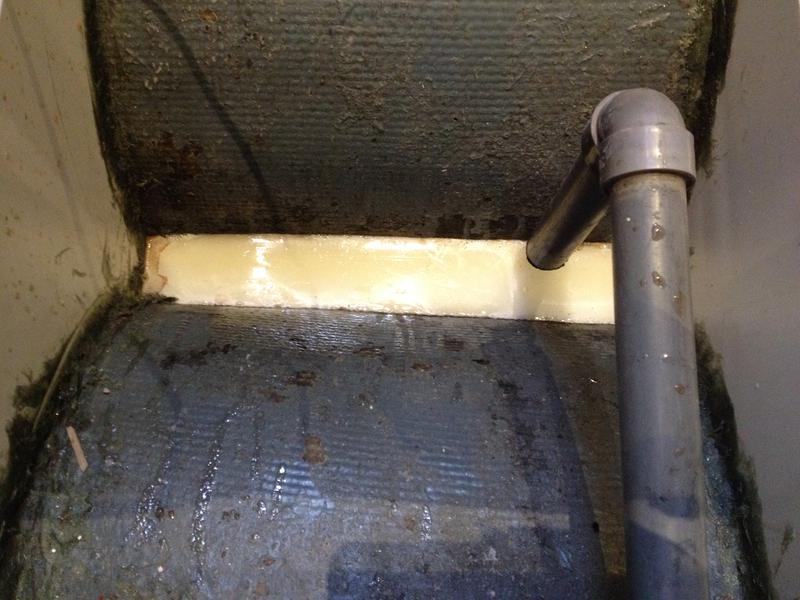
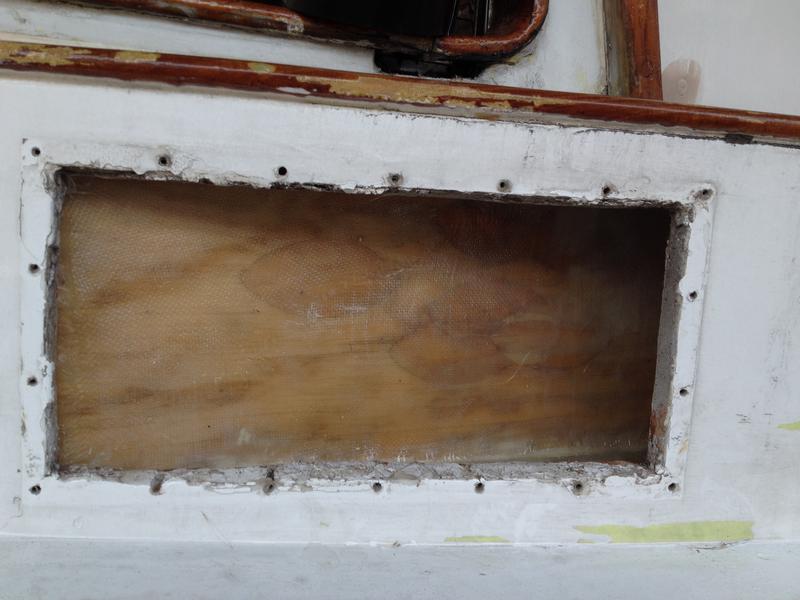
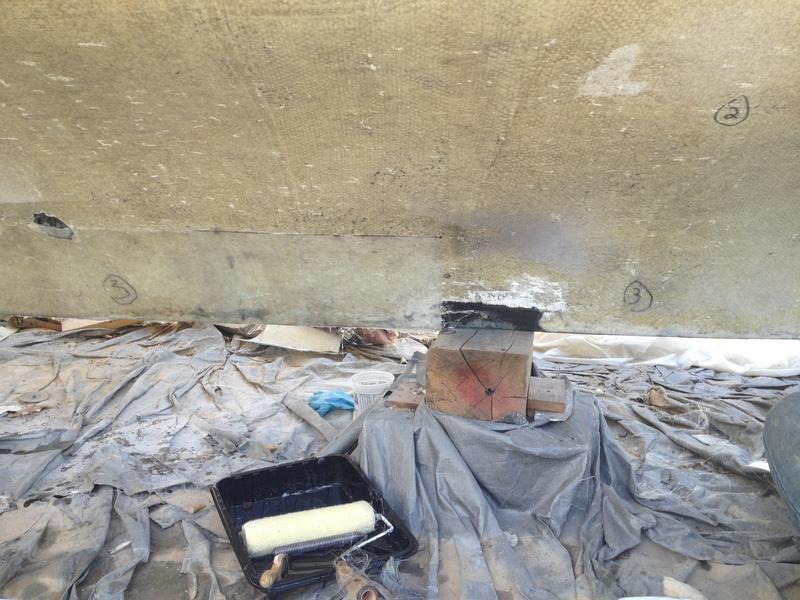
The small hole that was leaking has been fiberglassed to prevent future leakage. 
5/21/14
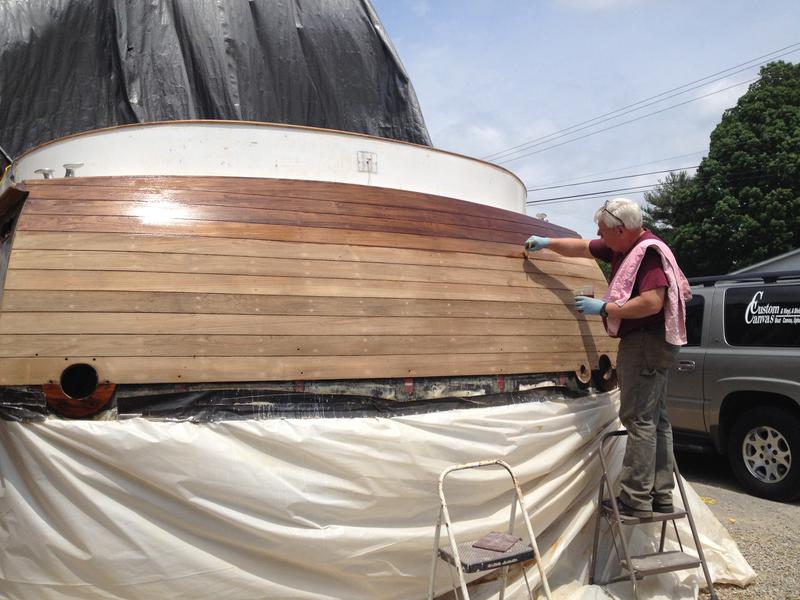
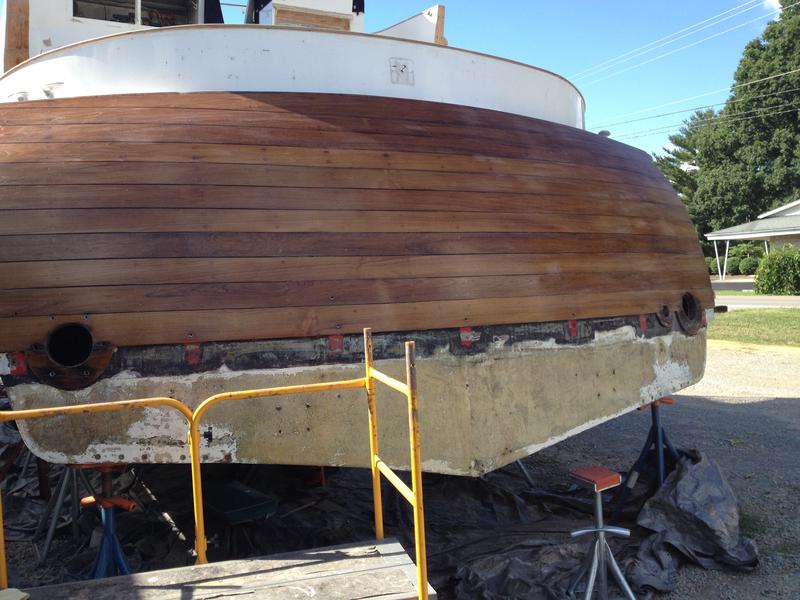
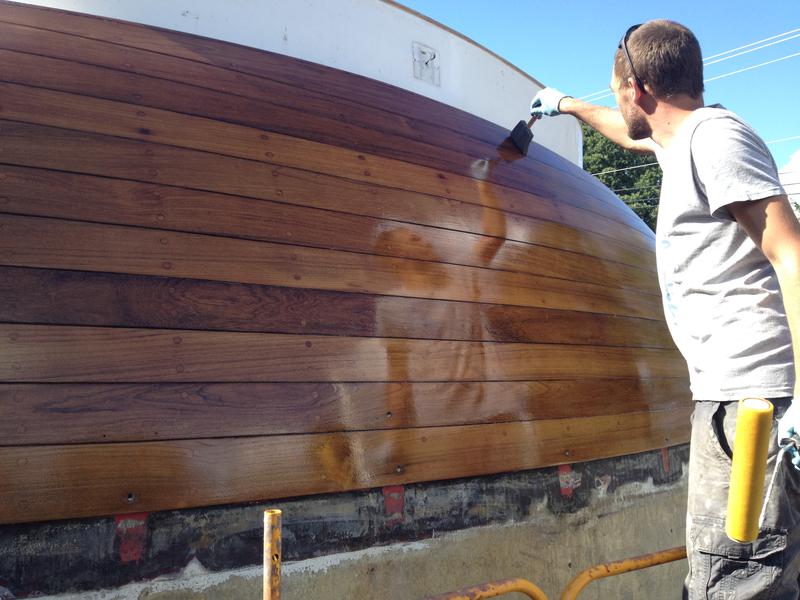
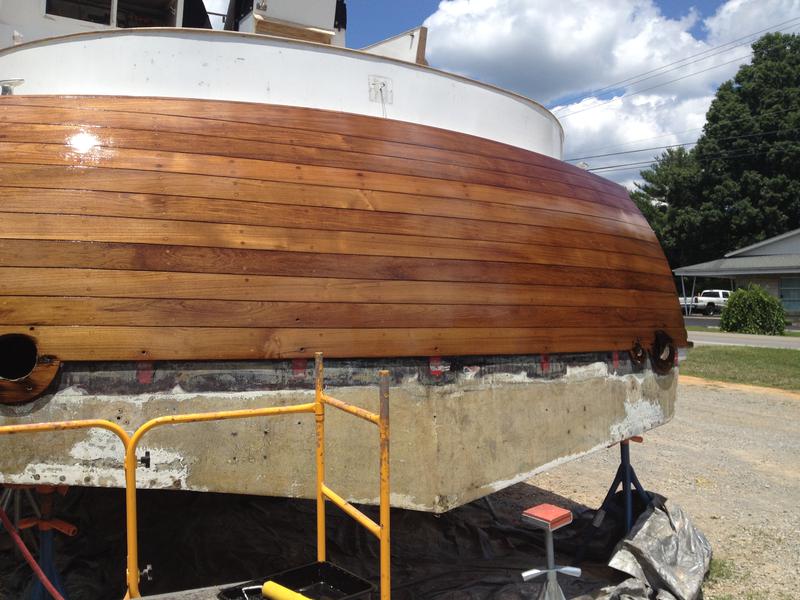
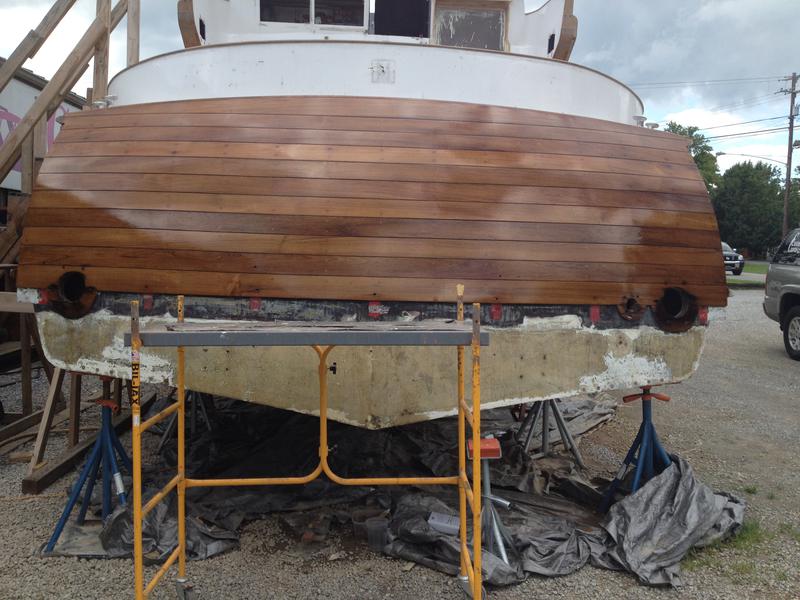
The transom was sanded and honey teak is being applied. 
6/19/14
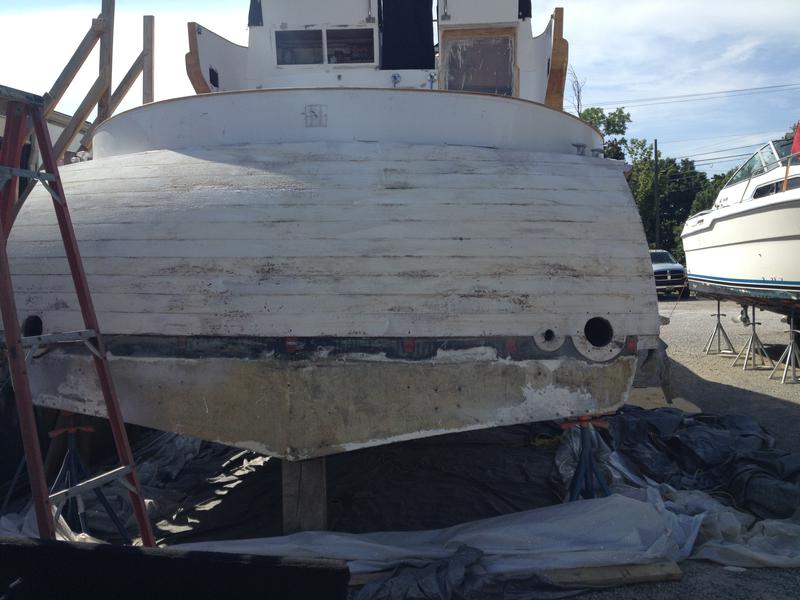
The transom has been sanded.
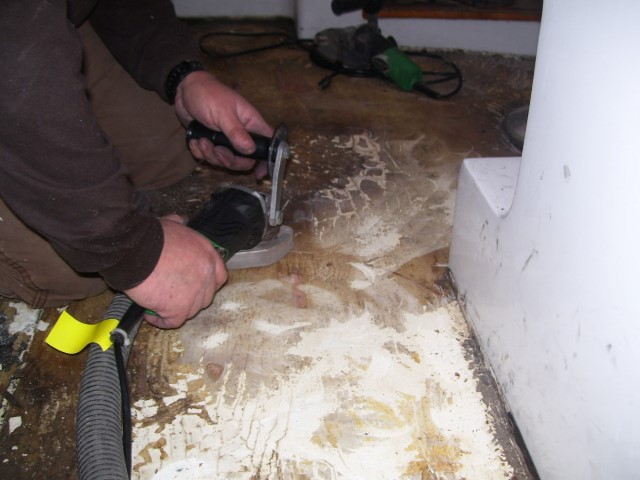
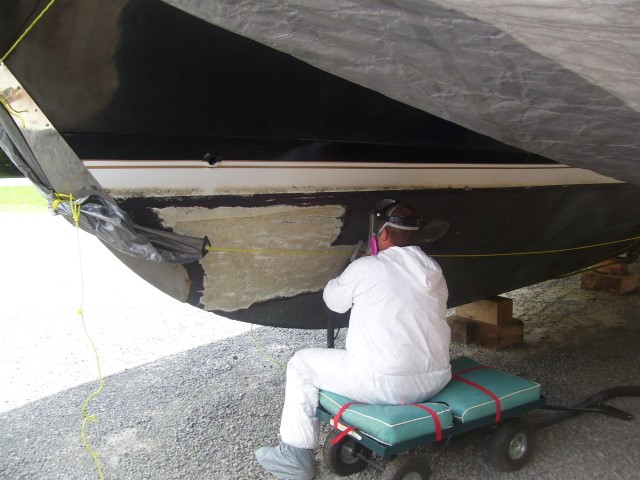
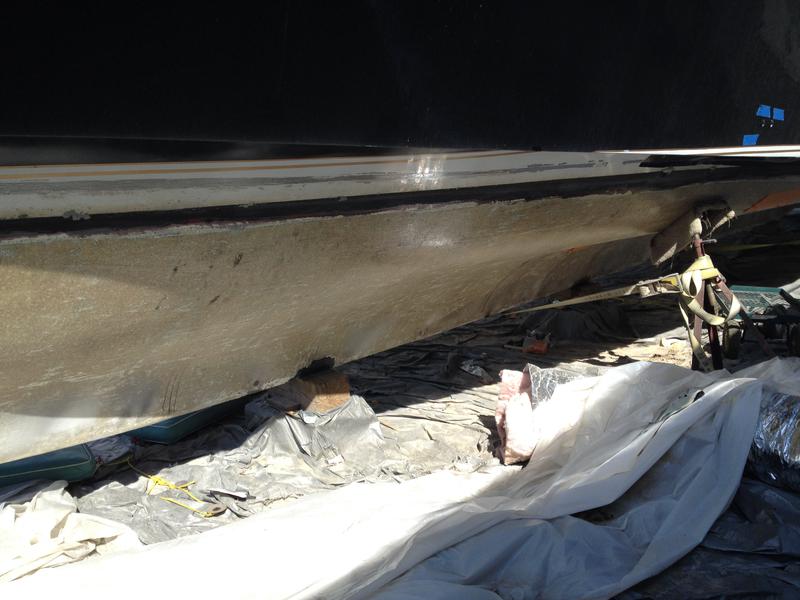
The bottom has been sanded and is ready for fiberglass.
6/23/14
The first coat of fiberglass has been put on. 
7/10/14
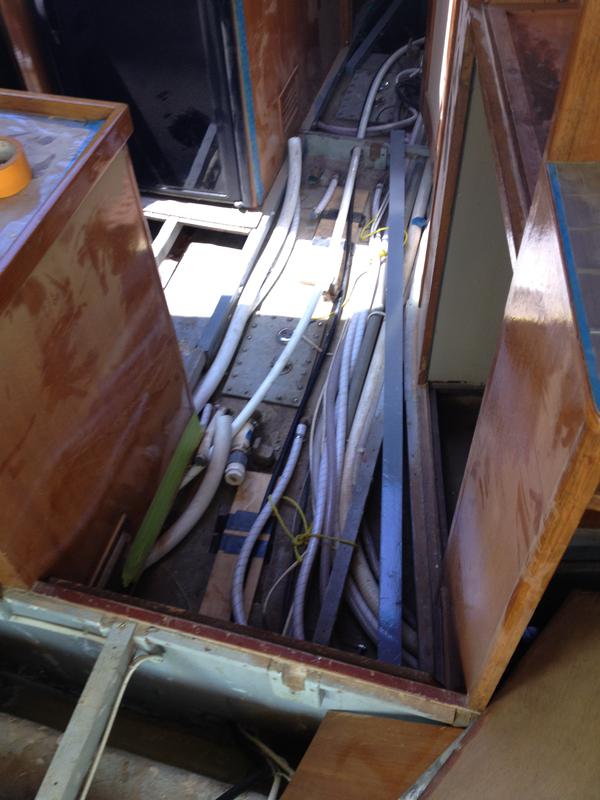
The first of three hydraulic steering hoses has been installed. 
7/11/14
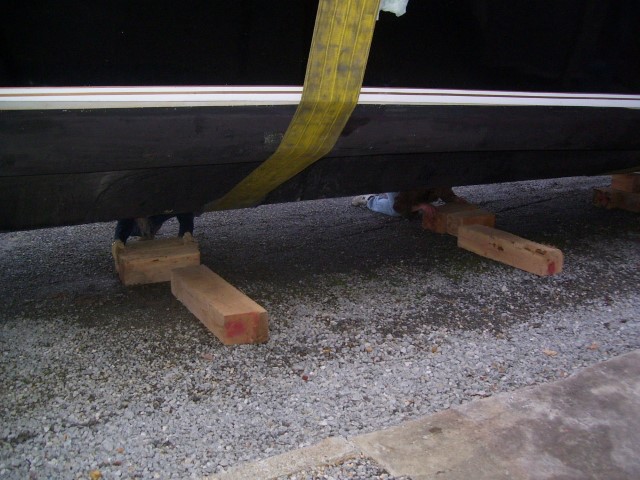
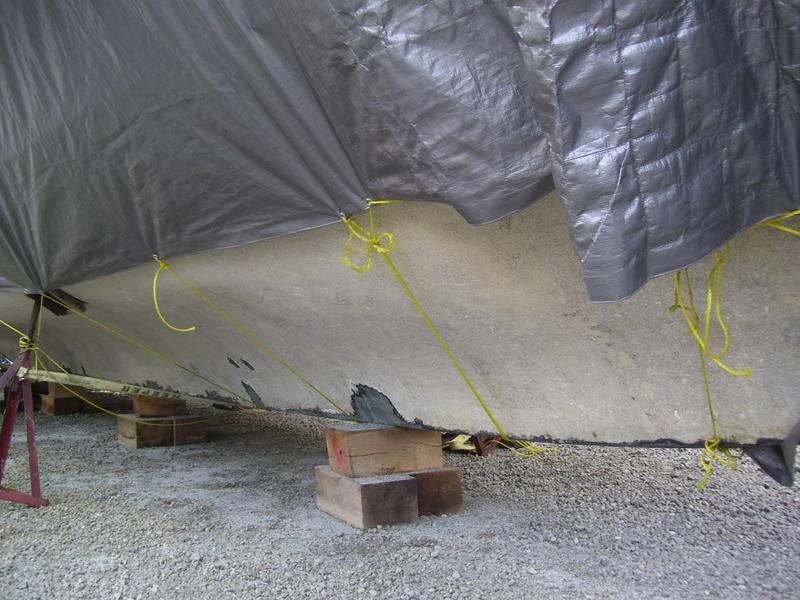
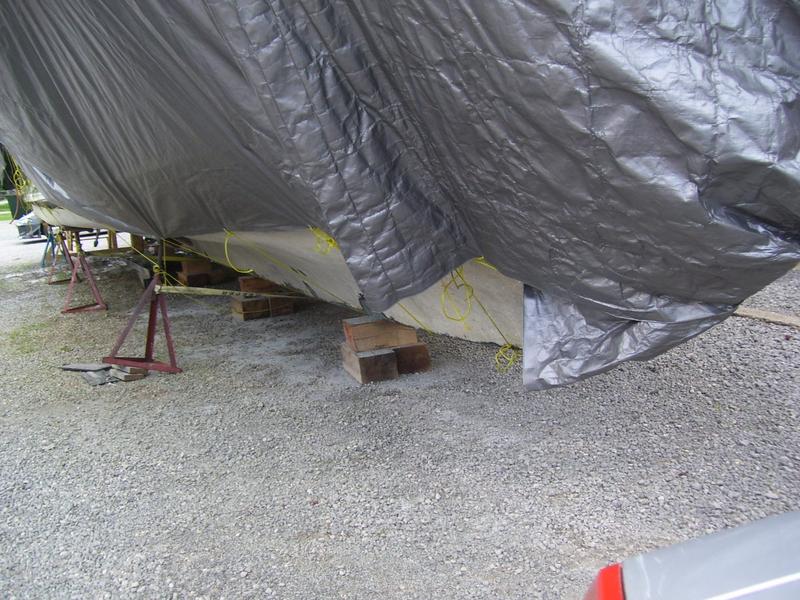
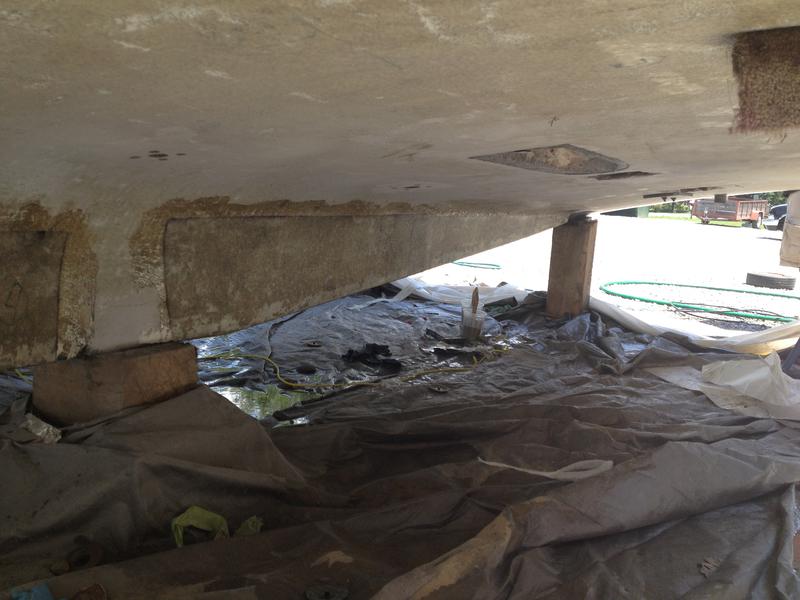
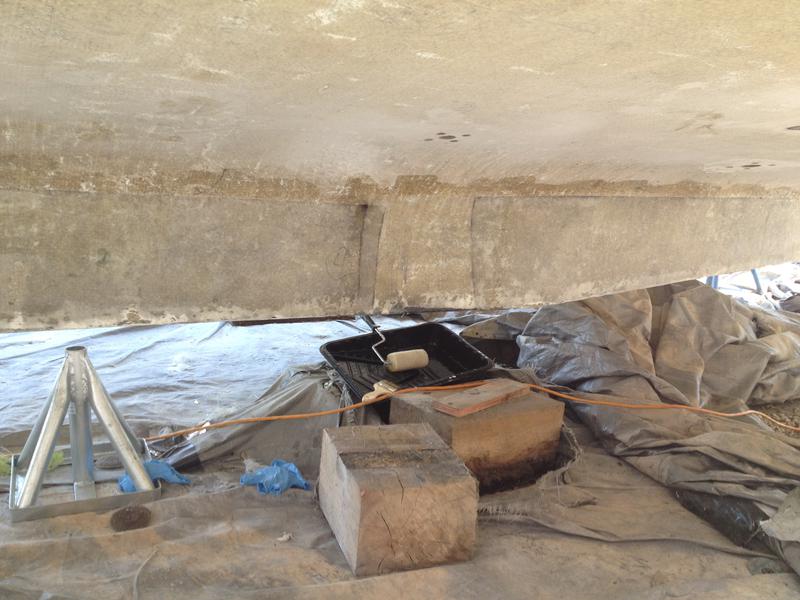
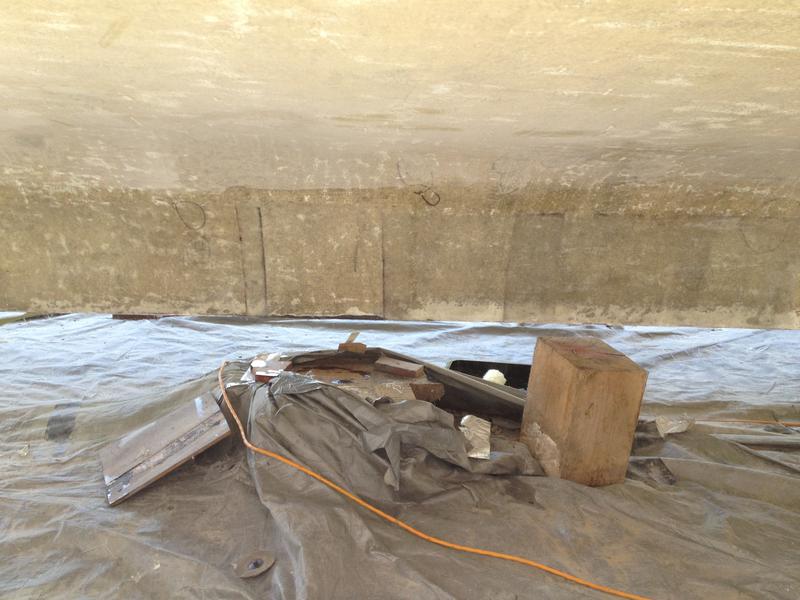
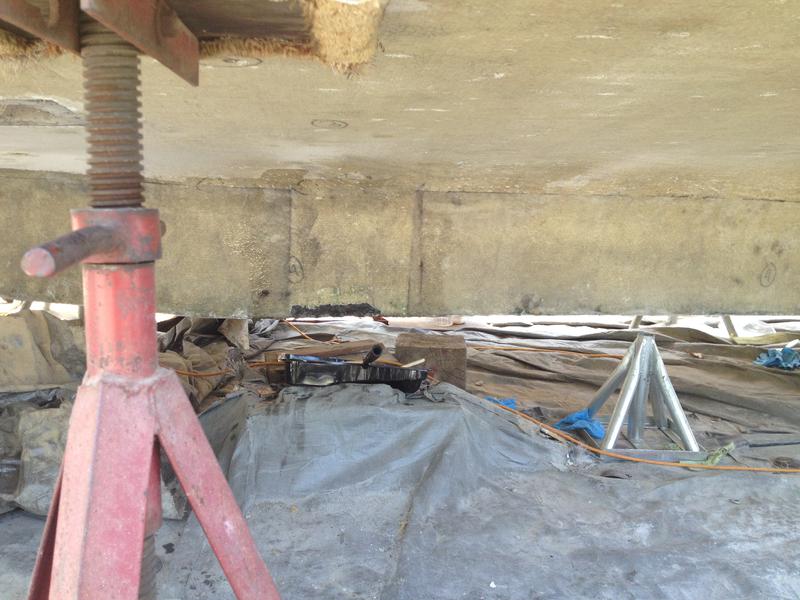
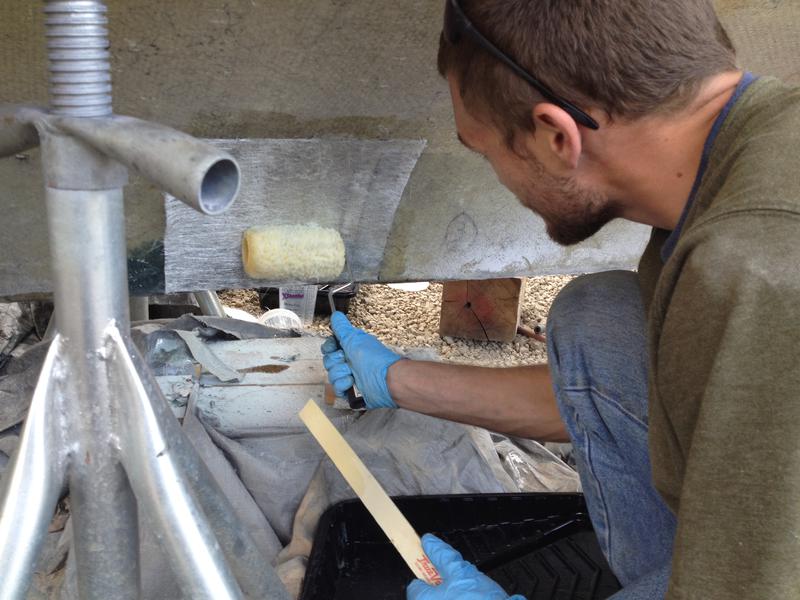
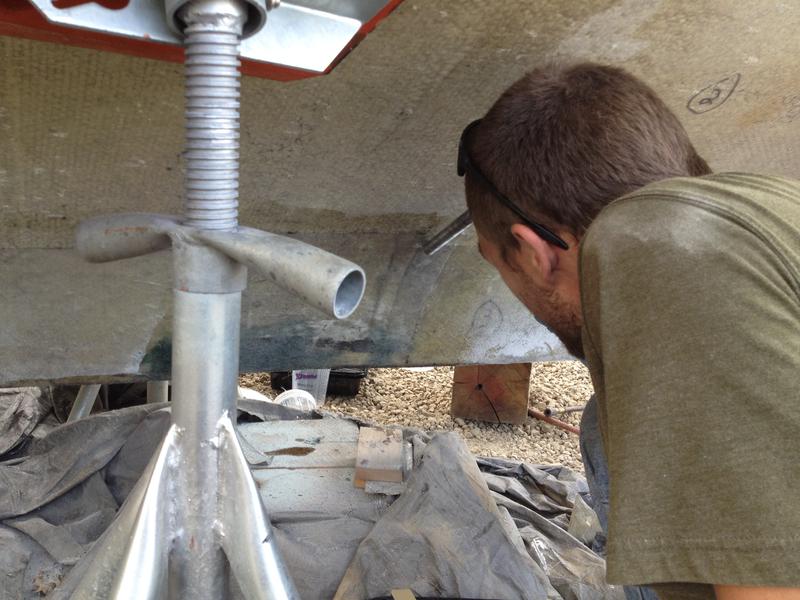
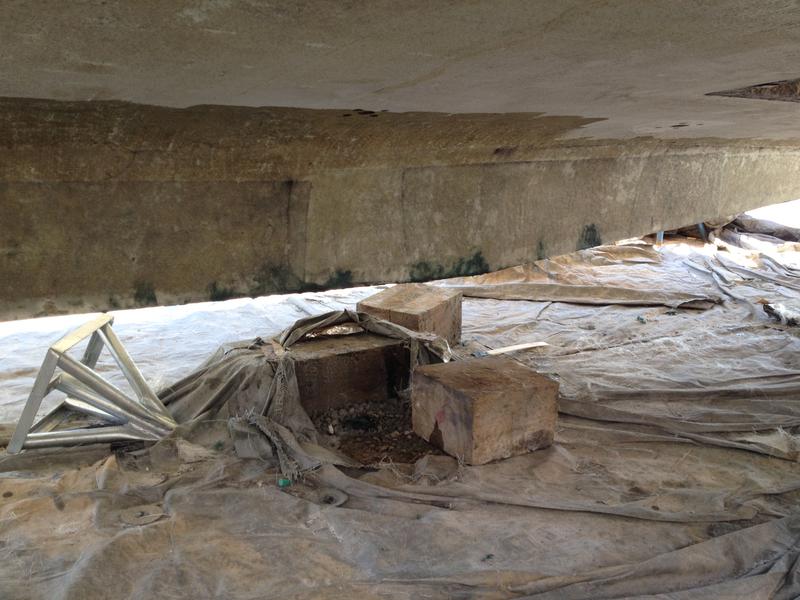
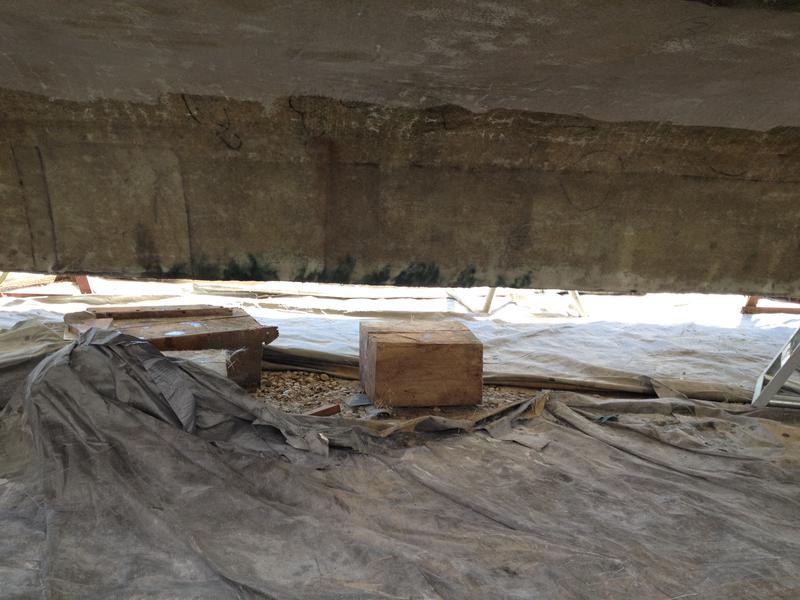
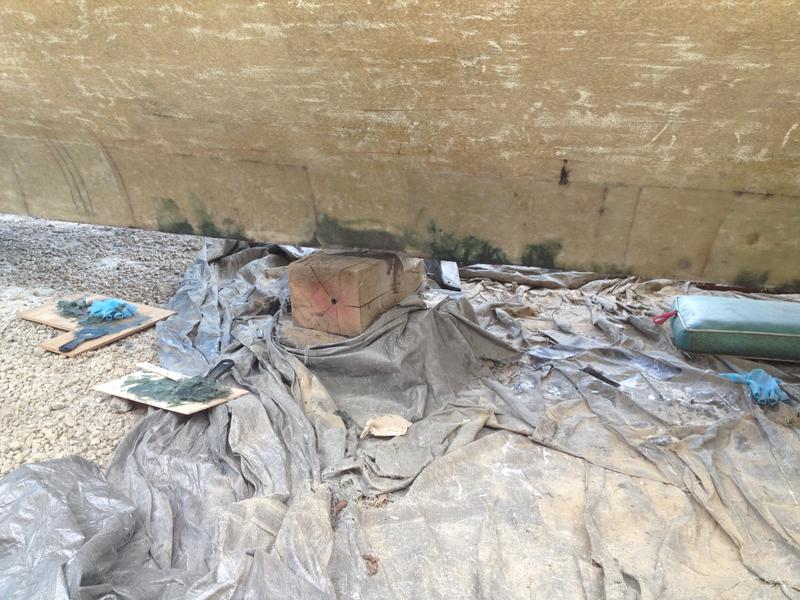
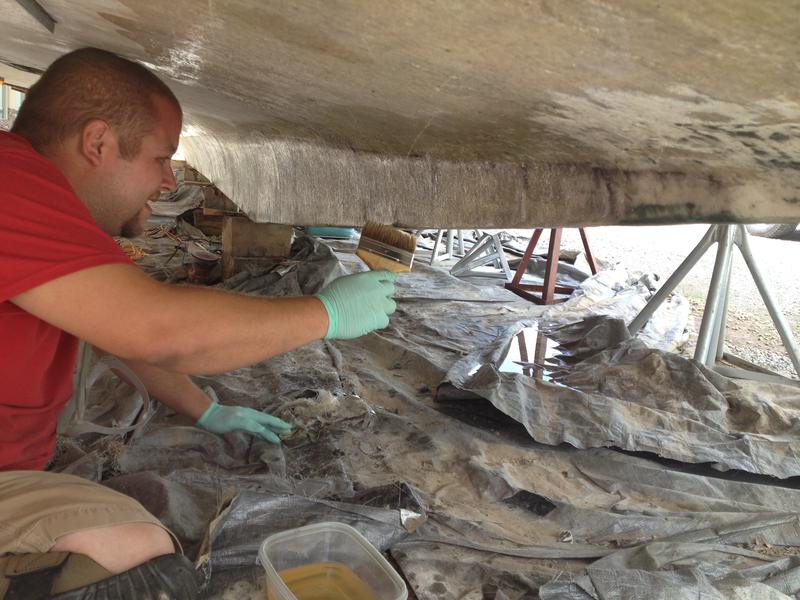
The places where the blocks were holding the boat up, are being fiberglassed. 
7/14/14
The second layer of fiberglass is being put on. 
7/17/14
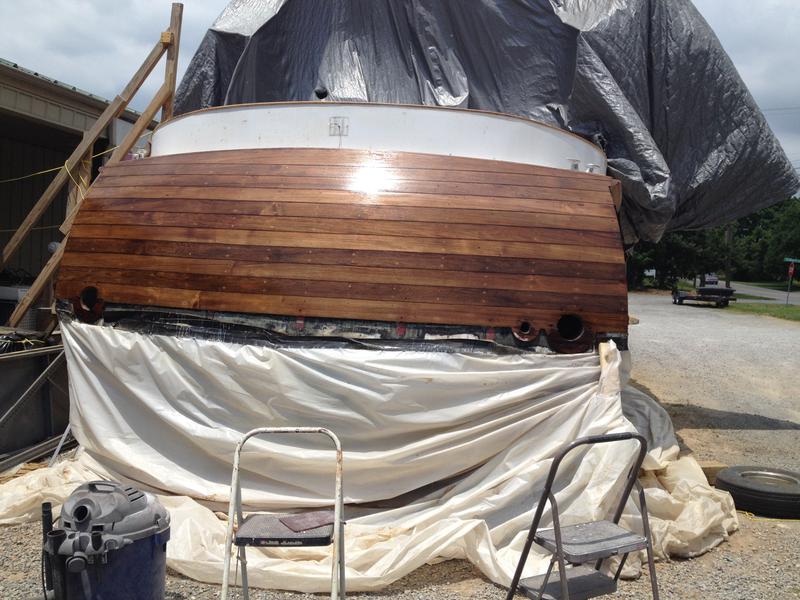
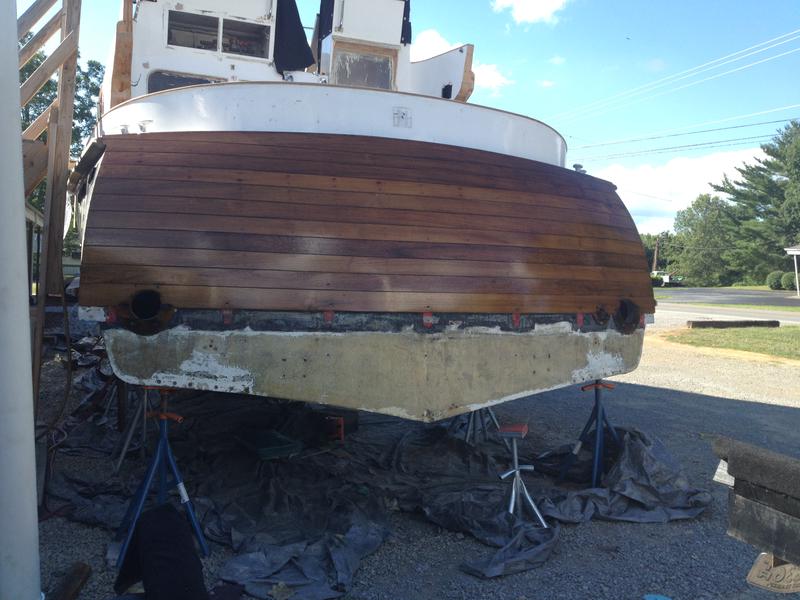
The transom has had 3 coats of varnish applied. The first picture is after the second coat was sanded, the last picture is after the third coat. 
All three hydraulic hoses have been installed. 
Tiger hair is being applied to the very bottom to close up all gaps. 
The transom has received the fifth and sixth coat of varnish. 
7/28/14
The transom has now received the seventh coat of varnish. 
The keel is being c-pesed to ensure the fiberglass does not pull away from the bottom. 
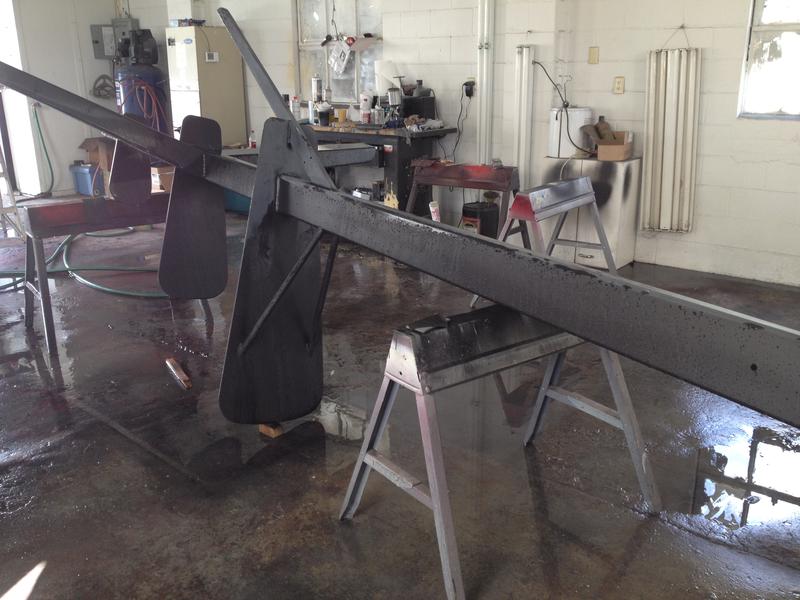
The mast has been pre-coated.
7/31/14
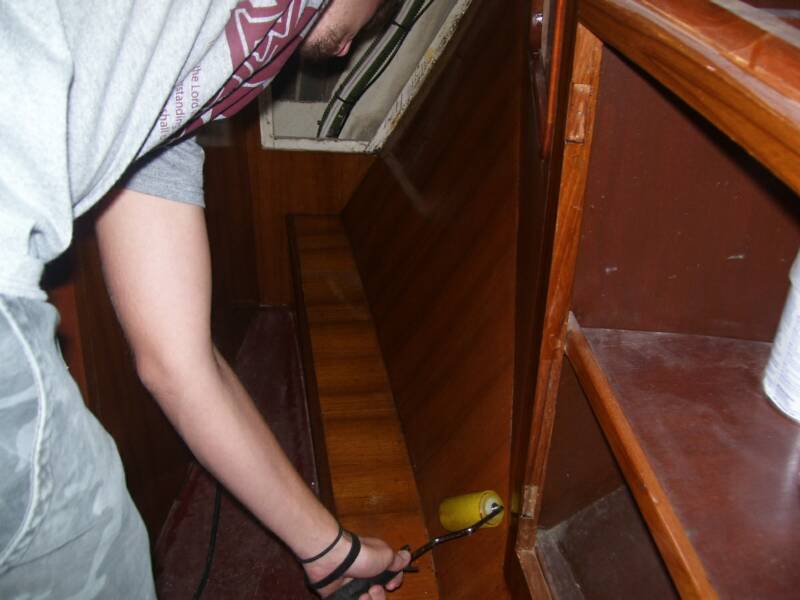
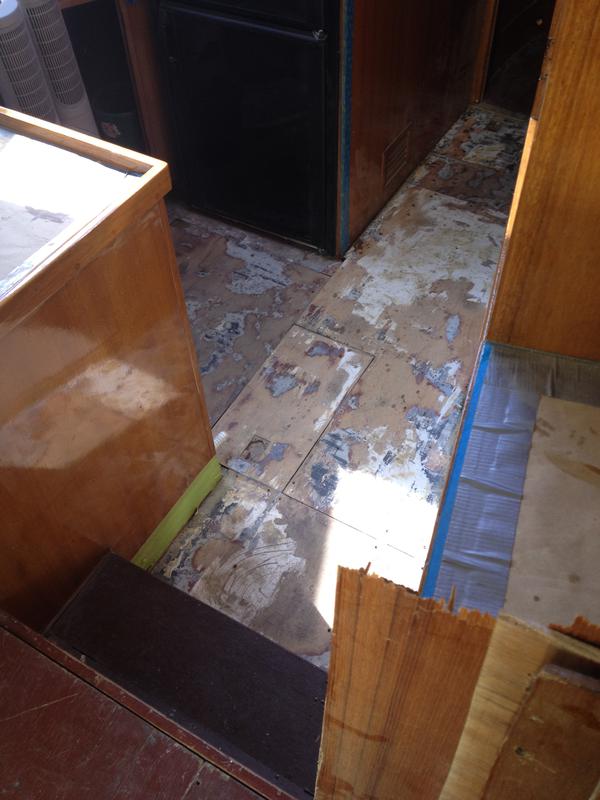
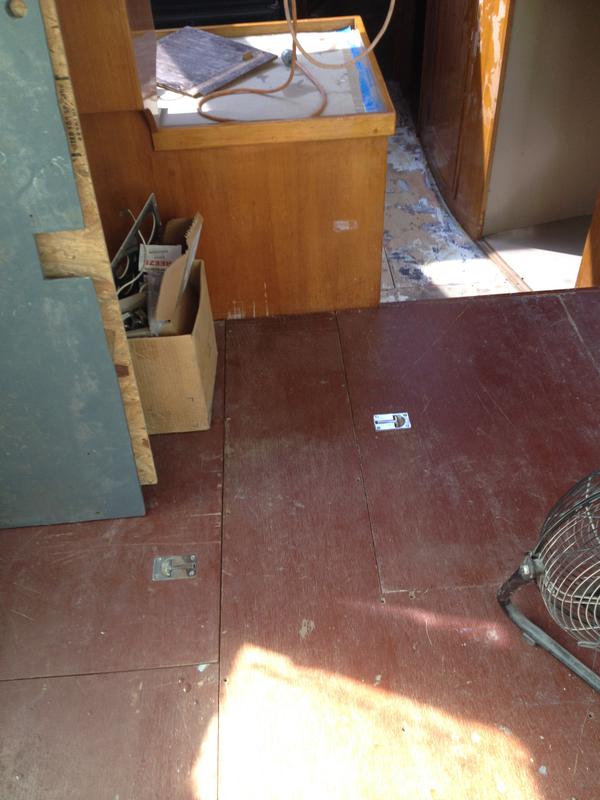
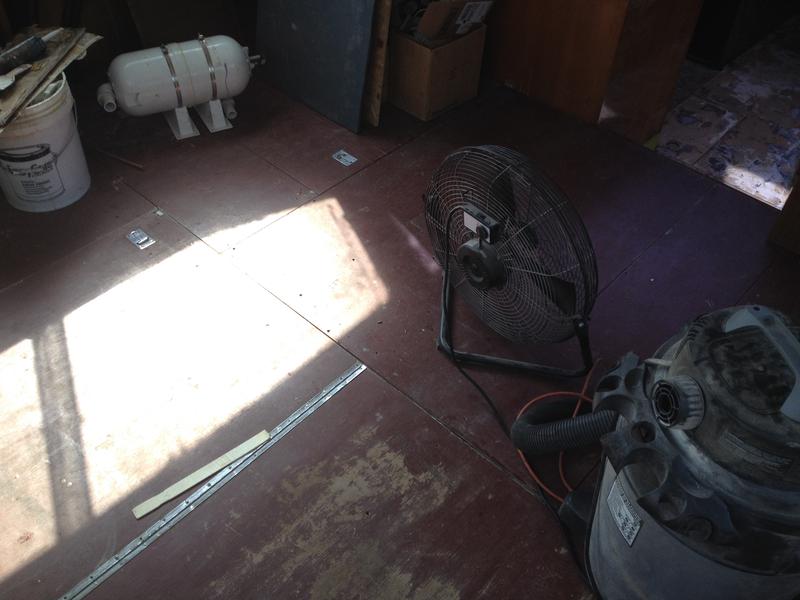
The floor panels have been laid down. 
Page Two>>>