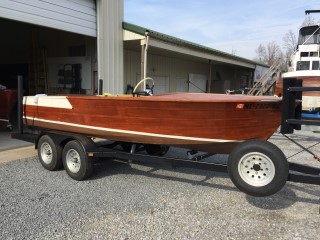
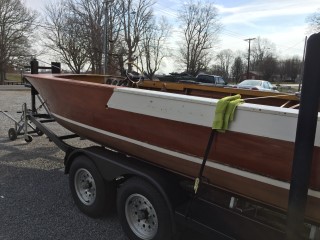
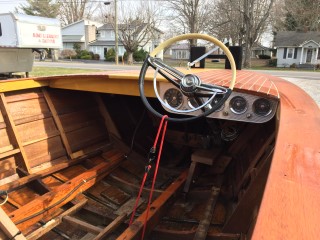
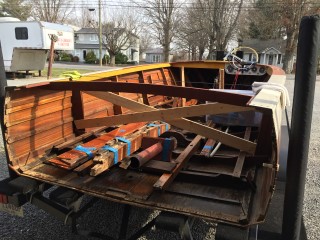
Here are some nice shots of the boat before we get started. This will give us something to reflect back on as we make progress.
02/21/2017
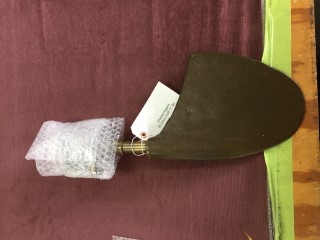
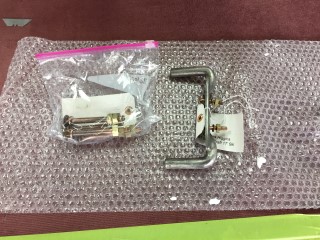
Today we received the package containing your rudder, strut bolts and stopper for the steering.
Update 03/13/2017
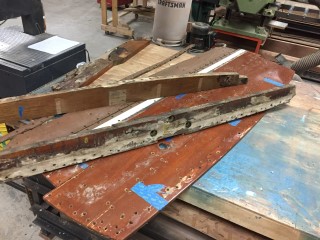
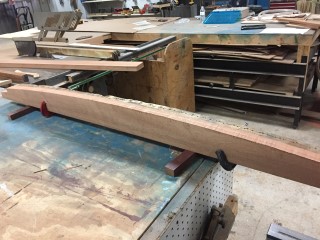
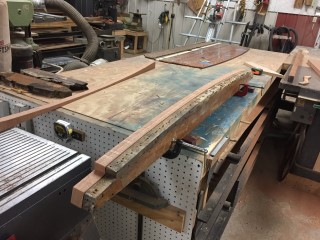
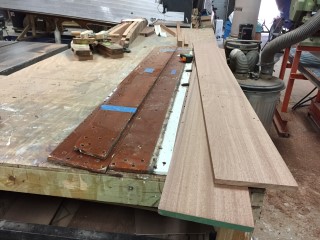
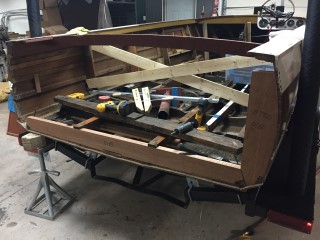
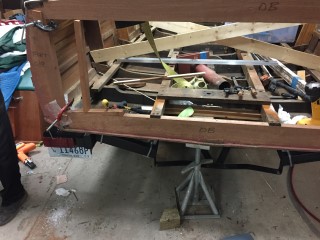
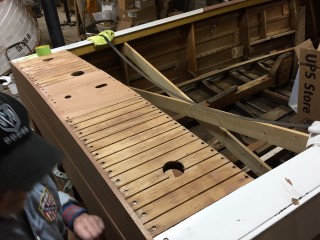
We have started the process of replacing your transom. Here we have all of the transom planks laid out in order so we can use them as patterns to duplicate and cut the new planks.
Here we are duplicating the structural frames of the transom. We will need to finish those and install them before we start fitting the planks.
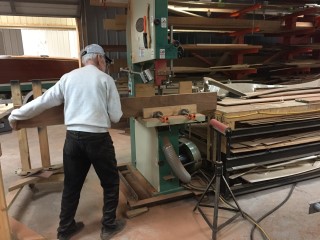
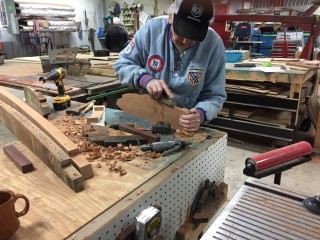
John is hard at work cutting the new boards that will later become the transom planks. We first start with a rough sawn piece of mahogany that is ripped just a little more than a half of an inch thick. We want to end the process with a board that is exactly one half of an inch thick so we allow a little extra when rough cutting so that we have enough to take off the surface when we plane the boards to create the smooth surface.
Update 03/14/2017
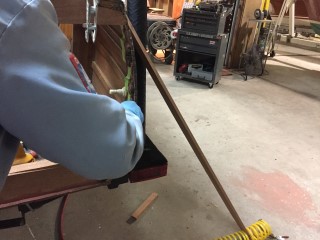
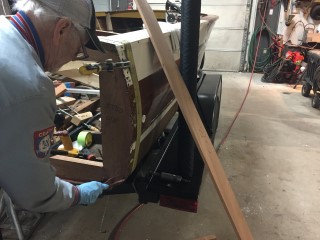
Here John is using a hand plane to shave away small slivers of the wood to get a proper fit. The majority of the work we do can be done with power tools but there are exceptions. When it comes to fine adjustments hand tools are the way to go.
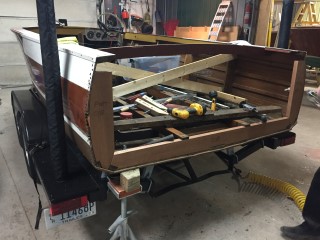
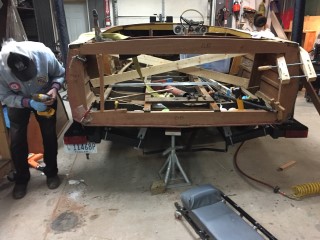
The transom support frames are finished and have been dry fit. We have a few more things to do before we permanently fasten them in.
Update 03/15/2017
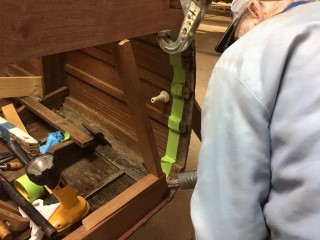
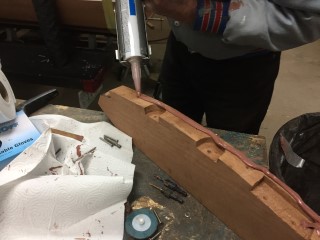
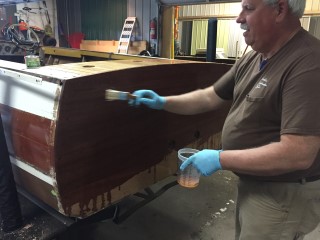
After we have dry fit everything and are satisfied we can then begin permanent installation. We use a marine adhesive 5200 to create a very strong bond. As you can see above we apply the 5200 then use a spreader to evenly coat the surface to prevent voids.
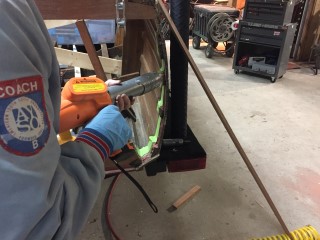
After everything has been glued in with 5200 and put in place we then attach each piece of wood with stainless steel wood screws.
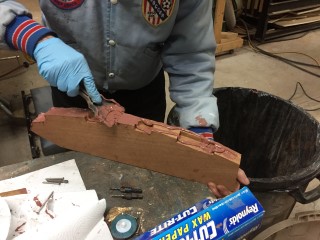
Once everything has been screwed into place it will squeeze out any extra 5200 which we can then scrape off and clean up.
Update 03/17/2017
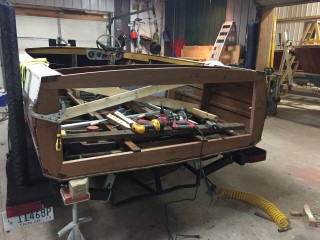
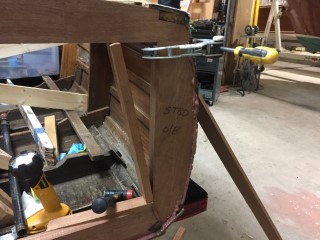
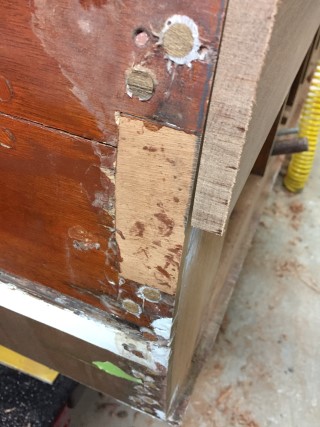
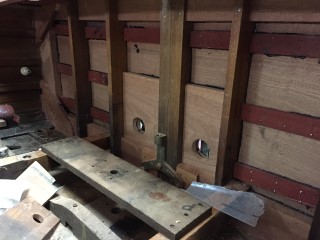
We now have all of the supports put in place. Once the 5200 cures we can start fitting the transom planks. The picture to the right shows the area we patched in the side plank.
Update 03/24/2017
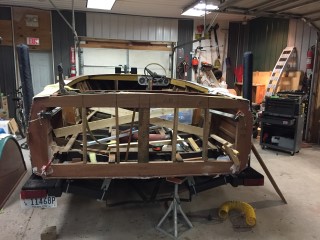
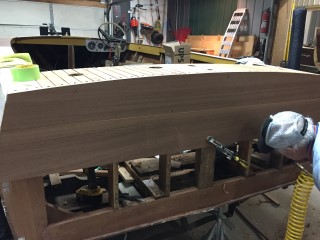
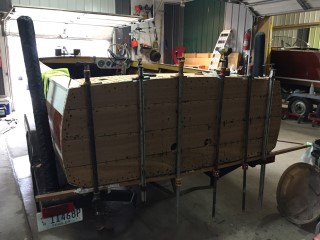
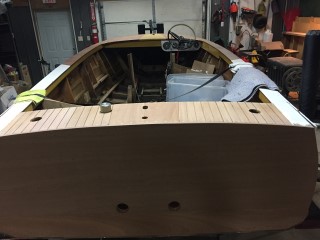
The rear deck planks have been stripped of varnish and reinstalled along with the new center planks. The transom support frame is completely finished. We are now fitting the transom planks. Once we get the transom planks fit and trimmed we can then install them permanently.
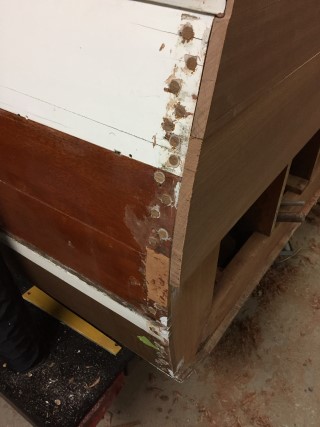
We also have all of the screw holes filled and the patch we made has been cut down. We still have a little more sanding and cleaning to do before it is finished.
Update 03/28/2017
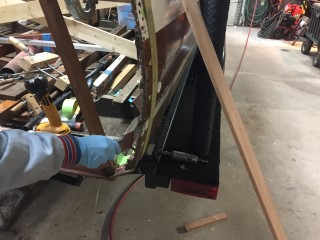
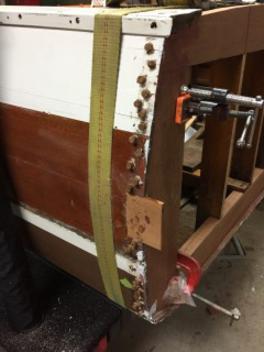
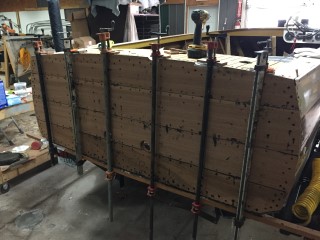
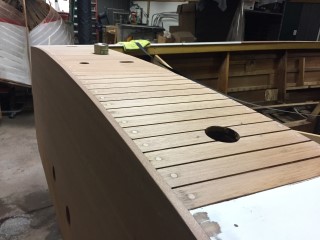
The transom planks are now secured into place with 5200 and screws. Once the 5200 cures we can clean up the planks and "bung" all of the screw holes. We also installed backing blocks along the seams on the backside of the transom. If you take a look at the bottom picture you can see the backing blocks and you will also see the supports we put in around the exhaust outputs and the bracket for the lifting ring we installed.
Update 03/30/2017
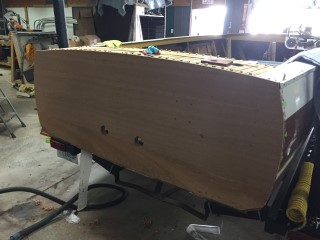
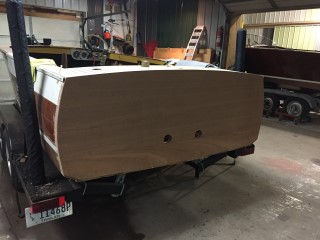
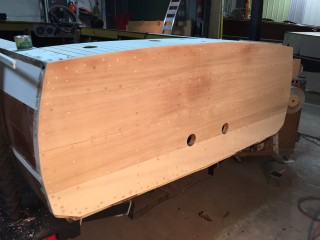
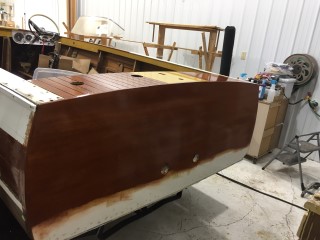
You now have a transom! We have all of the planks permanently secured in place and all of the screw holes have been filled with bungs. We now have to sand the transom flat so there are no high or low spots.
Update 03/31/2017
The transom is all finished and ready for stain and varnish!!
Update 04/05/2017
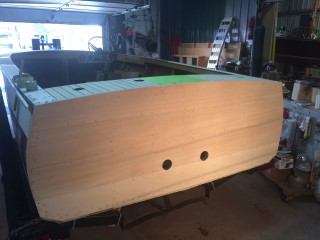
Before we stain the new mahogany on the transom and rear deck we first bleach the wood. The reason we do this is so when we apply the stain all planks will turn out the same color.
It's starting to lighten but not quite where we want it yet.
Update 04/07/2017
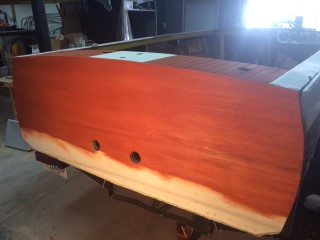
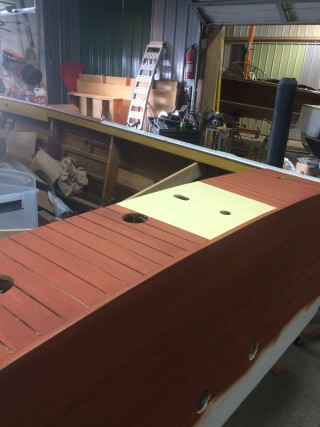
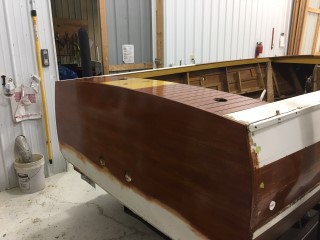
Now that we have the transom and rear deck deck bleached to the color we desire we can now start staining the wood.
So as you can see we now have the transom and rear deck stained and should be able to start varnish work next week.
Update 04/13/2017
After applying multiple coats of wood sealer we now begin the process of varnish. We have now applied two coats of varnish and will continue applying build up coats this week.
Update 04/14/2017
Update 05/19/2017
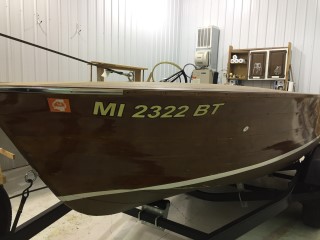
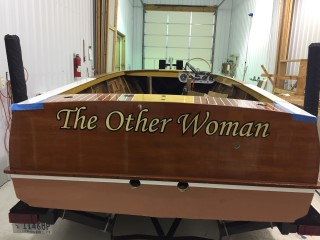
The varnish is all done. We have the spray rail reinstalled, the bottom has been repainted along with the boot stripe. We have also repainted the deck lines and the back portion of the deck. Look at the new vinyl name on the transom and the new numbers on the front.