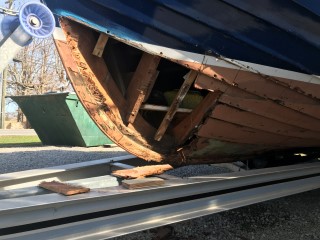
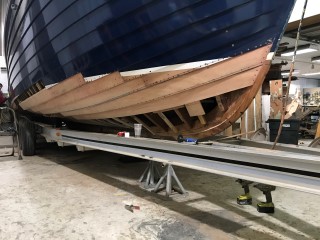
Here you can see we have started removing the bottom planks to investigate the extent of the rot damage. As we continue to work will post more pictures and updates.
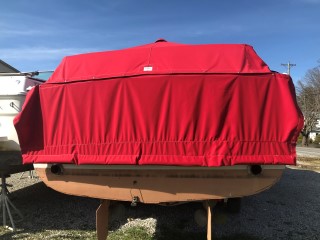
We also have the transom cover complete. We still need to put studs in the sides of the boat so we can finish snapping. That is why the sides are loose.
3/14/2019
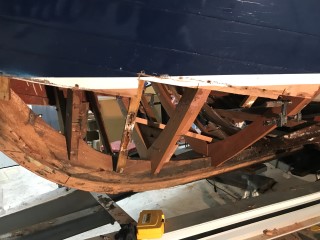
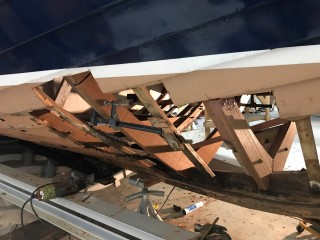
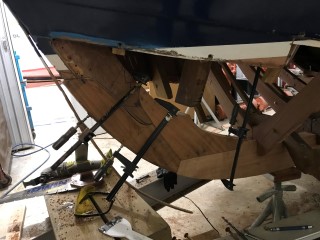
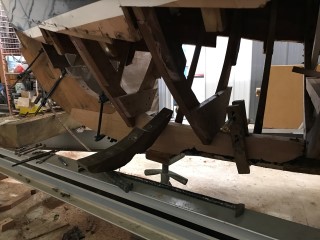
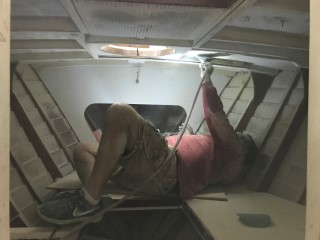
We now have the first two frames replaced. In the first picture to the left you can see that the frames were in bad shape and were crumbling in our hands. We plan to work our way back one frame at a time until all the rotten frames are replaced.
3/26/2019
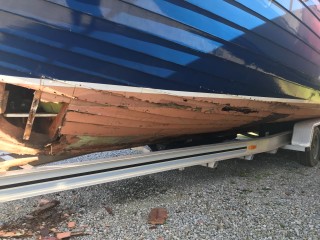
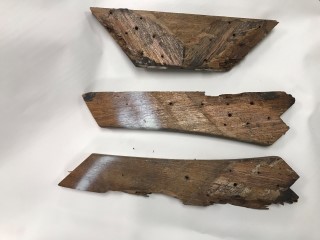
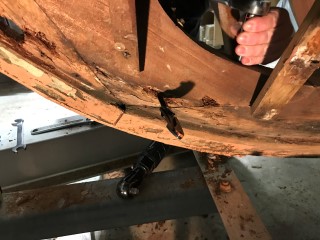
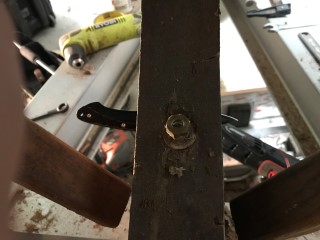
Above you can see that rot was found in the stem and gripe. You can clearly see where the rot is based on the discoloration of the wood. If you look at the first and last picture you can see that the rot had completely penetrated the thickness of the wood. These sections will need to be removed and replaced.
4/16/2019
We now have the stem, knee and gripe replaced where rot was found. We have all of the new pieces cut and dry fit. We will now begin permanent installation using 3M 5200 Marine Adhesive and stainless steel fasteners.
5/24/2019
6/12/2019
6/26/2019
7/12/2019
8/14/2019
8/15/2019
8/19/2019
9/06/2019
9/06/2019
9/16/2019
9/18/2019
9/23/2019
9/29/2019
10/17/2019
We have quite a few bottom planks installed on both sides of the boat. I would say we are close to the halfway point for bottom planks.
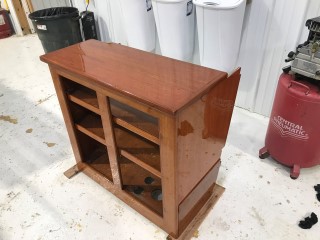
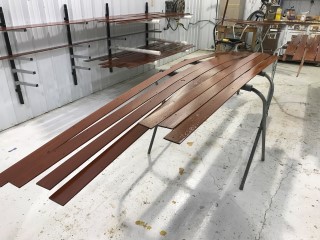
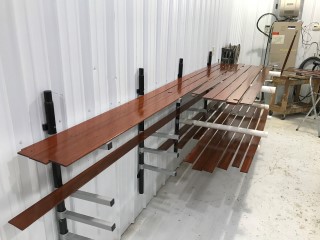
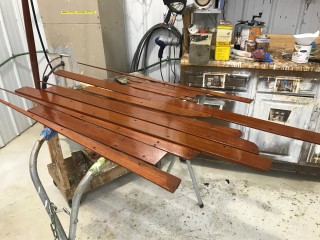
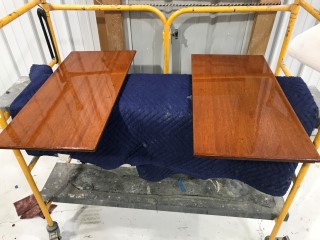
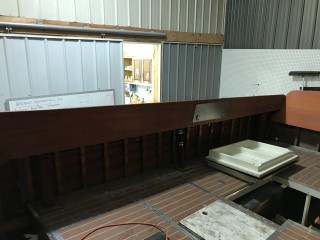
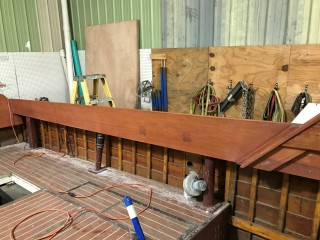
The bar cabinet and the sealing boards are coming out real nice. The cabinet and doors are finished with varnish and the sealing boards have three coats of sealer and four coats of varnish on at this point.
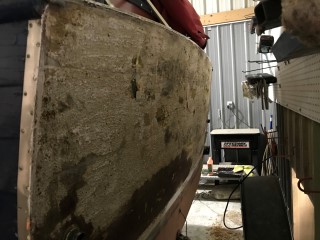
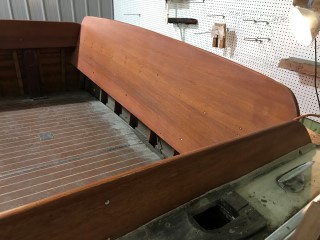
We have started stripping the varnish from the transom we have applied and removed one coat of stripper and now have the second coat of stripper on the transom. You can see here the second coat of stripper at work.
11/1/2019
11/5/2019
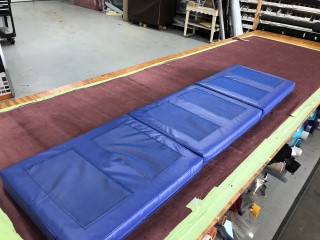
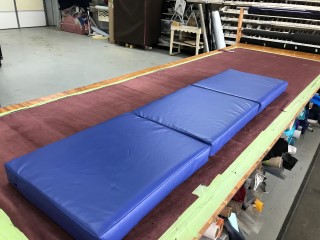
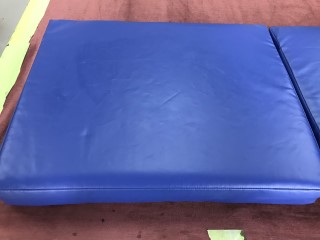
Here you can see that we have sewn in panels of Phiftertex, which is mesh like material, to the bottoms of your seat cushions so that the foam in the cushions can properly drain and stay dry. We also gave the vinyl a good cleaning after putting them back together.
We now have the transom to the halfway point. After striping the old varnish we sanded, then stained and applied multiple coats of sealer and then multiple coats of varnish for build up. Halfway through the build up coats we wet sand the varnish flat to keep the surface flat for smooth even coats. We will now apply four to five more coats of varnish then we will do a final flat sand and final coat of varnish.
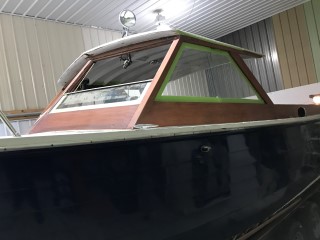
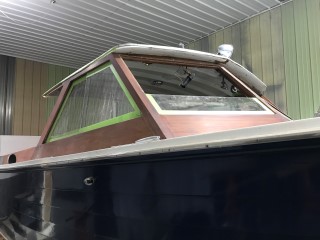
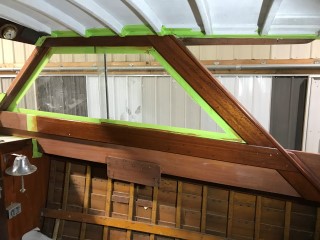
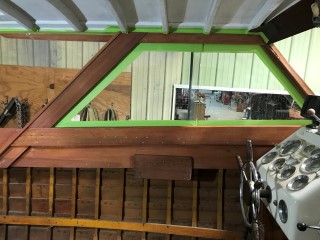
We have all of the interior and exterior varnished wood wet sanded flat for a final coat of varnish. There was a section around the starboard window that was discolored so we stripped the varnish down to bare wood and re-stained the wood. We now have five coats of sealer on this area.
11/15/2019
11/21/2019
We have been busy sanding the forward cabin. We have also removed to rotten ribs in the back of the boat and fabricated two new ones. We now have the new ones dry fit in the boat.
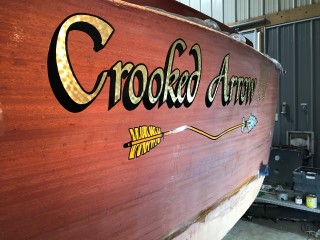
The artist is almost finished hand painting the graphic on the transom.
1/3/2020
1/24/2020
12/4/2020
1/8/2021
1/14/2021
2/22/2021
7/22/2025
How a bilge pump operates and normal operation of the packing gland