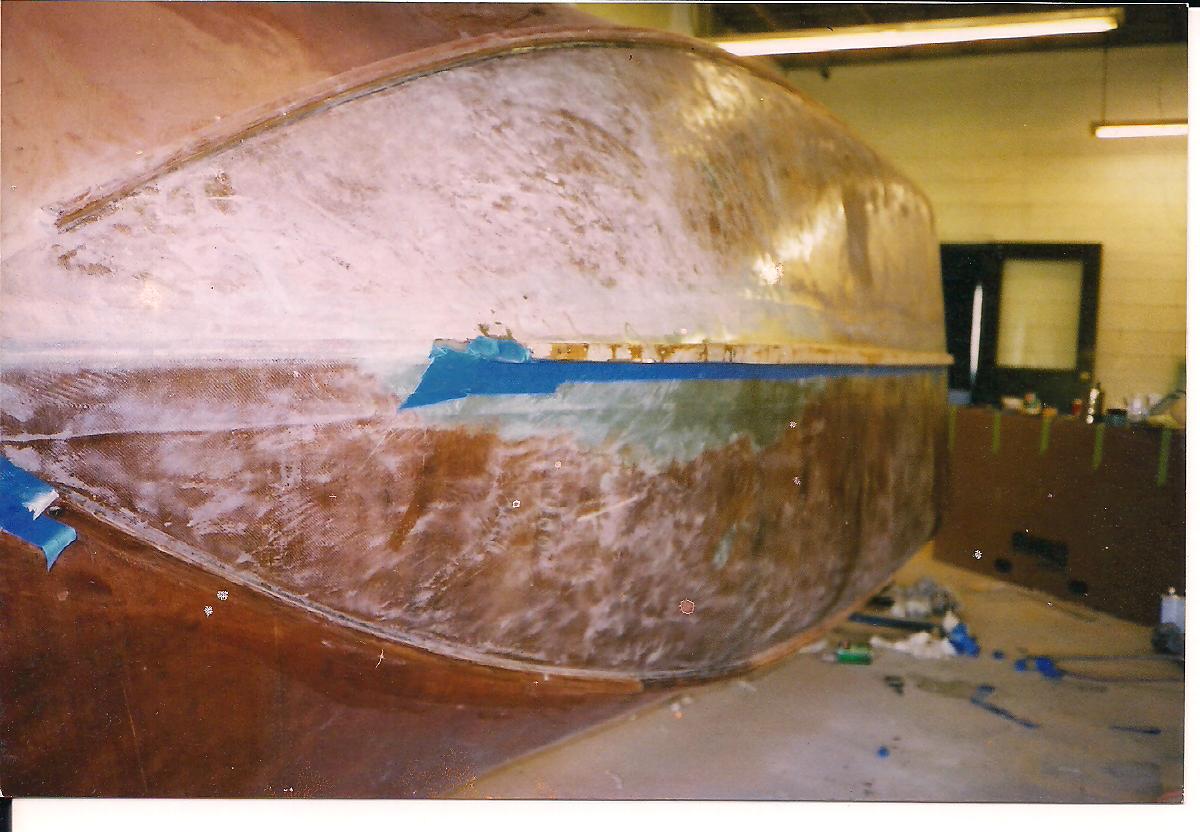
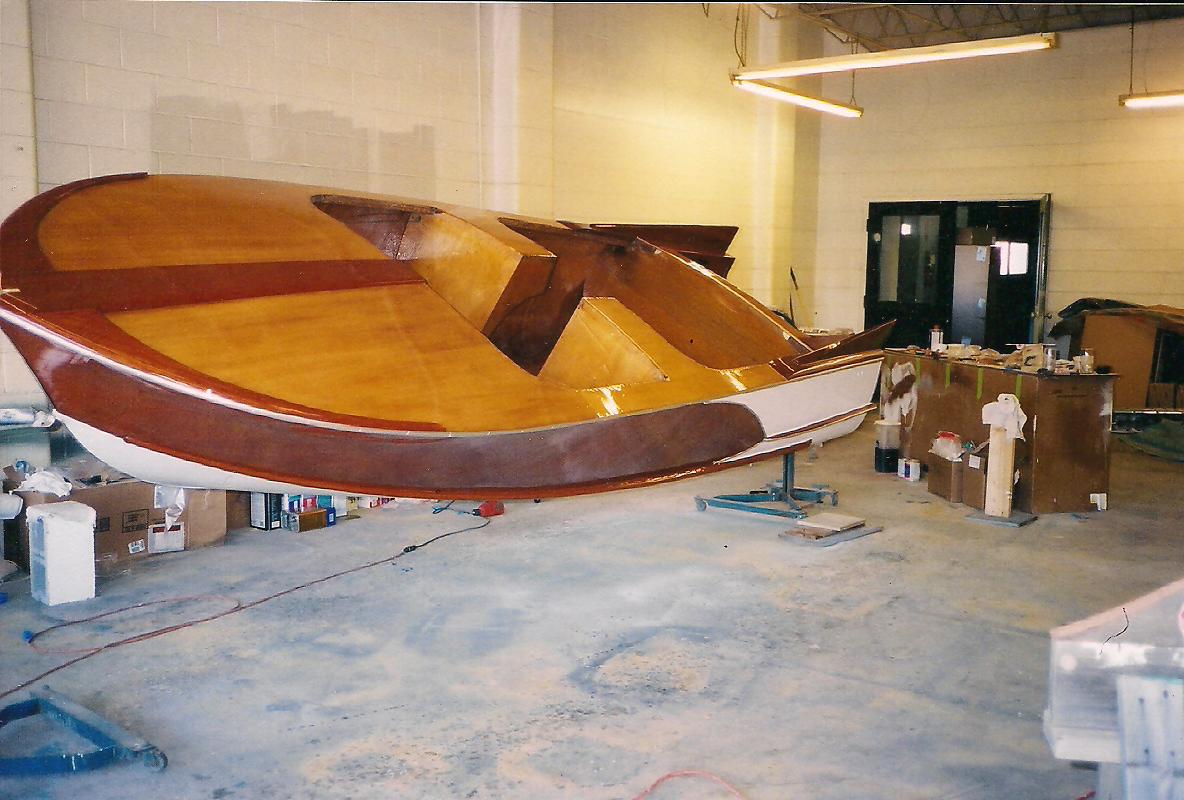
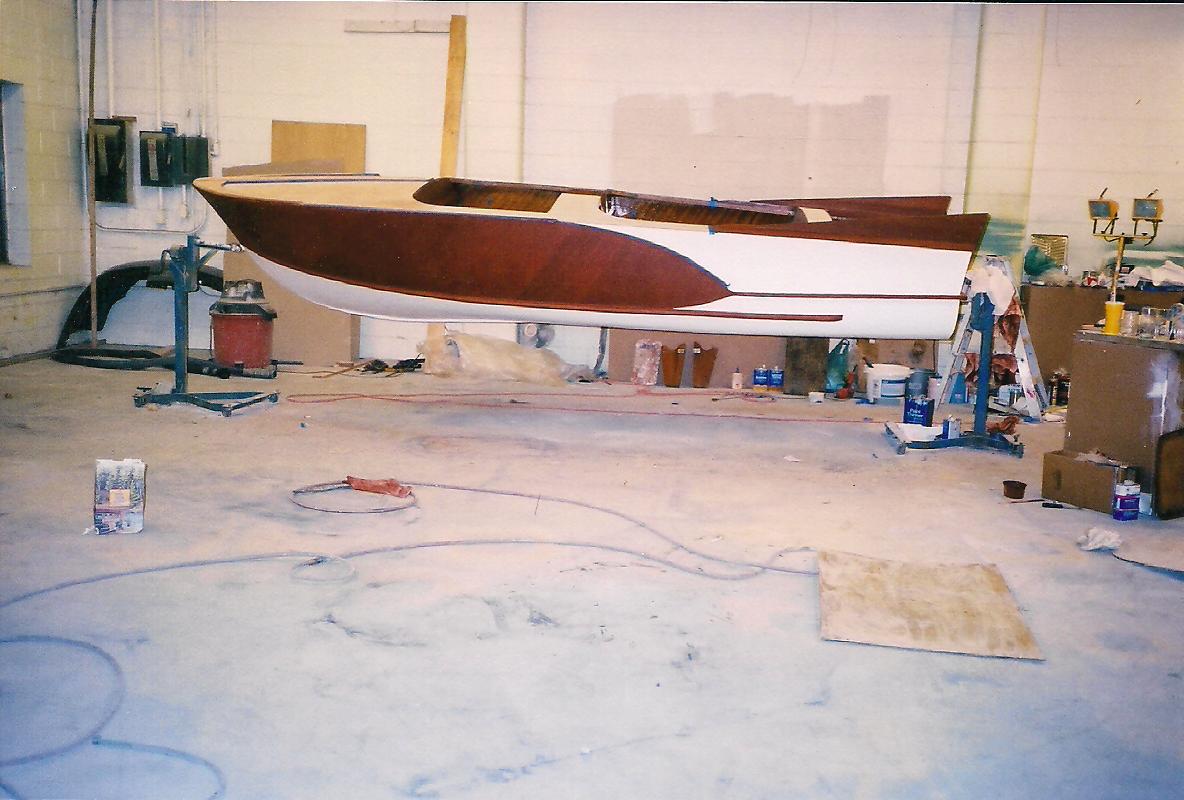
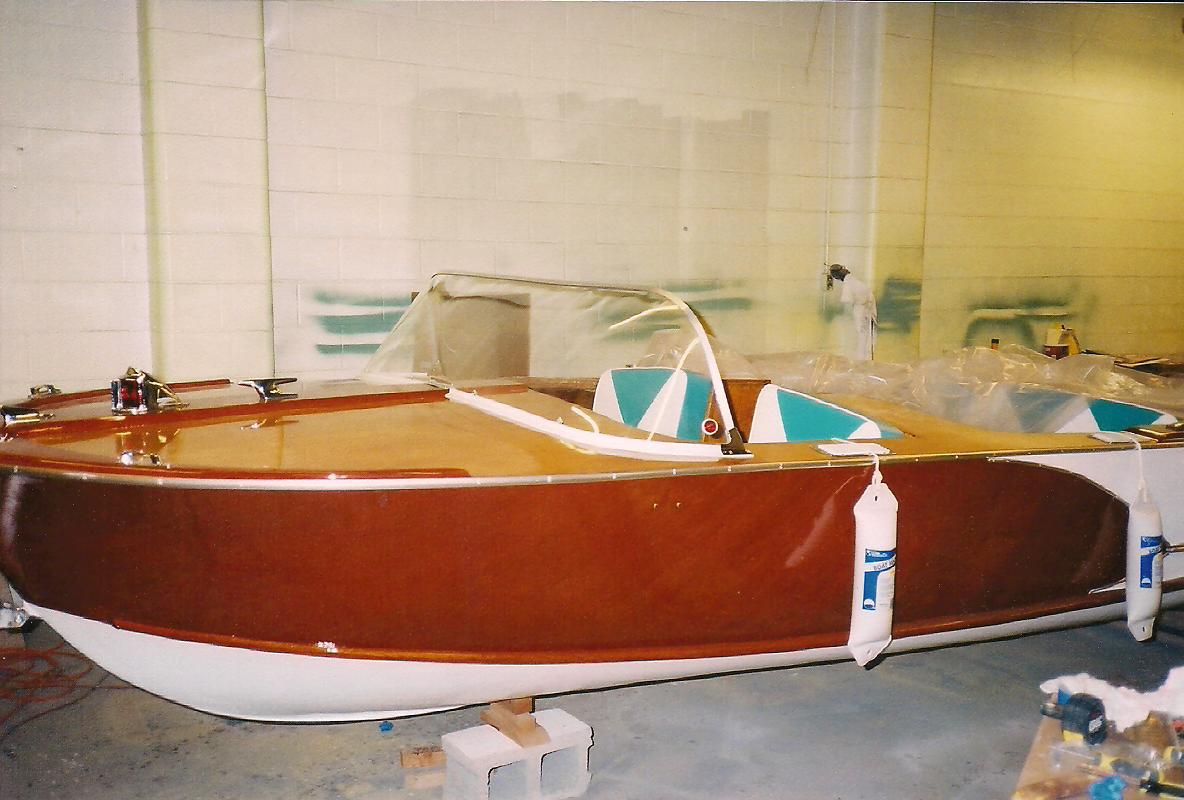
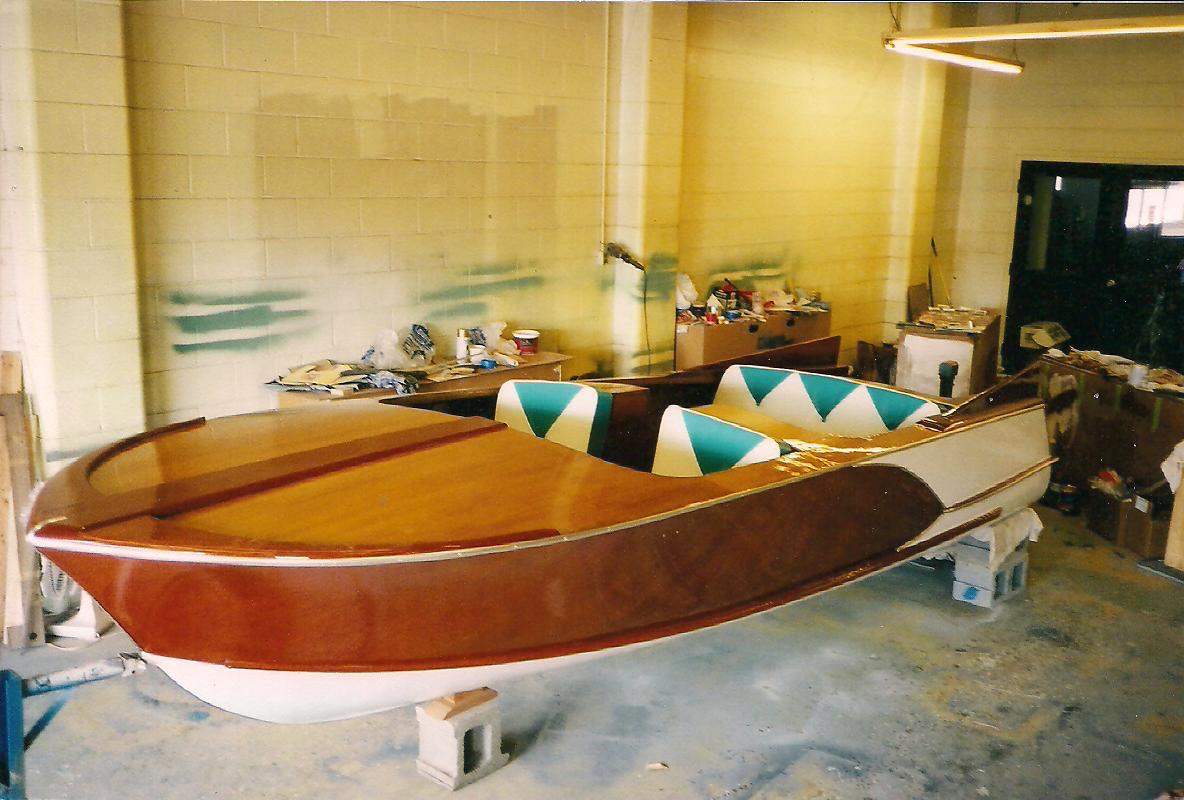
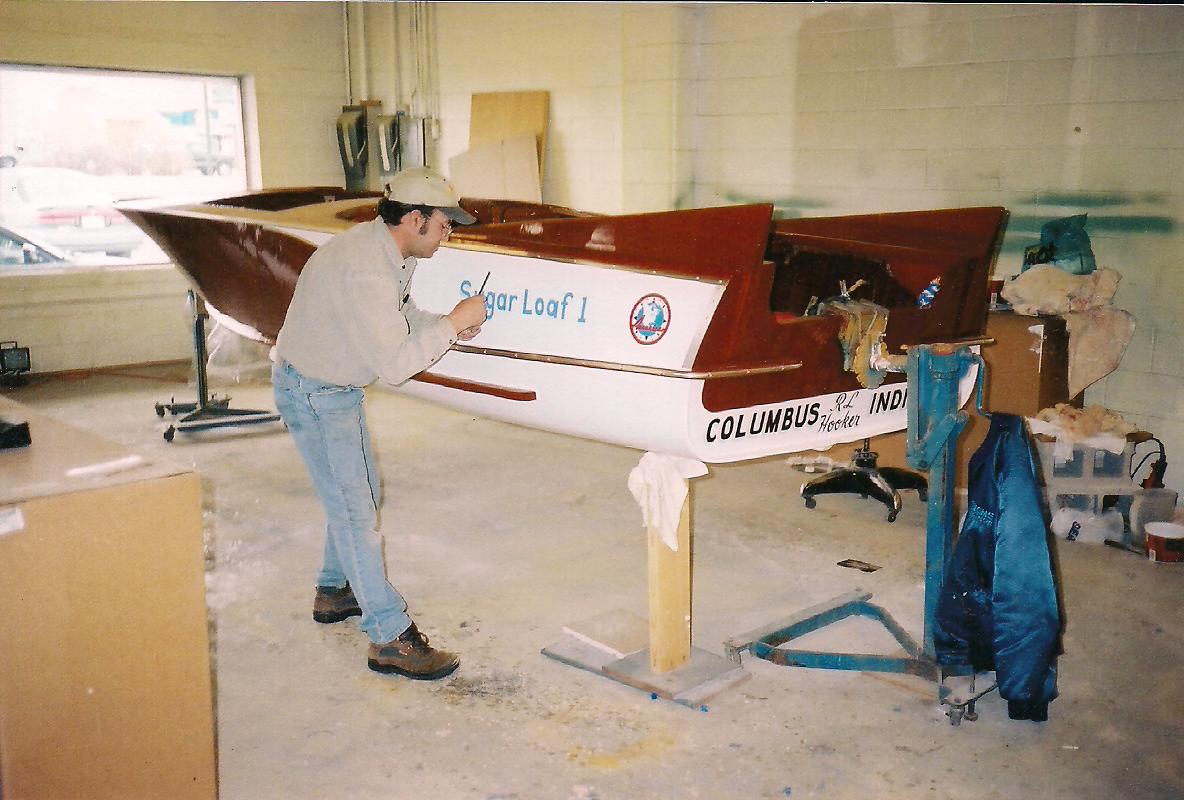
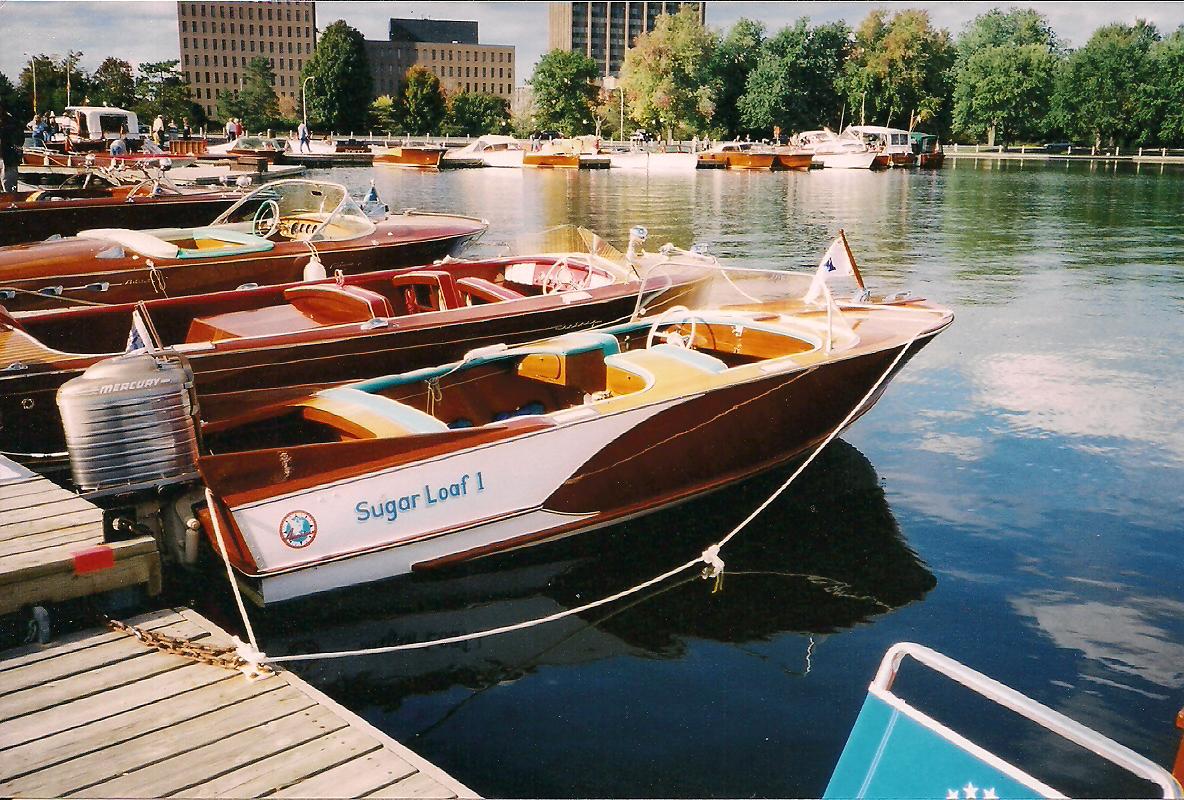
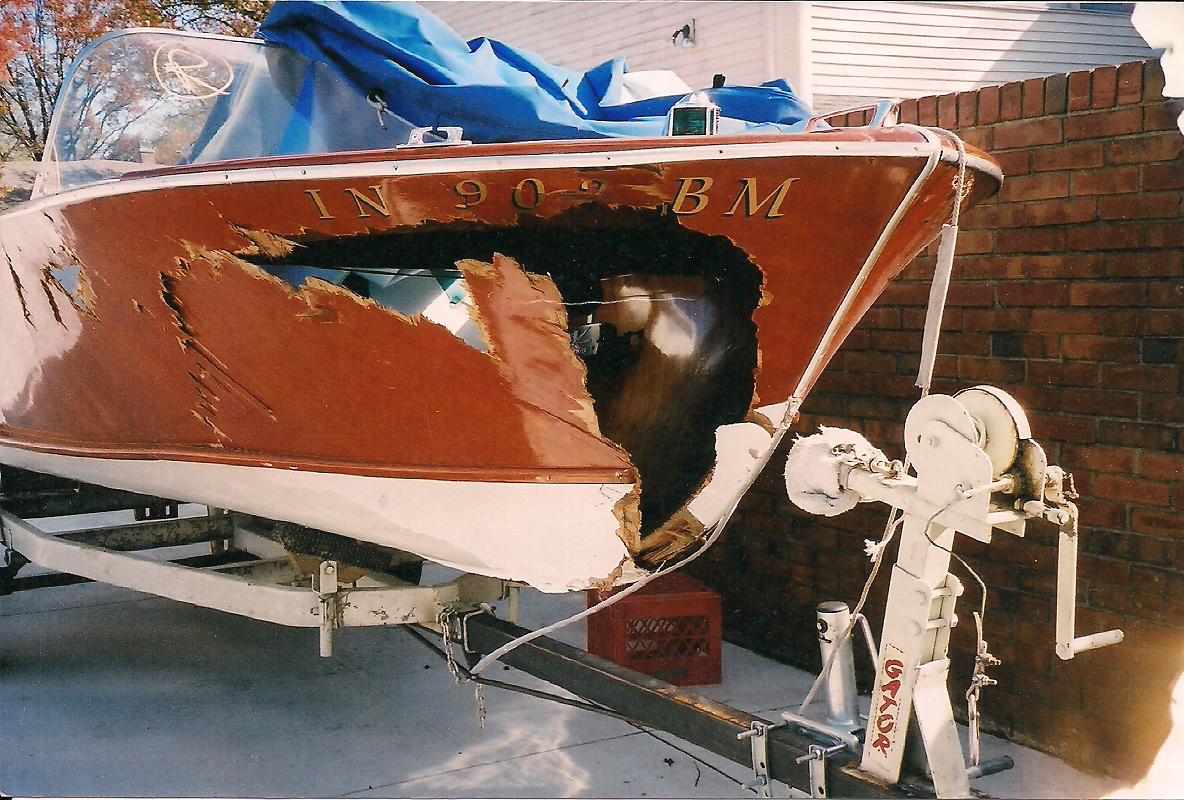
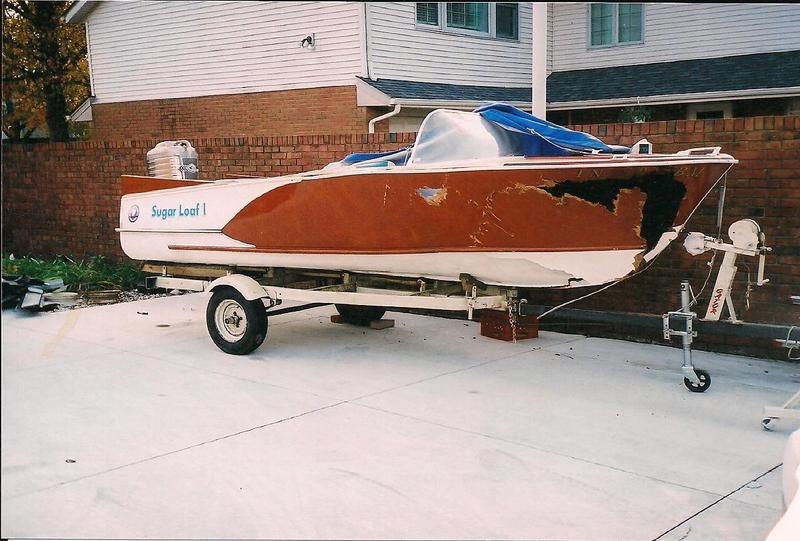
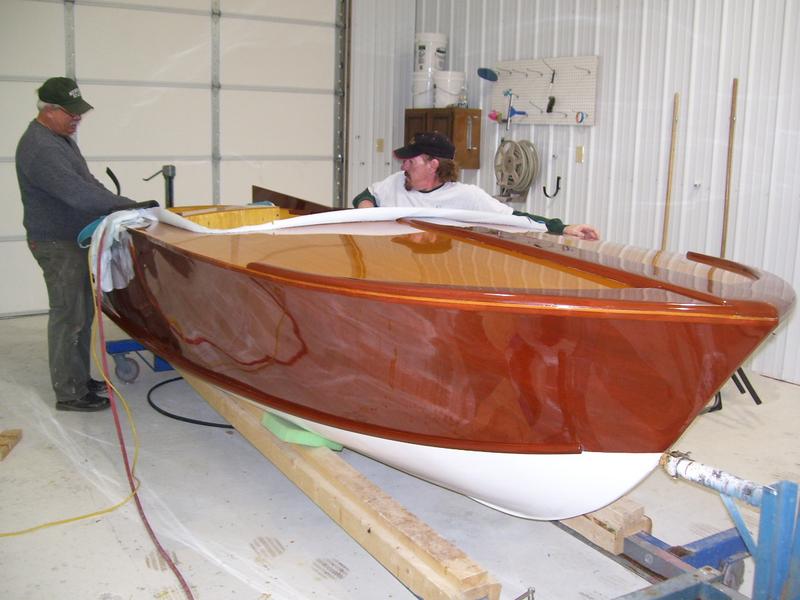
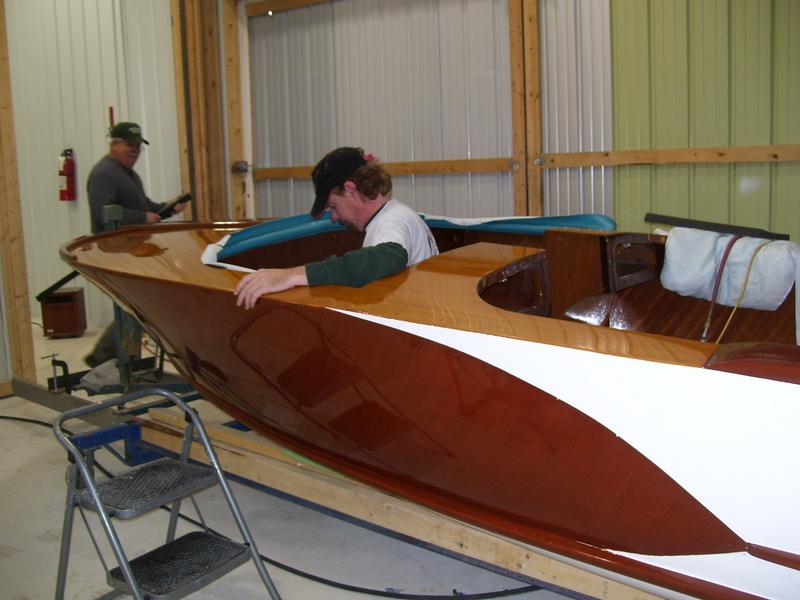
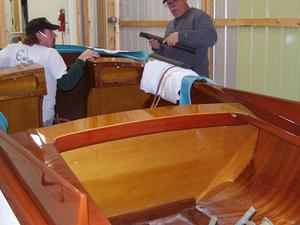
These are pictures from the restoration that the owner had done himself at a friend's body shop in 2003.
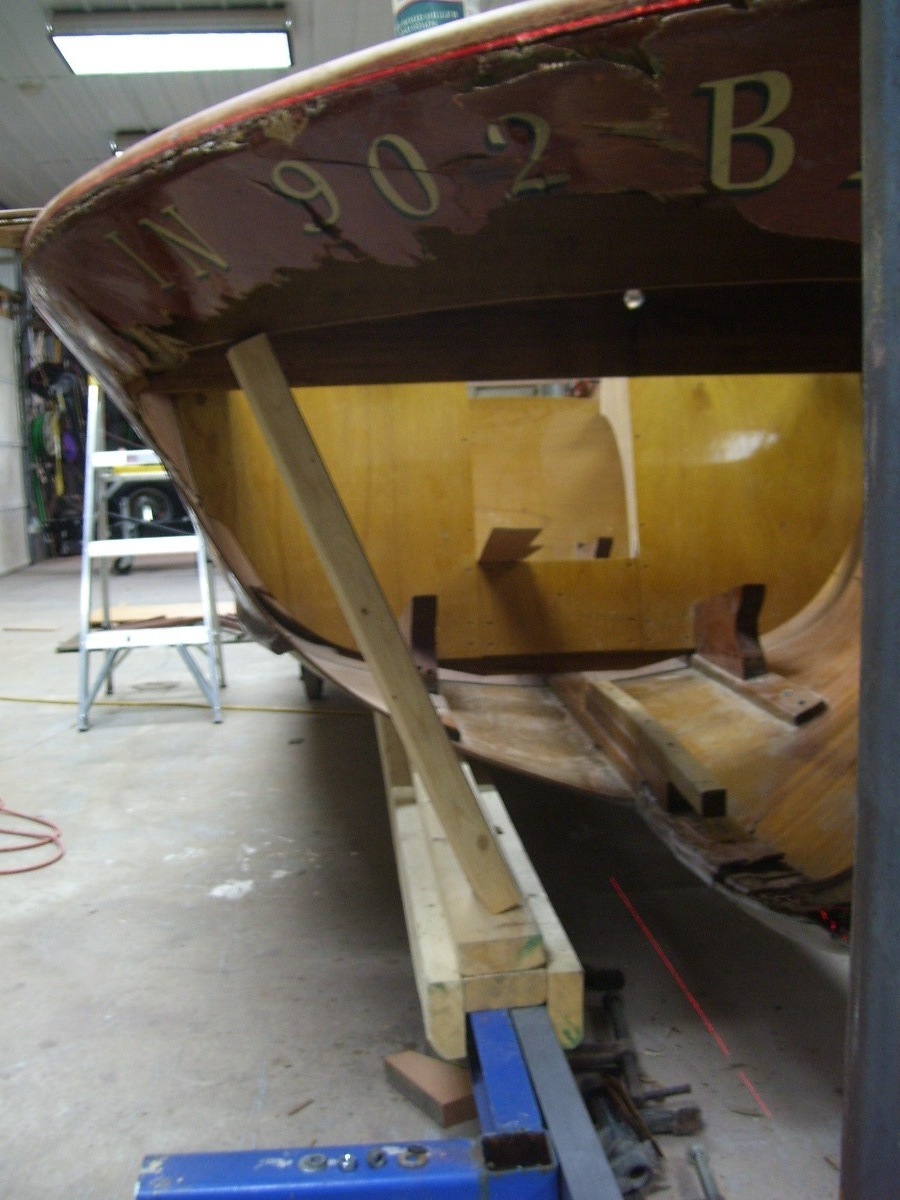
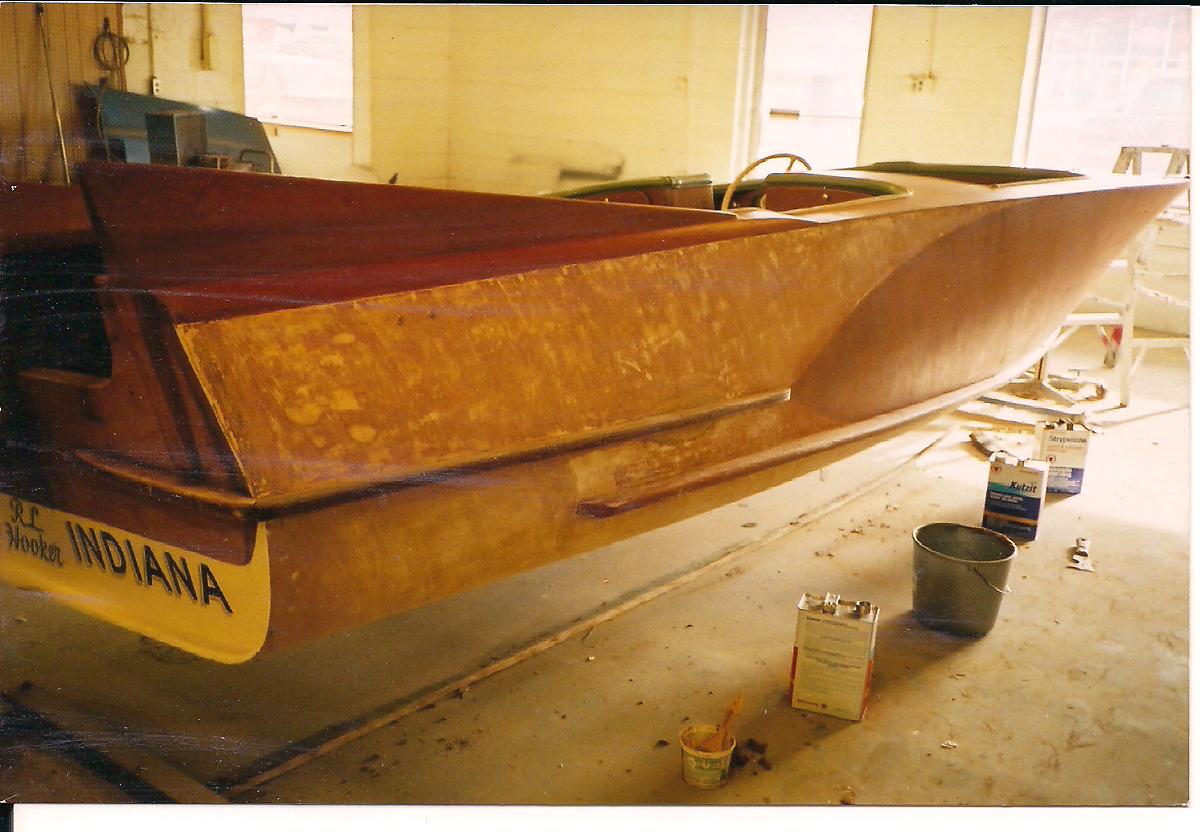
Here is where our work begins, the boat was involved in a car accident, we will restore it to its original condition when it had won nearly 60 awards at boat shows all across the country.
1/17/13
1/24/13
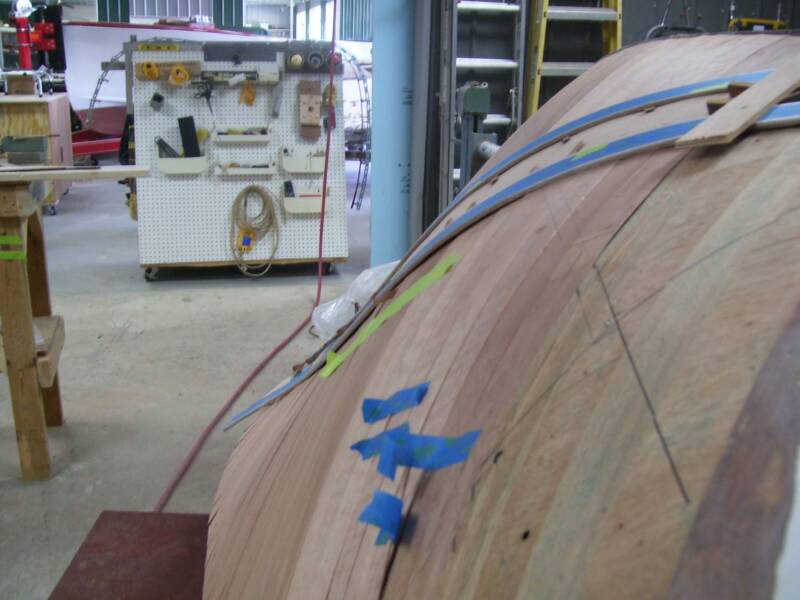
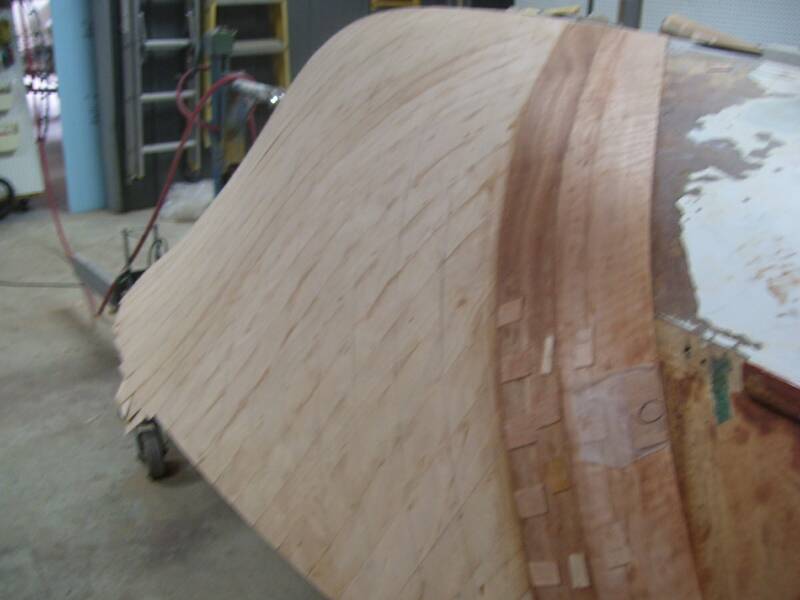
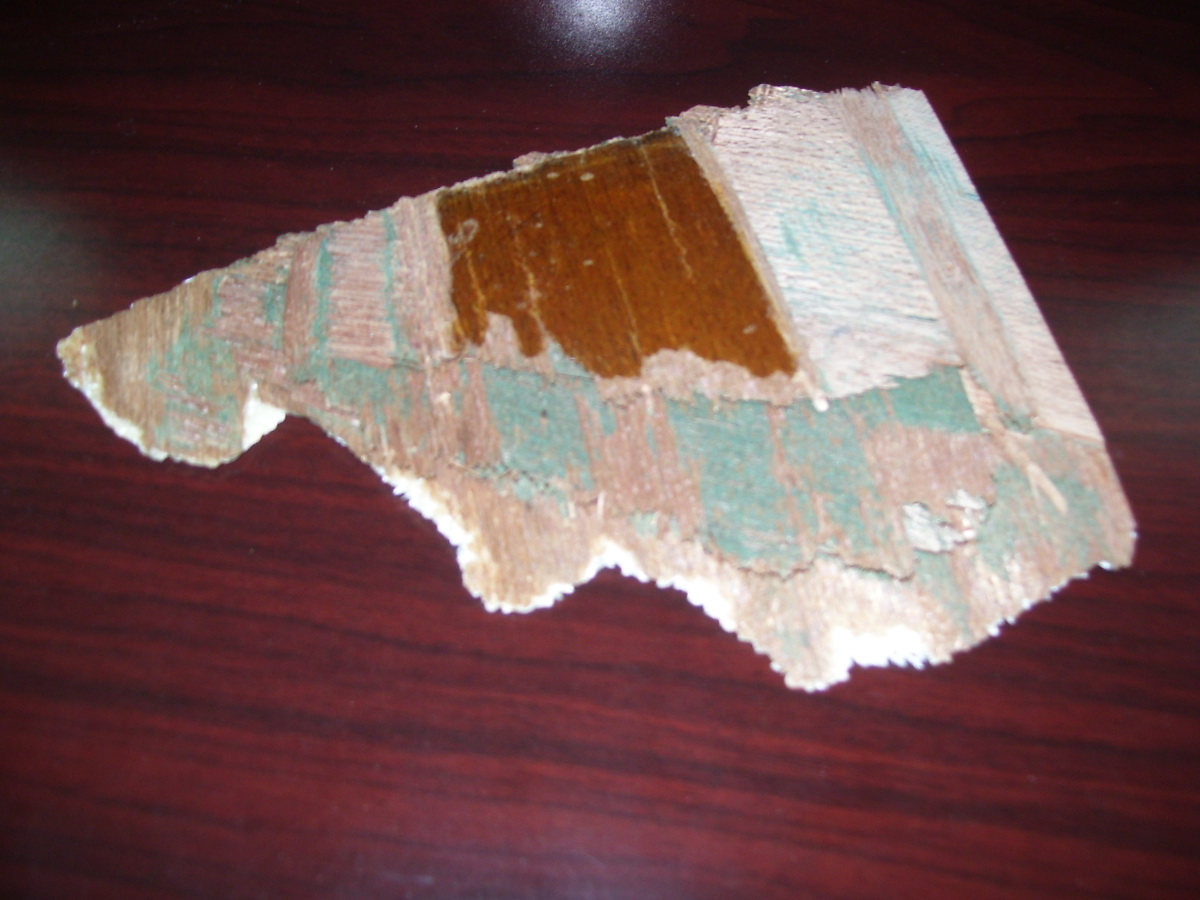
The sides are made of 5 layers of veneer, they alter in thickness. The outside layers are .075in thick and the inside are .055in thick.
1/31/13
2/1/13
2/7/13
2/8/13
2/11/13
2/13/13
2/19/13
2/27/13
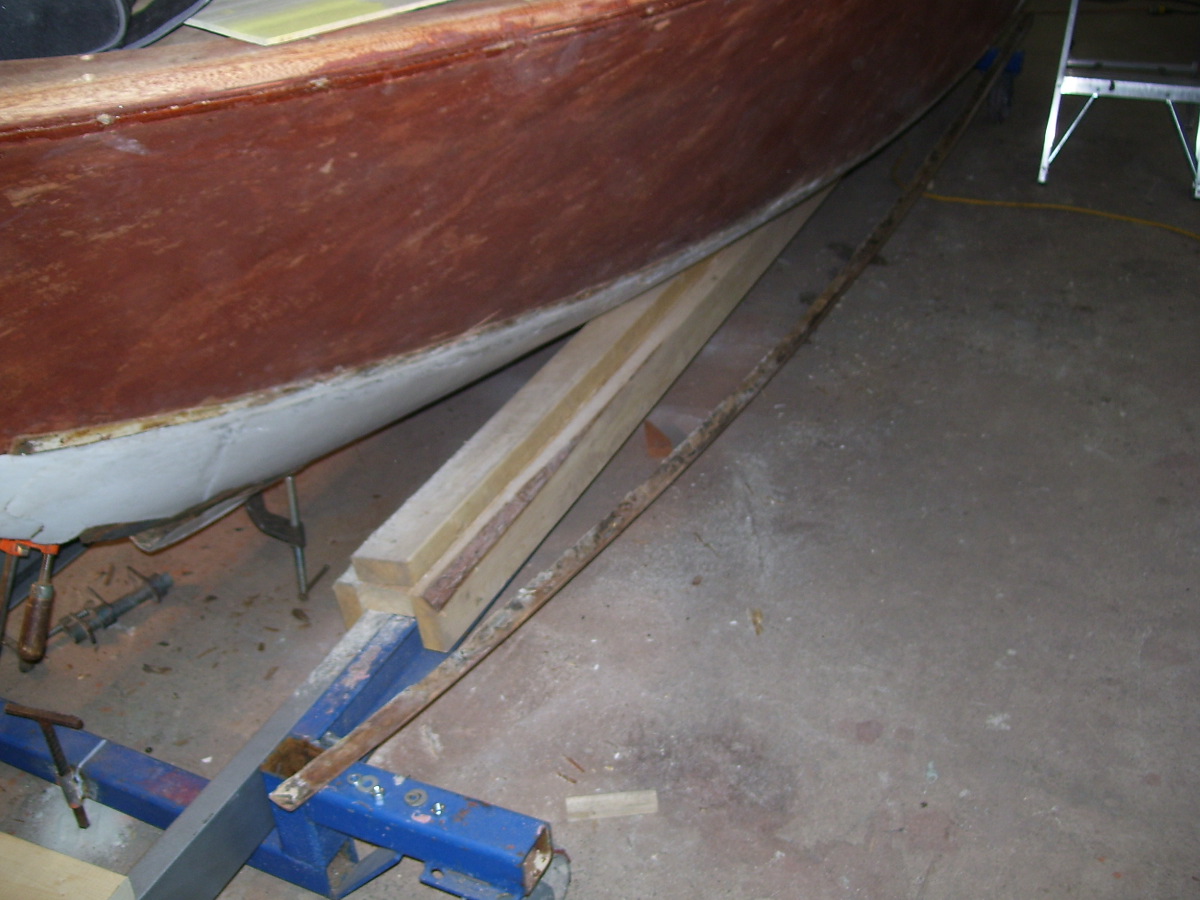
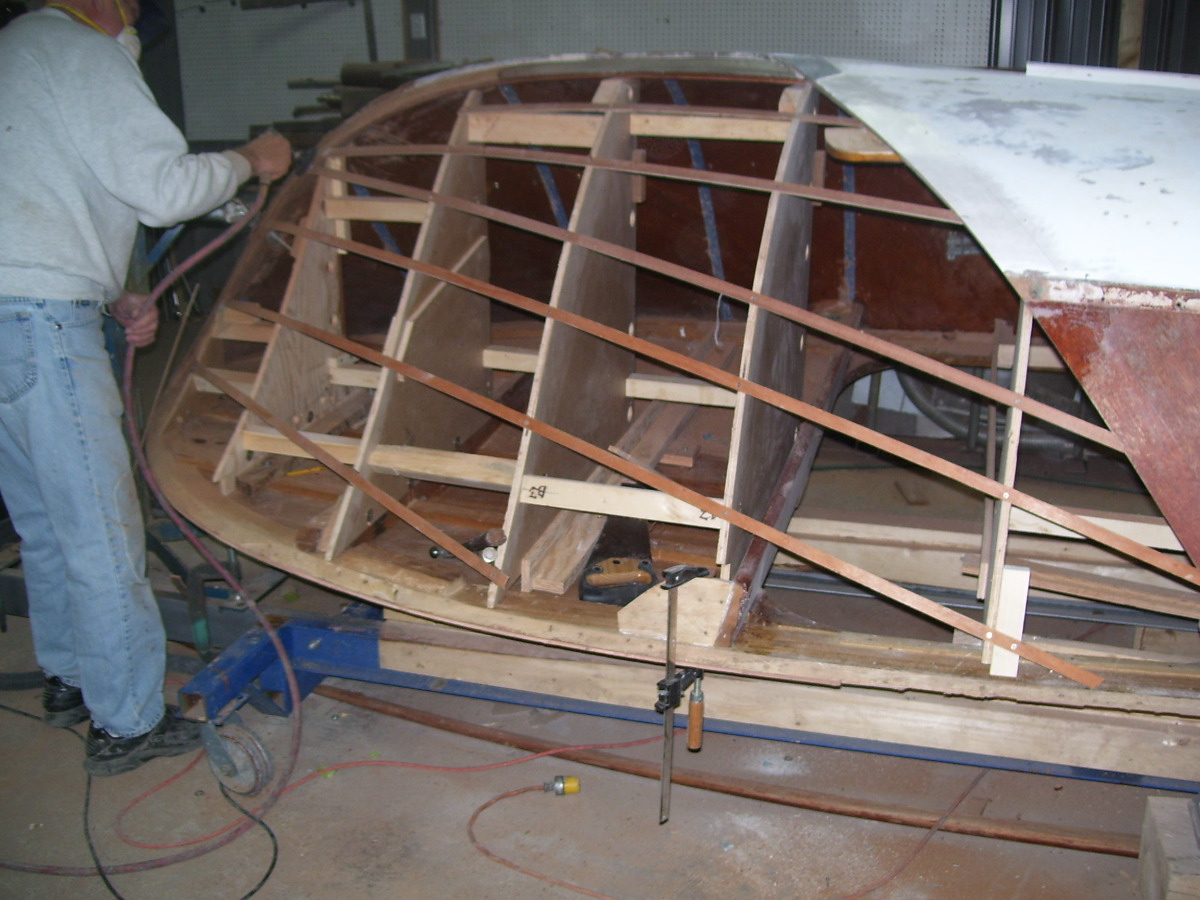
Flipped boat over to more easily perform work
3/5/13
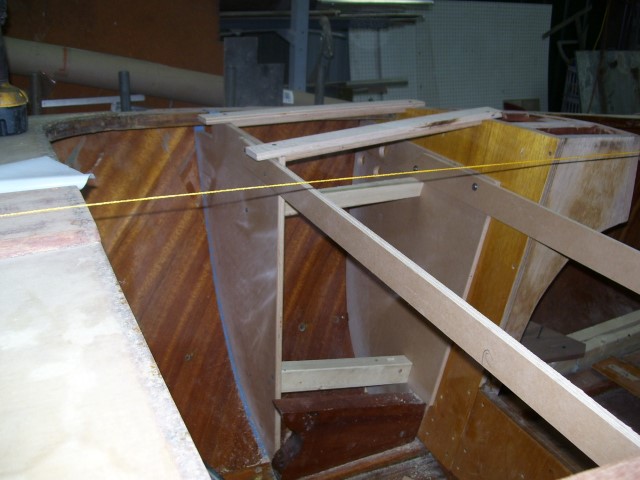
Installing forming batons
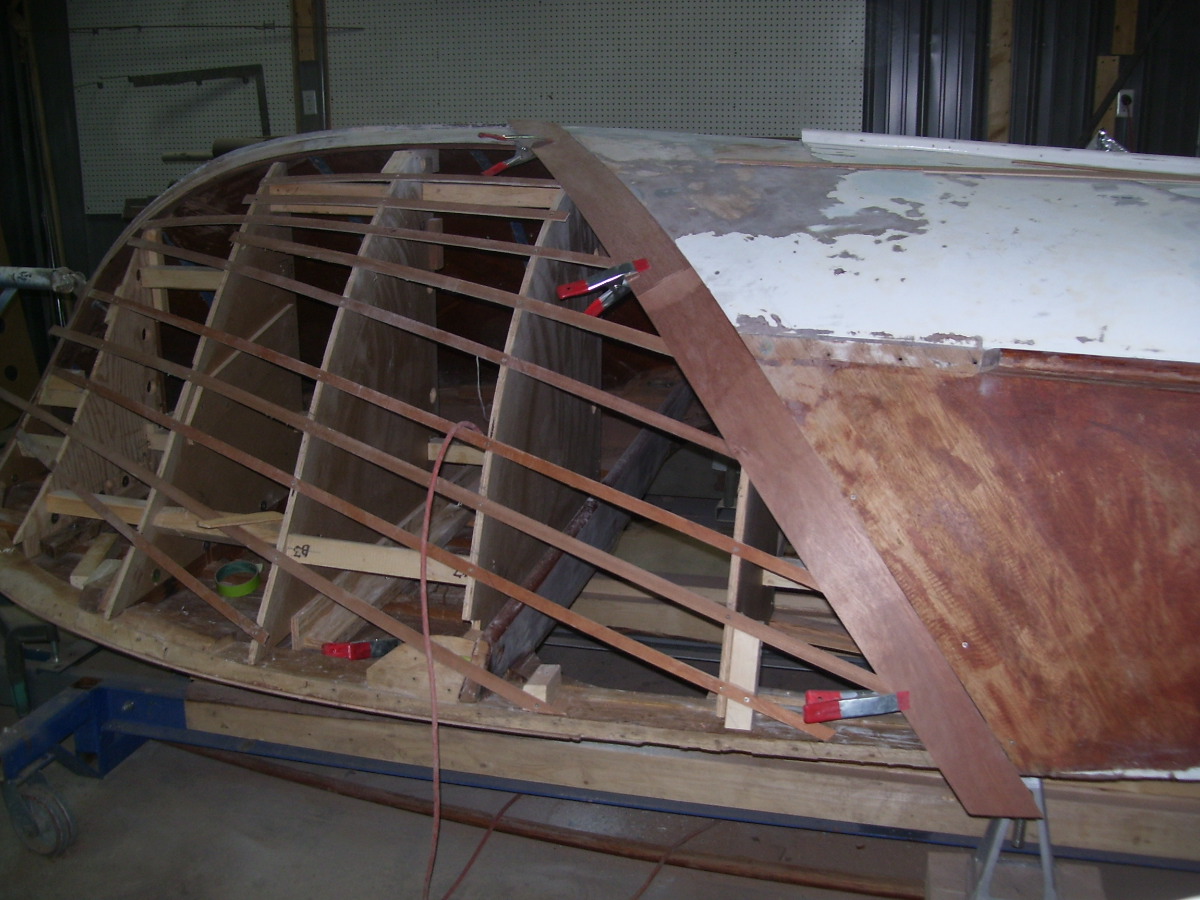
3/8/13
Installed more forming batons
3/13/13
3/19/13
3/20/13
3/22/13
3/25/13
3/27/13
3/28/13
4/1/13
4/8/13
4/10/13
4/11/13
4/12/13
4/30/13
5/8/13
5/10/13
5/17/13
5/21/13
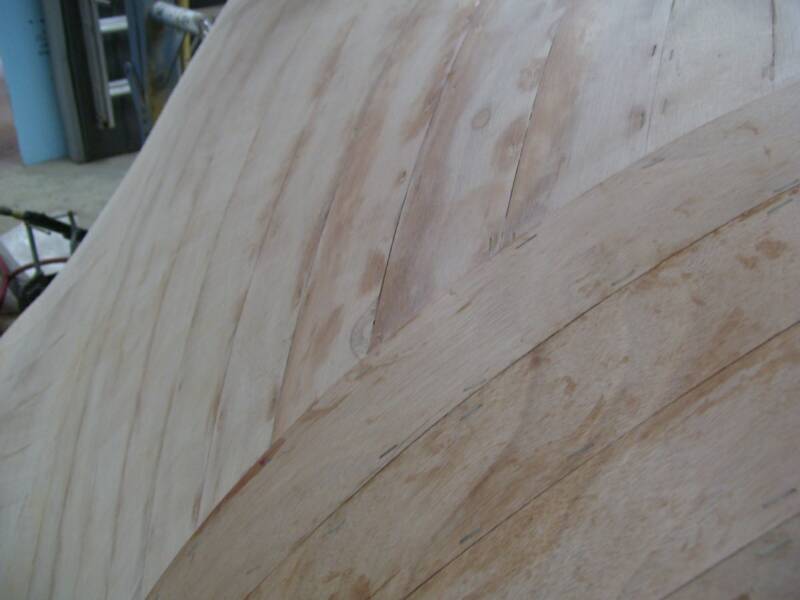
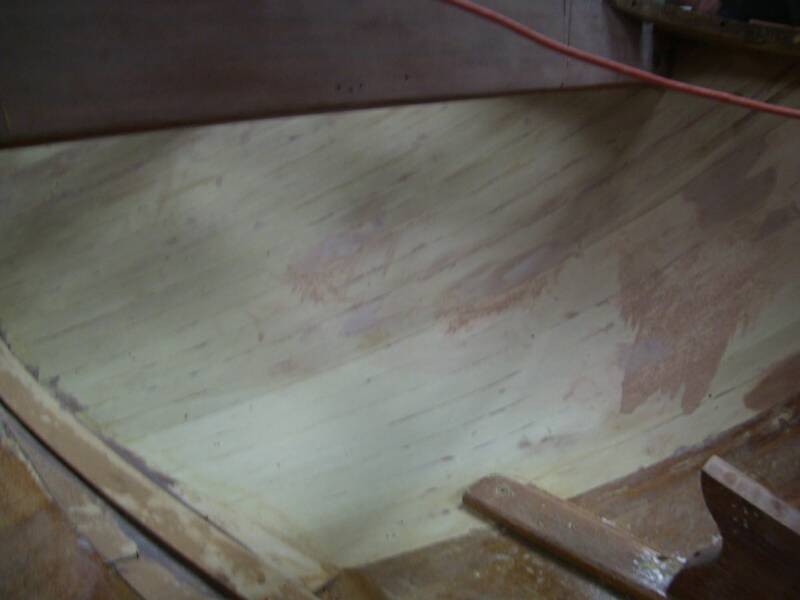
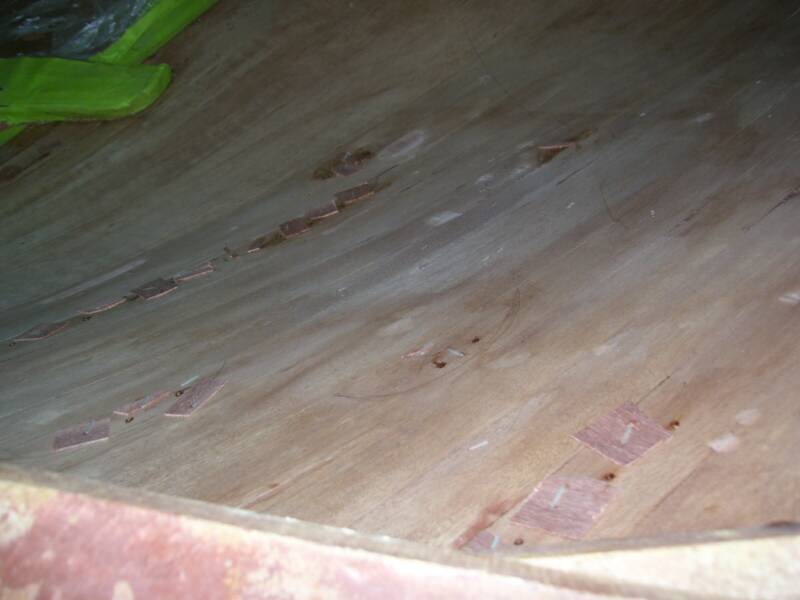
When wood was bleached, some separation of planks occurred. they had to have epoxy injected under them and stapled in place to hold it while the epoxy dried
5/28/13
5/29/13
Epoxy was injected under the planks that were coming up and then stapled down, the staples are going to be removed and then those areas will be sanded down.
5/30/13
5/31/13
6/3/13
6/5/13
6/6/13
6/10/13
6/11/13
6/17/13
6/19/13
6/20/13
6/21/13
6/24/13
6/25/13
6/26/13
6/28/13
7/2/13
7/8/13
7/10/13
7/11/13
7/17/13
7/29/13
8/1/13
8/7/13
8/9/13
8/12/13
11/6/13
12/2/13
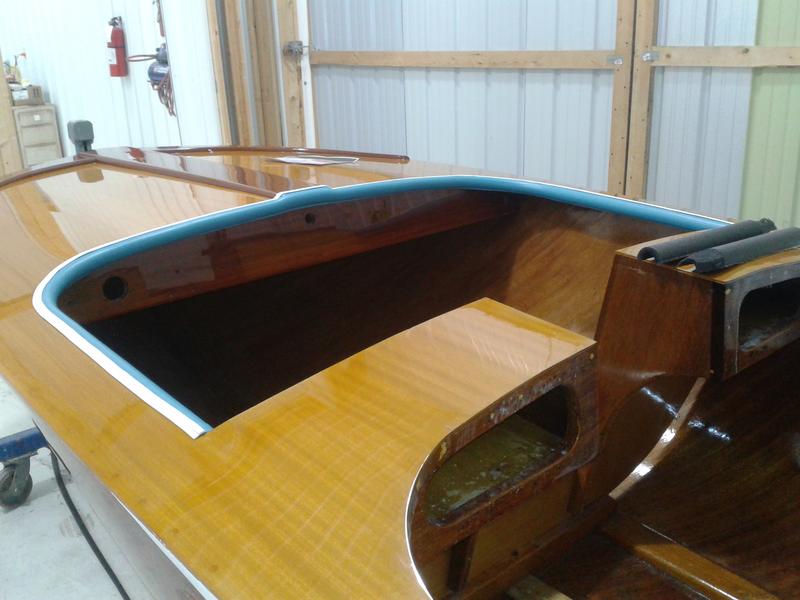
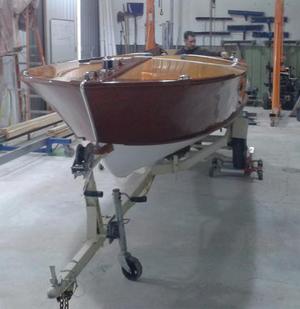
Update 12/2/13
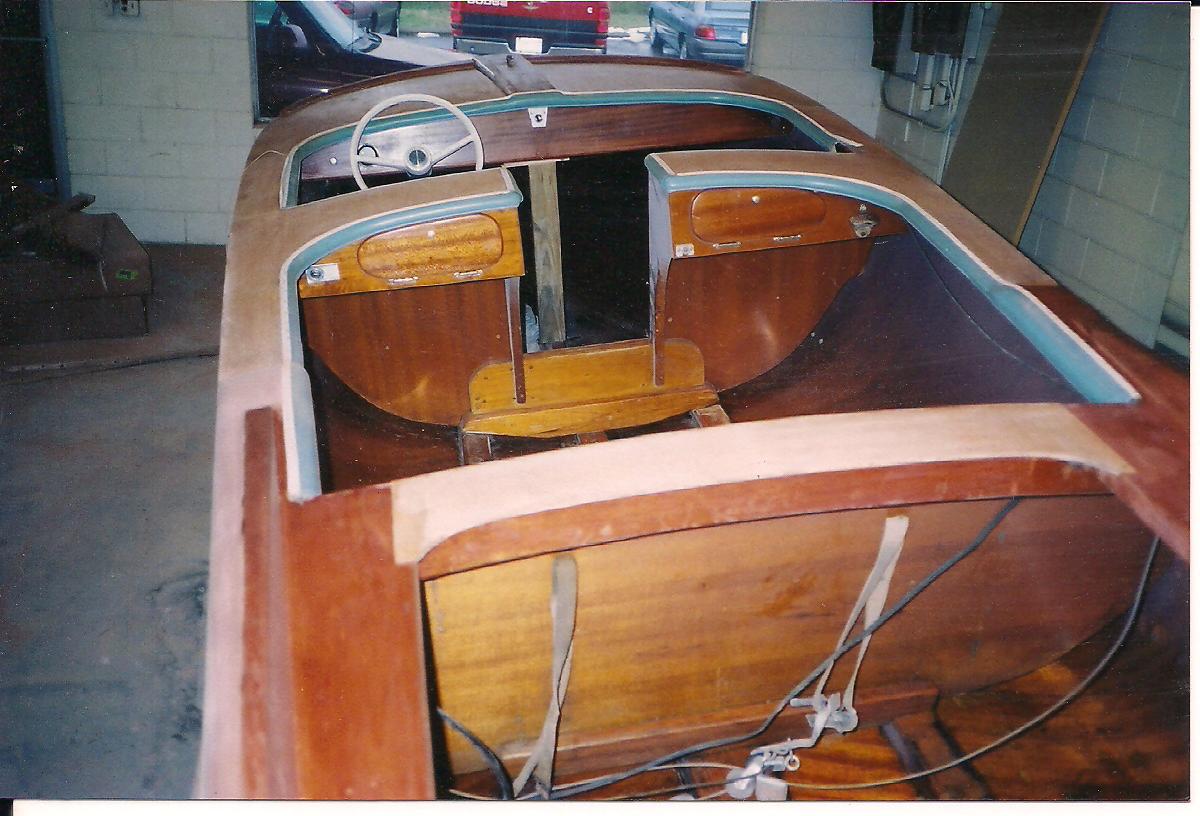
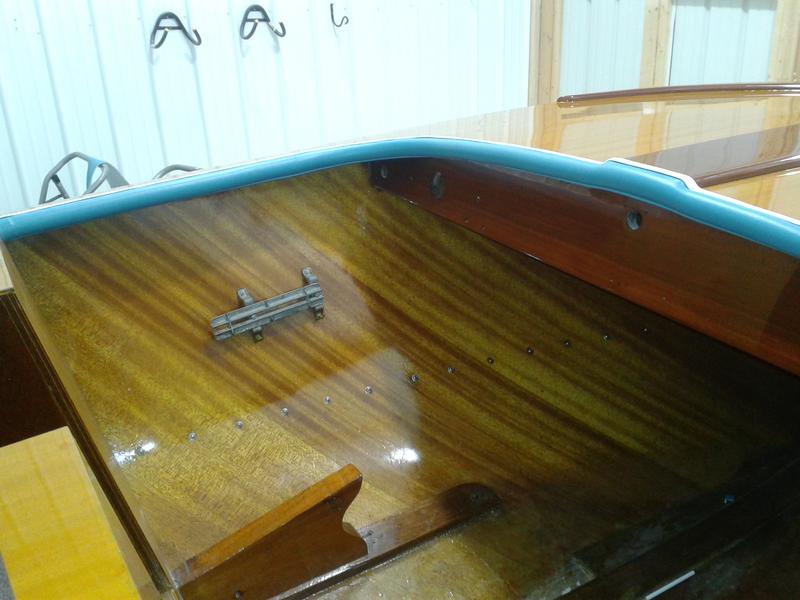
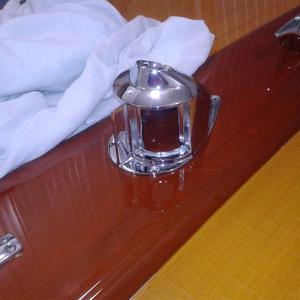
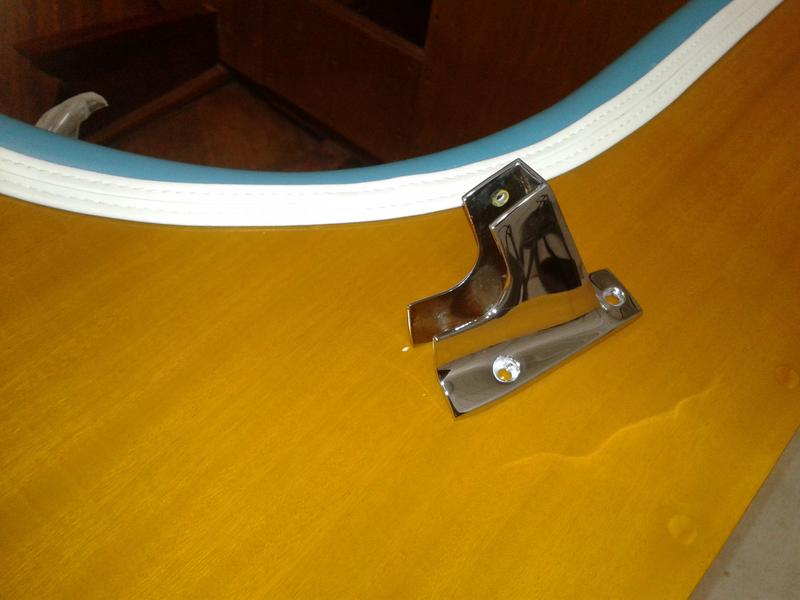
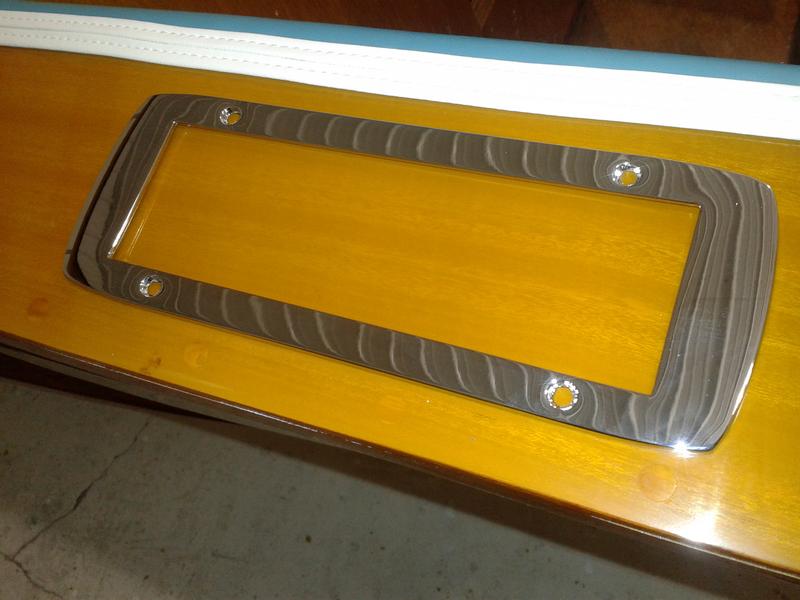
Today new crash rail vinyl and rubber was installed along with new white Hidem. Tomorrow we will be installing the windshield, steering and metals (chrome, aluminum and stainless)
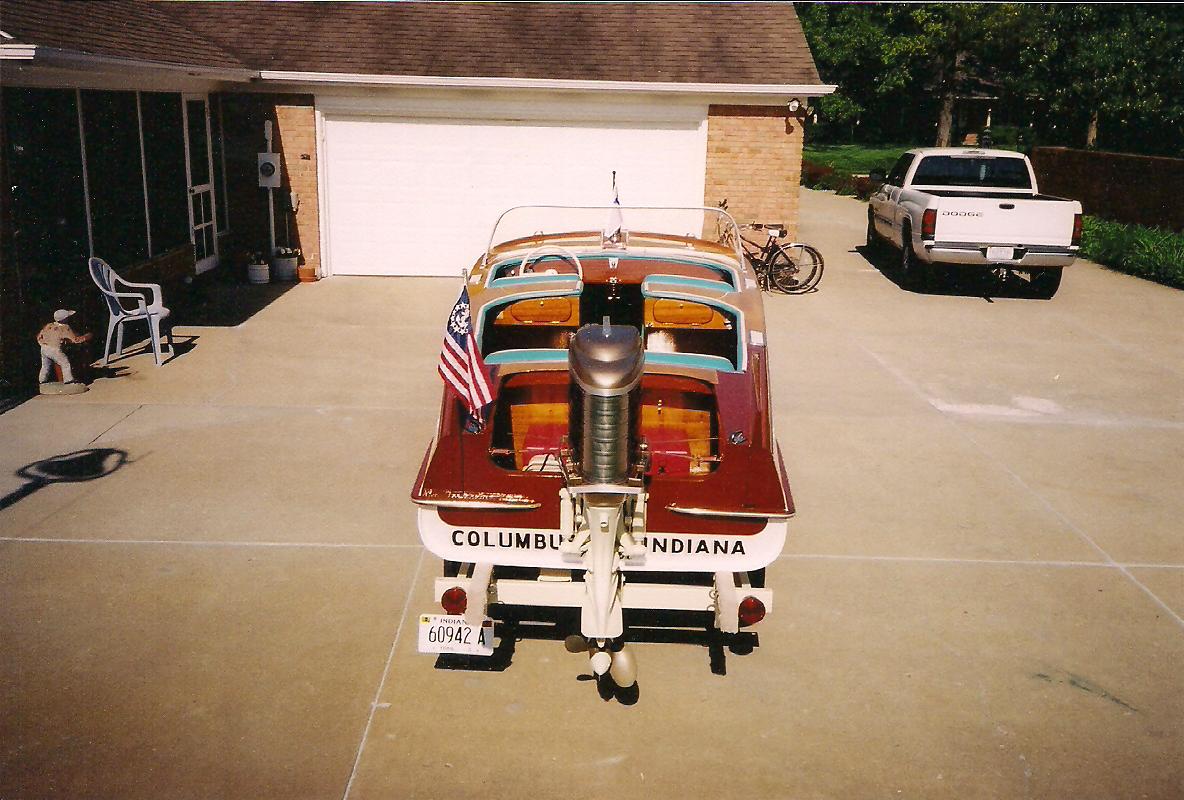
Here we have loaded the boat on the trailer and anticipating the final touches before delivery.