 | ||||||
270-866-2628 Paul@woodiesrestorations.com
New Toll Free Phone Number 866-921-2628
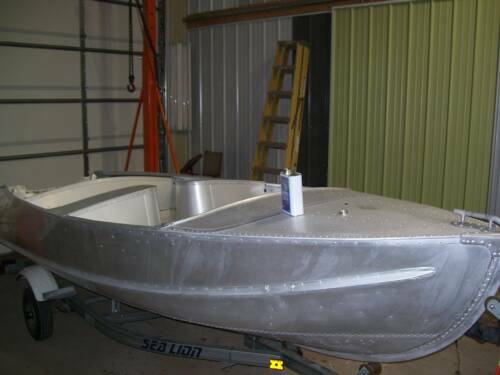
1956 Feathercraft Ranger III

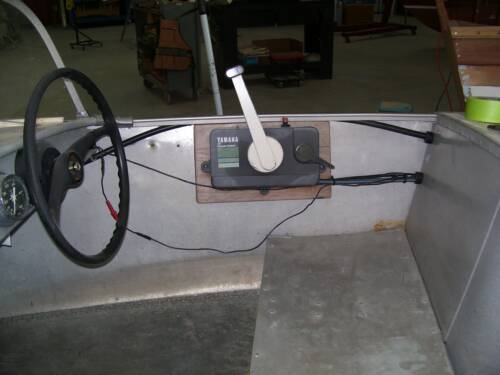
We will finish the wood behind the controls and relocate the wires that are flapping in the breeze.
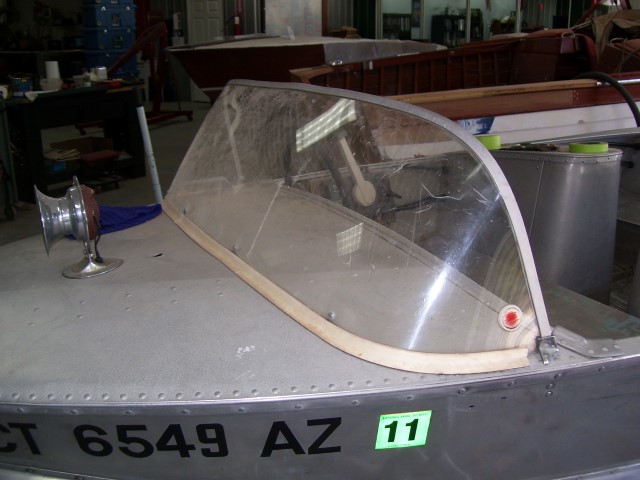
New windshield has been ordered.
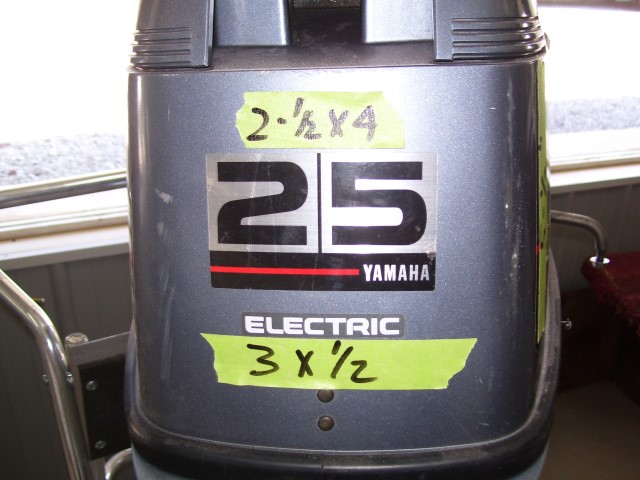
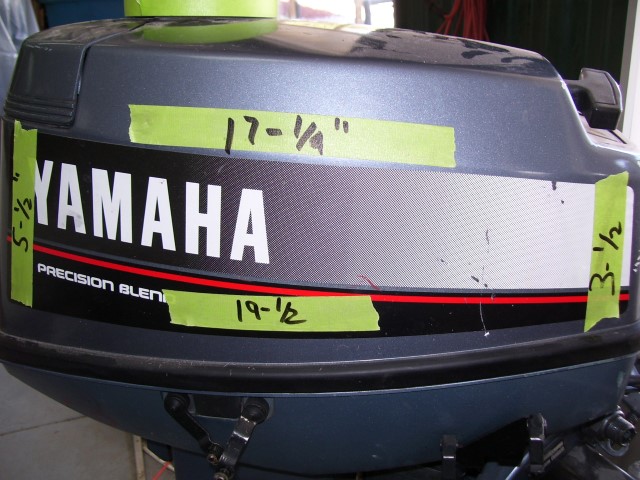
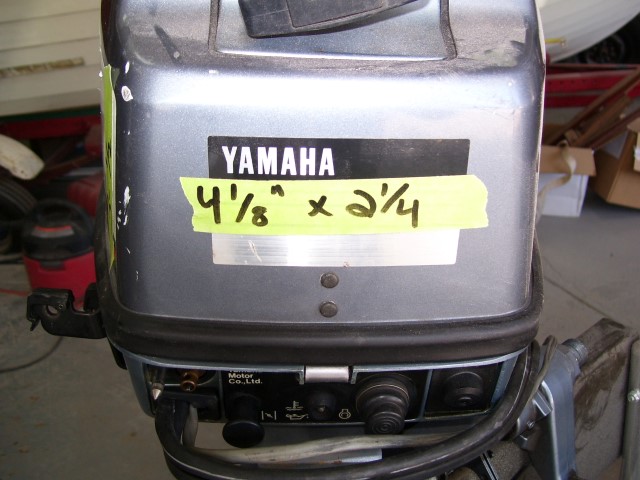
Measurements for new decals.
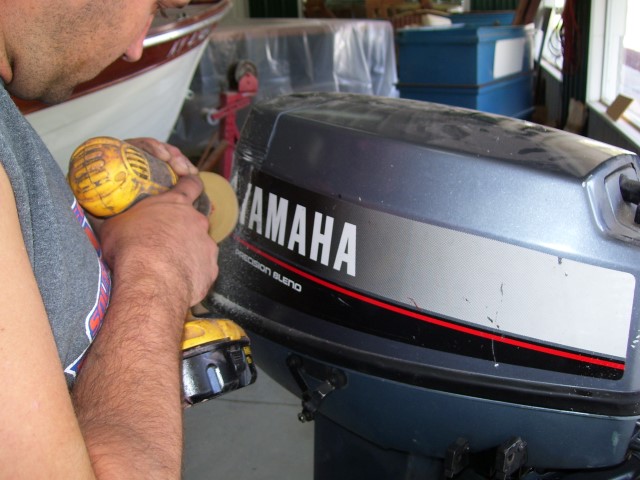
The vinyl decals are removed by an eraser that fits in a drill or a right angel air grinder. Removes and does NOT hurt the finish or plastic like a razor blade can.
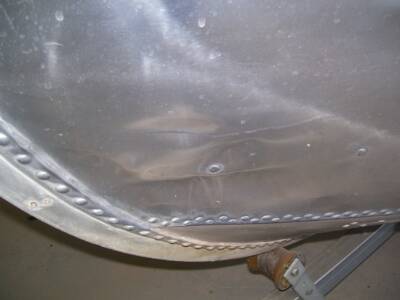
We will be removing the the dents and resetting rivets. Some rivets are completely missing.
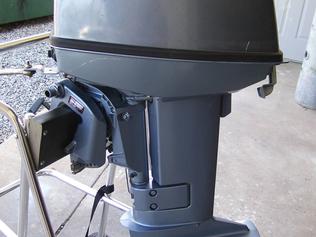
Engine has been cleaned with a degreaser. Ready for paint prep!!

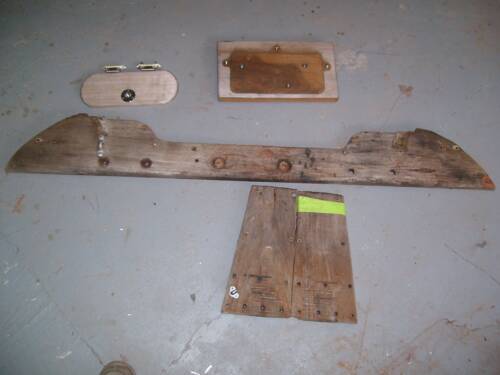
LEFT: You can see the difference in the shine where numbers are removed.
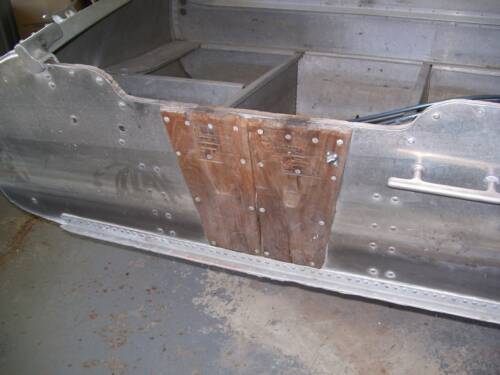
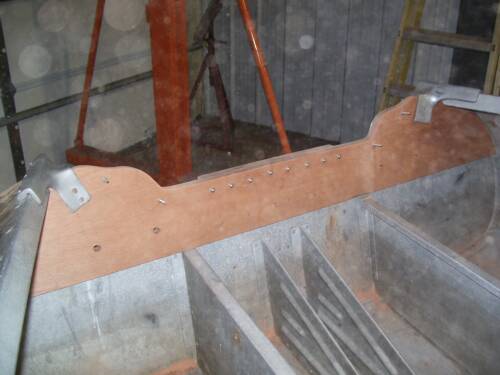
RIGHT: Transom wood is chewed up and has some rot. The green tape is actually holding that transom plank together.


Update 10/28/2011
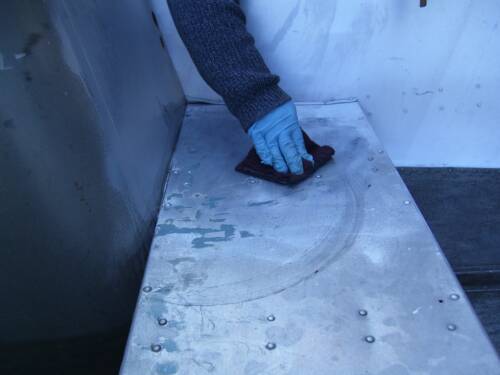
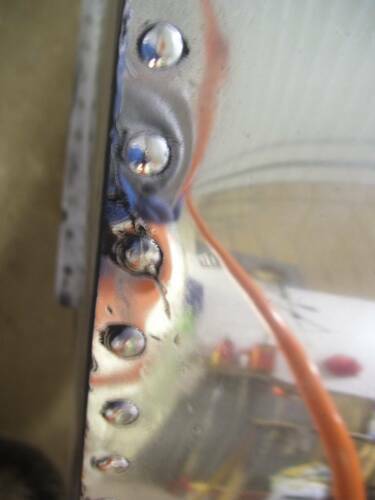
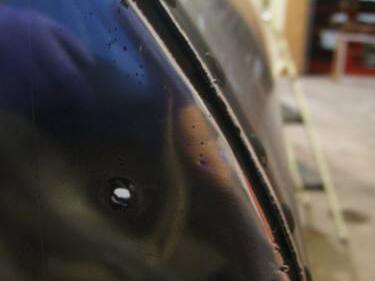
Once we started acid washing the metal to remove corrosion we found the seats had been painted at one time. Paint remover was applied to remove paint and primer beneath it so corrosion could be removed. Notice cleaned metal to the right of arrow and tarnished metal to the left
Cleaned brightened metal on the inside of the boat!
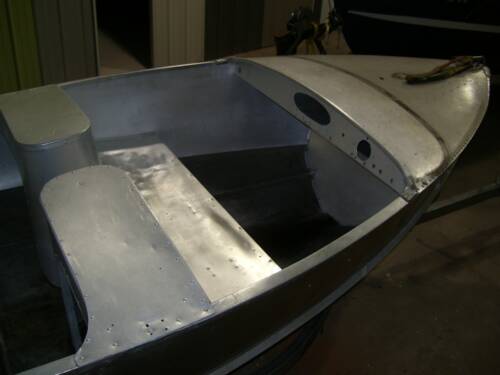
All metal in this picture is cleaned except for the portion of the deck forward of the windshield.
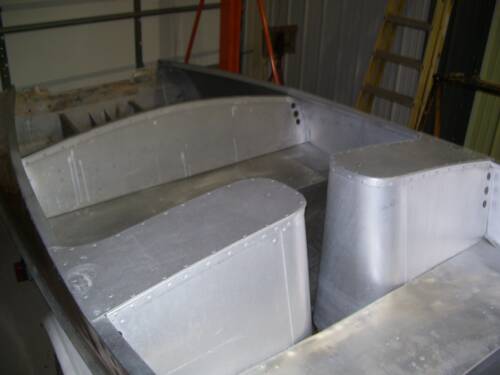
All metal in this picture is cleaned .....period!
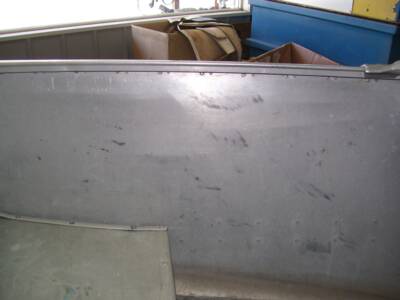
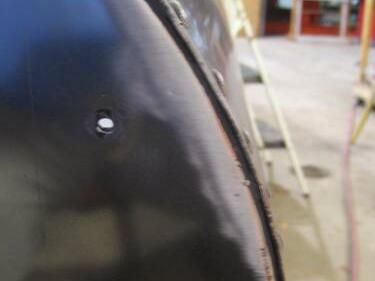
As we begin to polish (first pass) blemishes "jump out" at us.
With a minute of light scuffing with an abrasive pad on a die grinder the blemishes are smoothed out.
With a few more minutes of polishing the blemish is nearly removed. We will get the progressively smaller scratches out with each polishing pass.... until the scratches are too small for the human eye to see.
We will get the first few passes done and see how many blemishes dissappear during that process, then look at time elap$ed and decide whether or not to remove all blemishes or not.
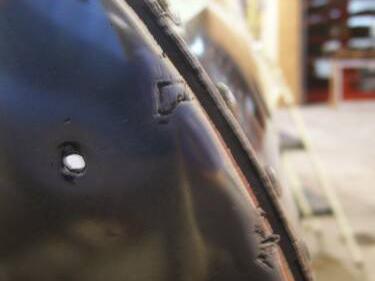
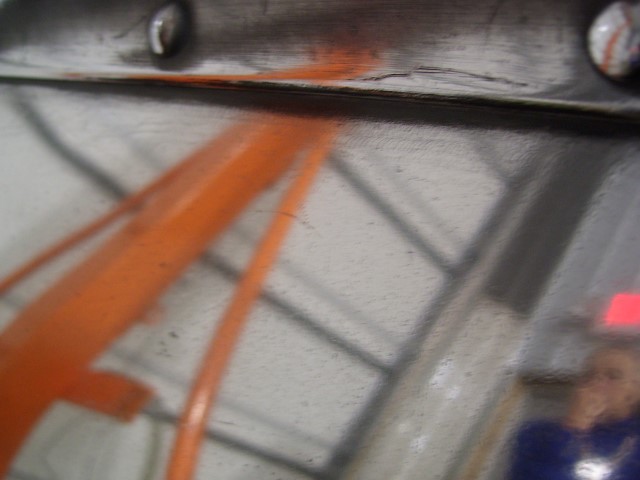
Oh CRAP.... someone has used an orbital sander on this metal at one time Note circular scratches above red arrows above. We will have to figure out how to remove these the quickest way. The orbital sander also caused the pitting you see in the picture too.
We are just in to our first pass ... and we have a few challenges to contend with. We are researching various methods and you can see from these two videos that there are vastly different plans of attack these people use.
Like I said vastly different plans of attack! This guy uses methods similar to what we currently use on stainless steel. The only difference is that for our stainless our buffer is stationary. The wheels are the same and so is the compound!
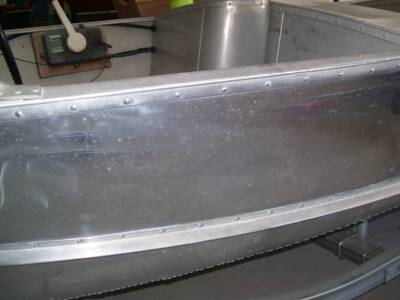
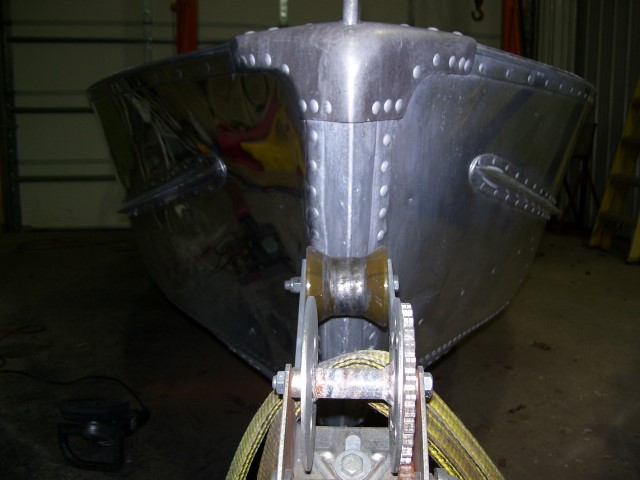
We are just in to our first polishing pass! From this distance it looks great... but there are blemishes still in the surface - as shown in photos above.
Acid washed aluminum
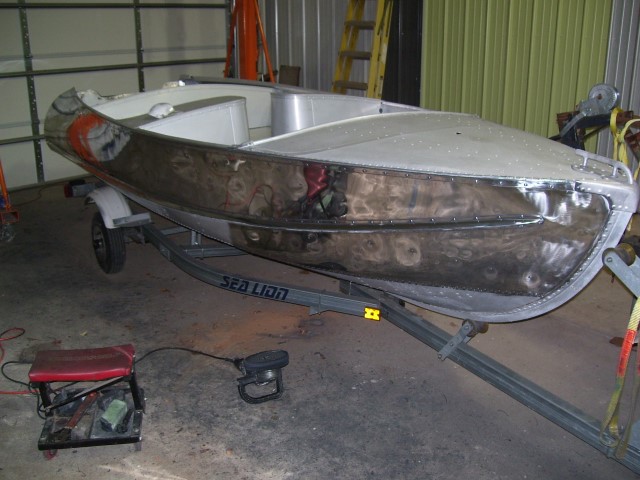
The polishing process is half finished. The picture on the left shows where the cleaner was used and where the cleaner was polished.