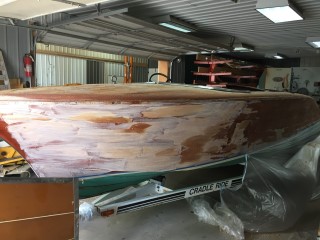
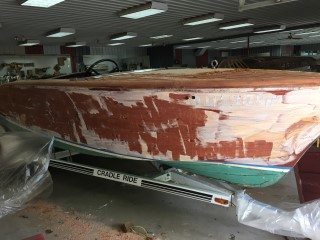
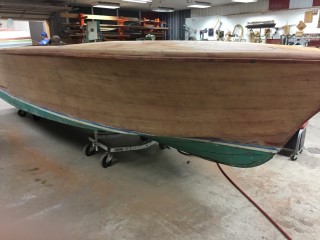
We have started the process of stripping the varnish from the decks and sides. It may take a couple coats of stripper to remove all of the varnish. Once we remove all of the varnish we can then restain and then begin varnish.
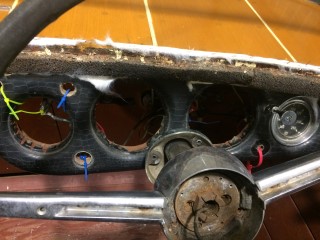
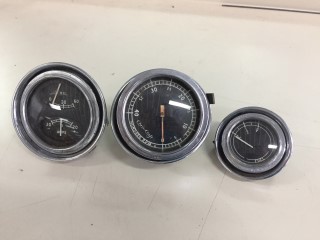
We have also sent out your gauges and they are being rebuilt as we speak. Once we receive the rebuilt gauges back we will post before and after pictures.
Update 05/12/2017
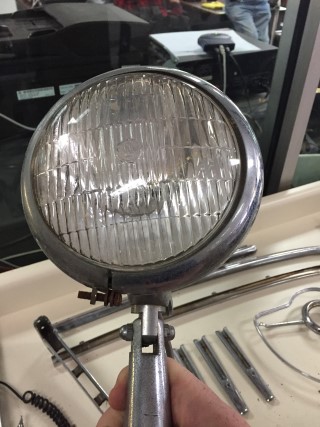
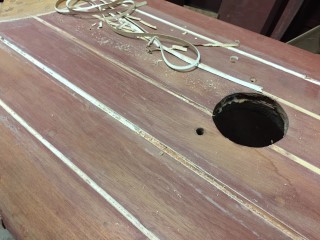
As we were laying out the chrome to be sent off Paul noticed that this light was not original to the boat. We can send it off and have it chromed if you would like or we can leave it out and fix the hole in the deck where the light was mounted. Just let us know what you would like to do.
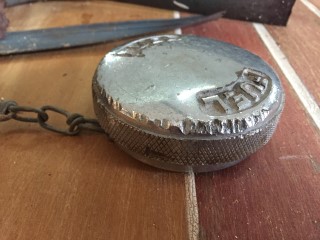
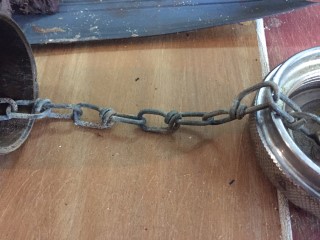
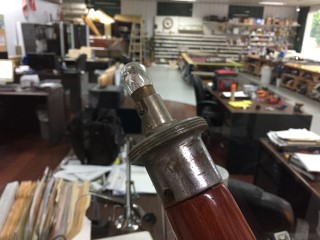
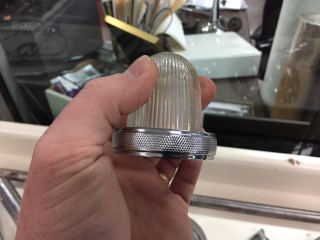
We also noticed that your gas cap was badly damaged the cheaper way to go here is to order a new cap. You will also need a new chain because the one you have now is not the original chain yet a steel chain from a hardware store. Last but not least we noticed you were missing the globe and nut on your stern pole. Luckily we had one at our shop that we can sell you and save you from having to buy a new one from a distributor. The light assembly is $270 and the gas cap, chain and hook would be $255.
Another thing we found was you have snap studs along the to top frame of the windshield. These were most likely put there to attach a mooring cover. We can remove these studs and fill the holes if you would like to do away with them or if you would like to keep them we can remove them and once the pieces come back from chrome we can replace them with new studs.
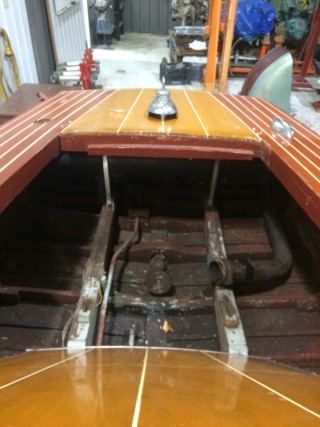
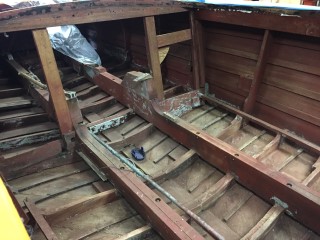
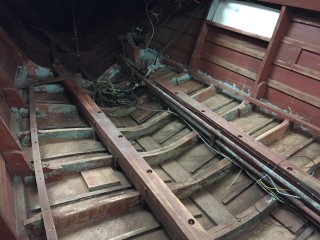
The bilge has been completely cleaned and sanded and ready for fresh paint.
Update 05/19/2017
We now have the hatch cover completely stripped of varnish. We also have the bilge completely sanded, cleaned and coated with fresh bilge paint.
Update 08/08/2017
Your new gauges came in and look great. These are going to look amazing in the dash of your Capri.
We had to remove the throttle cable in order to send pieces of it to chrome. In the process of removing the cable we realized that the cable was sticking and very hard to push and pull. We also found that the cable was not secured properly in the boat so when we re-install the cable into the boat we will install it properly.
Update 08/22/2017
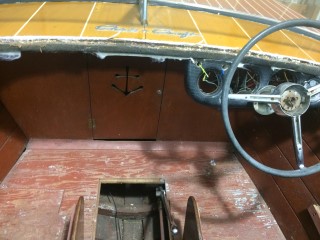
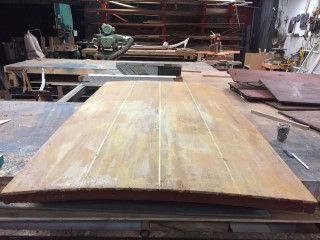
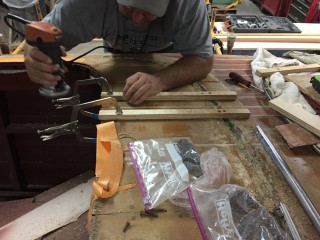
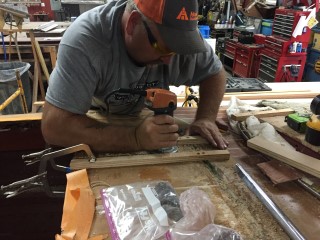
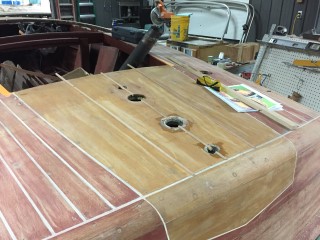
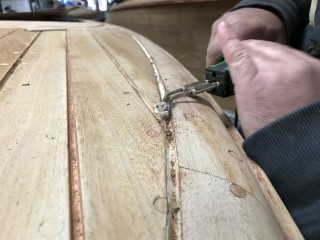
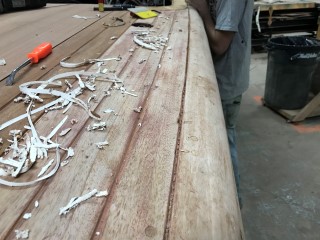
The planks under the windshield had seams that were filled with caulk. Originally this boat did not have caulked planks seams like this, so we made a router jig to remove the caulk in the seams clean and even. Next we will fill the lines that we cut with the router with strips of mahogany.
Here you can see we have cut the strips of mahogany to fill the cracks. First we dry fit the pieces to make sure they fit properly. Next we will glue them in place, then trim them and sand them to match the rest of the deck.
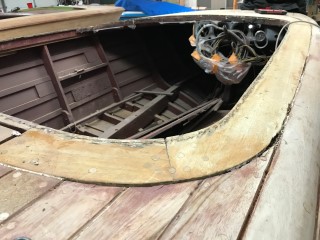
One of the front deck planks is buckled and split the length of the plank. After contemplating different ways to fix this issue we decided the best way would be to replace the plank.
Update 08/23/2017
While we were removing the old plank, where it was cracked, it split into three pieces.
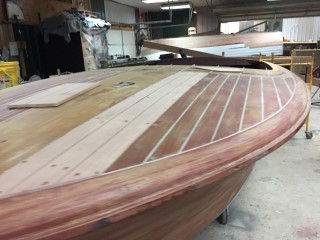
We now have the new plank fabricated and installed on the boat.
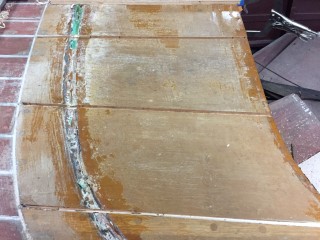
We also have the rear deck caulk lines removed and new strips of mahogany put in place.
Update 08/24/2017
Update 08/31/2017
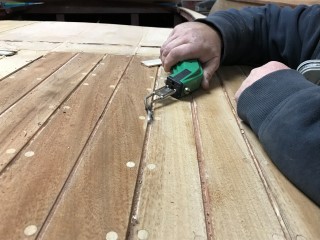
We glued the strips of mahogany in place and let them cure over night. Now we are sanding them down flush to the rest of the deck. Next we will remove all of the old white caulking from the deck lines then bleach and stain the entire decks.
Update 09/21/2017
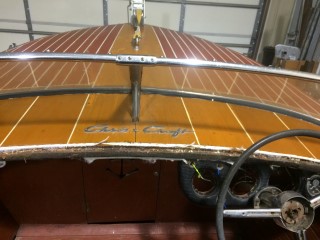
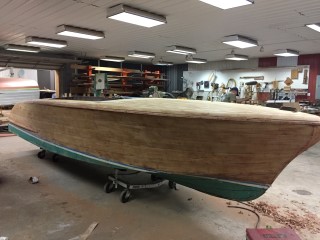
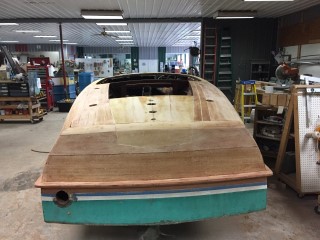
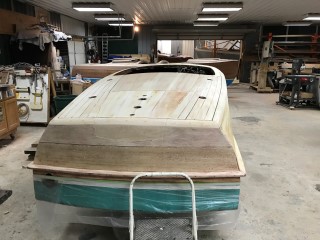
We are almost finished sanding the remaining varnish and stain from the sides and decks.
We also have most of the caulk removed from the deck seams.
Update 09/22/2017
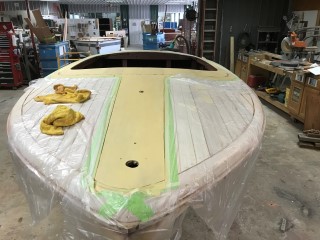
We now have all of the decks and sides sanded and the first coat of bleach applied. We will apply a few more coats of bleach before we stain.
Update 10/19/2017
Update 01/11/2018
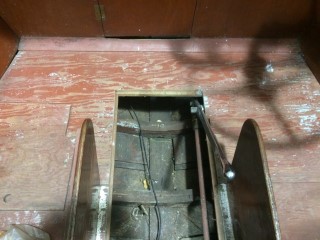
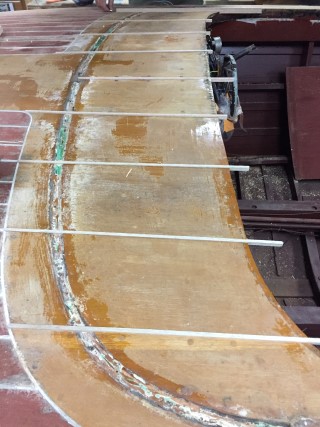
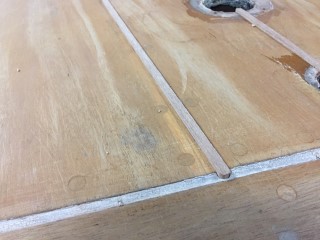
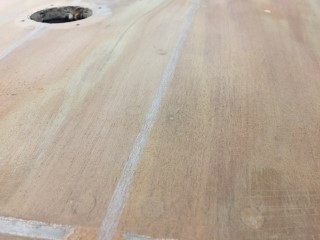
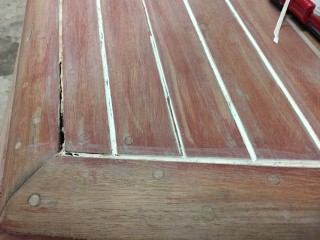
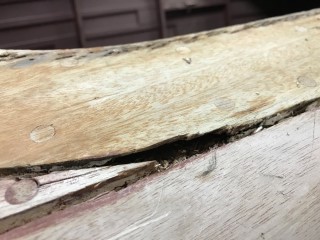
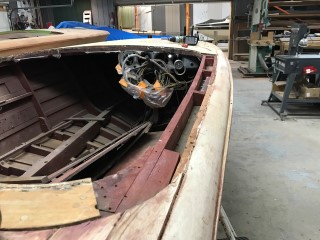
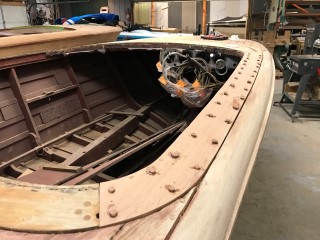
Upon removing the old caulk from the deck lines we found rot in a small section of the deck as you can see in the pictures above. The best way to repair this would be to replace the plank that runs from the front of the boat to the back corner rather than just patch the section of rot. The cost to replace this plank would be $600.00. If this is the route you would like to go let us know and we can get started right away.
Update 01/15/2018
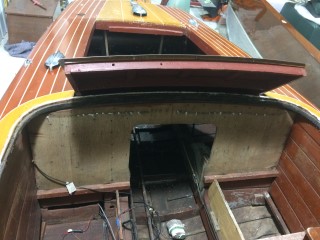
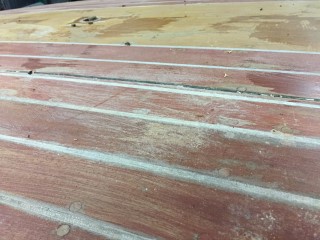
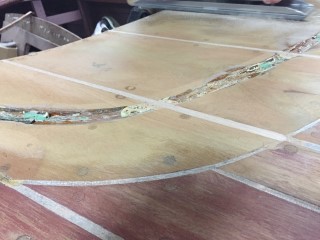
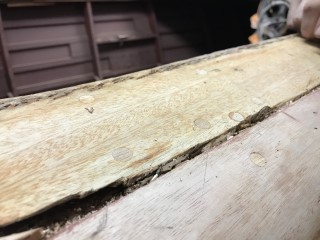
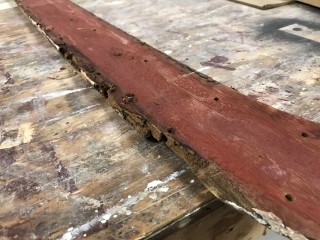
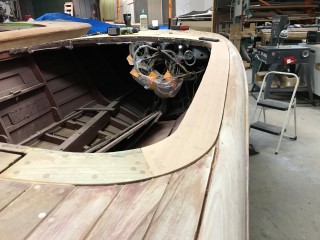
We have removed the old plank from the deck and you can see in the picture to the right that there was a significant amount of rot along the edge of the plank.
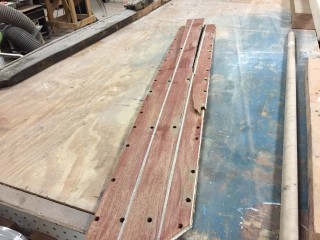
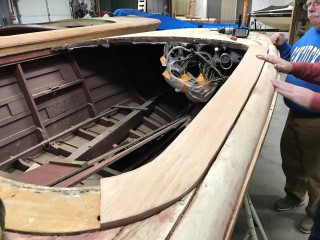
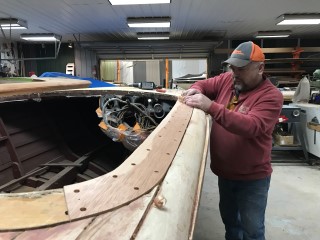
Here you can see we selected a new plank of mahogany with a grain that matched the grain of the old plank. We have cut the plank to the rough shape of the old plank and will now begin fairing the new plank to the proper fit.
Update 01/17/2018
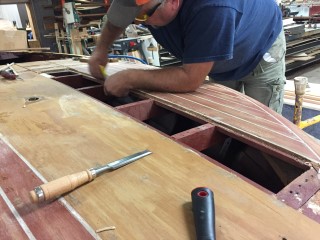
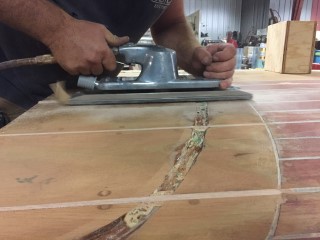
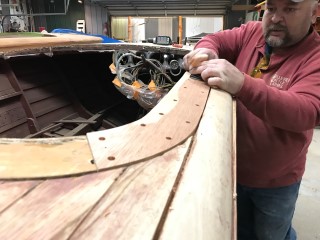
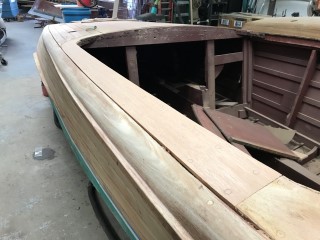
Once the plank was trimmed down to the correct size we used the old plank to pre-drill and countersink the screw holes in the new plank. We then temporarily secured the plank to the boat and used a hand plane to bring the thickness of the plank down to match the other planks on the deck.
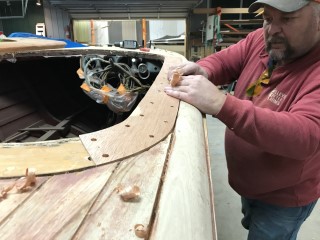
Once we got the plank to the right shape and thickness we then secured the plank to the boat using 5200 and stainless steel wood screws. We then placed bungs, cut from the same piece of wood the plank was cut from, over the screw heads. Once the epoxy holding the bungs in place dries we will then cut the bungs flush and do a final sanding over the entire plank.
Update 01/18/2018
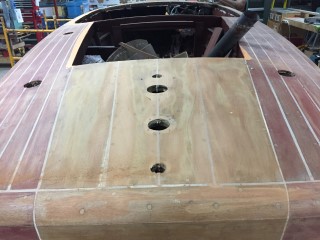
We have the repair complete. The bungs have been trimmed and the plank has been sanded to match the rest of the decks.
Update 01/29/2018
Update 03/07/2018
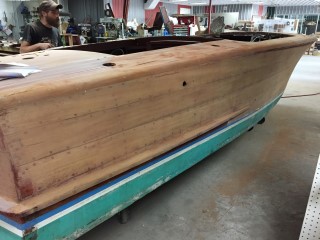
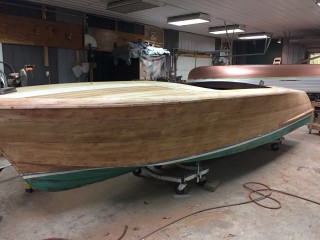
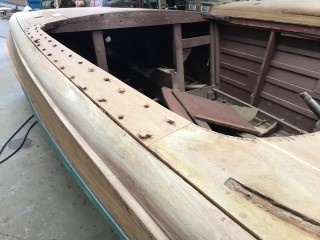
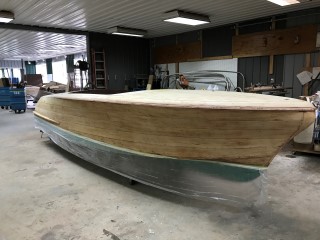
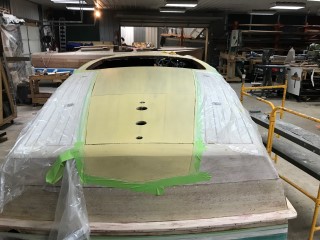
We now have all of the dock rash fixed and the wood work finished. After sanding we had to apply more bleach to the wood. The pictures above are after one coat of bleach and the boat will probably require at least one more coat before we are able to stain.
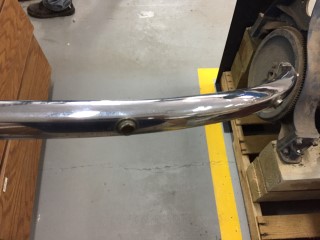
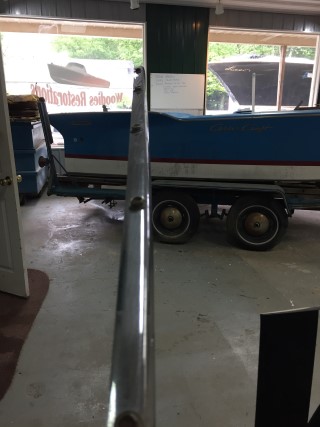
Your trim and hardware came back from the platers today and it looks amazing. Can't wait to get this back on the boat.
Update 03/16/2018
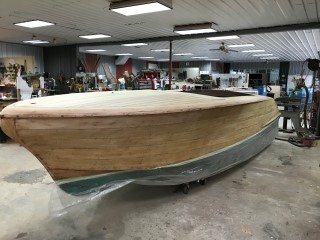
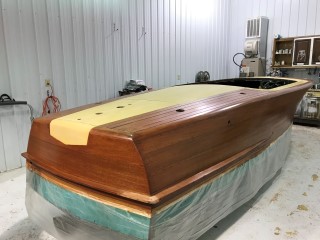
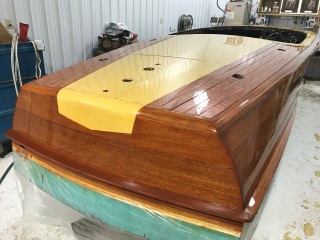
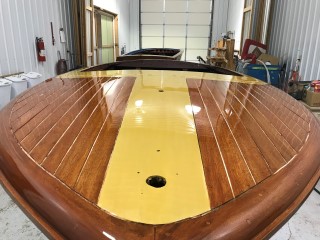
We now have the blonde section of the boat stained to the correct color. We sill need to touch up a few spots before sealer. Once the sealer and varnish is applied the color will really pop.
Update 04/03/2018
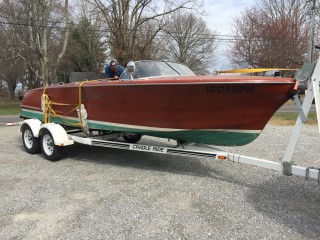
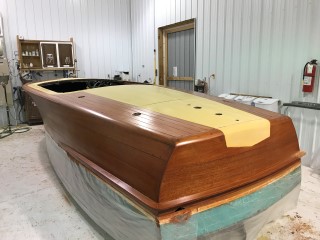
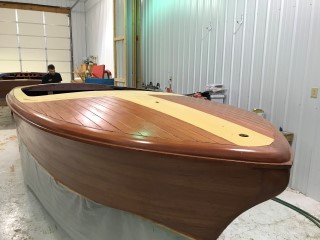
Wow what a change! The decks and sides have been stained with Chris Craft red mahogany stain and we have applied one coat of sealer to the entire boat. After a few more coats of sealer we will then begin applying varnish to the boat.
Update 04/13/2018
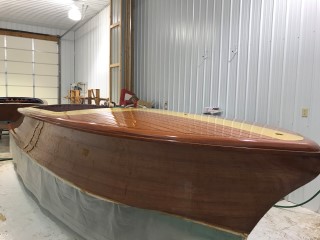
The varnish work is coming along nicely. We now have five coats of varnish applied to the sides and decks. After coat number four we wet sanded the boat completely flat so that we can ensure that the remaining coats of varnish lay smooth and even on the boat.