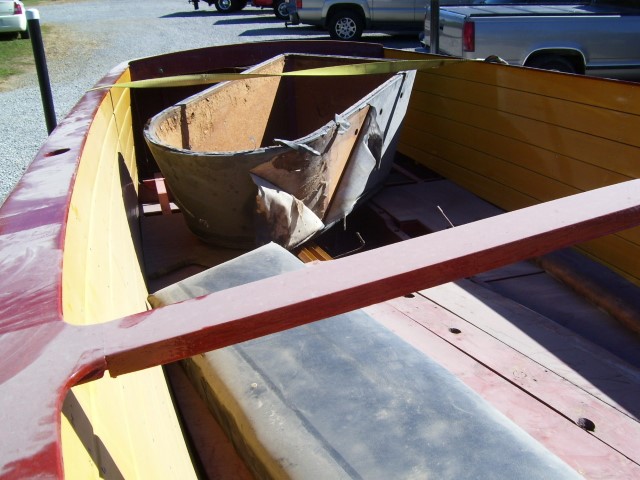
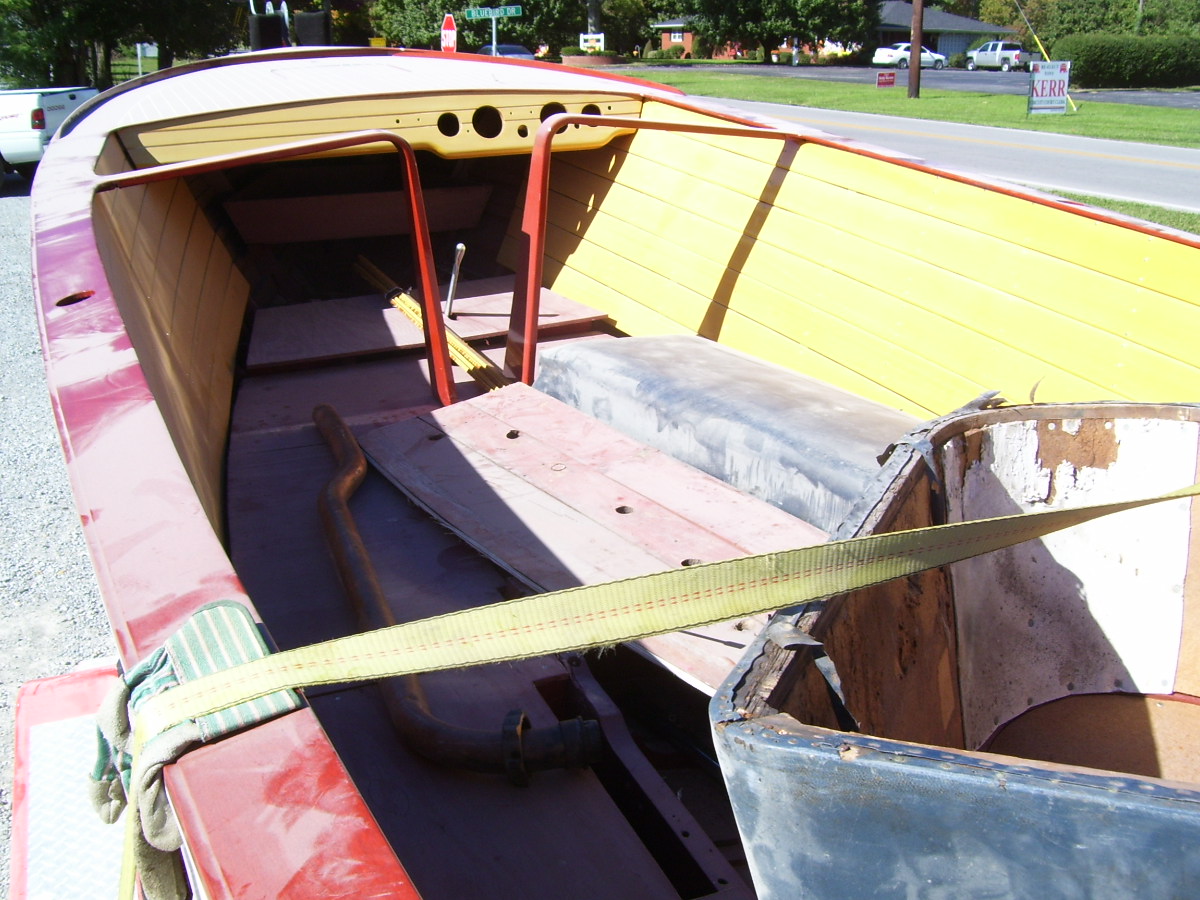
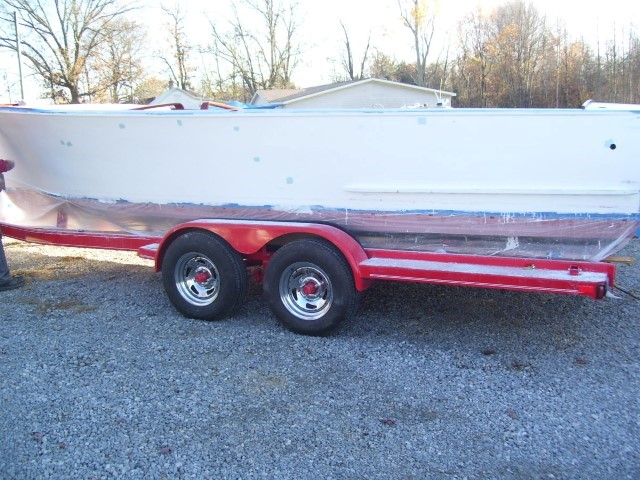
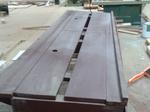
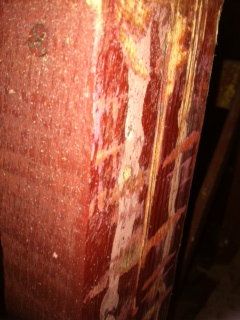
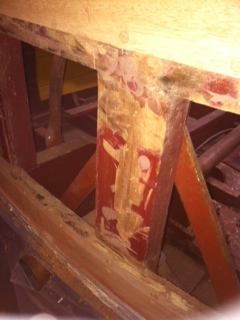
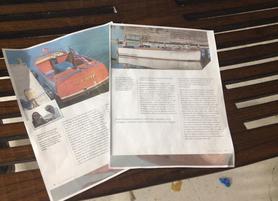
These are the before pictures, updates will be posted later.
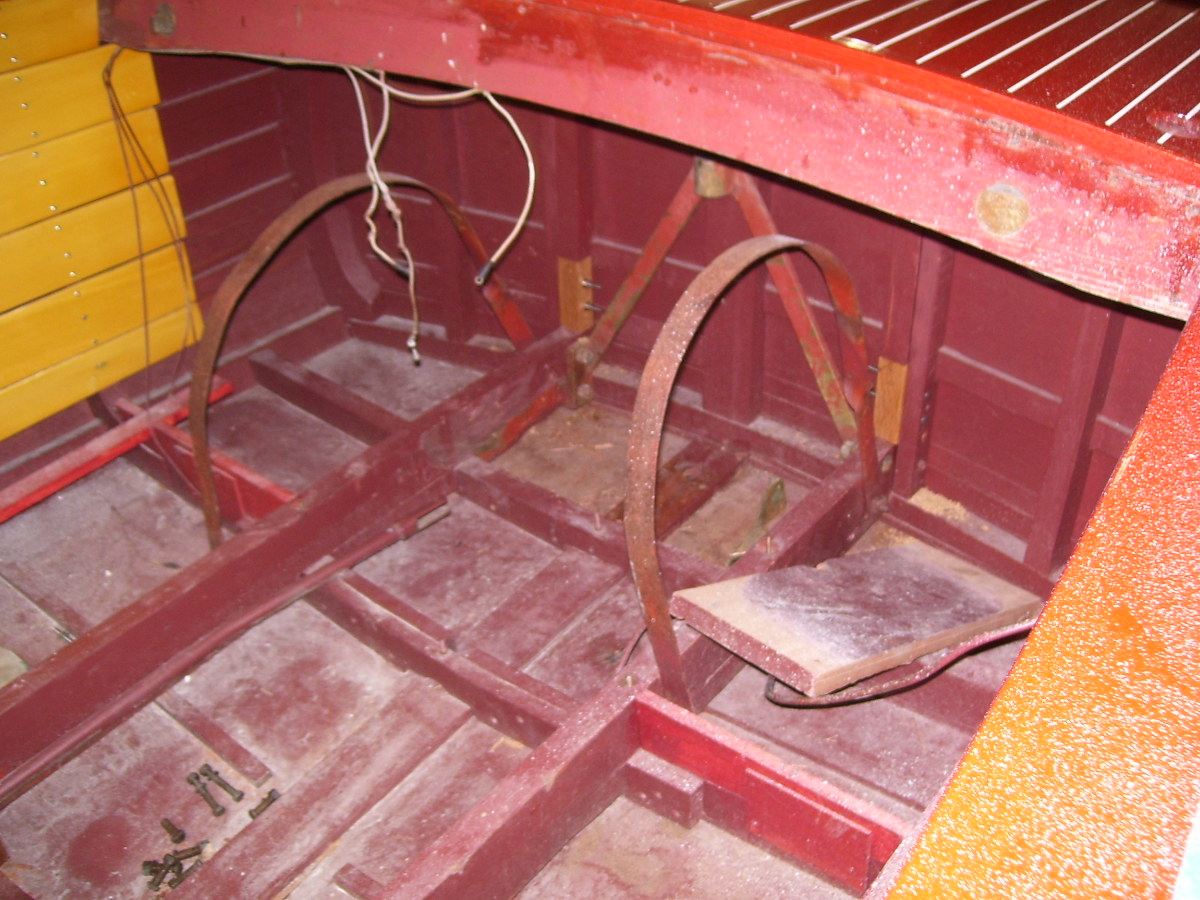
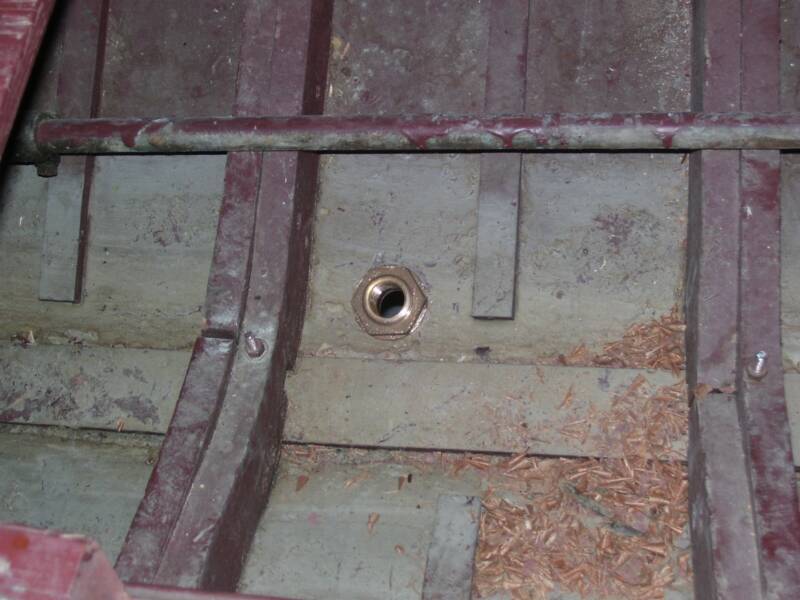
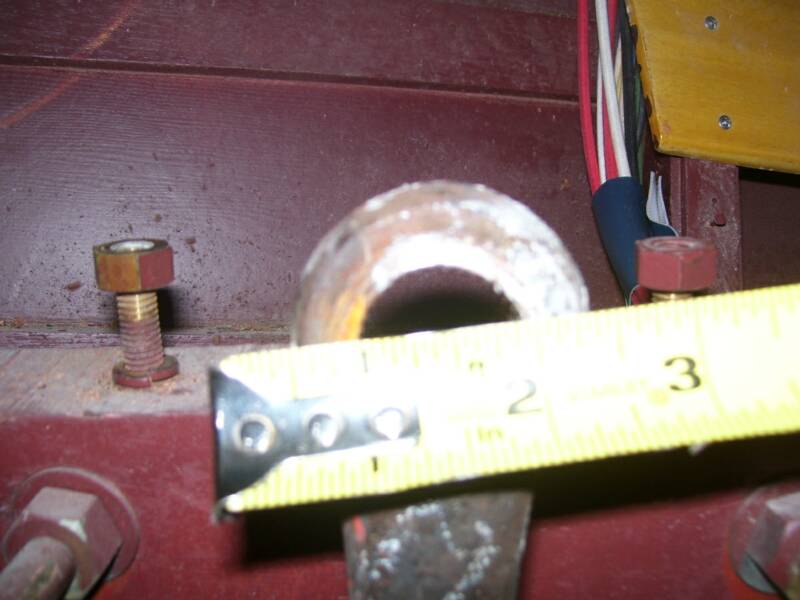
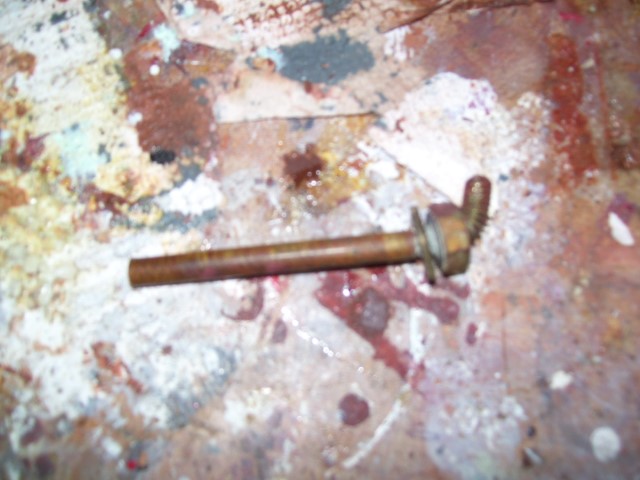
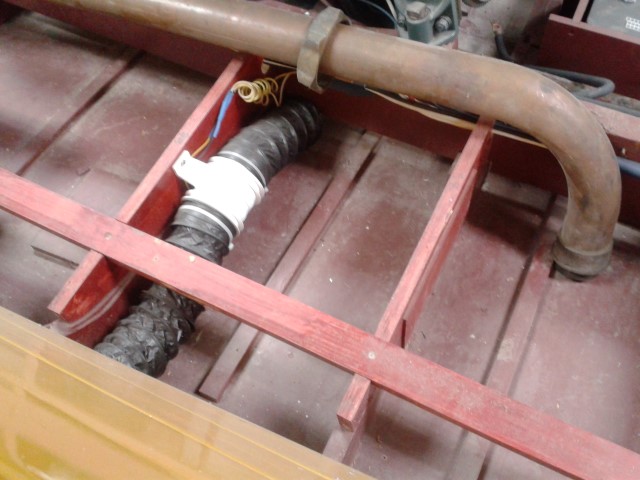
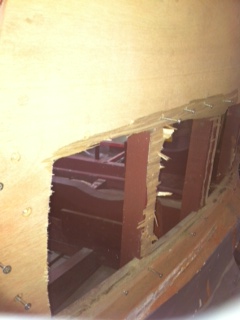
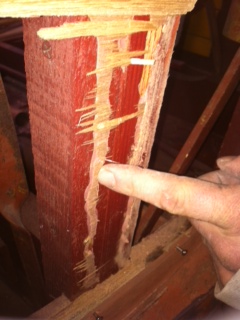
Spacer blocks were missing. in place was a bent/broken bolt. The bolt actually goes in a hole beneath the spacer block that goes thru the transom bow. It was supposed to hold the transom bow to the engine stringer. We found the bolt like you see it.... with the head cut off. There was no bolt through the engine stringer to transom bow joint. The boat lifts from the bottom of the stringers. The right hand stringer in the photo would have to transfer this weight from the lifting bracket back to the first frame forward of the transom bow! With the spacer block in place this is no longer a concern.
11/15/12
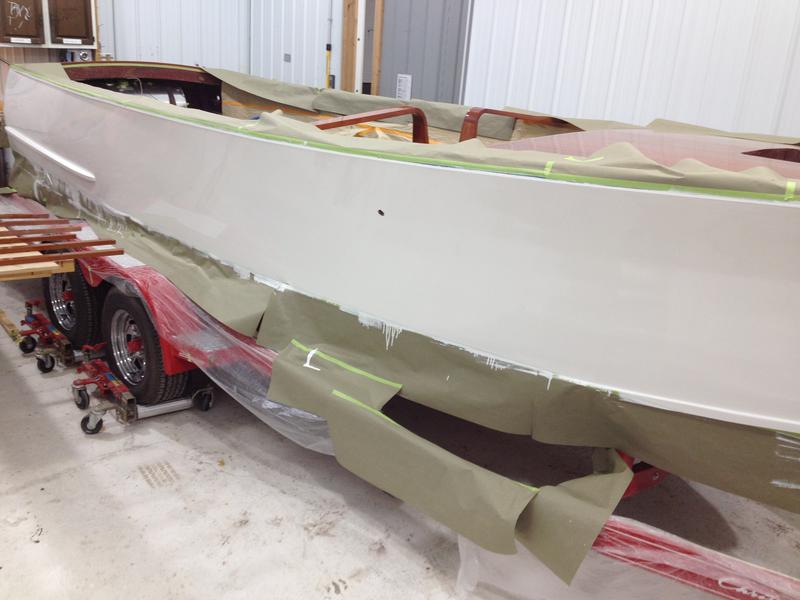
Preparing for final coat of white paint
11/16/12
11/19/12
11/26/12
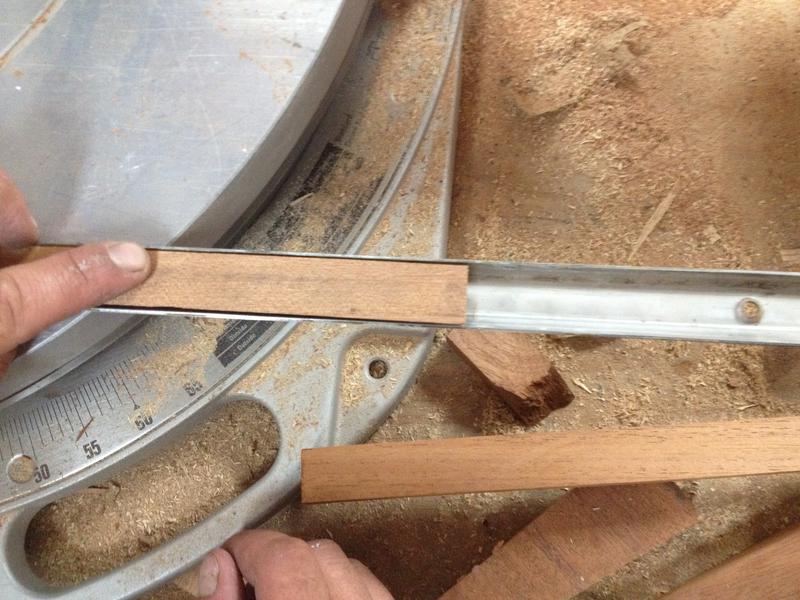
1/2/13
1/17/13
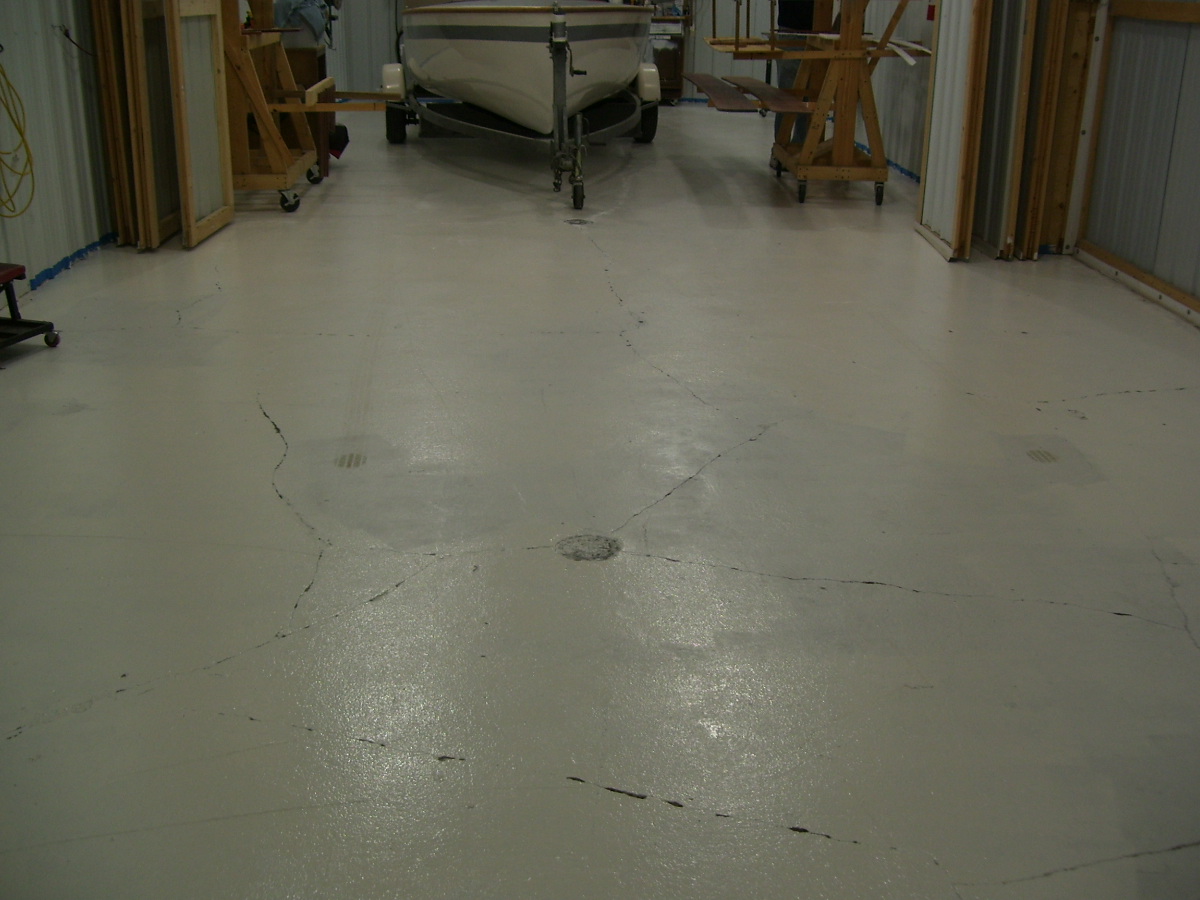
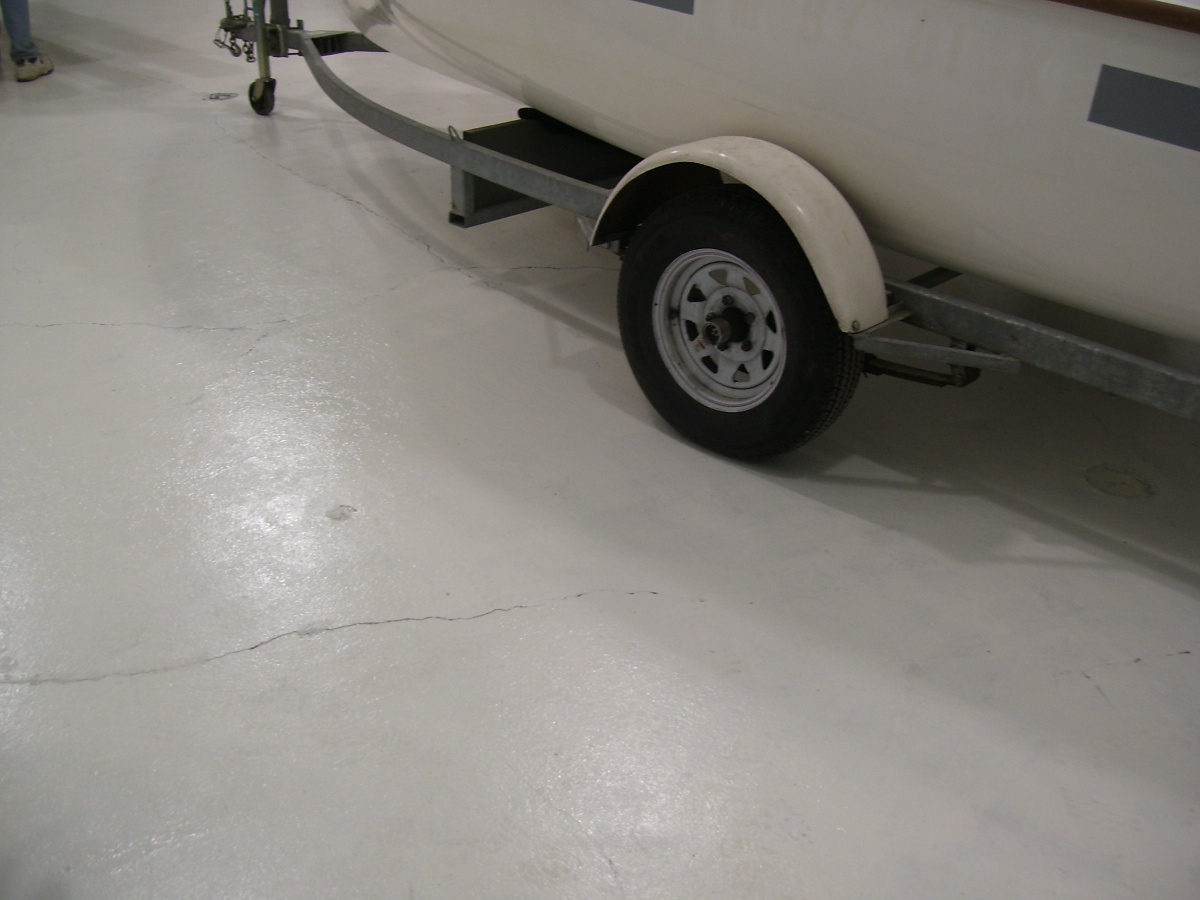
Painted varnish room floor
Other Improvements Include:
Putting spackle in cracks to eliminate places for dust to hide
Installing a pressurization fan so that any air that leaks is clean air out of the room and not dirty air in
Installing soaking hose to wet floor a hour before applying varnish
Spraying clothes with hair spray before entering room to keep lint on clothes
Keeping room at 70 degrees and 50% humidity through using HVAC system with HEPA filter on inlet and outlet. These turn off at 5:00 AM to allow any dust to settle
instituting written procedure for varnish preparation
Washing of boat
Covering holes in boat
Spraying boat with anti-static gun to eliminate "fish eyes"
Final tack with tack rag and use of tack rag throughout the entire varnishing process
2/4/13
2/5/13
2/21/13
2/26/13
3/7/13
3/18/13
4/5/13
4/10/13
4/12/13
4/15/13
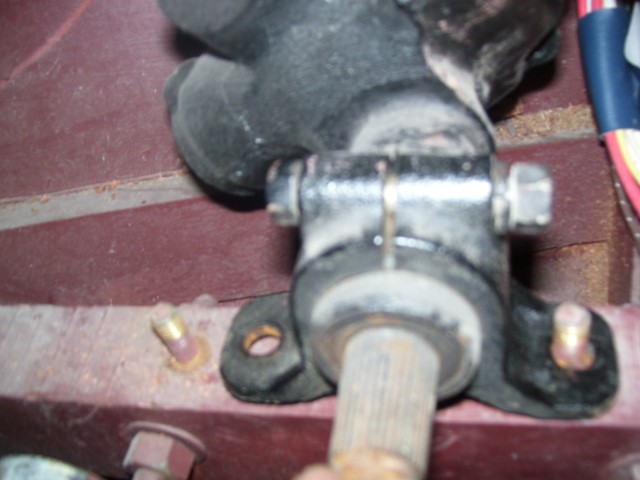
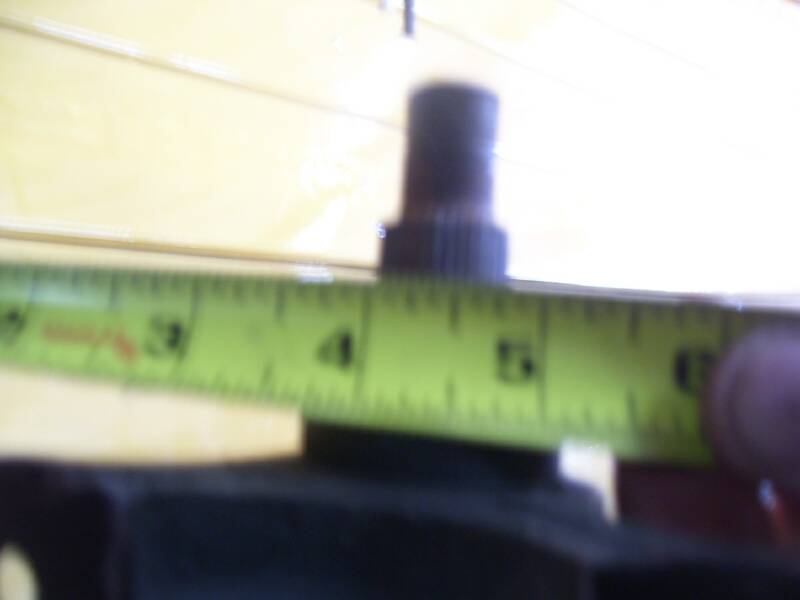
The steering box that is currently in place is the wrong one and can't be modified to fit. the yolk on the end of the steering arm wont fit because the splines on the steering box are to small. Also the box mounts with bolts that are 4in apart and the bolts currently in place are 5in apart
4/16/13
4/17/13
4/18/13
5/17/13
5/30/13
9/19/13
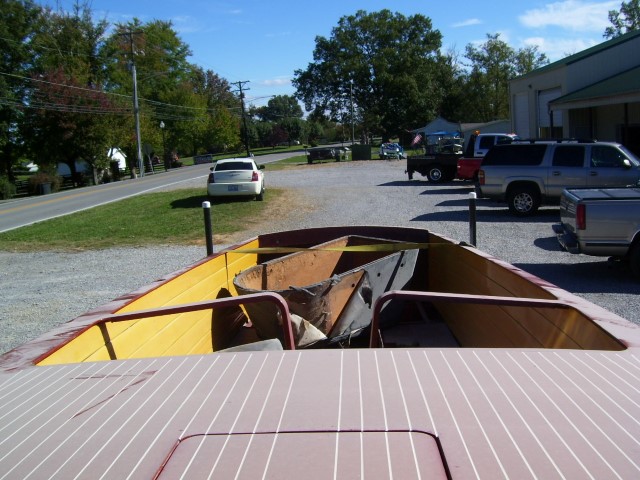
Seat frame trim for rear seat. Original stripped, sanded bleached,stained to match sealing boards inside boat, sealed, and varnished - 4 coats thus far.
Rear seat frame duplicated without Rot! Once we worked out the puzzle of seat frame parts we had the rear seat but no parts for the front seat.
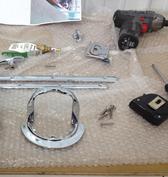
This is how we segregate your boats parts from others
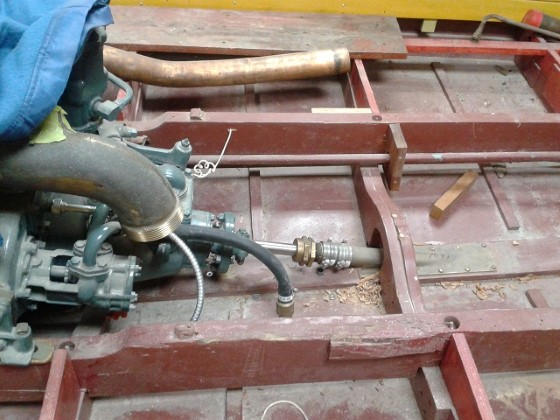
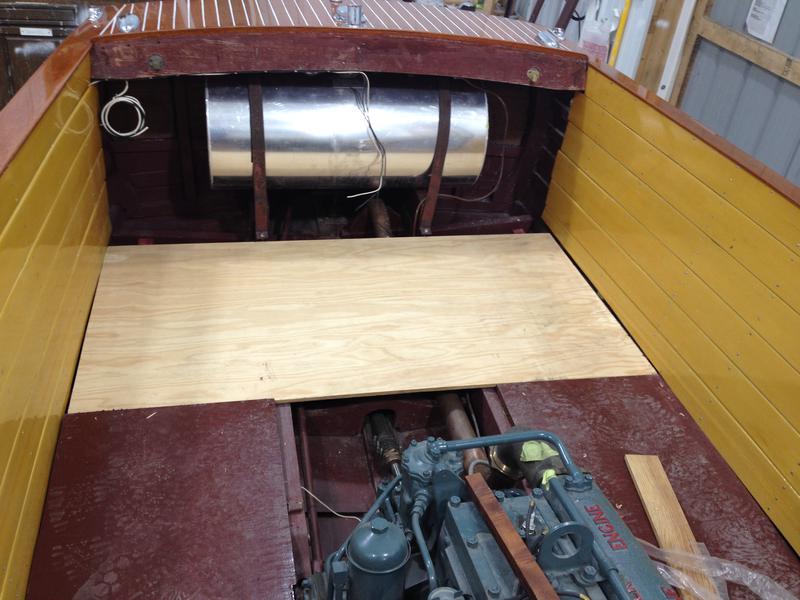
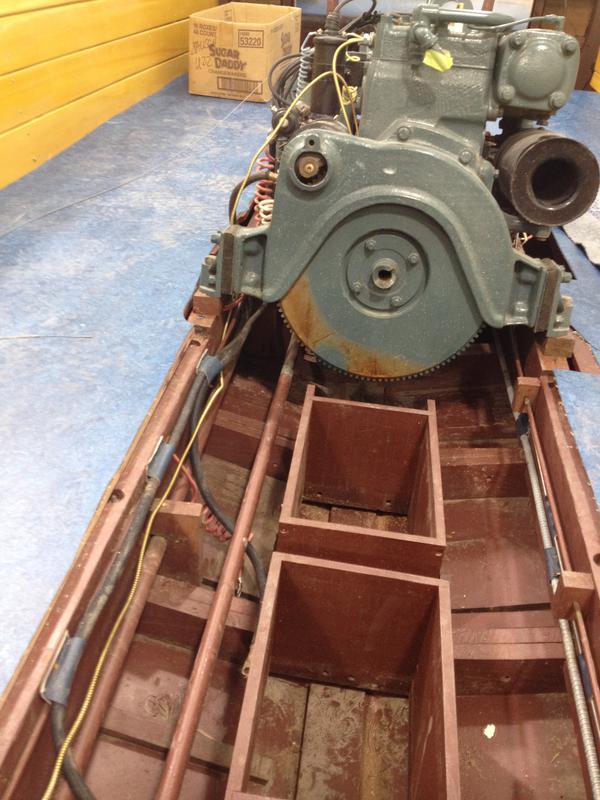
Prop shaft installed and engine alligned. Thru hull for water pick up for engine installed.
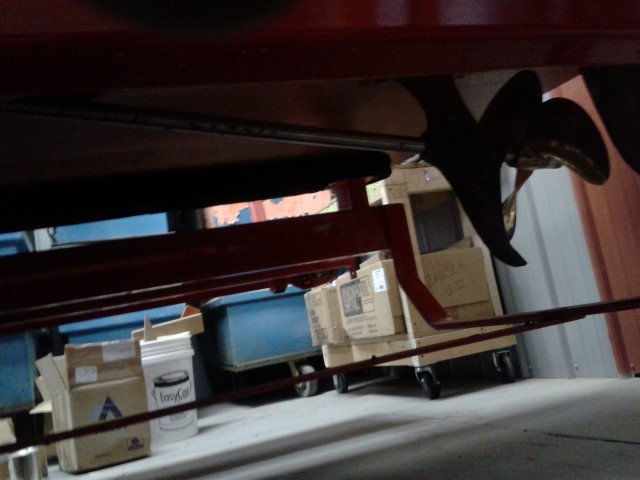
Prop ballanced, polished and installed. New strut and strut bearing installed.
Bilge pump and discharge thru hull installed
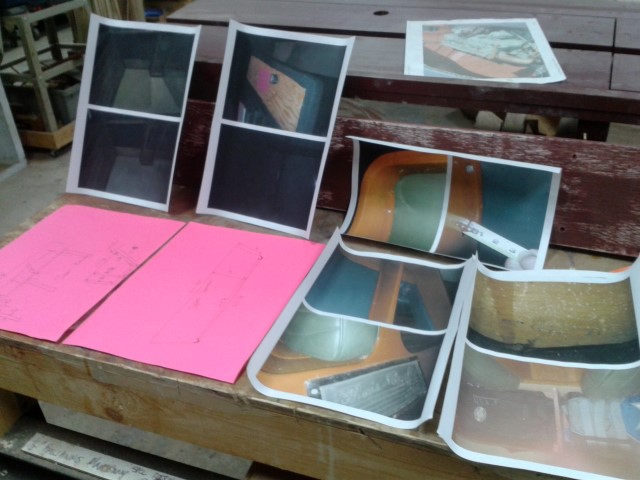
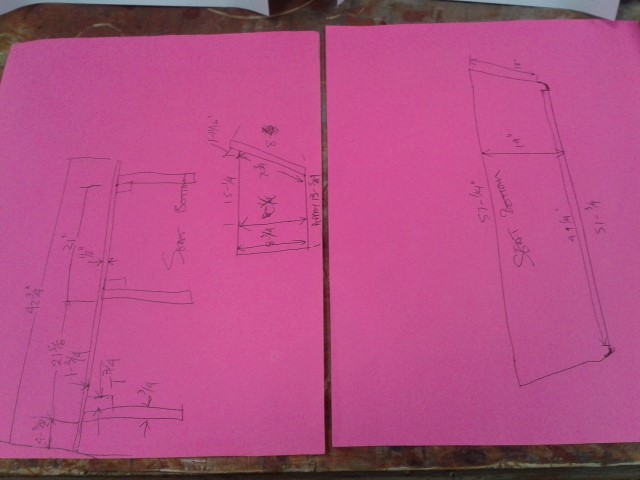
We made a trip to Guntersville and took measurements and photos of another 1946 U22 so we can duplicate the front seat frames accurately.
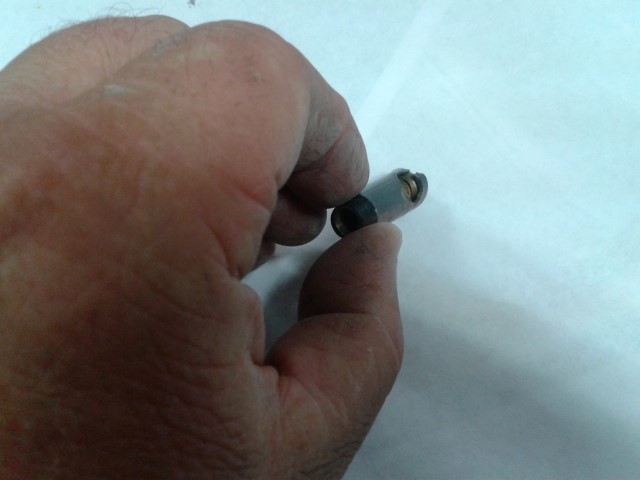
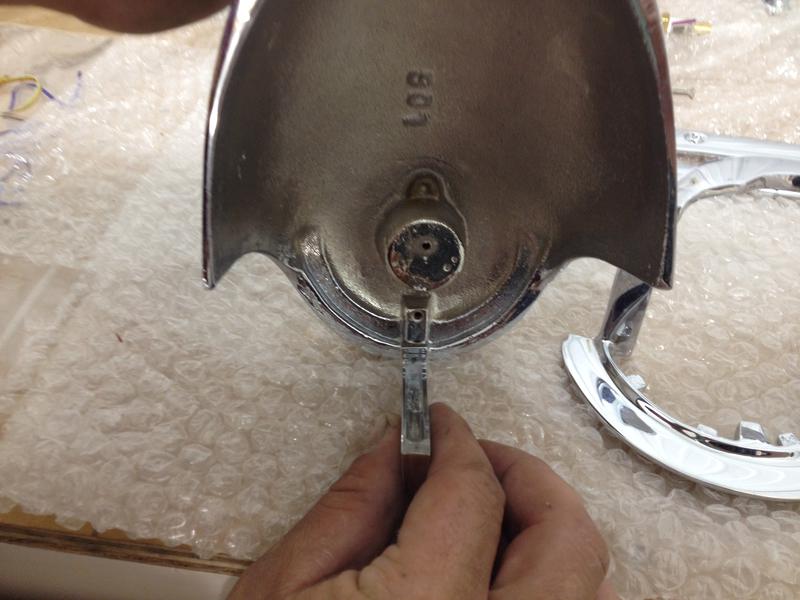
Socket of ball and socket joint on throttle control at carburetor has been replaced. Here is the faulty one.
Bilge blower installed under floor. It ventilates at cowell just behind the driver. That way the driver can quickly smell for gas fumes just by turning his or her head around and sniffing the exhaust of the vent fan.
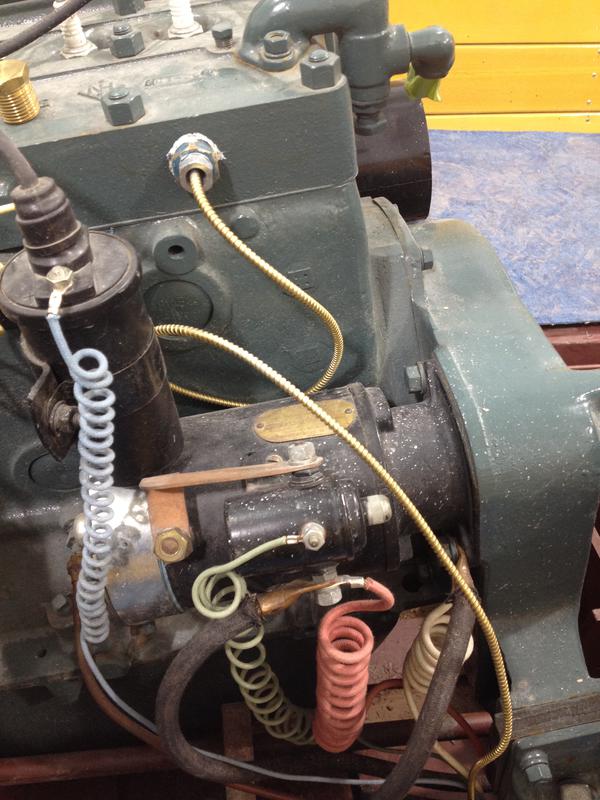
Using two 6 volt batteries in series provides us 12 volts to run the starter and still charges the batteries with a 6 volt generator.
1/2/14
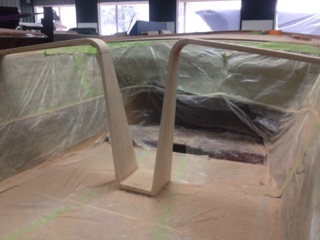
We have taped, papered and placed plastic on the inside and the outside to protect the rest of the boat as well as we have removed the bow stop while we strip and sand down the decks.
As we began to take the transom off we discovered where the previous applications of 5200 were incorrectly distributed in lines instead of smoothed out across the wood for a better seal.
We sanded the transom and started to remove the parts that were cracked and cut out some parts that were more difficult to get out.
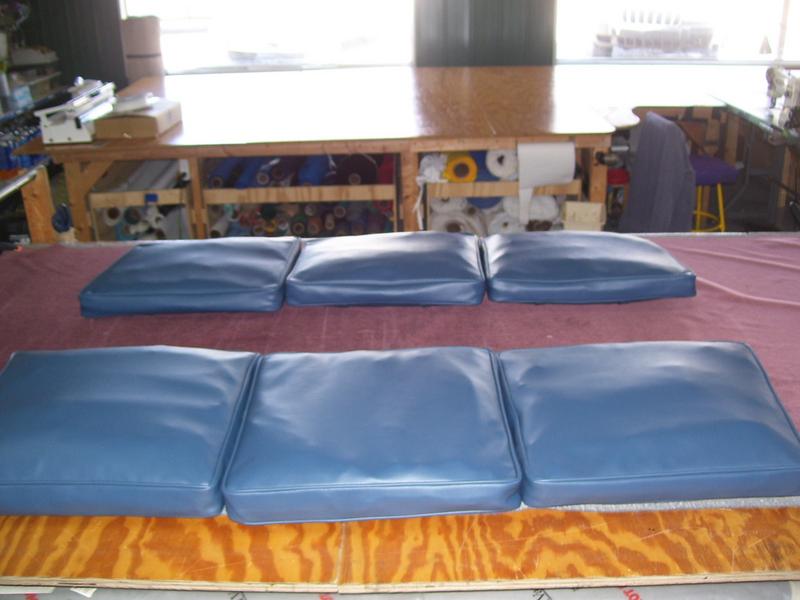
The seats have several coats of varnish. They were sanded down, vacuumed free of saw dust, wiped down and had additional coats applied to the bottom, front and the back of the seat.
1/8/14
1/17/14
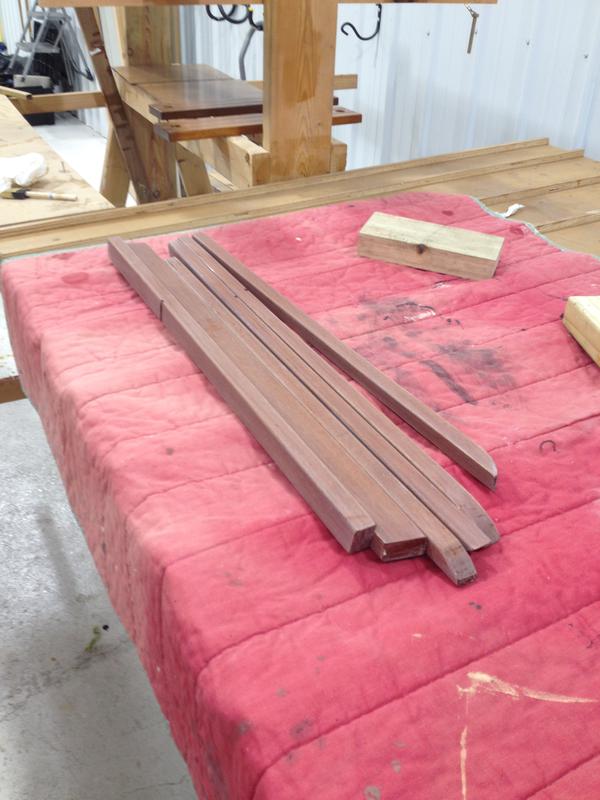
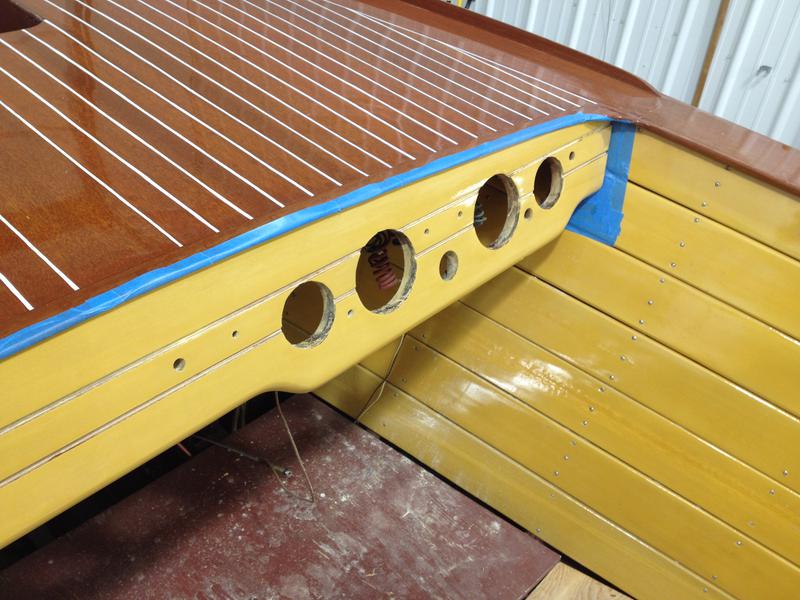
Jointer planed two planks for the transom and steamed them to bend across the transom.
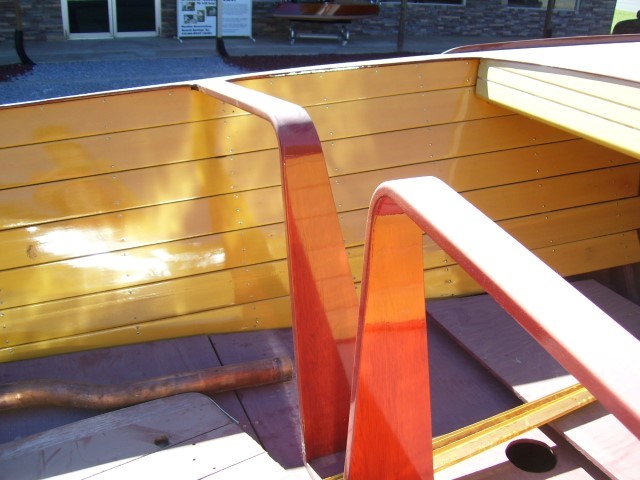
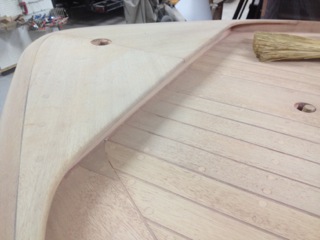
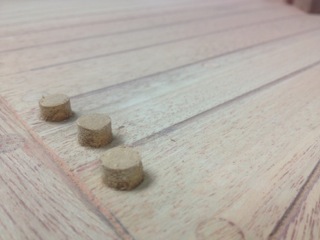
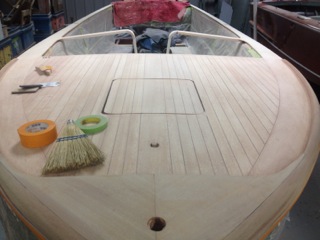
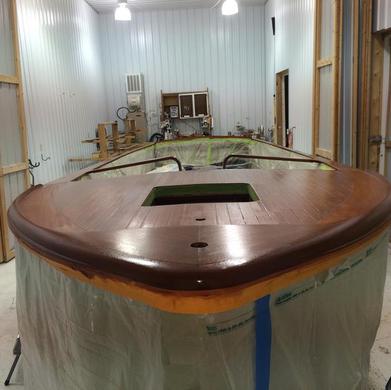
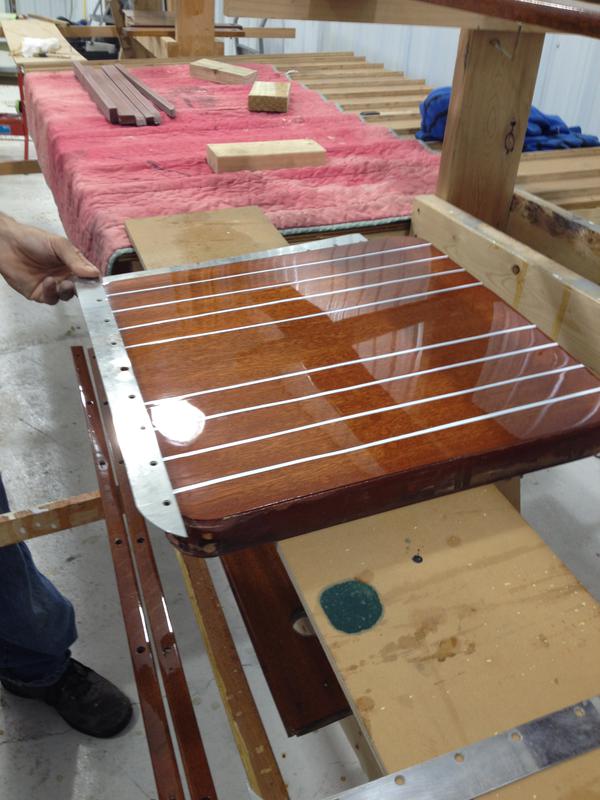
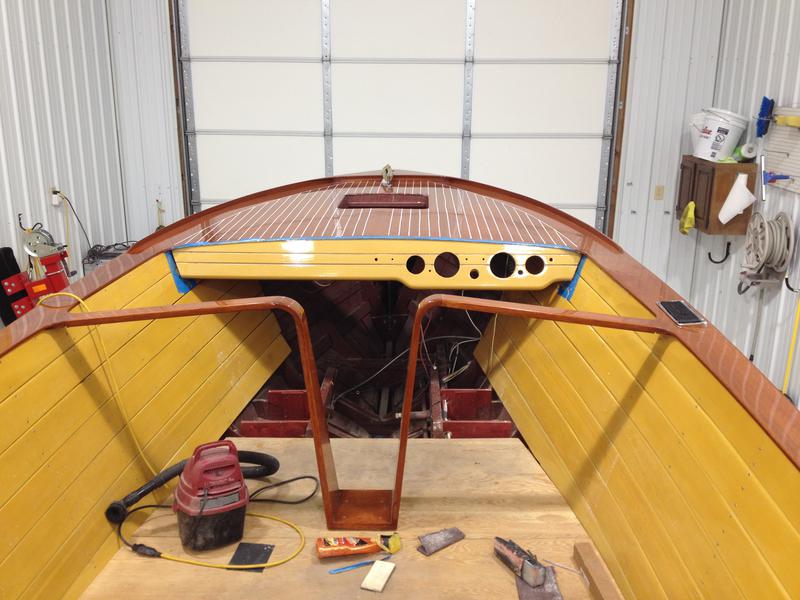
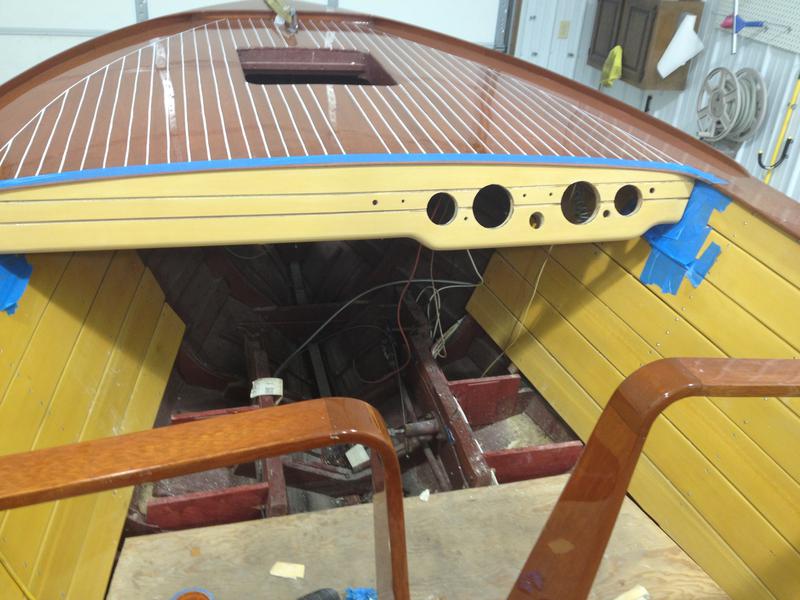
Sanded the rear top, glued in bungs on the front top deck, applied wood filler to various places, sanded down the bungs and the filler, spot bleached a few more areas and sanded around the rub rail edges to give us a clean palette.
3/11/14
This is the ACBS award winning boat example we went by to recreate the seats.
Our recreation.
Since the last update, we have stained, applied sealer, and two coats of varnish.
5/6/14
5/16/14
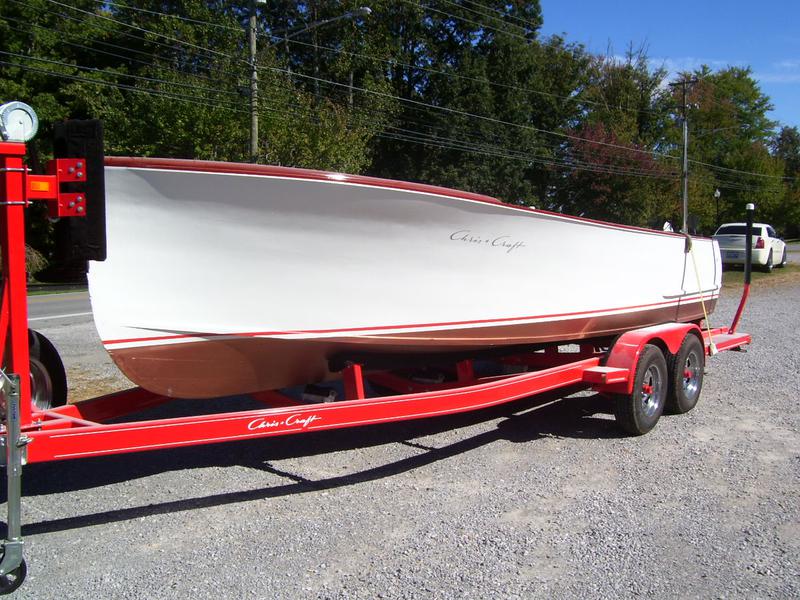
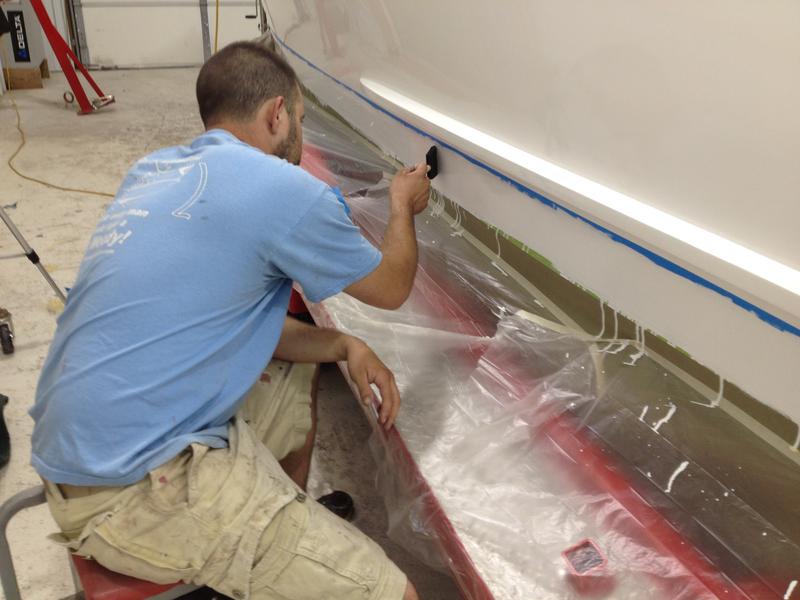
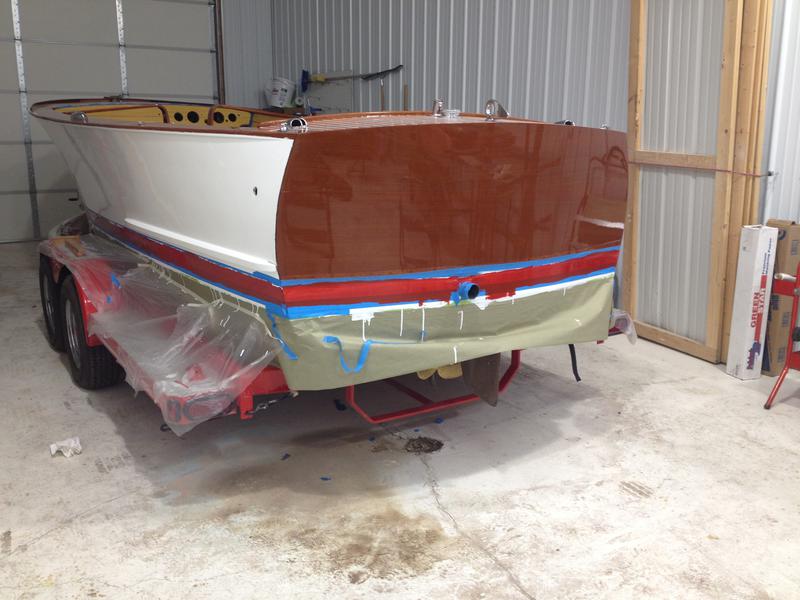
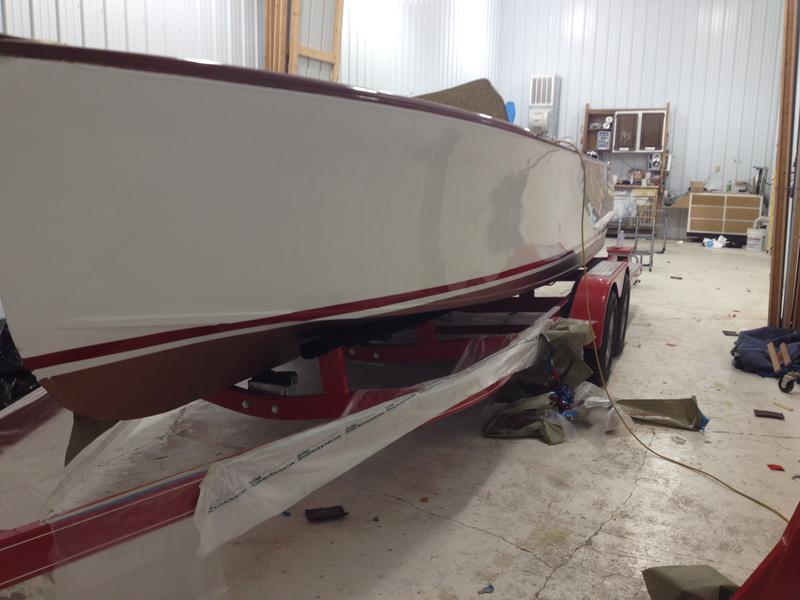
The sides are being painted.
6/4/14
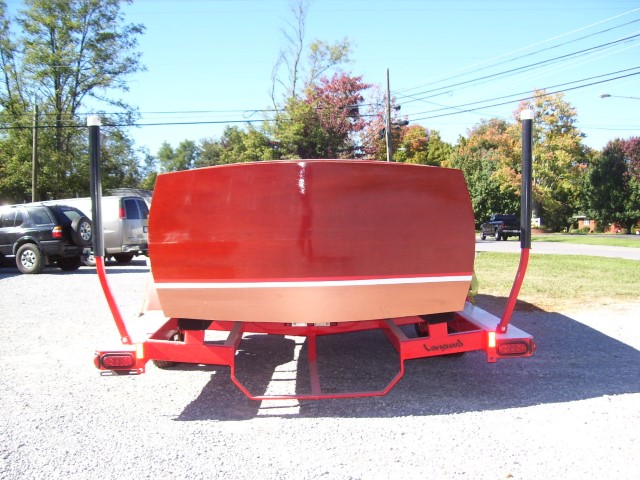
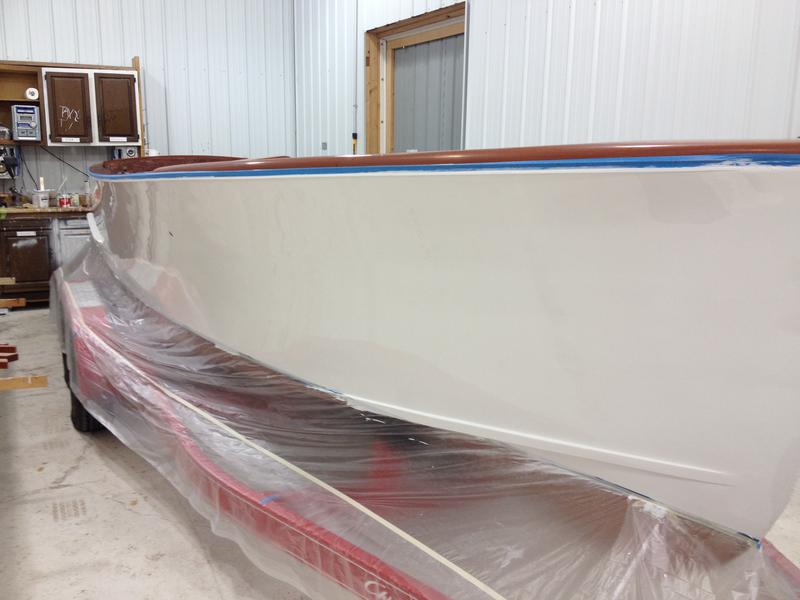
The final coat of paint.
The final coat of paint.
6/10/14
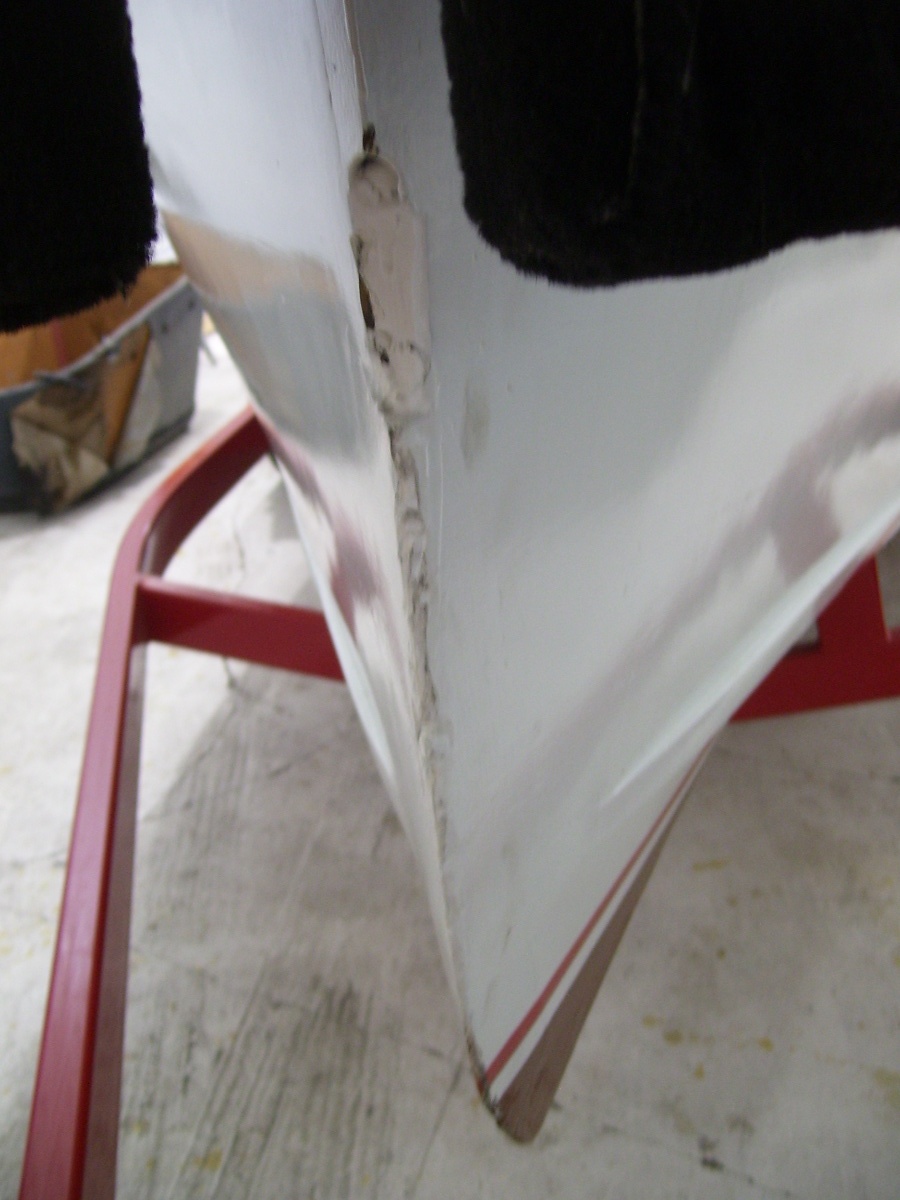
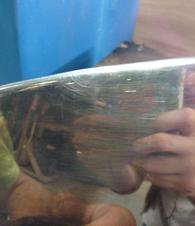
Sanding deep scratches out of the cutwater. We will also tig weld the crack at the bottom and buff it.
6/11/14
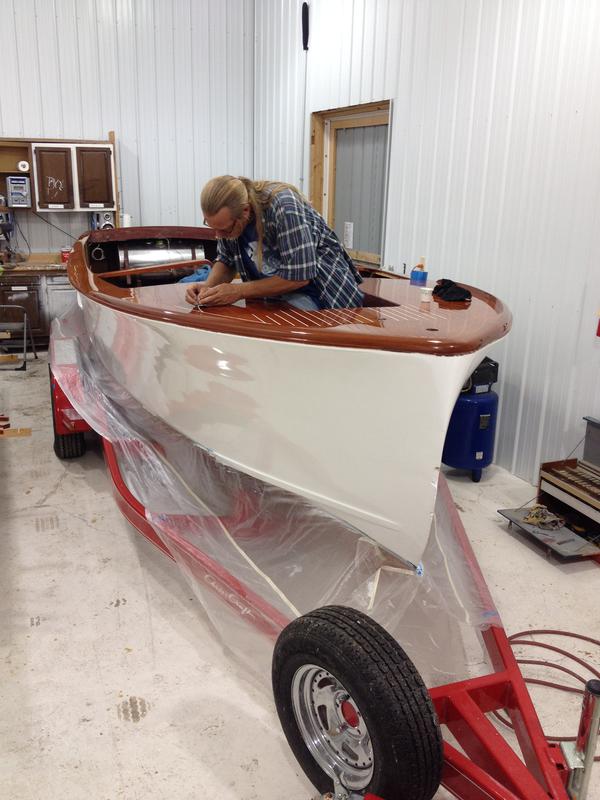
The varnish work is being done.
6/12/14
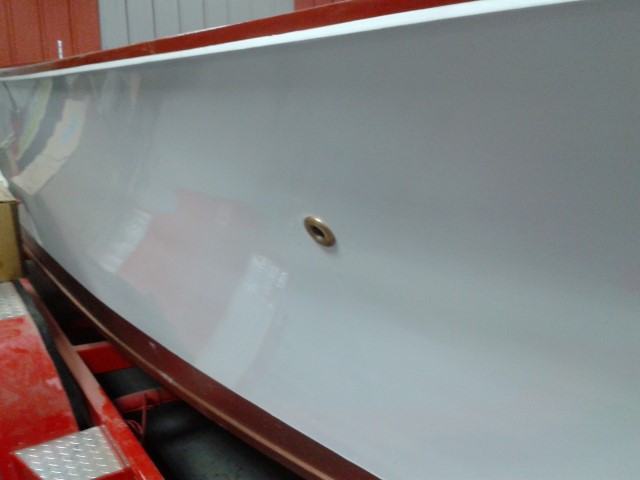
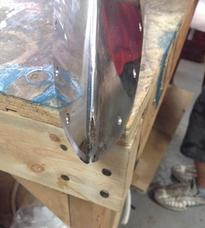
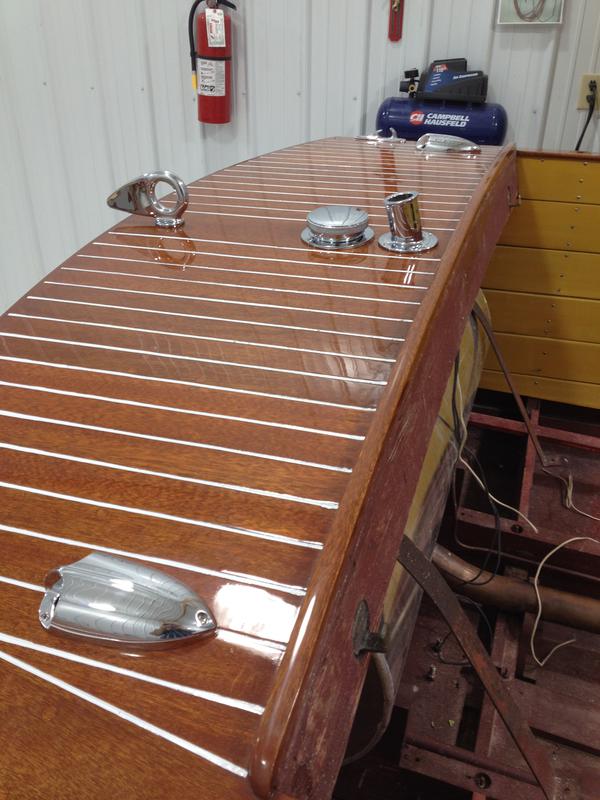
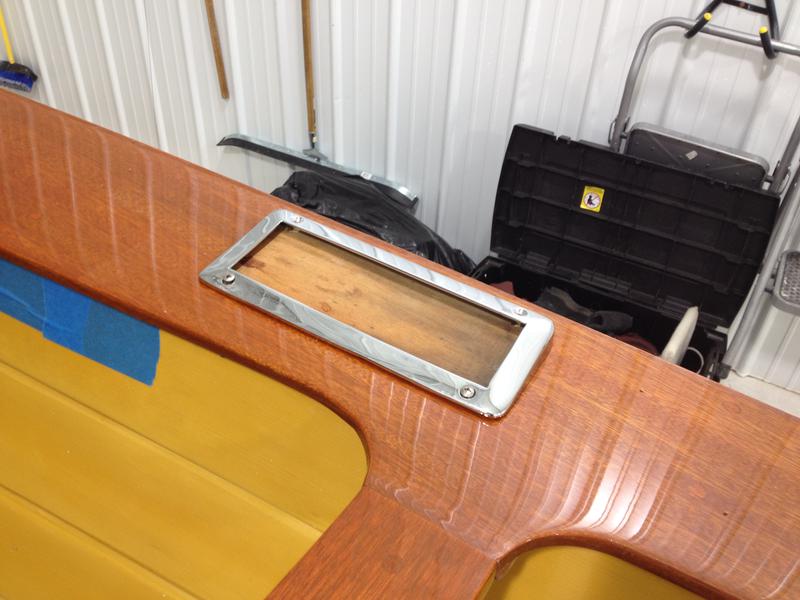
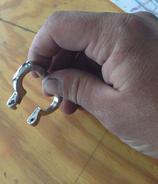
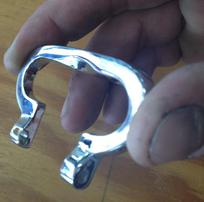
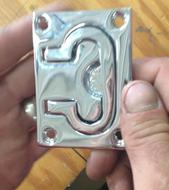
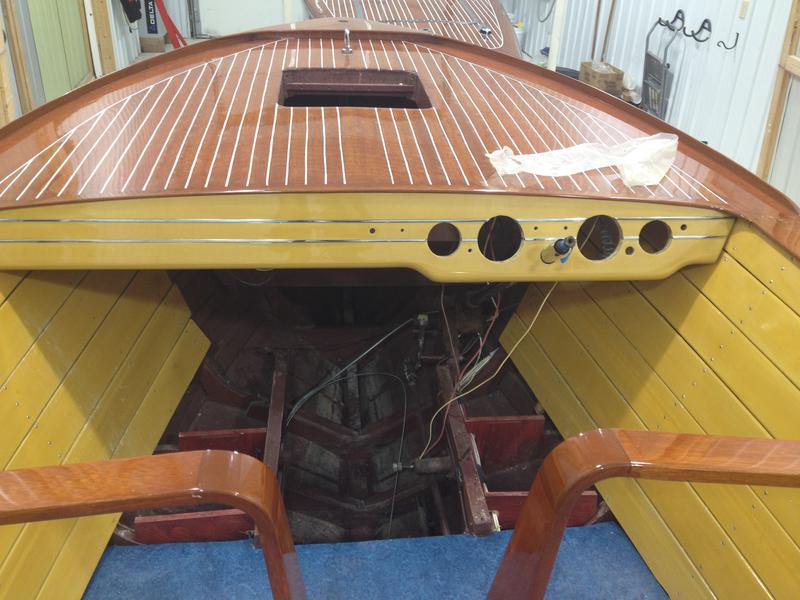
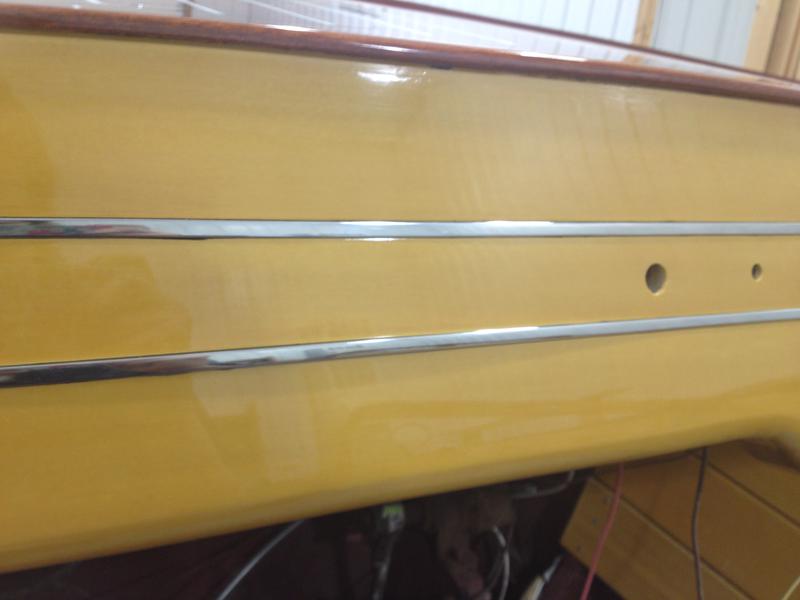
The chrome has been put on the boat. The step pad rubber have been ordered. The hole in the latch is weak due to the side missing. If pulled hard enough, once installed, it could break off.
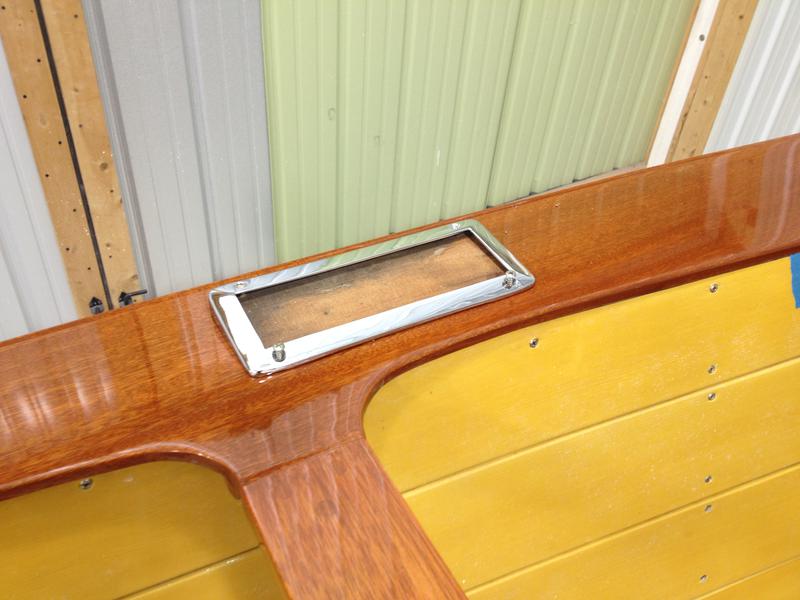
The screw holes in the bow light parts has all been chromed over. The center part can be drilled without noticing. If you turn the part at the right angle, you will notice two rings. The outer ring shows where the hole was counter sunk, the inner ring shows where the screw hole was.
^
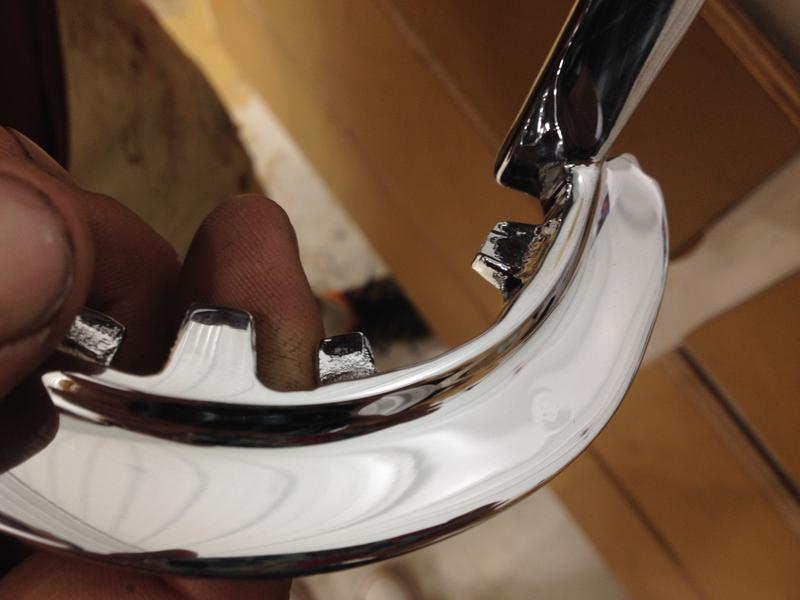
Here is a picture of what your chrome should look like with the screw holes. The chrome you sent is missing them, and we can not put it on until it is fixed.
6/13/14
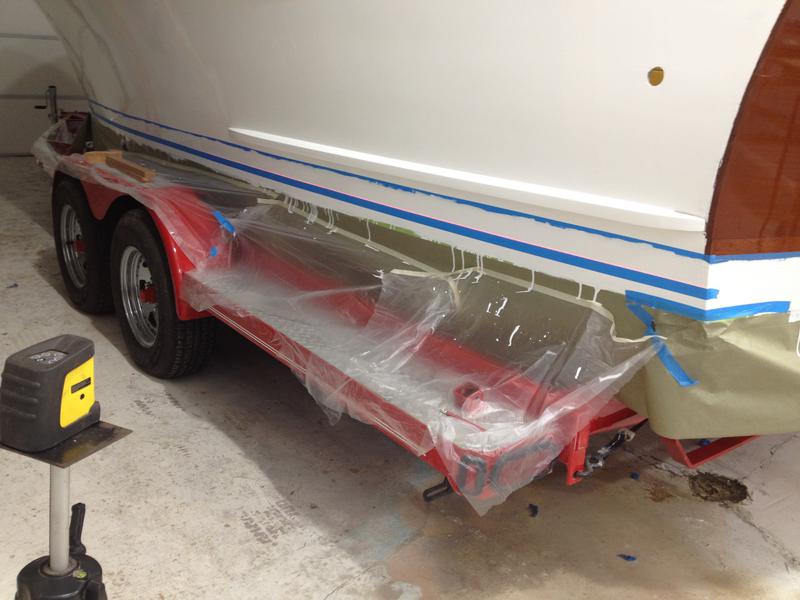
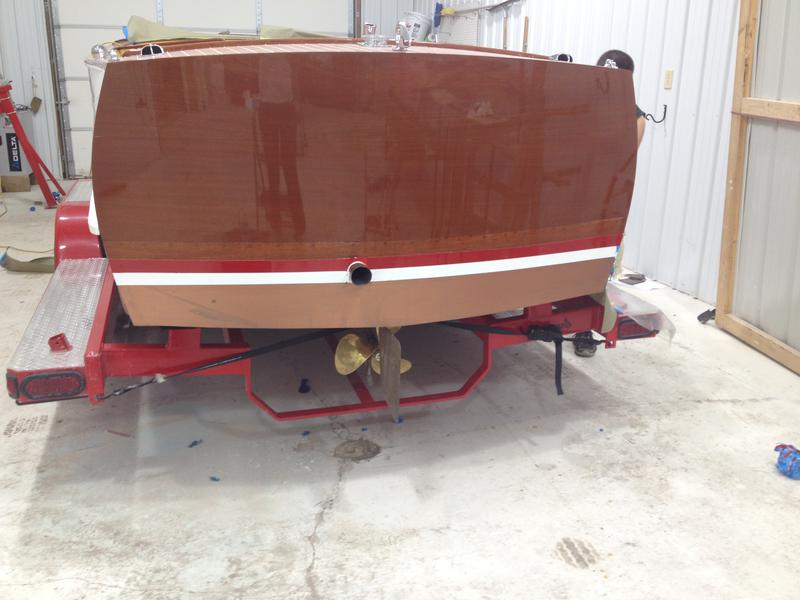
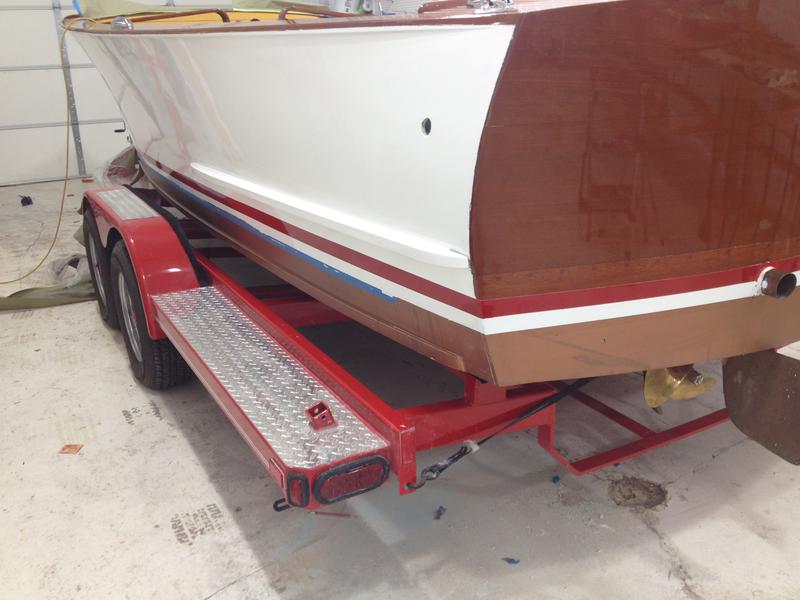
The cutwater is being polished to ensure there are no scratches. The waterline is being taped off to be painted on later.
6/18/14
The dash has received a coat of varnish, the sides are also receiving a coat of paint.
6/19/14
The waterline is being taped off, again. We are using a boat that was in the most recent issue of the The Brass Bell as a guide.
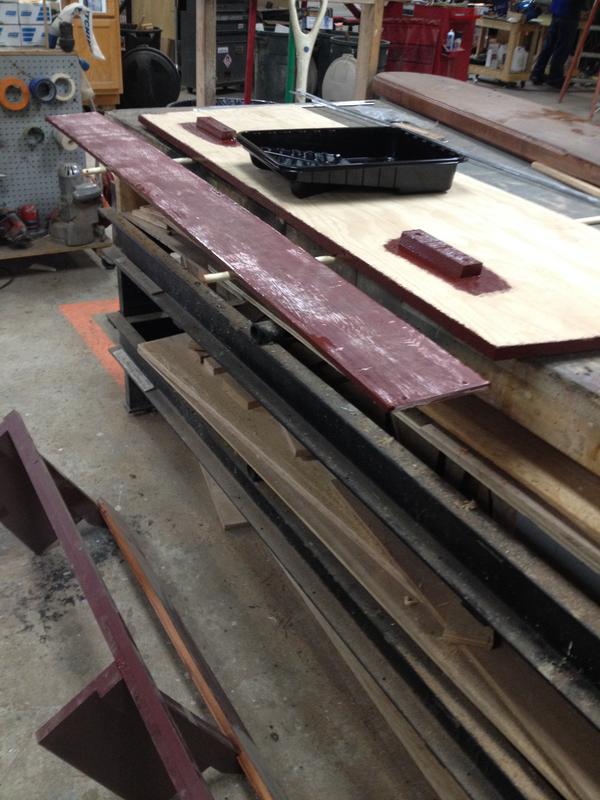
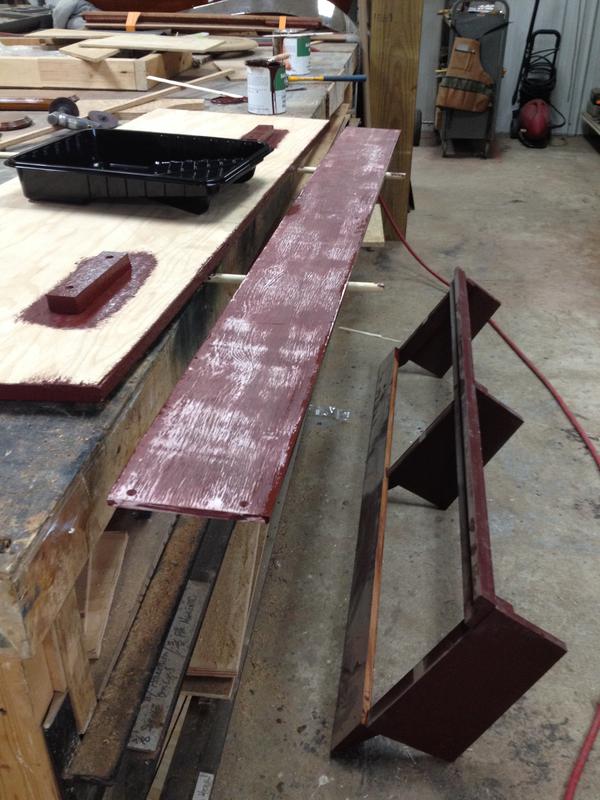
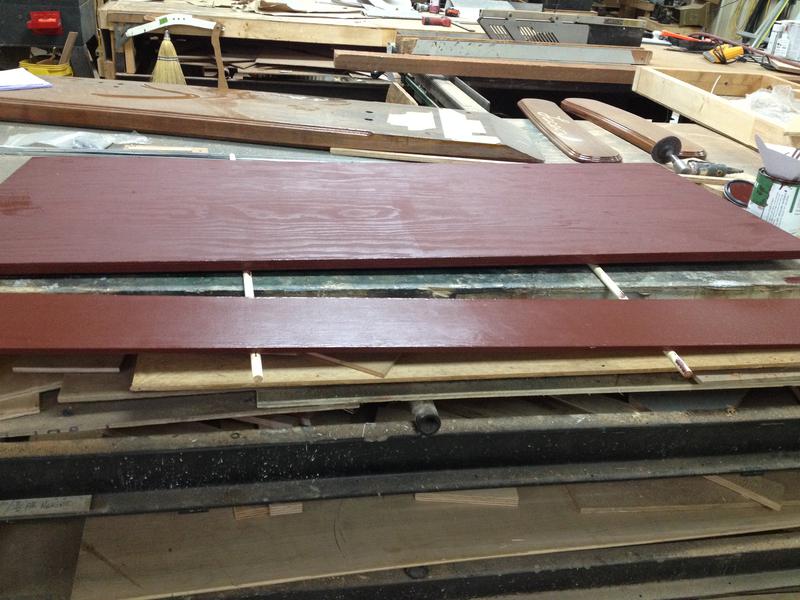
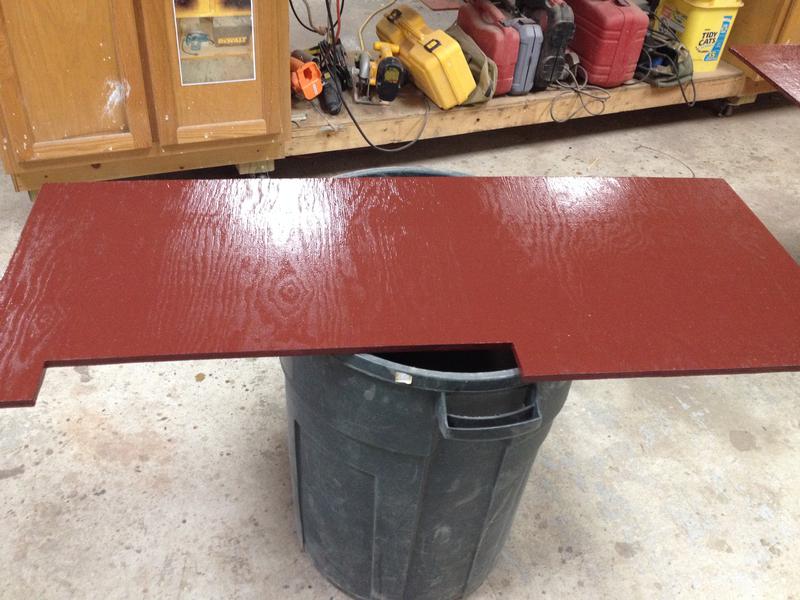
The first coat of red paint.
6/20/14
The dash has been over stained, and then varnished.
6/23/14
The dash has had the last coat of varnish put on.
The waterline is also finished.
7/3/14
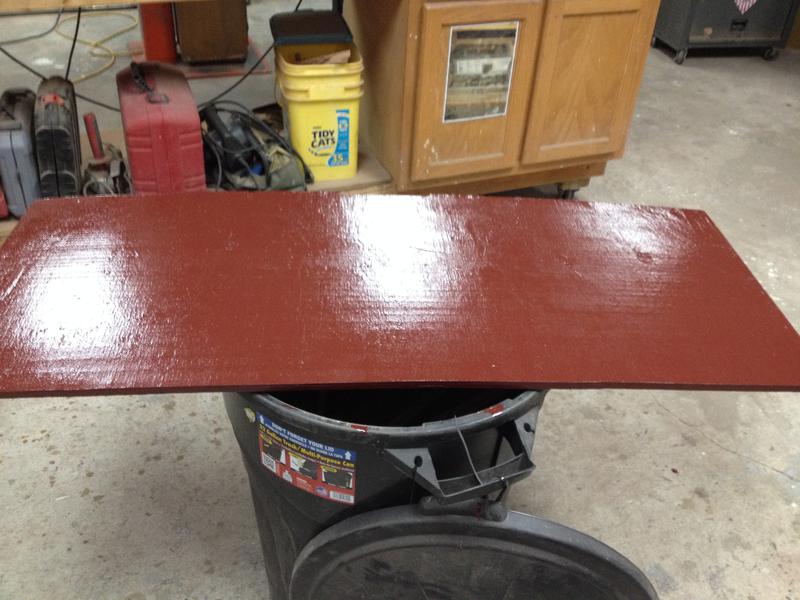
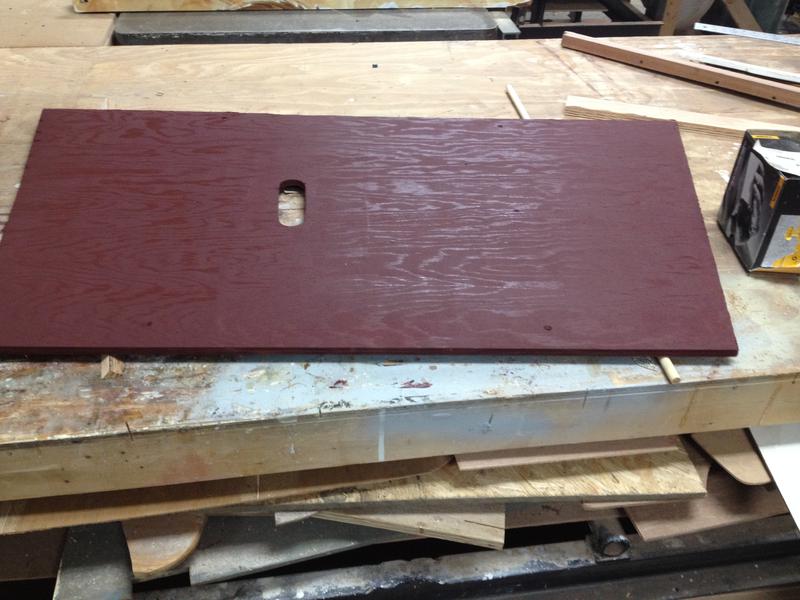
The back seat and the floor panels are being painted.
Yesterday, we received the rub rails.
7/8/14
7/9/14
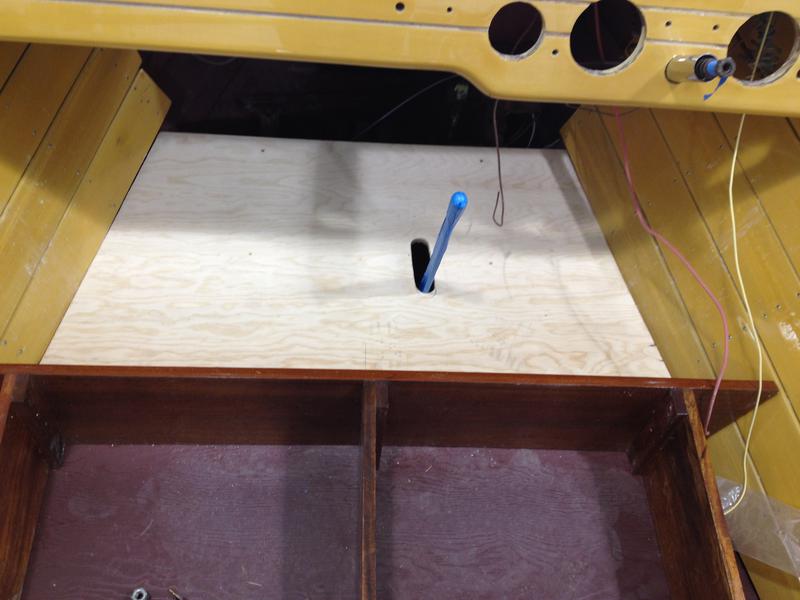
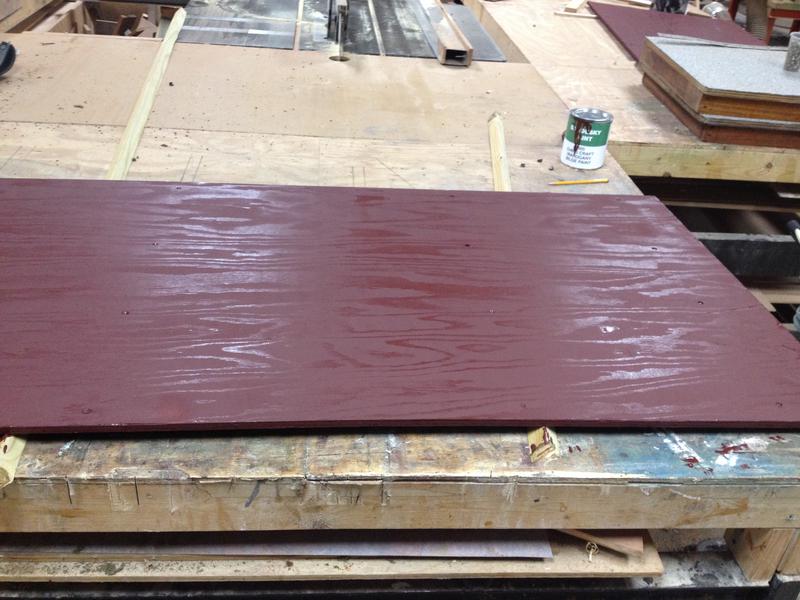
The floor panels have been fabricated and painted.
The hardware for dash has been polished.
7/10/14
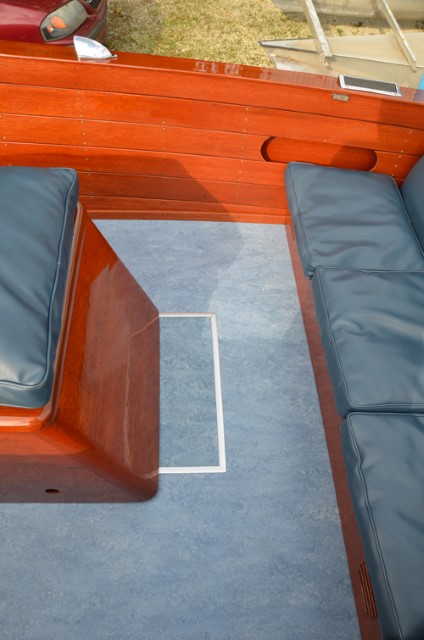
The flooring has been installed. The floor panels are fastened under it, but can be reach by rolling the flooring up.
7/11/14
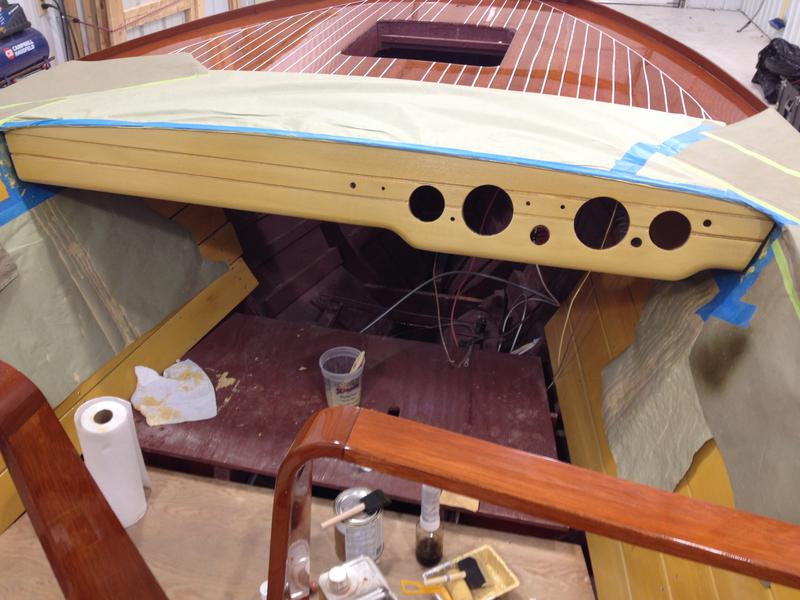
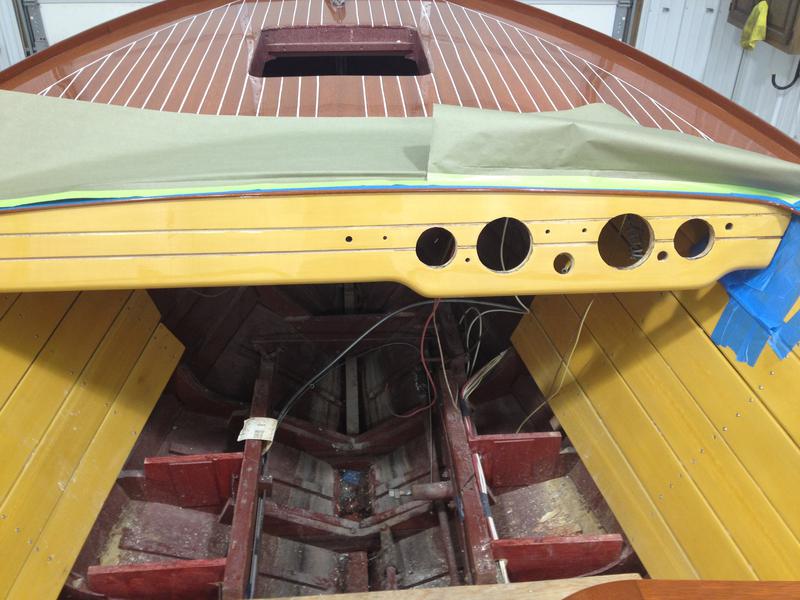
The metal trim has been installed in the dash.
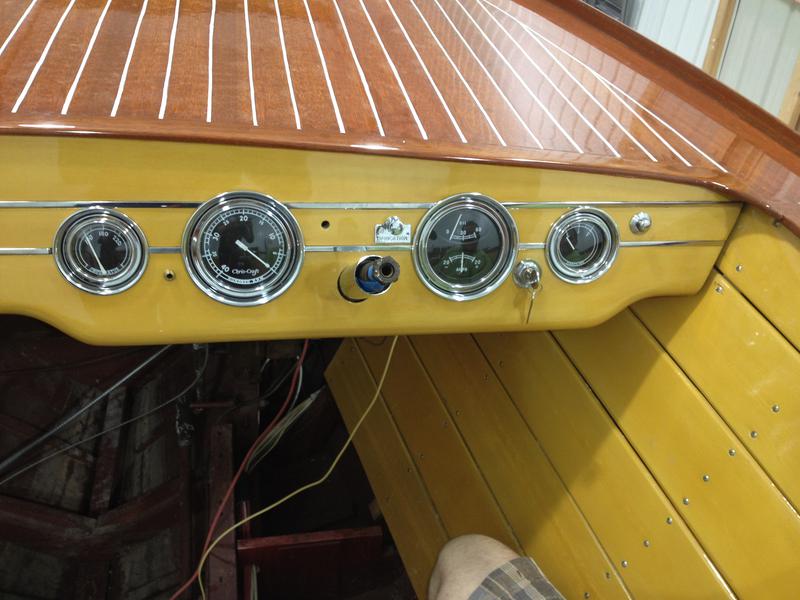
7/14/14
The gauges and the switches are bring installed.
The temperature sending unit has been installed and attached to the gauge.
The windshield trim is in place.
7/15/14
The wood trim that goes behind the rubrail to keep the metal trim from losing its form, is being cut and will be installed.