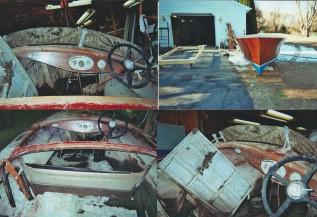
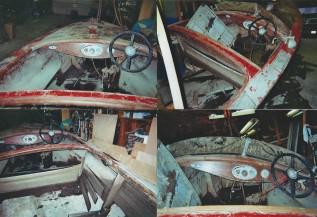
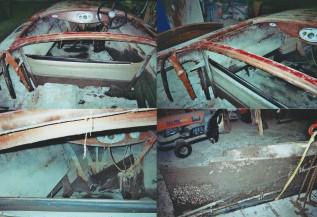
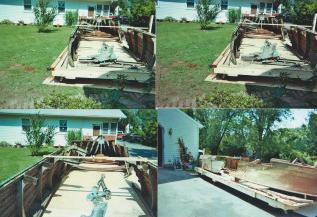
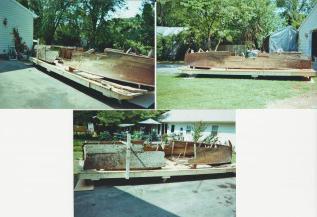
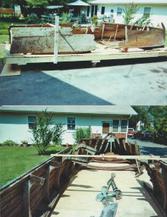
Here are some pictures that came with boat of a previous restoration.
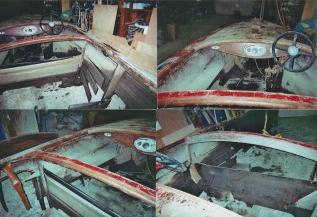
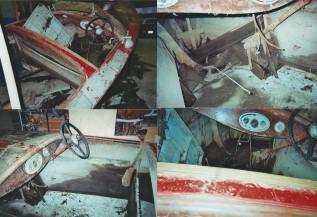
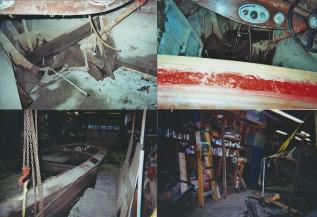
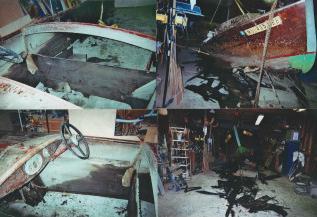
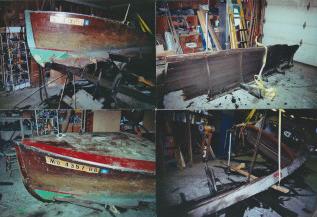
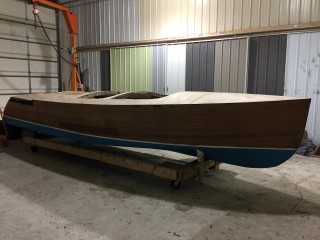
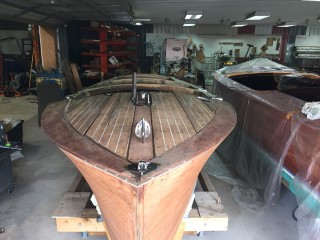
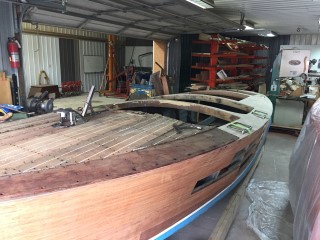
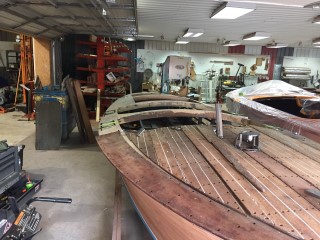
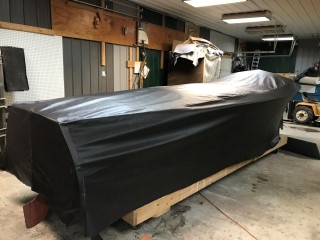
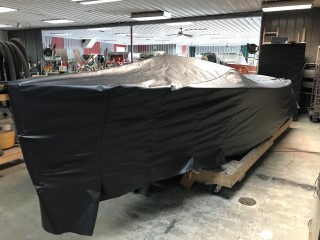
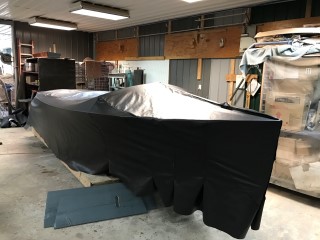
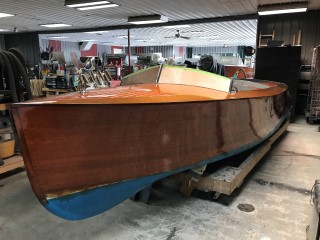
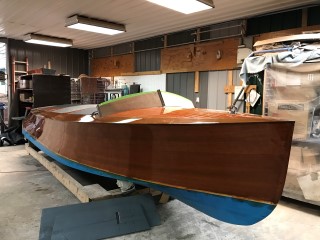
And here the boat is now at our shop awaiting restoration.
Update 06/14/2017
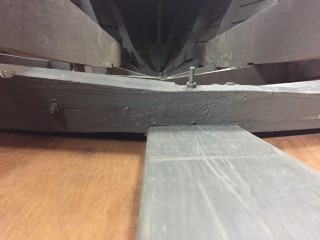
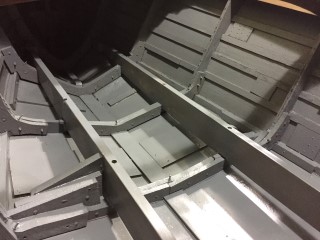
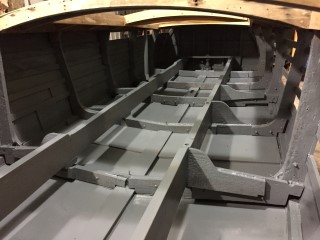
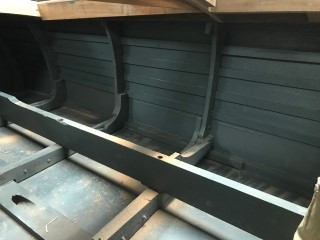
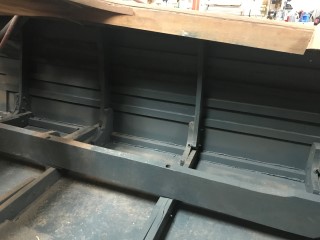
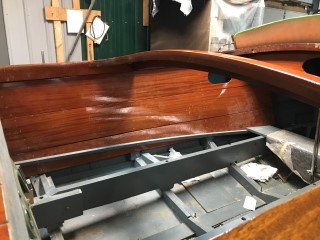
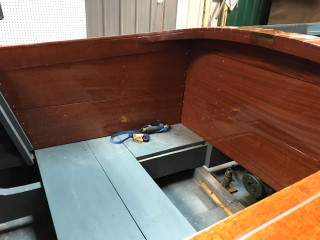
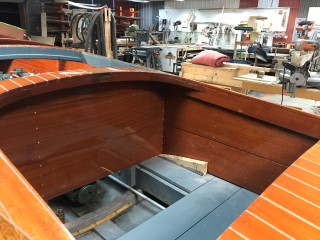
We have completely cleaned the bilge and everything looks great. Now would be the time to paint the bilge, which we suggest needs to be done, before we go any further inside.
While we were cleaning the bilge we also noticed that the limber holes were not opened enough to let water drain properly so we opened them up while we were cleaning.
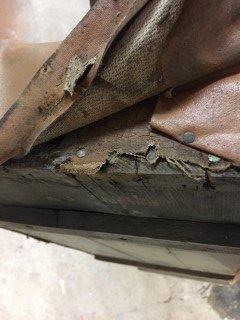
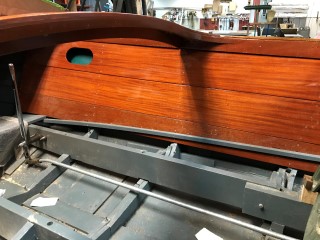
As we were sorting through the interior to determine what may be usable and what may need to be remade we discovered what we feel is the original upholstery under the current vinyl. Once we have determined whether or not this is the original material we can then hopefully find a piece that we can reproduce a new vinyl from.
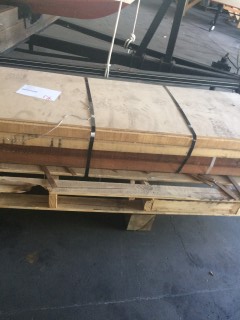
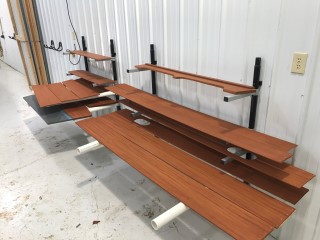
Here is a shipment of mahogany and white oak we received which we will be selecting board to cut the planks for your boat.
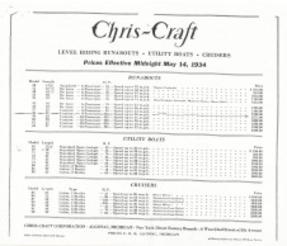
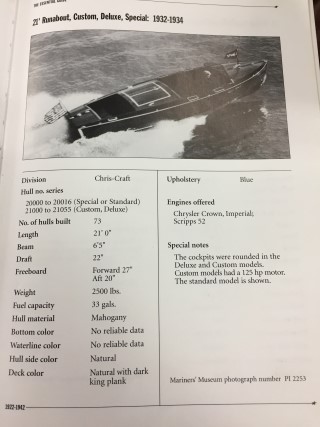
Here is a picture, to use as reference for your boat, from the Essential Guide.
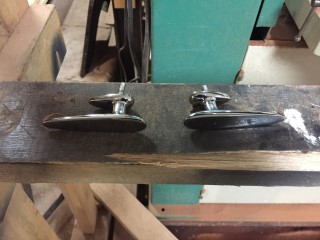
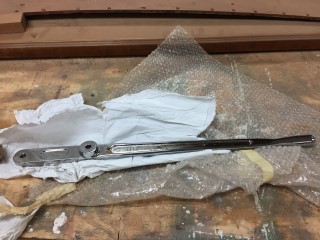
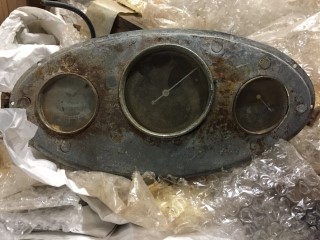
We have laid out all of the chrome for the decks and it appears that you are missing the fuel cap and ring, stern pole and socket, and rear lifting ring. Along with the vents that go beside the engine hatch, the engine hatch binding and all of the cleats. The gauges we can send to be redone and all of the other hardware we can order from our suppliers.
Update 06/29/2017
The bilge has been painted to the correct color.
Update 07/28/2017
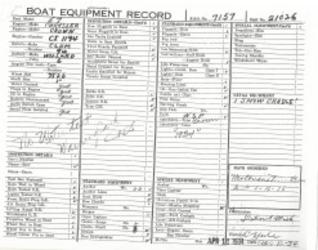
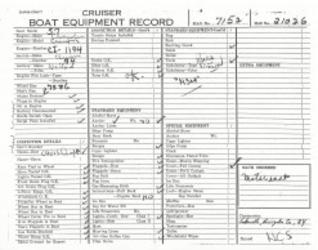
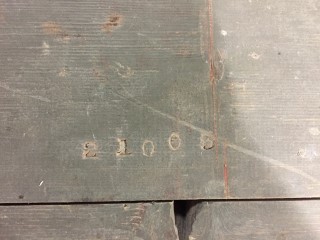
You were asking if we found any numbers stamped into the boat, we did find a few. The picture on the left was found under a seat bottom. It is very clear that it says 21005. The picture on the right appears to have been cut from an engine stringer, maybe to have made room for a different engine being installed into the boat. This piece is not as easy to make out but appears to be stamped 21020. The number on your hull card reads 21026. There is a strong possibility that the number on the seat could lead you to believe that the seats could have came from a different boat. The number from the engine stringer is hard to identify whether it came from the boat because the engine stringers in the boat now are not the original ones. So there is no way of saying the wood came from this boat. On the other hand one of the three numbers we feel is correct and would identify the boat as being a Custom, Deluxe. You can refer to the picture closer to the top of the page that we pulled from The Essential Guide that states the Custom, Deluxe hull numbers ran from 21000 to 21055.
Update 08/23/2017
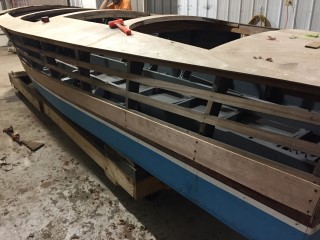
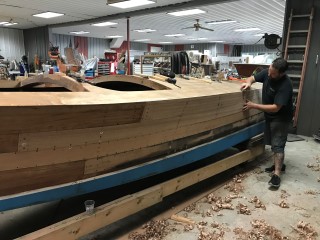
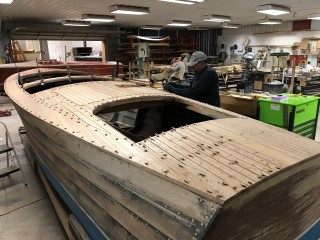
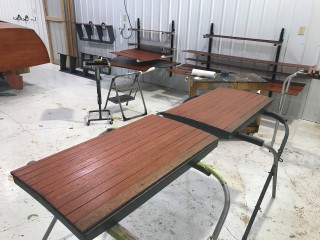
We have started fabricating the new planks for the sides. You can see we have one of the port side planks fit and ready to install. We also heard from the engine mechanic today and the engine is running now we just have to pick it up in Michigan.
Update 09/06/2017
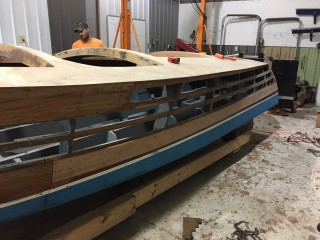
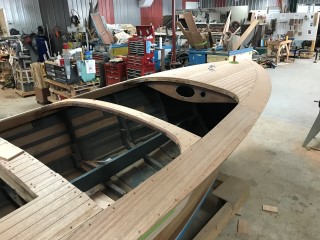
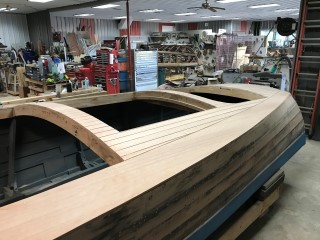
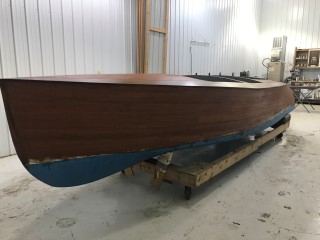
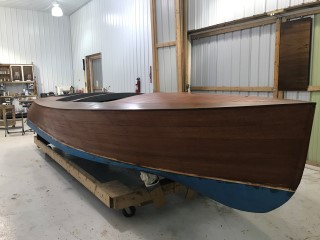
We now have all of the port side planks cut and fit to the boat. Now we have some sanding left to fair each plank and make the side smooth. We still like the one starboard side plank. Once it is made we can then start to focus on the decks.
Update 09/22/2017
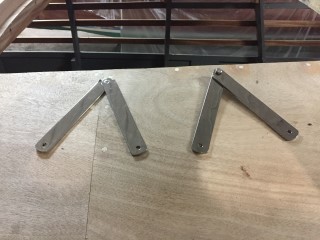
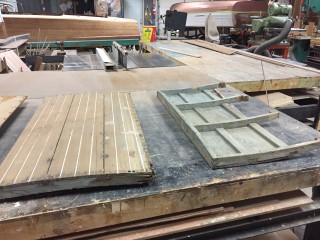
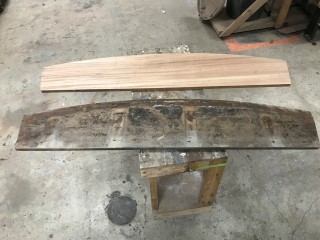
In the picture to the left you will see your old engine hatch. The picture to the right is of the new pieces we have cut to start making your new engine hatch.
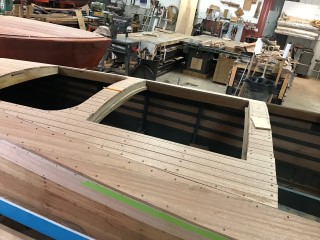
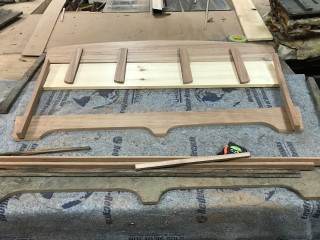
As you can see here the arrows are pointing to pieces we have cut that will become what is called the king plank. This will run the entire length of the boat and be stained a darker color than the rest of the deck.
Update 03/30/2018
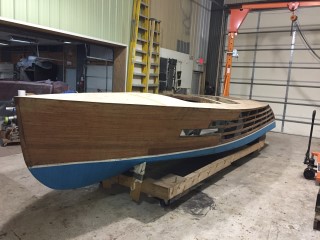
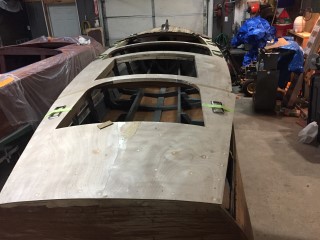
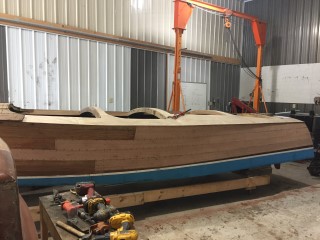
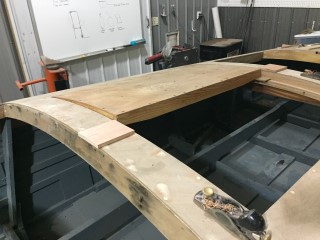
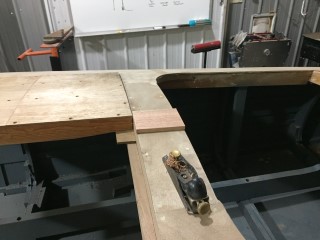
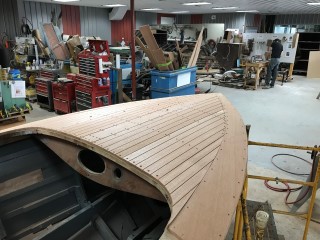
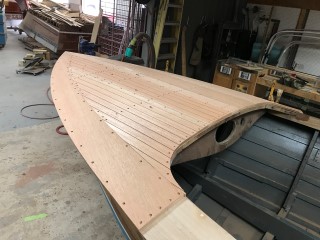
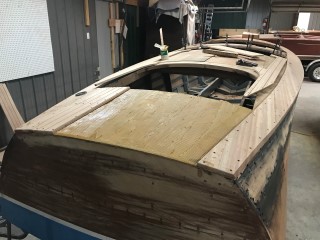
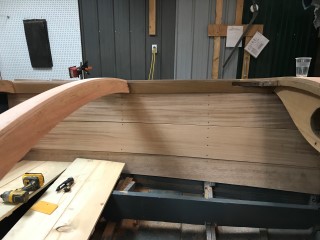
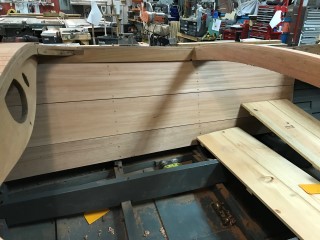
We have the started working on the front decks. You can see the progress we've made in the pictures above. We only like a couple more planks on the front decks then we can start moving towards the back.
Update 04/03/2018
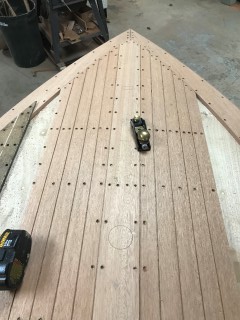
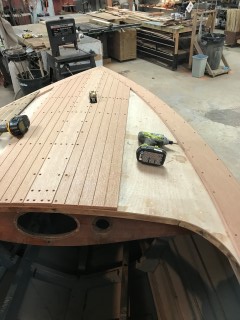
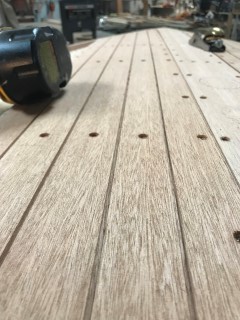
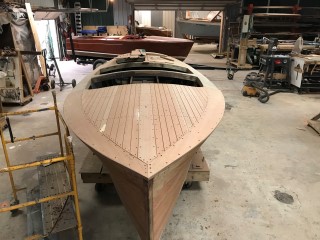
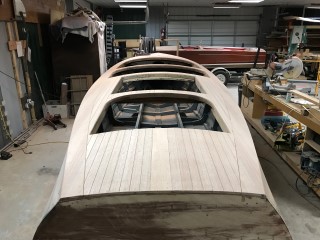
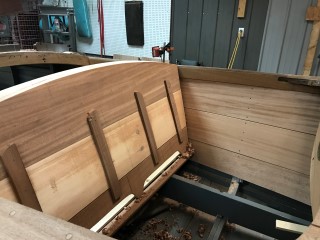
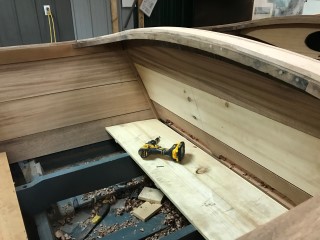
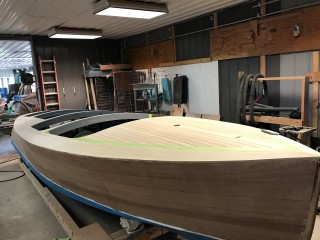
We now have all of the fwd deck planks made and test fit to the boat. We will have to sand the planks to fair them into one another, then we can permanently secure them to the boat.
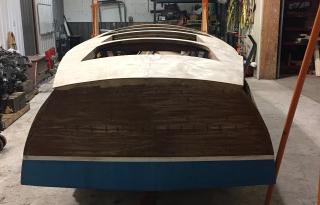
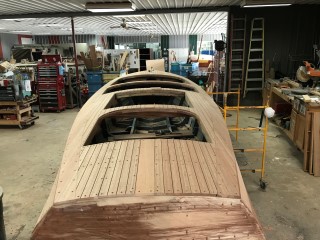
Update 04/13/2018
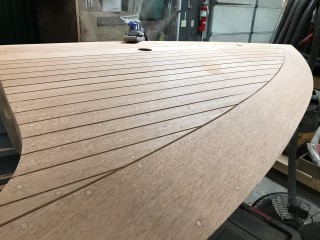
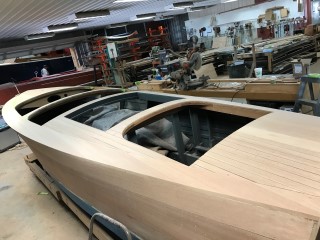
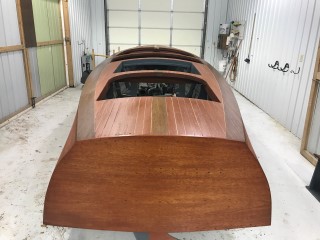
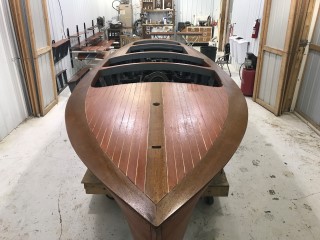
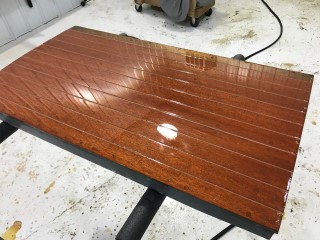
We now have all of the deck planks fabricated and dry fit to the boat. We can now fair the planks evenly to the boat then we can permanently install the planks and get started on stain and varnish.
Update 07/25/2018
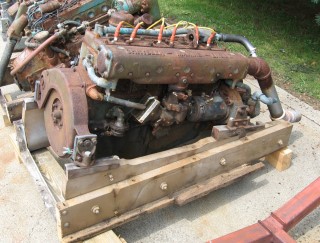
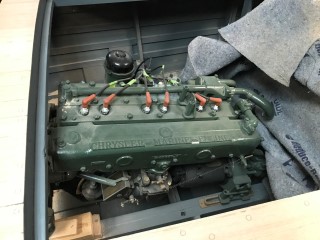
Its been a while since your last update but we haven't forgotten about you. So here is what your engine looked like before we started the detail process.
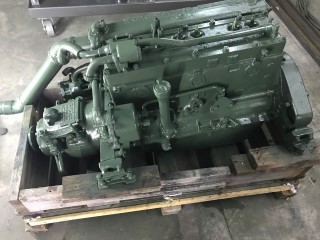
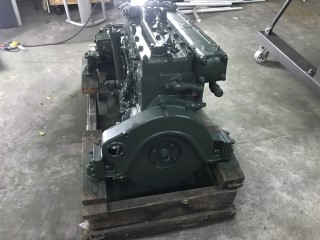
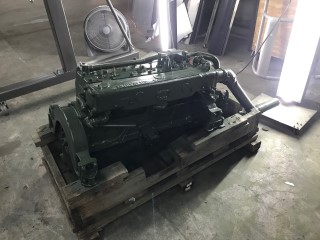
And here is the engine after detail. We stripped the engine and cleaned it with multiple coats of degreaser and elbow grease. After that we removed all of the surface rust using wire brushes. Once the engine was clean and the surface was prepped we then applied multiple coats of paint to the entire engine. Once everything dries we can then begin reassembling the engine.
Update 09/18/2018
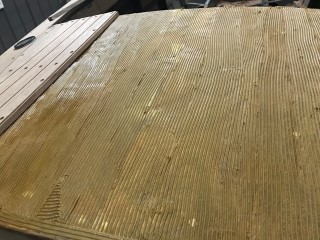
We have been working this week to fair the sides and prepare all of the new planks that were made for a permanent installation.
Update 10/29/2018
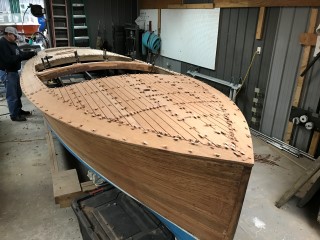
We now have all of your deck planks secured with a layer of bedding compound between the plywood and the planks. We have all of the screw holes filled with bungs, epoxied in place. By the end of the day we should have the bungs trimmed and the decks sanded smooth.
Update 11/09/2018
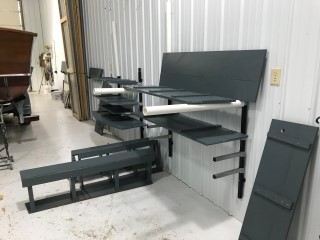
We started this week fabricating the new seat frames for the boat.
Update 11/21/2018
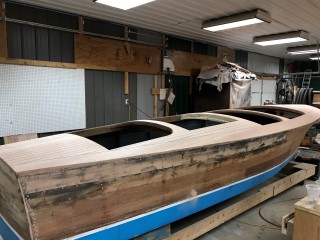
We have painted the insides of the new side planks to match the rest of the bilge.
We also have the decks fared and are getting closer to stain and varnish.
Update 1/3/2019
Update 1/18/2019
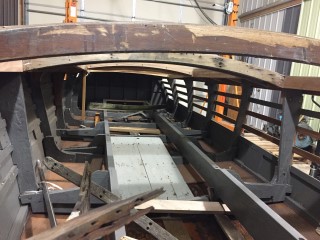
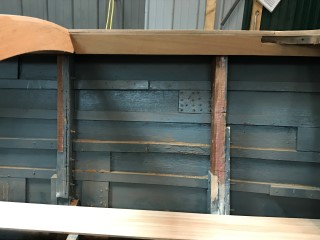
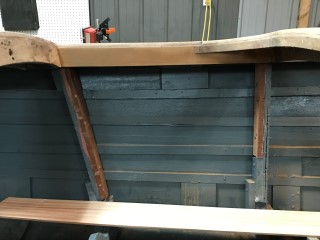
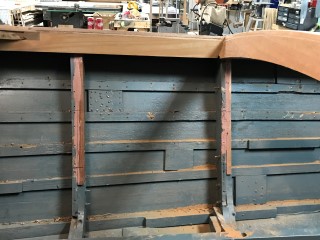
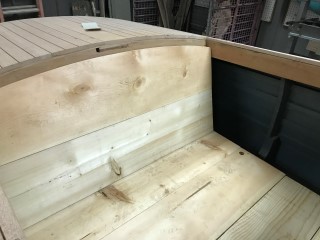
There were a few frames in the forward cockpit areas that were split and damaged. So we made sister frames and secured them in place beside the existing ones with 5200 marine adhesive.
We have started fabricating the new sealing boards for the inside of the hull. We also started fitting the seat frames to make sure clearance is not an issue.
Update 2/1/2019
Update 2/21/2019
Update 3/7/2019
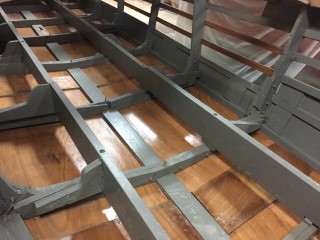
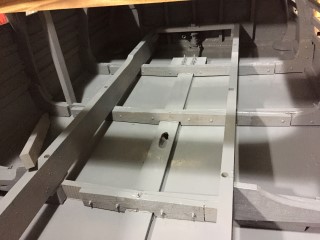
All of the new seat frames and floor panels have now received a fresh coat of paint matching the color of bilge.
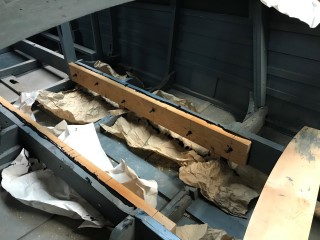
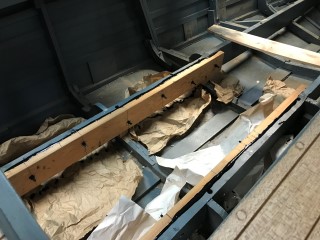
We also have widened the engine stringers so that they will properly support the engine.
Update 3/8/2019
Update 4/23/2019
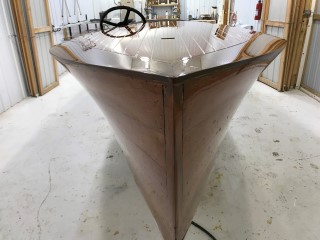
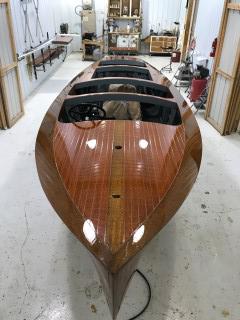
We have the engine set in place it is not permanently installed but it is setting in place where it will be installed. The sides and decks have been bleached and are ready for stain.
Update 4/25/2019
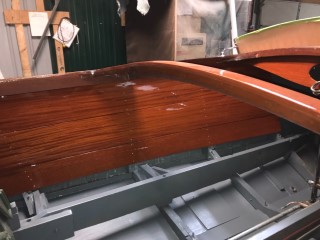
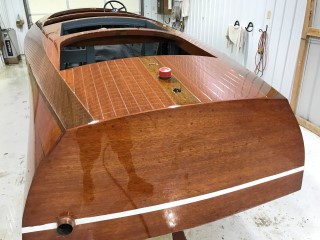
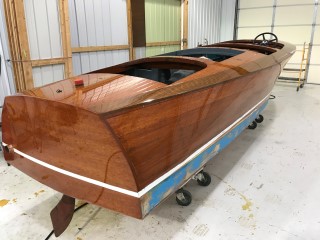
Look at that! Everything has been stained and is under the first coat of sealer. We will apply a few more coats of sealer before starting the build up coats of varnish.
Update 05/13/2019
Update 05/24/2019
Update 06/26/2019
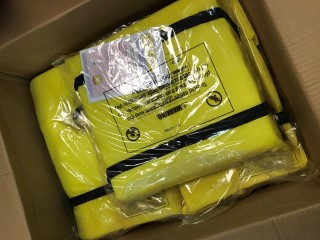
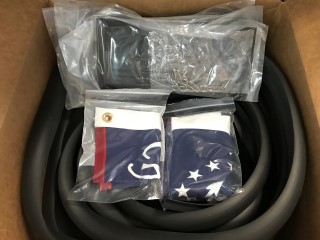
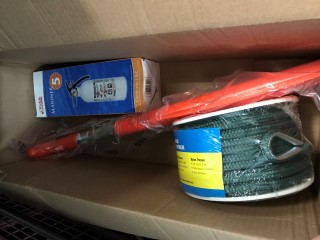
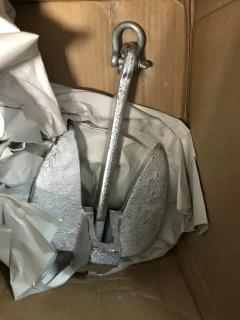
As the boat is nearing completion we have recently received lots of new safety equipment and accessories to finish the project.
We are almost finished with the mooring cover. Just a few more alterations and it will be finished.
Here are some nice photos of the interior after the sealing boards were installed and a few of the windshield templates in place, this will give you an idea of what the boat will look like with the windshields.
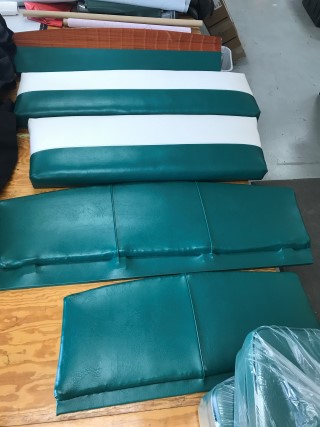
The upholstery is finished. We will get some photos of the seats in the boat soon.
Update 07/03/2019
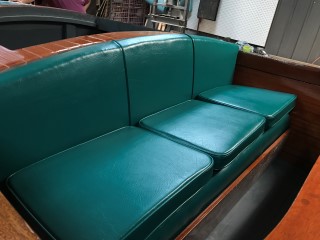
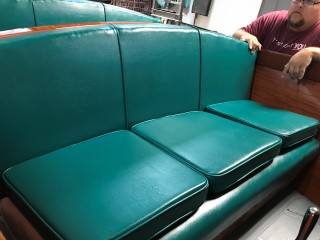
Here are what the seats look like in the boat. We are very pleased with how they turned out. Should be a very comfortable ride.
Update 08/07/2019
We have applied nine coats of varnish to the sealing boards. They have been wet sanded and buffed and now installed in the boat.
Here is just a glimpse of the hardware that just come back from chrome.
Update 08/28/2019
Update 08/29/2019
Update 09/06/2019
Update 09/17/2019
Update 09/18/2019
The final coat of varnish has been laid on the decks and sides. Once this cures we will wet sand and buff any imperfections out of the decks and then start final assembly.